Articles
How To Clean A Sink Faucet
Modified: January 5, 2024
Are you looking for articles on how to clean your sink faucet? Discover effective cleaning methods and tips to keep your sink faucet sparkling and hygienic.
(Many of the links in this article redirect to a specific reviewed product. Your purchase of these products through affiliate links helps to generate commission for Storables.com, at no extra cost. Learn more)
Introduction
Cleaning the sink faucet is an essential part of maintaining a clean and hygienic kitchen or bathroom. Over time, faucets can accumulate dirt, mineral deposits, and stains, making them look dull and unsightly. Regular cleaning not only improves the appearance of the faucet but also ensures its smooth functioning and longevity.
While it may seem like a daunting task, cleaning a sink faucet is actually quite simple and requires just a few basic supplies. In this article, we will guide you through the step-by-step process of cleaning your sink faucet, from preparing the area to tackling stubborn stains and build-up. So, let’s roll up our sleeves and give your faucet the sparkling clean it deserves!
Key Takeaways:
- Regularly cleaning your sink faucet with natural solutions like vinegar and soap not only restores its shine but also ensures smooth functionality and longevity.
- Taking the time to clean your sink faucet thoroughly, including the handle, base, aerator, and sprayer head, contributes to a sparkling, well-functioning fixture.
Read more: How To Clean A Sink Faucet Head
Necessary Supplies
Before you begin cleaning your sink faucet, gather the following supplies:
- A small bucket
- Vinegar
- Liquid dish soap
- A soft bristle brush
- A toothbrush
- A microfiber cloth or sponge
- An old toothbrush
- A wrench (if necessary)
These supplies will help you effectively remove dirt, stains, and build-up from your faucet, leaving it shiny and spotless. Now that you have everything you need, let’s move on to the step-by-step cleaning process.
Step 1: Preparing the Sink Faucet
Before you start cleaning the sink faucet, it is important to prepare the area to ensure an effective cleaning process. Here’s what you need to do:
- Turn off the water supply: Locate the shut-off valves underneath the sink and turn them clockwise to shut off the water supply. This will prevent any water flow while you clean the faucet.
- Clear the surrounding area: Remove any items, such as soap dispensers or sponges, from around the sink faucet. This will give you more space to work and prevent any cleaning solutions from accidentally damaging these items.
- Apply a protective layer: To avoid any potential damage to the sink or countertop, place a towel or mat at the bottom of the sink. This will act as a cushion and protect the surface from scratches or drops of cleaning solution.
By following these preparation steps, you are ready to move on to the actual cleaning process. Taking a few moments to prepare the area will make the cleaning process more efficient and ensure that your faucet receives a thorough cleaning.
Step 2: Removing Build-Up and Stains
Over time, faucets can accumulate build-up and develop unsightly stains. This step will guide you through the process of removing these deposits and restoring the shine to your sink faucet. Here’s what you need to do:
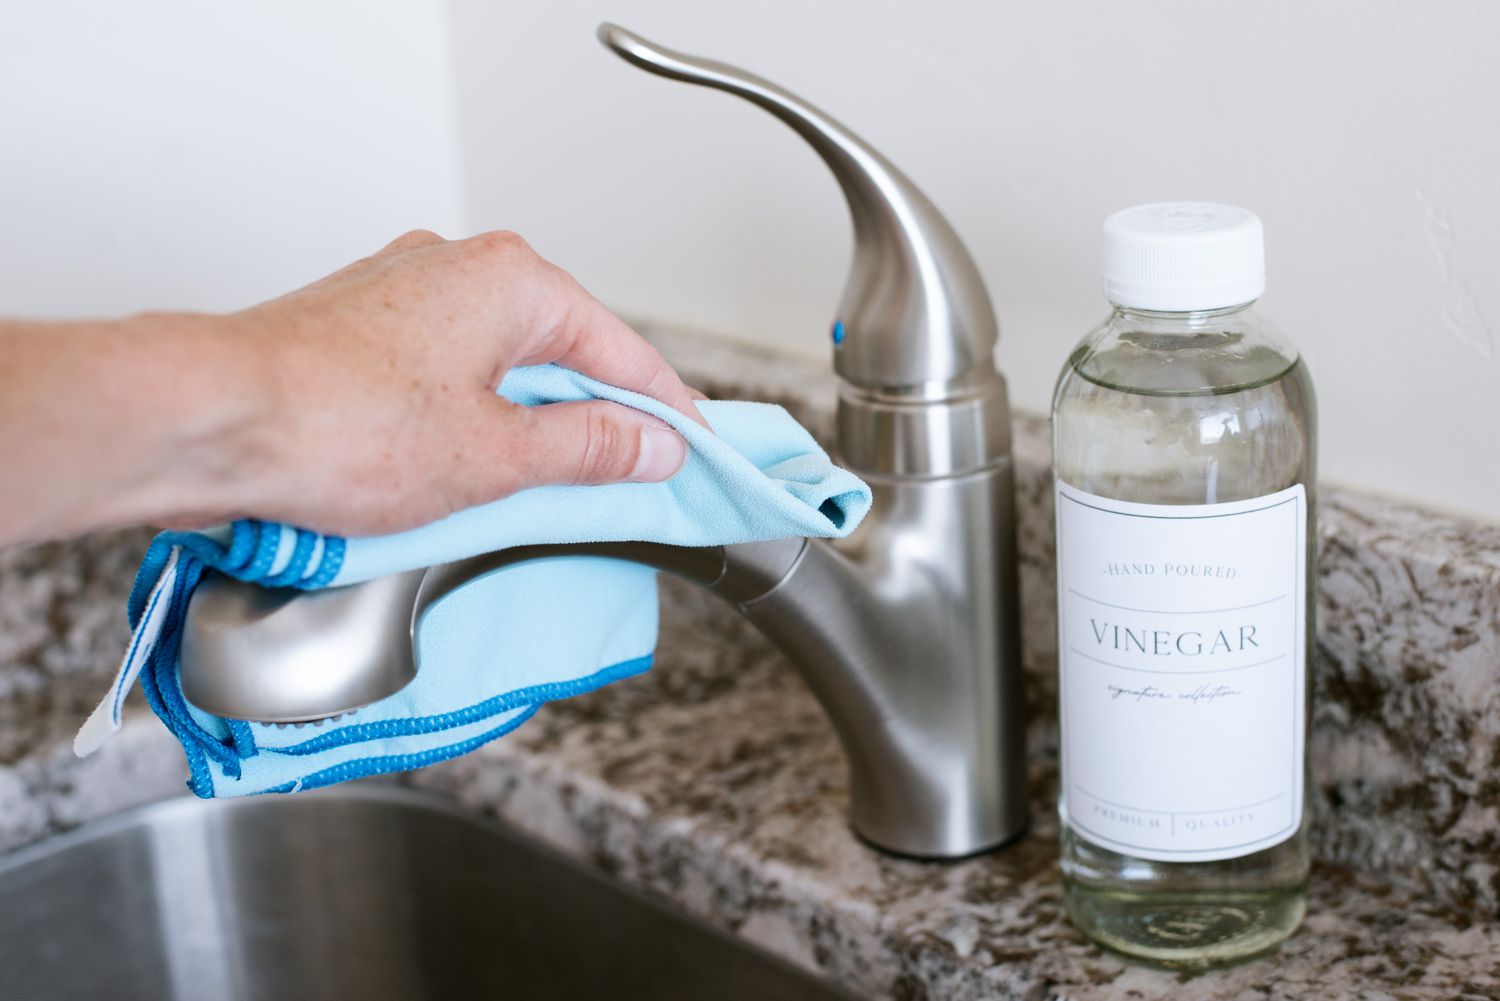
- Mix a cleaning solution: In a small bucket or bowl, mix equal parts vinegar and warm water. Vinegar is a natural cleanser that effectively breaks down mineral deposits and stains.
- Soak a cloth or sponge: Dip a microfiber cloth or sponge into the vinegar solution, ensuring it is well saturated but not dripping.
- Apply the solution to the faucet: Gently scrub the faucet, focusing on the areas with build-up and stains. Use circular motions and apply moderate pressure to effectively remove the deposits. Pay extra attention to hard-to-reach areas and detail areas such as the base and crevices.
- Let the solution sit: Allow the vinegar solution to sit on the faucet for a few minutes. This will help loosen and dissolve the deposits, making them easier to remove.
- Rinse with water: After the solution has had time to work, rinse the faucet thoroughly with warm water. Make sure to remove all traces of the vinegar solution and loosened deposits.
- Dry with a clean cloth: Use a clean microfiber cloth to dry the faucet completely. This will prevent water spots and leave a streak-free shine.
By following these steps, you can effectively remove build-up and stains from your sink faucet. Remember to be gentle, especially if you have a delicate or plated faucet finish, to avoid scratching or damaging the surface. Now that your faucet is clean, it’s time to move on to the next step: cleaning the faucet handle and base.
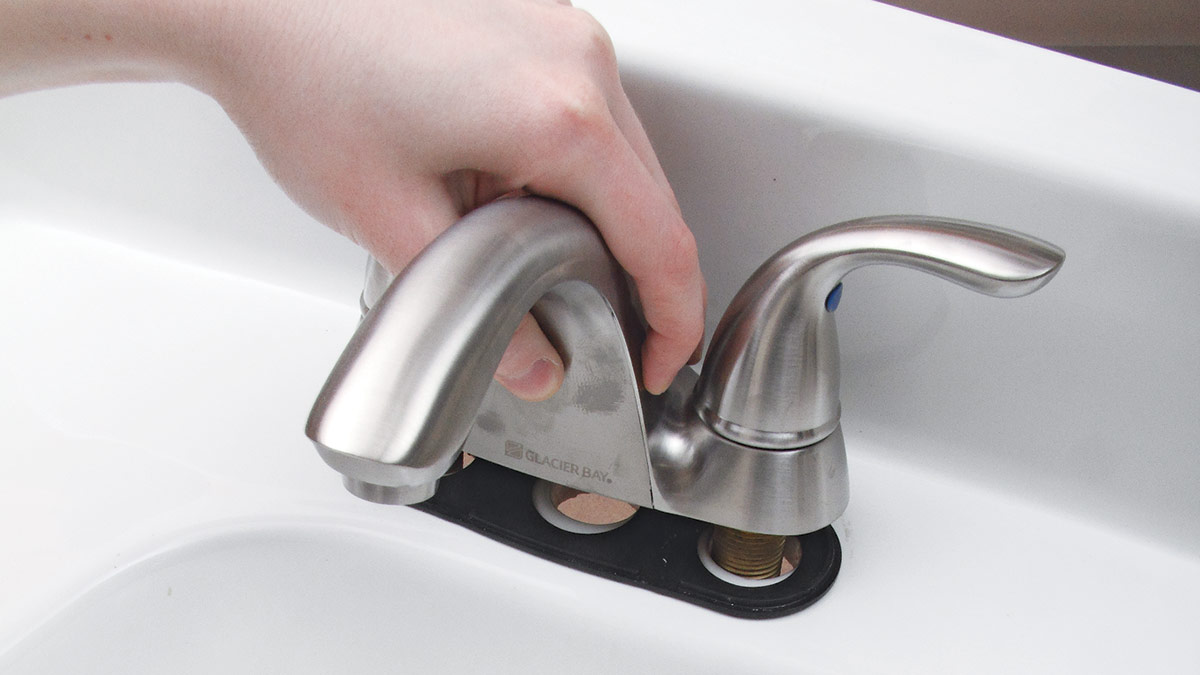
Step 3: Cleaning the Faucet Handle and Base
The faucet handle and base are areas that often accumulate dirt, grime, and fingerprints. In this step, we will focus on cleaning these parts to ensure a thorough faucet cleaning. Follow these steps:
- Prepare a soapy solution: In a small bowl or bucket, mix a few drops of liquid dish soap with warm water. This creates a gentle cleaning solution that will effectively remove dirt and grime from the handle and base.
- Dip a soft bristle brush or toothbrush: Submerge a soft bristle brush or toothbrush into the soapy solution. Make sure the brush is damp but not soaking wet.
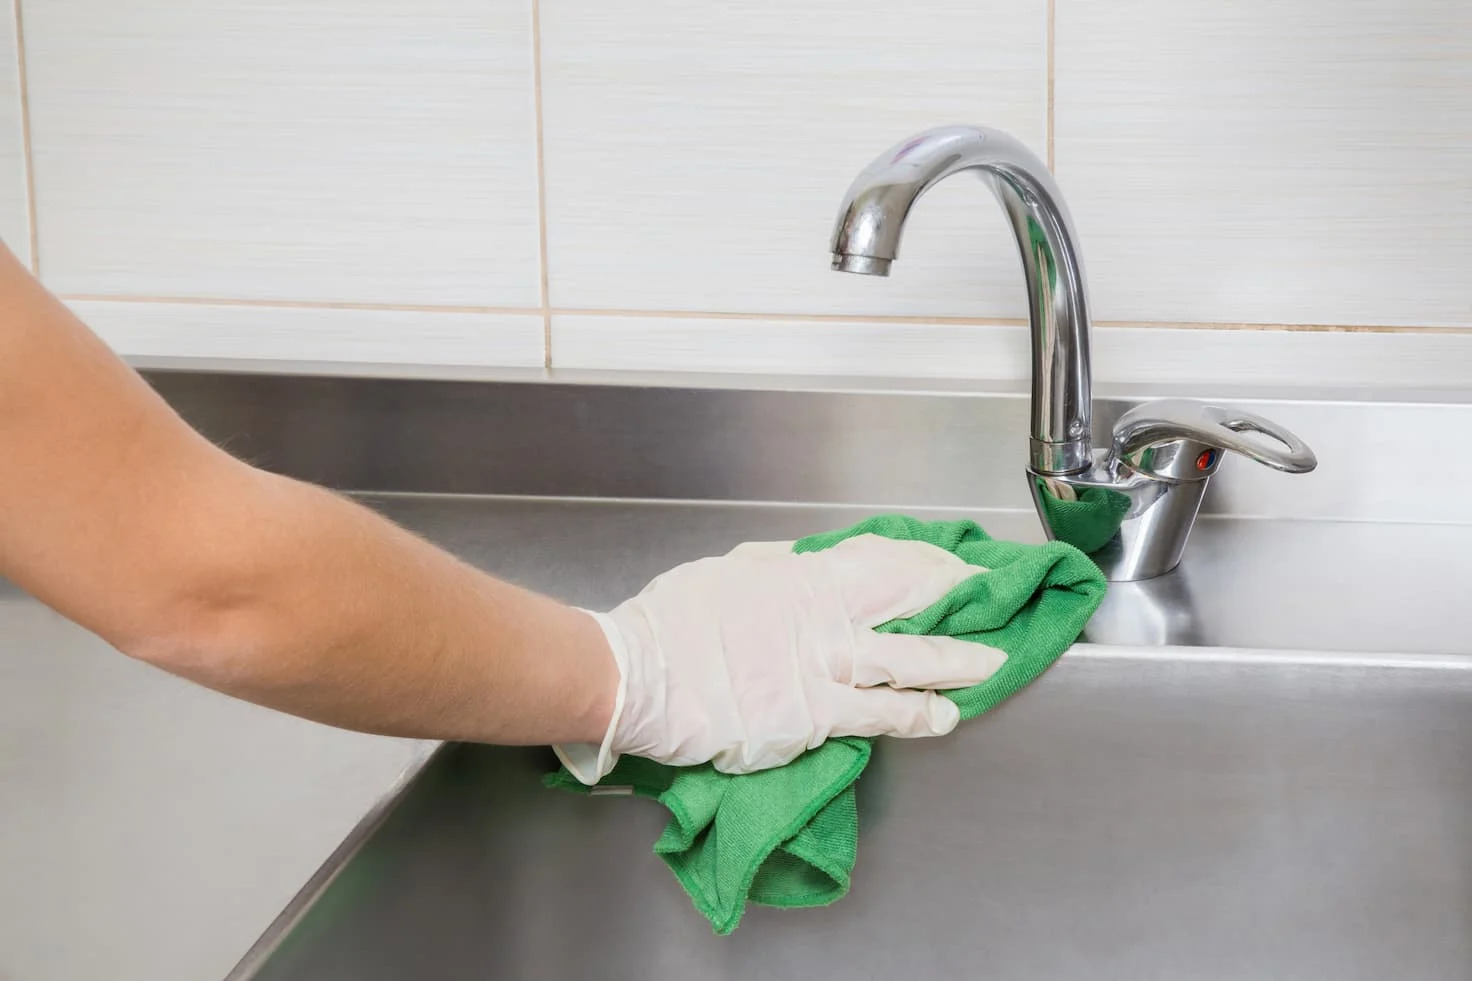
- Gently scrub the handle: Using the brush, gently scrub the faucet handle, paying attention to any areas with visible dirt or grime. Use circular motions and apply enough pressure to remove the dirt without scrubbing too harshly.
- Clean the base: Dip the brush into the soapy solution again, and then use it to clean the base of the faucet. This includes the area where the handle connects to the faucet body and any other surrounding surfaces.
- Rinse with water: Once you have finished scrubbing, rinse the handle and base with warm water. Make sure all traces of soap are removed.
- Dry with a clean cloth: Use a clean microfiber cloth to dry the handle and base thoroughly. This will prevent water spots and leave a pristine finish.
By following these steps, you can effectively clean the handle and base of your sink faucet. Regular cleaning of these areas will not only maintain the cosmetic appearance but also prevent the accumulation of dirt and grime. Now that you have cleaned the handle and base, it’s time to move on to the next step: cleaning the aerator.
To clean a sink faucet, mix equal parts water and white vinegar in a spray bottle. Spray the solution onto the faucet and let it sit for a few minutes before wiping it off with a clean cloth. This will help remove any mineral deposits and leave the faucet sparkling clean.
Step 4: Cleaning the Aerator
The aerator is a small device located at the end of the faucet spout. Over time, it can become clogged with mineral deposits and debris, leading to reduced water flow and uneven spray patterns. Cleaning the aerator is an important step in maintaining your faucet’s functionality. Here’s how to do it:
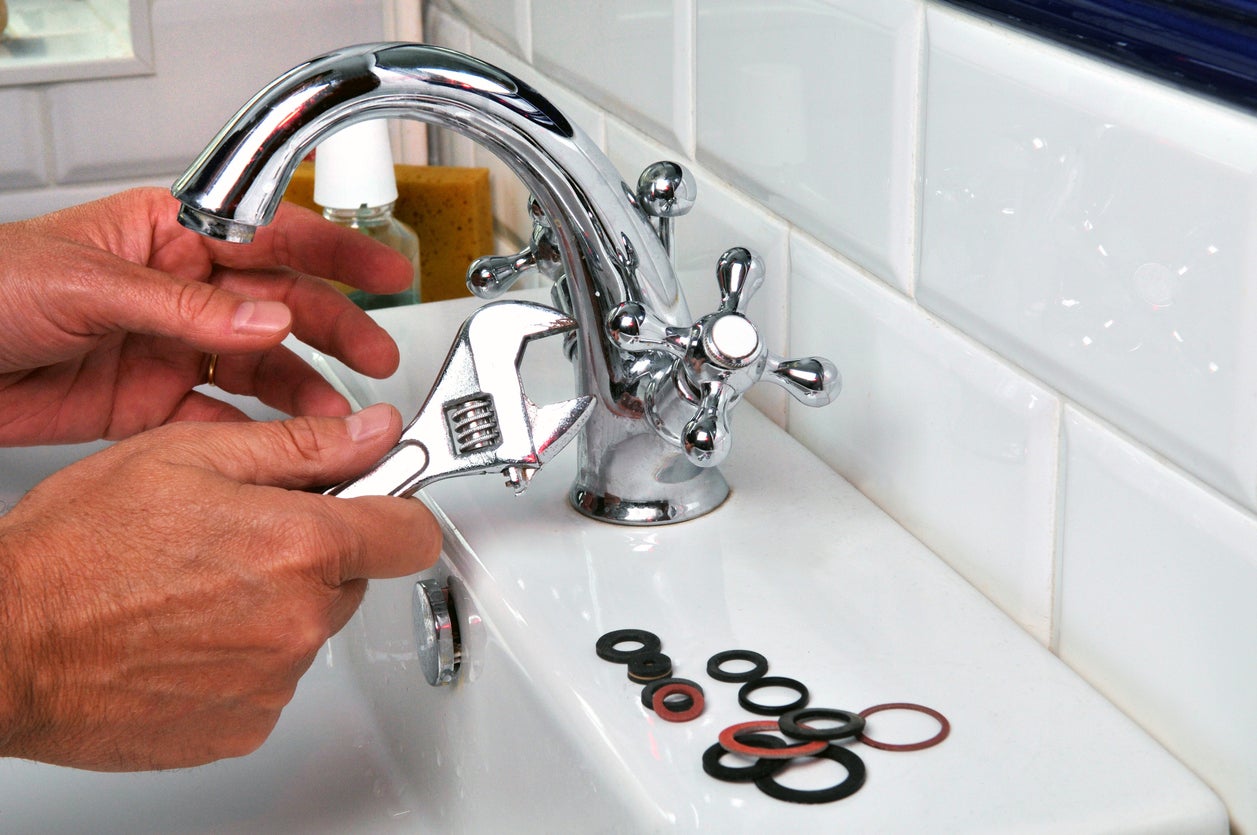
- Remove the aerator: Gently unscrew the aerator from the end of the faucet spout. Depending on the type of faucet, you may need to use a wrench for this step. Wrap the aerator with a cloth to protect the finish and prevent scratches.
- Disassemble the aerator: Carefully disassemble the aerator by removing any internal parts, such as screens or O-rings. Take note of the order in which the parts are assembled for easy reassembly later.
- Soak in vinegar solution: Prepare a bowl or small bucket with a solution of equal parts vinegar and warm water. Place the disassembled aerator parts into the solution and let them soak for about 30 minutes. Vinegar will effectively dissolve mineral deposits and help remove any debris.
- Clean the components: After soaking, use a soft bristle brush or toothbrush to gently scrub the individual aerator parts. Pay close attention to any clogged or dirty areas and make sure to remove all debris and mineral deposits.
- Rinse and reassemble: Thoroughly rinse all the parts with water to remove any vinegar residue. Once cleaned, carefully reassemble the aerator in the correct order. Tighten it back onto the faucet spout using your hand or a wrench if necessary.
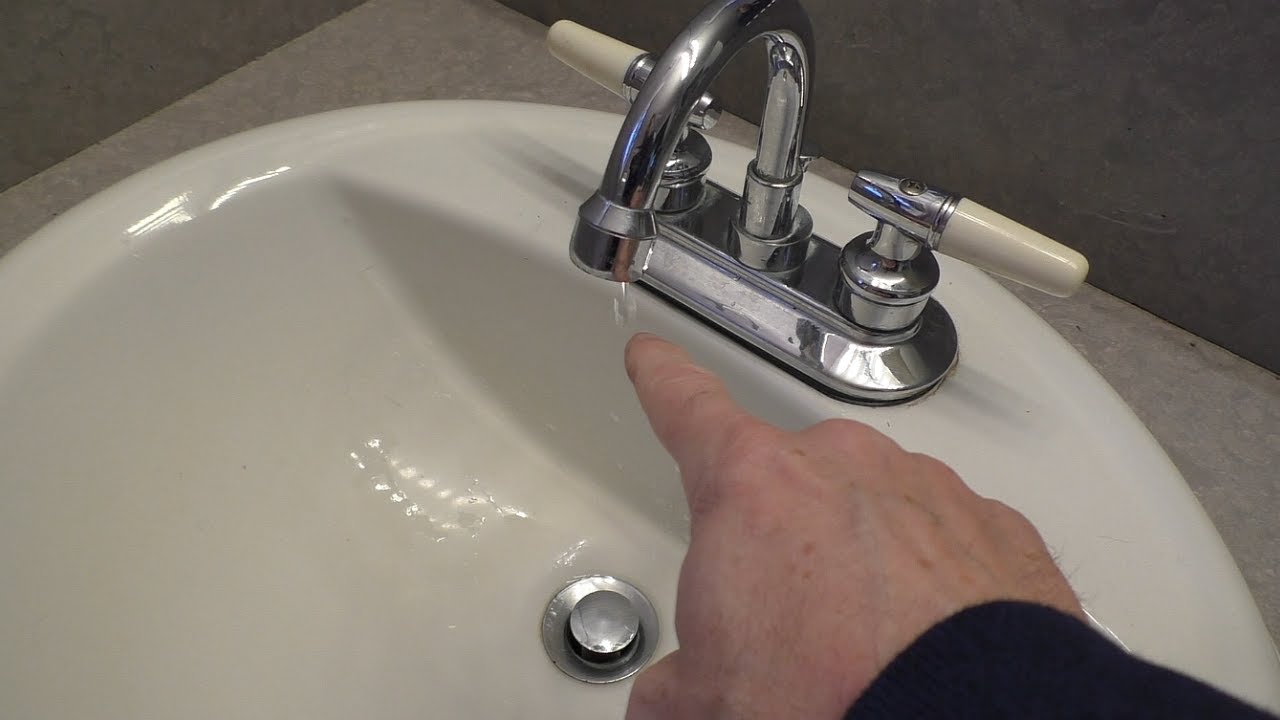
- Run water to test: Turn on the water and check if the water flow has improved. If necessary, adjust the aerator or clean it further to ensure optimal performance.
By following these steps, you can effectively clean the aerator and restore your faucet’s water flow and spray pattern. Regular cleaning of the aerator helps maintain a smooth and consistent water flow, ensuring the overall functionality of your sink faucet. Now that the aerator is clean, let’s proceed to the next step: cleaning the sprayer head (if applicable).
Step 5: Cleaning the Sprayer Head (if applicable)
If your sink faucet includes a sprayer head, it is important to clean it regularly to ensure optimal performance and prevent clogs. Here’s how to clean the sprayer head:
- Disconnect the sprayer head: Locate the connection point between the hose and the sprayer head. Depending on the type of faucet, you may need to unscrew or detach the sprayer head from the hose. Wrap the sprayer head with a cloth to protect the finish and prevent scratches.
- Soak in vinegar solution: Prepare a bowl or small bucket with a solution of equal parts vinegar and warm water. Place the sprayer head in the solution and allow it to soak for about 30 minutes. Vinegar will help dissolve any mineral deposits or buildup inside the sprayer head.
- Clean the sprayer head: After soaking, use a toothbrush or a soft bristle brush to scrub the inside and outside of the sprayer head. Focus on any clogged or dirty areas, ensuring that you remove all debris and mineral deposits.
- Flush with water: Rinse the sprayer head thoroughly with warm water to remove any vinegar residue and loosened particles. Direct the water flow through the sprayer head to ensure that it is clear of any remaining debris.
- Reattach the sprayer head: Once the sprayer head is clean and thoroughly rinsed, reattach it to the hose. Ensure a secure connection to prevent any leaks. Test the sprayer head to ensure smooth and consistent water flow.
By following these steps, you can effectively clean the sprayer head and maintain optimal functionality. Regular cleaning of the sprayer head will help prevent clogs and ensure a consistent and efficient water flow. Now that you have cleaned the sprayer head (if applicable), proceed to the final step: rinse and dry.
Step 6: Rinse and Dry
After completing all the necessary cleaning steps for your sink faucet, it’s time to give it a final rinse and ensure that it is thoroughly dried. Follow these steps to complete the cleaning process:
- Rinse with warm water: Use warm water to rinse off any remaining cleaning solution from the faucet, including the handle, base, aerator, and sprayer head (if applicable). Make sure to remove all traces of cleaning solution to prevent any residue buildup.
- Inspect for any missed spots: Take a close look at the faucet and its components to ensure that you haven’t missed any areas. If you notice any remaining grime, stains, or mineral deposits, repeat the appropriate cleaning steps to address these issues.
- Dry with a clean cloth: Use a clean, lint-free cloth or a microfiber towel to thoroughly dry the entire faucet, including the handle, base, aerator, and sprayer head (if applicable). This will prevent water spots and leave a streak-free shine.
- Buff for shine (optional): If your faucet has a shiny finish, you can gently buff it with a soft dry cloth or use a faucet cleaner specifically designed for the type of finish you have. This will enhance its shine and make it look even more polished.
By following these final steps, you will ensure that your sink faucet is clean, dry, and ready to shine. Regularly cleaning and maintaining your faucet will not only keep it looking its best but also contribute to its longevity and proper functioning. Now that you have completed the cleaning process, step back and admire your sparkling clean faucet!
Remember to perform regular cleaning maintenance to keep your sink faucet in top condition. Cleaning it at least once a month will help prevent grime and mineral buildup and keep your faucet looking and functioning its best.
Conclusion
Cleaning your sink faucet doesn’t have to be a daunting task. With the right supplies and a step-by-step process, you can easily restore the shine and functionality of your faucet. Regular cleaning not only keeps your faucet looking pristine but also ensures that it operates smoothly and efficiently.
Throughout this article, we have discussed the necessary supplies and provided a comprehensive guide to cleaning your sink faucet. From preparing the area to removing build-up and stains, cleaning the handle and base, tackling the aerator, and even cleaning the sprayer head (if applicable), each step contributes to a thorough cleaning process.
Remember to be gentle and avoid using abrasive materials or harsh chemicals that may damage your faucet’s finish. Opt for natural cleaning solutions, such as vinegar and soap, which are effective in removing dirt, grime, and mineral deposits.
By following these cleaning steps regularly, you can ensure the longevity and optimal performance of your sink faucet. A clean faucet not only enhances the overall appearance of your bathroom or kitchen but also promotes good hygiene and cleanliness.
So, take the time to clean your sink faucet and enjoy the satisfaction of a sparkling clean and well-functioning fixture. Your efforts will be rewarded with a faucet that not only looks great but also works flawlessly for years to come.
Frequently Asked Questions about How To Clean A Sink Faucet
Was this page helpful?
At Storables.com, we guarantee accurate and reliable information. Our content, validated by Expert Board Contributors, is crafted following stringent Editorial Policies. We're committed to providing you with well-researched, expert-backed insights for all your informational needs.


0 thoughts on “How To Clean A Sink Faucet”