Home>Home Appliances>Home Automation Appliances>How To Change Old Thermostat To Digital
Home Automation Appliances
How To Change Old Thermostat To Digital
Modified: January 9, 2024
Upgrade your home with ease by learning how to change your old thermostat to a digital one. Explore our guide for home automation appliances.
(Many of the links in this article redirect to a specific reviewed product. Your purchase of these products through affiliate links helps to generate commission for Storables.com, at no extra cost. Learn more)
Introduction
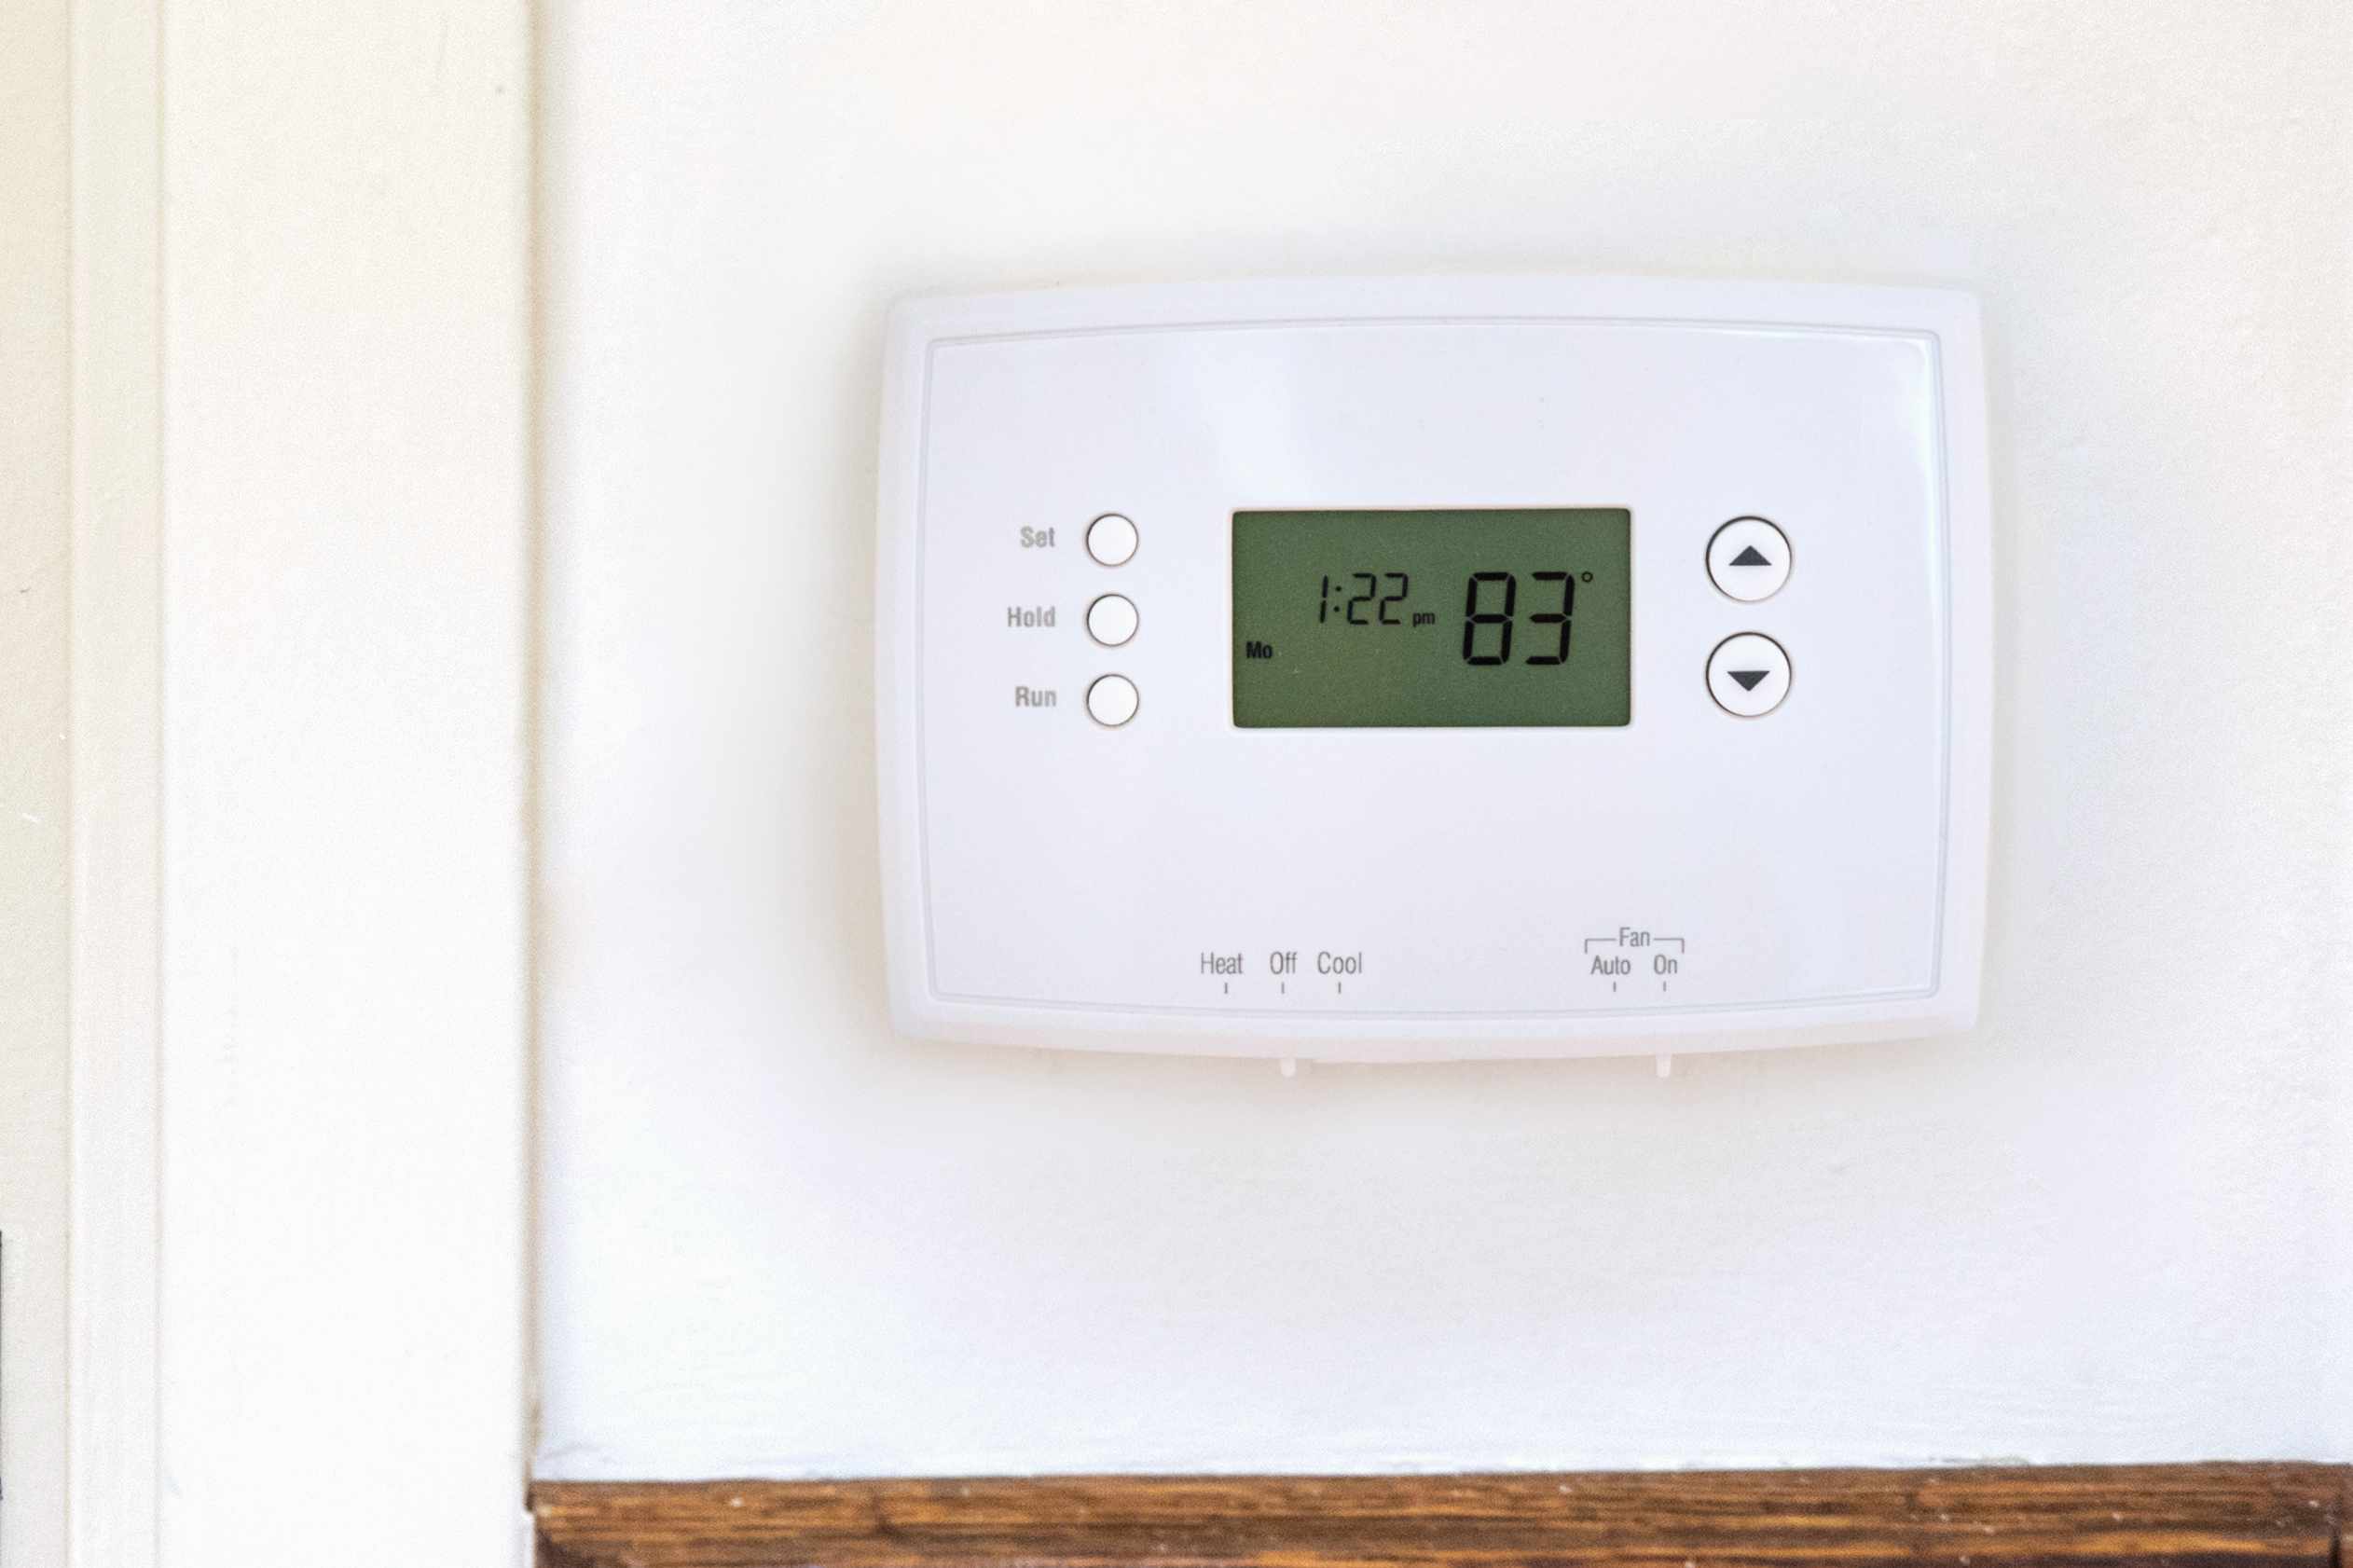
Are you tired of dealing with an outdated thermostat that doesn't provide the precise temperature control and energy efficiency you desire? Upgrading to a digital thermostat can significantly enhance your home's comfort and save on energy costs. With the advancement in home automation technology, making the switch from an old, manual thermostat to a modern digital one is a straightforward process that can be accomplished with the right tools and a bit of know-how.
In this comprehensive guide, we will walk you through the step-by-step process of replacing your old thermostat with a digital one. Whether you're a seasoned DIY enthusiast or just starting to explore the world of home improvement, this guide will equip you with the essential knowledge to successfully complete this project. By the end of this tutorial, you'll be enjoying the benefits of precise temperature control and energy savings that come with a digital thermostat.
So, grab your tools, roll up your sleeves, and let's embark on this home improvement journey together. It's time to bid farewell to your old thermostat and usher in the era of digital temperature management!
Key Takeaways:
- Upgrade to a digital thermostat for precise temperature control and energy savings. Follow the step-by-step guide for a rewarding DIY project.
- Embrace the comfort and efficiency of a modern digital thermostat, contributing to energy conservation and sustainability in your home.
Read more: How To Use An Old Thermostat
Step 1: Gather Necessary Tools and Materials
Before diving into the process of replacing your old thermostat with a digital one, it’s essential to gather all the required tools and materials. Having everything at hand will streamline the installation process and minimize any potential disruptions. Here’s a comprehensive list of the items you’ll need:
- Digital Thermostat: Select a high-quality digital thermostat that suits your specific heating and cooling system. Ensure it is compatible with your HVAC system to avoid compatibility issues.
- Screwdriver Set: A set of screwdrivers, including flathead and Phillips head varieties, will be necessary for removing the old thermostat and installing the new one.
- Wire Labels: It’s crucial to label the wires connected to the old thermostat before disconnecting them. This will simplify the reconnection process with the new thermostat.
- Level: A small bubble level will aid in ensuring that the new thermostat is mounted perfectly straight on the wall.
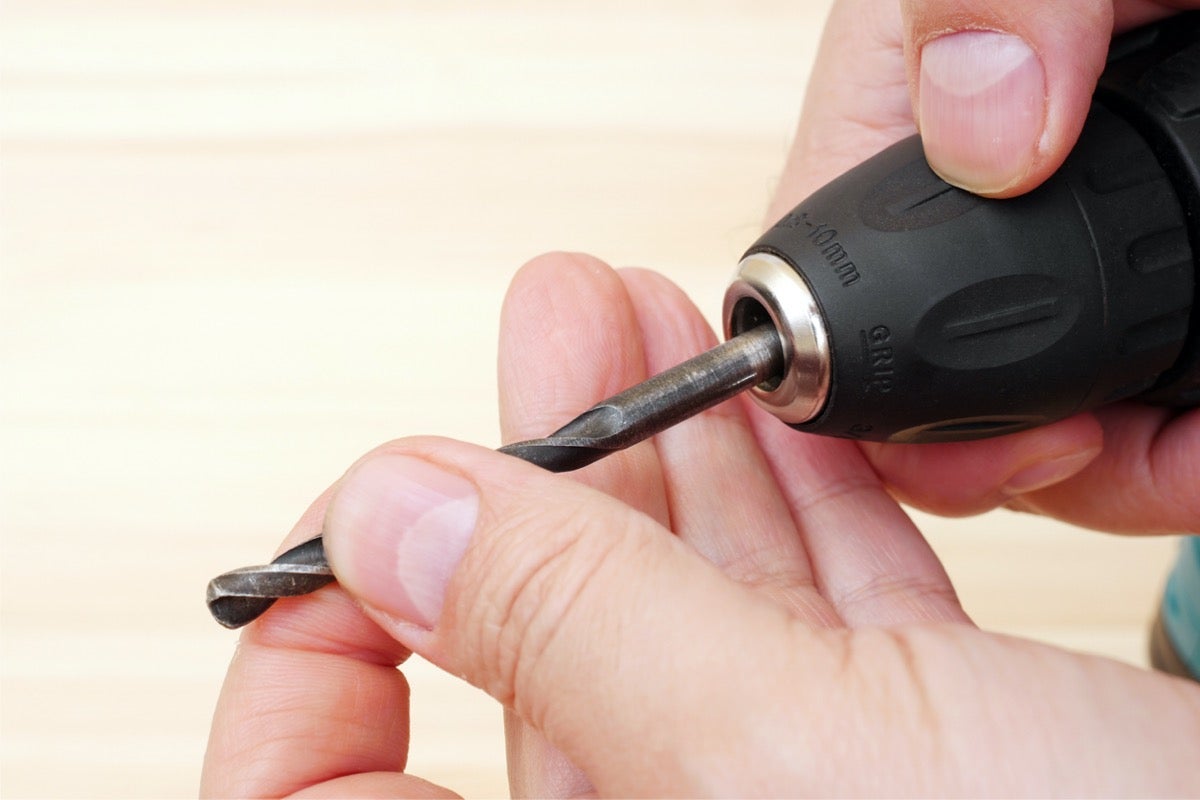
- Drill and Bits: If the new thermostat requires new screw holes, a drill and appropriate drill bits will be necessary for installation.
- Batteries: If your digital thermostat requires batteries for operation, ensure you have the correct type and size on hand.
- Electrical Tape: Electrical tape will be useful for securing the wires and providing insulation.
- Wire Stripper/Cutter: In case the wires need to be trimmed or stripped during the installation process, a wire stripper/cutter will come in handy.
- Owner’s Manual: Keep the owner’s manual of your new digital thermostat readily accessible for reference throughout the installation.
By gathering these tools and materials beforehand, you’ll be well-prepared to navigate through the subsequent steps smoothly and efficiently. With everything in place, you’re now ready to proceed to the next phase of this transformational home improvement project.
Step 2: Turn Off Power to the Thermostat
Before commencing any work on your thermostat, it’s crucial to ensure the power supply is completely shut off to avoid any electrical mishaps. Here’s a step-by-step guide on how to safely turn off the power:
- Locate the Circuit Breaker: Identify the circuit breaker that controls the power supply to your heating and cooling system. This is usually labeled as “HVAC” or “Furnace/AC” on the electrical panel.
- Switch Off the Circuit Breaker: Carefully flip the switch of the circuit breaker to the “Off” position. This action will cut off the electricity supply to the thermostat and HVAC system.
- Verify Power Disconnection: To ensure that the power is indeed turned off, go to your thermostat and attempt to adjust the temperature settings or turn on the fan. If the display remains inactive and there’s no response from the system, it indicates successful power disconnection.
By following these steps, you can confidently proceed with the next stages of the thermostat replacement process knowing that the power supply has been safely deactivated. Remember, safety should always be the top priority when working with electrical components, and taking the time to properly turn off the power is a crucial initial step in the installation process.
Step 3: Remove the Old Thermostat
Now that the power has been safely turned off, it’s time to bid farewell to your old thermostat. Removing the existing thermostat is a fundamental step in the process of installing a digital replacement. Here’s a detailed guide to help you navigate this phase:
- Detach the Thermostat Cover: Gently pry off the cover of the old thermostat to reveal the inner components. This can usually be achieved by applying slight pressure around the edges to release the cover from its mounting.
- Identify and Label the Wires: Take note of the wires connected to the terminals on the thermostat. It’s essential to label each wire according to its corresponding terminal to ensure accurate reconnection later. You can use the wire labels from your toolkit for this purpose.
- Remove the Mounting Plate: Unscrew and detach the mounting plate of the old thermostat from the wall. This will expose the wiring and mounting holes that will be utilized for the installation of the new digital thermostat.
- Inspect the Wiring: Carefully examine the condition of the wires and terminals. Look for any signs of wear, damage, or corrosion. If any issues are detected, it’s advisable to address them before proceeding with the installation of the new thermostat.
- Dispose of the Old Thermostat: Properly dispose of the old thermostat and its components in accordance with local regulations. Many electronic waste recycling facilities accept thermostats for safe disposal and recycling of their components.
By diligently following these steps, you’ll successfully remove the old thermostat, setting the stage for the exciting installation of the advanced digital thermostat that will bring enhanced functionality and energy efficiency to your home.
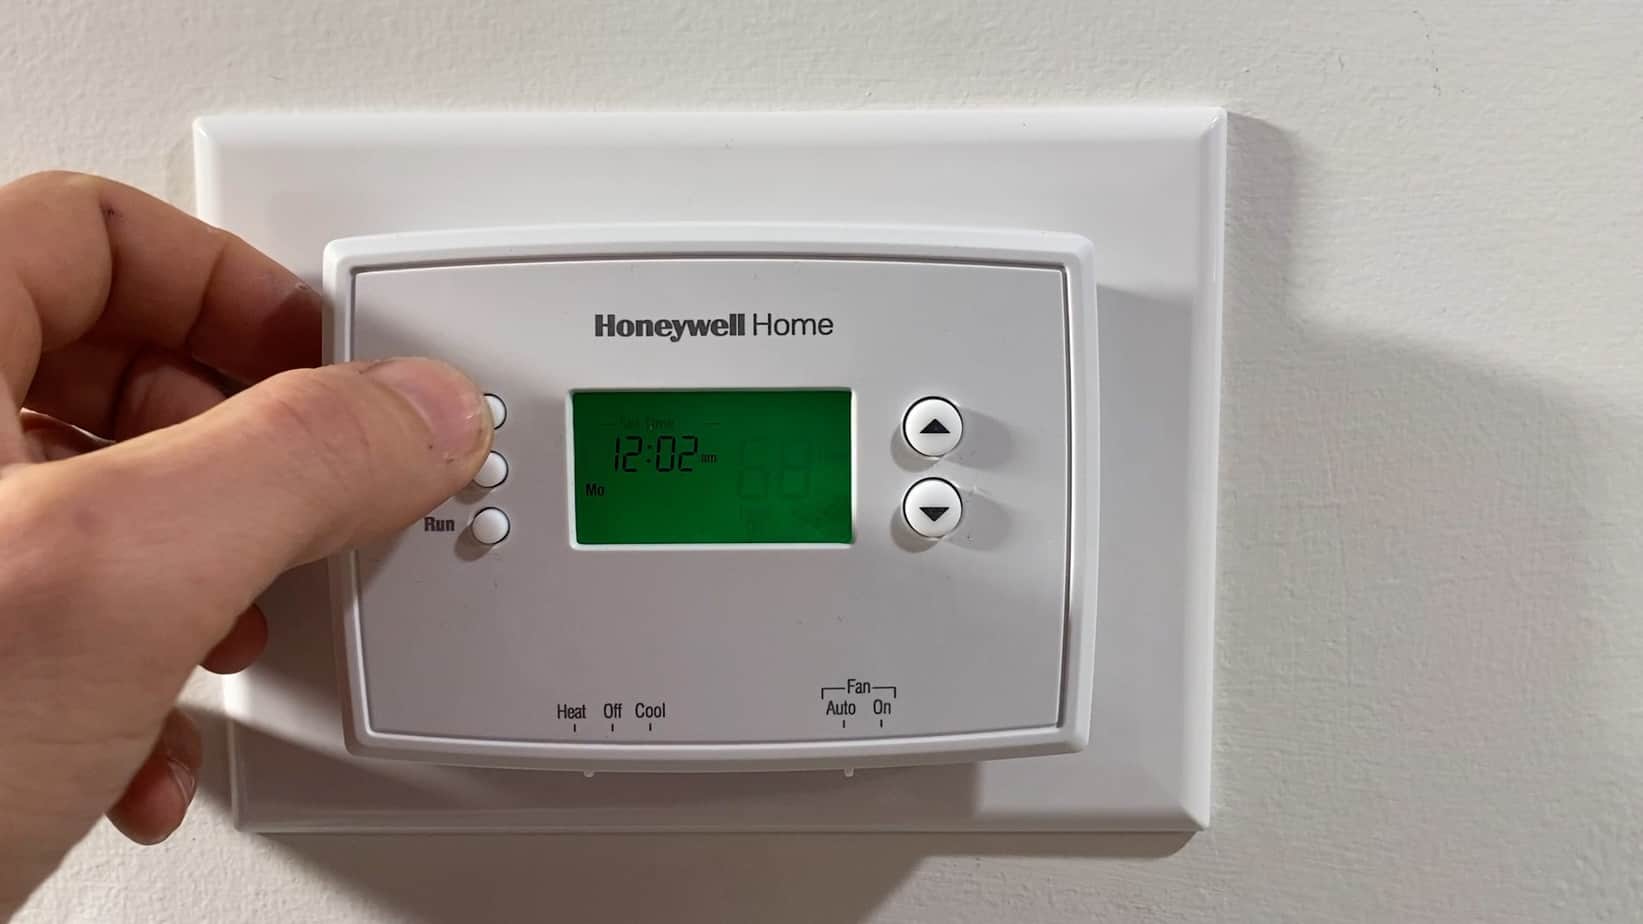
Step 4: Install the Digital Thermostat
With the old thermostat removed, it’s time to usher in the new era of digital temperature control by installing the modern digital thermostat. Here’s a detailed walkthrough of the installation process:
- Position the Mounting Plate: Align the new thermostat’s mounting plate with the existing holes on the wall. Use a level to ensure that the plate is perfectly horizontal before marking the positions for new screws, if required.
- Drill New Holes (If Necessary): If the new thermostat’s mounting plate requires additional screw holes, carefully drill them using an appropriate drill bit. Exercise caution to avoid damaging the wall or any hidden electrical wiring.
- Secure the Mounting Plate: Once the positioning is finalized, secure the mounting plate to the wall using the provided screws or anchors. Ensure that it is firmly attached and level to provide a stable base for the new thermostat.
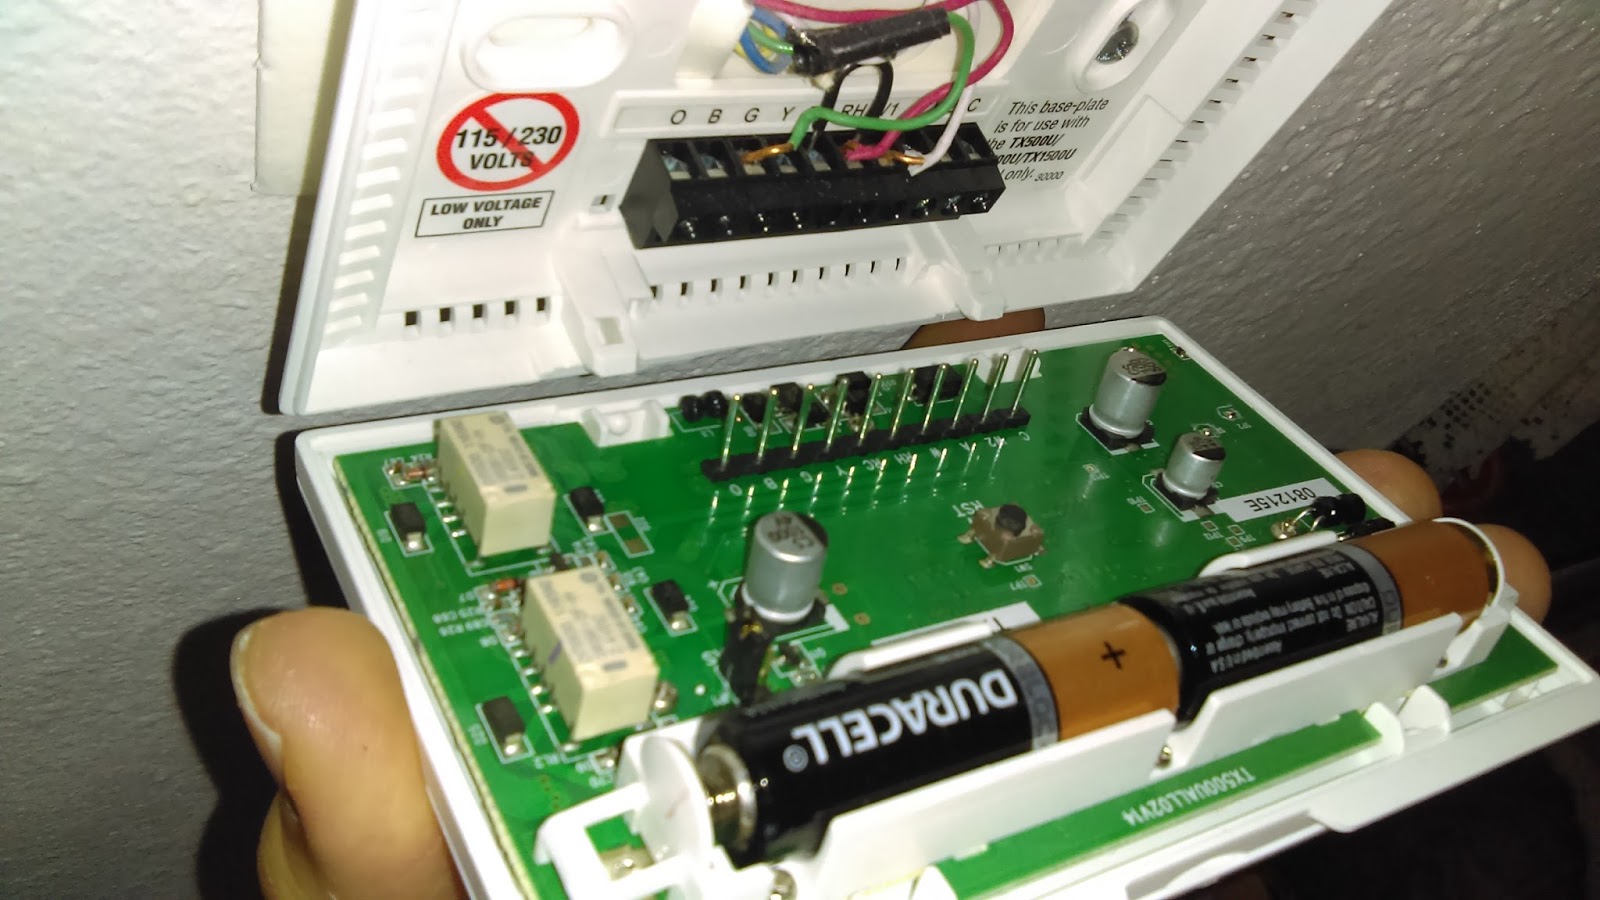
- Connect the Wires: Refer to the labels you created when removing the old thermostat to correctly connect the labeled wires to their corresponding terminals on the new thermostat. Follow the manufacturer’s instructions to ensure the wires are securely fastened.
- Attach the Thermostat: Carefully align the digital thermostat with the mounting plate, ensuring that it fits snugly into place. Secure it by gently tightening the screws provided, taking care not to over-tighten and risk damaging the unit.
- Insert Batteries (If Required): If your digital thermostat is battery-powered, insert the appropriate batteries according to the manufacturer’s instructions. This step is crucial for ensuring uninterrupted functionality.
- Power Up the Thermostat: Once the thermostat is securely installed, restore power to the HVAC system by switching the circuit breaker back to the “On” position. The digital thermostat should power up, and the display should become active.
By diligently following these steps, you’ll seamlessly install the digital thermostat, marking a significant leap forward in enhancing the comfort and energy efficiency of your home’s heating and cooling systems.
Before starting, make sure to turn off the power to your heating and cooling system. Then, carefully remove the old thermostat and label the wires. Follow the instructions provided with your new digital thermostat to connect the wires and install it properly.
Read more: How To Change A Hotel Thermostat
Step 5: Connect the Wires
Properly connecting the wires from your HVAC system to the new digital thermostat is a critical aspect of the installation process. Ensuring the correct wiring configuration is essential for the thermostat to effectively control your heating and cooling systems. Here’s a detailed guide to help you navigate this crucial step:
- Refer to the Wiring Labels: Retrieve the labels you created when removing the old thermostat to identify the corresponding wires and their designated terminals on the new digital thermostat.
- Match the Wires to Terminals: Carefully match each labeled wire to its designated terminal on the new thermostat. Common terminal labels include “R” for power, “W” for heating, “Y” for cooling, “G” for the fan, and “C” for the common wire.
- Securely Fasten the Wires: Following the manufacturer’s instructions, securely fasten each wire to its designated terminal. It’s crucial to ensure that the connections are tight and secure to prevent any issues with the functioning of the thermostat and HVAC system.
- Double-Check the Connections: Once all the wires are connected, double-check each terminal to verify that the wires are correctly seated and that there are no loose connections. This meticulous approach will help prevent potential malfunctions or system inefficiencies.
- Verify Compatibility (If Applicable): In cases where the new digital thermostat has advanced features or is compatible with smart home systems, ensure that any additional wires or connections required for these functionalities are correctly integrated.
- Consult the Owner’s Manual: If you encounter any uncertainties or complexities during the wiring process, refer to the detailed instructions provided in the owner’s manual of the digital thermostat. Manufacturers often include specific guidance for various HVAC system configurations.
By conscientiously connecting the wires according to the specified terminals and guidelines, you’ll lay the groundwork for the seamless operation of your new digital thermostat, enabling precise control over your home’s heating and cooling systems.
Step 6: Attach the New Thermostat to the Wall
With the wiring in place, the next pivotal step is to securely attach the new digital thermostat to the wall. Proper installation ensures stability and optimal functionality. Here’s a detailed guide to assist you in this essential phase of the process:
- Align the Thermostat: Carefully position the digital thermostat over the mounting plate, ensuring that it aligns with the screw holes and the wiring passes through the designated space on the unit.
- Secure the Thermostat: Gently press the thermostat against the wall, aligning it with the screw holes on the mounting plate. Use the provided screws to firmly secure the thermostat in place, ensuring that it is level and flush against the wall.
- Exercise Caution: While tightening the screws, exercise caution to avoid over-tightening, which could potentially damage the unit or the wall. Use a moderate amount of force to secure the thermostat firmly without causing any harm.
- Verify Stability: After attaching the thermostat, gently attempt to wiggle or move it to ensure that it is securely fastened to the wall. A stable installation is crucial for the proper functioning of the thermostat and to maintain its aesthetic appeal.
- Check for Levelness: Utilize a small bubble level to confirm that the thermostat is perfectly level. This attention to detail ensures a professional and visually appealing installation, adding a touch of precision to the overall presentation.
- Review the Owner’s Manual: If the digital thermostat has specific installation requirements or additional considerations, refer to the owner’s manual for detailed instructions and any manufacturer-recommended best practices.
By meticulously following these steps, you’ll successfully secure the new digital thermostat to the wall, setting the stage for the final phase of the installation process and the exciting prospect of enjoying advanced temperature control and energy management in your home.
Step 7: Turn On Power and Test the Thermostat
As the installation nears completion, the final step involves restoring power to the thermostat and conducting comprehensive testing to ensure its proper functionality. Here’s a detailed guide to guide you through this crucial phase:
- Restore Power to the Thermostat: Return to the electrical panel and switch the circuit breaker controlling the HVAC system back to the “On” position. This action will restore power to the thermostat and the heating/cooling systems.
- Monitor the Thermostat Display: Once power is restored, observe the digital display on the thermostat to ensure that it powers up and presents the relevant information clearly. The display should indicate the current temperature, system mode, and any other pertinent details.
- Adjust Temperature Settings: Test the functionality of the thermostat by adjusting the temperature settings for both heating and cooling modes. Observe how the thermostat responds to changes in temperature settings, ensuring that it accurately reflects the adjustments made.
- Activate the HVAC System: Initiate the heating and cooling systems through the thermostat to confirm that it effectively communicates with the HVAC components. Listen for the activation of the furnace or air conditioning unit and ensure that the thermostat accurately controls the system’s operation.
- Test Additional Features: If your digital thermostat incorporates advanced features such as programmable schedules, Wi-Fi connectivity, or smart home integration, take the time to test these functionalities to ensure they operate as intended.
- Verify Proper Cycling: Observe the heating and cooling systems as they cycle on and off in response to the thermostat’s commands, ensuring that the temperature control is seamless and responsive.
- Refer to the Owner’s Manual: If you encounter any irregularities or require guidance on the testing process, consult the detailed instructions provided in the thermostat’s owner’s manual for troubleshooting tips and additional information.
By meticulously following these steps and conducting thorough testing, you can confidently confirm that the digital thermostat is fully operational, providing precise temperature control and enhanced energy efficiency for your home.
Conclusion
Congratulations on successfully completing the transformation of your home’s temperature control system by upgrading to a modern digital thermostat! This significant improvement not only enhances your comfort but also contributes to energy efficiency and cost savings. As you reflect on the journey from removing the old thermostat to installing and testing the new digital unit, it’s evident that the process, when approached methodically, can be a rewarding and empowering DIY project.
By gathering the necessary tools and materials, turning off the power, removing the old thermostat, and meticulously installing and testing the new digital thermostat, you’ve taken a proactive step towards modernizing your home’s HVAC system. The precise control, programmable features, and potential integration with smart home technologies offered by digital thermostats are sure to elevate your living environment.
As you bask in the comfort and convenience of your upgraded thermostat, take pride in the knowledge that you’ve not only improved your home but also contributed to energy conservation and sustainability. The efficiency gains provided by digital thermostats play a significant role in reducing energy consumption and minimizing environmental impact.
Remember, if you encounter any challenges during the installation process or if you have specific questions about your new digital thermostat, don’t hesitate to consult the manufacturer’s resources or seek assistance from qualified professionals. Your dedication to enhancing your home’s technology is commendable, and with the successful installation of the digital thermostat, you’ve embraced the benefits of modern home automation.
Embrace the newfound control and energy efficiency that your digital thermostat provides, and revel in the comfort of a home that adapts to your needs with precision. Your commitment to this improvement project exemplifies the spirit of innovation and progress that defines the modern home.
With your new digital thermostat in place, you’re poised to enjoy a more comfortable, efficient, and technologically advanced living space. Here’s to a future filled with enhanced comfort and energy savings, all made possible by your proactive approach to home improvement.
Frequently Asked Questions about How To Change Old Thermostat To Digital
Was this page helpful?
At Storables.com, we guarantee accurate and reliable information. Our content, validated by Expert Board Contributors, is crafted following stringent Editorial Policies. We're committed to providing you with well-researched, expert-backed insights for all your informational needs.


0 thoughts on “How To Change Old Thermostat To Digital”