Articles
How To Change Ice Maker Filter On Whirlpool
Modified: August 27, 2024
Learn how to change the ice maker filter on your Whirlpool refrigerator with our informative articles. Keep your ice clean and fresh!
(Many of the links in this article redirect to a specific reviewed product. Your purchase of these products through affiliate links helps to generate commission for Storables.com, at no extra cost. Learn more)
Introduction
Welcome to our guide on how to change the ice maker filter on a Whirlpool appliance. Having a functional and clean ice maker filter is essential for maintaining the quality and taste of your ice cubes. Over time, minerals and impurities can build up in the filter, affecting the ice’s clarity and flavor. Regularly replacing the ice maker filter ensures that you have clean and refreshing ice every time.
In this article, we will walk you through the step-by-step process of changing the ice maker filter on your Whirlpool appliance. We will provide detailed instructions and tips to make the process as easy as possible. So, let’s get started!
Key Takeaways:
- Regularly changing the ice maker filter on your Whirlpool appliance is crucial for maintaining the quality and taste of your ice cubes. Follow the simple steps outlined in this guide to ensure clean and refreshing ice every time.
- Remember to gather all necessary materials, locate the ice maker filter, and turn off the ice maker before replacing the filter. By following these steps, you can easily enjoy crisp and clean ice cubes from your Whirlpool appliance.
Read more: How To Change An Ice Maker Water Filter
Step 1: Gather Materials
Before you begin the process of changing the ice maker filter on your Whirlpool appliance, it’s important to gather all the necessary materials. Having everything ready will help make the process smoother and more efficient. Here’s what you’ll need:
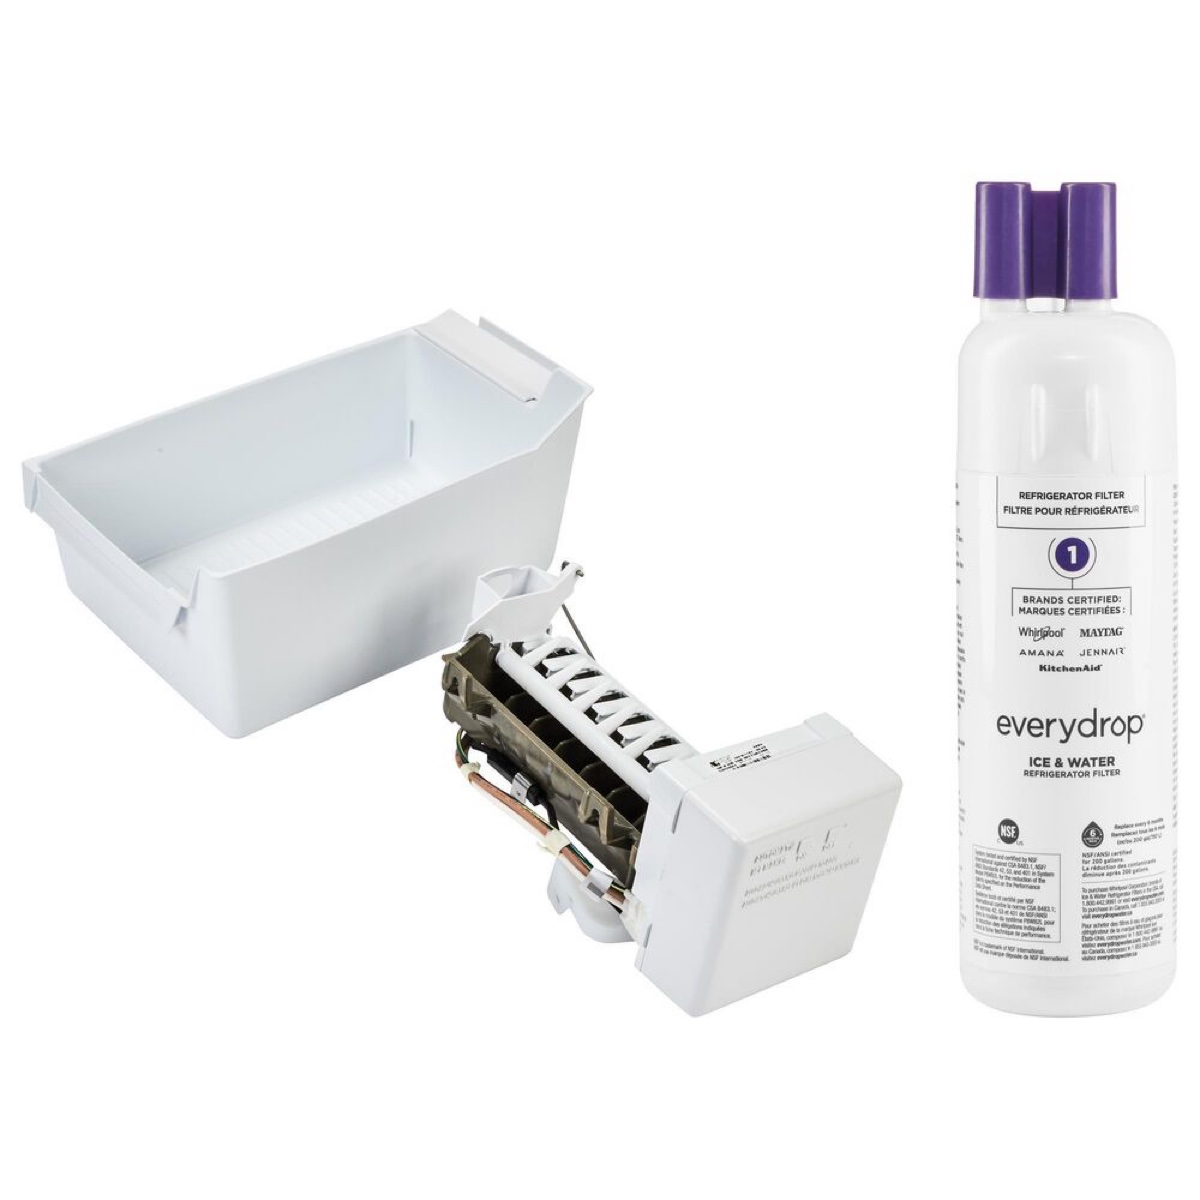
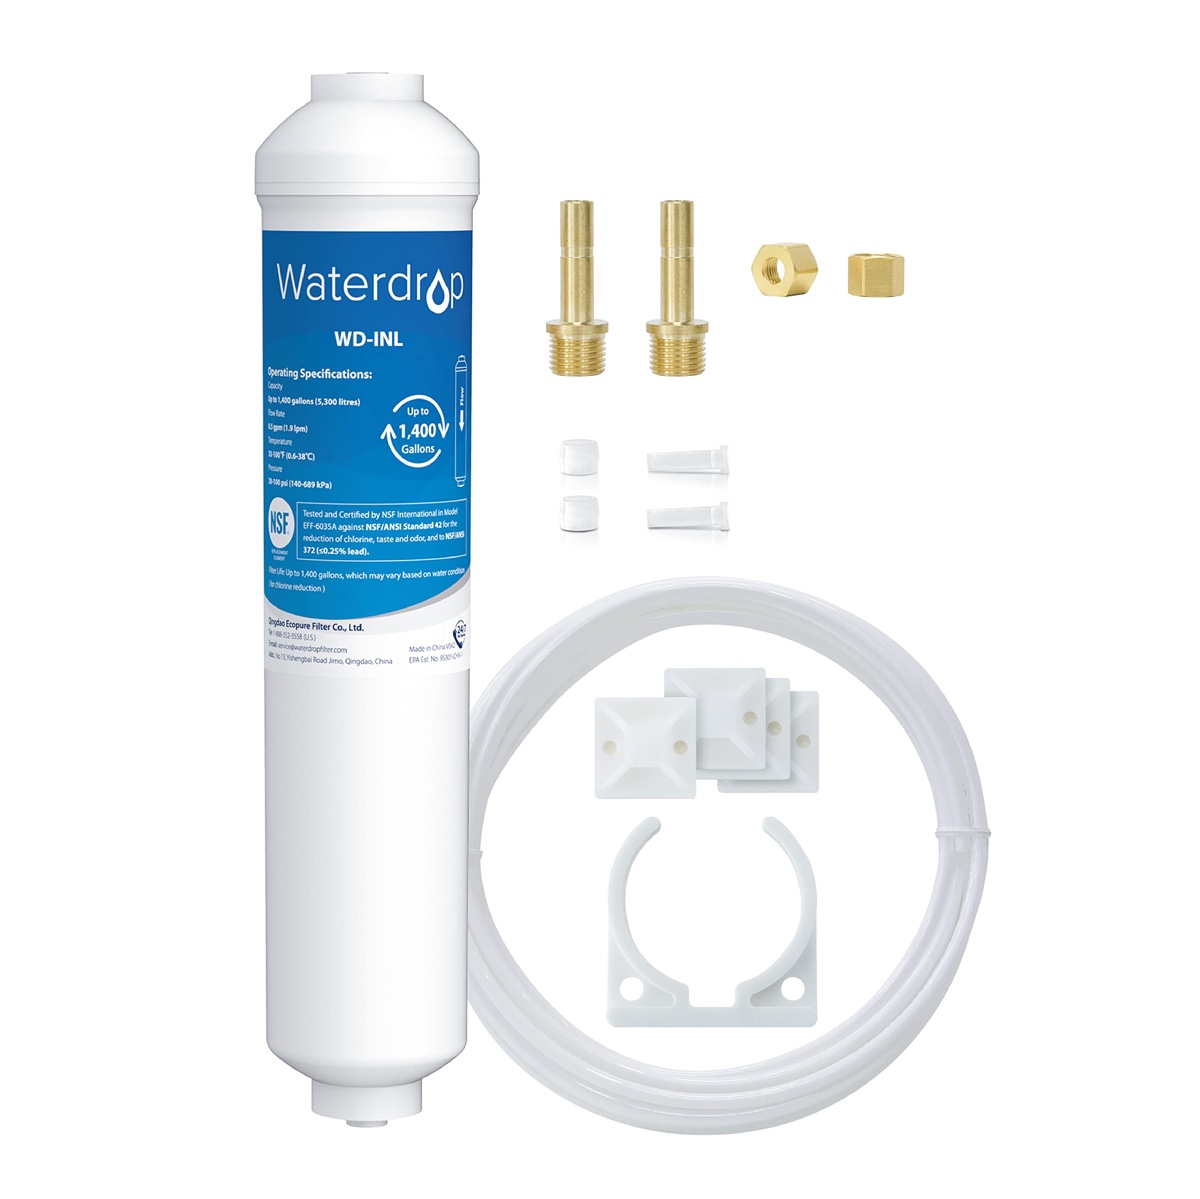
- Replacement ice maker filter (make sure it is compatible with your Whirlpool appliance)
- Container or towel to catch any potential water spills
- Plastic gloves (optional, but recommended to maintain cleanliness)
Once you have gathered all the materials, you are now ready to proceed to the next step.
Step 2: Locate the Ice Maker Filter
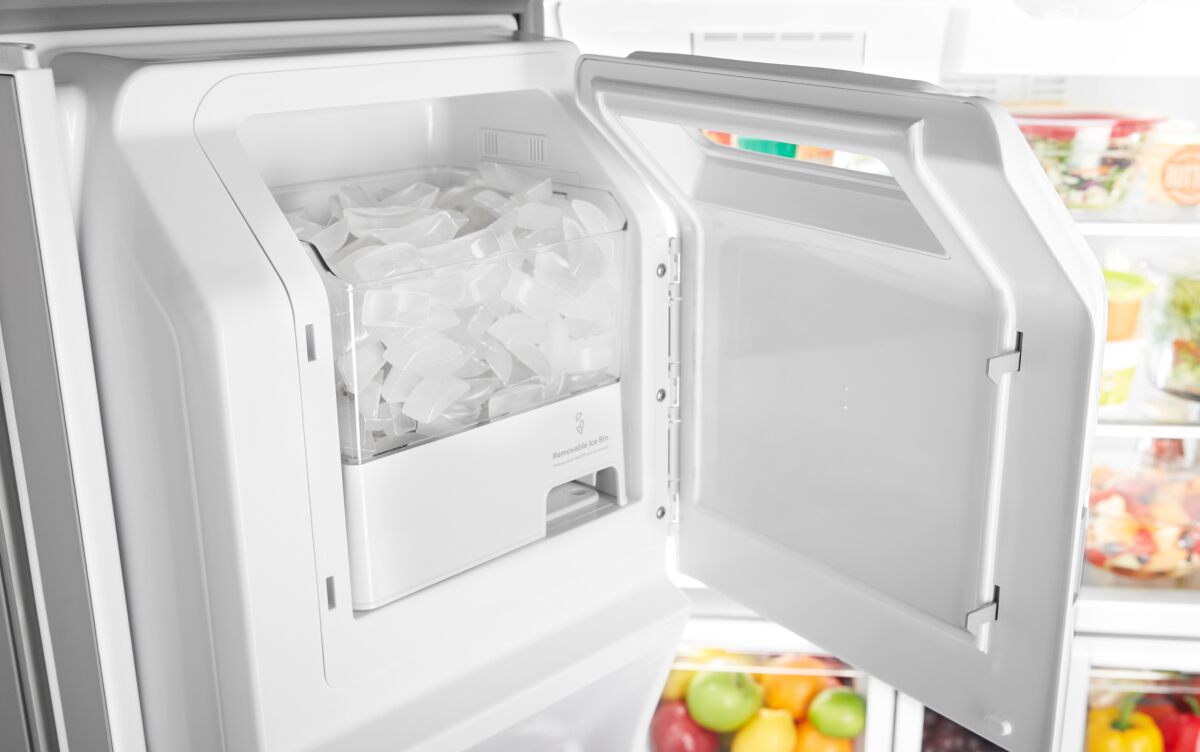
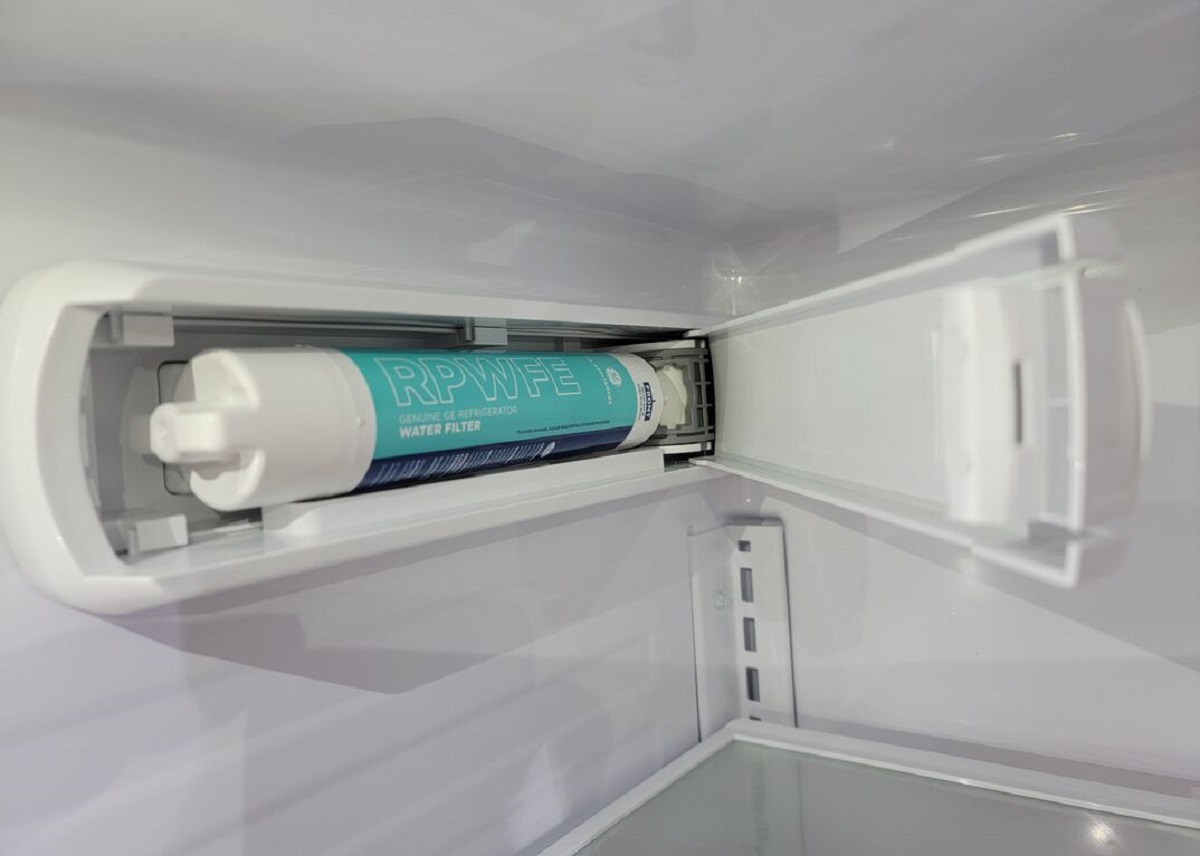
The next step in changing the ice maker filter on your Whirlpool appliance is to locate where the filter is located. The exact location may vary depending on the model of your appliance, but in most cases, the ice maker filter can be found in the refrigerator compartment.
Here are some common places where you may find the ice maker filter:
- Inside the refrigerator compartment: Check the upper right or left corner of the refrigerator compartment. The filter may be housed in a small compartment or attached to the back wall.
- Behind the grille: Some Whirlpool appliances have the ice maker filter located behind the grille at the bottom of the refrigerator. Look for a release button or latch to open the grille and access the filter.
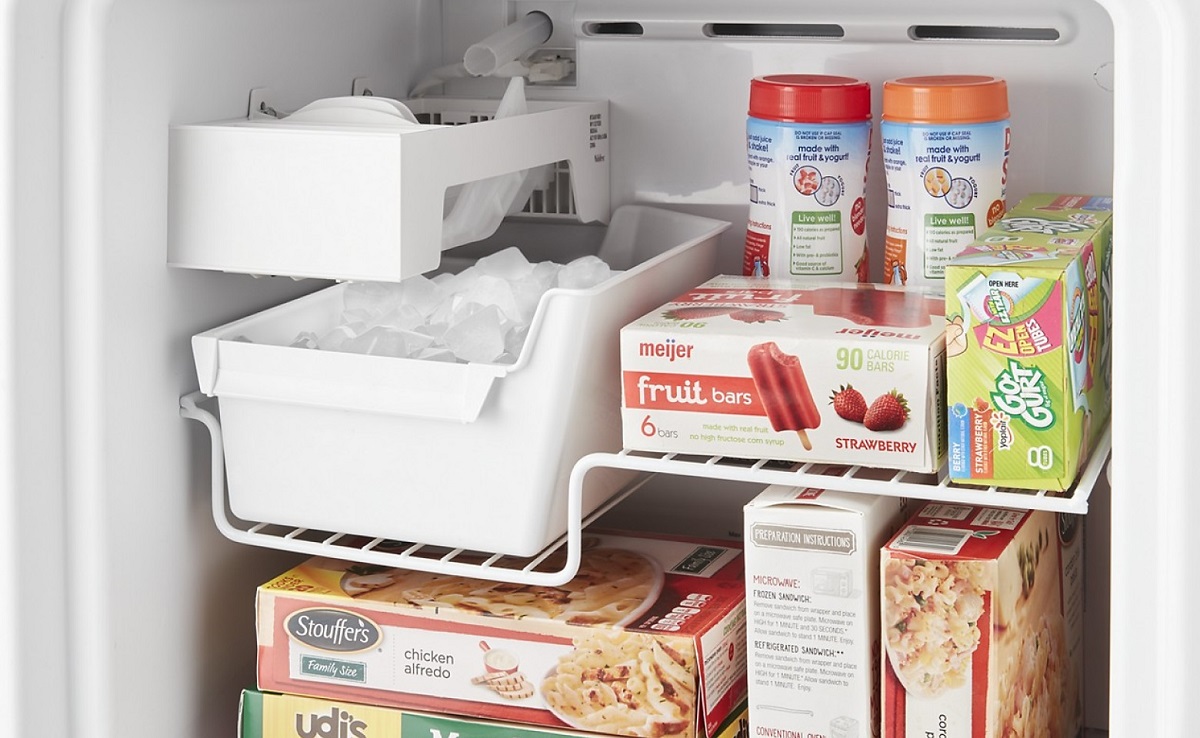
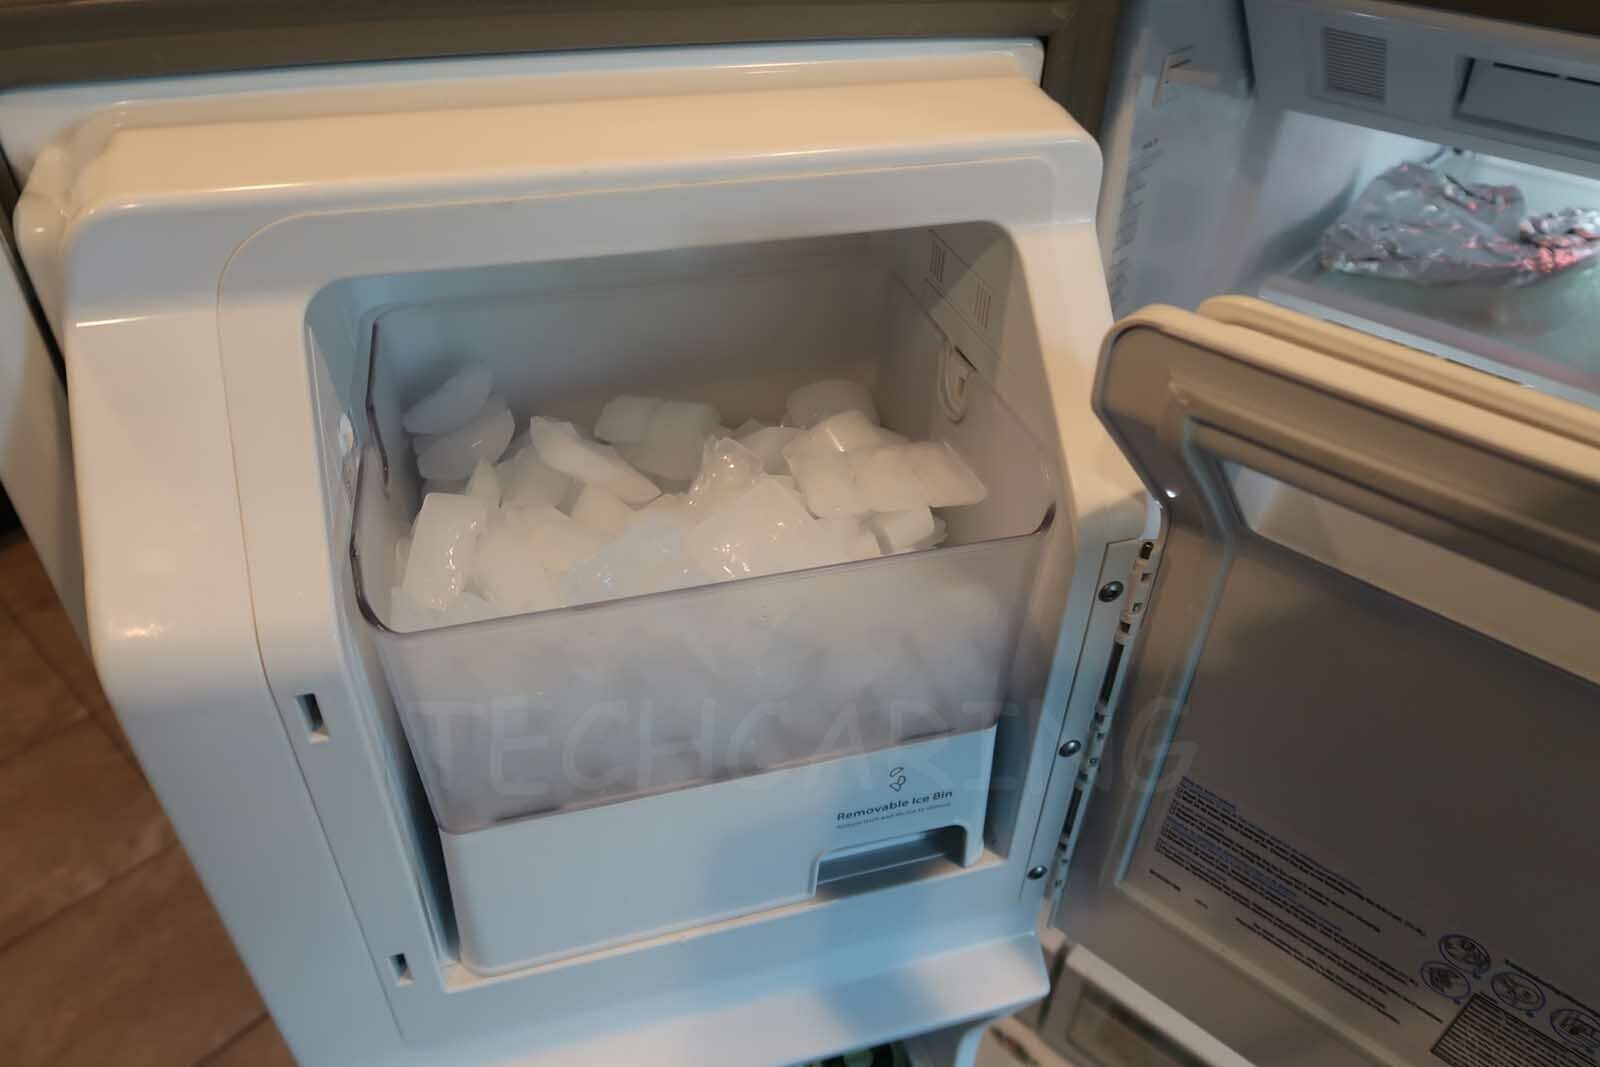
- In the bottom freezer compartment: If you have a bottom-freezer refrigerator, the ice maker filter may be located inside the freezer compartment. Look for a small compartment or cover that houses the filter.
Refer to your Whirlpool appliance’s user manual or the manufacturer’s website for specific instructions on locating the ice maker filter. Once you have found the filter, you can proceed to the next step.
Step 3: Turn Off Ice Maker
Before you begin removing the old ice maker filter, it’s crucial to turn off the ice maker to prevent any potential water leaks or spills. Here’s how to do it:
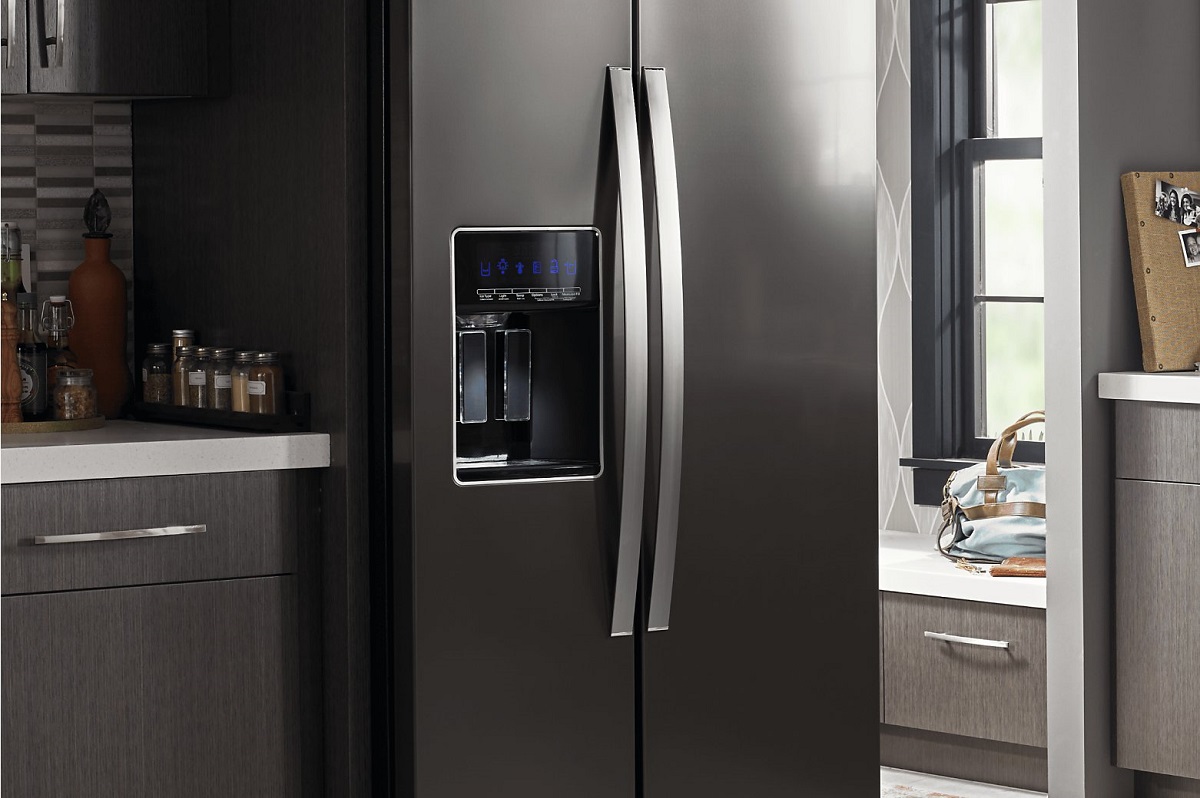
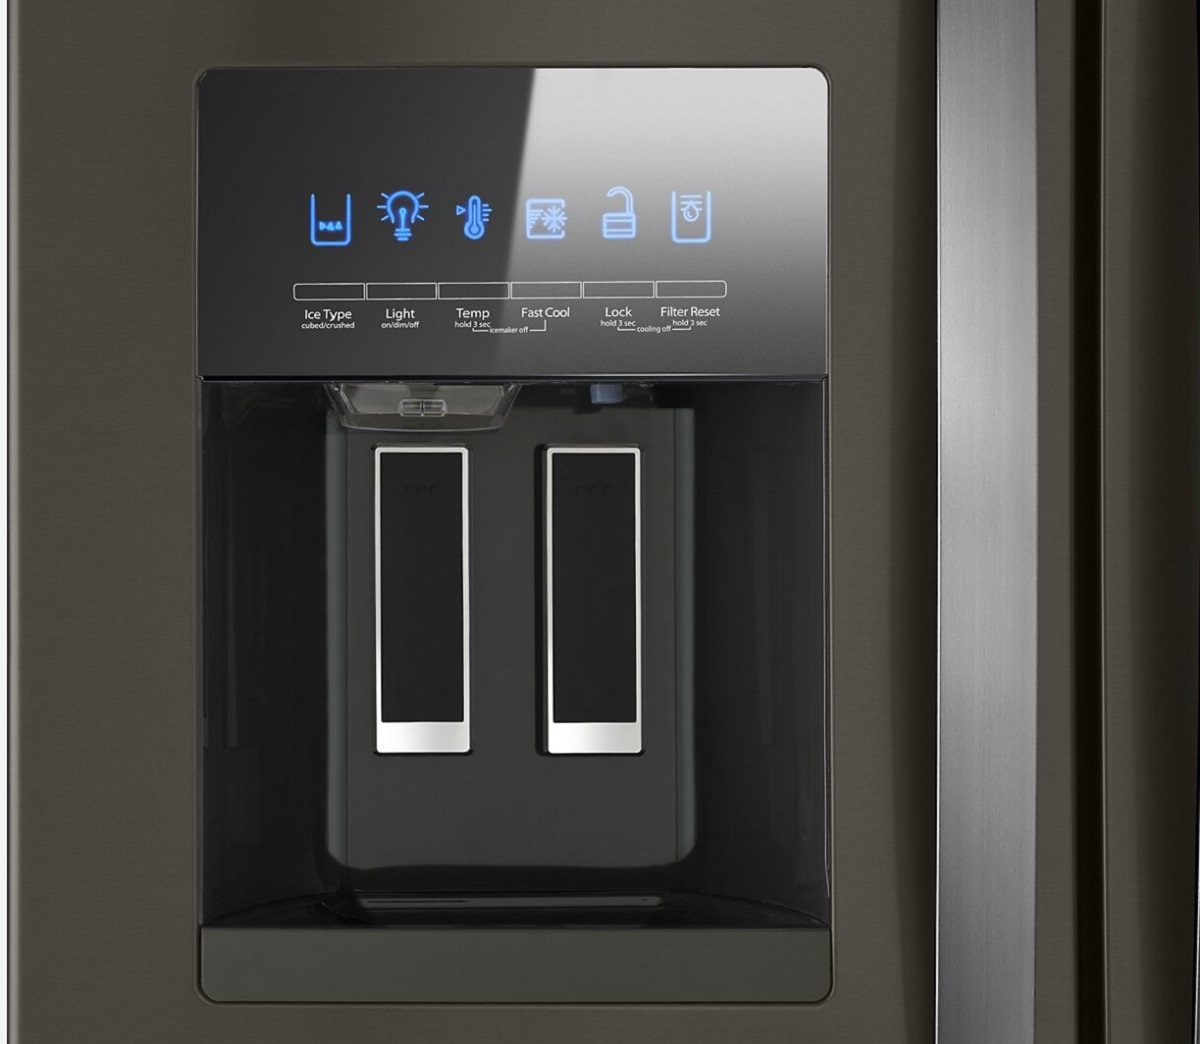
- Locate the ice maker switch or control panel on your Whirlpool appliance. It is usually located on the front or top of the refrigerator.
- Toggle the switch or select the “Off” option on the control panel to disable the ice maker function. This will prevent the ice maker from producing ice while you are changing the filter.
- Wait for a few minutes to allow any remaining water to drain from the system.
Turning off the ice maker will ensure the safety and convenience of the filter replacement process. It will prevent any water from flowing into the filter housing while you are removing the old filter and installing the new one. Once you have turned off the ice maker, you can move on to the next step.
To change the ice maker filter on a Whirlpool refrigerator, locate the filter housing in the upper right corner of the refrigerator compartment. Twist the old filter counterclockwise to remove it, then insert the new filter and twist it clockwise to secure it in place. Be sure to run a few gallons of water through the dispenser to flush out any air or loose carbon particles.
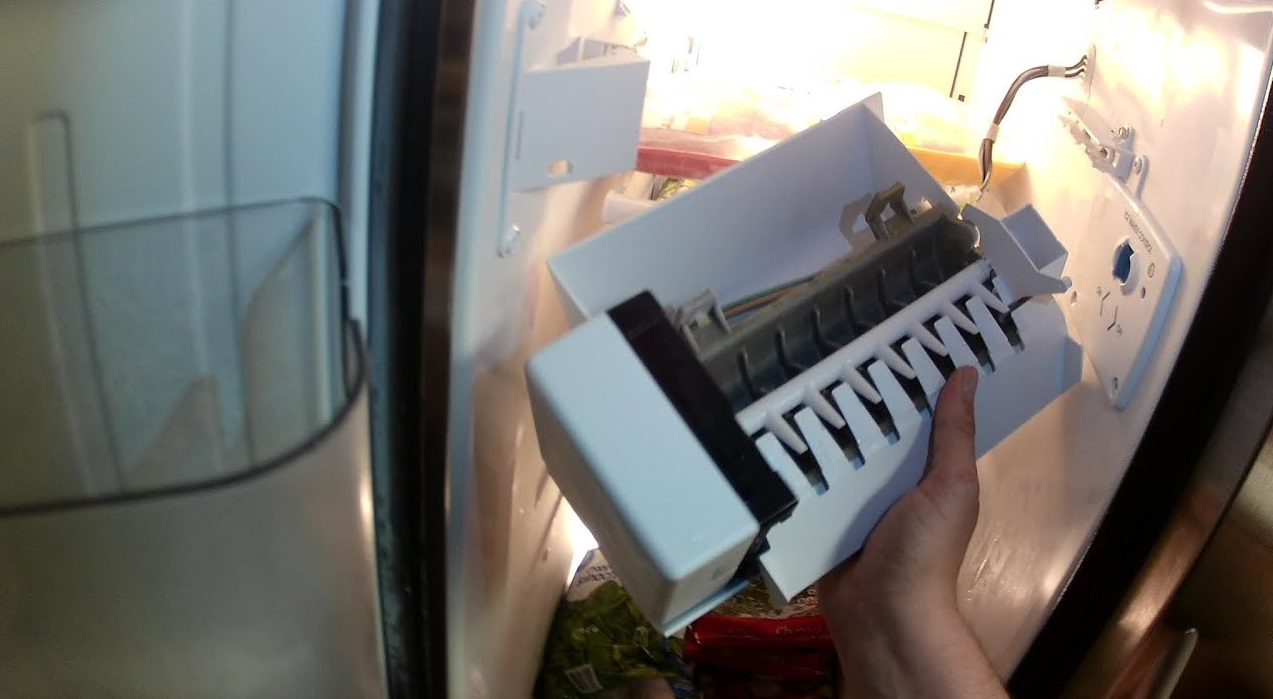
Step 4: Remove Old Filter
Now that you have turned off the ice maker, it’s time to remove the old filter from your Whirlpool appliance. Follow these steps:
- Identify the filter housing. Depending on your Whirlpool appliance model, it may be located inside the refrigerator compartment, behind the grille, or in the freezer compartment.
- Inspect the filter housing for any release buttons, locks, or levers. These mechanisms are designed to secure the filter in place.
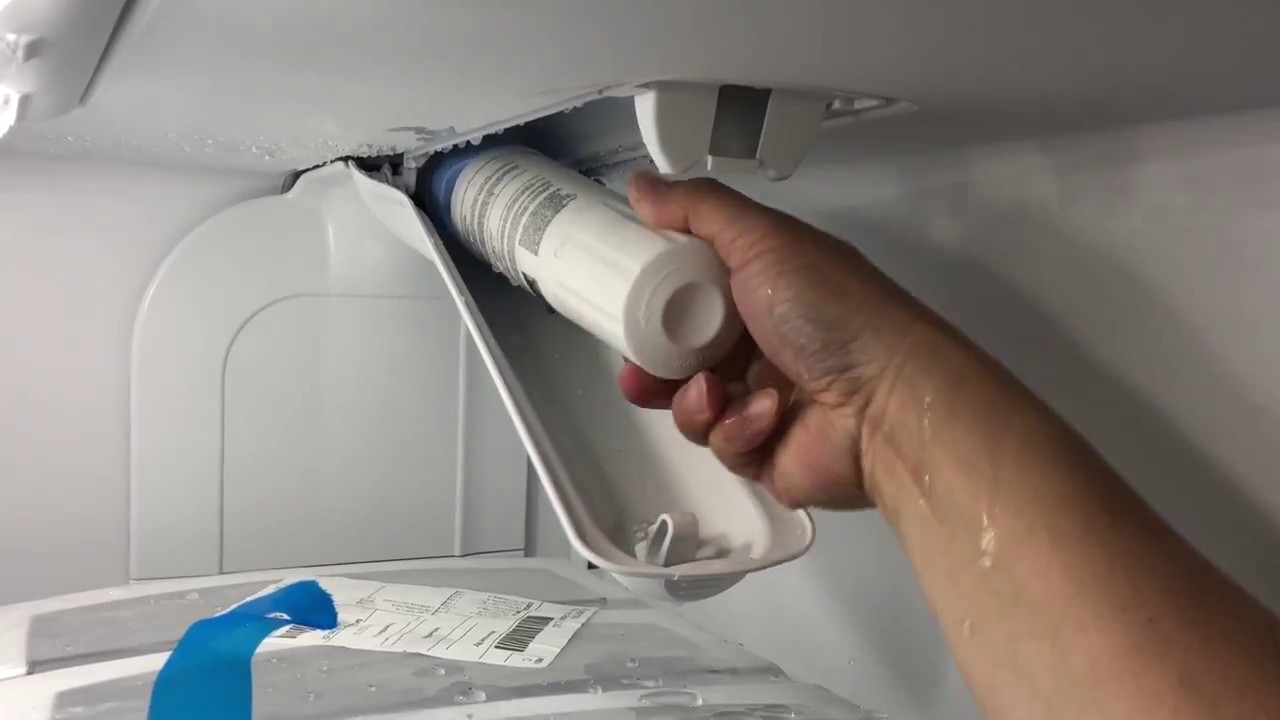
- Using the proper technique for your specific appliance, release the old filter from the housing. This may involve gently pressing a button, twisting the filter counterclockwise, or pulling on a lever.
- As you remove the old filter, be prepared for any residual water that may be present. Have a container or towel ready to catch any spills and prevent water damage.
- Once the old filter is detached, carefully pull it out of the housing and set it aside. Ensure that you dispose of the old filter properly, following any local recycling guidelines.
Removing the old filter is an important step in the process of changing the ice maker filter. By following these instructions, you will successfully remove the old filter and make way for the installation of the new one.
Read more: How To Defrost Whirlpool Ice Maker
Step 5: Install New Filter
With the old filter removed, it’s time to install the new ice maker filter in your Whirlpool appliance. Follow these steps:
- Take the new filter out of its packaging. Make sure it is the correct replacement filter for your specific Whirlpool appliance model.
- Inspect the new filter for any seals or protective covers. If present, remove them before proceeding.
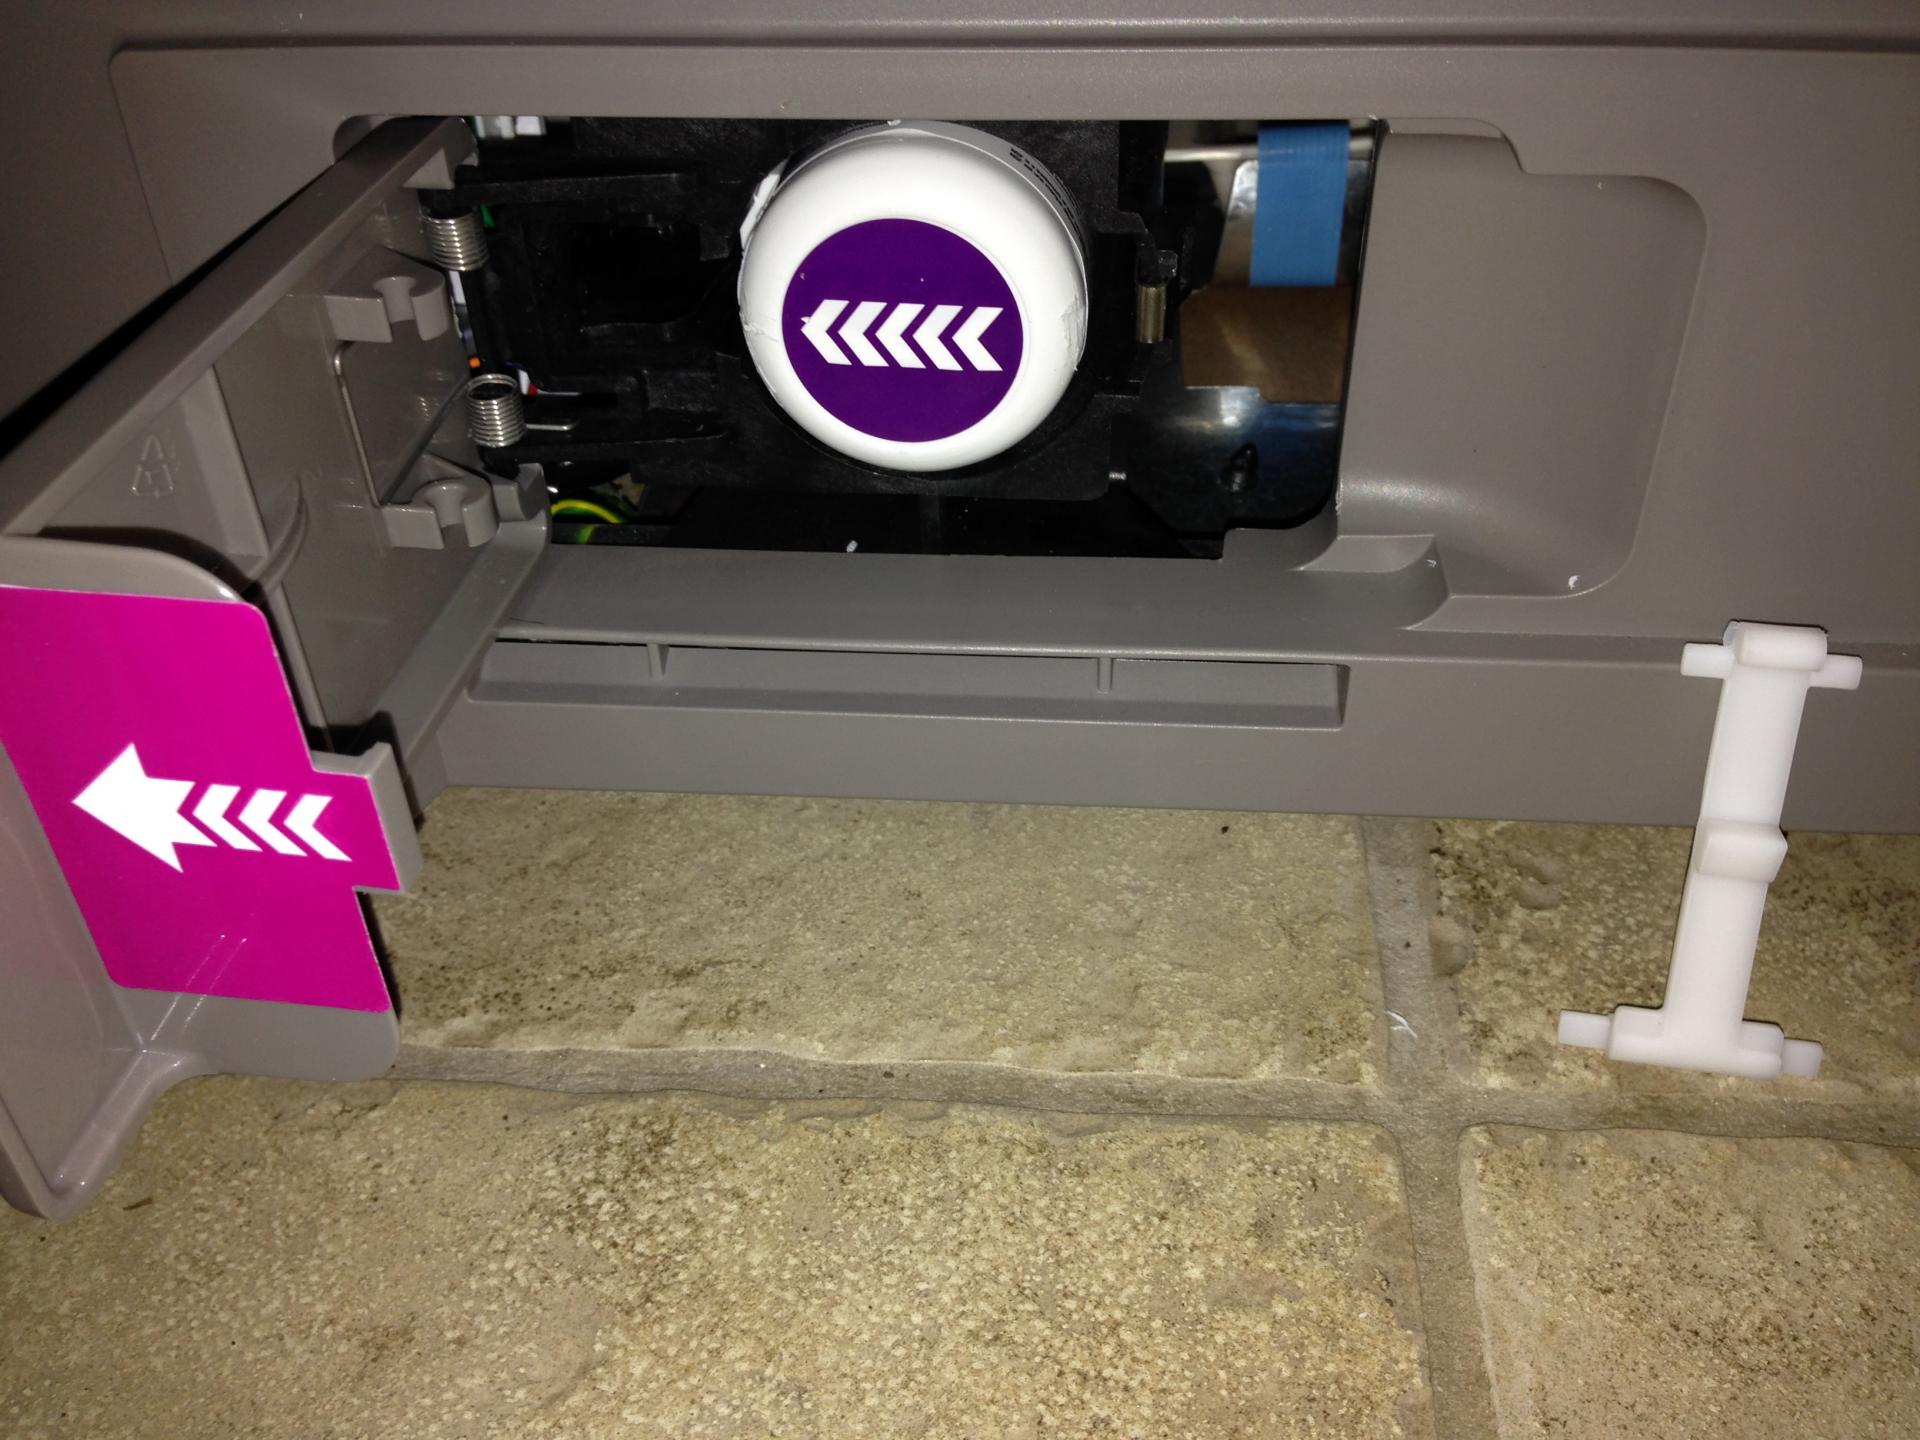
- Align the new filter with the filter housing in the same orientation as the old filter was positioned.
- Insert the new filter into the housing, applying gentle pressure until it clicks or locks into place.
- Double-check that the new filter is securely installed and properly aligned. Ensure that it is seated firmly in the housing to prevent any leaks.
It’s important to note that some filters may require additional steps or procedures for proper installation. Consult your Whirlpool appliance’s user manual or the manufacturer’s instructions for any specific guidelines.
Once the new filter is installed, you are ready to move on to the final step of the process.
Step 6: Turn On Ice Maker
Now that you have successfully installed the new ice maker filter, it’s time to turn on the ice maker and resume normal operation. Follow these steps:
- Locate the ice maker switch or control panel on your Whirlpool appliance.
- Toggle the switch or select the “On” option on the control panel to activate the ice maker function.
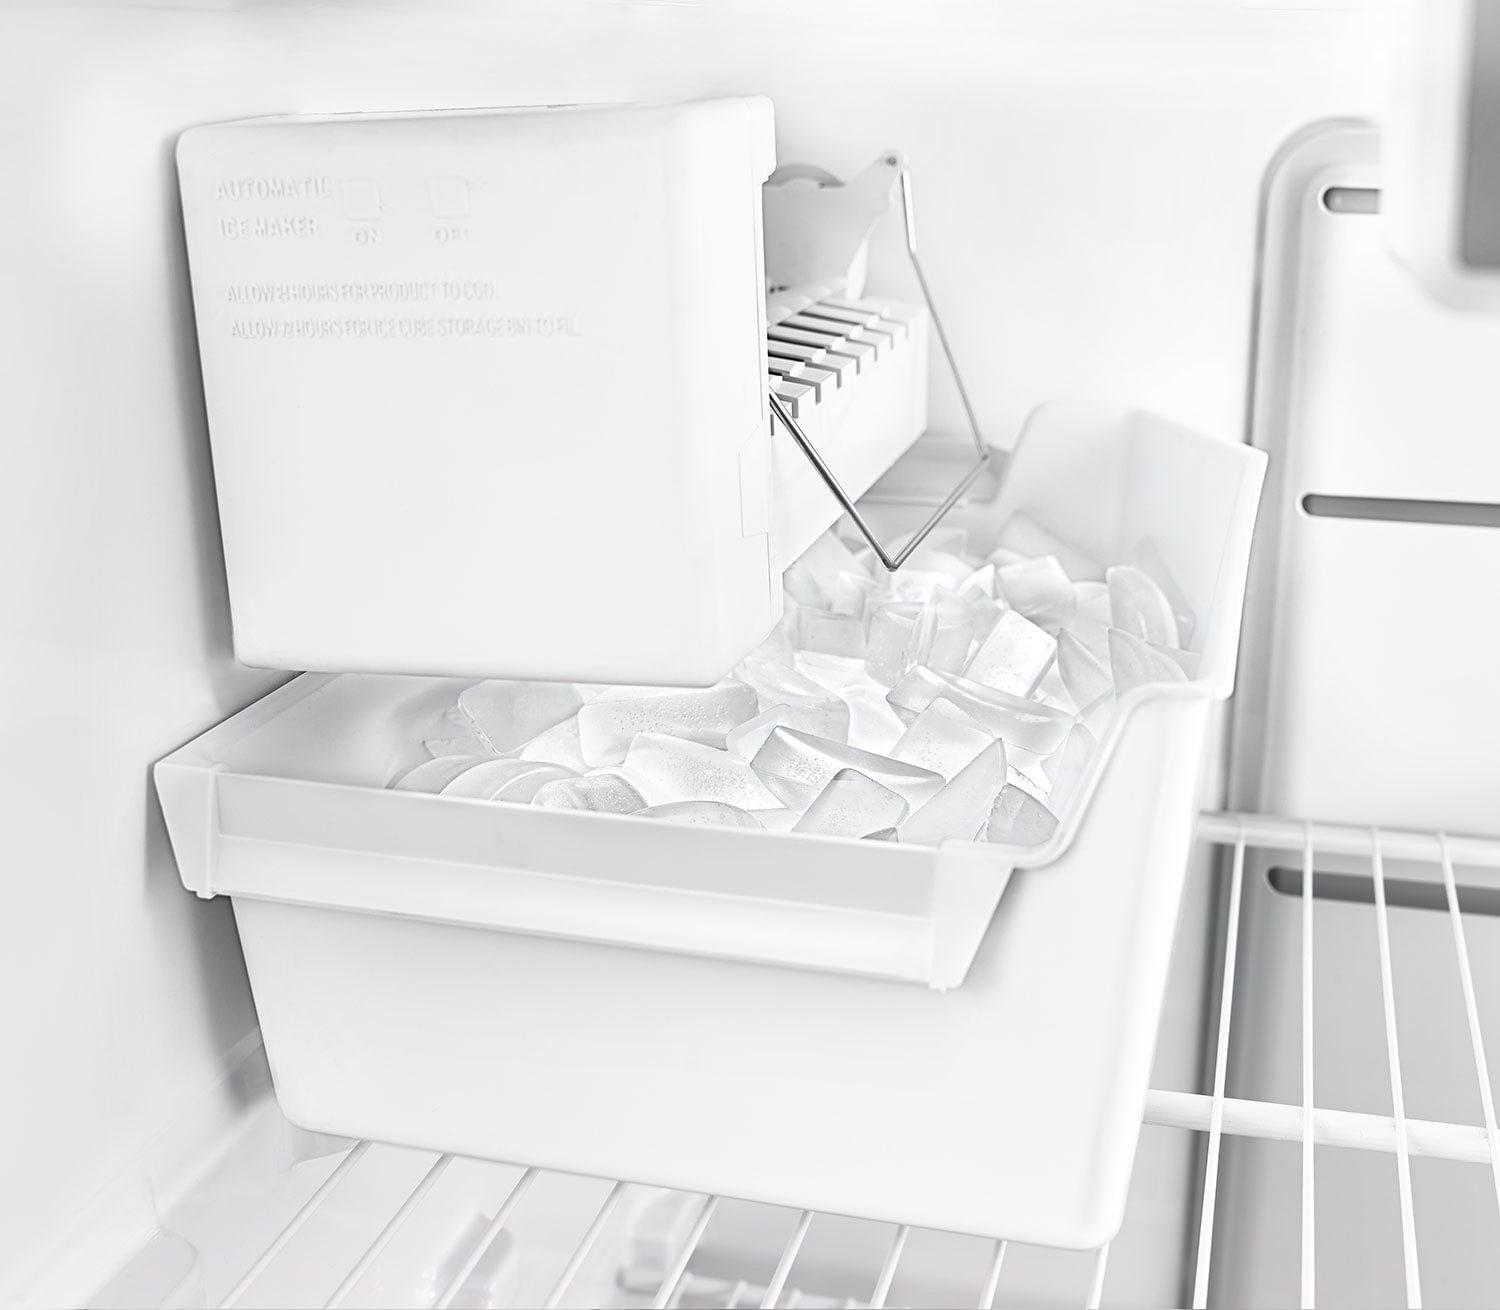
- Give the ice maker a few minutes to resume operation and start producing ice.
- Check for any signs of leaks or unusual noises. If you notice any issues, turn off the ice maker and inspect the installation to ensure everything is properly fitted.
By turning on the ice maker, you are allowing it to start producing ice again. The new filter will now filter the water and ensure that you have clean and refreshing ice cubes.
It is also recommended to run a few cycles of ice-making and discarding the first batches to flush out any air or impurities that may have been introduced during the filter installation process.
Congratulations! You have successfully changed the ice maker filter on your Whirlpool appliance and can now enjoy crisp and clean ice cubes.
Conclusion
Changing the ice maker filter on your Whirlpool appliance is a simple yet important maintenance task to ensure the quality and taste of your ice cubes. By following the steps outlined in this guide, you can easily replace the filter and enjoy clean and refreshing ice every time.
Remember to gather all the necessary materials before starting, locate the ice maker filter in your appliance, and turn off the ice maker to prevent any water leaks. Then, carefully remove the old filter, dispose of it properly, and install the new filter in its place. Finally, turn on the ice maker, and after a few minutes, it will start producing filtered ice.
Regularly changing the ice maker filter is recommended to maintain optimal performance and prevent any buildup of impurities or mineral deposits. Depending on your usage and water quality, it is generally advised to replace the filter every six months or as recommended by the manufacturer.
If you encounter any issues or have specific questions about changing the ice maker filter on your Whirlpool appliance, consult the user manual or contact Whirlpool customer support for assistance.
With a clean and functional ice maker filter, you can enjoy refreshing drinks and cocktails, and make ice cubes that are free from contaminants. So, go ahead and follow these steps to ensure that every ice cube is of the highest quality.
Now that you've mastered changing your ice maker filter, why not ensure all components are running smoothly? For those keen on keeping their appliance in top shape, our guide on refrigerator maintenance provides essential tips for pristine ice. Additionally, updating your fridge's water purification is crucial. Our list of water filter replacements for 2024 offers the latest and most efficient options available. Don't stop at just cleaner water; consider enhancing your home's overall water quality with our recommendations for best water filtration systems for 2024. Each step ensures your systems are optimal, safeguarding your health and comfort.
Frequently Asked Questions about How To Change Ice Maker Filter On Whirlpool
Was this page helpful?
At Storables.com, we guarantee accurate and reliable information. Our content, validated by Expert Board Contributors, is crafted following stringent Editorial Policies. We're committed to providing you with well-researched, expert-backed insights for all your informational needs.

0 thoughts on “How To Change Ice Maker Filter On Whirlpool”