Articles
How To Clean Whirlpool Fridge Ice Maker
Modified: October 19, 2024
Learn how to clean your Whirlpool fridge ice maker with these helpful articles. Keep your ice maker running smoothly and efficiently.
(Many of the links in this article redirect to a specific reviewed product. Your purchase of these products through affiliate links helps to generate commission for Storables.com, at no extra cost. Learn more)
Introduction
Welcome to this comprehensive guide on how to clean your Whirlpool fridge ice maker. Your ice maker plays a crucial role in keeping your drinks cool and refreshing, but over time, it can accumulate dirt, mold, and other impurities that can affect the taste and quality of your ice. That’s why it’s important to regularly clean your ice maker to ensure it continues to produce clean and fresh ice.
In this article, we’ll walk you through the step-by-step process of cleaning your Whirlpool fridge ice maker. We’ll cover everything from the necessary supplies you’ll need to the proper techniques for cleaning each component. By following our guide, you’ll be able to maintain a hygienic ice maker and enjoy ice that is free from any unpleasant flavors or contaminants.
Before we dive into the cleaning process, it’s important to note that safety should be your top priority. Make sure to unplug your fridge before starting the cleaning procedure to avoid any electrical accidents. Additionally, keep in mind that the specific instructions may vary slightly depending on the model of your Whirlpool fridge. Always consult the user manual for your specific model for any additional guidance or precautions.
Now that we have covered the basics, let’s move on to the supplies you’ll need to gather before starting the cleaning process.
Key Takeaways:
- Keep your Whirlpool fridge ice maker clean and hygienic by following safety precautions, gathering the necessary supplies, and meticulously cleaning each component. Enjoy fresh and odor-free ice for your drinks with regular maintenance.
- Ensure the proper functionality of your Whirlpool fridge ice maker by carefully reassembling and reconnecting the components, testing for clean ice production, and seeking assistance if any issues arise. Maintain a consistent supply of refreshing ice for your beverages.
Read more: How To Defrost Whirlpool Ice Maker
Safety Precautions
Before embarking on the cleaning process for your Whirlpool fridge ice maker, it’s important to take some safety precautions to ensure your well-being and avoid any potential damage to the appliance. Here are some safety guidelines to keep in mind:
- Turn off and unplug the fridge: Before you begin cleaning, make sure to turn off your fridge and unplug it from the power source. This will prevent any electrical accidents while handling the ice maker and its components.
- Wear protective gear: To protect yourself from any dirt or chemicals, it’s advisable to wear rubber gloves and safety goggles during the cleaning process. This will help prevent any skin irritation or eye injuries.
- Use non-abrasive cleaning agents: When choosing cleaning agents, avoid using harsh chemicals or abrasive materials that can damage the ice maker. Stick to mild, non-abrasive cleaners that are safe for use on the appliance.
- Read the user manual: Each Whirlpool fridge ice maker model may have specific instructions or precautions mentioned in the user manual. Make sure to thoroughly read the manual before starting the cleaning process to ensure you follow the manufacturer’s guidelines.
- Be cautious with sharp tools: If you need to use any sharp tools or utensils to remove ice maker components, exercise caution to prevent injuries. Take your time and be gentle when handling these tools.
By keeping these safety precautions in mind, you’ll be able to clean your Whirlpool fridge ice maker safely and effectively. Now, let’s move on to the supplies you’ll need to gather before starting the cleaning process.
Gathering Supplies
Before you begin the cleaning process for your Whirlpool fridge ice maker, it’s important to gather all the necessary supplies. Having everything on hand will help streamline the cleaning process and ensure you have the right tools for the job. Here are the supplies you’ll need:
- Mild dish soap: Choose a mild dish soap that is safe for use on food contact surfaces. Avoid using harsh detergents or cleaners that can leave residues or damage the ice maker.
- Warm water: You’ll need warm water to mix with the dish soap and use for cleaning the ice maker components.
- Clean towels or microfiber cloths: Prepare clean towels or microfiber cloths for wiping and drying the ice maker’s interior and exterior surfaces.
- Soft-bristle brush: A soft-bristle brush, such as a toothbrush or bottle brush, will help you scrub away any debris, mineral deposits, or mold that may have accumulated in hard-to-reach areas.
- Cotton swabs: Cotton swabs are helpful for cleaning smaller crevices and corners of the ice maker where a brush might not reach.
- Vinegar: White vinegar is a natural cleaning agent that can help remove scale and mineral deposits from the ice maker. It’s an optional ingredient but can be useful if your ice maker has heavy buildup.
- Bucket or basin: A bucket or basin will come in handy for soaking and rinsing the removable ice maker parts.
Make sure to double-check your supplies before starting the cleaning process to ensure you have everything you need. Having all the necessary supplies ready will help you clean your Whirlpool fridge ice maker efficiently and effectively. Now that you have your supplies ready, we can move on to the next step: disconnecting the ice maker.
Disconnecting the Ice Maker
Before you can start cleaning your Whirlpool fridge ice maker, you’ll need to disconnect it from the power supply and remove it from the refrigerator. Here’s how to do it:
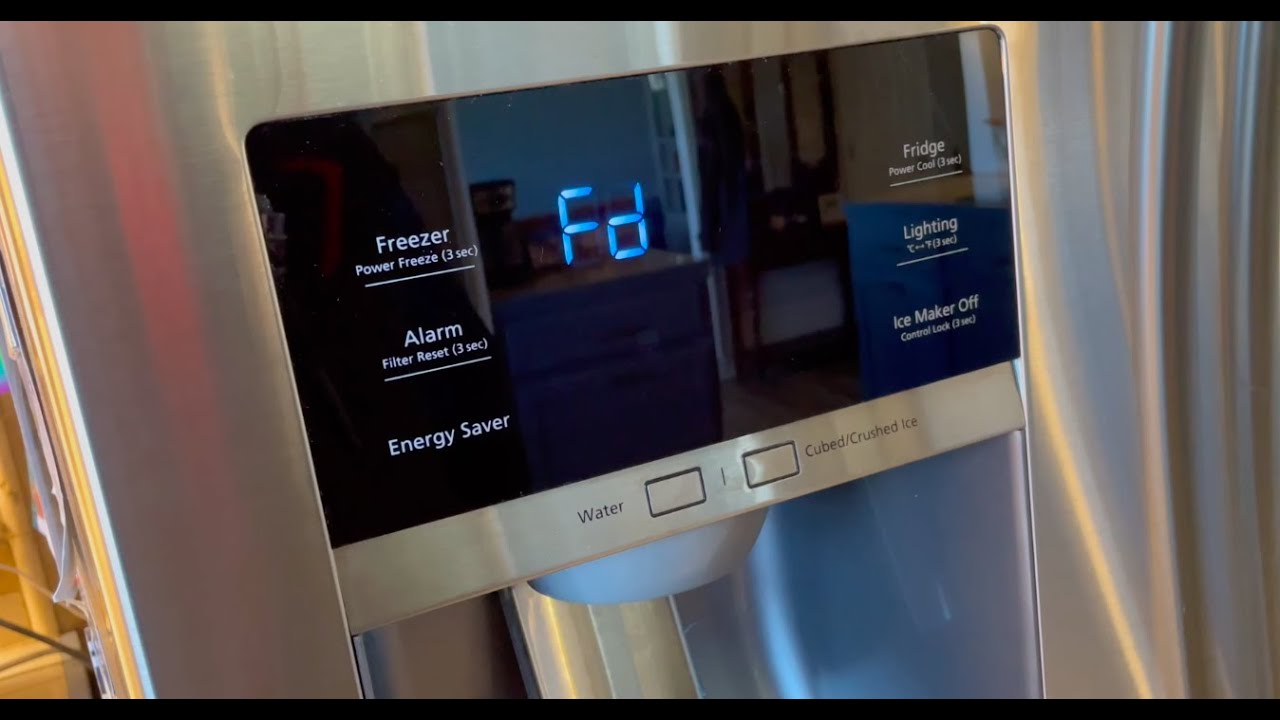
- Turn off the ice maker: Locate the power switch or lever on your ice maker and switch it off. This will prevent the ice maker from producing ice while you’re cleaning it.
- Unplug the refrigerator: Safely unplug the refrigerator from the power outlet to ensure your safety while working on the ice maker.
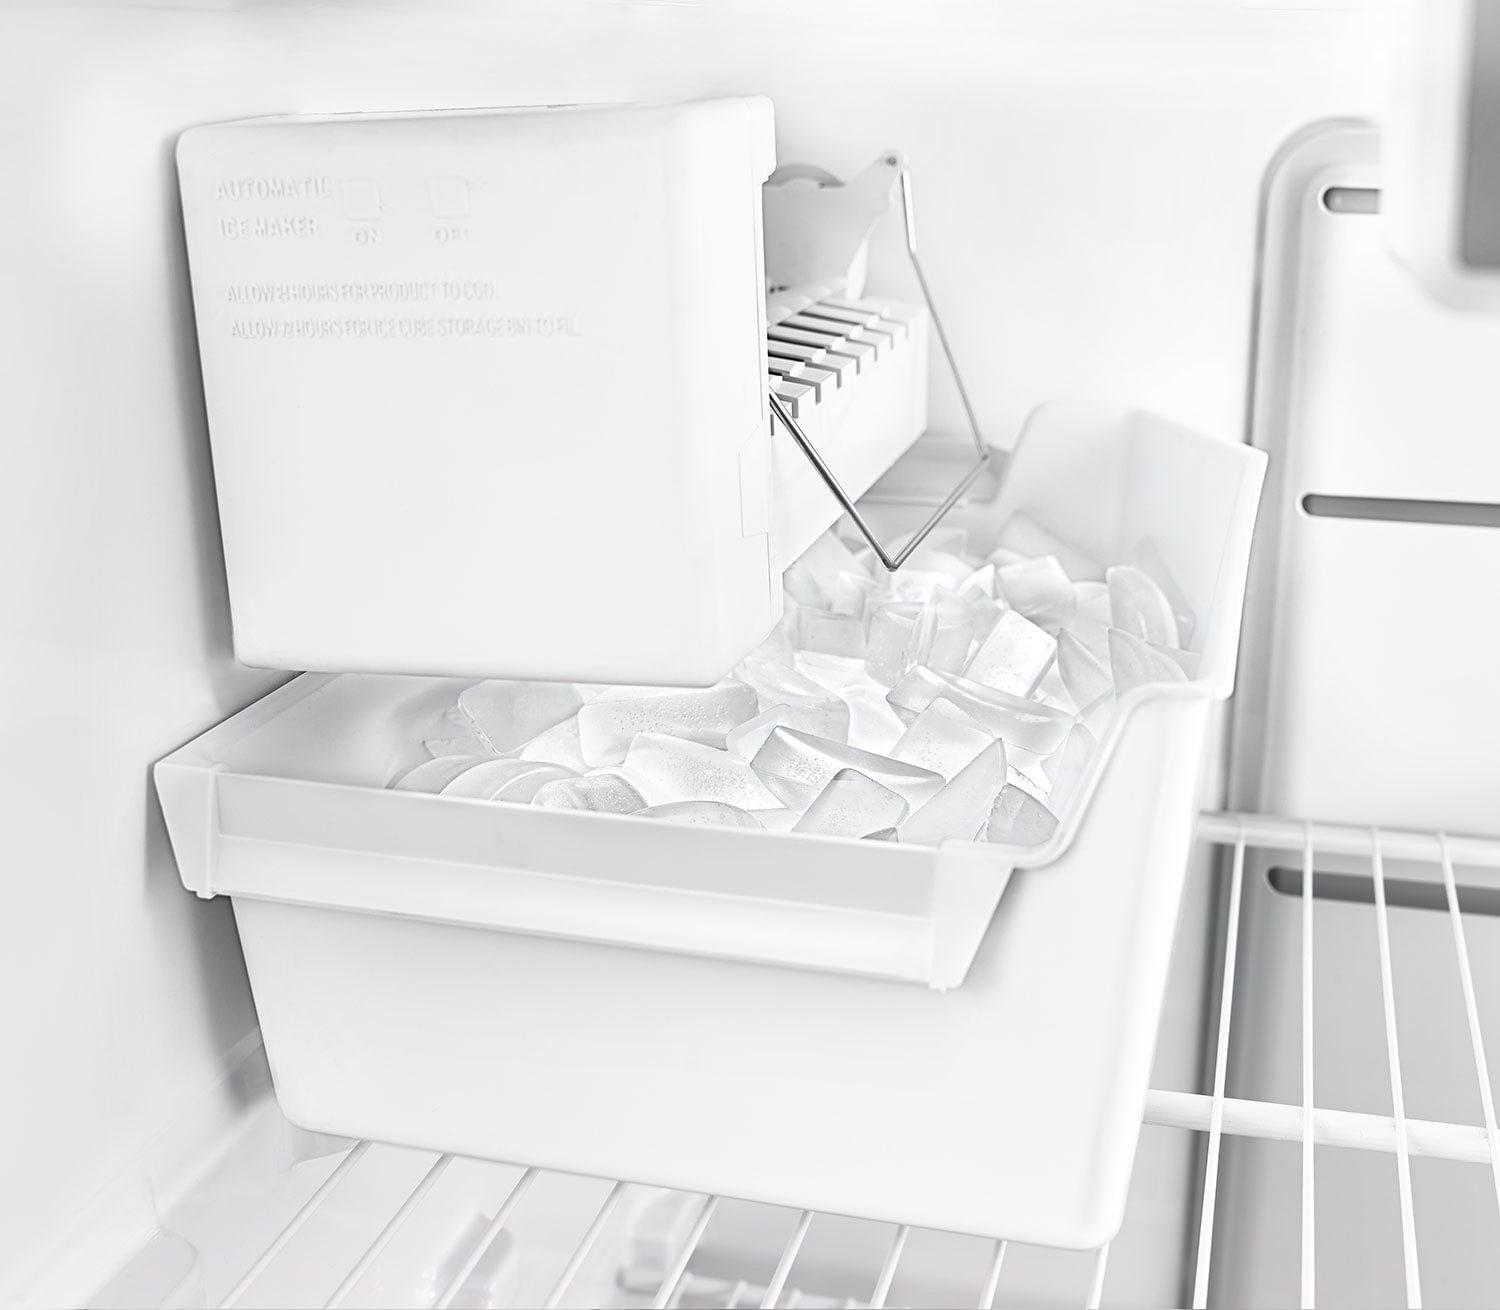
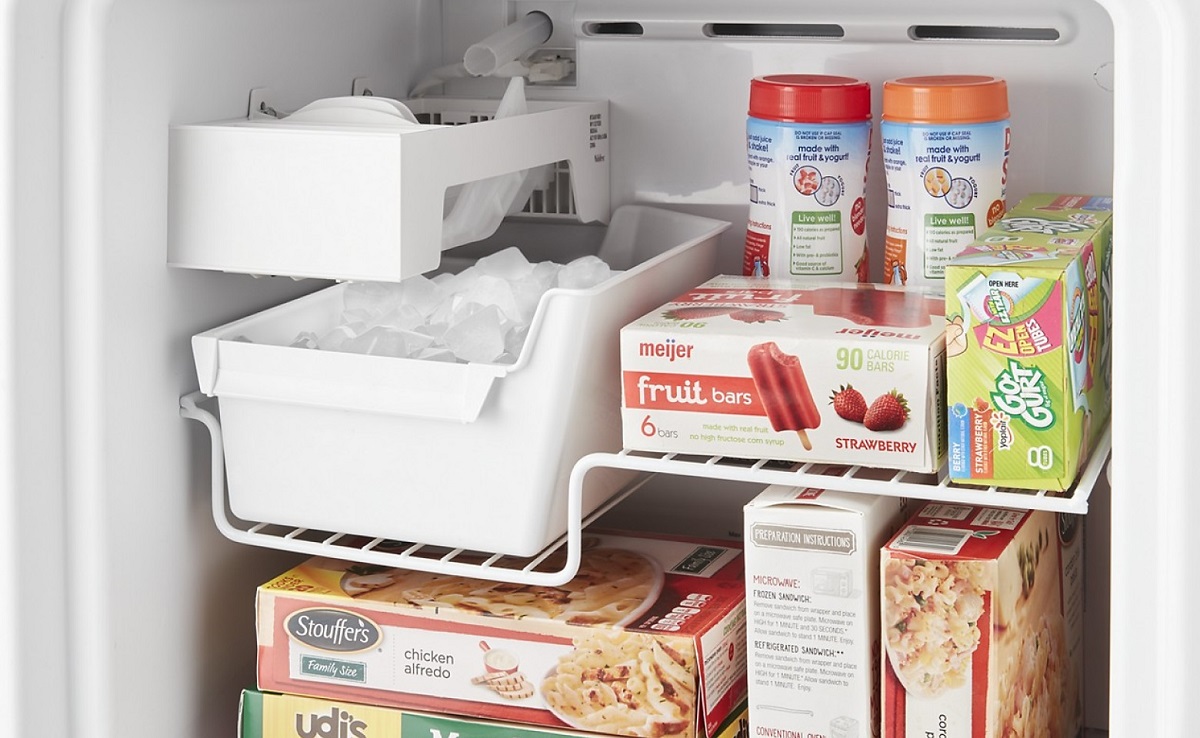
- Locate the ice maker assembly: The ice maker assembly is typically located inside the freezer compartment, near the top. It is attached to the freezer wall and may be secured with screws or brackets.
- Remove any ice or frozen items: Before removing the ice maker, check for any ice or frozen items in the ice bin. Empty the ice bin and discard any old or discolored ice.
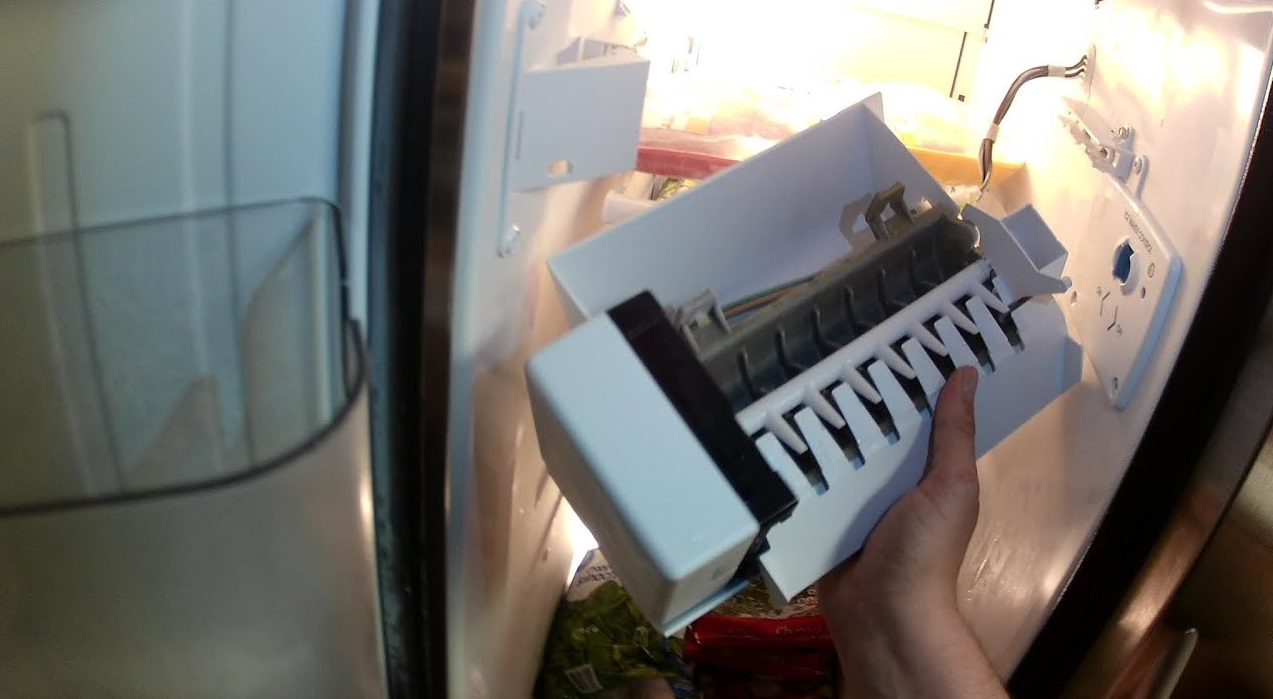
- Detach the ice maker assembly: Depending on the model, you may need to unscrew or release any brackets holding the ice maker in place. Carefully detach the ice maker assembly from the wall of the freezer.
- Disconnect the electrical and water connections: Once the ice maker assembly is detached, locate the electrical and water connections at the back of the freezer. Gently disconnect these connections to fully remove the ice maker assembly.
Keep in mind that the specific steps for disconnecting the ice maker may vary slightly depending on the model of your Whirlpool fridge. Refer to the user manual for your specific model if you need additional guidance.
Now that you have successfully disconnected the ice maker, you’re ready to move on to the next step: cleaning the ice maker bin.
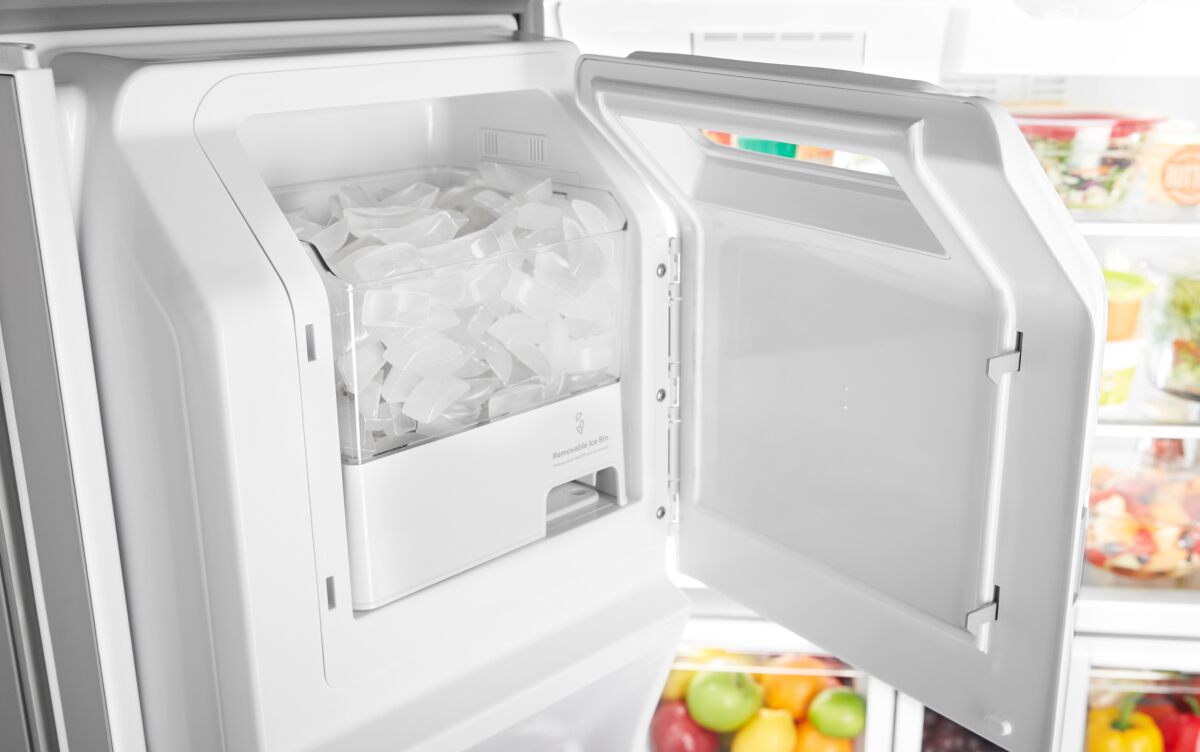
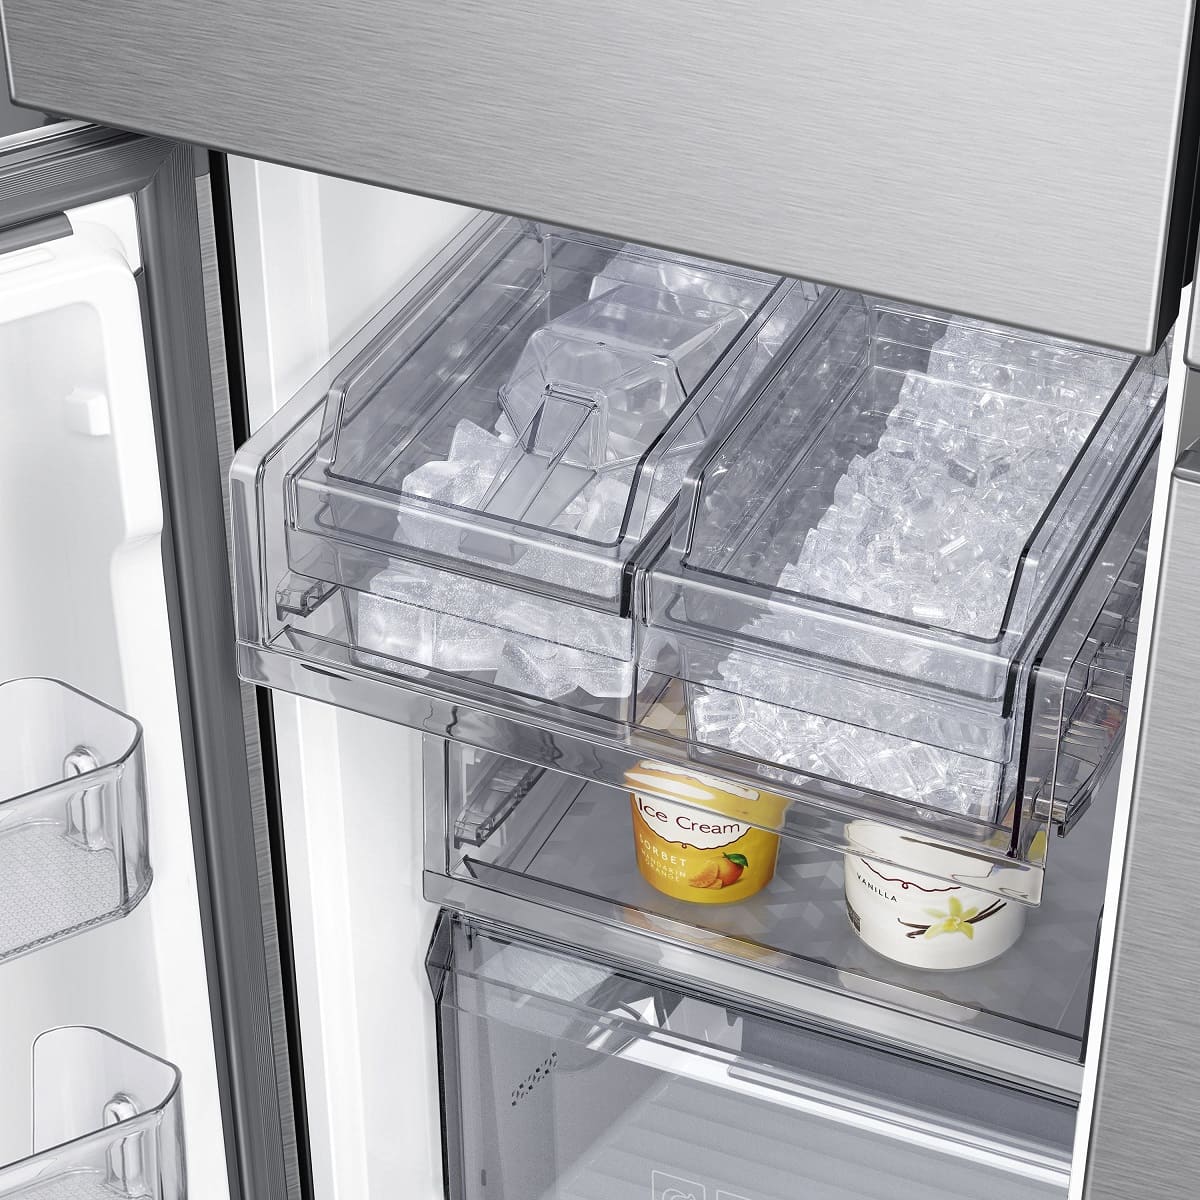
Cleaning the Ice Maker Bin
The ice maker bin is where the ice cubes are stored until they are dispensed. Over time, this bin can accumulate dirt, debris, and even mold, leading to unpleasant odors and potentially affecting the quality of your ice. Here’s how you can clean the ice maker bin:
- Remove the ice maker bin: Take out the ice maker bin from your Whirlpool fridge. Depending on the model, you may need to press a release button or lift a lever to detach the bin from the ice maker assembly.
- Empty and discard the ice: Empty the ice cubes from the bin and discard any old or discolored ice.
- Prepare a cleaning solution: In a sink or basin, mix a solution of warm water and mild dish soap. The ratio should be approximately one teaspoon of dish soap per gallon of water.
- Scrub the bin: Submerge the ice maker bin in the soapy water solution. Use a soft-bristle brush or sponge to scrub the interior and exterior surfaces of the bin thoroughly. Pay special attention to any stains, residue, or stubborn dirt.
- Rinse the bin: After scrubbing, rinse the bin with clean water to remove any soap residue.
- Dry the bin: Use a clean towel or allow the bin to air dry completely before reinserting it into the ice maker assembly.
It’s important to note that while cleaning the ice maker bin, you should avoid using harsh chemicals or abrasive cleaners. These can damage the bin’s surface or leave behind residues that can affect the taste and quality of the ice.
Once the ice maker bin is clean and dry, you can proceed to the next step: removing and cleaning the ice maker parts.
Read more: How To Remove Ice Maker From Fridge?
Removing and Cleaning the Ice Maker Parts
When cleaning your Whirlpool fridge ice maker, it’s important to not only clean the ice maker bin but also the individual parts of the ice maker assembly. Here’s how you can remove and clean the ice maker parts:
- Locate the ice maker parts: Depending on the model of your Whirlpool fridge, the ice maker assembly may consist of several parts, including the ice mold, the ice maker control module, and the water inlet valve.
- Refer to the user manual: Consult the user manual for your specific model to identify and locate the ice maker parts correctly. The manual will provide you with detailed instructions and diagrams.
- Detach the ice mold: In most models, the ice mold is easily removable. Gently lift, twist, or slide the ice mold to detach it from the ice maker assembly.
- Soak the ice mold: Fill a bucket or basin with warm water and mild dish soap. Place the ice mold in the soapy water and let it soak for a few minutes to loosen any debris or mineral buildup.
- Scrub the ice mold: Use a soft-bristle brush or sponge to scrub the ice mold, removing any dirt, mold, or mineral deposits. Pay attention to the crevices and corners of the mold.
- Rinse and dry the ice mold: After scrubbing, rinse the ice mold with clean water to remove any soap residue. Allow it to air dry completely before reattaching it to the ice maker assembly.
- Clean the ice maker control module and water inlet valve: Depending on your model, the ice maker control module and water inlet valve may also require cleaning. Follow the user manual instructions for cleaning these components, as the process can vary.
Make sure to handle the ice maker parts with care and avoid using abrasive materials or harsh chemicals that can damage the delicate components. Once all the ice maker parts are clean and dry, you can proceed to the next step: cleaning the ice dispenser.
To clean a Whirlpool fridge ice maker, start by turning off the ice maker and removing any ice. Use a mild soap and warm water to clean the ice maker and its components, then rinse and dry thoroughly before turning it back on.
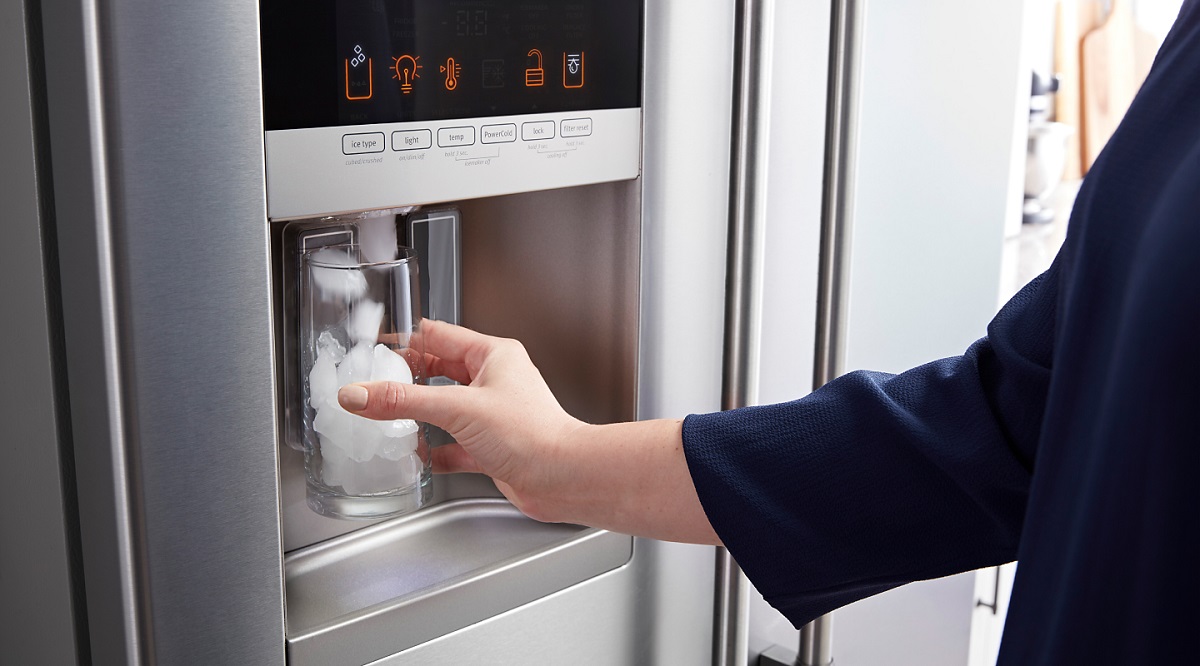
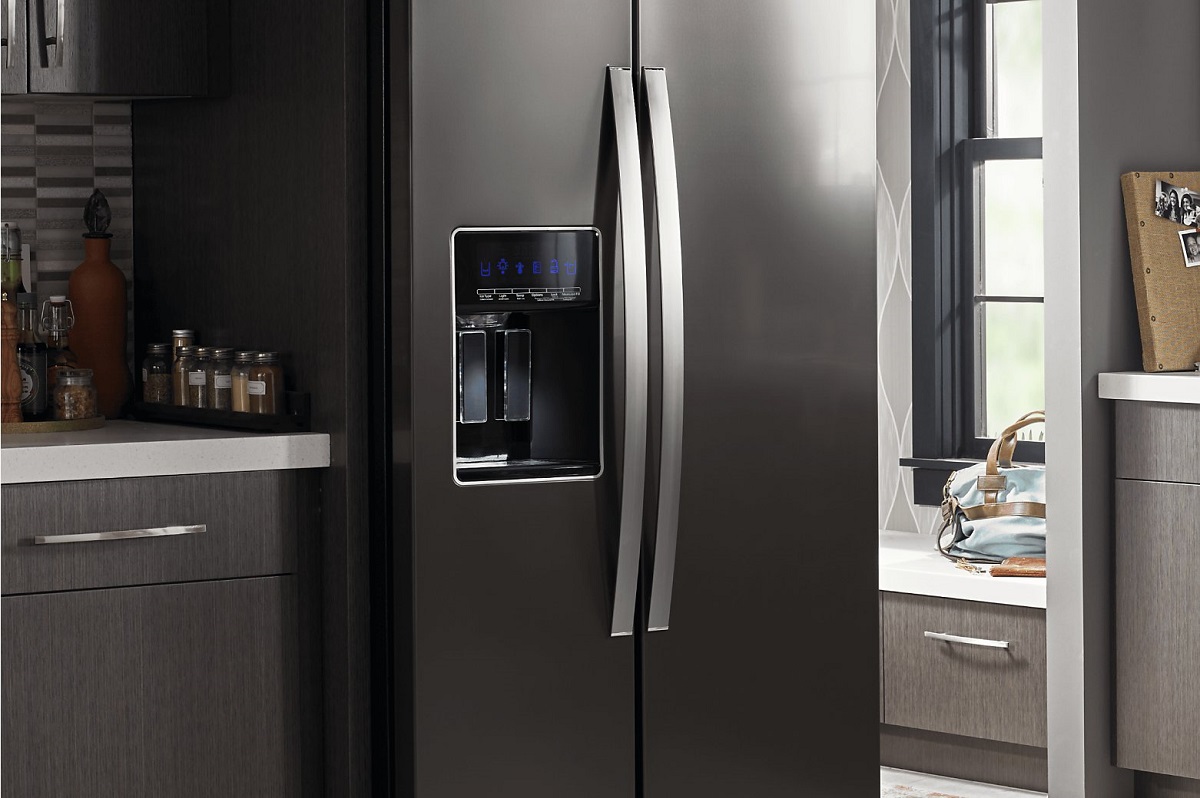
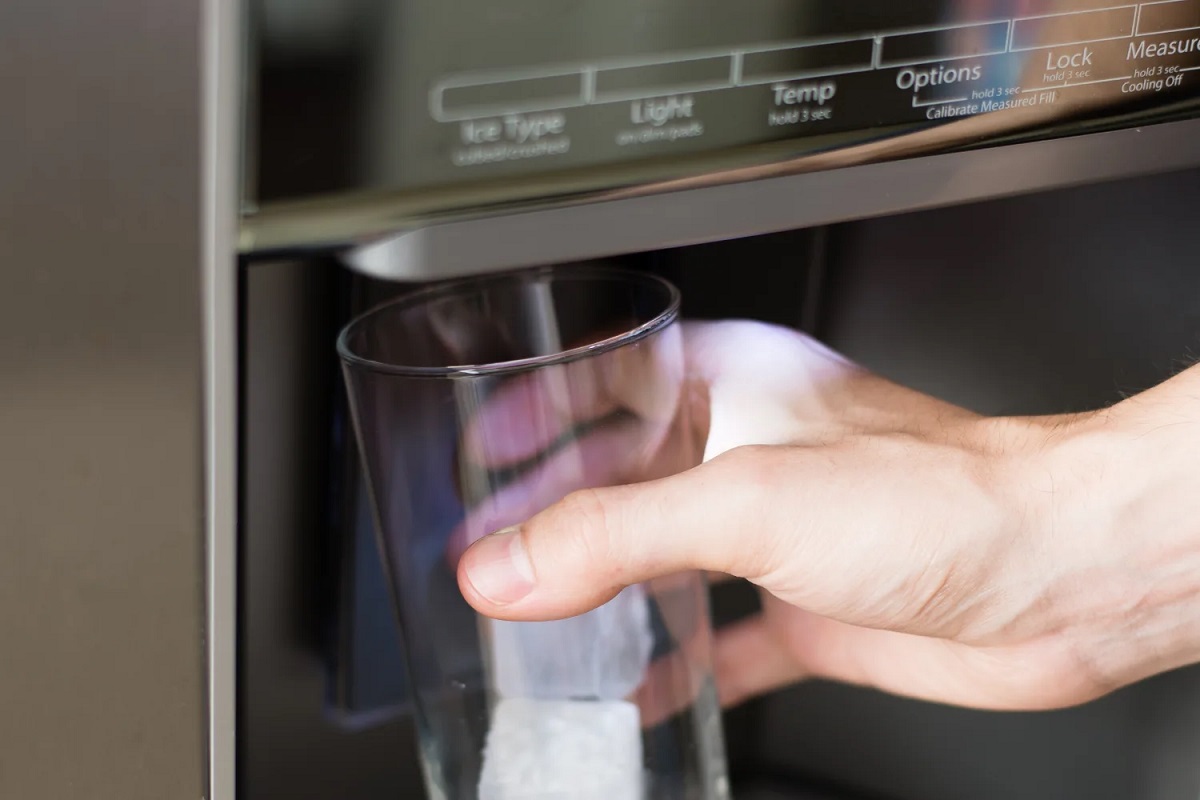
Cleaning the Ice Dispenser
The ice dispenser on your Whirlpool fridge is the area where the ice is dispensed into your glass or container. It’s important to keep this area clean to ensure the ice is free from any contaminants. Here’s how you can clean the ice dispenser:
- Inspect the ice dispenser: Take a look at the ice dispenser area and assess if there is any visible dirt, debris, or clogs.
- Prepare a cleaning solution: Mix a solution of equal parts warm water and vinegar in a spray bottle. Vinegar is a natural cleaner that can help remove any mineral buildup or mold.
- Spray the cleaning solution: Spray the vinegar solution onto the ice dispenser area, making sure to cover all surfaces. Let it sit for a few minutes to allow the solution to penetrate and loosen any buildup.
- Scrub the ice dispenser: Use a soft-bristle brush or a sponge to scrub the ice dispenser area gently. Pay attention to any stubborn stains or deposits, giving them a bit more scrubbing to remove the buildup.
- Rinse the ice dispenser: After scrubbing, rinse the ice dispenser thoroughly with clean water to remove any vinegar residue. Use a clean cloth or paper towel to wipe away any excess moisture.
It’s important to note that if your ice dispenser is equipped with a removable tray or chute, you should remove it for cleaning. Follow the user manual instructions to safely detach and clean these components.
Once the ice dispenser is clean and dry, you can move on to the next step: reinstalling the ice maker parts.
Reinstalling the Ice Maker Parts
After cleaning the individual components of your Whirlpool fridge ice maker, it’s time to reassemble and reinstall them. Here’s how you can reinstall the ice maker parts:
- Reattach the ice mold: Take the clean and dry ice mold and carefully reattach it to the ice maker assembly. Align it properly and ensure it is securely in place.
- Reconnect the ice maker control module: If you had to detach the ice maker control module for cleaning, now is the time to reconnect it. Follow the user manual instructions to safely reconnect the module to the ice maker assembly.
- Reinstall the water inlet valve: Similarly, if you had to clean the water inlet valve, reinstall it according to the user manual instructions. Make sure it is securely attached to the ice maker assembly.
- Insert the ice maker assembly: Gently insert the ice maker assembly back into the freezer compartment. Align it properly and ensure it is securely fastened to the freezer wall.
- Reconnect the electrical and water connections: Locate the electrical and water connections at the back of the freezer and reconnect them to the ice maker assembly. Double-check that all connections are secure.
Take your time during the reinstallation process and ensure that each component is properly aligned and securely attached. This will help prevent any issues with the ice maker’s functionality once it’s back in operation.
With the ice maker parts reinstalled, you’re one step closer to enjoying clean and fresh ice from your Whirlpool fridge. The final step is to reconnect the ice maker to the power supply and test its functionality.
Reconnecting the Ice Maker
Now that you have successfully cleaned and reinstalled the ice maker components in your Whirlpool fridge, it’s time to reconnect the ice maker to the power supply and get it up and running again. Here’s how you can reconnect the ice maker:
- Plug in the refrigerator: After ensuring that all the ice maker parts are properly installed, plug the refrigerator back into the power outlet.
- Turn on the ice maker: Locate the power switch or lever for the ice maker and turn it on. This will initiate the ice making cycle and start the production of fresh ice.
- Allow the ice maker to cycle: It may take some time for the ice maker to start producing ice again. Depending on your fridge model, it can take a few hours for the first batch of ice to be ready.
- Monitor the ice production: Keep an eye on the ice bin to ensure that it is filling up with clean ice cubes. If you notice any issues or abnormalities with the ice production, consult the user manual or contact Whirlpool customer support for assistance.
It’s important to note that the time it takes for the ice maker to start producing ice again may vary depending on factors such as the temperature setting of your fridge and the ambient temperature of your kitchen. Be patient and allow the ice maker to begin its cycle.
Once the ice maker is up and running again, you can enjoy a fresh supply of clean ice for your drinks and culinary needs.
Congratulations! You have successfully cleaned and reconnected your Whirlpool fridge ice maker. Regular maintenance and cleaning of your ice maker will help extend its lifespan and ensure the quality of the ice it produces. Remember to periodically clean the ice maker to maintain optimal performance.
Now, sit back and enjoy the convenience of having a clean and fully functional ice maker in your Whirlpool fridge!
Read more: How To Change Ice Maker Filter On Whirlpool
Testing the Ice Maker
After cleaning and reconnecting your Whirlpool fridge ice maker, it’s important to perform a simple test to ensure that it is functioning properly and producing clean ice. Here’s how you can test the ice maker:
- Allow the ice maker to cycle: Let the ice maker run for a full cycle to ensure that it is producing ice. This typically takes a few hours from the time you turn on the ice maker.
- Check for ice production: After the expected time, open the freezer and check the ice bin. Ensure that it is filling up with ice cubes. If you see a good amount of ice, it indicates that the ice maker is working correctly.
- Inspect the quality of the ice: Examine the ice cubes for any signs of dirt, debris, or discoloration. The ice should be clean, clear, and free from any unpleasant odors or taste. If you notice any abnormalities, it may indicate that further cleaning or maintenance is required.
- Dispense and taste the ice: Use the ice dispenser to dispense a few cubes of ice. Take a moment to taste the ice and ensure that it is fresh and free from any off-flavors. If you detect any unusual tastes or odors, thoroughly clean the ice maker again.
If the ice maker passes these tests and produces clean, fresh ice cubes, it indicates that your cleaning efforts have been successful, and the ice maker is functioning properly.
However, if you encounter any issues or detect any problems during the test, refer to the user manual or contact Whirlpool customer support for further assistance. They can provide guidance on troubleshooting and resolving any potential issues with the ice maker.
By regularly testing your ice maker and addressing any malfunctions or cleaning needs promptly, you can ensure a consistent supply of clean ice for all your cooling needs.
Now that you have tested the ice maker and confirmed its proper functionality, you can enjoy the convenience and peace of mind that comes with a clean and efficiently working ice maker in your Whirlpool fridge!
Conclusion
Congratulations on successfully cleaning and maintaining your Whirlpool fridge ice maker! By following the step-by-step process outlined in this guide, you have learned how to ensure the cleanliness and functionality of your ice maker, resulting in fresh and delightful ice cubes for your beverages.
We started by emphasizing the importance of regular cleaning to prevent the buildup of dirt, mold, and impurities that can affect the quality of the ice. Safety precautions were highlighted to ensure your well-being while undertaking the cleaning process.
Next, we discussed the supplies you would need to gather, including mild dish soap, warm water, clean towels, soft-bristle brushes, and vinegar. These supplies proved essential in effectively cleaning the ice maker components.
You learned how to carefully disconnect the ice maker from the power supply, followed by the step-by-step cleaning processes for the ice maker bin, the individual ice maker parts, and the ice dispenser. Proper reinstallation and reconnection of the ice maker were emphasized to ensure its seamless operation.
Finally, we highlighted the importance of testing the ice maker to confirm its functionality and check for the production of clean and odor-free ice cubes. If any issues arise, we recommended consulting the user manual or contacting Whirlpool customer support for further assistance.
By regularly cleaning and maintaining your Whirlpool fridge ice maker, you can enjoy the benefits of a consistent supply of fresh and clean ice for your beverages or culinary needs. Remember to periodically repeat the cleaning process to maintain optimal performance.
Thank you for taking the time to learn how to clean your Whirlpool fridge ice maker. We hope this guide has been informative and helpful for you. Cheers to deliciously refreshing ice!
Keeping your kitchen appliances in pristine condition doesn't stop here. Dive into our detailed guide on refrigerator maintenance to ensure every component of your fridge stays functional and fresh. For those who want a deeper clean, our comprehensive ice maker cleaning tips will help tackle even the trickiest parts. And don't miss out on our cleaning hacks, perfect for achieving a spotless oven and much more around the house. Stay savvy and keep your appliances running like new!
Frequently Asked Questions about How To Clean Whirlpool Fridge Ice Maker
Was this page helpful?
At Storables.com, we guarantee accurate and reliable information. Our content, validated by Expert Board Contributors, is crafted following stringent Editorial Policies. We're committed to providing you with well-researched, expert-backed insights for all your informational needs.
0 thoughts on “How To Clean Whirlpool Fridge Ice Maker”