Articles
How To Change Bit On Ryobi Router
Modified: October 18, 2024
Learn how to easily change the bit on your Ryobi router with our step-by-step articles, providing you with the guidance you need for a seamless DIY experience.
(Many of the links in this article redirect to a specific reviewed product. Your purchase of these products through affiliate links helps to generate commission for Storables.com, at no extra cost. Learn more)
Introduction
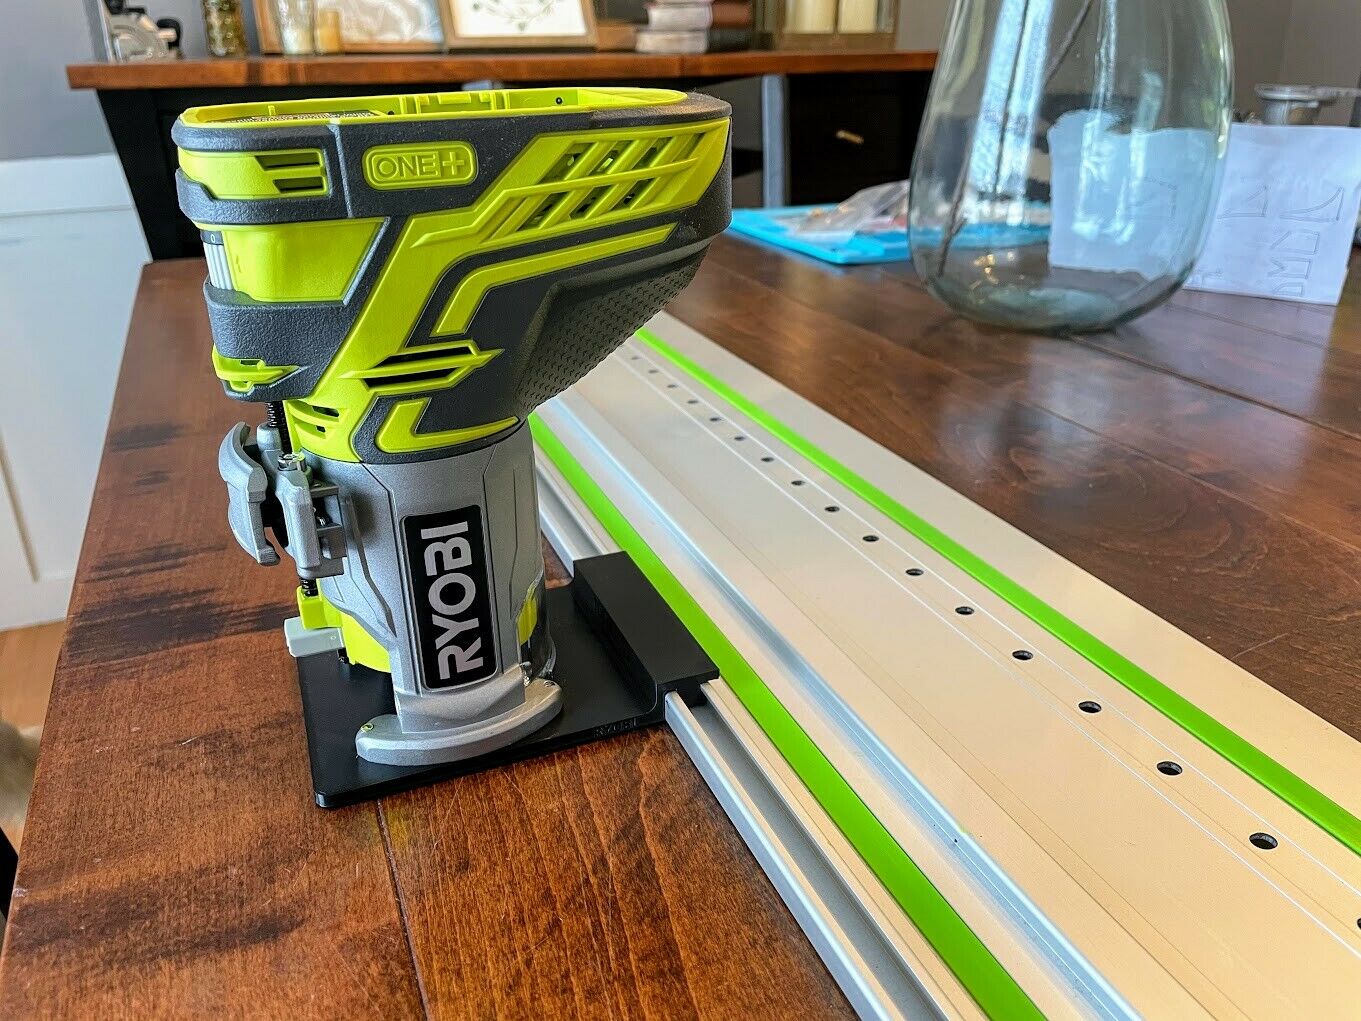
Changing the bit on a Ryobi router is a simple yet essential task for any woodworker or DIY enthusiast. The router bit is a crucial component that determines the shape and design of the cuts made by the router. Whether you need to replace a worn-out bit or switch to a different bit for a specific woodworking project, knowing how to change the bit on your Ryobi router is a valuable skill.
This article will guide you through the step-by-step process of changing the bit on your Ryobi router. We will also discuss important safety precautions to ensure your well-being while performing this task. So let’s dive in and learn how to change the bit on your Ryobi router!
Key Takeaways:
- Safety First!
Prioritize safety when changing the bit on your Ryobi router by following essential precautions, such as wearing protective gear, powering off the router, and working in a well-ventilated area. Your well-being is paramount! - Smooth Bit Transition
Master the art of changing router bits with ease. From loosening the collet to testing the new bit, follow the step-by-step process to ensure a seamless transition and unleash your woodworking creativity.
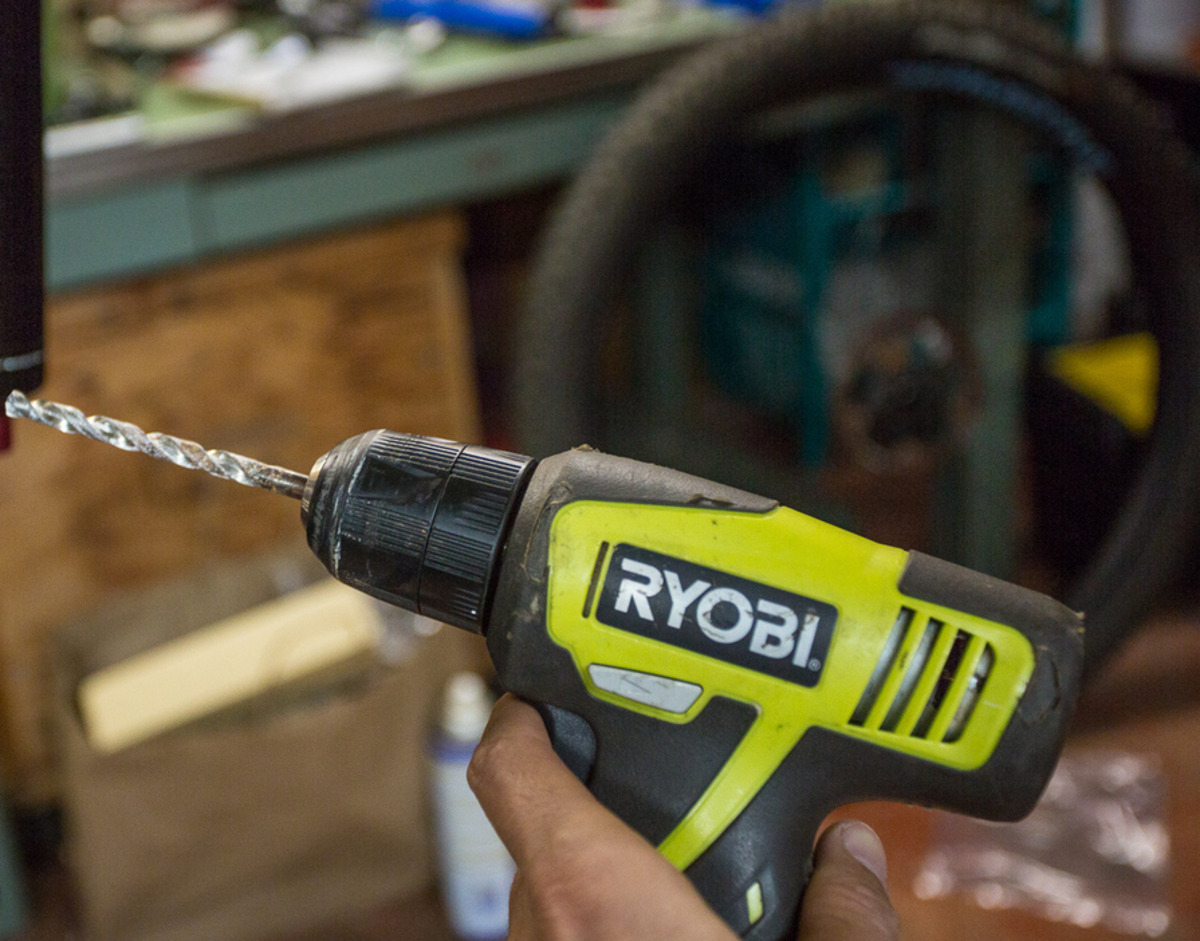
Read more: How To Change Ryobi Drill Bit
Safety Precautions
Before we begin, it’s important to prioritize safety when working with power tools like the Ryobi router. Here are some essential safety precautions to keep in mind:
- Read the manual: Familiarize yourself with the safety guidelines and instructions provided in the manual of your specific Ryobi router model. This will ensure that you are aware of any specific safety measures or precautions specific to your router.
- Wear personal protective equipment (PPE): Always wear safety glasses or goggles to protect your eyes from flying debris. Additionally, consider wearing ear protection to reduce the noise level generated by the router.
- Power off and unplug the router: Before changing the bit, make sure the router is switched off and unplugged from the power source. This will prevent any accidental start-ups or electrical shocks.
- Work in a well-ventilated area: Use the router in a properly ventilated area to avoid breathing in dust and harmful fumes. If necessary, consider wearing a dust mask to protect your respiratory system.
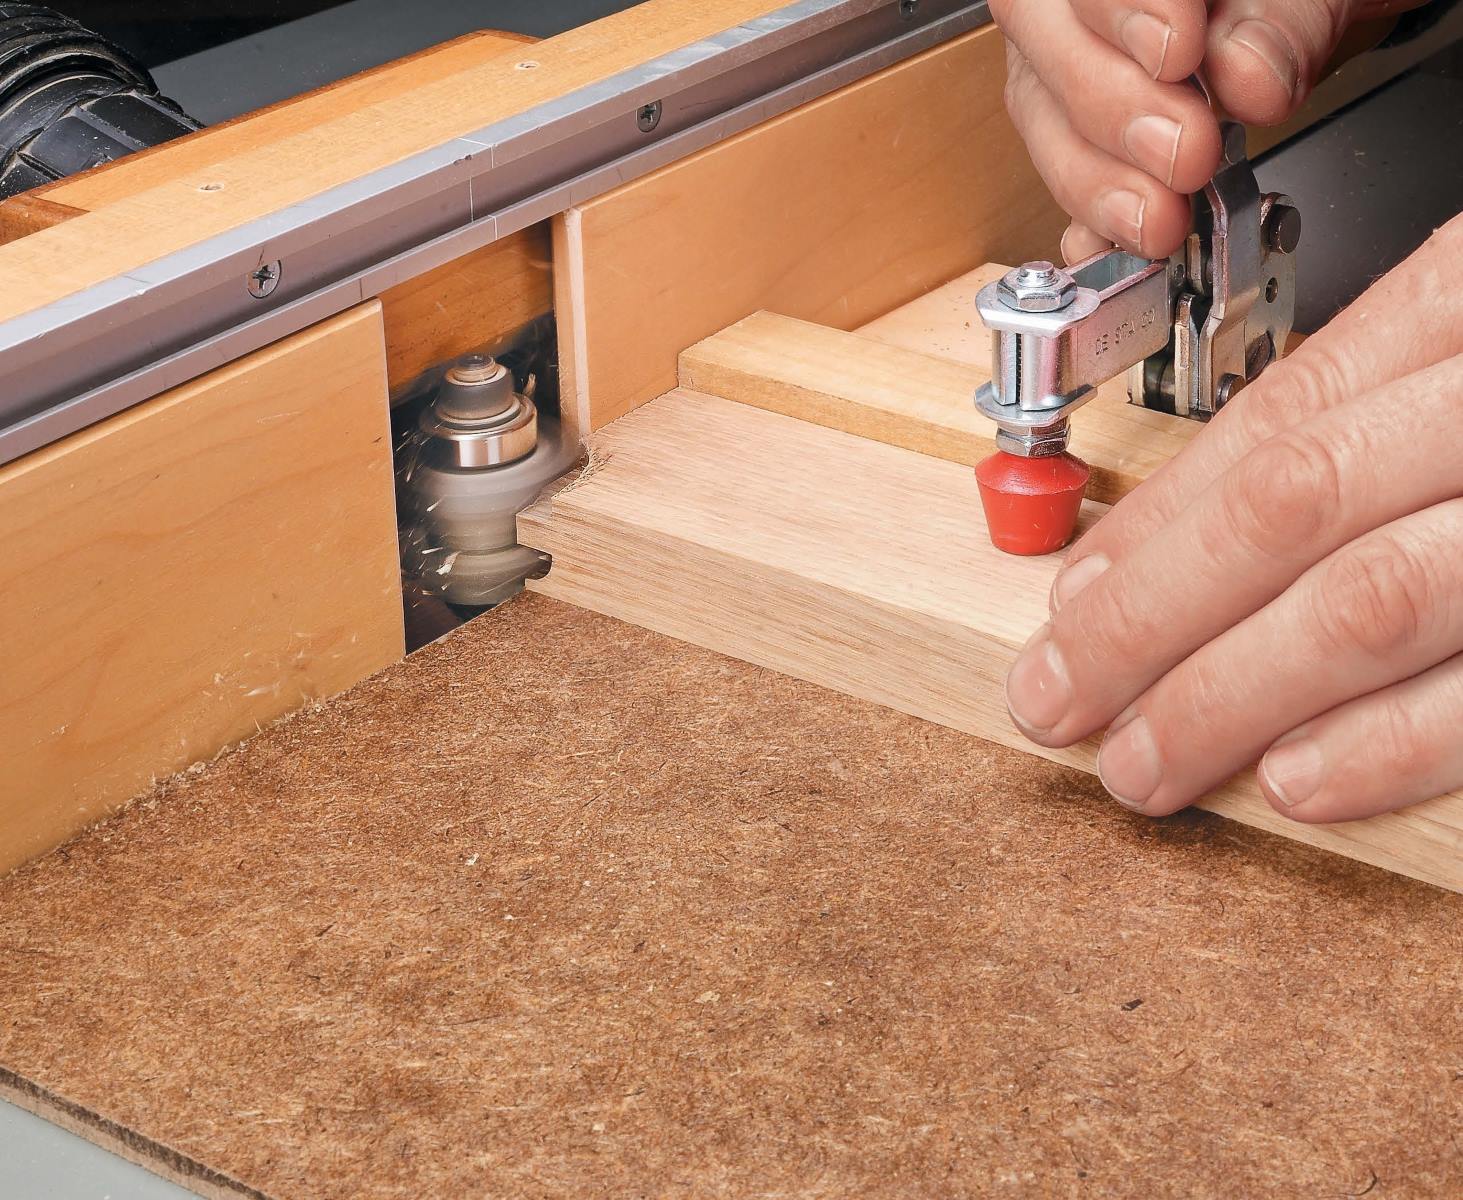
- Secure the workpiece: Always ensure that the workpiece is securely fastened or clamped down before operating the router. This will minimize the risk of the wood piece slipping or moving during the routing process.
- Use the right bit for the right application: Select the appropriate router bit for your woodworking task. Using the wrong bit can result in inefficient cuts or pose a safety hazard. Make sure the bit you choose is compatible with your Ryobi router.
- Keep your hands away from the bit: Never attempt to change the bit while the router is running. Wait for the router to come to a complete stop before attempting to remove or insert any bits. This will prevent accidental injuries.
By following these safety precautions, you can minimize the risk of accidents and injury while changing the bit on your Ryobi router. Remember, safety should always be your top priority when working with power tools. Now that we’ve covered the safety precautions, let’s move on to the tools and materials you’ll need for this task.
Tools and Materials Required
Before starting the process of changing the bit on your Ryobi router, gather the following tools and materials:
- Ryobi router (with the old bit to be replaced)
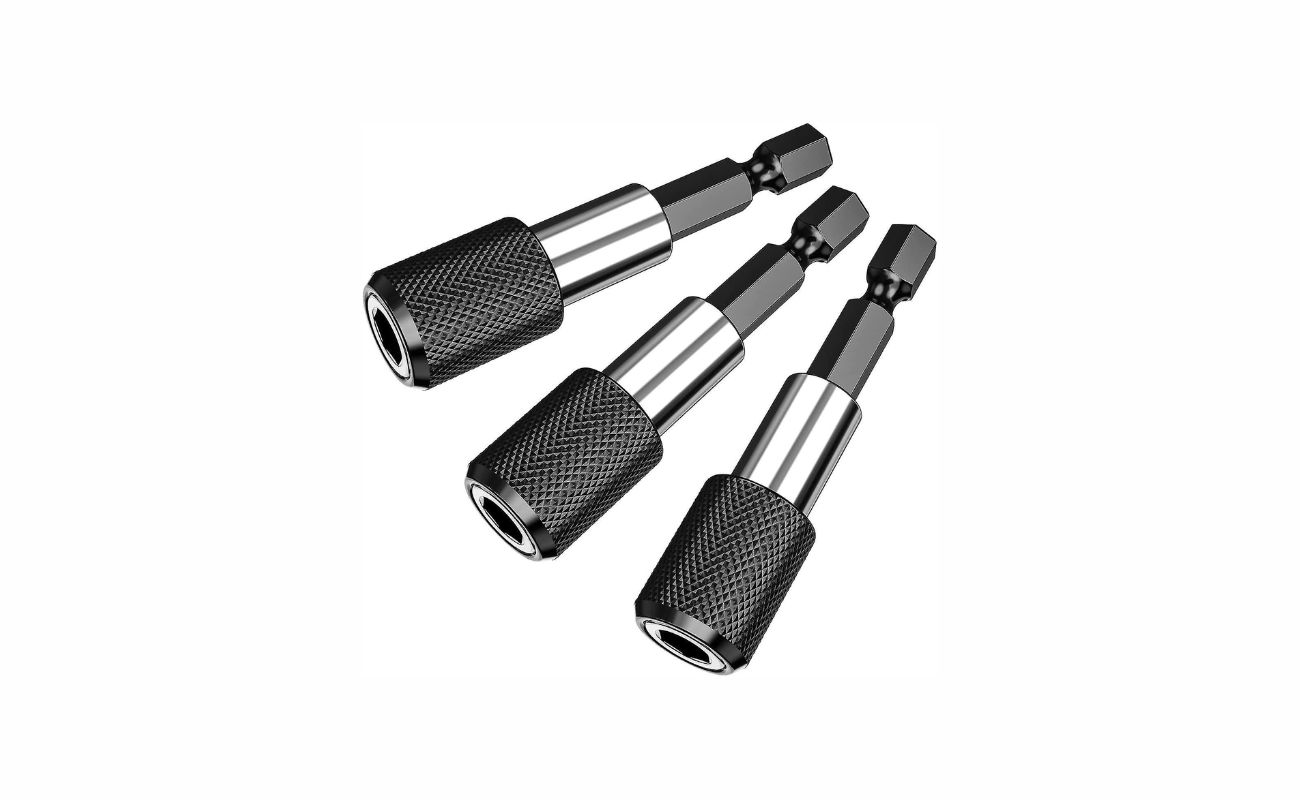
- Router wrench (typically provided with the router)
- New router bit (compatible with your Ryobi router and suitable for your woodworking project)
- Workbench or sturdy table
- Safety glasses or goggles
- Dust mask (optional)
- Ear protection (optional)
Ensure that you have all the necessary tools and materials ready before proceeding. This will help make the process smooth and efficient without interruptions. Once you have gathered everything you need, let’s move on to the step-by-step process of changing the bit on your Ryobi router.
Step 1: Switch off and Unplug the Router
The first step in changing the bit on your Ryobi router is to switch off the router and unplug it from the power source. This ensures your safety and prevents any accidental start-ups while working on the router.
Locate the power switch on your Ryobi router and turn it to the “Off” position. Once the router is switched off, disconnect the power cord from the electrical outlet or power strip.
Double-check that the router is completely powered down by pressing the router’s trigger switch and making sure it does not turn on. This step is crucial to avoid any potential harm when working with the router.
Remember, never attempt to change the bit while the router is on or still connected to a power source. Taking the time to switch off and unplug the router is an essential safety measure that should never be overlooked.
Now that you have ensured the router is completely powered down, you can proceed to the next step of loosening the router collet to remove the old bit.
Step 2: Loosen the Router Collet
After switching off and unplugging the router, the next step is to loosen the router collet. The collet is the component that holds the router bit in place, and loosening it will allow you to remove the old bit.
Locate the collet nut on your Ryobi router. The collet nut is usually found near the base of the router, where the bit is inserted. It may have a hexagonal shape or a special wrench design.
If your router has a hexagonal collet nut, you can use a wrench or a spanner to loosen it. Insert the wrench into the hexagonal nut and turn it counterclockwise to loosen the collet.
If your router has a special wrench design, it typically comes with a router wrench specifically designed for that model. Insert the router wrench into the designated holes on the collet nut and turn it counterclockwise to loosen the collet.
Apply gentle force while loosening the collet to ensure that it opens enough to remove the old bit but not too much that it becomes difficult to tighten later. Take your time to loosen the collet properly.
Once the collet is loosened, you can move on to the next step of removing the old bit from the collet. Properly loosening the collet is crucial to avoid damaging the bit or the collet itself and to ensure a smooth bit removal process.
Now that you have loosened the collet, let’s proceed to the next step of removing the old bit from the collet.
When changing the bit on a Ryobi router, always unplug the router for safety. Use the provided wrench to loosen the collet nut, remove the old bit, insert the new bit, and tighten the collet nut securely. Always refer to the user manual for specific instructions.
Read more: How To Use Ryobi Router
Step 3: Remove the Old Bit from the Collet
With the collet loosened, you can now proceed to remove the old bit from the collet. Follow these steps to safely remove the old bit:
- Hold the router firmly with one hand to stabilize it. Use your other hand to grasp the shaft of the old bit, making sure to avoid touching the cutting edges.
- Slowly pull the old bit straight out of the collet. Be careful not to force it or tilt it at an angle, as this can cause damage to both the bit and the collet.
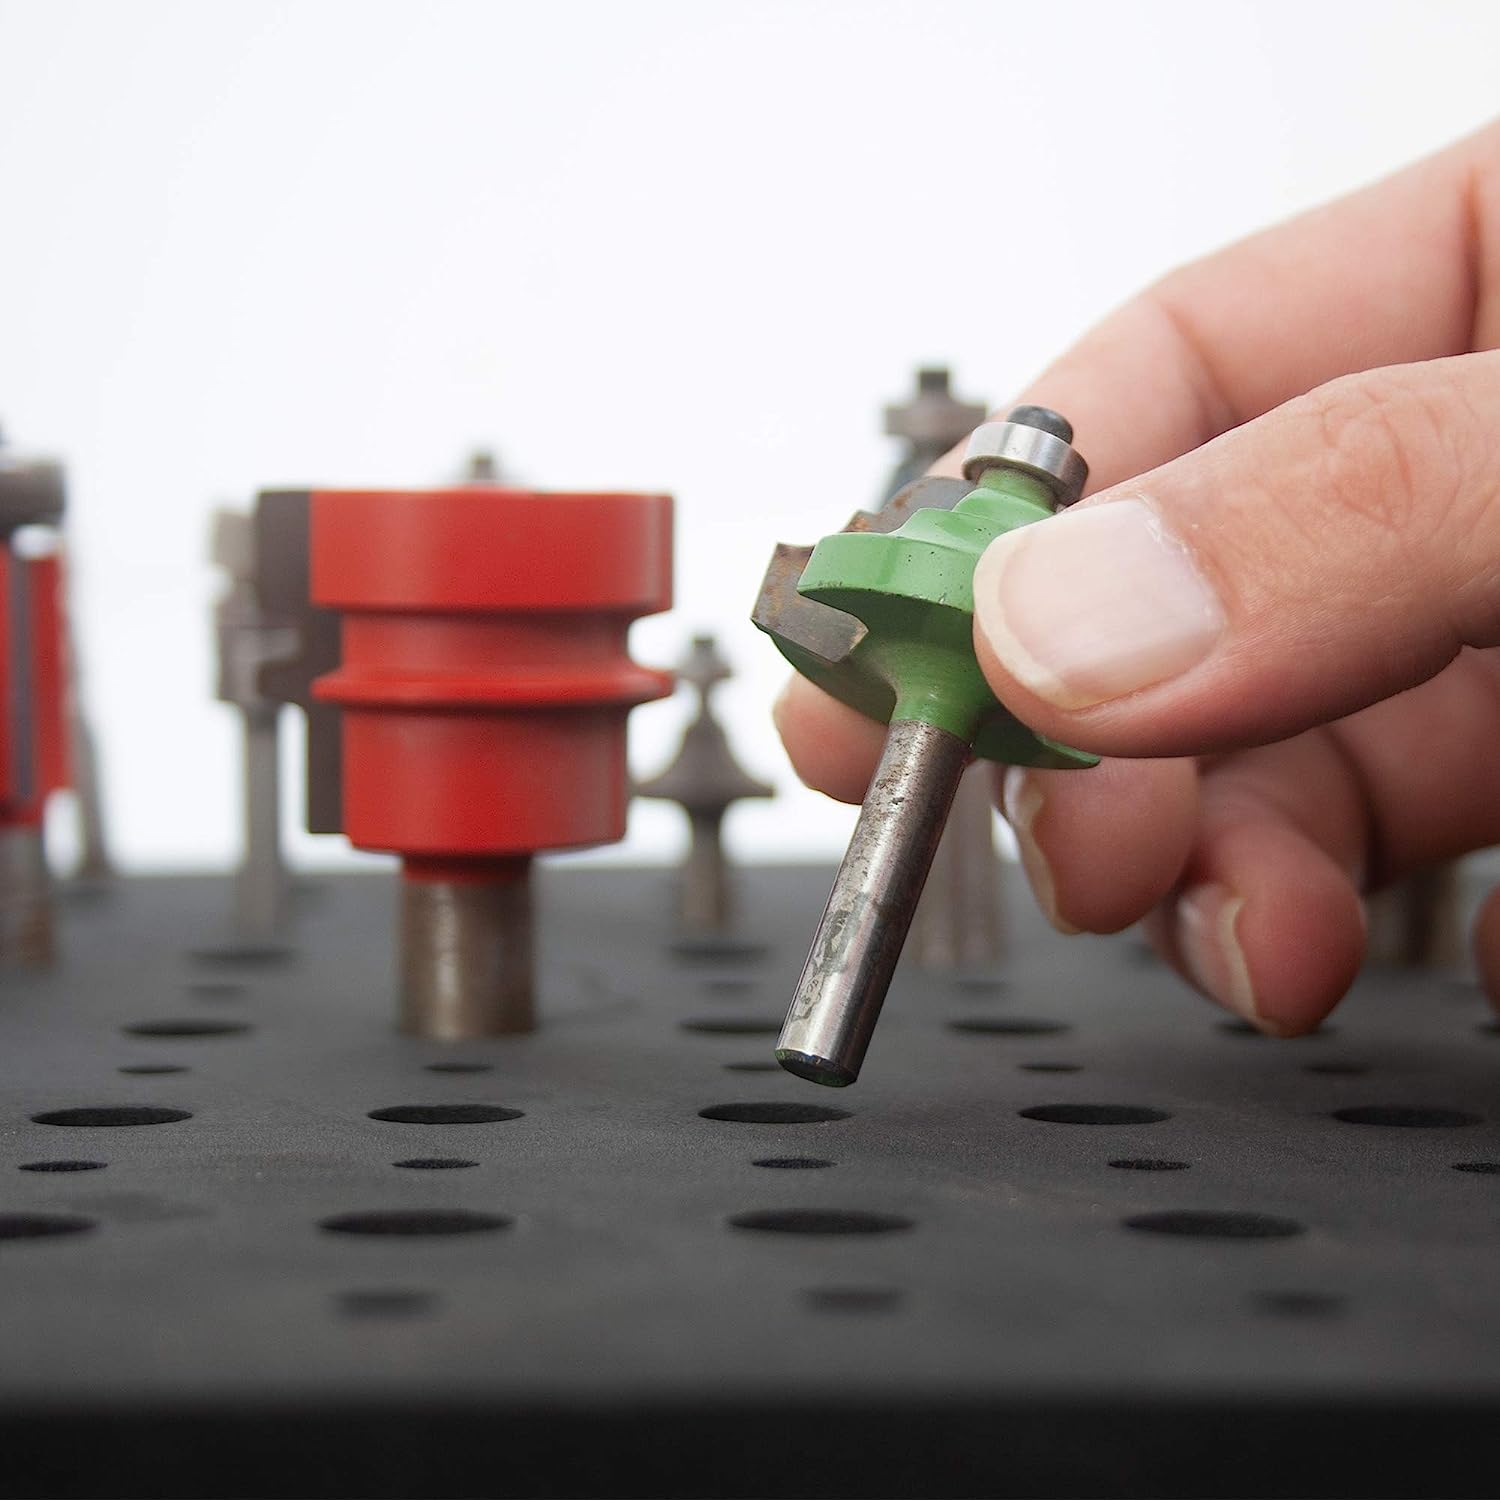
- Inspect the old bit for any signs of wear or damage. If the bit is worn out or broken, dispose of it properly and replace it with a new one.
- Set the old bit aside in a safe place or organize your bits in a labeled storage system for easy access in the future.
It’s important to handle the old bit with care to avoid any injuries. The sharp cutting edges of the bit can cause cuts if mishandled, so always exercise caution when removing the old bit.
Now that you have successfully removed the old bit, it’s time to move on to the next step of inserting the new bit into the collet.
Step 4: Insert the New Bit into the Collet
After removing the old bit from the collet, it’s time to insert the new bit into the collet of your Ryobi router. Follow these steps to securely insert the new bit:
- Verify that the new bit is compatible with your Ryobi router and suitable for your woodworking project. Ensure that the shank size of the bit matches the collet size of your router.
- Hold the router firmly with one hand to stabilize it. Use your other hand to align the shank of the new bit with the collet.
- Insert the shank of the new bit straight into the collet, making sure it goes in as far as it can. Avoid tilting the bit or forcing it in at an angle, as this can result in improper seating.
- Push the bit in until it reaches the stop point or the shoulder of the shank. This ensures that the bit is securely seated in the collet and prevents it from sliding out during use.
It’s important to ensure that the new bit is inserted correctly and securely to prevent any accidents or instability during the routing process.
Once the new bit is inserted into the collet, you are ready to move on to the next step of tightening the collet to hold the bit securely in place.
Now that you have successfully inserted the new bit, let’s proceed to the next step of tightening the collet.
Step 5: Tighten the Collet
After inserting the new bit into the collet, it’s important to tighten the collet to securely hold the bit in place. Follow these steps to properly tighten the collet:
- Hold the router firmly with one hand to stabilize it.
- Use a wrench or the router wrench provided with your Ryobi router to tighten the collet nut.
- Insert the wrench into the hexagonal nut or the designated holes on the collet nut.
- Turn the wrench clockwise to tighten the collet nut. Apply firm but controlled pressure to ensure a tight grip on the bit.
- Avoid over-tightening the collet, as this can damage the collet and the bit. Tighten the collet until it feels snug and secure.
After tightening the collet, give the new bit a gentle tug to ensure that it is properly seated and doesn’t slide out. If the bit remains secure, you have successfully tightened the collet.
By properly tightening the collet, you ensure that the new bit is securely held in place and can perform its cutting functions effectively and safely.
Now that the collet is tightened, you can move on to the final step of reconnecting the router and testing the new bit.
Step 6: Reconnect the Router and Test the Bit
Now that you have successfully changed the bit and tightened the collet, it’s time to reconnect the router and test the new bit. Follow these steps to complete the process:
- Reconnect the power cord of the router to the electrical outlet or power strip.
- Double-check that the router’s power switch is still in the “Off” position.
- Once you have confirmed the power is off, turn on the router by switching the power switch to the “On” position.
- With the router powered on, test the new bit by running the router on a scrap piece of wood.
- Hold the router firmly with both hands and place the bit against the wood surface.
- Slowly guide the router along the desired cutting path, applying steady pressure.
- Observe the performance of the new bit. Check if it cuts smoothly and accurately.
- If the new bit is working well and meeting your expectations, you have successfully changed the bit. Congratulations!
If you notice any issues with the bit, such as excessive vibration or difficulty in making clean cuts, it might indicate a problem. In such cases, turn off the router and double-check the bit installation. Ensure that the bit is securely tightened in the collet.
Remember, it’s always a good idea to practice on a scrap or test piece of wood before working on your actual woodworking project. This allows you to familiarize yourself with the new bit and make any necessary adjustments.
By reconnecting the router and testing the new bit, you can ensure that everything is in proper working order and ready for your woodworking tasks.
With the process complete, you can now enjoy the versatility and functionality of your newly changed bit on your Ryobi router.
Read more: How To Put Bit In Ryobi Drill
Conclusion
Changing the bit on your Ryobi router is a straightforward process that can greatly expand your woodworking capabilities. By following the step-by-step guide outlined in this article, you can safely and effectively change the bit on your router.
Remember, before starting the process, always prioritize safety by wearing appropriate protective equipment, switching off and unplugging the router, and ensuring a well-ventilated work area.
Gather the necessary tools and materials, including a new compatible router bit and a wrench or router wrench. Loosen the collet, remove the old bit carefully, and insert the new bit securely. Finally, tighten the collet to firmly hold the new bit in place.
After completing these steps, reconnect the router, turn it on, and test the new bit on a scrap piece of wood. If everything is working smoothly, you are ready to tackle your woodworking projects with confidence.
Always remember to practice caution and pay attention to the performance of the new bit during use. If any issues arise, turn off the router and double-check the installation of the bit.
Now that you have learned how to change the bit on your Ryobi router, you can unleash your creativity and achieve impressive woodworking results. Embrace the possibilities and enjoy the journey of crafting beautiful and precise cuts with your new bit.
Happy woodworking!
Now that you've mastered changing bits on your Ryobi router, why not expand your DIY skills further? If woodworking piques your interest, our article on the best woodworking tools will guide you through essential gear for your projects. For those who thrive on using quality equipment, our comprehensive review on the top power tools will help you select the right machinery for any task. Also, don't miss out on enhancing your Ryobi setup with our detailed overview of must-have Ryobi pressure washer accessories, perfect for any cleaning challenge.
Frequently Asked Questions about How To Change Bit On Ryobi Router
Was this page helpful?
At Storables.com, we guarantee accurate and reliable information. Our content, validated by Expert Board Contributors, is crafted following stringent Editorial Policies. We're committed to providing you with well-researched, expert-backed insights for all your informational needs.
0 thoughts on “How To Change Bit On Ryobi Router”