Articles
How To Remove Bit From Ryobi Impact Driver
Modified: May 6, 2024
Learn how to remove the bit from your Ryobi Impact Driver easily with our step-by-step articles. Gain expert tips and tricks for a smooth bit replacement process.
(Many of the links in this article redirect to a specific reviewed product. Your purchase of these products through affiliate links helps to generate commission for Storables.com, at no extra cost. Learn more)
Introduction
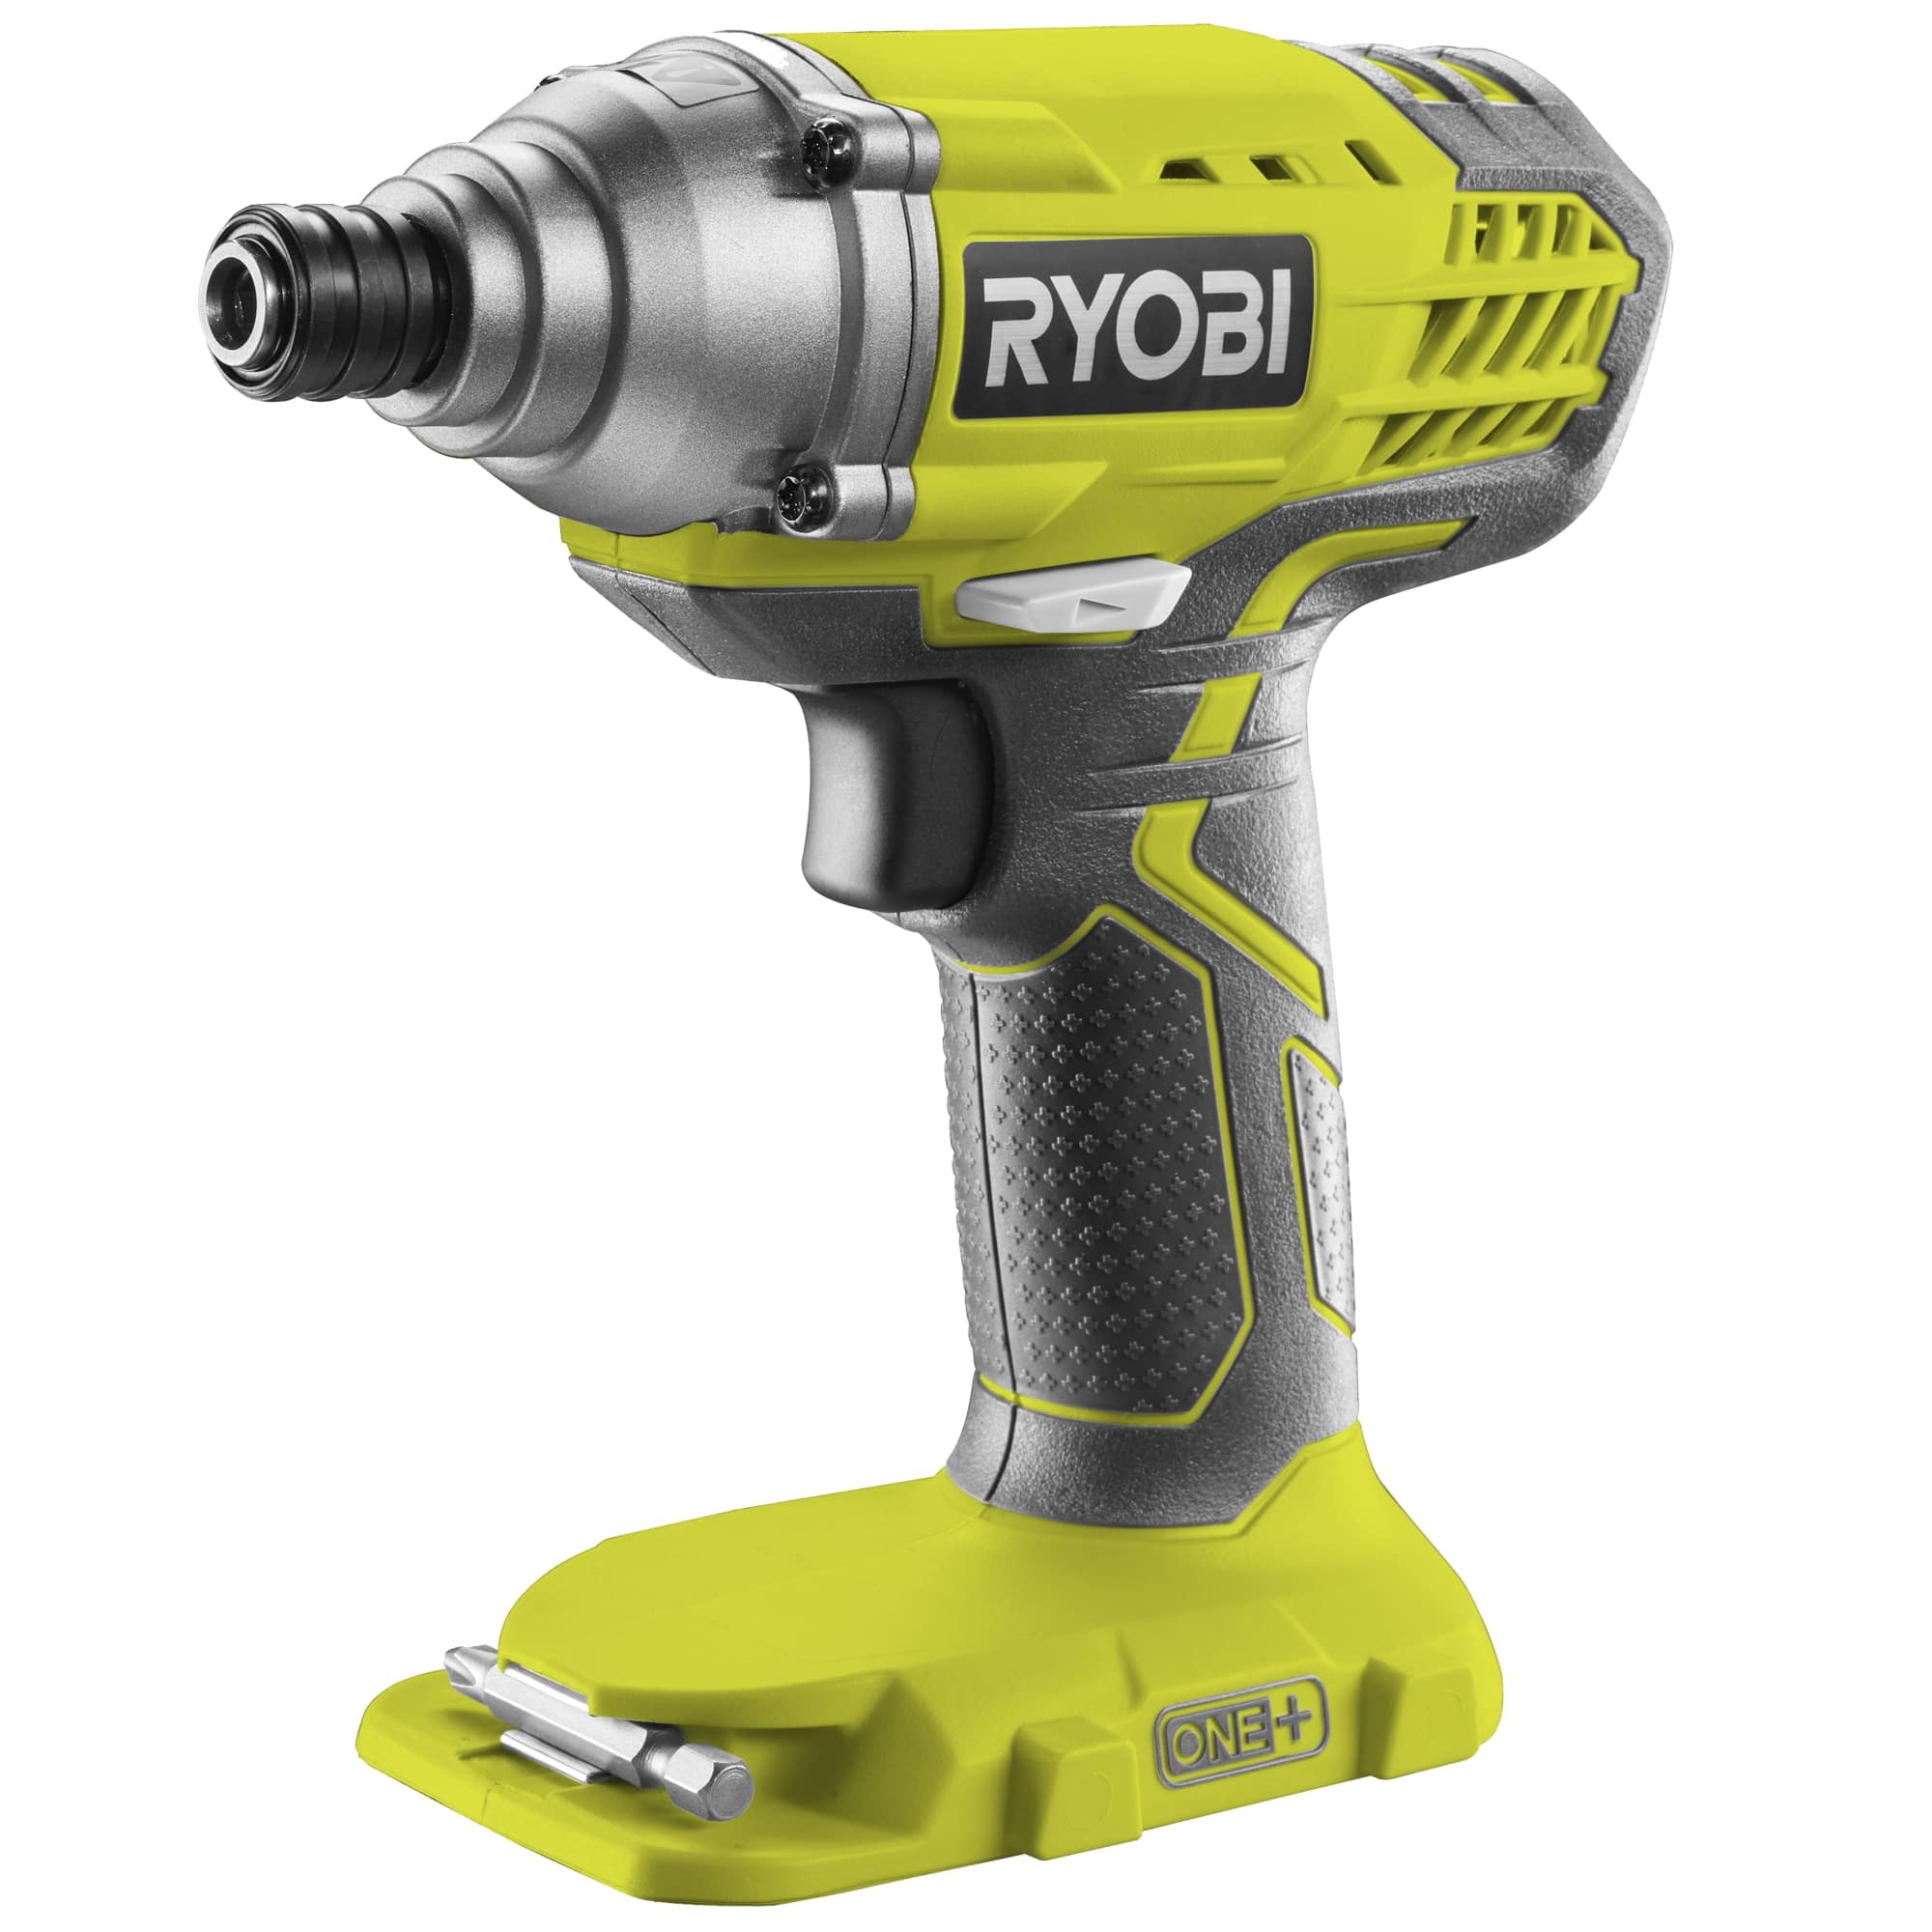
When it comes to working with power tools, one of the common tasks you may encounter is removing a bit from an impact driver. Whether you need to replace the bit, clean it, or simply switch to a different one, knowing how to properly remove the bit is essential. In this article, we will guide you through the steps to remove a bit from a Ryobi impact driver, a popular brand known for its quality and durability.
Removing a bit from a Ryobi impact driver is a fairly straightforward process, but it’s important to follow the correct steps to avoid any damage to the tool or injury to yourself. We will walk you through the process, from preparing the impact driver to reassembling it after removing the bit.
Before we dive into the step-by-step process, let’s take a look at the tools and materials you will need for this task.
Key Takeaways:
- Safely and efficiently remove a bit from your Ryobi impact driver by preparing the tool, inspecting the bit holder, and using the appropriate tools for a smooth and effective process.
- Prioritize safety and proper reassembly when removing and replacing bits in your impact driver to maintain functionality and prevent accidents or damage. Always consult the user manual or seek professional assistance if needed.
Tools and Materials Required
Before you begin the process of removing a bit from your Ryobi impact driver, gather the following tools and materials:
- Phillips screwdriver: You will need a Phillips screwdriver to remove any screws or fasteners holding the bit in place.
- Pliers: Pliers will come in handy for gripping and pulling out the bit, especially if it’s stuck or difficult to remove.
- Clean cloth: Have a clean cloth nearby to wipe off any debris or dirt that may accumulate on the impact driver or the bit.
With these tools and materials prepared, you’re now ready to proceed with removing the bit from your Ryobi impact driver. Let’s move on to the step-by-step process.
Step 1: Preparing the Impact Driver
Before you start removing the bit from your Ryobi impact driver, it’s important to ensure that the tool is properly prepared. Follow these steps to prepare the impact driver:
- Disconnect the power source: If your impact driver is corded, unplug it from the power source. If it’s a cordless impact driver, remove the battery to prevent any accidental start-ups.
- Secure the impact driver: Place the impact driver on a stable surface, such as a workbench or table, to prevent it from rolling or falling while you’re working on it.
- Inspect the impact driver: Take a moment to visually inspect the impact driver for any visible damage or signs of wear. Make sure there are no loose parts or screws that need to be tightened before proceeding.
- Clean the impact driver: Use a clean cloth to wipe off any dirt, dust, or debris from the surface of the impact driver. This will help prevent any contamination or damage to the internal components.
By following these steps, you’ll ensure that your Ryobi impact driver is properly prepared for the bit removal process. Now that the impact driver is ready, let’s move on to the next step: removing the bit.
To remove a bit from a Ryobi impact driver, hold the collet and rotate the chuck counterclockwise to release the bit. Pull the bit out once it’s loose.
Step 2: Removing the Bit from the Impact Driver
Now that you’ve prepared your Ryobi impact driver, it’s time to remove the bit. Follow these steps to safely and efficiently remove the bit:
- Identify the bit holder: Locate the bit holder on the front of the impact driver. It is the area where the bit is inserted and secured.
- Inspect the bit holder: Take a moment to inspect the bit holder for any debris, dirt, or damage. If you notice any build-up or obstructions, use a clean cloth or compressed air to remove them.
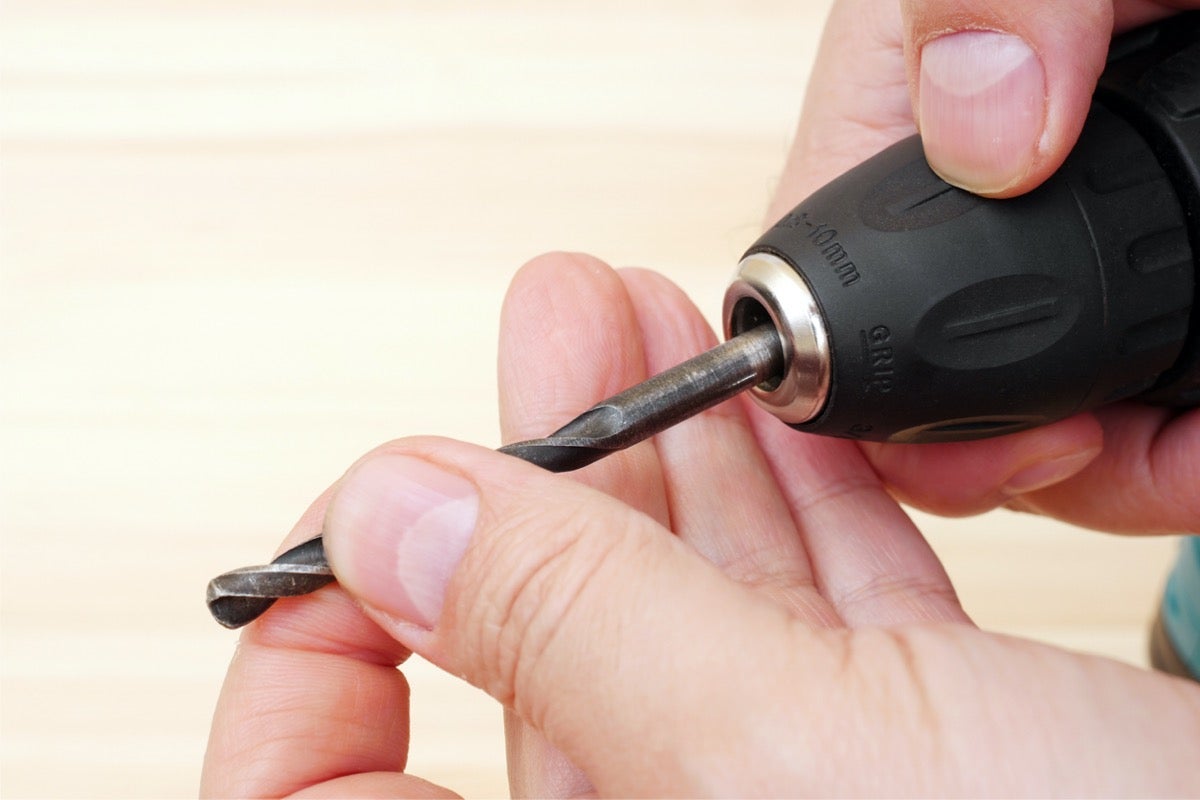
- Release the bit: Look for the release mechanism on the impact driver. This can be a button, a collar, or a sliding mechanism. Press or release the mechanism to unlock the bit holder.
- Remove the bit: Once the bit holder is unlocked, firmly grip the exposed part of the bit and pull it straight out of the impact driver. If the bit is stuck or difficult to remove, you can use pliers to provide extra leverage.
- Clean the bit: After removing the bit, inspect it for any dirt, debris, or damage. Use a clean cloth to wipe off any residue, and if necessary, you can also clean it with a mild solvent or brush.
With these steps, you should be able to successfully remove the bit from your Ryobi impact driver. Now, let’s move on to the final step: reassembling the impact driver.
Step 3: Reassembling the Impact Driver
After removing the bit from your Ryobi impact driver, it’s important to properly reassemble the tool to ensure it functions correctly. Follow these steps to reassemble the impact driver:
- Clean the bit holder: Before inserting a new bit or reusing the same one, make sure the bit holder is clean and free from debris. Use a clean cloth or compressed air to remove any dirt or residue.
- Select the new bit: If you plan on using a new bit, choose the appropriate bit for your intended task. If you’re reusing the same bit, inspect it for any damage or wear and determine if it is still suitable for use.
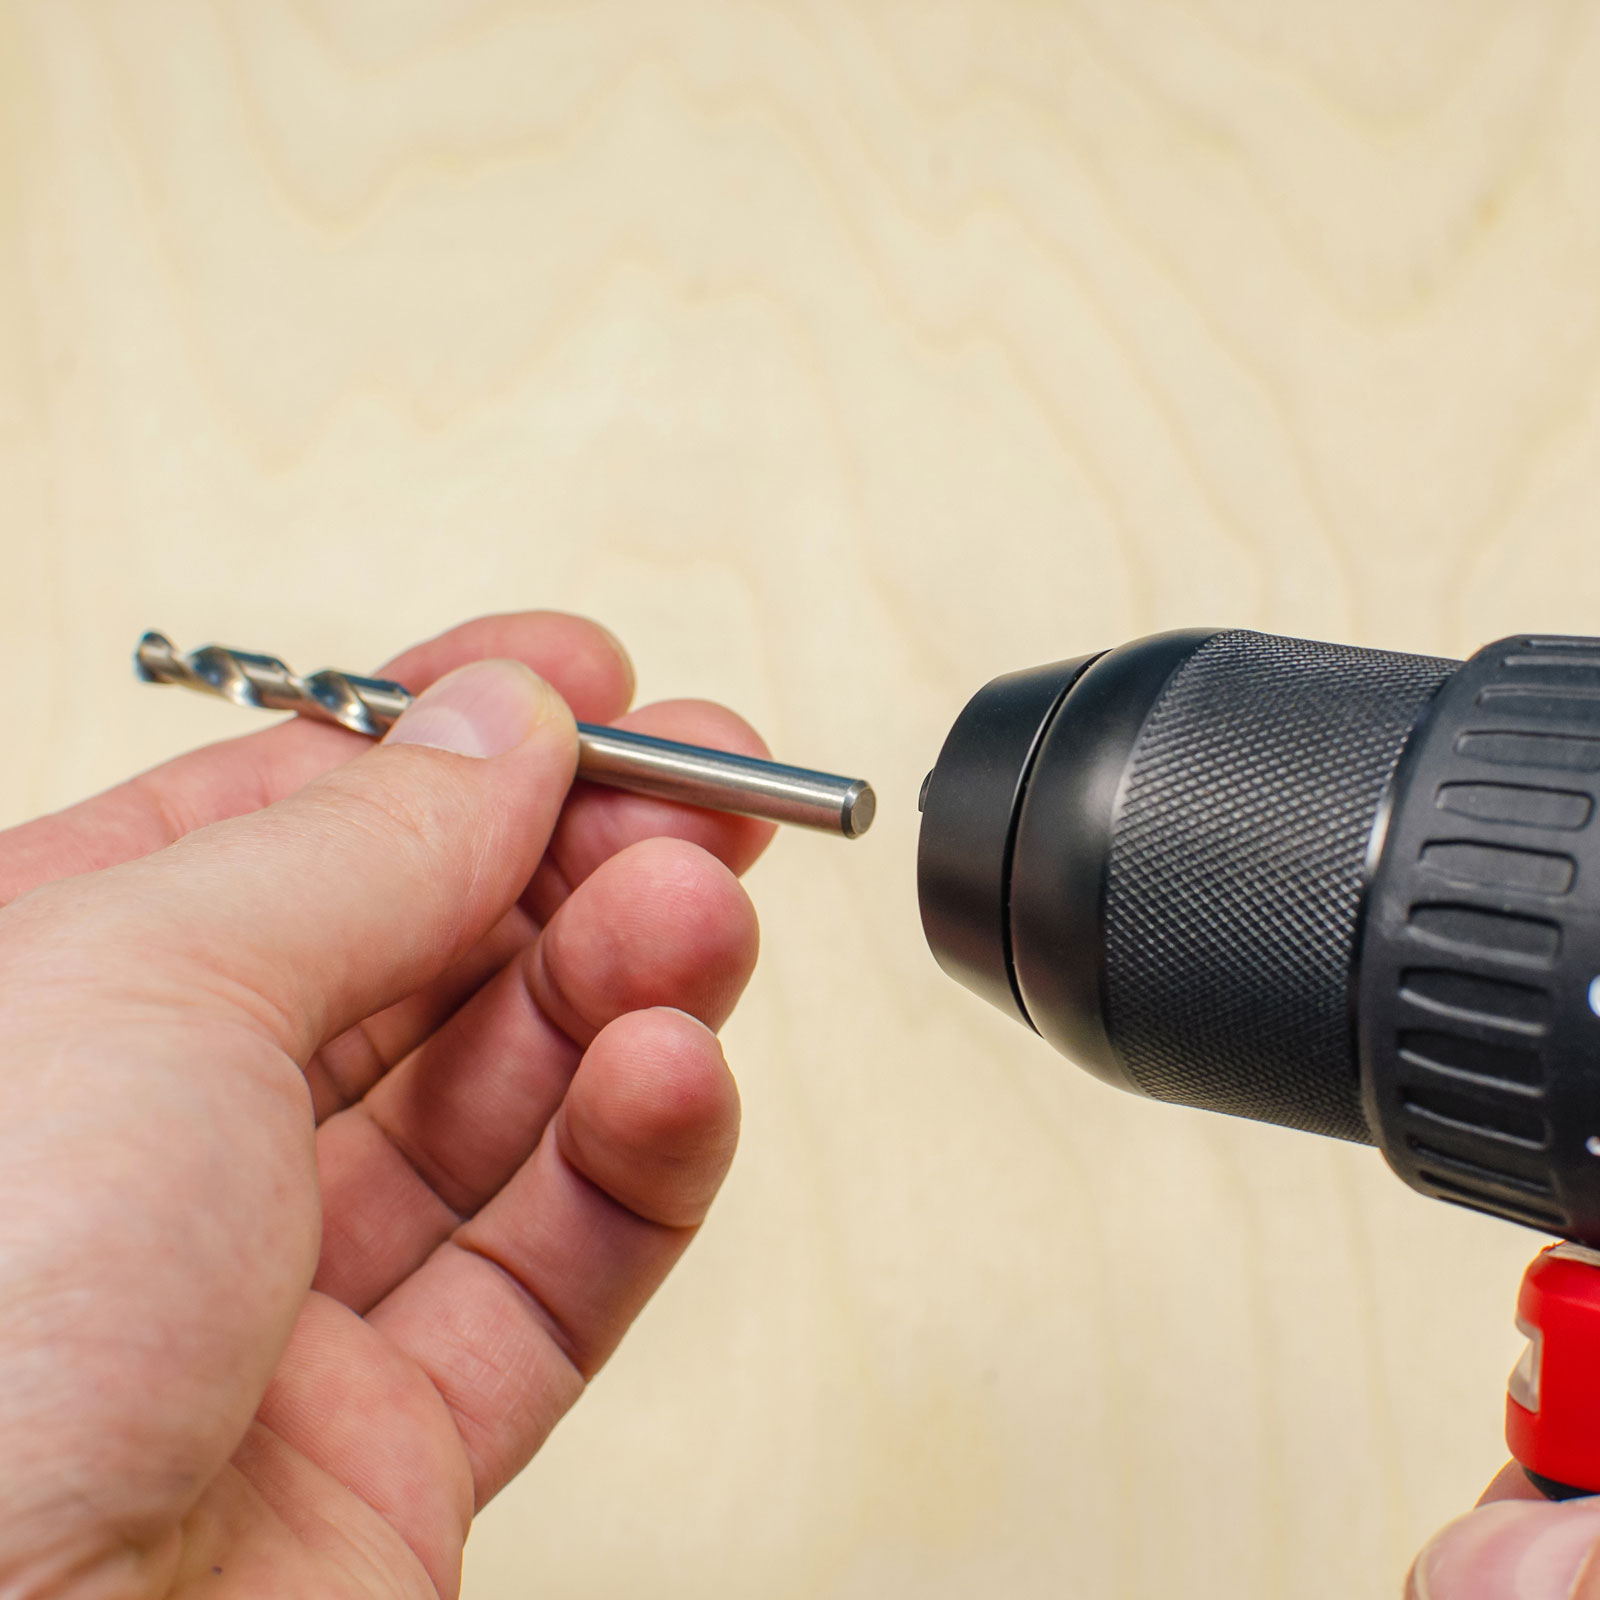
- Insert the bit: Align the shank of the bit with the opening of the bit holder and push it in until it is fully seated. Make sure the bit is secure and not wobbling or loose.
- Lock the bit holder: If your impact driver has a locking mechanism, engage it to ensure the bit is securely held in place. This will prevent it from coming loose during operation.
- Test the functionality: Before using the impact driver on your desired task, give it a test run to make sure the bit is properly installed and the tool is functioning correctly. Ensure the power source is connected (or the battery is in place) and activate the impact driver to observe its performance.
By following these steps, you can successfully reassemble your Ryobi impact driver with a new or reused bit. It’s crucial to double-check that the bit is securely installed to avoid any accidents or damage to the tool. Now that you’ve reassembled the impact driver, you’re ready to get back to work.
Read more: How To Remove Bit From Ryobi Drill
Conclusion
Removing a bit from a Ryobi impact driver is a simple process when you follow the correct steps. By preparing the impact driver, inspecting the bit holder, and using the appropriate tools, you can safely and efficiently remove the bit from your tool. Remember to clean the bit holder, choose the right bit for your task, and securely lock the bit in place during reassembly.
Properly removing and replacing bits in your impact driver is essential for maintaining its functionality and preventing any accidents or damage. By following the steps outlined in this article, you can confidently remove and replace bits in your Ryobi impact driver, ensuring smooth and effective operation for your future projects.
Always prioritize safety when working with power tools, and make sure to disconnect the power source or remove the battery before starting any maintenance tasks. If you encounter any difficulties or issues during the bit removal process, it is recommended to consult the user manual or seek assistance from a professional.
We hope this article has provided you with the knowledge and guidance you need to successfully remove bits from your Ryobi impact driver. Happy working!
Now that you've mastered removing bits from your Ryobi Impact Driver, why not delve deeper into your toolkit's potential? Discovering which tools best complement your DIY projects can save time and enhance results. Our upcoming guide on effective power tools provides essential insights into selecting reliable and efficient equipment. Don't miss out on elevating your tool expertise!
Frequently Asked Questions about How To Remove Bit From Ryobi Impact Driver
Was this page helpful?
At Storables.com, we guarantee accurate and reliable information. Our content, validated by Expert Board Contributors, is crafted following stringent Editorial Policies. We're committed to providing you with well-researched, expert-backed insights for all your informational needs.


0 thoughts on “How To Remove Bit From Ryobi Impact Driver”