Articles
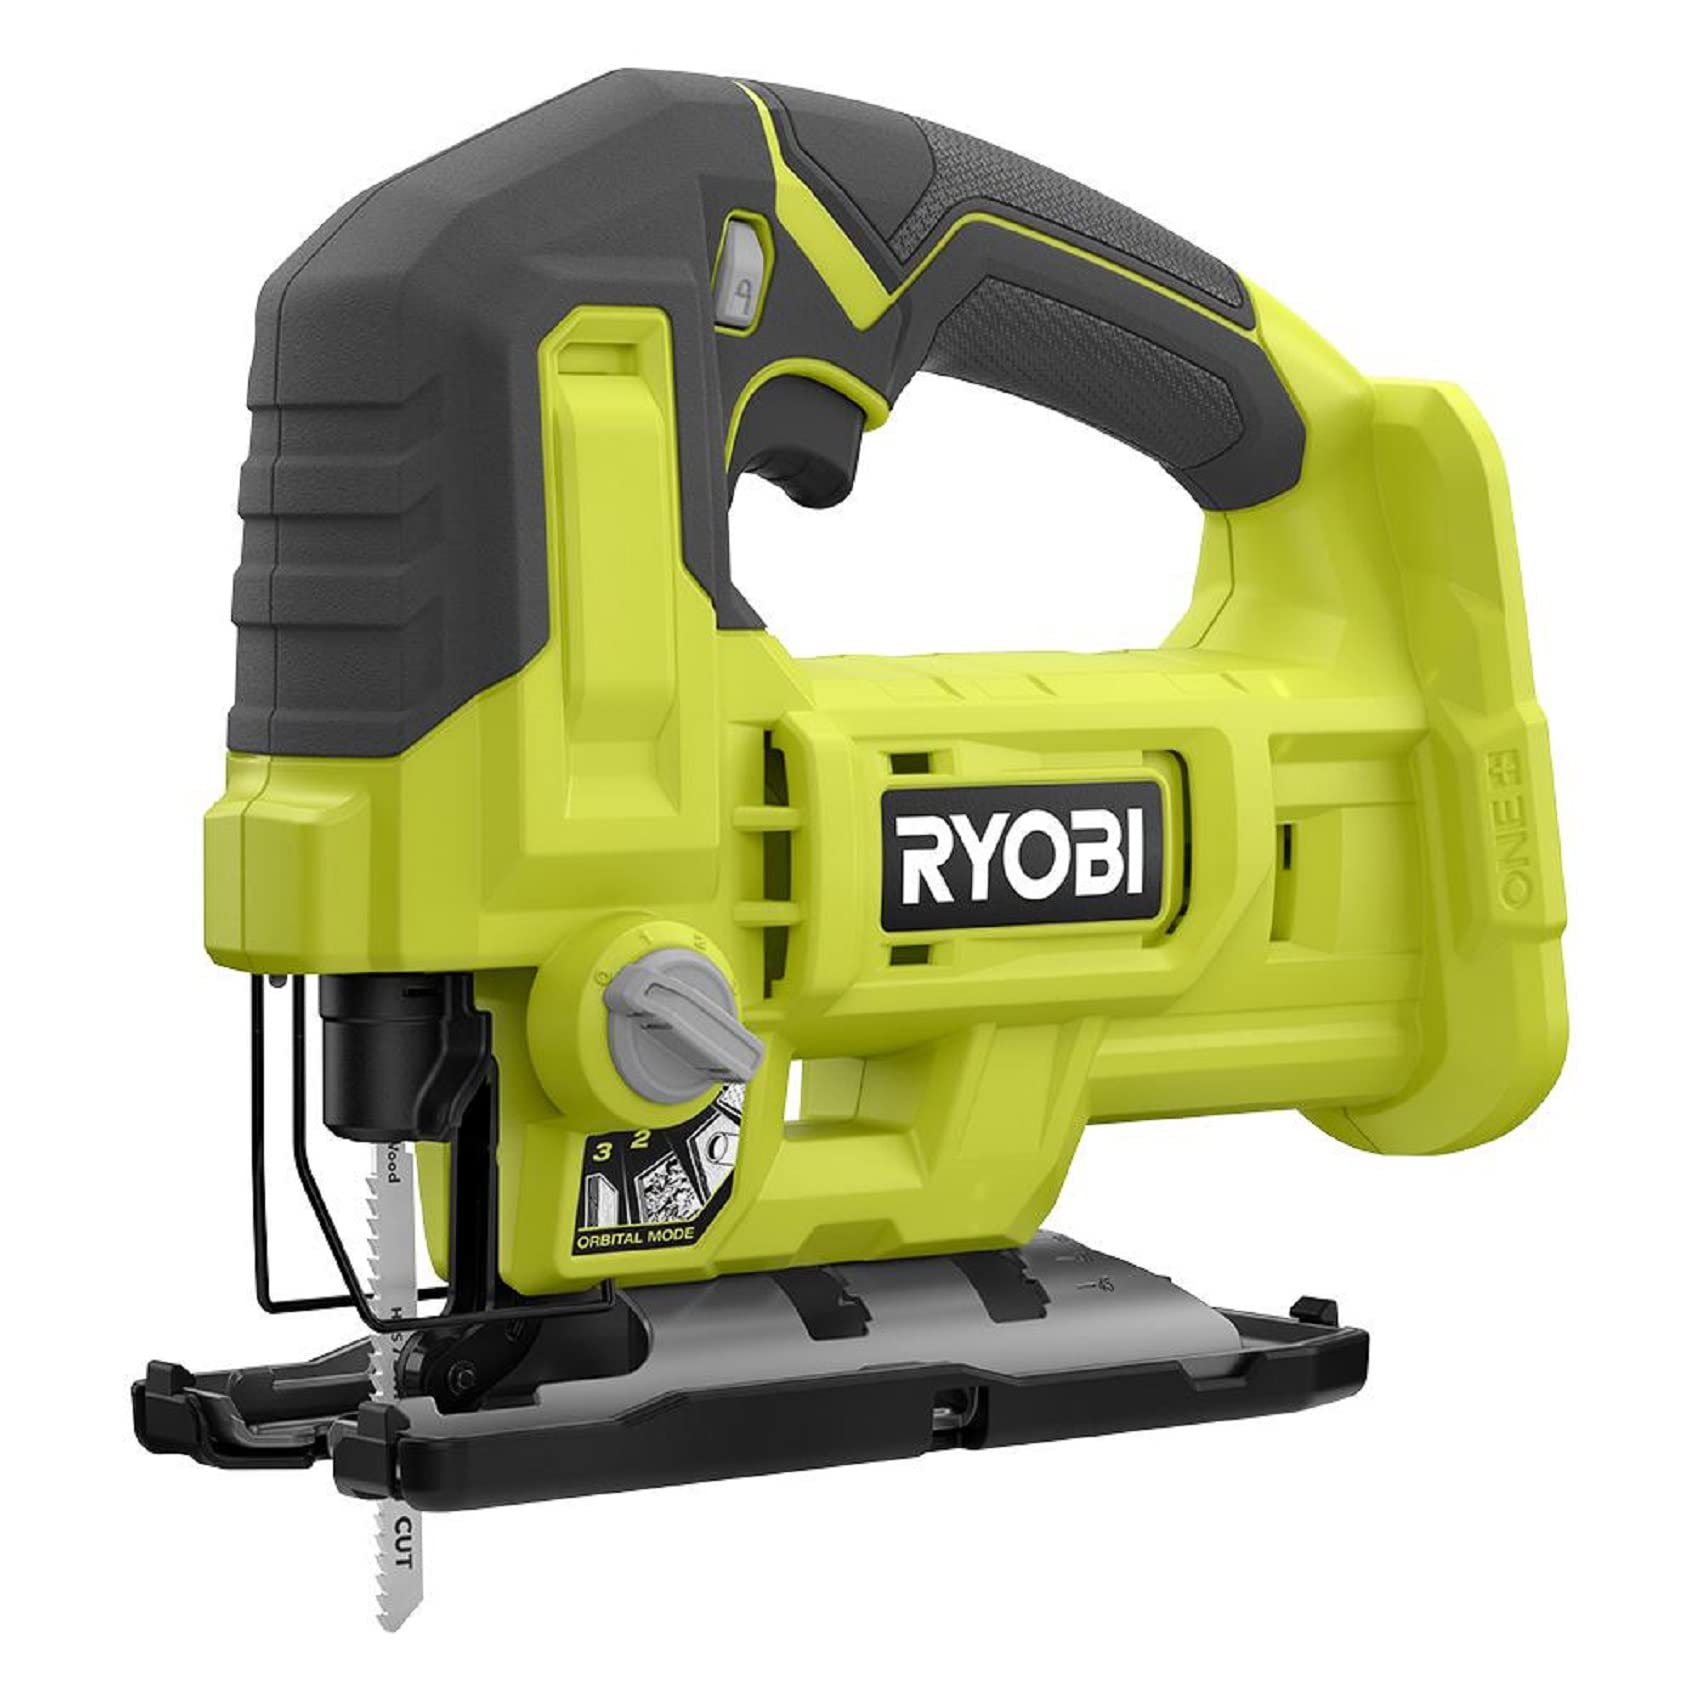
How To Change Blade On Ryobi Jigsaw
Modified: December 7, 2023
Learn how to change the blade on your Ryobi jigsaw quickly and easily with our step-by-step articles. Increase your tool expertise today!
(Many of the links in this article redirect to a specific reviewed product. Your purchase of these products through affiliate links helps to generate commission for Storables.com, at no extra cost. Learn more)
Introduction
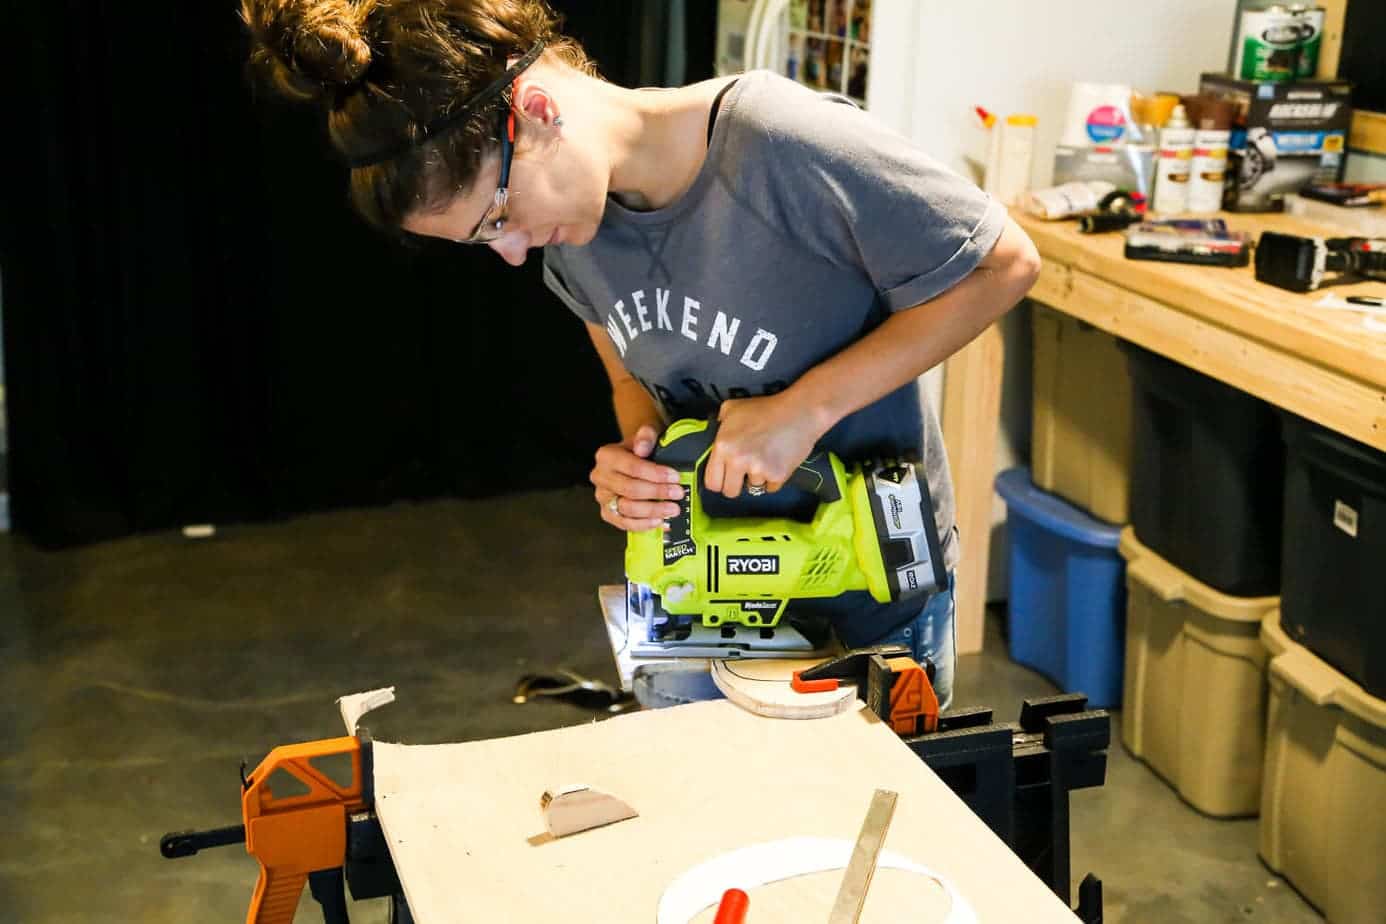
Changing the blade on your Ryobi jigsaw is a simple task that allows you to maintain the efficiency and performance of your tool. Whether you need to swap out a dull blade for a sharp one or switch to a blade suitable for a different material, knowing how to change the blade will save you time and effort during your projects.
In this article, we will guide you through the step-by-step process of changing the blade on your Ryobi jigsaw. With the right tools and a little know-how, you’ll be able to quickly and safely replace the blade, ensuring that your jigsaw remains in optimal working condition.
Before we dive into the steps, it’s important to note that safety should always be a top priority. Make sure to wear appropriate personal protective equipment such as safety glasses and gloves before attempting to change the blade. Additionally, ensure that the jigsaw is unplugged from the power source or that the battery is removed (if applicable) to avoid accidental start-up.
Now, let’s gather the necessary tools and materials needed for this procedure.
Key Takeaways:
- Master the art of changing the blade on your Ryobi jigsaw to ensure efficient and precise cutting performance. Prioritize safety, gather the right tools, and follow the step-by-step process for a seamless blade replacement.
- Empower yourself with the knowledge and skills to adapt to different cutting tasks and materials with your Ryobi jigsaw. By mastering blade replacement, you can achieve professional-quality results in woodworking and DIY projects.
Read more: What Type Of Blade Does A Ryobi Jigsaw Use
Step 1: Gather the necessary tools and materials
Before you begin changing the blade on your Ryobi jigsaw, it’s important to gather all the tools and materials you’ll need for the task. This will ensure a smooth and efficient process. Here’s a list of items you’ll need:
- Ryobi jigsaw – Make sure you have the specific model of jigsaw that requires blade replacement.
- New jigsaw blade – Choose a blade that is suitable for the material you’ll be cutting.
- Hex wrench or Allen key – This tool is needed to loosen and tighten the blade retaining screw.
- Safety glasses – Protect your eyes from any potential debris during the blade replacement process.
- Gloves – Wear gloves to protect your hands from any sharp edges or potential injuries.
Once you have gathered all the necessary tools and materials, you’re ready to proceed to the next step. Remember, it’s always better to be prepared and have everything you need within reach to avoid any interruptions during the blade replacement process.
Step 2: Unplug the jigsaw and remove the battery (if applicable)
Prior to any maintenance or blade replacement, always prioritize safety by ensuring that the jigsaw is completely disconnected from the power source. This will prevent any accidental start-up and avoid potential injuries. If your jigsaw is battery-powered, make sure to remove the battery before proceeding.
If your jigsaw is corded, simply unplug it from the power outlet. This step is crucial to ensure your safety and prevent any potential electrical hazards. It’s always a good practice to double-check that the jigsaw is unplugged by tugging on the cord gently.
If your jigsaw is battery-powered, locate the battery compartment and remove the battery according to the manufacturer’s instructions. This step is essential to prevent any unexpected operations while replacing the blade.
By unplugging the jigsaw or removing the battery, you can have peace of mind knowing that the tool is completely powered off and won’t accidentally start during the blade replacement process.
Once you have unplugged the jigsaw or removed the battery, you’re ready to move on to the next step, where we will locate the blade release mechanism.
Step 3: Locate the blade release mechanism
Before you can remove the old blade from your Ryobi jigsaw, you need to locate the blade release mechanism. This mechanism varies depending on the model of your jigsaw, so refer to the tool’s manual if you need assistance in finding it.
The blade release mechanism is designed to secure the blade in place while allowing you to easily remove and replace it. It typically consists of a lever or a button located near the blade holder area of the jigsaw.
Some Ryobi jigsaw models have a quick-release feature, where you can simply press the blade release button or lever to release the blade. Other models may require you to use a hex wrench or Allen key to manually loosen the blade retaining screw.
Take a few moments to familiarize yourself with the specific location and operation of the blade release mechanism on your Ryobi jigsaw. This will ensure a smooth blade replacement process without any guesswork.
Once you have identified the blade release mechanism, move on to the next step, where we will release the blade using the mechanism.
Step 4: Release the blade using the blade release mechanism
Now that you have located the blade release mechanism on your Ryobi jigsaw, it’s time to release the blade. Follow these steps to safely remove the old blade:
- If your jigsaw has a quick-release feature, simply press the blade release button or lever. This will open the blade holder and allow the blade to be easily removed. Proceed to step 6.
- If your jigsaw requires the use of a hex wrench or Allen key, insert the tool into the blade retaining screw. Rotate the wrench counterclockwise to loosen the screw. Make sure not to completely remove the screw at this stage.
- Once the blade retaining screw is loosened, the blade will be free from the blade holder. Gently pull the blade out from the jigsaw, taking care not to damage yourself or the tool in the process.
- Set aside the old blade in a safe place or discard it properly depending on its condition.
It’s important to note that some jigsaw models may have a blade lock mechanism in addition to the blade release mechanism. If this is the case with your Ryobi jigsaw, make sure to disengage the blade lock before attempting to release the blade.
With the old blade removed, we can now move on to the next step, where we will insert the new blade into the jigsaw.
Read more: How To Change Blade On Ryobi Multi Tool
Step 5: Remove the old blade from the jigsaw
Now that the blade has been released from the blade holder, it’s time to remove the old blade from your Ryobi jigsaw. Follow these steps to safely and effectively remove the blade:
- Hold the jigsaw with one hand, ensuring a firm grip on the tool while keeping your fingers away from the blade area.
- Using your other hand, carefully and firmly pull the old blade straight out from the jigsaw. If the blade is stuck or does not come out easily, try wiggling it gently while pulling to loosen it.
- Once the old blade is removed, set it aside in a safe place or discard it properly depending on its condition.
It’s important to handle the old blade with caution as it may still be sharp or have jagged edges. Make sure to properly dispose of the old blade to avoid any injuries.
Now that the old blade has been successfully removed, we can proceed to the next step where we will insert the new blade into the jigsaw.
When changing the blade on a Ryobi jigsaw, always unplug the tool first for safety. Use the blade release lever to remove the old blade, then insert the new blade and secure it in place before using the jigsaw again.
Step 6: Insert the new blade into the jigsaw
With the old blade safely removed from your Ryobi jigsaw, it’s time to insert the new blade. Follow these steps to properly and securely install the new blade:
- Take the new blade and ensure that it is the correct size and type for your jigsaw and the material you will be cutting. Refer to the manufacturer’s instructions or the blade packaging for guidance.
- Position the new blade with the teeth facing forward, in the same orientation as the old blade. Make sure the blade is fully inserted into the blade holder and the clamping mechanism.
- If your jigsaw has a quick-release feature, simply press the blade release button or lever and ensure that the blade is securely locked into place.
- If your jigsaw requires the use of a blade retaining screw, align the holes in the blade with the screw hole in the jigsaw. Insert the blade retaining screw and use a hex wrench or Allen key to tighten it securely. Be careful not to overtighten the screw.
Ensure that the new blade is properly inserted and securely held in place. Wiggle the blade gently to confirm that it is seated correctly in the jigsaw without any looseness or play.
Once the new blade is successfully inserted, we can move on to the next step where we will secure the blade in place.
Step 7: Secure the blade in place
Now that the new blade is properly inserted into your Ryobi jigsaw, it’s crucial to secure it in place to ensure safe and effective operation. Follow these steps to securely lock the blade in position:
- If your jigsaw has a quick-release feature, simply ensure that the blade release button or lever is fully engaged and locked. This will confirm that the blade is securely held in place.
- If your jigsaw requires the use of a blade retaining screw, use a hex wrench or Allen key to tighten the screw securely. Make sure not to overtighten the screw, as this can damage the blade or the jigsaw.
- Once the blade is securely locked in place, visually inspect the blade to ensure that it is aligned properly with the jigsaw. The teeth of the blade should be facing forward and in the same direction as the cutting motion.
- Verify that the blade is firmly seated in the blade holder without any noticeable looseness or play. If the blade feels loose, repeat the previous steps to reposition and secure it.
Having the blade securely locked in place is crucial for your safety and the efficient operation of the jigsaw. Take a moment to double-check that the blade is properly secured before proceeding.
Now that the blade is securely in place, we can move on to the next step where we will reattach the battery (if applicable) and plug in the jigsaw.
Step 8: Reattach the battery (if applicable) and plug in the jigsaw
Now that you have successfully secured the new blade in your Ryobi jigsaw, it’s time to reattach the battery (if applicable) and plug in the jigsaw. Follow these steps to power up your tool:
- If your jigsaw is battery-powered, locate the battery compartment and reinsert the battery according to the manufacturer’s instructions. Ensure it is securely connected and properly aligned.
- Make sure the battery is fully charged before inserting it into the jigsaw. A charged battery will provide optimal performance during your cutting tasks.
- If your jigsaw is corded, simply plug it into a power outlet. Ensure that the power cord is fully inserted and secure in the outlet.
- Before proceeding, double-check that the jigsaw’s power switch is in the off position. This will prevent any accidental start-up while preparing for the next step.
By reattaching the battery or plugging in the jigsaw, you’re now ready to put the newly installed blade to use. However, always remember to follow appropriate safety precautions and guidelines while operating the jigsaw.
In the next step, we will test the jigsaw with the new blade to ensure proper functionality and performance.
Read more: How To Change The Blade On A Ryobi Table Saw
Step 9: Test the jigsaw with the new blade
After successfully installing the new blade in your Ryobi jigsaw, it’s important to test the tool to ensure that the blade is properly functioning and the jigsaw is performing as expected. Follow these steps to test the jigsaw with the new blade:
- Put on your safety glasses and gloves to protect yourself during the testing process.
- Make sure the work area is clear of any obstructions and secure the material you intend to cut.
- Hold the jigsaw firmly with both hands, ensuring a stable grip on the tool.
- Turn on the jigsaw by flipping the power switch to the “on” position.
- With the new blade installed, make a few test cuts on a scrap piece of material. Observe the cutting action and listen for any unusual sounds or vibrations.
- Inspect the quality of the cuts and ensure that the blade is performing as expected for the material you’re working with.
- If you notice any issues or irregularities during the testing process, such as excessive vibration or poor cutting performance, double-check the blade installation to ensure it is properly secured. If the problem persists, consult the tool’s manual or seek assistance from a professional.
- Once you are satisfied with the performance and cutting results, turn off the jigsaw by flipping the power switch to the “off” position.
By testing the jigsaw with the new blade, you can confirm that everything is in working order and proceed to your cutting tasks with confidence. Remember to always prioritize safety while using power tools.
In the final step, we will discuss safety precautions and provide some additional tips for blade replacement on your Ryobi jigsaw.
Step 10: Safety precautions and tips for blade replacement
When working with power tools like a Ryobi jigsaw, it is essential to prioritize safety. Here are some important safety precautions and tips to keep in mind during the blade replacement process:
- Always wear appropriate personal protective equipment (PPE), including safety glasses and gloves, to protect your eyes and hands from any potential hazards.
- Ensure that the jigsaw is unplugged from the power source or that the battery is removed (if applicable) before starting the blade replacement process.
- Follow the manufacturer’s instructions and guidelines for your specific model of Ryobi jigsaw.
- Take your time and work in a well-lit and properly ventilated area to maximize safety and visibility.
- Handle the blades with care and avoid touching the sharp teeth. Always use caution when inserting or removing the blade from the jigsaw.
- Double-check that the blade is securely locked in place before operating the jigsaw.
- If you encounter any difficulties or issues during the blade replacement process, consult the tool’s manual or seek assistance from a knowledgeable professional.
- After completing the blade replacement, inspect the jigsaw and the surrounding area for any loose parts or debris. Clean the tool and its accessories as necessary.
- Regularly maintain and inspect your Ryobi jigsaw to ensure optimal performance. This includes cleaning, lubricating, and replacing the blade periodically.
- Keep your workspace organized and free of clutter to prevent accidents or injury.
By following these safety precautions and tips, you can ensure a smooth and safe blade replacement process on your Ryobi jigsaw.
With the blade successfully replaced and the jigsaw ready for use, you can now embark on your cutting projects with confidence and efficiency. Remember to always prioritize safety and take the necessary precautions to protect yourself and those around you.
By maintaining your jigsaw and changing the blade as needed, you can prolong the lifespan of your tool and achieve high-quality results in your woodworking or DIY projects.
Now that you are equipped with the knowledge and steps to change the blade on your Ryobi jigsaw, go ahead and tackle your next cutting task with ease!
Happy cutting!
Conclusion
Changing the blade on your Ryobi jigsaw is a fundamental skill that every DIY enthusiast or woodworker should master. With the step-by-step instructions and safety precautions outlined in this article, you can confidently replace the blade on your jigsaw and enjoy efficient and precise cutting performance.
Remember to gather all the necessary tools and materials before starting the blade replacement process. Unplug the jigsaw or remove the battery to ensure your safety. Locate the blade release mechanism and carefully release the old blade. Insert the new blade, secure it in place, and test the jigsaw to ensure proper functionality.
Throughout the process, prioritize safety by wearing appropriate PPE and working in a well-lit and organized space. Handle the blades with care and follow the manufacturer’s instructions for your specific model of Ryobi jigsaw. Regular maintenance and inspection will help keep your jigsaw in top condition.
By mastering the skill of blade replacement, you can easily adapt to different cutting tasks and materials, achieving professional-quality results in your projects. With a well-maintained jigsaw and sharp blades, you’ll be able to tackle various woodworking and DIY tasks with efficiency and precision.
Whether you’re replacing a dull blade or switching to a different blade type, knowing how to change the blade on your Ryobi jigsaw empowers you to work confidently and safely. So, equip yourself with the necessary tools, follow the step-by-step process, and enjoy the versatility and performance of your jigsaw in all your cutting endeavors.
Now, it’s time to put your knowledge into practice and embark on your next project with a jigsaw equipped with a sharp and reliable blade. Happy woodworking!
Frequently Asked Questions about How To Change Blade On Ryobi Jigsaw
Was this page helpful?
At Storables.com, we guarantee accurate and reliable information. Our content, validated by Expert Board Contributors, is crafted following stringent Editorial Policies. We're committed to providing you with well-researched, expert-backed insights for all your informational needs.
0 thoughts on “How To Change Blade On Ryobi Jigsaw”