Home>Articles>How To Change Battery In Chamberlain Garage Door Opener
Articles
How To Change Battery In Chamberlain Garage Door Opener
Modified: October 20, 2024
Learn how to change the battery in your Chamberlain garage door opener with our helpful articles. Ensure smooth operation and avoid any inconvenience.
(Many of the links in this article redirect to a specific reviewed product. Your purchase of these products through affiliate links helps to generate commission for Storables.com, at no extra cost. Learn more)
Introduction
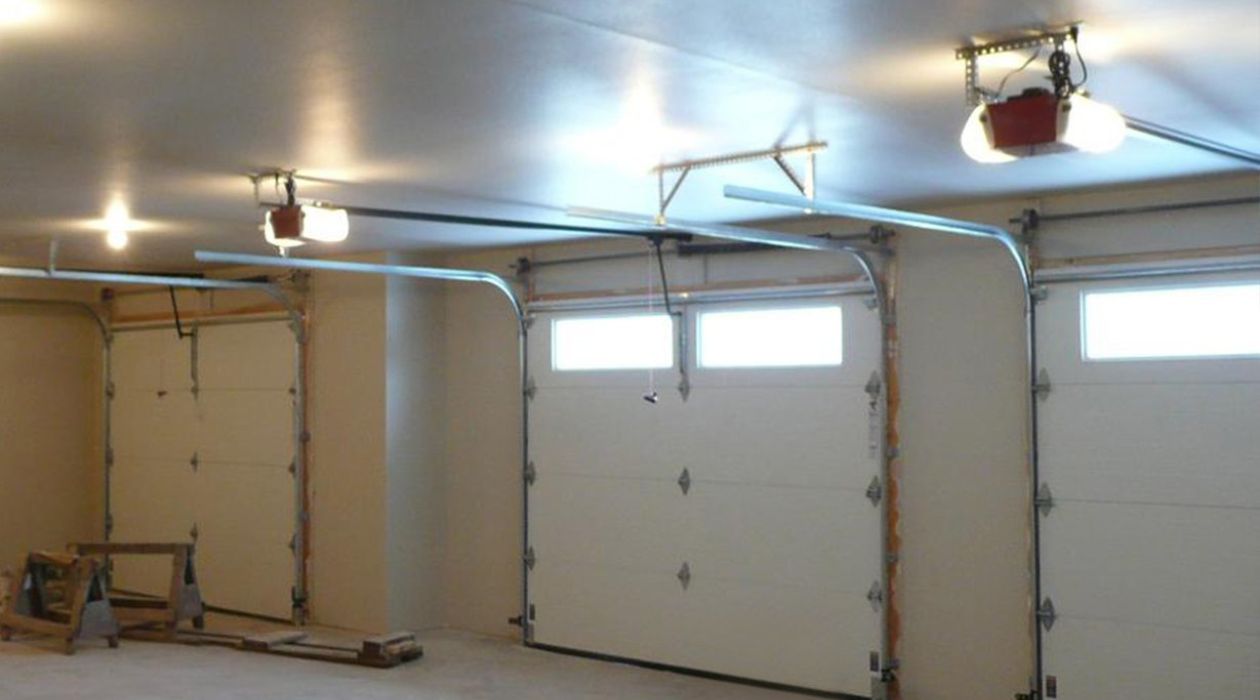
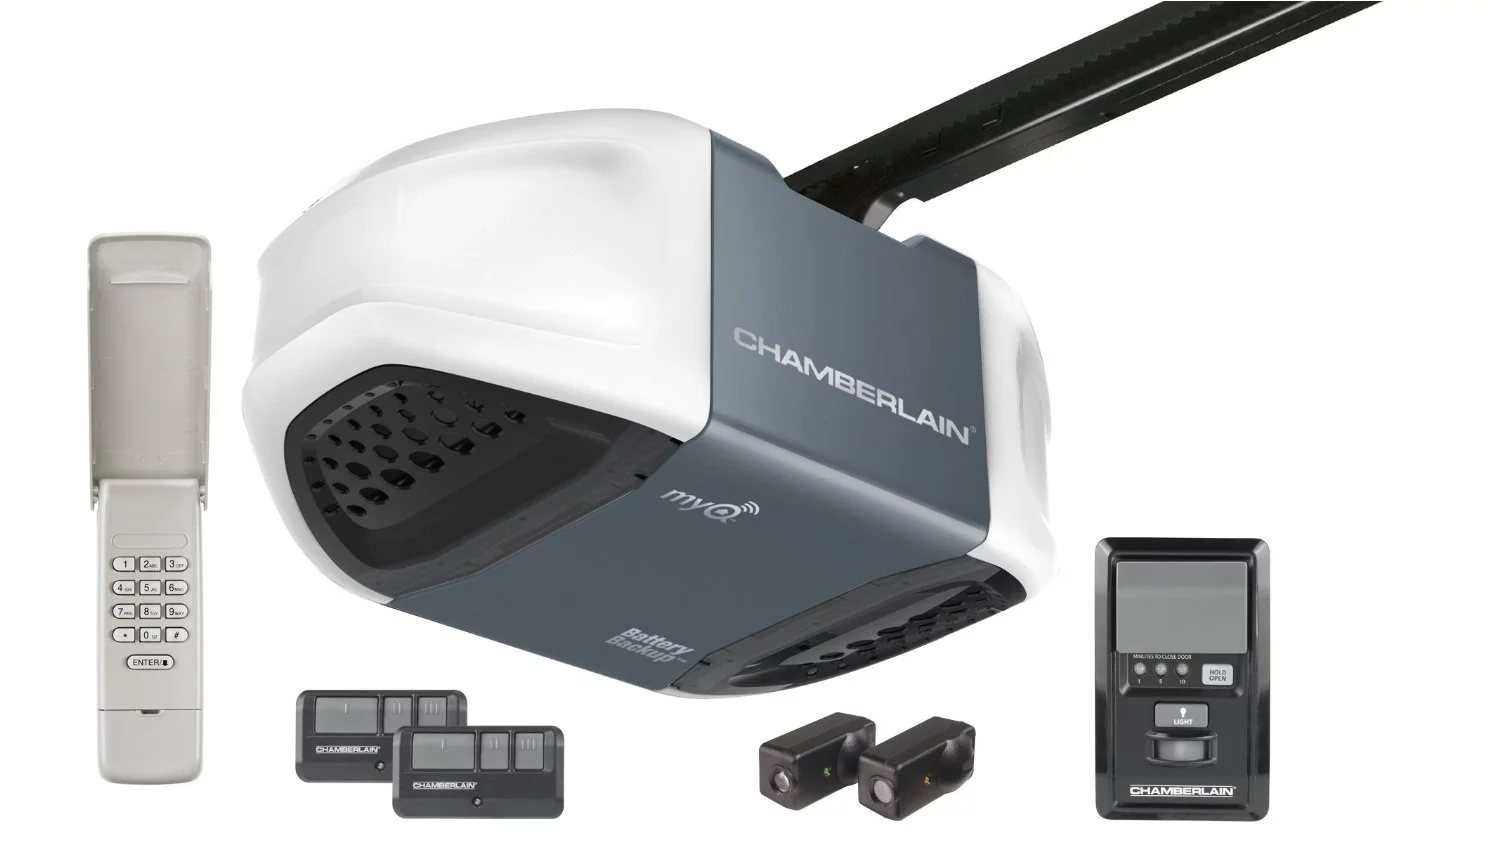
Welcome to this comprehensive guide on how to change the battery in a Chamberlain garage door opener. The garage door opener is an essential device that allows you to conveniently open and close your garage door with just a click of a button. However, like any electronic device, it requires power to function, and that power comes from a battery. Over time, the battery in your Chamberlain garage door opener may wear out and need to be replaced to ensure the smooth operation of the opener.
In this guide, we will walk you through the step-by-step process of changing the battery in your Chamberlain garage door opener. We will provide you with all the necessary information, tools, and safety measures needed to successfully complete this task. Whether you are a beginner or have some experience with DIY projects, this guide will assist you in replacing the battery in your garage door opener.
So, let’s get started! But before we begin, please keep in mind that safety is of utmost importance. Always refer to the manufacturer’s instructions and follow all safety guidelines to prevent any accidents or injuries during the battery replacement process.
In the next section, we will discuss the tools and materials needed for this task. Having these items ready beforehand will ensure a smooth and efficient battery replacement process. So, let’s move on to step 1 and gather the necessary tools and materials.
Key Takeaways:
- Safety First!
When changing the battery in your Chamberlain garage door opener, always prioritize safety. From disconnecting power to wearing safety goggles, taking precautions ensures a smooth and accident-free process. - Proper Disposal Matters
After replacing the battery, responsibly dispose of the old one. Check local regulations, recycling centers, and retailer drop-off programs to ensure environmentally friendly disposal.
Read more: How To Open A Chamberlain Garage Door Opener
Step 1: Gather the necessary tools and materials
Before you begin the battery replacement process, it is important to gather all the required tools and materials. Having everything ready will save you time and make the process much smoother. Here is a list of the things you will need:
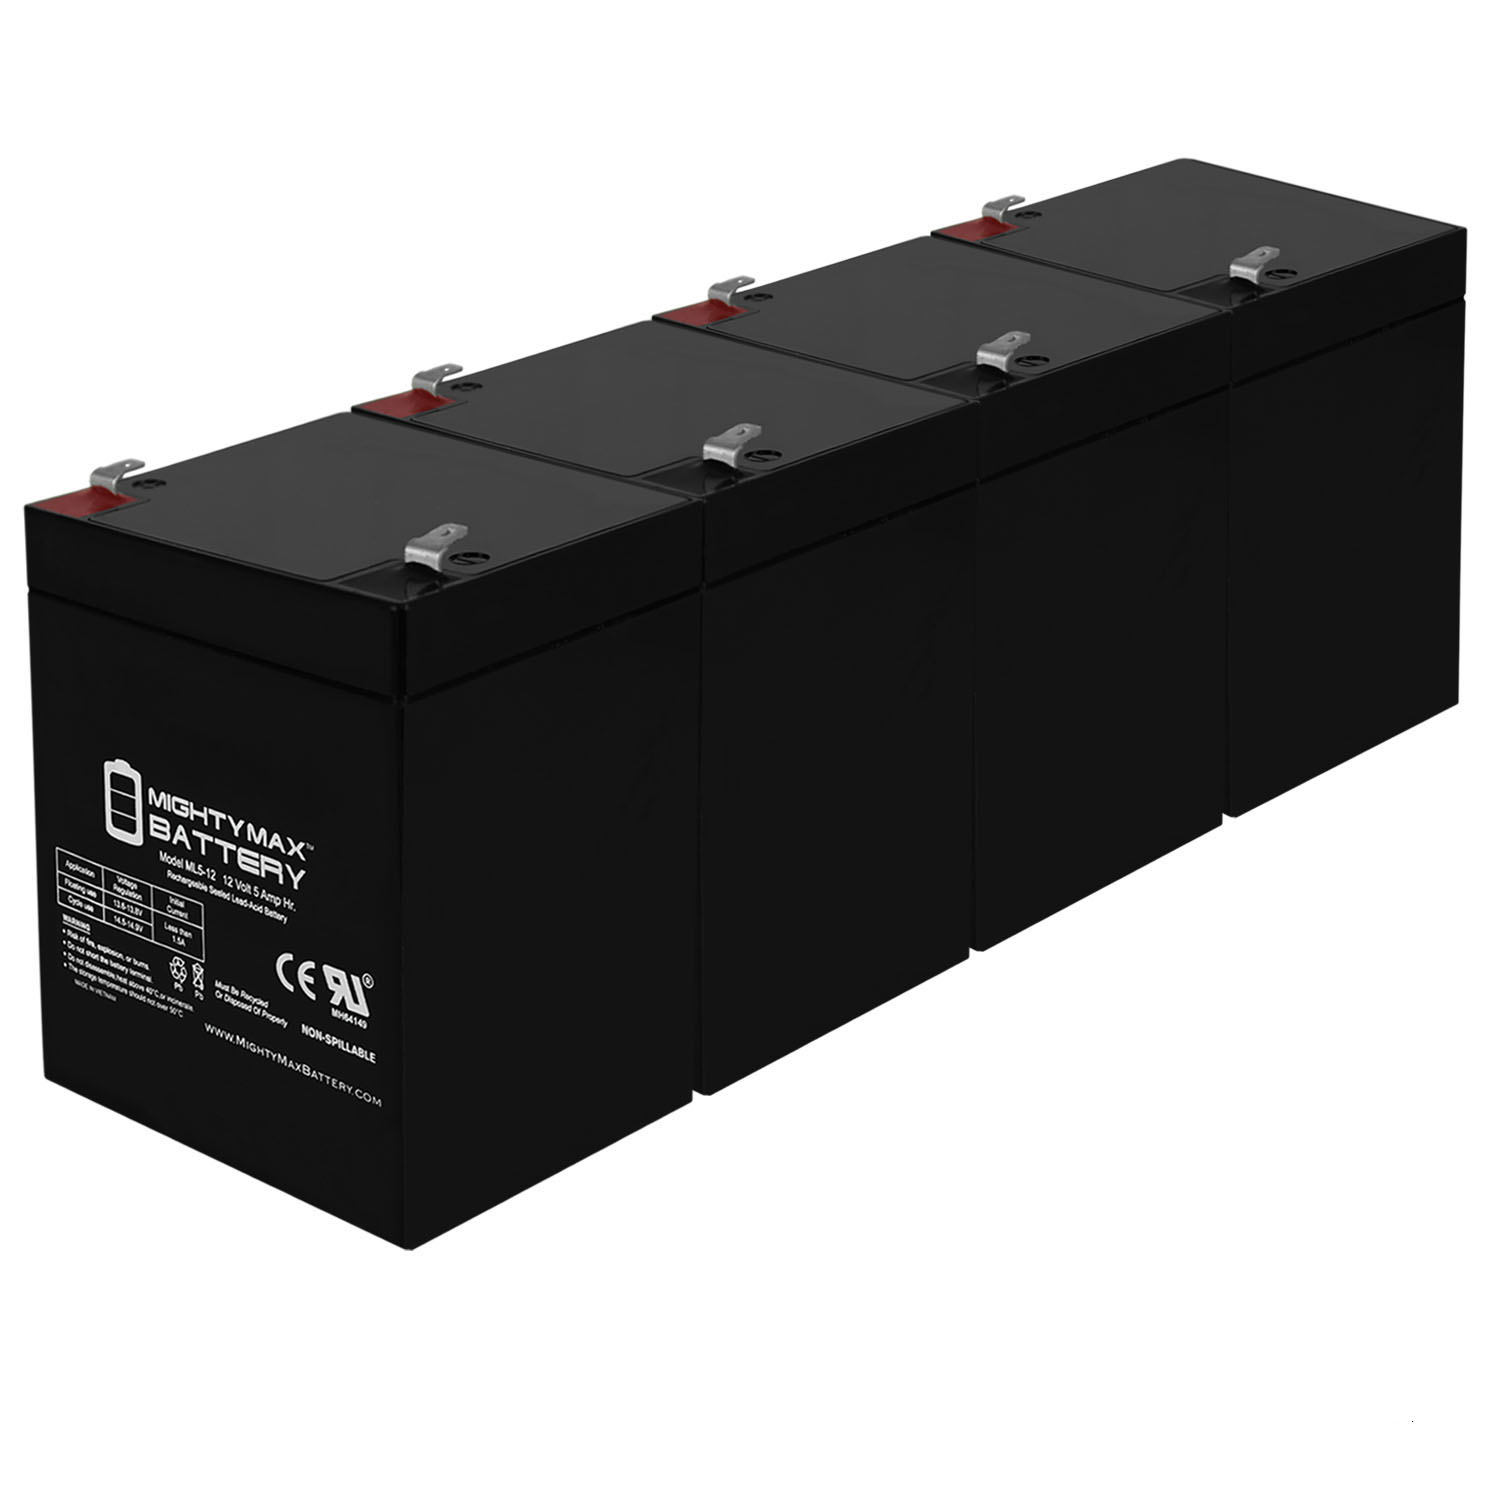
- Replacement battery: Check the user manual or the Chamberlain website to find the compatible battery for your garage door opener model. Make sure to purchase a high-quality battery to ensure long-lasting performance.
- Screwdriver: You may need a screwdriver to remove and open the battery compartment in your garage door opener. The type of screwdriver required will depend on the type of screws used in your particular model.
- Safety gloves: It is always a good idea to wear safety gloves while working with electrical components to protect your hands from any accidents or injuries.
- Cleaning cloth: A cleaning cloth will come in handy to clean any dirt or dust that may have accumulated in the battery compartment.
- Optional: Flashlight: If your garage is poorly lit, a flashlight will help you see inside the battery compartment more clearly.
Once you have gathered all the necessary tools and materials, double-check to ensure you have everything on hand. It can be frustrating to start the battery replacement process only to realize that you are missing a critical tool. With all the items at your disposal, you are now ready to continue to step 2 and ensure safety measures are taken.
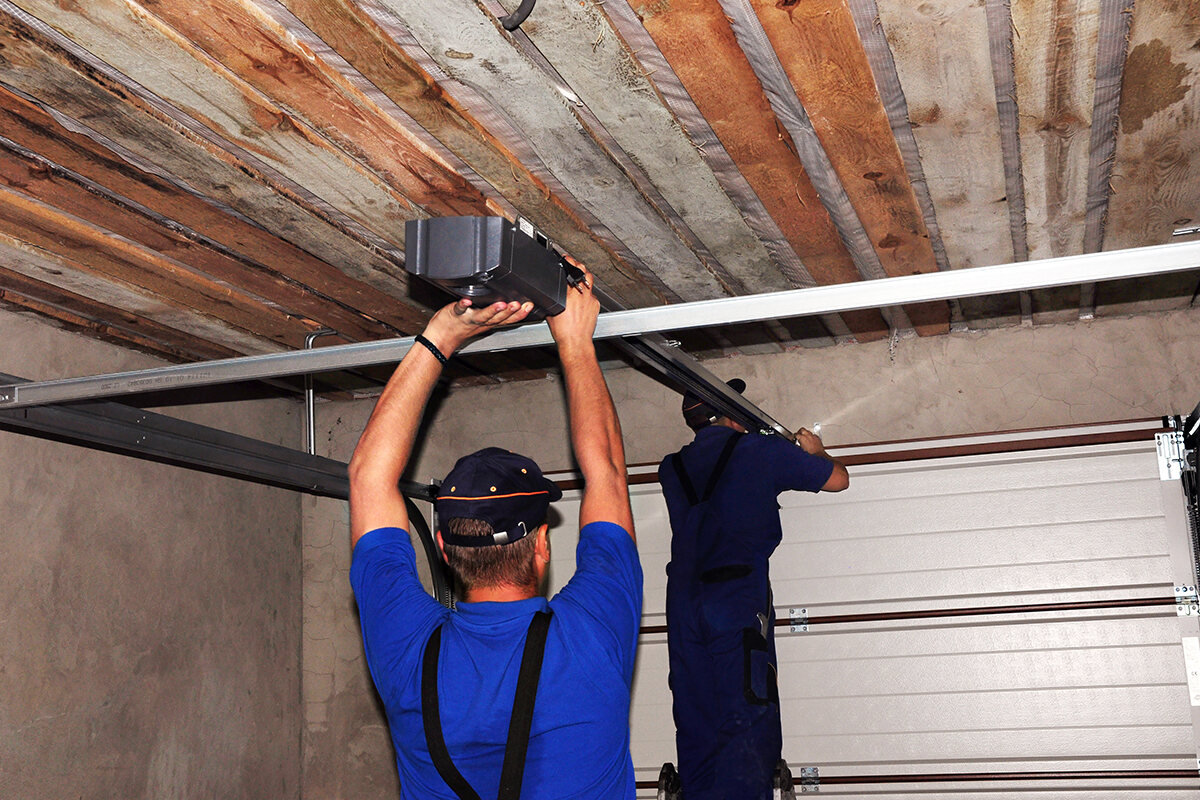
Step 2: Ensure safety measures are taken
Before you begin working on your Chamberlain garage door opener, it is crucial to take the necessary safety precautions to prevent any accidents or injuries. Here are some important safety measures to keep in mind:
- Disconnect the power: To avoid any electrical mishaps, disconnect the power supply to the garage door opener. This can usually be done by unplugging the opener from the electrical outlet or by turning off the circuit breaker that supplies power to the garage.
- Wear safety goggles: Safety goggles will protect your eyes from any debris or small particles that may be present while working on the garage door opener.
- Use a stable ladder: If you need to reach the garage door opener, make sure you have a stable and secure ladder. Place the ladder on a flat, level surface and ensure that it is properly positioned and locked in place.
- Do not touch live wires: Avoid touching any exposed wires or terminals inside the opener. Even if the power is disconnected, there may still be residual electrical energy present. It is always best to exercise caution and avoid any unnecessary contact.
- Keep children and pets away: During the battery replacement process, it is important to keep children and pets away from the work area. This will help prevent any accidents or distractions that may interfere with your focus.
- Follow manufacturer’s instructions: Always refer to the manufacturer’s instructions for your specific Chamberlain garage door opener model. They will provide you with detailed information on safety precautions and proper battery replacement procedures.
By following these safety measures, you can ensure a safe working environment while replacing the battery in your Chamberlain garage door opener. Once you have taken these precautions, you can proceed to the next step: locating the battery compartment in the garage door opener.
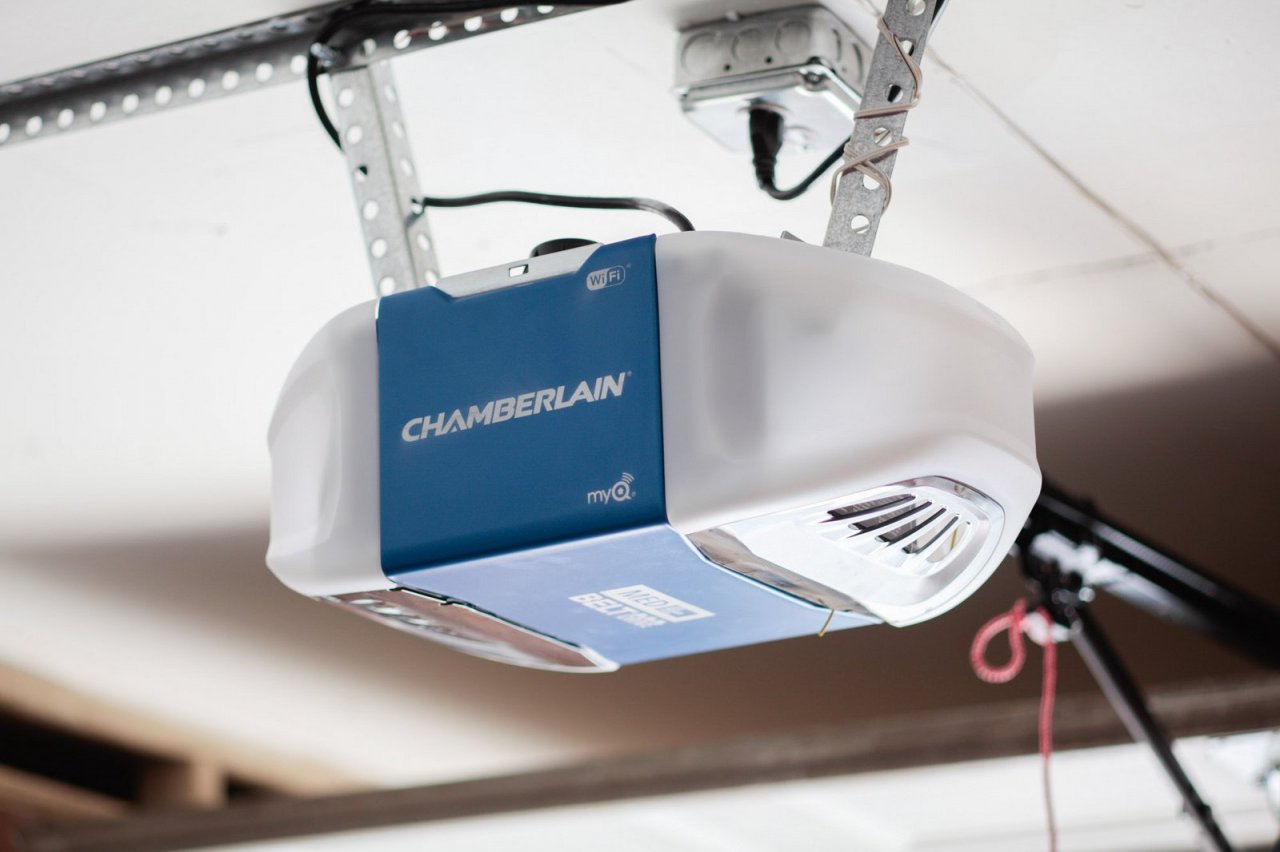
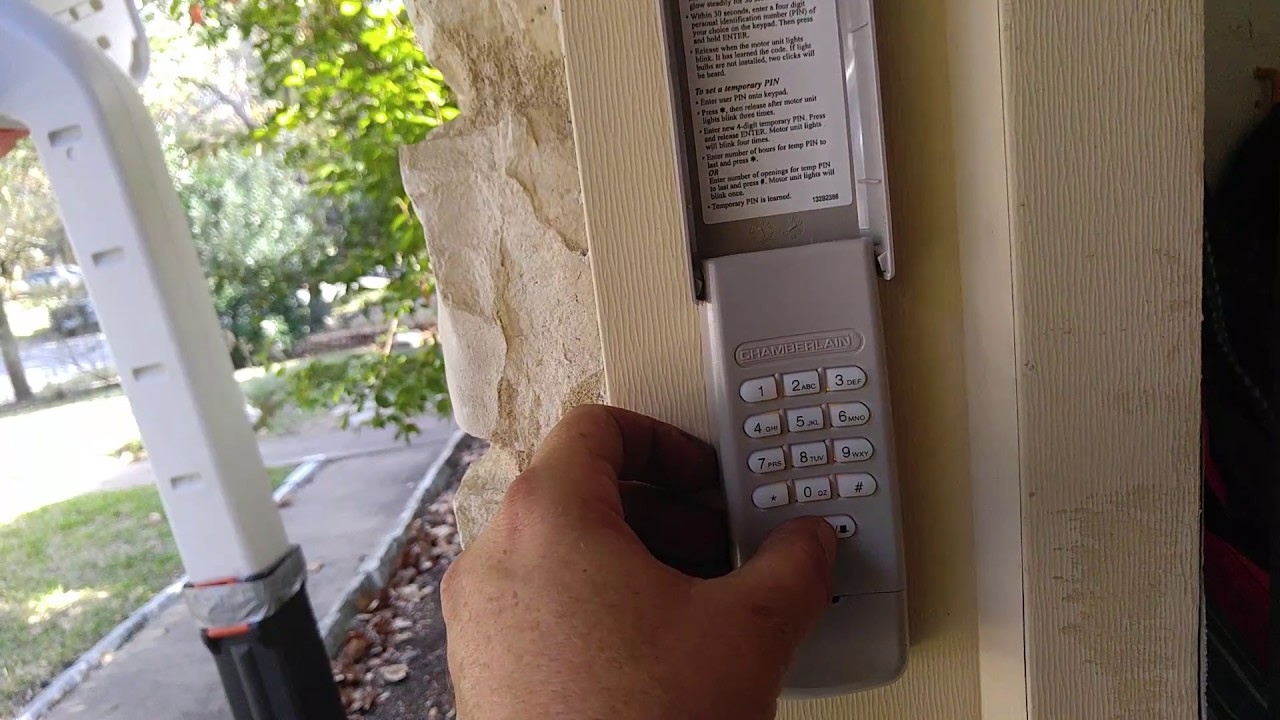
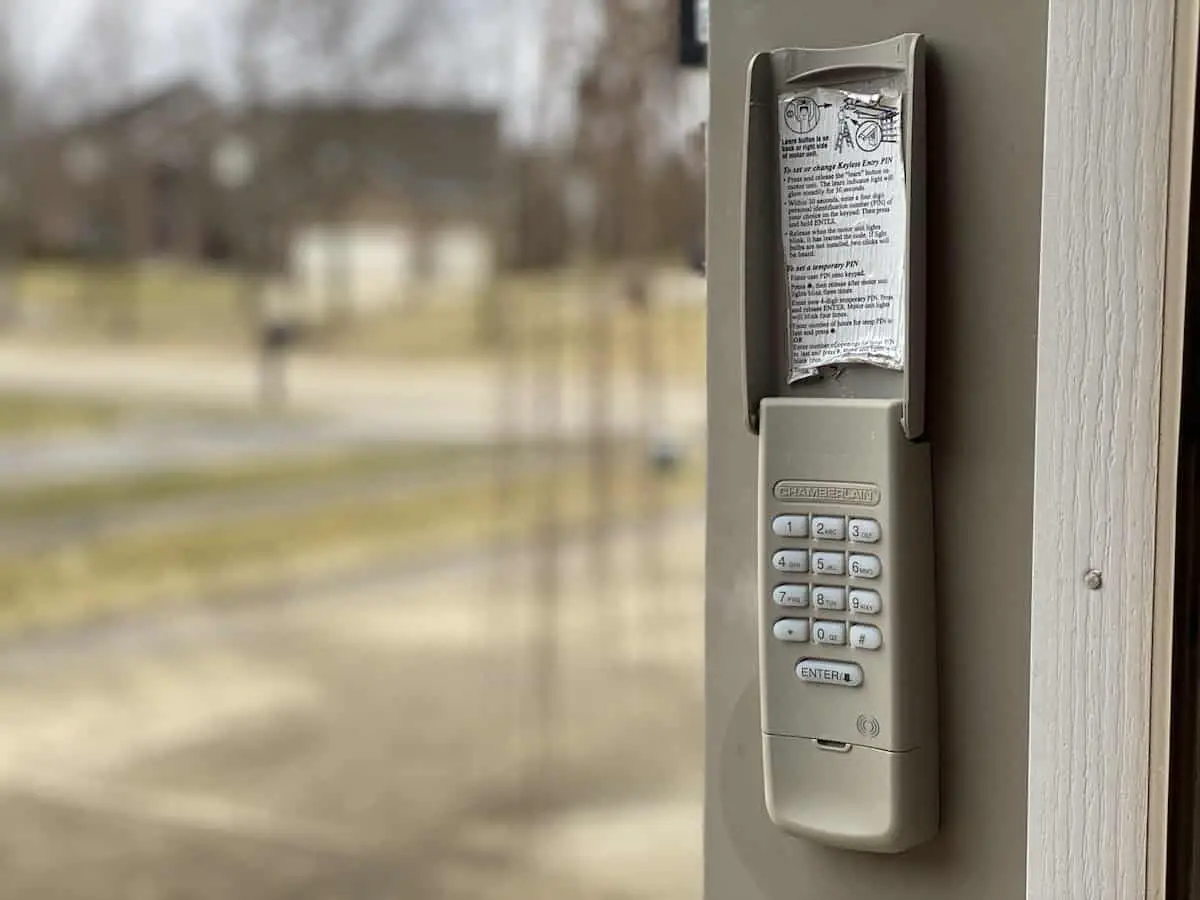
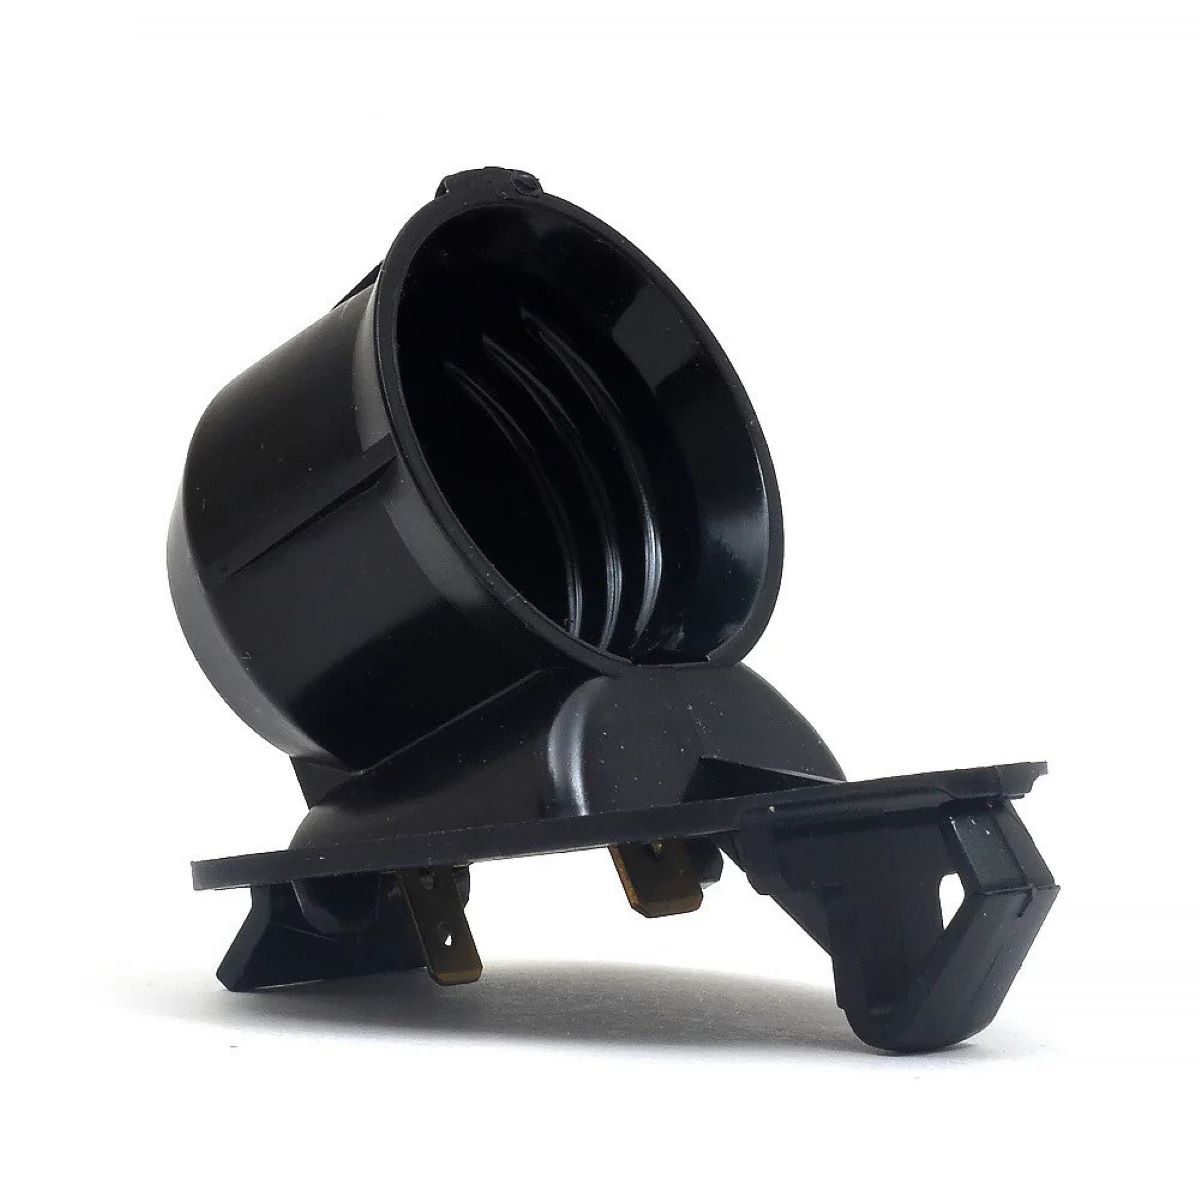
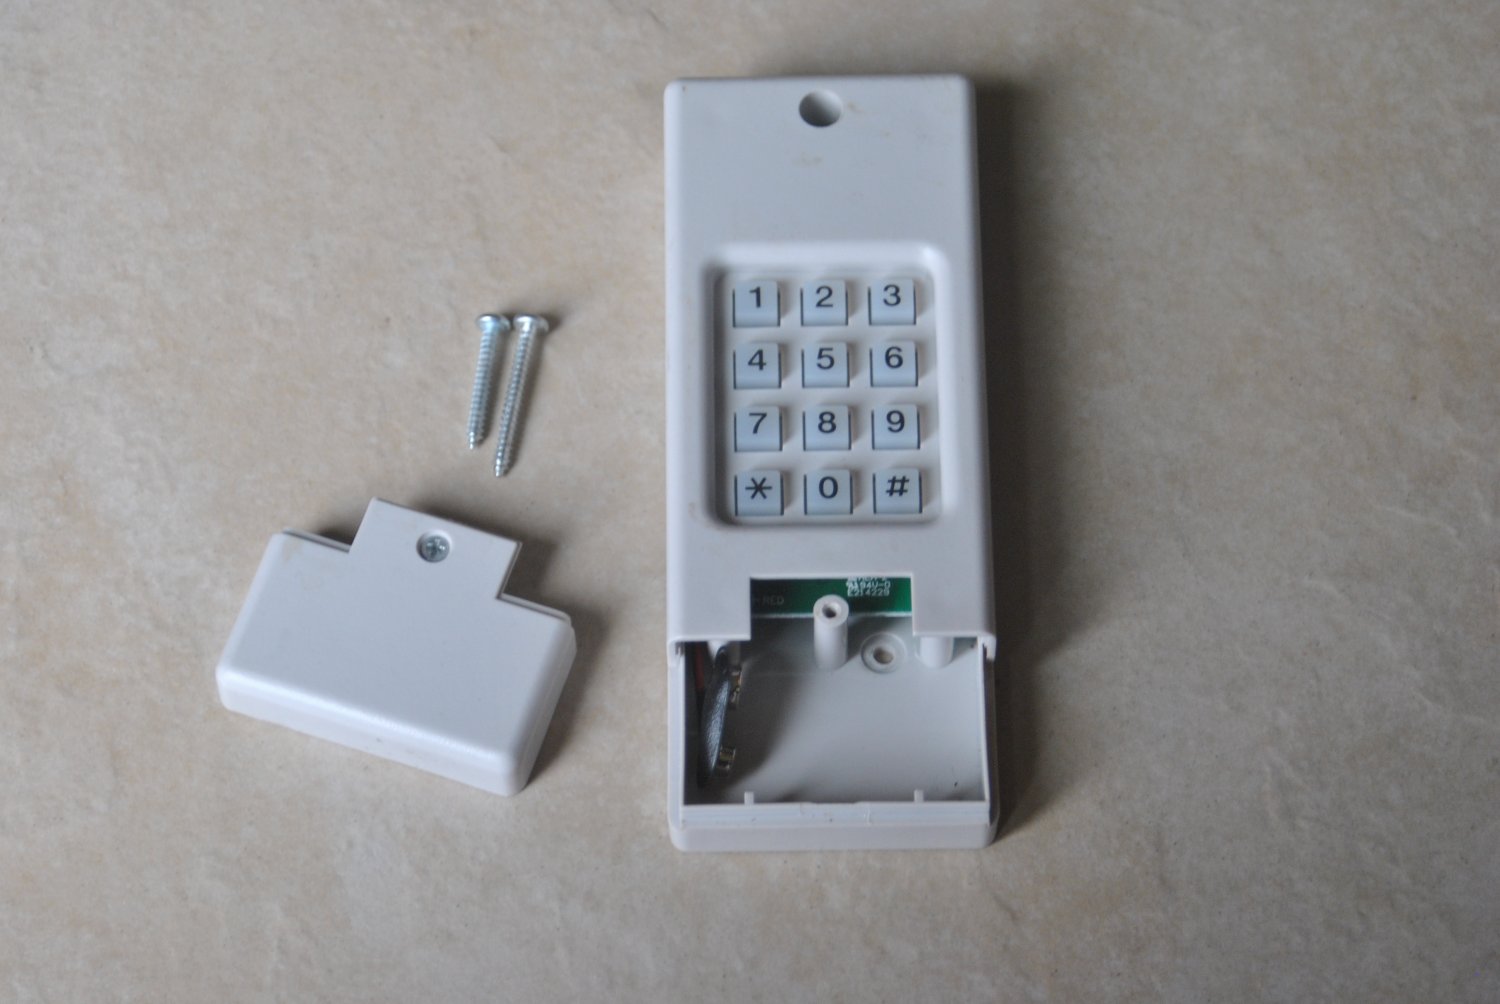
Step 3: Locate the battery compartment in the garage door opener
Before you can replace the battery in your Chamberlain garage door opener, you need to locate the battery compartment. The battery compartment can be found in different locations depending on the model of your garage door opener. Here are some common places to look:
- On the back or side of the opener: Some Chamberlain garage door openers have the battery compartment located on the back or side of the main unit. Look for a small panel or cover that can be easily removed to access the battery.
- On the control panel: In some models, the battery compartment is integrated into the control panel of the garage door opener. You may need to remove the control panel cover to reveal the battery compartment.
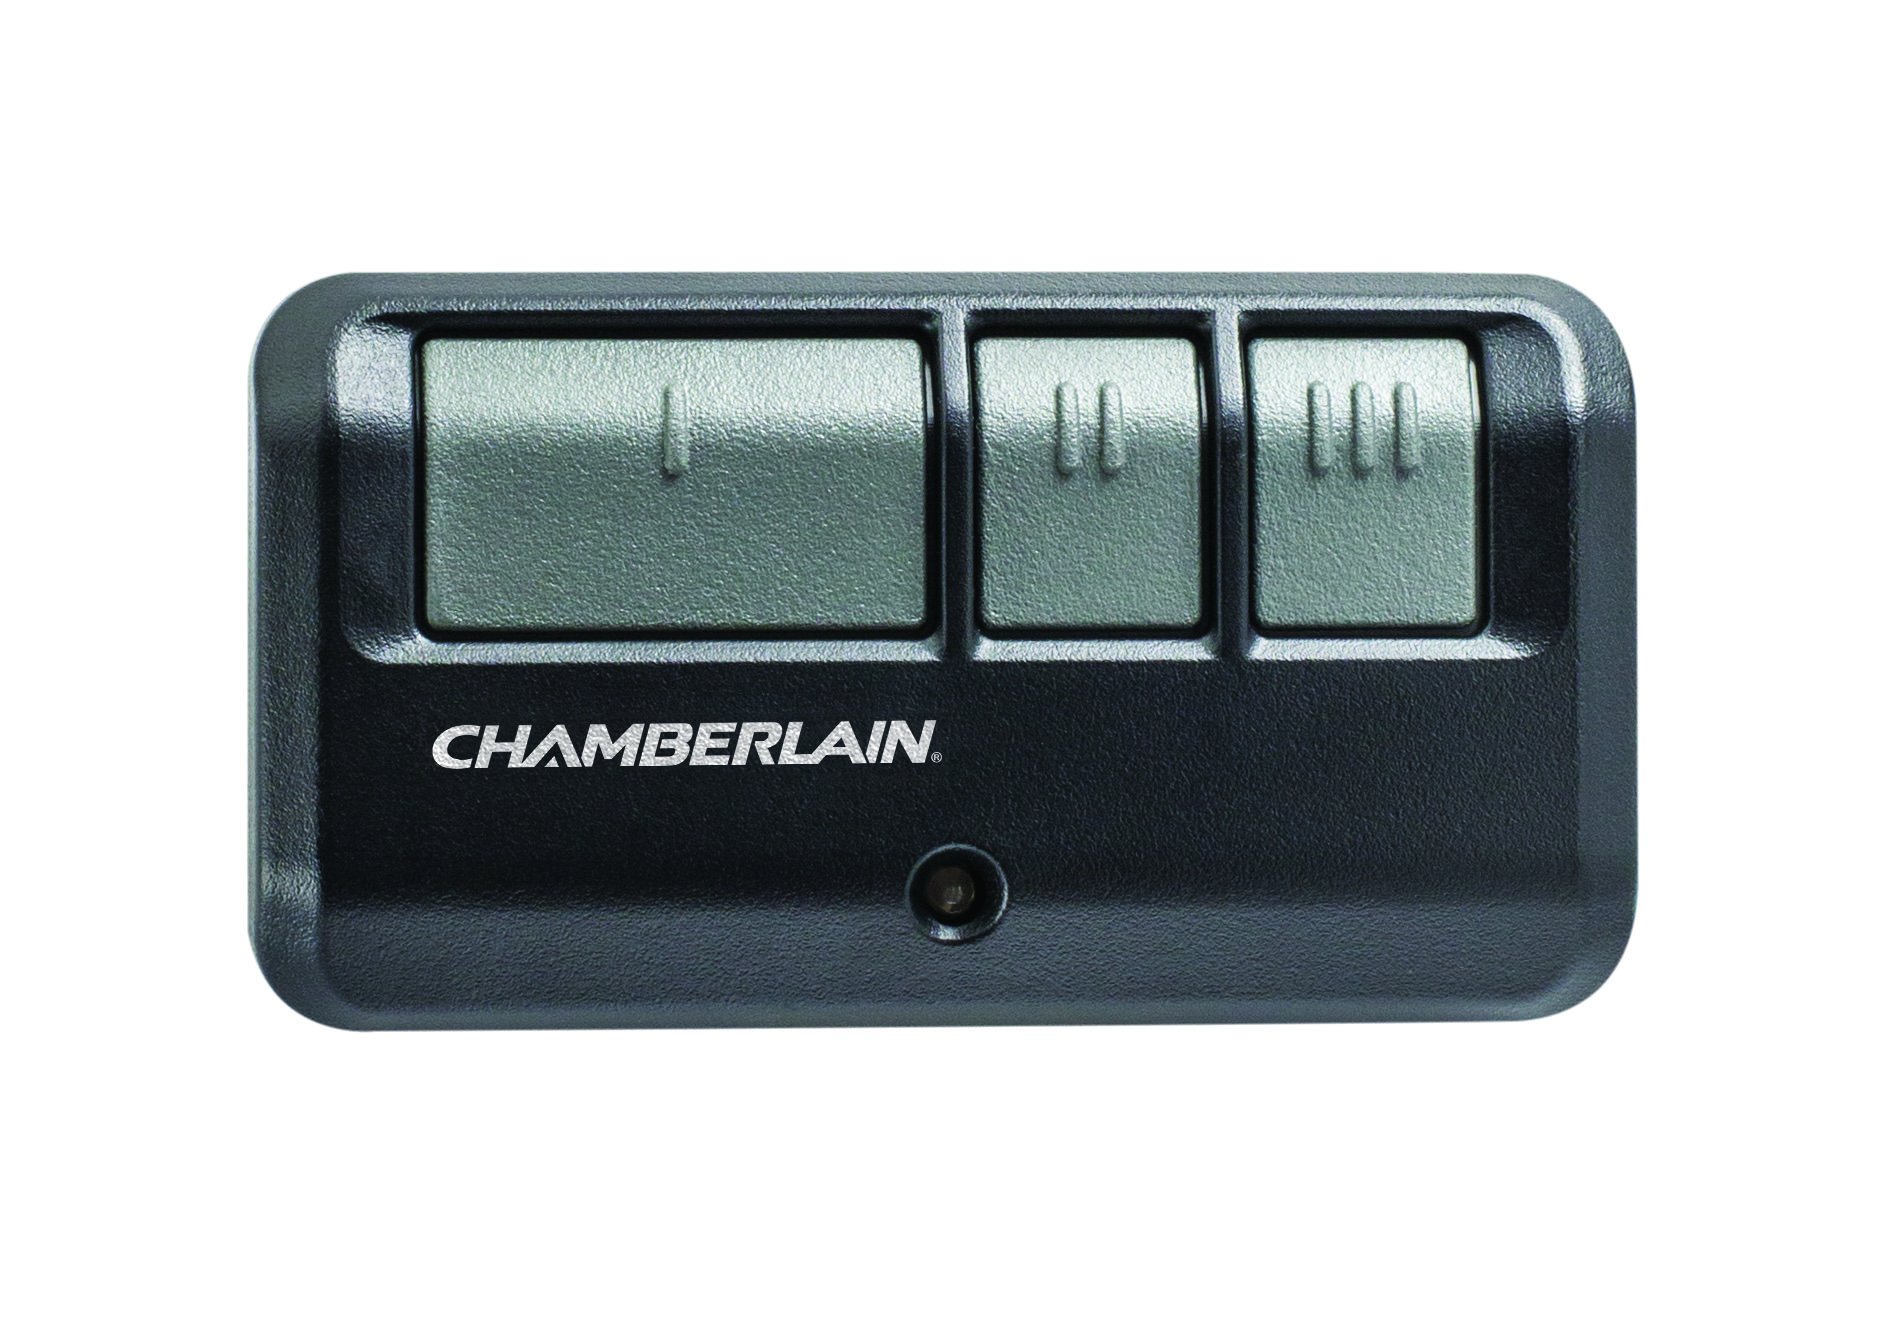
- Inside a remote control: If you have a remote control for your garage door opener, there may be a battery compartment inside the remote. Open the remote control and check for a slot or compartment where the battery is housed.
It’s important to note that the battery compartment design may vary between different Chamberlain garage door opener models. Therefore, it is always a good idea to consult the user manual or check the Chamberlain website for specific instructions on finding the battery compartment in your particular model.
Once you have located the battery compartment, you can move on to the next step: removing the old battery. This will allow you to make way for the new battery and ensure smooth operation of your garage door opener.
Step 4: Remove the old battery
With the battery compartment of your Chamberlain garage door opener located, it is now time to remove the old battery. Follow these steps to safely remove the old battery:
- Prepare the workspace: Before removing the old battery, make sure the area around the battery compartment is clear and free from any clutter. This will give you enough space to work comfortably.
- Inspect the battery: Take a close look at the old battery to identify how it is secured in the compartment. Some batteries may have a latch or clip holding them in place, while others may simply slide out.
- Disconnect the battery: Using your fingers or a small tool, carefully detach the battery from its connectors. Take note of the polarity (positive and negative terminals) as this will be important when installing the new battery.
- Remove the old battery: Once the battery is safely disconnected, gently slide or lift it out of the battery compartment. Handle the battery with care to avoid any damage or injury.
- Inspect the battery compartment: While the old battery is out, take a moment to inspect the battery compartment for any signs of corrosion, dirt, or debris. If necessary, use a clean cloth to wipe away any residue.
By following these steps, you can safely remove the old battery from your Chamberlain garage door opener. Now that the old battery is out, it’s time to move on to the next step: choosing the right replacement battery.
Before changing the battery in your Chamberlain garage door opener, make sure to unplug the unit to avoid any electrical accidents. Then, locate the battery compartment and replace the old battery with a new one of the same type and voltage.
Read more: How To Wire Chamberlain Garage Door Opener
Step 5: Choose the right replacement battery
Choosing the right replacement battery for your Chamberlain garage door opener is essential to ensure proper functionality and longevity. Here are some key factors to consider when selecting a replacement battery:
- Check the user manual or Chamberlain’s website: The first step is to check the user manual or Chamberlain’s website for your specific model’s recommended battery type. This will ensure compatibility and optimal performance.
- Consider battery type: Chamberlain garage door openers typically use either 9-volt or 12-volt batteries. Make sure to choose the correct voltage to match your opener’s requirements.
- Look for high-quality batteries: Opt for reputable brands and high-quality batteries to ensure reliability and longer lifespan. It’s worth investing in a reliable battery to avoid frequent replacements.
- Consider rechargeable options: If you prefer a more eco-friendly and cost-effective solution, consider using rechargeable batteries. These batteries can be reused and charged multiple times.
- Consider battery lifespan: Look for batteries with a long lifespan, as this will minimize the frequency of battery replacements. Read reviews and product descriptions to get an idea of the battery’s expected lifespan.
- Double-check battery size: Ensure the replacement battery matches the size specifications of the original battery or the battery compartment. Pay attention to dimensions to ensure a proper fit.
Remember, it’s important to choose the right replacement battery to avoid compatibility issues and potential damage to your garage door opener. Once you have selected the appropriate replacement battery, you can move on to the next step: installing the new battery.
Step 6: Install the new battery
Now that you have chosen the right replacement battery for your Chamberlain garage door opener, it’s time to install the new battery. Follow these step-by-step instructions to properly install the new battery:
- Prepare the new battery: Ensure that the new battery is fully charged, if applicable. If it is a non-rechargeable battery, verify that it is in good condition and not damaged.
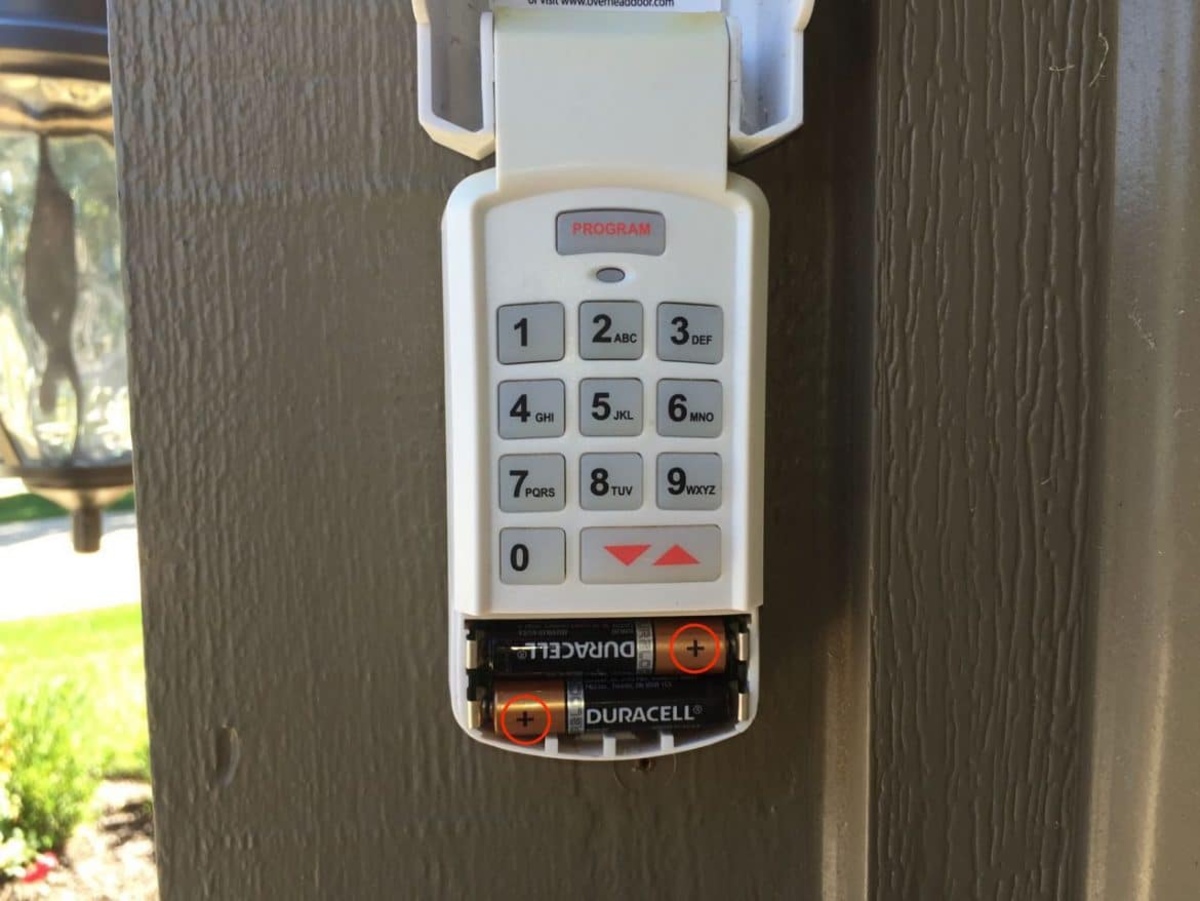
- Check the battery orientation: Take note of the polarity markings on the battery and in the battery compartment. Match the positive (+) and negative (-) terminals accordingly.
- Insert the new battery: Gently slide or place the new battery into the battery compartment, ensuring it is securely seated. Pay close attention to the correct orientation to avoid any issues.
- Connect the battery: Use your fingers or a small tool to reconnect the battery to its respective terminals in the correct polarities. Double-check that the connections are secure.
- Close the battery compartment: Once the new battery is properly installed, close the battery compartment cover or panel securely. Ensure that it is fastened tightly, but be careful not to overtighten or damage any components.
Following these steps will ensure that the new battery is installed correctly in your Chamberlain garage door opener. Once the battery is installed, you are almost ready to test your garage door opener with the new battery. However, before doing so, it is important to perform a few final checks to ensure everything is in order.
But before we move on to testing the garage door opener, let’s take a moment to discuss the proper disposal of the old battery in the next step.
Step 7: Test the garage door opener
After installing the new battery in your Chamberlain garage door opener, it is crucial to test the functionality of the opener to ensure that everything is working properly. Follow these steps to test the garage door opener:
- Reconnect the power: If you had disconnected the power supply during the battery replacement process, now is the time to reconnect it. Plug the opener back into the electrical outlet or turn on the circuit breaker.
- Stand clear: Make sure everyone is clear of the garage door and its path before testing the opener. This will prevent any accidents or injuries during the testing process.
- Activate the opener: Press the appropriate button or remote control to activate the garage door opener. Listen for any unusual sounds or observe any abnormal behavior.
- Observe the door: Watch the movement of the garage door as it opens and closes. Ensure that it moves smoothly and without any obstructions. Check if it reaches the fully open and fully closed positions properly.
- Check the battery indicator: Some Chamberlain garage door openers have a battery indicator light or display. Verify that the indicator shows a full or appropriate level of battery charge.
If everything appears to be functioning correctly during the testing process, congratulations! You have successfully replaced the battery in your Chamberlain garage door opener. However, if you notice any problems or issues with the garage door opener’s operation, double-check the battery installation and consult the user manual for troubleshooting steps.
Now that your garage door opener is up and running with a new battery, it is time to address the final step: properly disposing of the old battery.
Step 8: Properly dispose of the old battery
Once you have successfully replaced the battery in your Chamberlain garage door opener, it’s important to properly dispose of the old battery. This is not only environmentally responsible but also helps prevent any potential hazards. Follow these steps to ensure safe and proper disposal:
- Check local regulations: Research and familiarize yourself with the local regulations and guidelines for disposing of batteries in your area. Different regions may have specific requirements for battery disposal.
- Consult recycling centers: Contact local recycling centers or designated collection points to inquire about their battery recycling programs. They can provide you with information on where and how to dispose of the old battery safely.
- Battery collection events: Some communities organize battery collection events or drop-off locations periodically. Take advantage of these opportunities to dispose of your old battery responsibly.
- Consider retailer drop-off programs: Many retailers, especially those selling batteries, offer drop-off services for recycling. Check with your local retailer to see if they participate in such programs.
- Container or bag for transport: Place the old battery in a plastic bag or container to prevent any leakage or contamination during its disposal. This helps protect the environment and ensures safe transport.
It is important to note that batteries contain hazardous substances and should not be disposed of in regular waste bins. Improper disposal can harm the environment and pose risks to human health. Taking the time to find the appropriate disposal method for your old battery is crucial in minimizing the impact on our planet.
By following these steps, you can ensure that the old battery from your Chamberlain garage door opener is disposed of responsibly. With the battery successfully replaced and the old battery properly disposed of, you can now enjoy the smooth and reliable operation of your garage door opener.
Remember, regular battery replacement is essential to maintain the performance and functionality of your garage door opener. Refer to the user manual or manufacturer’s recommendations for the recommended battery replacement interval to ensure continued smooth operation.
Thank you for following this comprehensive guide on how to change the battery in a Chamberlain garage door opener. We hope this step-by-step process has been helpful in guiding you through the battery replacement process. If you have any further questions or need additional assistance, don’t hesitate to consult the user manual or reach out to Chamberlain’s customer support. Happy garage door opening!
Conclusion
Replacing the battery in your Chamberlain garage door opener is a straightforward process that ensures the continued smooth and reliable operation of your garage door. By following the step-by-step instructions provided in this comprehensive guide, you can confidently change the battery and maintain the functionality of your garage door opener.
We started by gathering the necessary tools and materials, emphasizing the importance of safety measures throughout the process. Locating the battery compartment in your garage door opener was the next step, followed by removing the old battery and selecting the right replacement battery for your specific model.
Installing the new battery is a simple task that requires attention to polarity and proper connection. Once the battery is in place, it’s crucial to test the garage door opener to ensure everything is functioning as expected. Finally, disposing of the old battery responsibly is essential for the environment and your community.
Remember to consult the user manual for your Chamberlain garage door opener model and follow any specific instructions provided by the manufacturer. This will ensure a smooth battery replacement process and help you avoid any errors or issues.
We hope this guide has provided you with clear, step-by-step instructions and valuable tips on how to change the battery in your Chamberlain garage door opener. Regularly replacing the battery will help maintain the performance of your garage door opener, ensuring reliable operation and convenience for years to come.
If you have any questions or encounter difficulties during the battery replacement process, don’t hesitate to seek assistance from Chamberlain’s customer support or consult a professional technician for further guidance. Now, go ahead and enjoy the convenience of a properly functioning Chamberlain garage door opener!
Now that you've mastered changing batteries in garage door openers, why not take control of your entire house with smart technology? Our next read on home automation systems provides insights into the latest gadgets that can transform your living space into a futuristic haven. From voice-activated lights to self-regulating thermostats, these tools not only simplify daily tasks but also elevate your home's efficiency. Don't miss out on discovering how seamless life can be with the right technology at your fingertips.
Frequently Asked Questions about How To Change Battery In Chamberlain Garage Door Opener
Was this page helpful?
At Storables.com, we guarantee accurate and reliable information. Our content, validated by Expert Board Contributors, is crafted following stringent Editorial Policies. We're committed to providing you with well-researched, expert-backed insights for all your informational needs.

0 thoughts on “How To Change Battery In Chamberlain Garage Door Opener”