Home>Articles>How To Change Light Bulb In A Garage Door Opener
Articles
How To Change Light Bulb In A Garage Door Opener
Modified: August 26, 2024
Learn how to easily and safely change the light bulb in your garage door opener. Read our informative articles for step-by-step instructions and helpful tips.
(Many of the links in this article redirect to a specific reviewed product. Your purchase of these products through affiliate links helps to generate commission for Storables.com, at no extra cost. Learn more)
Introduction
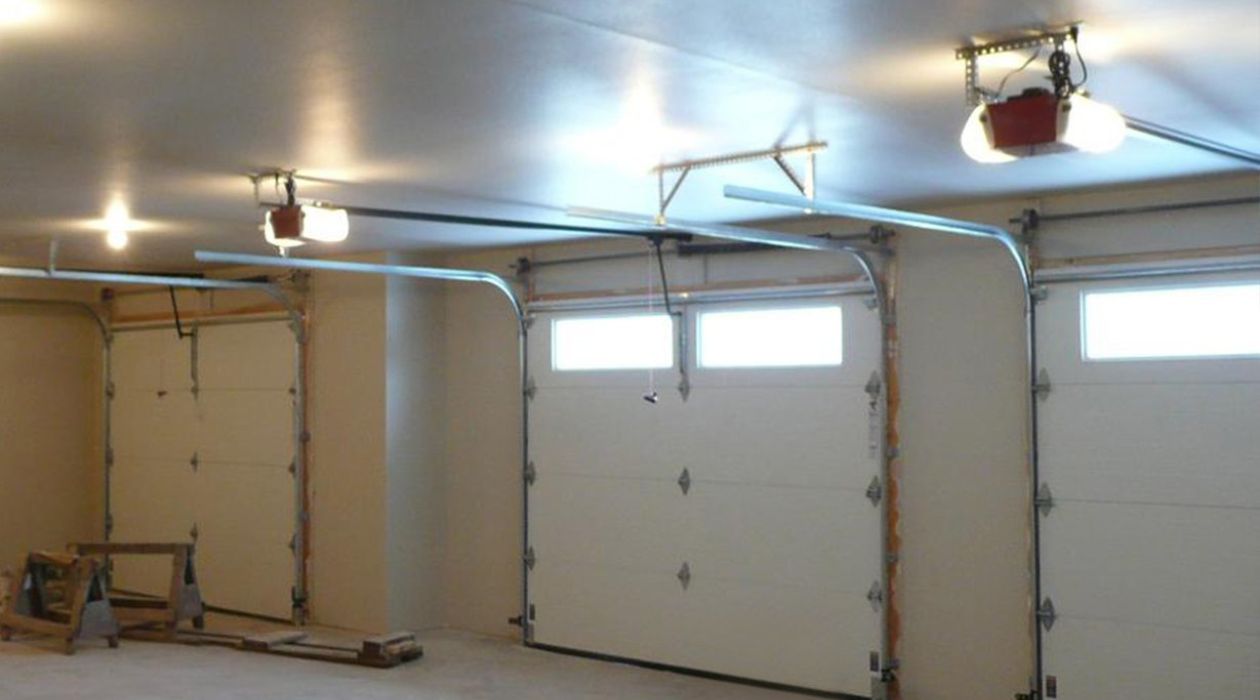
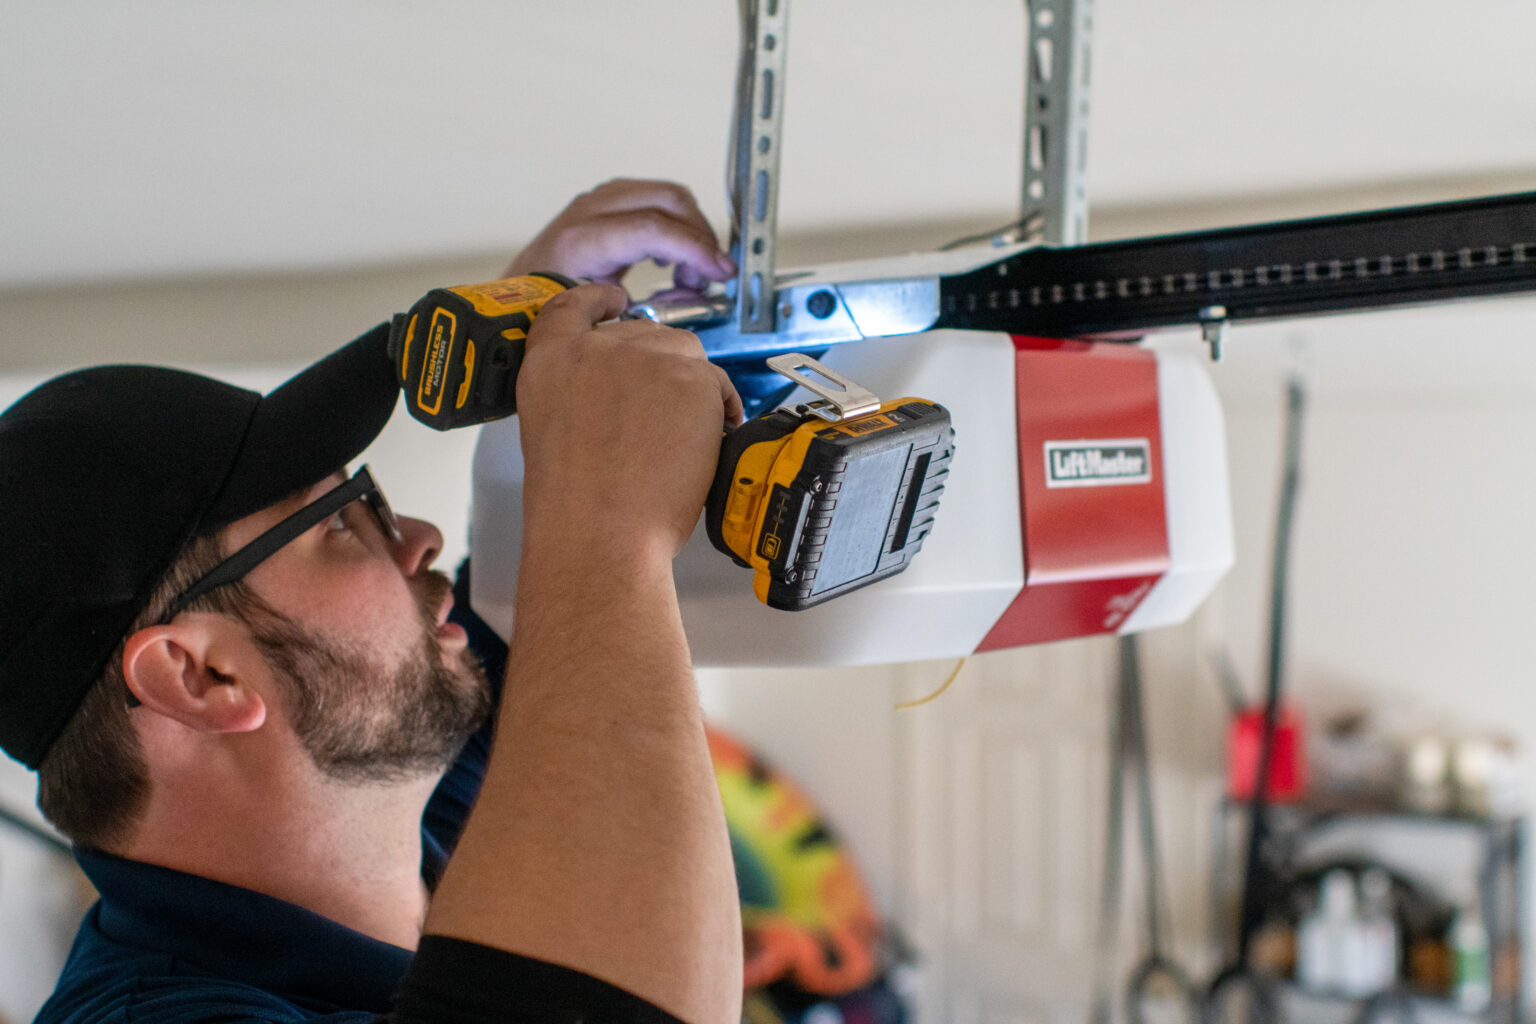
Having a garage door opener is a convenient and efficient way to access your garage. Not only does it provide ease of use, but it also enhances the security of your home. However, like any other electrical device, the light bulb in your garage door opener will eventually burn out and need to be replaced.
Changing the light bulb in your garage door opener may seem like a daunting task, especially if you’re not familiar with electrical work. But fear not – with the right tools and a little bit of knowledge, you can easily replace the light bulb and restore proper illumination to your garage.
In this article, we will guide you through the step-by-step process of changing the light bulb in your garage door opener. We will cover the necessary tools and materials, safety precautions to take, and the actual steps to remove the old bulb and install a new one. So let’s get started!
Key Takeaways:
- Easily replace the light bulb in your garage door opener by following safety precautions, identifying the right bulb type, and installing it securely. Enjoy a well-lit and functional garage space with simple step-by-step guidance.
- Prioritize safety, choose the right replacement bulb, and test the new light bulb to ensure proper functionality. With the right tools and precautions, changing the light bulb in your garage door opener is a straightforward and rewarding process.
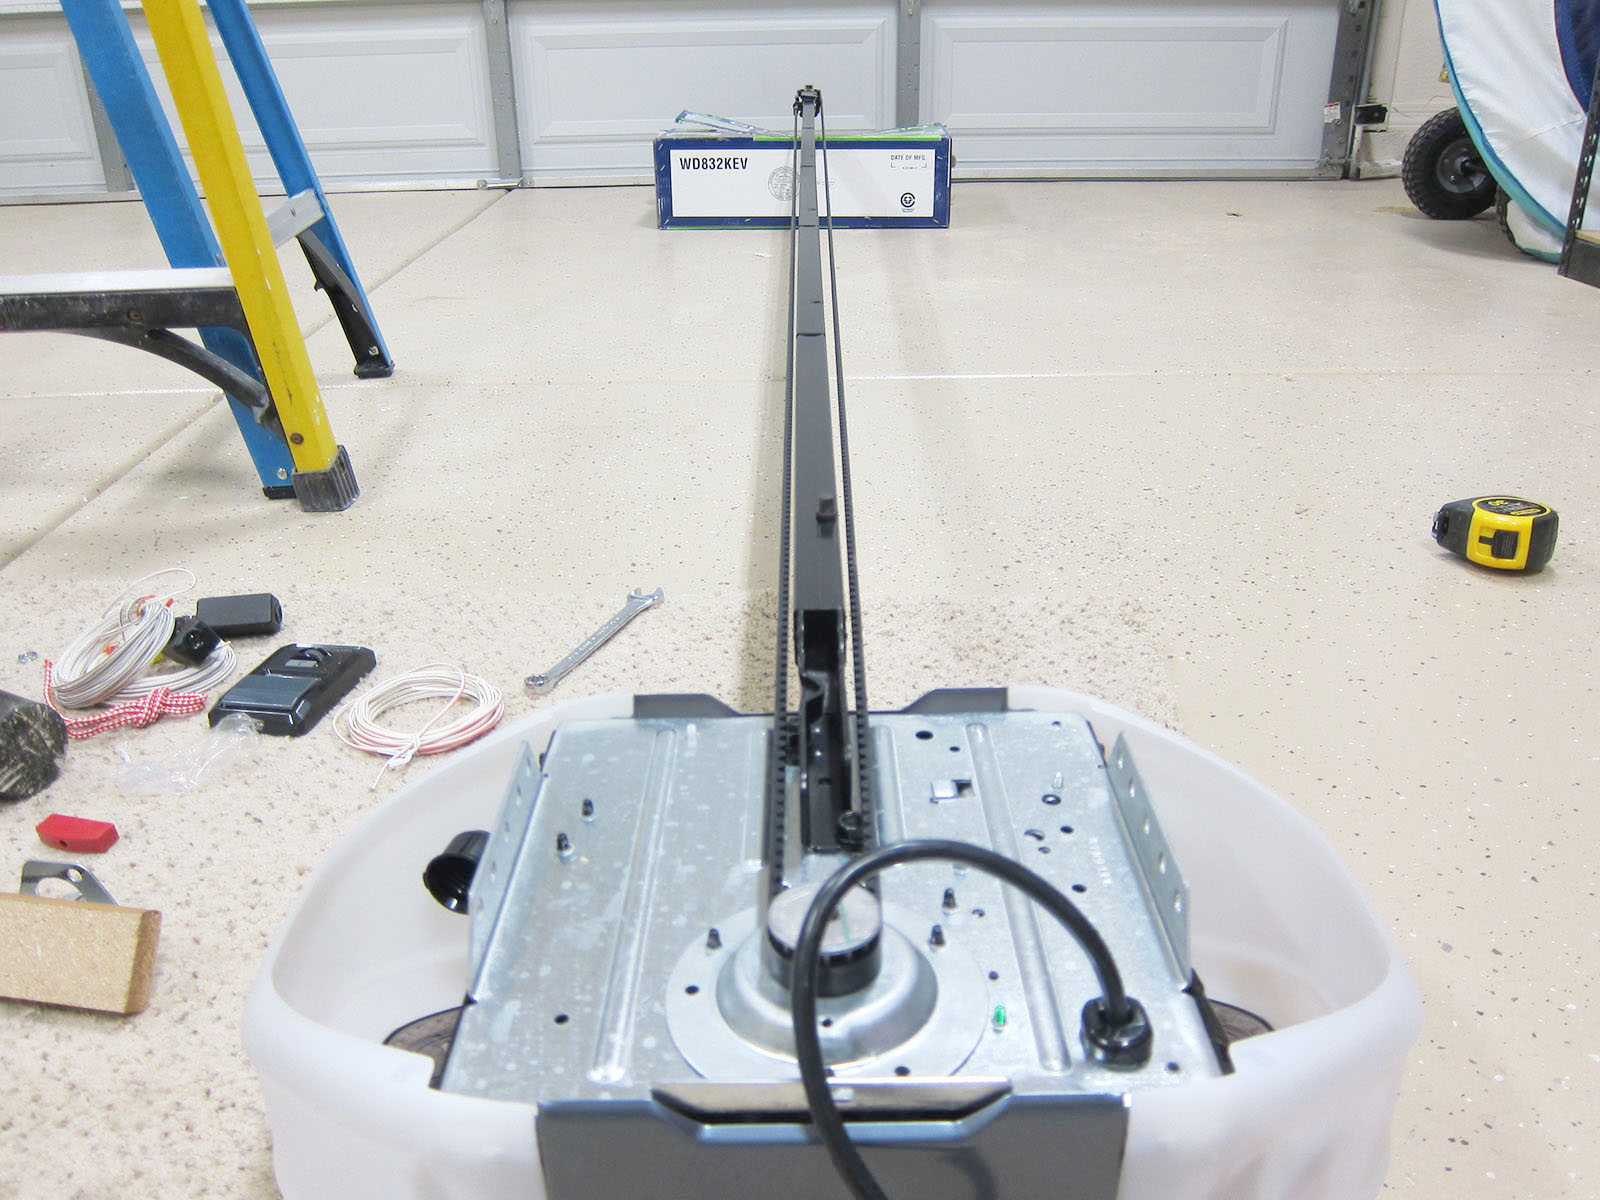
Tools and Materials Needed
Before you dive into the process of changing the light bulb in your garage door opener, make sure you have the following tools and materials ready:
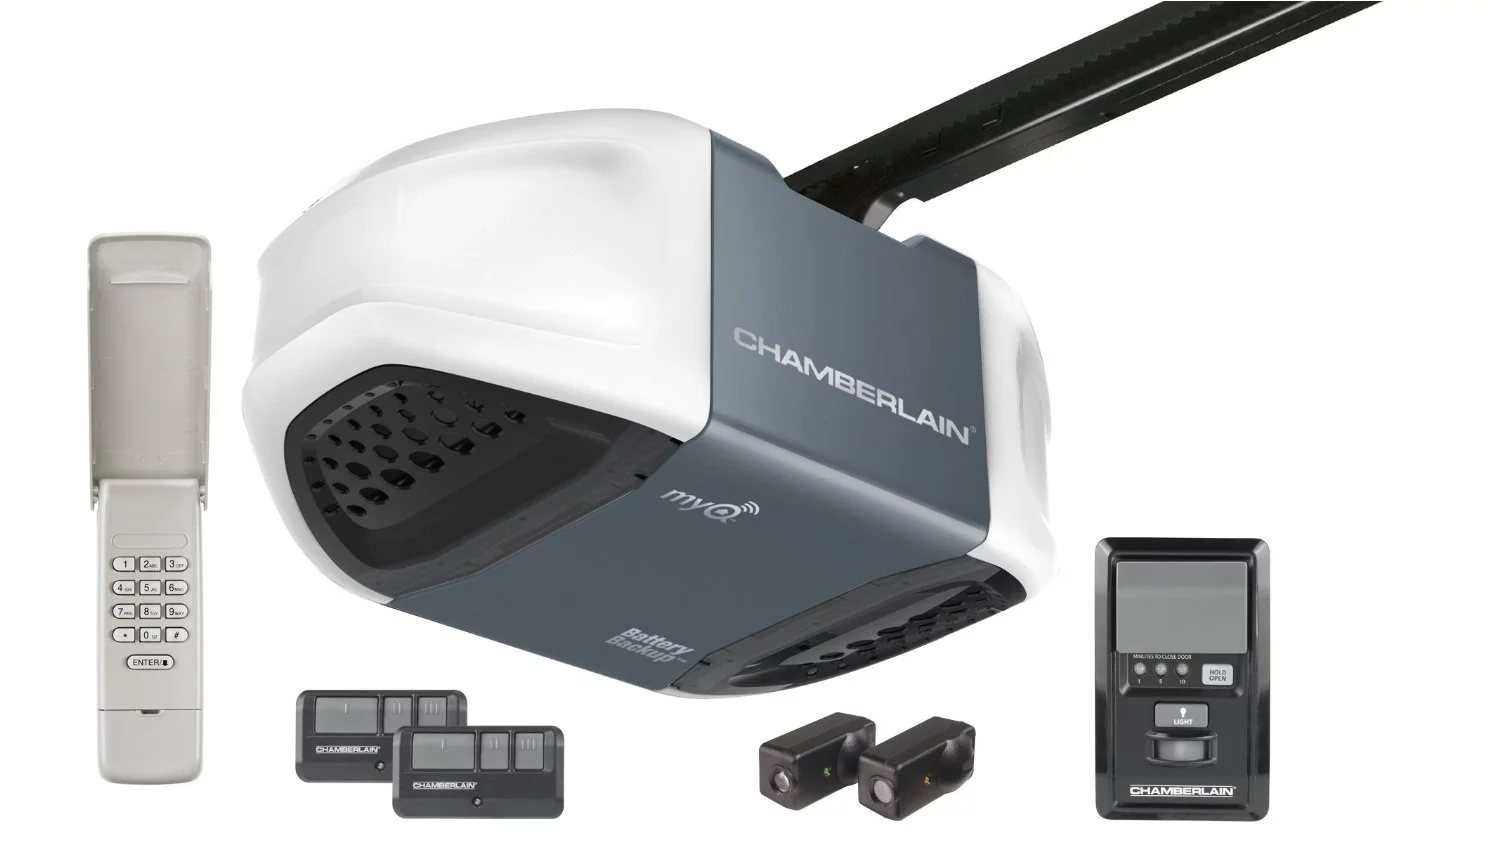
- A replacement light bulb: Make sure to check the specifications of your garage door opener to determine the type and wattage of the bulb required.
- Safety goggles: Protect your eyes from any potential hazards while working on your garage door opener.
- Gloves: A pair of gloves will provide grip and protect your hands from any sharp edges or debris.
- A step ladder: Since the light bulb is located inside the garage door opener, you may need a step ladder to access it safely.
- A soft cloth: Use a soft cloth to handle the light bulb, as it can be fragile and prone to breakage.
It’s important to ensure you have all the necessary tools and materials before starting the process. This will help you work efficiently and minimize any potential delays.
Step 1: Safety Precautions
Prior to changing the light bulb in your garage door opener, it’s crucial to prioritize your safety. Here are some important safety precautions to follow:
- Disconnect the power: Before you begin, make sure to disconnect the power to your garage door opener. This can be done by either unplugging the opener from its power source or turning off the circuit breaker that supplies electricity to the opener.
- Allow the bulb to cool: If the light bulb has recently been in use, give it some time to cool down before attempting to touch or remove it. This will prevent any burns or injuries from hot surfaces.
- Wear safety goggles and gloves: Protect your eyes from any debris or shattered glass by wearing a pair of safety goggles. Additionally, gloves will ensure that you have a firm grip and minimize the risk of accidents.
- Use a stable step ladder: If your garage door opener is ceiling-mounted or positioned out of reach, use a stable step ladder to access it safely. Ensure the ladder is on a level surface and follow the manufacturer’s instructions for proper usage.
By taking these safety precautions, you can minimize the risk of accidents and injuries while working on your garage door opener. Remember, safety should always be your top priority.
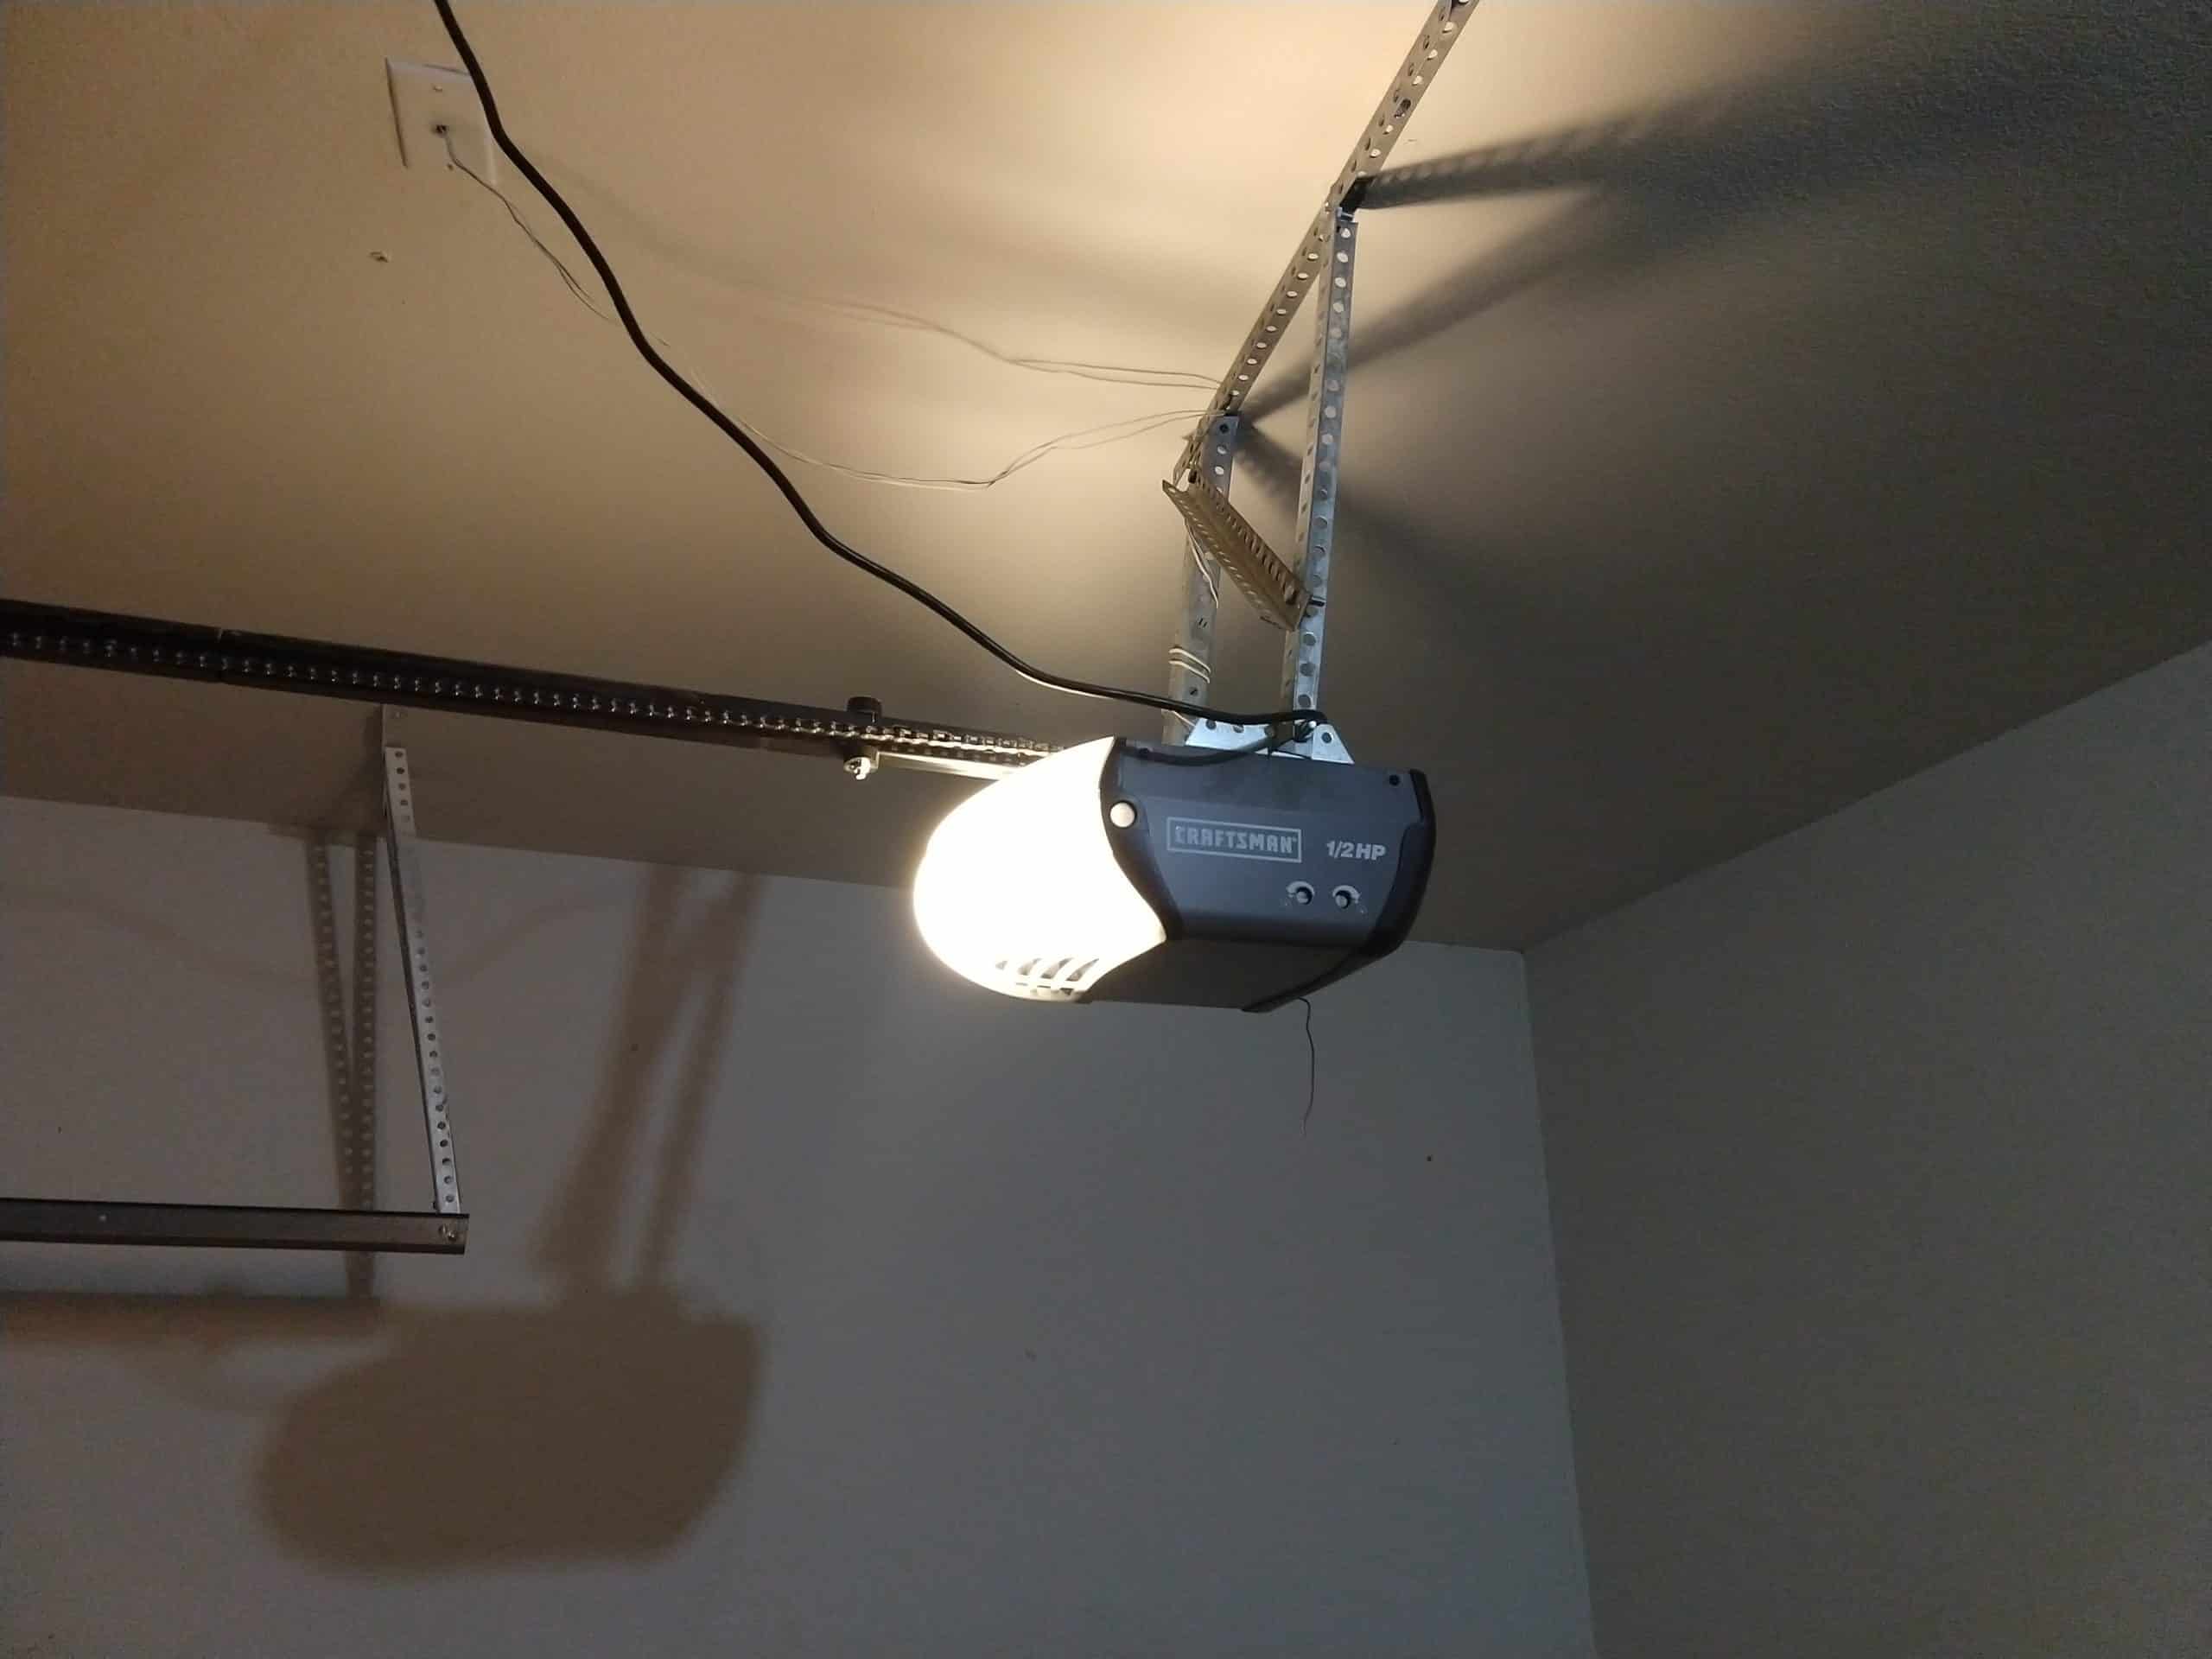
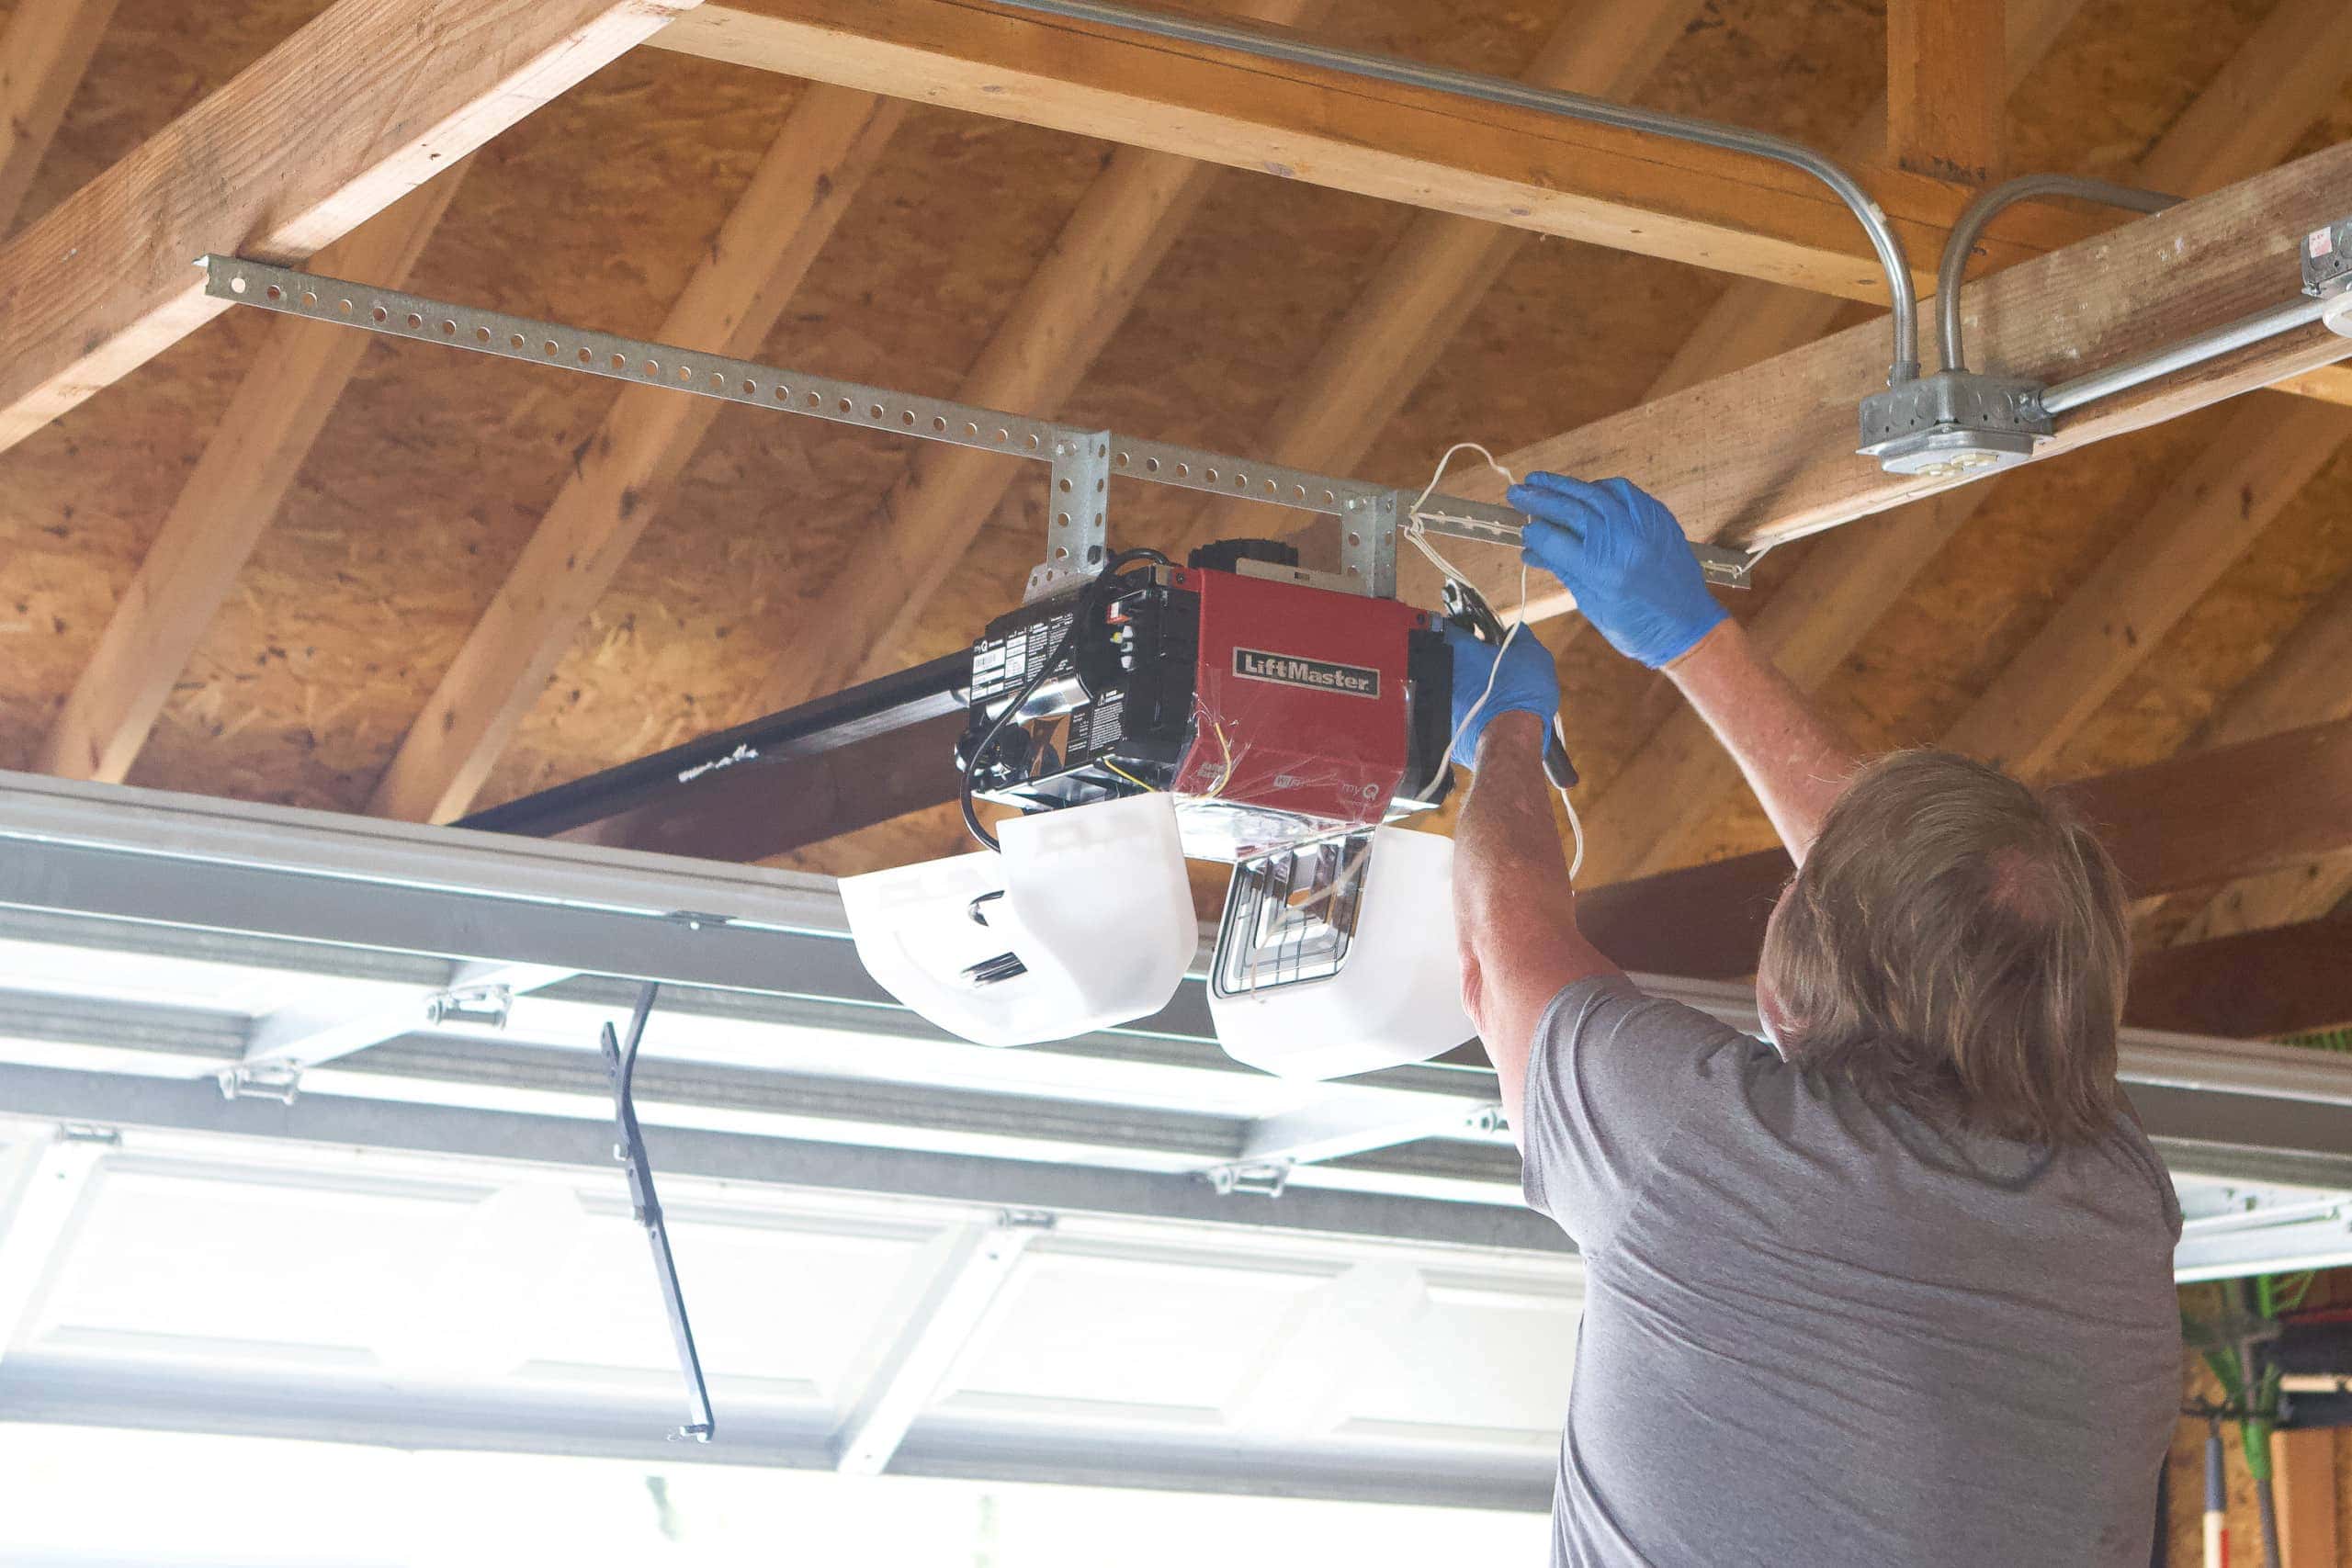
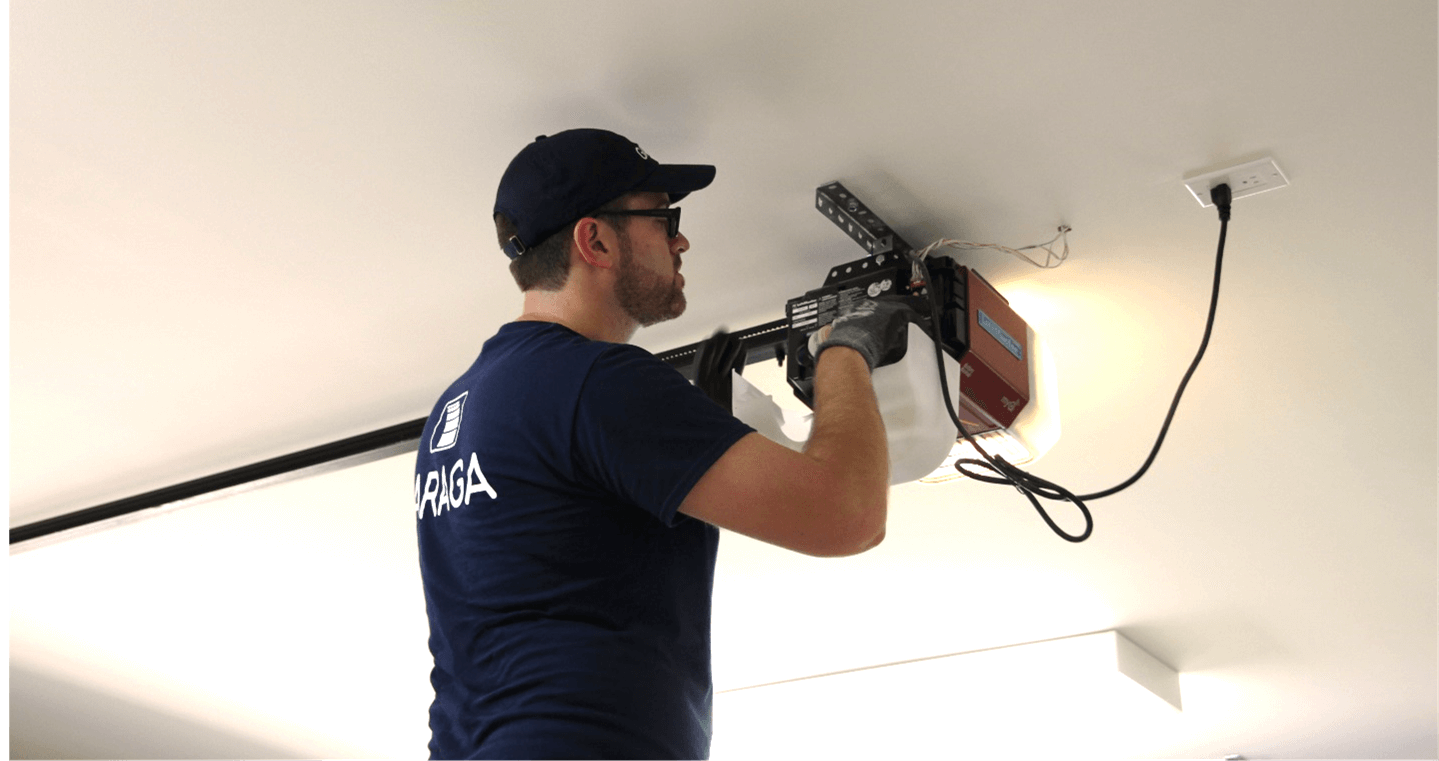
Step 2: Accessing the Garage Door Opener
Now that you’ve taken the necessary safety precautions, it’s time to access the garage door opener. Follow these steps:
- Position the step ladder: Place the step ladder securely beneath the garage door opener, ensuring it is stable and on a level surface.
- Climb the ladder: Carefully climb up the ladder and position yourself at a comfortable height where you can reach the opener without straining.
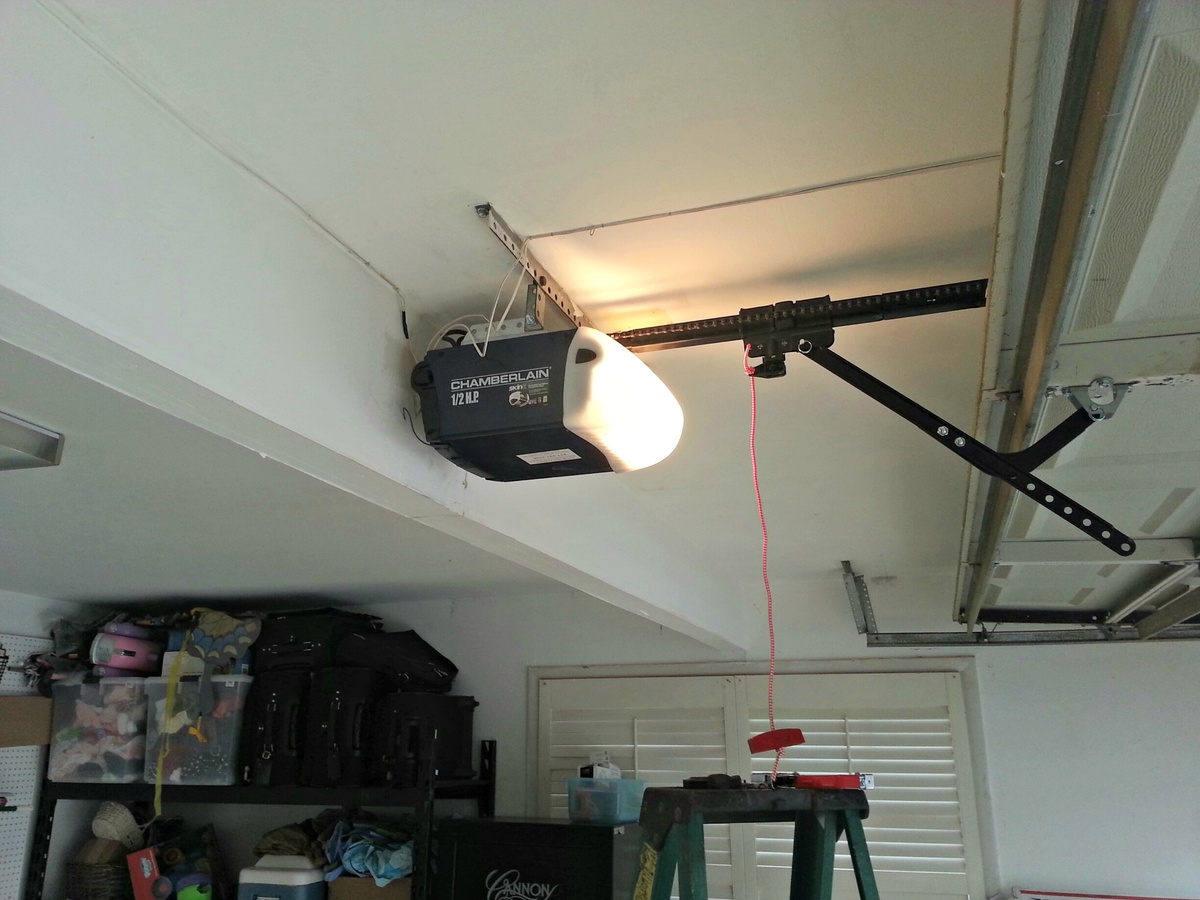
- Locate the light bulb housing: Look for the light bulb housing inside the garage door opener. It is usually a small plastic or glass cover that encloses the bulb.
- Remove the cover: Depending on the model of your garage door opener, the light bulb cover may be attached with screws, clips, or a simple twist-on mechanism. Use the appropriate method to remove the cover and expose the bulb.
Ensure that you take your time and work carefully to avoid damaging the cover or any other components of the opener. If you encounter any difficulties in accessing the garage door opener, refer to the manufacturer’s manual for specific instructions.
Once you have successfully accessed the light bulb housing, you are ready to proceed to the next step of identifying the type of light bulb required for replacement.
Step 3: Identifying the Type of Light Bulb
Before you can replace the light bulb in your garage door opener, it’s important to identify the type of bulb required. Follow these steps:
- Inspect the existing bulb: Take a close look at the light bulb that is currently installed in the opener. Check for any markings or labels that indicate the type and wattage of the bulb. Common types include incandescent, compact fluorescent (CFL), or LED.
- Consult the manufacturer’s manual: If you’re having trouble determining the type of bulb based on the existing one, refer to the manufacturer’s manual that came with your garage door opener. The manual should provide detailed information on the compatible light bulb types.
- Take note of the wattage: In addition to the bulb type, identify the wattage required for your specific garage door opener. This information is important as using a bulb with a higher wattage than recommended can cause damage to the opener.
- Consider energy-efficient options: If your garage door opener supports it, consider choosing an energy-efficient LED bulb as a replacement. LED bulbs last longer, consume less energy, and provide bright illumination.
By correctly identifying the type and wattage of the bulb, you can ensure a proper replacement that is compatible with your garage door opener. This will help maintain the functionality and safety of your opener while providing adequate lighting in your garage.
Before changing the light bulb in your garage door opener, make sure to unplug the opener to avoid any electrical accidents. Use a compatible bulb and follow the manufacturer’s instructions for proper installation.
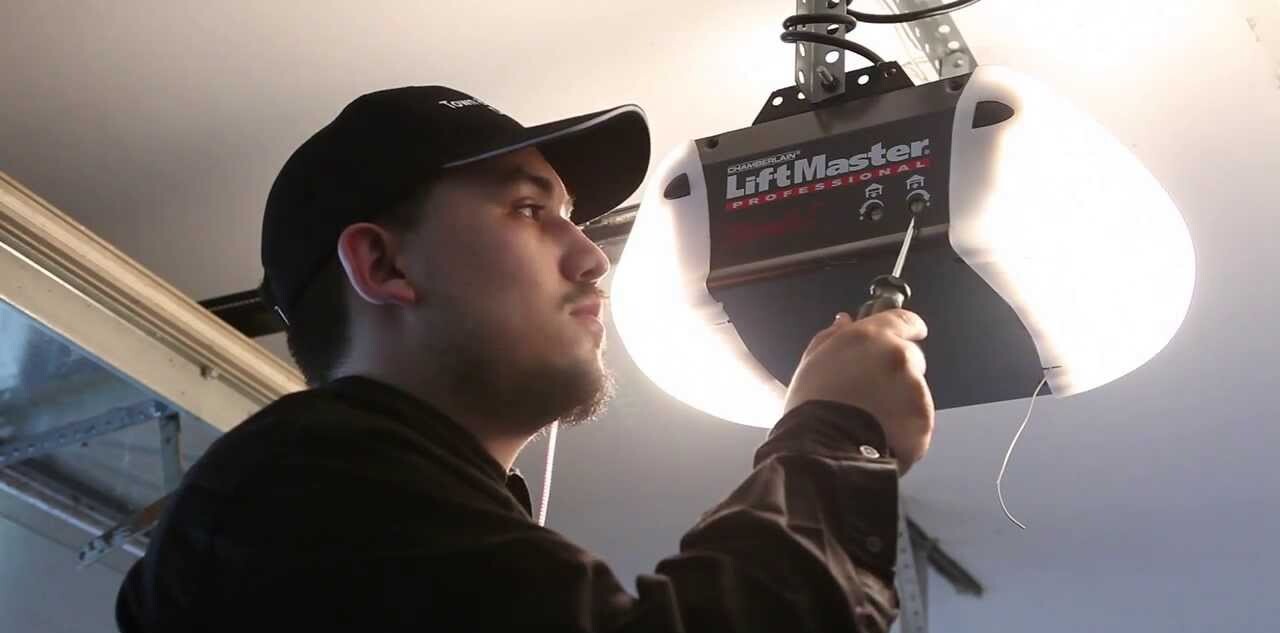
Step 4: Removing the Old Light Bulb
Now that you know the type and wattage of the replacement bulb, it’s time to remove the old light bulb from your garage door opener. Follow these steps:
- Ensure the power is disconnected: Double-check that the power to your garage door opener is disconnected. This step is crucial to prevent any electrical accidents while working on the bulb.
- Gently twist the bulb counterclockwise: Using a soft cloth for grip, gently twist the old light bulb counterclockwise to loosen it from its socket. Be careful not to apply excessive force, as it may cause the bulb to break or damage the socket.
- Remove the bulb from the socket: Once the bulb is loosened, carefully remove it from the socket. Place it aside in a safe location to prevent any accidental breakage.
- Dispose of the old bulb appropriately: If the old light bulb is no longer functional, make sure to dispose of it properly. You can either recycle it if it’s an LED or CFL bulb or wrap it in newspaper and place it in a sealed bag before throwing it in the trash.
Remember to handle the old bulb with care, as it may be fragile and can cause injury if mishandled. If any broken glass or debris remains in the socket, use a clean cloth or a small brush to gently remove it before proceeding to the next step.
Now that the old bulb has been safely removed, you can move on to selecting and installing the new light bulb in your garage door opener.
Step 5: Choosing the Right Replacement Bulb
Now that you’ve removed the old light bulb from your garage door opener, it’s time to choose the right replacement bulb. Follow these guidelines to ensure you select the appropriate bulb:
- Refer to the manufacturer’s specifications: Consult the manufacturer’s manual or website to find the recommended bulb type and wattage for your specific garage door opener model. This information will ensure compatibility and optimal performance.
- Select the same bulb type: If possible, choose a replacement bulb that is of the same type as the old bulb, such as incandescent, CFL, or LED. Using the same type will ensure proper electrical compatibility.
- Consider energy-efficient options: If your garage door opener supports it, consider opting for an energy-efficient LED bulb. LED bulbs last longer, consume less energy, and provide bright illumination, making them a cost-effective and eco-friendly choice.
- Check the wattage: Make sure the replacement bulb has the same or lower wattage as the recommended rating for your garage door opener. Using a bulb with a higher wattage than recommended may cause damage to the opener and potentially pose a safety risk.
- Take note of bulb size: Pay attention to the size and shape of the replacement bulb to ensure it fits properly in the socket. Check the dimensions and base type to match the specifications of the old bulb.
By following these guidelines, you can ensure that the replacement bulb you choose is compatible with your garage door opener and provides the appropriate lighting for your needs.
Once you have selected the right replacement bulb, you are ready to proceed with installing it in your garage door opener.
Step 6: Installing the New Light Bulb
With the right replacement bulb in hand, it’s time to install it in your garage door opener. Follow these steps to properly install the new light bulb:
- Ensure the power is still disconnected: Double-check that the power to your garage door opener is still disconnected. This step is crucial for your safety and the proper installation of the bulb.
- Gently insert the new bulb into the socket: Take the new light bulb and, using a soft cloth or gloves for grip, carefully insert it into the socket. Align the base of the bulb with the socket and gently push it in.
- Rotate the bulb clockwise to secure it: Once the new bulb is properly inserted into the socket, gently rotate it clockwise until it is securely in place. Be cautious not to overtighten, as it can damage the bulb or the socket.
- Replace the light bulb cover: If your garage door opener has a cover for the light bulb, securely reattach it using the appropriate method, such as screwing it back in or snapping it into place.
Ensure that the new light bulb is installed firmly and securely, without any wobbling or loose connections. A properly installed bulb will provide effective illumination for your garage, ensuring safe and convenient use of your garage door opener.
Now that the new light bulb is installed, it’s time to move on to the final step of testing the bulb to ensure it functions correctly.
Step 7: Testing the New Light Bulb
After successfully installing the new light bulb in your garage door opener, it’s essential to test it to ensure proper functionality. Follow these steps to test the new bulb:
- Reconnect the power: Safely reconnect the power to your garage door opener by plugging it back in or turning on the circuit breaker that supplies electricity to the opener.
- Activate the light feature: Depending on your garage door opener model, there may be a specific button or switch to activate the light feature. Locate this control and turn on the light.
- Observe the light bulb: Take a moment to observe the newly installed light bulb. Ensure that it illuminates properly and provides adequate brightness in the garage.
- Check for any flickering: Pay attention to any flickering or fluctuation in the light. This could indicate a loose connection or an issue with the bulb or socket.
- Test the light multiple times: To ensure consistency, activate and deactivate the light feature multiple times, checking for any issues or irregularities in the performance of the new bulb.
If the bulb illuminates properly without any flickering or other issues, congratulations! You have successfully changed the light bulb in your garage door opener. Now you can enjoy a well-lit and functional garage space.
However, if you notice any problems with the new bulb, such as inconsistent illumination or flickering, double-check that it is properly installed and securely connected. If the issue persists, consider consulting the manufacturer’s manual or contacting a professional for assistance.
With the new light bulb successfully tested, you can now proceed to close the garage door opener and admire your work.
Conclusion
Changing the light bulb in your garage door opener might initially seem like a challenging task. However, with the right tools, safety precautions, and step-by-step guidance, it can be a straightforward and rewarding process. By following the steps outlined in this article, you can easily replace the light bulb and restore proper illumination to your garage.
Remember to prioritize safety throughout the process. Disconnect the power, wear safety goggles and gloves, and use a stable step ladder to access the garage door opener. Taking these precautions will help prevent accidents and ensure your well-being.
Identifying the type of light bulb required is crucial for choosing the right replacement. Refer to the manufacturer’s manual and check the wattage specifications to avoid any compatibility issues. Opting for energy-efficient LED bulbs can provide long-lasting and cost-effective lighting for your garage.
When removing the old bulb, handle it with care to prevent injuries from broken glass. Dispose of it properly, following recycling guidelines if applicable. Installing the new bulb requires gently inserting it into the socket and securely rotating it clockwise.
After installation, don’t forget to test the new light bulb to ensure it functions correctly. Reconnect the power, activate the light feature, and observe the illumination for consistency and any potential flickering.
By following these steps, you can successfully change the light bulb in your garage door opener and enjoy a properly lit garage space. Remember to always refer to the manufacturer’s instructions and seek professional help if needed.
So, why wait? Take the initiative and replace that burnt-out bulb to enhance your garage’s functionality and safety today!
Frequently Asked Questions about How To Change Light Bulb In A Garage Door Opener
Was this page helpful?
At Storables.com, we guarantee accurate and reliable information. Our content, validated by Expert Board Contributors, is crafted following stringent Editorial Policies. We're committed to providing you with well-researched, expert-backed insights for all your informational needs.

0 thoughts on “How To Change Light Bulb In A Garage Door Opener”