Articles
How To Set Garage Door Remote
Modified: August 17, 2024
Learn how to set your garage door remote with this informative article. Find step-by-step instructions and troubleshooting tips to ensure smooth operation.
(Many of the links in this article redirect to a specific reviewed product. Your purchase of these products through affiliate links helps to generate commission for Storables.com, at no extra cost. Learn more)
Introduction
Welcome to our comprehensive guide on how to set up a garage door remote. Being able to easily open and close your garage door with the push of a button can greatly enhance your convenience and security. Whether you’re setting up a new remote or replacing an old one, this step-by-step tutorial will walk you through the process.
Setting up a garage door remote might seem intimidating at first, but fear not! It’s actually a straightforward process that can be completed in just a few minutes. By following the instructions provided by your remote’s manufacturer and using our handy tips, you’ll have your garage door remote up and running in no time.
Before we delve into the steps, it’s important to note that the process may vary slightly depending on the specific make and model of your garage door opener. However, most remotes follow a similar programming process, so this guide will provide a general overview that should be helpful regardless of the specific details of your system.
Now, let’s get started and learn how to set up your garage door remote!
Key Takeaways:
- Ensure compatibility and replace batteries before programming your garage door remote. Following manufacturer instructions and locating the “Learn” button are crucial steps for successful setup.
- Testing the remote’s functionality is essential for ensuring smooth operation. Enjoy the convenience and security of remotely controlling your garage door with confidence!
Read more: How To Remove A Garage Door
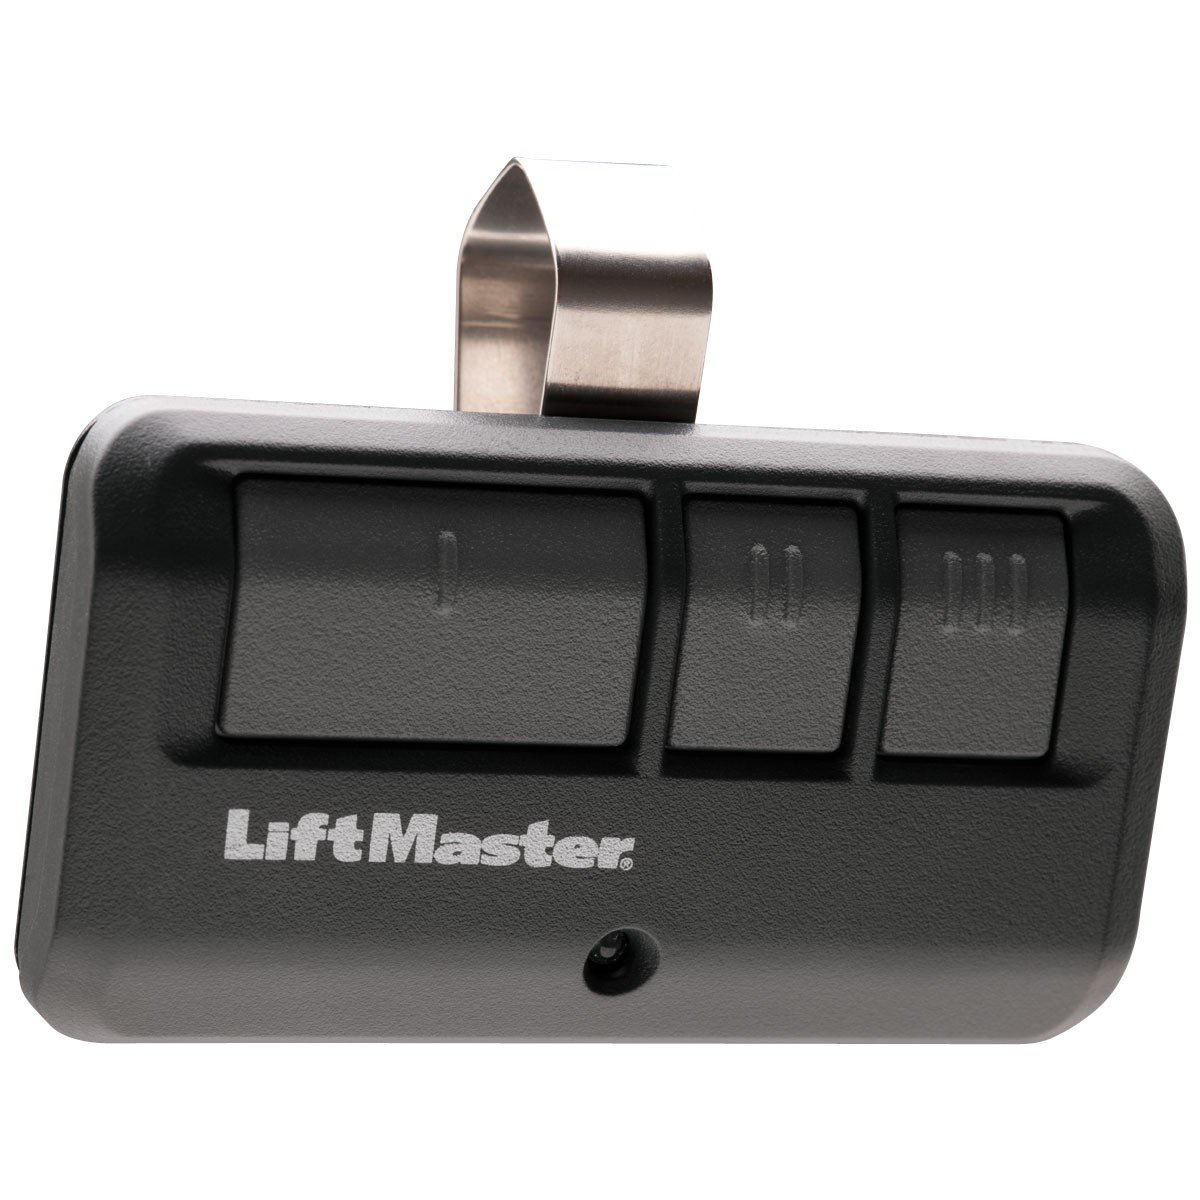
Step 1: Check Compatibility
The first step in setting up a garage door remote is to ensure that it is compatible with your garage door opener. Different brands and models have specific requirements for remote compatibility, so it’s important to verify that your remote will work with your system before proceeding.
To check compatibility, start by identifying the make and model of your garage door opener. This information is usually found on the opener itself or in the owner’s manual. Once you have that information, refer to the documentation provided with your remote to see if it is listed as compatible with your specific opener.
If you’re unsure about the compatibility, you can also contact the manufacturer of the remote or the garage door opener for assistance. They will be able to provide you with the necessary information and guidance to ensure that you choose the right remote for your needs.
It’s worth noting that some garage door openers have built-in compatibility with certain remote brands or models. In these cases, the programming process may be simpler as the remote and opener are designed to work together seamlessly. However, even in cases where compatibility is stated, it’s still a good idea to double-check and follow the specific programming instructions provided by the manufacturer.
By taking the time to check compatibility, you can avoid the frustration of purchasing a remote that won’t work with your garage door opener. Once you’ve determined that your remote is compatible, it’s time to move on to the next step: replacing the batteries.
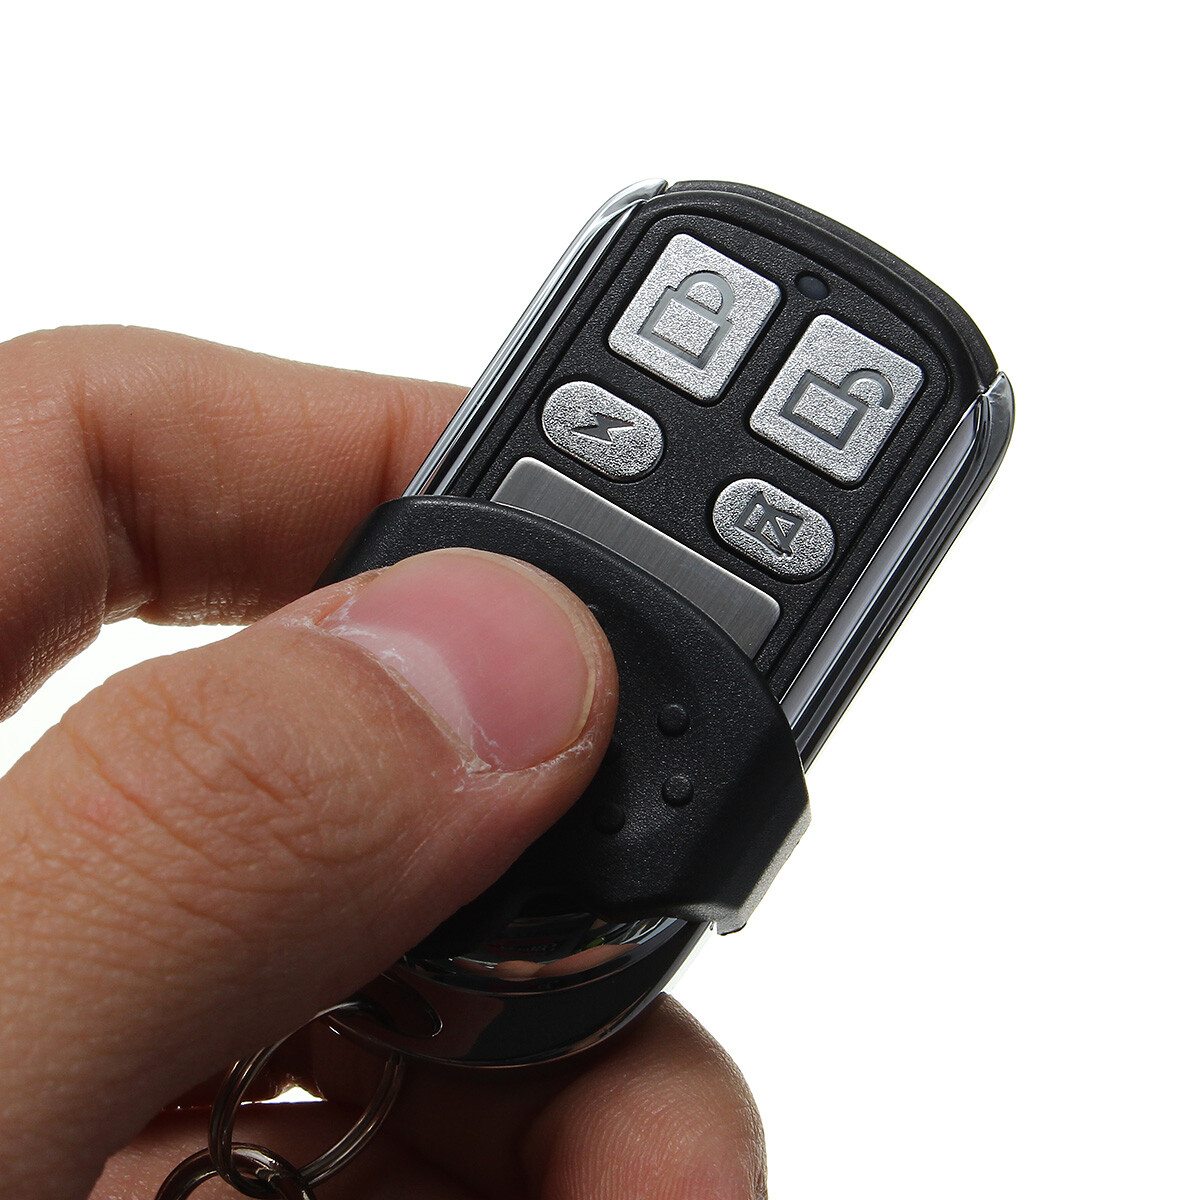
Step 2: Replace Batteries
Before you can begin programming your garage door remote, it’s important to ensure that the batteries are fresh and in good condition. Remote batteries can degrade over time, which can lead to unreliable performance or complete failure.
To replace the batteries, start by locating the battery compartment on your remote. This is typically on the back of the remote and can be accessed by either sliding off a cover or removing a small screw. Refer to the user manual or the manufacturer’s instructions for your specific remote if you’re unsure of the location or process.
Once you have access to the battery compartment, remove the old batteries and dispose of them properly. Be sure to check for any signs of leakage or corrosion, as this can damage the remote. If you notice any damage, clean the battery contacts carefully before inserting new batteries.
Next, insert fresh batteries into the compartment, following the polarity markings (+/-) to ensure they are inserted correctly. It’s recommended to use high-quality batteries to maximize the lifespan and performance of your remote.
After the new batteries are installed, replace the cover or screw to secure the battery compartment. Make sure it is securely fastened to prevent any accidental opening during use. At this point, your remote is ready for programming!
By taking the time to replace the batteries, you can ensure that your garage door remote has the power it needs to function properly. With fresh batteries in place, let’s move on to the next step: locating the “Learn” button on your garage door opener.
Step 3: Locate the “Learn” Button
In order to program your garage door remote, you need to locate the “Learn” button on your garage door opener. This button is typically found on the back or side of the opener unit.
To locate the “Learn” button, start by identifying your garage door opener. This is usually a rectangular box-shaped device mounted on the ceiling of your garage. Look for any labels or markings that indicate the manufacturer or model of the opener.
Once you’ve identified the opener, inspect it carefully to find the “Learn” button. It may be labeled as such, or it may be indicated by a different name like “Program” or “Set.” The button is often small and can be recessed, requiring a pen or a small object to press it.
If you’re having trouble locating the “Learn” button, refer to the owner’s manual or the manufacturer’s instructions for your specific garage door opener. These resources will provide detailed information on the exact location and appearance of the button.
It’s important to note that the location of the “Learn” button may vary depending on the brand and model of your garage door opener. It could be on the main unit itself, on a wall-mounted control panel, or even on a remote control receiver plugged into an electrical outlet.
Once you have located the “Learn” button, you’re ready to move on to the next step: programming your garage door remote to your opener.
When setting a garage door remote, make sure to follow the manufacturer’s instructions carefully. This usually involves programming the remote to sync with the garage door opener. Be sure to test the remote after programming to ensure it is working properly.
Step 4: Program Remote to Garage Door Opener
Now that you’ve replaced the batteries in your remote and located the “Learn” button on your garage door opener, it’s time to program the remote to the opener. This process may vary slightly depending on your specific opener and remote, so be sure to reference the manufacturer’s instructions for detailed steps.
To program your remote, follow these general steps:
- Press and hold down the “Learn” button on your garage door opener. The indicator light on the opener should start flashing to indicate that it is in programming mode.
- Within a few seconds of pressing the “Learn” button, press and release the desired button on your remote that you want to use to operate the garage door. This could be a numbered button or a dedicated “Open” or “Close” button.
- Wait for the indicator light on the garage door opener to flash again, confirming that the remote has been successfully programmed.
- Test the remote by pressing the programmed button to operate the garage door. The door should respond by opening or closing accordingly.
If the programming process is unsuccessful, you may need to repeat the steps or consult the manufacturer’s instructions for troubleshooting tips. Some openers may have additional steps or require you to clear any previously programmed remotes before proceeding with the programming process.
It’s worth noting that some remotes have the ability to control multiple garage doors or openers. If you have multiple doors or openers, consult the instructions to learn how to program the remote for each one.
Now that your remote has been successfully programmed, it’s time to move on to the final step: testing the remote to ensure proper functionality.
Read more: How To Set Remote Garage Door Opener
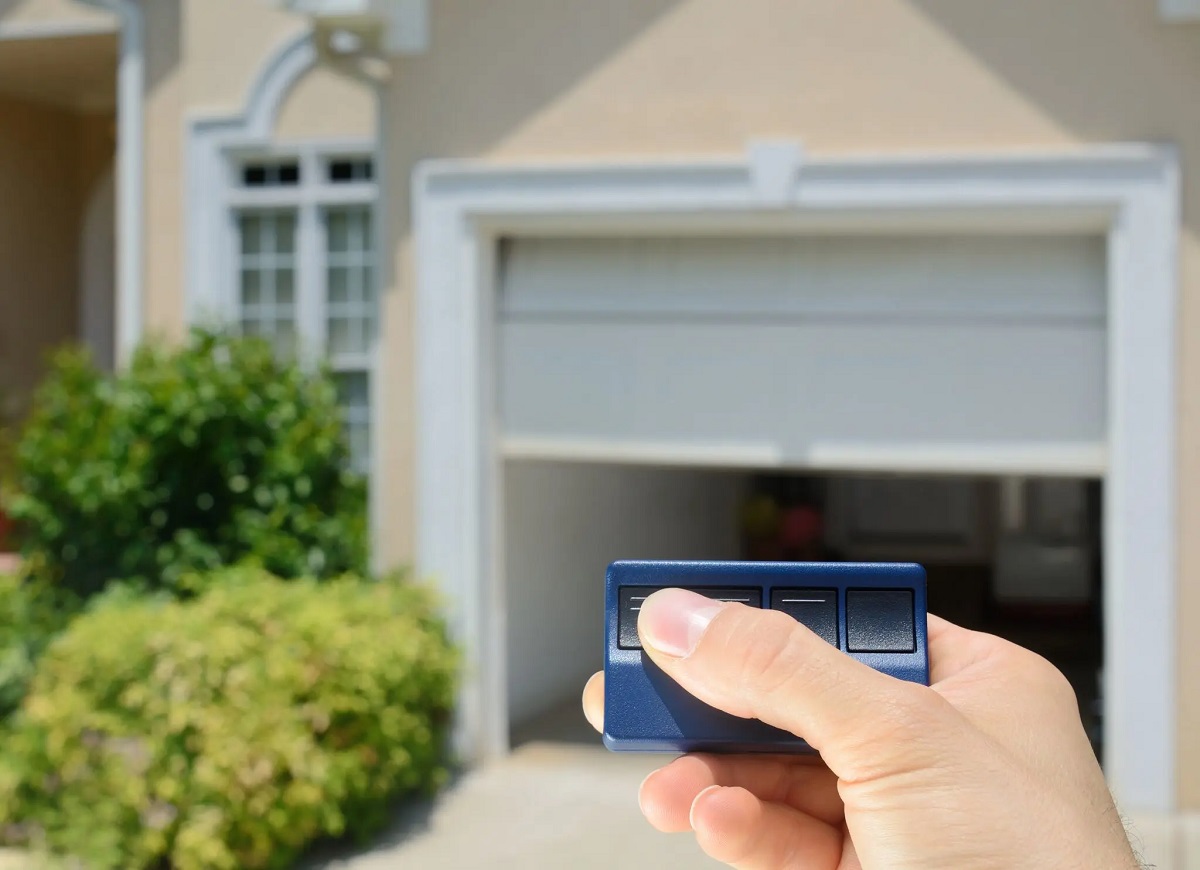
Step 5: Test Remote
After programming your garage door remote to your opener, it’s crucial to test its functionality to ensure that it’s working as expected. This step allows you to verify that the remote is properly synced with the opener and that it can successfully operate the garage door.
To test your remote, follow these simple steps:
- Stand within a reasonable distance from your garage door opener.
- Press the programmed button on your remote that corresponds to the desired operation (e.g., opening or closing the garage door).
- Observe the garage door to see if it responds accordingly by either opening or closing. You should hear the motor running and see the door move smoothly.
- If the door doesn’t respond or if there are any issues with the operation, try the following troubleshooting steps:
- Check the batteries in your remote to ensure they are properly inserted and have enough power.
- Make sure there are no obstructions preventing the garage door from opening or closing.
- Verify that the programming process was completed correctly and that the remote is properly synced with the opener.
- If you’re still experiencing issues, consult the troubleshooting section of your remote’s manual or contact the manufacturer for further assistance.
By testing your remote, you can ensure that it is functioning correctly and that you’ll be able to conveniently and safely control your garage door.
Congratulations! You have successfully completed the process of setting up your garage door remote. Now you can enjoy the convenience and security of easily operating your garage door with just the push of a button. Remember to keep your remote and opener in good condition and follow manufacturer guidelines for maintenance and troubleshooting.
If you ever need to reprogram your remote or set up a new one, you can refer back to this guide as a helpful reference. Happy remote controlling!
Conclusion
Setting up a garage door remote doesn’t have to be a daunting task. With the right knowledge and guidance, you can easily program a remote to operate your garage door, enhancing your convenience and security.
In this comprehensive guide, we’ve walked you through the step-by-step process of setting up a garage door remote. We started by checking compatibility, ensuring that your remote is compatible with your specific garage door opener. Then, we discussed the importance of replacing the batteries to ensure optimal performance.
Next, we guided you on how to locate the “Learn” button on your garage door opener, which is essential for programming the remote. We then provided detailed instructions on how to program your remote to the opener, followed by the crucial step of testing the remote to confirm proper functionality.
By following these steps, you can successfully set up your garage door remote and enjoy the convenience of remotely operating your garage door.
Remember, it’s important to consult the specific instructions provided by your remote’s manufacturer and your garage door opener’s manufacturer to ensure accurate programming and compatibility. Additionally, if you encounter any issues during the setup process, don’t hesitate to seek assistance from the manufacturer or a professional.
We hope this guide has been helpful in assisting you with setting up your garage door remote. Now, go ahead and enjoy the convenience and ease of accessing your garage with just the push of a button!
Frequently Asked Questions about How To Set Garage Door Remote
Was this page helpful?
At Storables.com, we guarantee accurate and reliable information. Our content, validated by Expert Board Contributors, is crafted following stringent Editorial Policies. We're committed to providing you with well-researched, expert-backed insights for all your informational needs.


0 thoughts on “How To Set Garage Door Remote”