Articles
How To Fix Overcharged AC
Modified: October 20, 2024
Learn how to fix an overcharged AC with these helpful articles. Fix the issue yourself and save money on expensive repairs.
(Many of the links in this article redirect to a specific reviewed product. Your purchase of these products through affiliate links helps to generate commission for Storables.com, at no extra cost. Learn more)
Introduction
An overcharged air conditioning (AC) system can lead to a host of problems, from reduced cooling efficiency to potential damage to the components of the system. Understanding the signs of an overcharged AC and knowing how to fix it can help you keep your AC running smoothly and efficiently.
When an AC system is overcharged, it means that there is an excessive amount of refrigerant in the system. This can happen due to several reasons, such as improper servicing or adding refrigerant without checking the pressure levels. Overcharging the AC not only affects its performance but also increases the risk of damage to the compressor and other vital components.
In this article, we will take a look at the signs of an overcharged AC, the risks it poses, and the steps you can take to fix the issue and restore your AC to optimal functioning.
Key Takeaways:
- Signs and Risks
Identify signs of an overcharged AC, such as poor cooling and excessive condensation, to prevent risks like compressor damage and increased energy consumption. Prompt action and professional assistance are crucial. - Fixing Process
Turn off the AC, check pressure, recover excess refrigerant, add the correct amount, and test the system to fix an overcharged AC. Seek professional help if unsure. Prioritize prompt action for optimal AC performance.
Read more: How To Bleed Off An Overcharged AC
Signs of an Overcharged AC
Identifying whether your AC system is overcharged requires careful observation of its performance and certain telltale signs. Here are some signs that may indicate an overcharged AC:
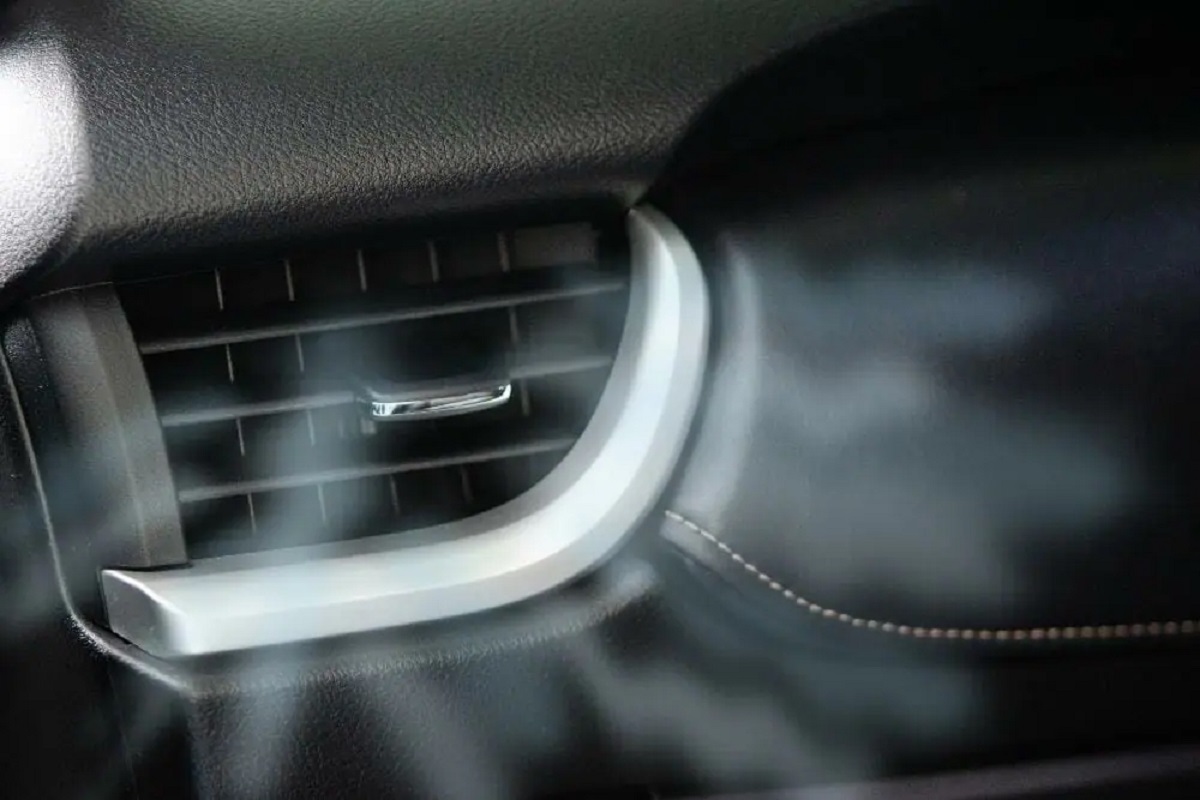
- Poor cooling performance: One of the most noticeable signs of an overcharged AC is a decrease in its cooling efficiency. The excess refrigerant in the system can disrupt the normal flow of air and prevent the AC from reaching the desired temperature.
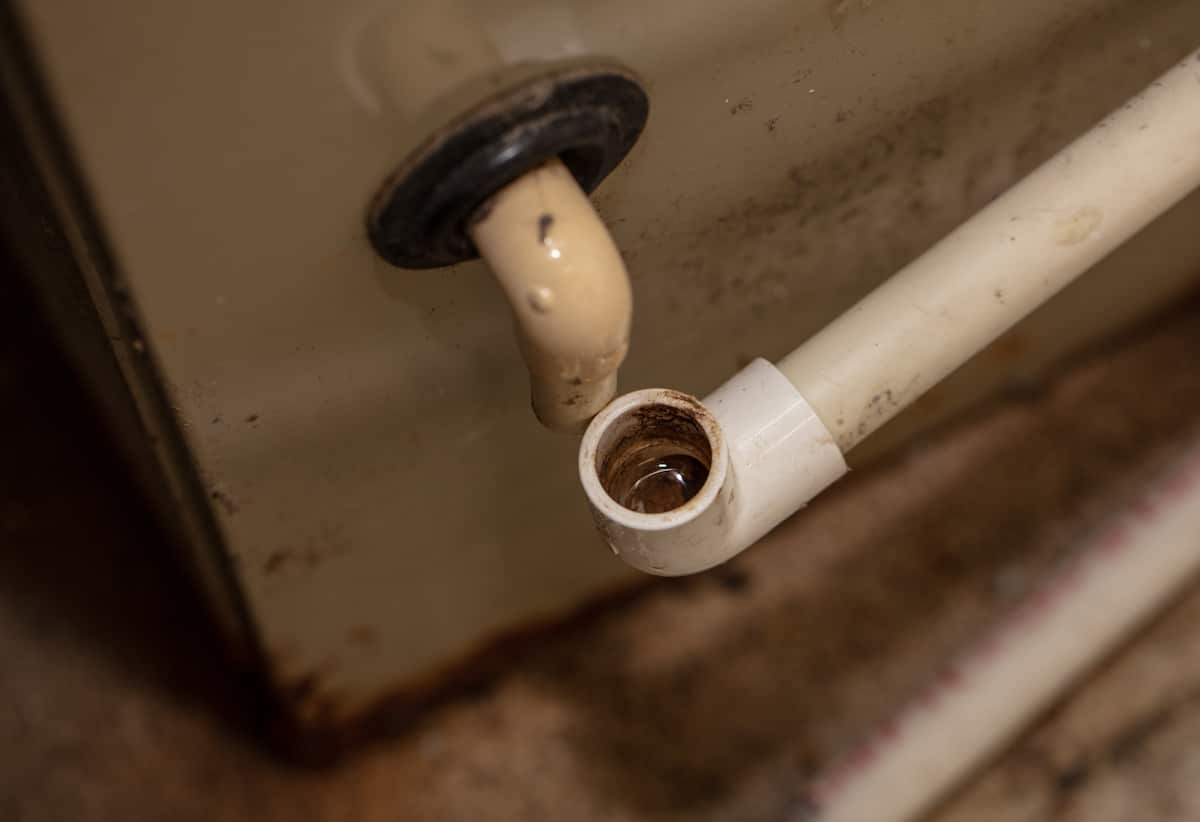
- Excessive condensation: If you notice an unusual amount of condensation on the AC unit or excessive water pooling around it, it could mean that there is too much refrigerant in the system. This is because the overcharged AC may cause the evaporator coil to freeze up, resulting in excessive condensation when it melts.
- Frequent cycling: An overcharged AC may cycle on and off more frequently than usual. This is because the excess refrigerant interferes with the proper functioning of the pressure controls, causing the system to behave erratically.
- Loud or unusual noises: Another sign of an overcharged AC is the presence of strange noises, such as hissing or gurgling sounds. These noises can indicate that the refrigerant is not flowing smoothly through the system due to excessive pressure.
- Inconsistent airflow: If you notice that the airflow from your AC vents is weak or inconsistent, it could be a sign of an overcharged system. The excess refrigerant can disrupt the air circulation, leading to uneven cooling throughout your space.
If you observe any of these signs, it is essential to take action to prevent further damage to your AC system and ensure optimal performance. Next, we will explore the risks associated with an overcharged AC and why it is crucial to address the issue promptly.
Risks of an Overcharged AC
An overcharged AC system poses several risks that can affect both the performance and longevity of the system. It is important to address the issue promptly to avoid these potential problems. Here are some risks associated with an overcharged AC:
- Compressor damage: The compressor is the heart of the AC system, responsible for circulating the refrigerant. When the AC is overcharged, the excess refrigerant can cause the compressor to work harder than it should, leading to increased pressure and potential damage. This can result in costly repairs or even the need for a complete compressor replacement.
- Reduced cooling efficiency: An overcharged AC cannot effectively cool the air in your space. The excess refrigerant can disrupt the normal flow of air, preventing proper heat exchange and decreasing the overall cooling efficiency of the system. As a result, your AC may struggle to reach the desired temperature, leading to discomfort and higher energy bills.
- Increased energy consumption: Overcharging the AC system forces it to work harder, consuming more energy than necessary. This can significantly impact your energy bills, causing them to skyrocket. By fixing an overcharged AC, you can restore its energy efficiency and reduce your energy costs.
- Component failure: The excess pressure caused by overcharging can damage various components of the AC system. This includes the condenser, evaporator coil, and other crucial parts. Component failure can result in costly repairs and system breakdown, leaving you without cooling during hot weather.
- Environmental impact: Overcharging the AC system leads to the release of excess refrigerant into the atmosphere. Refrigerants contain harmful chemicals that contribute to ozone depletion and climate change. By fixing an overcharged AC, you minimize the environmental impact and help protect the planet.
Understanding the risks associated with an overcharged AC highlights the importance of taking corrective measures. In the next section, we will discuss the steps you can take to fix an overcharged AC and restore its optimal functioning.
Steps to Fix an Overcharged AC
If you suspect that your AC system is overcharged, it is crucial to take immediate action to prevent further damage and restore its performance. Here are the steps you can follow to fix an overcharged AC:
- Step 1: Turn off the AC: Start by shutting off the AC system. This will prevent any further circulation of refrigerant and allow the system to stabilize.
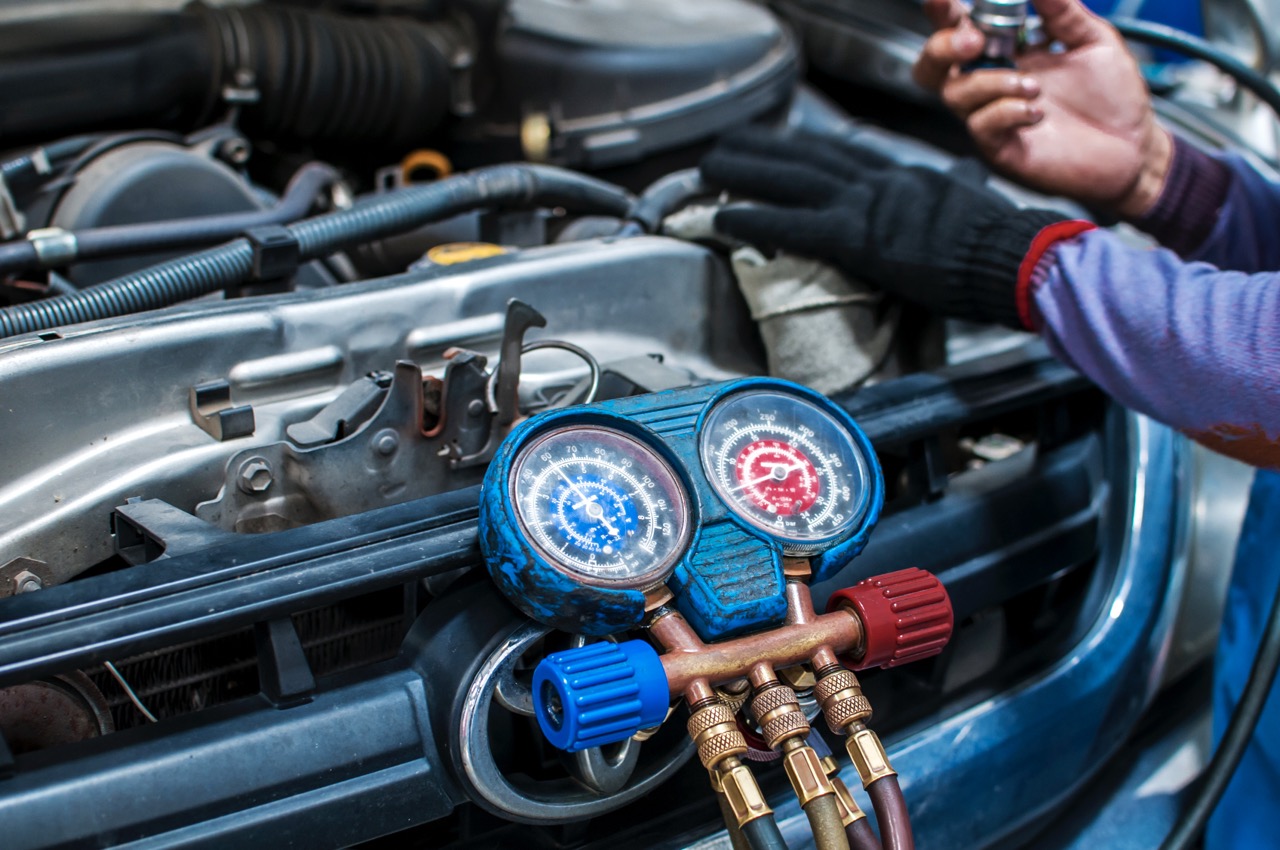
- Step 2: Check the AC pressure: Use an AC pressure gauge to measure the pressure levels in the system. Compare the readings with the manufacturer’s recommended specifications to determine if the system is overcharged.
- Step 3: Recover excess refrigerant: If the pressure readings confirm that the AC is overcharged, the next step is to recover the excess refrigerant. This involves using special equipment to safely remove the surplus refrigerant from the system. It is important to follow proper handling and disposal procedures for the recovered refrigerant.
- Step 4: Add the correct amount of refrigerant: After removing the excess refrigerant, you will need to refill the AC system with the appropriate amount of refrigerant. It is crucial to consult the manufacturer’s specifications or seek professional advice to ensure accurate replenishment.
- Step 5: Test the AC system: Once you have added the correct amount of refrigerant, it is time to test the AC system. Turn it back on and observe its performance. Check for proper cooling, consistent airflow, and any signs of irregular behavior. If everything appears to be functioning correctly, your overcharged AC should now be fixed.
If you are not familiar with the process of fixing an overcharged AC or lack the necessary equipment, it is recommended to seek the assistance of a professional HVAC technician. They have the expertise and tools to accurately diagnose and rectify the issue, ensuring the optimal performance of your AC system.
By following these steps and addressing an overcharged AC promptly, you can avoid potential risks, improve cooling efficiency, and extend the lifespan of your AC system.
Step 1: Turn off the AC
The first step in fixing an overcharged AC is to turn off the system. This is essential to prevent any further circulation of refrigerant and allow the system to stabilize.
Here’s how you can turn off the AC:
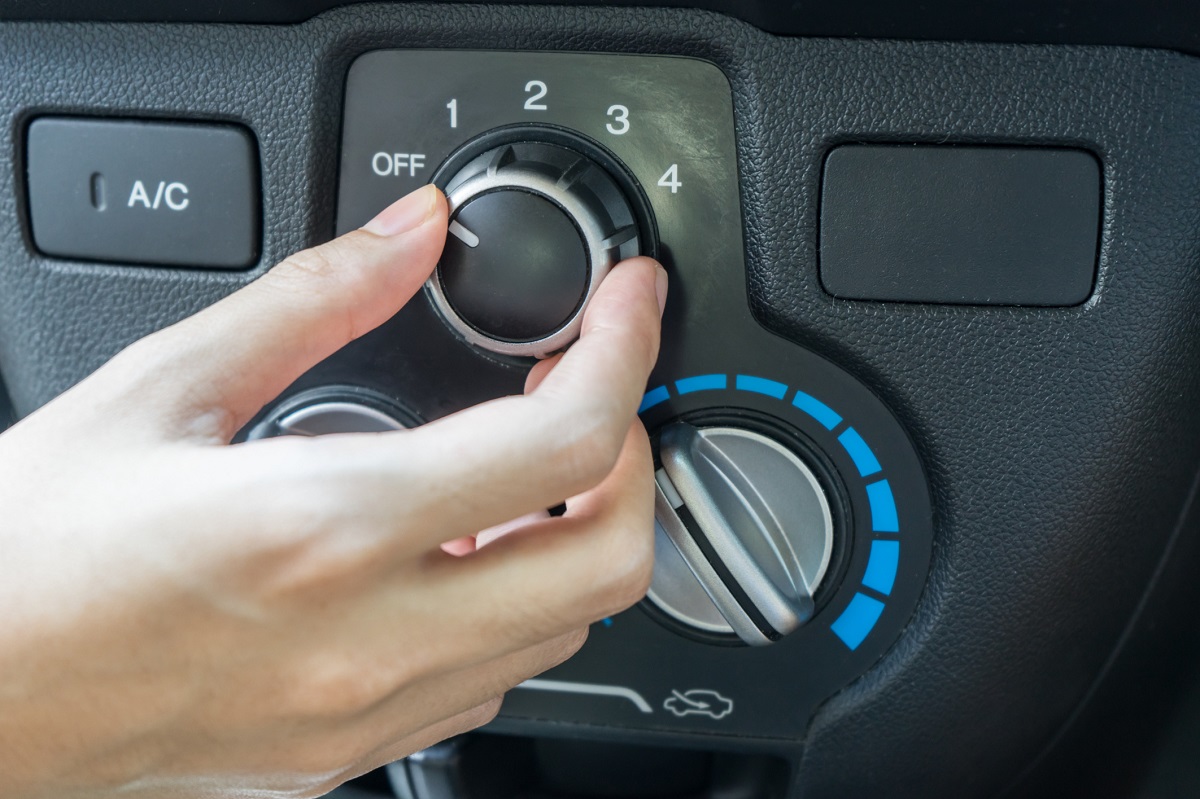
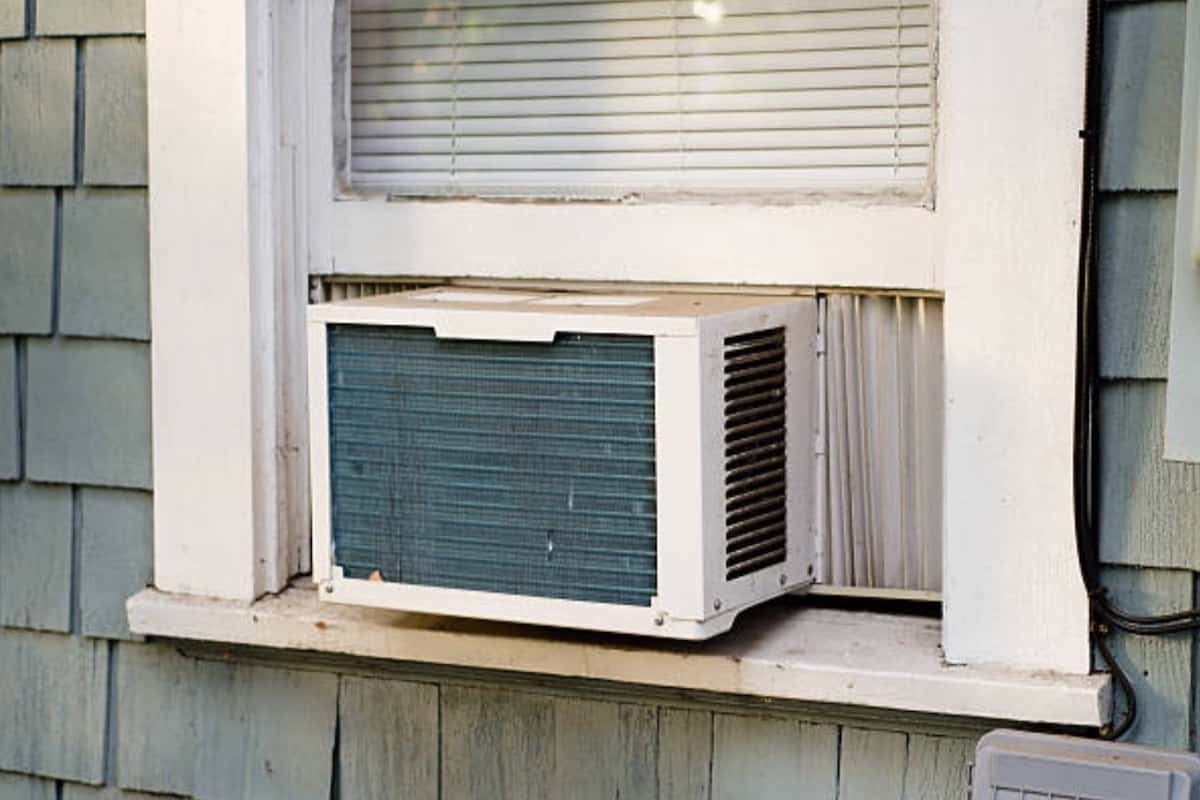
- Locate the thermostat: The thermostat is usually mounted on a wall inside your home or office. It is the control panel that allows you to adjust the temperature settings of your AC system.
- Set the thermostat to “Off” or “Cool”: Depending on the type of thermostat you have, look for the appropriate setting to turn off the AC. If you cannot find an explicit “Off” option, setting it to “Cool” will also deactivate the system.
- Wait for the AC to shut down: After adjusting the thermostat, give the AC some time to shut down completely. You may hear the fans and compressor stop running, indicating that the system is off.
- Double-check the AC unit: Once you believe that the AC is turned off, it is a good idea to physically inspect the AC unit to ensure it is no longer operating. Look for any signs of airflow or noise that could indicate the AC is still running.
By turning off the AC, you effectively halt the circulation of refrigerant within the system. This is important because an overcharged AC can put excess strain on the compressor and other components, leading to potential damage.
It is important to note that while turning off the AC is the first step in fixing an overcharged system, it is not a permanent solution. Once you have completed the necessary steps to rectify the overcharged condition, you can then safely turn the AC back on and enjoy its reliable and efficient cooling performance.
Check the refrigerant levels and ensure they are at the manufacturer’s recommended levels. If overcharged, have a professional technician remove the excess refrigerant to avoid damage to the system.
Read more: How To Fix An AC Leak
Step 2: Check the AC Pressure
After turning off the AC, the next step in fixing an overcharged system is to check the pressure levels. This will help you determine if the AC is indeed overcharged or if there are other issues causing the problem.
Here’s how you can check the AC pressure:
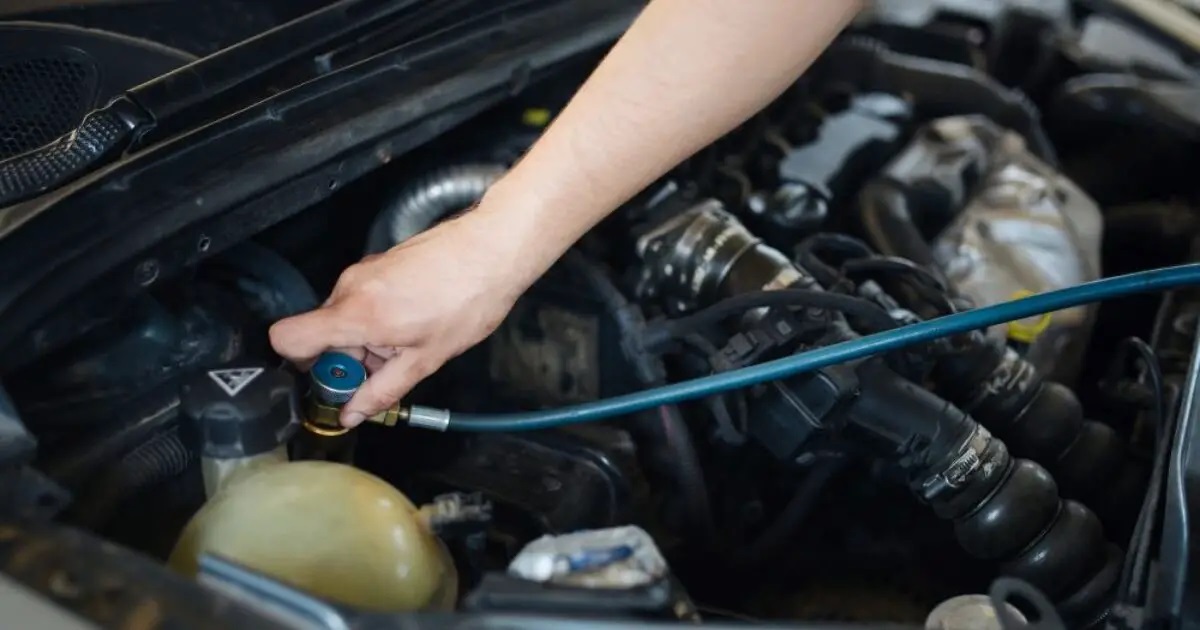
- Locate the service port valves: AC systems have two service ports – a low-pressure port and a high-pressure port. These ports are usually located on the AC lines near the compressor or in the engine compartment.
- Attach the pressure gauge: Take the pressure gauge and connect it to the appropriate service port. Keep in mind that the low-pressure gauge is usually blue, while the high-pressure gauge is red.
- Read the pressure levels: Once the gauge is connected, observe the pressure readings. Compare them to the manufacturer’s specifications for your specific AC system. In most cases, the recommended pressure range will be provided in the owner’s manual or on a label under the hood.
- Interpret the readings: If the pressure gauge indicates a pressure level higher than the recommended range, it suggests that your AC system is overcharged. On the other hand, lower pressure readings may indicate other issues, such as a refrigerant leak or a faulty compressor.
Checking the AC pressure is a crucial step in diagnosing an overcharged system. It allows you to gather important information about the condition of your AC and helps you confirm if overcharging is the root cause of any cooling issues you may be experiencing.
If you are unsure about how to interpret the pressure readings or if you do not have the necessary tools to check the AC pressure, it is best to consult a professional HVAC technician. They have the expertise and specialized equipment to accurately diagnose the problem and recommend the appropriate course of action.
Once you have determined that your AC is overcharged, you can proceed to the next steps to rectify the issue and restore your AC to its optimal functioning.
Step 3: Recover Excess Refrigerant
Once you have confirmed that your AC system is overcharged by checking the pressure levels, the next step is to recover the excess refrigerant. This process involves removing the surplus refrigerant from the system to restore the proper balance.
Here’s how you can recover excess refrigerant from your AC:
- Equip yourself with safety gear: Before you begin, make sure you have the necessary safety gear, including gloves and safety glasses, to protect yourself from refrigerant exposure.
- Use recovery equipment: Recovery equipment is designed to safely remove refrigerant from an AC system. Connect the recovery machine to the service ports on your AC lines, following the instructions provided by the manufacturer of the recovery unit.
- Initiate the recovery process: Once you have the recovery equipment properly connected, turn on the machine and let it run. It will extract the excess refrigerant from the AC system and store it in a separate tank for proper disposal or reuse.
- Monitor the recovery process: Keep an eye on the recovery machine during the process to ensure that it is operating smoothly. If you notice any irregularities or issues, refer to the manufacturer’s guidelines or seek assistance from a professional technician.
- Wait for complete recovery: Allow the recovery equipment to operate until it has extracted the necessary amount of refrigerant to bring the AC system back to the recommended levels. This may take some time, depending on the extent of overcharging.
- Securely seal the service ports: Once the recovery process is complete, disconnect the recovery equipment from the service ports and securely seal the ports to prevent any refrigerant leaks.
Recovering excess refrigerant is an essential step in fixing an overcharged AC system. It helps restore the proper refrigerant levels, ensuring the optimal functioning of the AC and preventing any potential damage to its components.
Keep in mind that handling refrigerant and using recovery equipment requires expertise and knowledge of proper safety procedures. If you are not familiar with the process or lack the necessary equipment, it is best to seek the assistance of a licensed HVAC professional who can safely and effectively remove the excess refrigerant from your AC system.
Once you have successfully recovered the excess refrigerant, you can proceed to the next step to restore the proper refrigerant balance in your AC system.
Step 4: Add the Correct Amount of Refrigerant
After recovering the excess refrigerant from your overcharged AC system, the next step is to add the correct amount of refrigerant to restore the optimal balance. Properly replenishing the refrigerant ensures that your AC system can function efficiently and effectively.
Here’s how you can add the correct amount of refrigerant:
- Determine the correct refrigerant type and amount: Refer to the manufacturer’s specifications or consult with a professional HVAC technician to determine the appropriate refrigerant type and the exact amount required for your specific AC system.
- Gather the necessary tools: Gather the required tools and equipment for adding refrigerant, including a calibrated refrigerant charging scale, refrigerant canisters, and a refrigerant hose with a fitting compatible with your AC system.
- Prepare the refrigerant canister: Attach the refrigerant canister to the refrigerant hose. Ensure that the canister is securely connected and that the valve on the canister is closed to prevent any refrigerant leakage.
- Connect the refrigerant hose to the service ports: Connect one end of the refrigerant hose to the refrigerant canister and the other end to the service ports on your AC lines. Make sure the connections are secure to avoid any leaks.
- Weigh the refrigerant charge: Place the calibrated refrigerant charging scale near the AC unit and turn it on. Set the scale to zero to account for the weight of the refrigerant canister and the hose assembly.
- Add the refrigerant: Open the valve on the refrigerant canister to allow the refrigerant to flow into the AC system. Monitor the weight on the charging scale to ensure that you are adding the correct amount of refrigerant according to the manufacturer’s specifications.
- Monitor the AC pressure: While adding the refrigerant, monitor the pressure levels on the AC pressure gauge. Stop adding refrigerant when the pressure readings are within the recommended range.
- Close the refrigerant canister valve: Once you have added the correct amount of refrigerant, close the valve on the canister to stop the flow of refrigerant into the system.
It is important to follow the manufacturer’s recommendations or seek professional guidance when adding refrigerant to your AC system. Adding too much or too little refrigerant can lead to performance issues and may further damage the system.
If you are not comfortable or experienced in adding refrigerant to your AC system, it is advisable to seek the assistance of a qualified HVAC technician. They have the knowledge and expertise to accurately calculate and add the correct amount of refrigerant to ensure optimal AC performance.
Once you have added the correct amount of refrigerant, you can proceed to the final step to test and verify the proper functioning of your AC system.
Step 5: Test the AC System
After adding the correct amount of refrigerant to your AC system, the final step is to test the system and ensure that it is functioning properly. Testing the AC system after fixing an overcharged condition allows you to verify the effectiveness of the repairs and ensure optimal performance.
Here’s how you can test your AC system:
- Close all AC service valves: Ensure that all service valves on the AC lines are tightly closed to prevent any refrigerant leaks during the testing process.
- Turn on the AC: Set the thermostat to the desired temperature and turn on the AC system. Allow it to run for a few minutes to stabilize and achieve the desired cooling operation.
- Observe the cooling performance: Check the airflow from the vents and feel the temperature of the air. The cooling performance should be consistent and provide the desired level of cooling throughout your space.
- Listen for unusual sounds: Pay attention to any unusual sounds coming from the AC system. Strange noises could indicate a potential issue that requires further investigation.
- Monitor the AC pressure: While the AC is running, monitor the pressure readings on the AC pressure gauge. The pressure levels should now be within the recommended range, indicating a balanced refrigerant charge.
- Check for any signs of refrigerant leaks: Inspect the AC system, including the service ports, connections, and fittings, for any signs of refrigerant leaks. Look for oil stains or bubbles, which might indicate a leak that needs to be addressed.
- Verify consistent cooling: Ensure that the AC maintains a consistent temperature and cools your space evenly. If you notice any irregularities or persistent cooling issues, it is advisable to seek the assistance of a professional technician to further diagnose and resolve the problem.
By testing the AC system, you can determine if the overcharged condition has been resolved and if any further adjustments or repairs are required. It allows you to ensure that your AC system is operating efficiently and delivering the desired cooling performance.
If you encounter any issues or are not confident in performing the tests yourself, it is recommended to contact a qualified HVAC technician. They have the expertise and tools to accurately assess the performance of your AC system and make any necessary adjustments or repairs.
Once you have successfully tested the AC system and confirmed its proper functioning, you can now enjoy a comfortable and efficiently cooled environment.
Read more: How To Fix Frozen AC
Conclusion
Fixing an overcharged AC is essential to ensure optimal cooling performance and prevent potential damage to the system. By identifying the signs of an overcharged AC, understanding the risks involved, and following the necessary steps, you can rectify the issue and restore your AC to its proper functioning.
In this article, we discussed the signs of an overcharged AC, including poor cooling performance, excessive condensation, frequent cycling, unusual noises, and inconsistent airflow. We also highlighted the risks associated with an overcharged AC, such as compressor damage, reduced cooling efficiency, increased energy consumption, component failure, and environmental impact.
The steps to fix an overcharged AC include turning off the AC, checking the AC pressure, recovering excess refrigerant, adding the correct amount of refrigerant, and testing the AC system. These steps require caution, proper equipment, and in-depth knowledge of refrigerant handling.
If you are not confident in performing these steps yourself, it is advisable to consult a professional HVAC technician. They have the expertise and tools to accurately diagnose and resolve the overcharged AC issue, ensuring the safety and performance of your AC system.
By addressing an overcharged AC promptly and taking the necessary corrective measures, you can enjoy reliable and efficient cooling while protecting the longevity of your AC system. Regular maintenance and professional servicing can also help prevent overcharging and other AC-related issues in the future.
Remember, a well-maintained AC system not only provides comfort but also contributes to energy efficiency and a healthier environment. So, take care of your AC and make sure it receives the attention it needs to keep you cool during hot summer days.
Frequently Asked Questions about How To Fix Overcharged AC
Was this page helpful?
At Storables.com, we guarantee accurate and reliable information. Our content, validated by Expert Board Contributors, is crafted following stringent Editorial Policies. We're committed to providing you with well-researched, expert-backed insights for all your informational needs.

0 thoughts on “How To Fix Overcharged AC”