Articles
How To Fix An AC Leak
Modified: August 28, 2024
Learn effective methods to fix an AC leak with these informative articles. Keep your home cool and comfortable by resolving AC issues promptly.
(Many of the links in this article redirect to a specific reviewed product. Your purchase of these products through affiliate links helps to generate commission for Storables.com, at no extra cost. Learn more)
Introduction
As the temperature rises, having a properly functioning air conditioning (AC) system becomes essential for maintaining a comfortable indoor environment. Unfortunately, AC leaks can occur, leading to a loss of cooling efficiency and potential damage to your unit. Understanding the common causes of AC leaks and knowing how to fix them can save you from costly repairs and ensure that your AC system operates effectively.
In this article, we will explore the common causes of AC leaks, discuss the signs and symptoms to look out for, and provide a step-by-step guide on how to fix an AC leak. We will also provide safety precautions and a list of tools and materials you will need for the repair. Additionally, we will discuss when it might be more suitable to call a professional for assistance and provide some tips to prevent future AC leaks.
Let’s dive in and learn how to fix an AC leak to keep your home cool and comfortable during those hot summer months.
Key Takeaways:
- Understanding the common causes and signs of AC leaks, along with safety precautions and a step-by-step repair guide, empowers homeowners to tackle the issue confidently and effectively, ensuring a cool and comfortable indoor environment.
- While DIY repairs are possible for some AC leaks, recognizing when to call a professional, implementing preventive measures, and prioritizing regular maintenance can help prevent future leaks and optimize the longevity and efficiency of AC systems.
Read more: How To Find AC Leak
Understanding the Common Causes of AC Leaks
An AC system is designed to cool the air by removing heat and humidity. However, various factors can lead to leaks in the system, compromising its efficiency and performance. By understanding the common causes of AC leaks, you can effectively diagnose and fix the issue.
1. Clogged Condensate Drain Line: One of the primary causes of AC leaks is a clogged condensate drain line. This line is responsible for removing the condensation that accumulates during the cooling process. Over time, dust, dirt, and debris can build up in the drain line, obstructing the flow and causing the water to back up and leak.
2. Damaged or Disconnected Drain Pan: Another common cause of AC leaks is a damaged or disconnected drain pan. The drain pan is located underneath the evaporator coil, and it collects the condensed water before draining it away. If the drain pan is cracked or improperly installed, water can leak and cause water damage.
3. Frozen Evaporator Coil: If the evaporator coil becomes frozen due to a lack of airflow or low refrigerant levels, it can lead to AC leaks. As the ice melts, it can overwhelm the condensate drain pan, causing water to drip and leak from the system.
4. Faulty Condensate Pump: In some AC systems, a condensate pump is used to help remove water from the system. If the condensate pump fails to function properly, water can accumulate and leak from the AC unit.
5. Refrigerant Leaks: While less common, refrigerant leaks can also result in AC leaks. The refrigerant plays a crucial role in the cooling process, and a leak can cause a drop in pressure, leading to water pooling or dripping from the unit.
Understanding these common causes of AC leaks is essential in troubleshooting and resolving the issue. In the next section, we will discuss the signs and symptoms that indicate an AC leak, allowing you to take prompt action.
Signs and Symptoms of an AC Leak
Spotting the signs and symptoms of an AC leak is crucial for addressing the issue before it worsens. Ignoring an AC leak can lead to further damage to your system, increased energy consumption, reduced cooling efficiency, and even potential health risks due to mold growth. Here are some common signs to look out for:
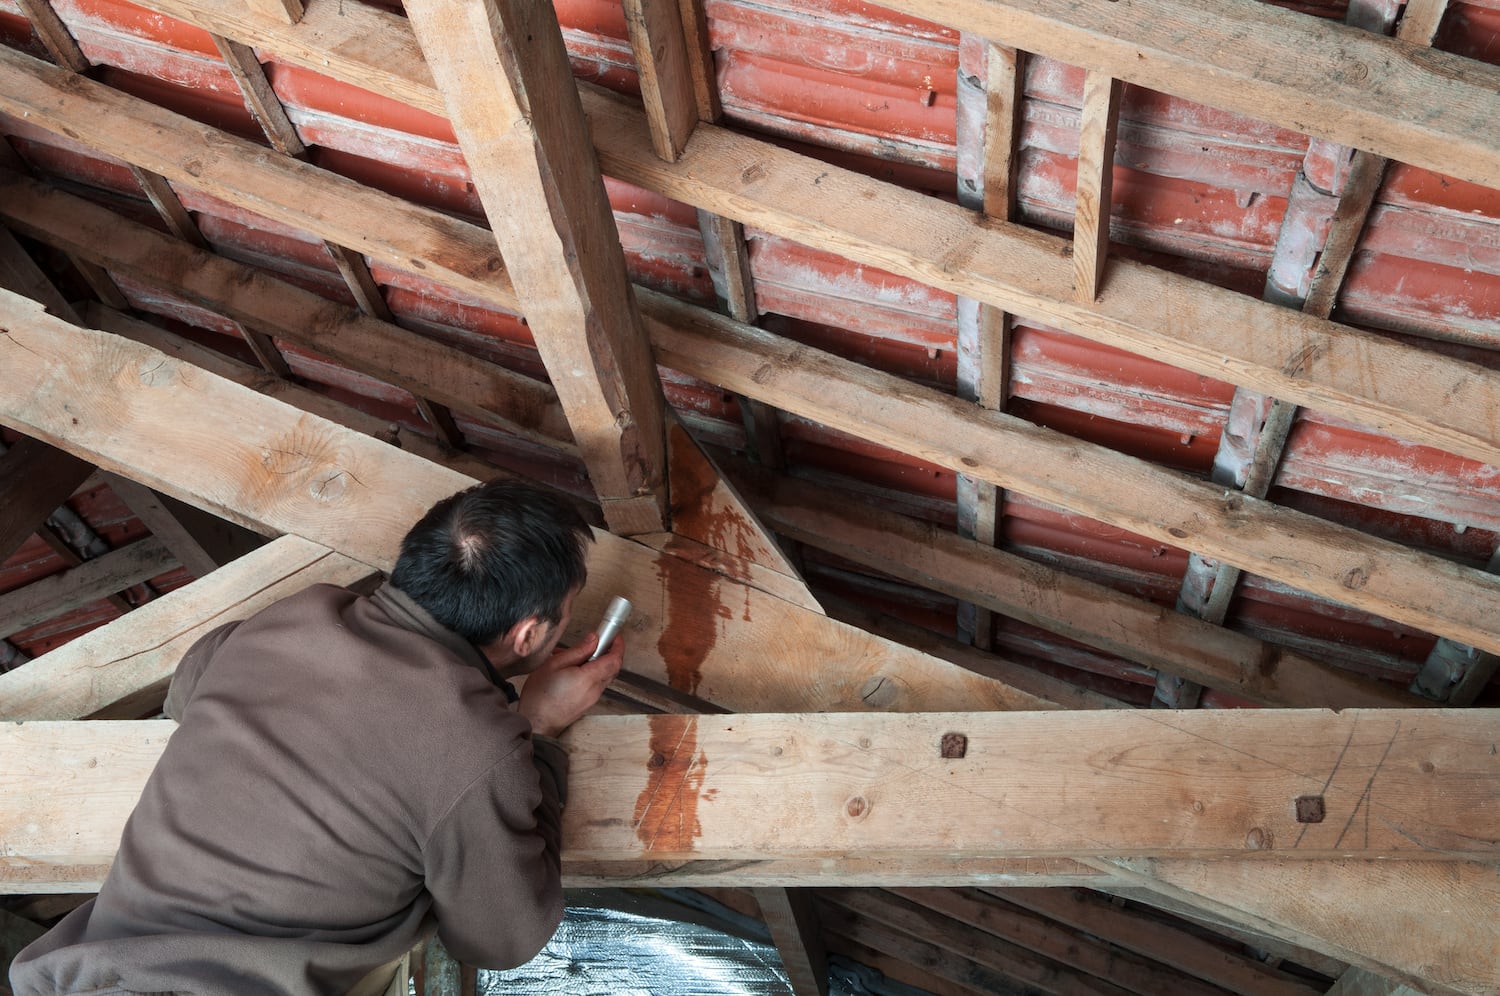
1. Water Leakage: The most obvious sign of an AC leak is water dripping or pooling around your unit. You may notice water stains or dampness on the floor or nearby walls. Pay attention to any sudden increase in water production from your AC unit, as it may indicate an active leak.
2. Mold or Mildew Odors: If water is accumulating due to the leak, it creates a favorable environment for mold and mildew growth. If you detect a musty smell coming from your AC system or the surrounding area, it could be a sign of mold or mildew caused by an AC leak.
3. Reduced Cooling Performance: AC leaks can interfere with the cooling efficiency of your system. If you notice that your air conditioner is no longer able to maintain the desired temperature, or if it takes longer for your space to cool down, it could be a symptom of an AC leak.
4. Hissing or Bubbling Sounds: In some cases, you may hear hissing or bubbling sounds coming from your AC unit. This could be an indication of refrigerant leaking from the system. If you notice such sounds, it is important to address the issue promptly to prevent further damage.
5. Ice Formation: If you observe ice formation on the evaporator coil or refrigerant lines, it could be a sign of a refrigerant leak or insufficient airflow. Ice formation inhibits the proper functioning of your AC unit and can lead to AC leaks if left unaddressed.
6. Increased Humidity: AC systems are designed to remove excess humidity from the air. If you notice increased humidity levels in your space, even when the AC is running, it could be an indicator of an AC leak. Excess moisture can also lead to mold growth and property damage.
If you notice any of these signs and symptoms, it is important to take immediate action to diagnose and fix the AC leak. In the next section, we will discuss the safety precautions you should take before attempting any repairs.
Safety Precautions Before Attempting Repairs
Before you begin fixing an AC leak, it is crucial to prioritize your safety. Working with electrical systems and AC units can be hazardous if not handled properly. Here are some important safety precautions to take before attempting any repairs:
1. Turn Off the Power: Before you start working on your AC system, ensure that the power supply is disconnected. Locate the circuit breaker or the disconnect switch for the AC unit and switch it off. This will prevent electrical shocks or accidents while working on the system.
2. Wear Protective Gear: When handling AC components or working with refrigerant, it is essential to protect yourself by wearing appropriate gear. This includes safety glasses, gloves, and a mask to prevent inhalation of any harmful particles or refrigerant fumes.
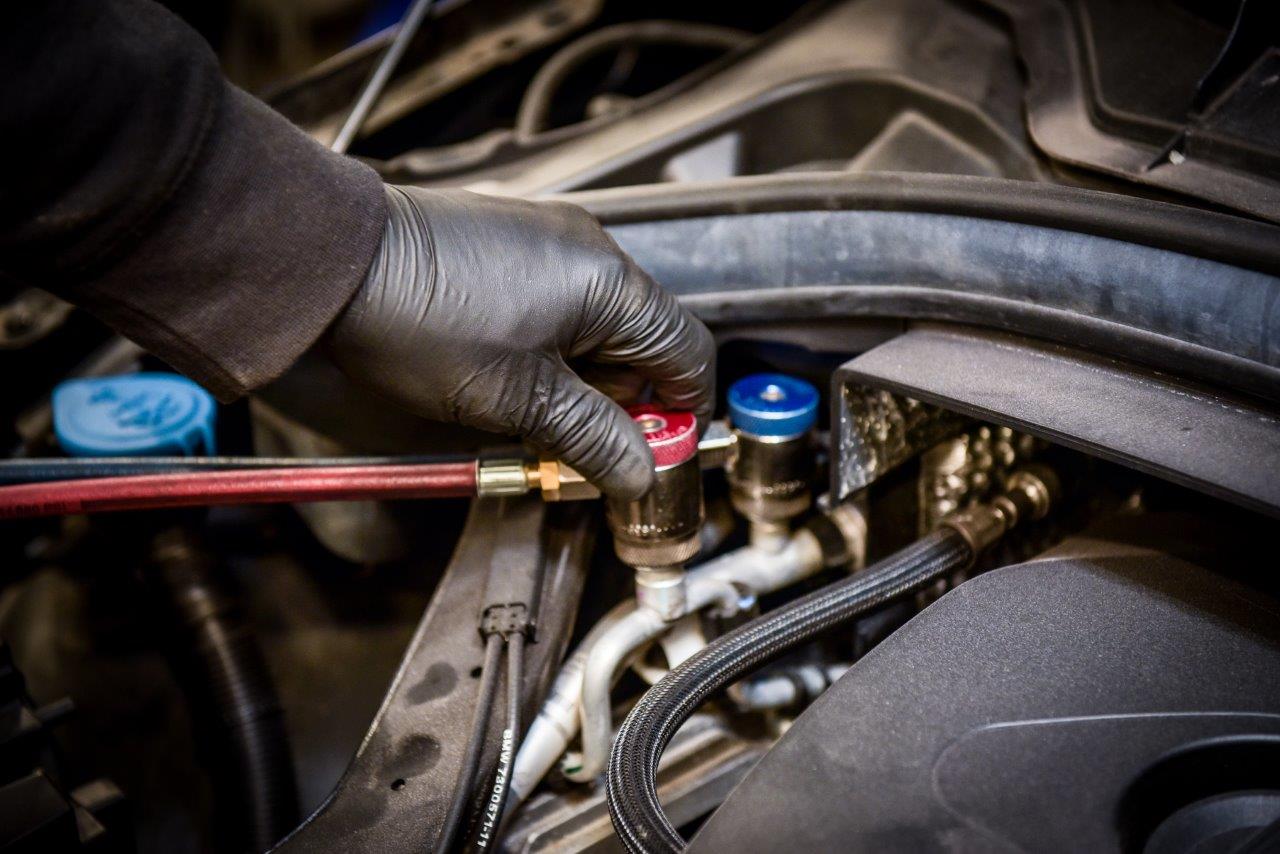
3. Avoid Direct Contact with Refrigerant: Refrigerant is a chemical substance that can be harmful if it comes into direct contact with your skin or eyes. If you suspect a refrigerant leak, do not touch or handle the refrigerant. It is best to leave the handling of refrigerant to qualified professionals.
4. Use Proper Tools and Equipment: Ensure that you have the necessary tools and equipment for the repair job. This may include wrenches, pliers, a multimeter for electrical testing, and an AC refrigerant recovery unit if you need to handle refrigerant. Using the correct tools will make the repair process easier and safer.
5. Work in a Well-Ventilated Area: When working with AC systems or handling refrigerant, make sure you are in a well-ventilated area. Open windows or doors to allow fresh air circulation. This will help prevent the inhalation of any potentially harmful fumes.
6. Follow Manufacturer’s Guidelines: It is important to consult the manufacturer’s manual or guidelines specific to your AC unit. Different systems may have varying repair procedures and safety instructions. Following the manufacturer’s guidelines ensures that you approach the repair process correctly and safely.
By taking these safety precautions, you can significantly reduce the risk of accidents or injuries while attempting to fix an AC leak. Once you have ensured your safety, you can gather the necessary tools and materials to begin the repair process. We will discuss the tools and materials you will need in the next section.
Tools and Materials Needed
Before you start fixing an AC leak, it’s important to gather the necessary tools and materials. Having the right equipment on hand will make the repair process smoother and more efficient. Here are the tools and materials you will need:
1. Screwdrivers: A set of screwdrivers with both flathead and Phillips-head tips will be useful for removing screws and accessing different components of your AC unit.
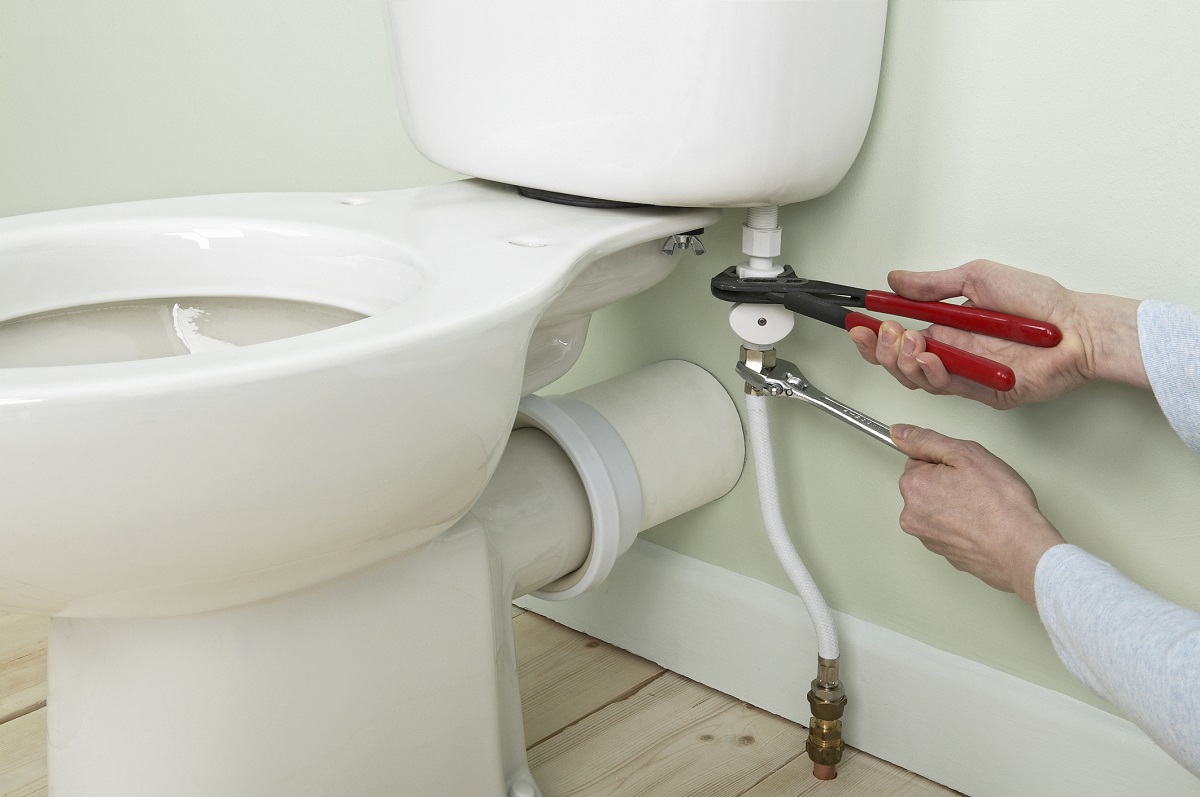
2. Pliers: Pliers come in handy for gripping and manipulating wires, clamps, and other small objects during the repair process.
3. Wrenches: Adjustable wrenches or socket wrenches will be needed to loosen and tighten nuts and bolts on your AC unit.
4. Pipe Cutters: If you need to replace any damaged or leaking pipes, a pipe cutter will be necessary for cutting through copper or aluminum tubing.
5. Tubing Cutter: Similar to a pipe cutter, a tubing cutter is specifically designed for cutting plastic tubing, such as the condensate drain line or PVC pipes.
6. Leak Detection Kit: A leak detection kit can help you identify the source of the AC leak. It typically includes a UV light and fluorescent dye that allows you to trace and pinpoint the location of the leak.
7. Condensate Pump (if applicable): If your AC system utilizes a condensate pump, make sure you have a replacement pump on hand in case the existing one is faulty and needs to be replaced.
8. Replacement Parts: Depending on the specific cause of the AC leak, you may need to replace certain components such as the condensate drain line, drain pan, or gaskets. Ensure that you have the necessary replacement parts available before starting the repair process.
9. Safety Gear: As mentioned in the previous section, it’s crucial to wear appropriate safety gear, including safety glasses, gloves, and a mask, to protect yourself from any potential hazards during the repair process.
Remember to consult the manufacturer’s manual or guidelines specific to your AC unit, as it may provide specific recommendations for tools and materials based on the model and type of system you have. Once you have gathered all the necessary tools and materials, you can proceed with the step-by-step guide to fixing an AC leak, which we will discuss in the next section.
Regularly check and clean the AC condensate drain line to prevent clogs and leaks. Use a wet/dry vacuum to remove any blockages and maintain proper drainage.
Read more: How To Fix A Leaking Washer
Step-by-Step Guide to Fixing an AC Leak
Fixing an AC leak can be a challenging task, but with proper guidance, you can successfully repair the issue and restore your system’s performance. Follow these step-by-step instructions to fix an AC leak:
Step 1: Turn off the Power: Begin by switching off the power to your AC unit. Locate the circuit breaker or disconnect switch and turn it off to avoid any electrical accidents.
Step 2: Identify the Source of the Leak: Inspect your AC unit for any signs of leakage, such as water stains or puddles. Use a flashlight and a leak detection kit, if necessary, to identify the exact location of the leak. Common areas to check include the condensate drain line, drain pan, and connections between components.
Step 3: Clean or Unclog the Condensate Drain Line: If the leak is caused by a clogged condensate drain line, use a pipe cleaner or a wet/dry vacuum to clear the obstruction. Gently insert the pipe cleaner or vacuum hose into the drain line and remove any debris that may be causing the blockage.
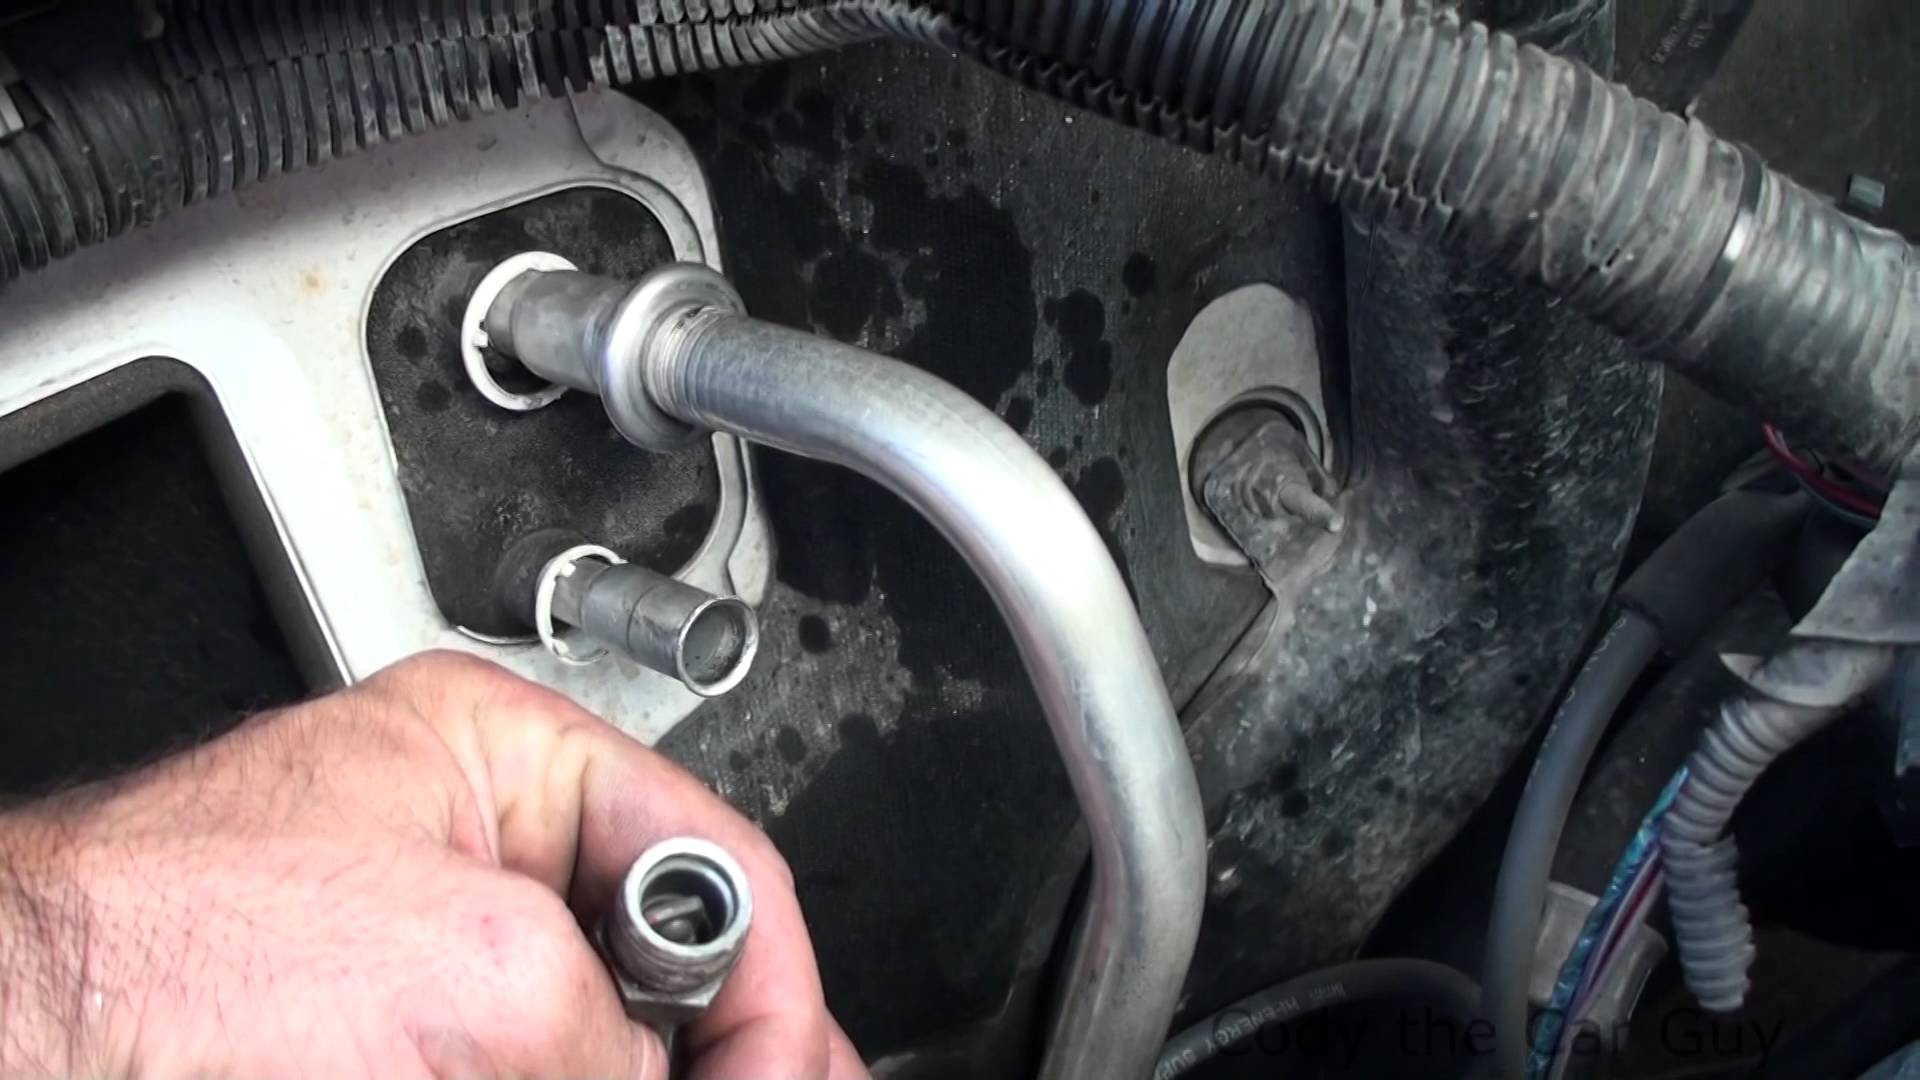
Step 4: Replace Damaged or Disconnected Components: If you find a damaged or disconnected drain pan, cracked pipes, or faulty gaskets, replace these components with new ones. Follow the manufacturer’s instructions and use the appropriate tools to remove the old components and install the new ones.
Step 5: Repair Refrigerant Leaks: If the AC leak is caused by a refrigerant leak, it is recommended to call a professional HVAC technician. Handling refrigerant requires specialized training and equipment to ensure safety and compliance with environmental regulations.
Step 6: Test for Leaks: After making the necessary repairs, it’s important to test for any remaining leaks. Turn on your AC unit and carefully observe the repaired area for any signs of continued leakage. If leaks persist, double-check the connections and components you repaired to ensure everything is sealed properly.
Step 7: Restore Power and Monitor Performance: Once you are confident that the AC leak has been resolved, you can turn the power back on. Allow your AC unit to run for a while and monitor its performance. Check for any unusual noises, temperature fluctuations, or signs of leakage. If everything appears to be functioning properly, you have successfully fixed the AC leak.
Remember, if you are uncomfortable or unsure about any step of the repair process, it is always best to consult a professional HVAC technician to ensure the job is done safely and effectively.
In the next section, we will discuss when it might be more suitable to call a professional for assistance with fixing an AC leak.
Alternative Option: Calling a Professional
While fixing an AC leak on your own can be possible in some cases, there are situations where it’s best to leave the job to a professional HVAC technician. Calling a professional ensures that the repair is done properly and reduces the risk of further damage or personal injury. Here are some scenarios where it is recommended to call a professional:
1. Refrigerant Leak: Handling refrigerant requires specialized knowledge, equipment, and certifications due to environmental regulations. If you suspect a refrigerant leak, it is best to leave it to an experienced technician who can safely diagnose and repair the issue.
2. Complex Repairs: If the AC leak involves complex components, intricate connections, or requires extensive disassembly of your system, it is advisable to call a professional. They have the expertise and tools to navigate complex repairs effectively.
3. Warranty Considerations: If your AC unit is still covered by a warranty, attempting to repair the leak yourself may void the warranty. It’s important to consult the warranty terms and conditions and contact the manufacturer or authorized service center before proceeding with any repairs.
4. Lack of Experience or Skill: If you have limited experience or knowledge in working with AC systems, it is safer to call a professional. AC systems are complex, and attempting repairs without proper understanding can lead to further damage or safety hazards.
5. Time Constraints: If you do not have the time or resources to dedicate to investigating and fixing an AC leak, calling a professional can save you time and hassle. They have the skills and expertise to quickly diagnose and repair the issue, getting your AC system up and running efficiently.
Professional HVAC technicians have the training, experience, and specialized tools to efficiently diagnose and repair AC leaks. They can ensure that the repair is done correctly, minimizing the risk of future leaks and optimizing the performance of your AC system.
In the next section, we will discuss some preventative measures you can take to help prevent future AC leaks.
Preventing Future AC Leaks
While it’s important to know how to fix an AC leak, it’s equally crucial to take preventive measures to avoid future leaks. By implementing these preventive measures, you can prolong the lifespan of your AC system and minimize the chances of leaks. Here are some preventive steps you can take:
1. Regular Maintenance: Schedule regular maintenance for your AC system to ensure it is running efficiently and to catch any potential issues before they escalate. A professional HVAC technician can perform a thorough inspection, clean the components, and make any necessary adjustments or repairs to prevent leaks.
2. Keep the Area around the Unit Clear: Ensure that the area around your AC unit is free from debris, vegetation, and other objects that can obstruct airflow. Proper air circulation prevents the system from overheating and reduces the risk of leaks.
3. Change Air Filters Regularly: Dirty or clogged air filters can restrict airflow in your AC system, leading to freezing of the evaporator coil and potential leaks. Regularly changing your filters helps maintain proper airflow and prevents unnecessary strain on the system.
4. Monitor Humidity Levels: High humidity levels can cause condensation to form inside your AC unit and increase the risk of leaks. Use a dehumidifier if necessary to maintain optimal humidity levels in your space and reduce the strain on the AC system.
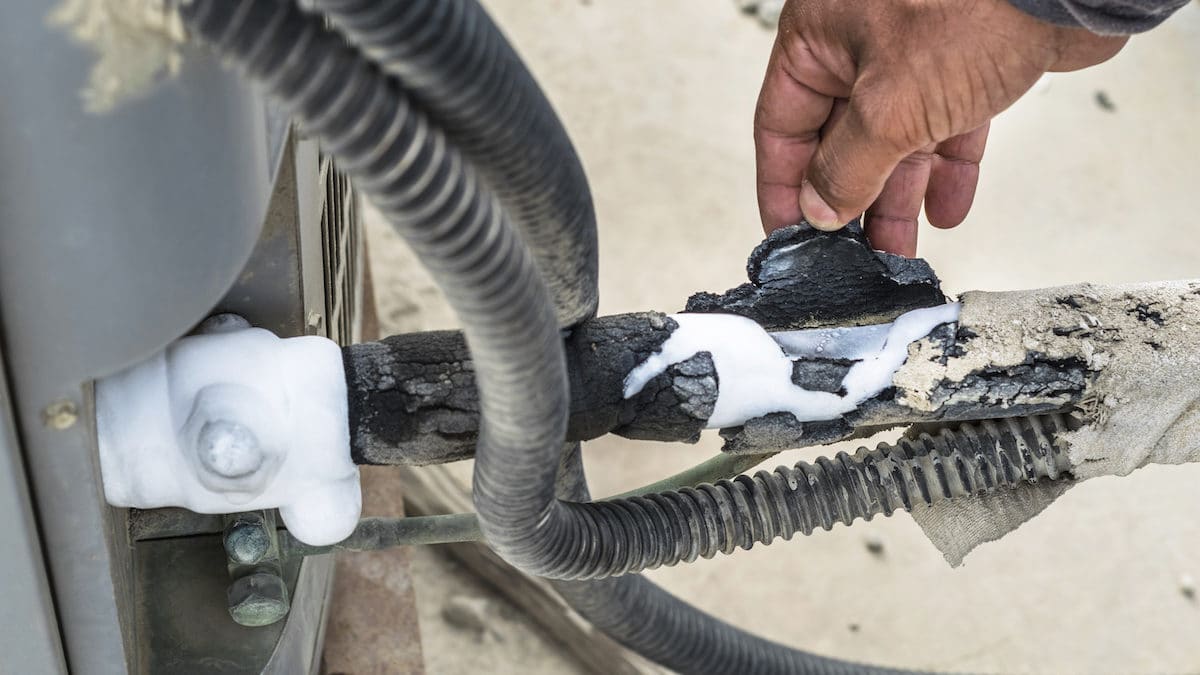
5. Insulate Refrigerant Lines: Insulating the refrigerant lines prevents them from sweating or condensing, reducing the chances of leaks. Proper insulation helps maintain the optimal temperature and pressure of the refrigerant, ensuring the efficient operation of your AC system.
6. Check and Clean Condensate Drain Line: Regularly inspect and clean the condensate drain line to prevent clogs and backups that can cause leaks. Use a mixture of bleach and water to flush out algae and other debris from the drain line, keeping it clear and functioning properly.
7. Be Mindful of DIY Repairs: While it’s tempting to tackle AC repairs on your own, it’s essential to know your limits. Attempting complex repairs without the necessary expertise can result in further damage and leaks. If in doubt, consult a professional HVAC technician to handle the repairs.
By following these preventative measures, you can reduce the risk of future AC leaks and ensure that your system operates efficiently. Regular maintenance and diligent care will improve the longevity and performance of your AC unit, providing you with cool, reliable comfort for years to come.
Let’s wrap up the article in the next section.
Conclusion
An AC leak can be a frustrating issue that compromises the performance of your cooling system and can lead to further damage if left unaddressed. However, understanding the common causes of AC leaks and knowing how to fix them can save you time, money, and discomfort. By following the step-by-step guide provided in this article, you can confidently tackle an AC leak and restore your system’s functionality.
Remember to prioritize safety by following the necessary precautions before attempting any repairs. Ensure that you have the appropriate tools and materials on hand to make the process smoother. However, it’s important to recognize your limitations. If the AC leak involves complex repairs or refrigerant handling, it is best to call a professional HVAC technician to ensure a proper and safe resolution.
Preventative measures, such as regular maintenance, keeping the area around the unit clear, changing air filters, monitoring humidity levels, and insulating refrigerant lines, can help prevent future AC leaks. Taking proactive steps to maintain your AC system will increase its longevity and efficiency, providing you with reliable cooling for years to come.
In conclusion, knowing how to fix an AC leak empowers you to take control of your cooling system’s health. By detecting and addressing leaks promptly, you can ensure optimal performance, energy efficiency, and comfort within your home or office space. Don’t let an AC leak leave you sweaty and uncomfortable – take action and enjoy the cool relief of a properly functioning AC system.
Frequently Asked Questions about How To Fix An AC Leak
Was this page helpful?
At Storables.com, we guarantee accurate and reliable information. Our content, validated by Expert Board Contributors, is crafted following stringent Editorial Policies. We're committed to providing you with well-researched, expert-backed insights for all your informational needs.


0 thoughts on “How To Fix An AC Leak”