Articles
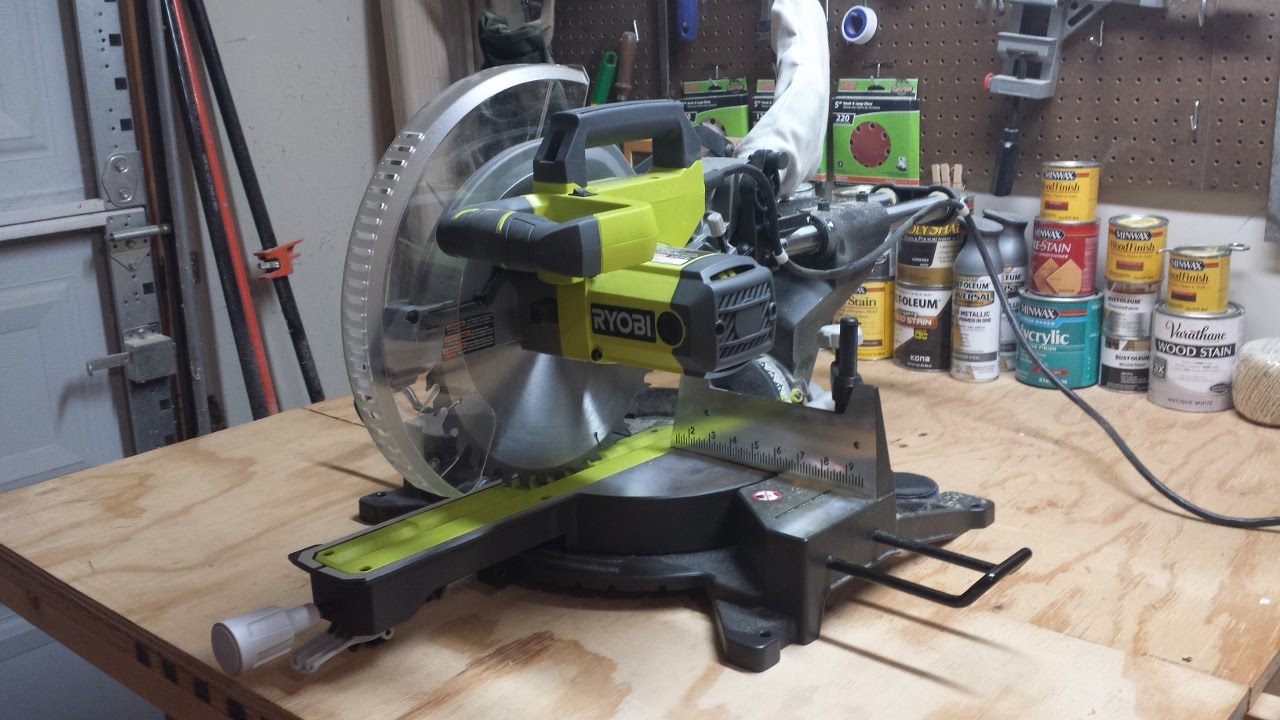
How To Change The Blade On A Ryobi Table Saw
Modified: May 6, 2024
Learn how to change the blade on a Ryobi table saw with these helpful articles. Step-by-step instructions and tips to ensure a safe and efficient blade replacement.
(Many of the links in this article redirect to a specific reviewed product. Your purchase of these products through affiliate links helps to generate commission for Storables.com, at no extra cost. Learn more)
Introduction
Welcome to this step-by-step guide on how to change the blade on a Ryobi table saw. Whether you’re a beginner or a seasoned DIYer, knowing how to replace the saw blade is an essential skill to have. Over time, blades can become dull or damaged, affecting the quality of your cuts and putting your safety at risk. By following these easy steps, you’ll have a sharp new blade installed in no time, ensuring clean, precise cuts and a safer woodworking experience.
Before we dive into the process, it’s important to note that safety should always be your top priority when handling power tools. Remember to wear protective gear such as safety glasses and gloves, and make sure to work in a well-ventilated area. Additionally, be sure to consult your Ryobi table saw’s user manual for any specific instructions or precautions.
Now, let’s get started on changing the blade of your Ryobi table saw.
Key Takeaways:
- Regularly changing the blade on your Ryobi table saw is crucial for maintaining optimal cutting performance and ensuring a safe woodworking environment. Follow the step-by-step guide to confidently and efficiently replace the blade.
- Prioritize safety throughout the blade changing process by wearing protective gear and working in a well-ventilated area. Familiarize yourself with your Ryobi table saw’s user manual for specific instructions and precautions.
Read more: How To Change The Blade On Ryobi Miter Saw
Step 1: Gather the necessary tools and materials
Before you begin the blade changing process, it is important to gather all the necessary tools and materials. This will ensure that you have everything you need on hand and will make the process smoother and more efficient. Here is a list of items you will need:
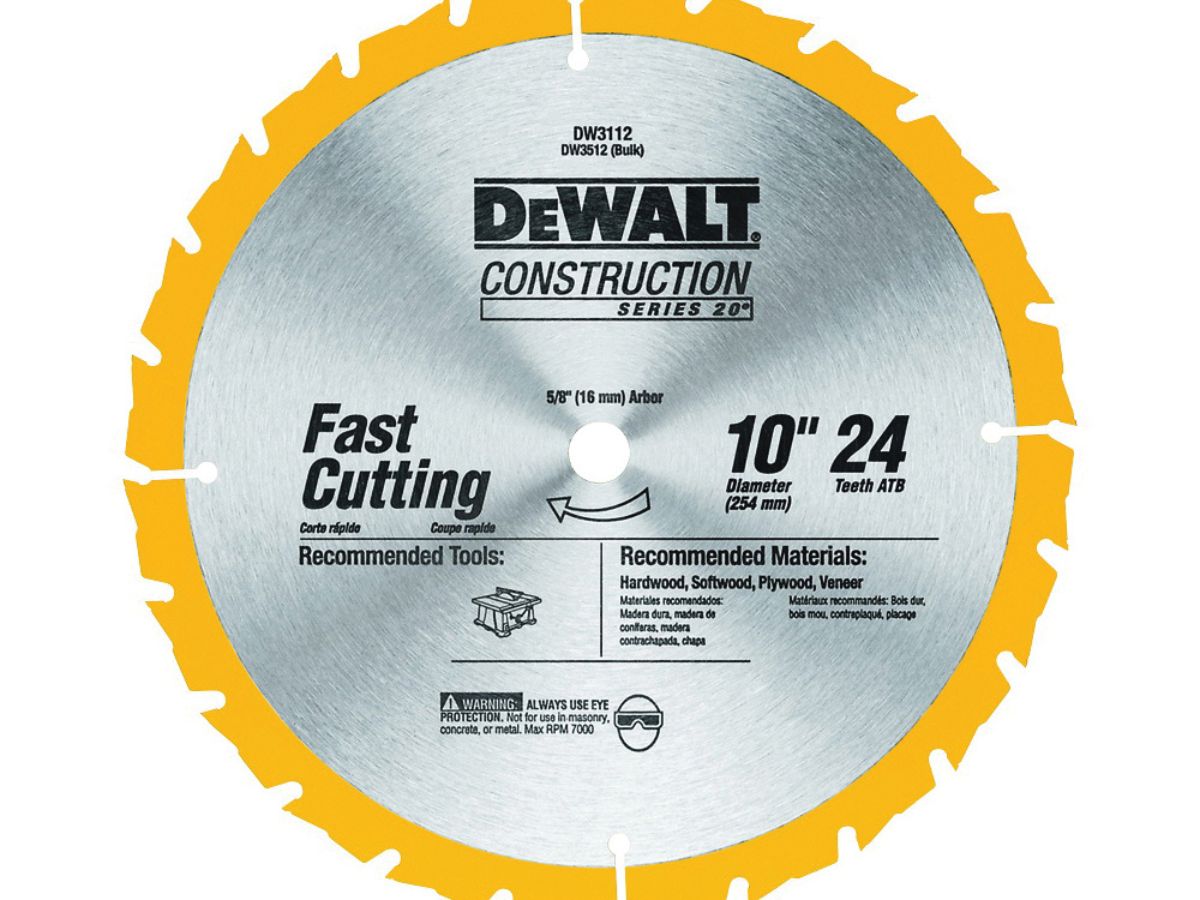
- A new blade that is compatible with your Ryobi table saw. Make sure to choose the appropriate blade type for the specific cutting task you will be performing.
- An arbor wrench or a suitable tool to loosen and tighten the arbor nut. This will vary depending on the model of your Ryobi table saw.
- Safety glasses to protect your eyes from any potential debris or particles.
- Gloves to provide hand protection during the blade changing process.
- A clean cloth or towel to wipe down the saw blade and remove any dust or debris.
Once you have gathered all the necessary tools and materials, ensure that your work area is clean and free from any clutter. This will create a safe and organized environment for you to work in.
It is always a good idea to inspect your tools before starting any project. Check the condition of your arbor wrench or tool, making sure it is in good working order. Also, examine the new blade to ensure there are no damages or defects. This will help prevent any issues during the blade changing process.
With all the tools and materials ready, you are now prepared to move on to the next step, which involves powering off and disconnecting the table saw.
Step 2: Power off and disconnect the table saw
Before you begin working on changing the blade of your Ryobi table saw, it is crucial to power off the saw and disconnect it from the power source. This step is essential for your safety, as it eliminates the risk of accidental starting or electrical shock.
To power off the table saw, locate the ON/OFF switch on the saw’s control panel. Switch it to the OFF position and ensure that the blade has come to a complete stop before proceeding.
After powering off the saw, it is important to disconnect it from the power source to prevent any accidental start-ups. Unplug the saw from the wall outlet or, if your table saw is hardwired, turn off the circuit breaker supplying power to the saw.
Once the table saw is completely powered off and disconnected, it is a good practice to wait a few minutes to allow any residual electrical charge to dissipate. This additional precaution ensures your safety and minimizes any potential risks.
Now that you have powered off and disconnected the table saw, you are ready to move on to the next step, which involves removing the old blade guard.
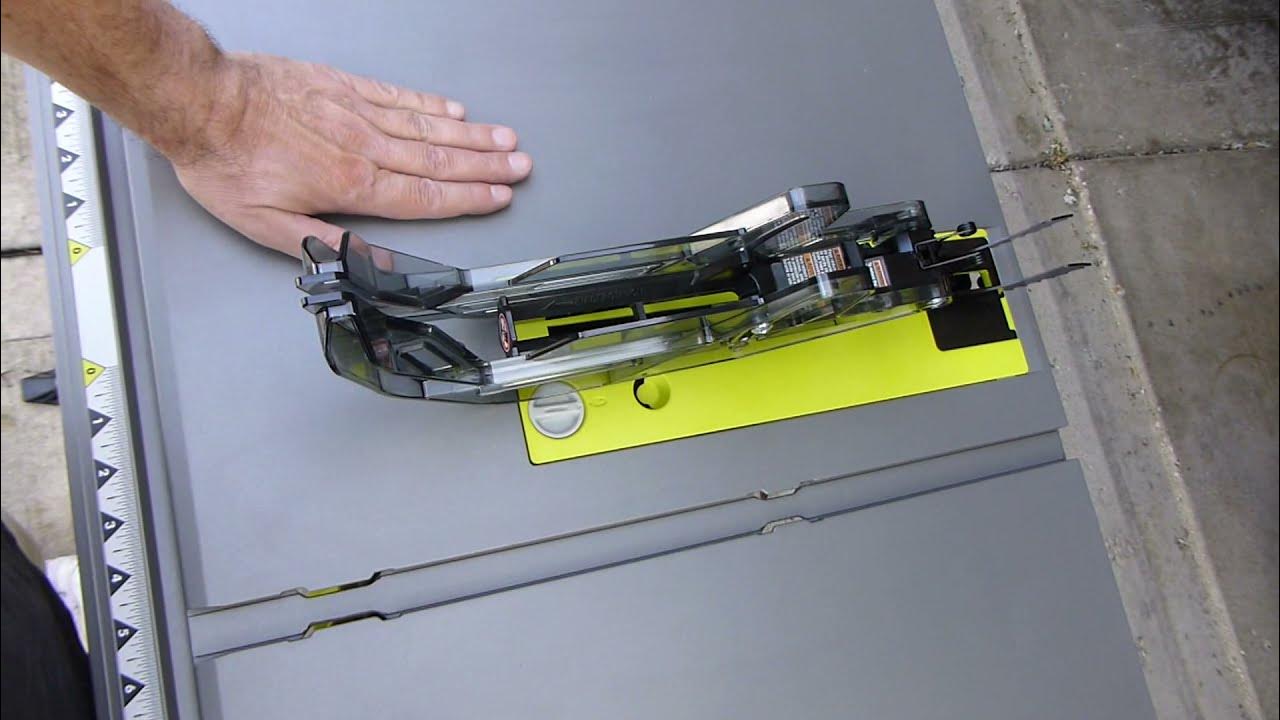
Step 3: Remove the old blade guard
With the table saw powered off and disconnected, it’s time to remove the old blade guard. The blade guard is a safety feature that helps protect you from any accidental contact with the blade during operation. Removing it will provide better access to the blade for replacement.
Locate the blade guard assembly, typically positioned above the saw blade. Depending on the model of your Ryobi table saw, the blade guard may be secured with a few screws or a locking mechanism.
If there are screws, use a suitable screwdriver to carefully remove them one by one. Place the screws in a safe place, such as a small container or a magnetic tray, to avoid losing them.
If your table saw has a locking mechanism, follow the instructions in your Ryobi table saw’s user manual to disengage it. Slide or lift the blade guard assembly to detach it from the saw’s arbor.
Once the blade guard is removed, take a moment to inspect it for any damages or wear. If you notice any issues, such as cracks or missing parts, now would be a good time to consider replacing the blade guard entirely.
Set the old blade guard aside in a safe location, as you may want to reinstall it after the blade replacement process is complete. Now that the old blade guard is removed, you can proceed to the next step, which entails loosening the arbor nut.
Step 4: Loosen the arbor nut
With the old blade guard removed, it’s time to loosen the arbor nut. The arbor nut secures the blade to the arbor, which is the shaft that connects the blade to the motor. Loosening the arbor nut will allow you to remove the old blade and replace it with a new one.
Locate the arbor nut on the arbor of your Ryobi table saw. It is typically located in the center of the blade, at the point where the blade attaches to the arbor.
Using an arbor wrench or the appropriate tool provided with your Ryobi table saw, fit it onto the arbor nut securely. Rotate the wrench counterclockwise, or in the direction indicated by the manufacturer, to loosen the arbor nut.
It’s important to note that arbor nuts can be tight and require some force to loosen. If you’re having difficulty loosening the nut, make sure you’re applying enough pressure and using the proper technique. You may need to use a bit of force or leverage, but be cautious not to over-tighten or damage the nut.
Once the arbor nut is loose, unscrew it fully and set it aside in a safe place. Be careful not to misplace it, as you will need it later when installing the new blade.
With the arbor nut removed, you are now ready to proceed to the next step: removing the old blade from your Ryobi table saw.
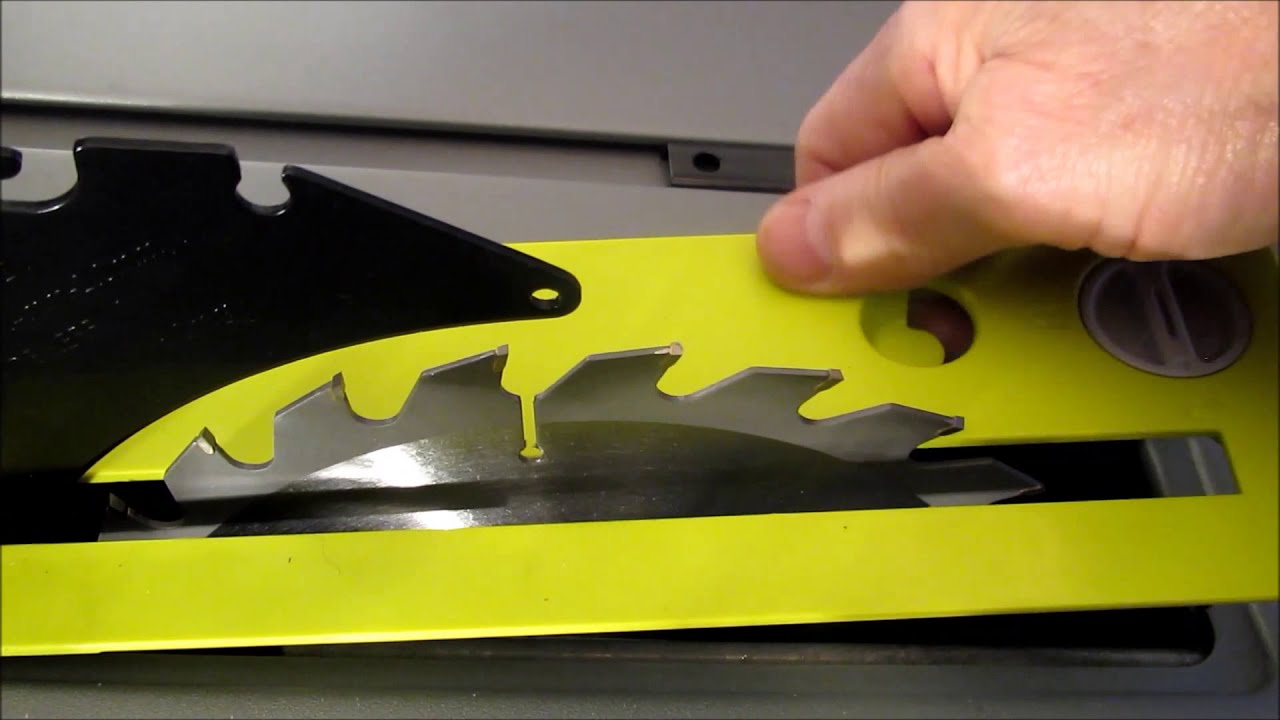
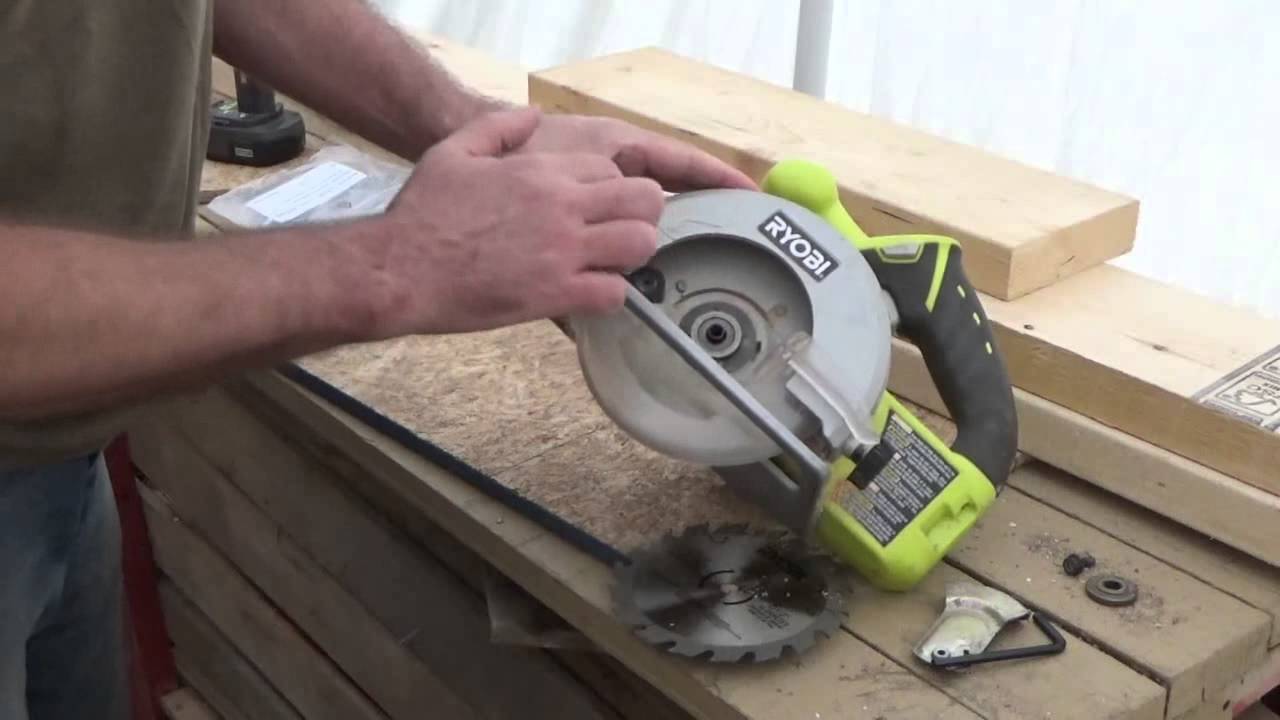
Step 5: Remove the old blade
Now that the arbor nut is loosened and removed, it’s time to remove the old blade from your Ryobi table saw. Removing the old blade will allow you to safely install a new blade and ensure optimal cutting performance.
Begin by carefully gripping the old blade with one hand on the blade’s body and the other hand on the arbor or blade teeth. Make sure to handle the blade with caution, as the edges may still be sharp.
Gently pull the blade towards you while keeping your fingers away from the teeth. Be mindful of the size and weight of the blade to ensure a controlled removal process. If necessary, use your free hand to support the blade and guide it out of the arbor.
Once the old blade is completely removed, set it aside in a safe location or place it in a designated blade storage container. Make sure to keep it away from other tools or objects to prevent accidental contact or damage to the blade.
Before proceeding, take a moment to inspect the arbor and surrounding area for any debris or build-up. Use a clean cloth or towel to wipe away any dust or residue, ensuring a clean surface for the installation of the new blade.
Now that the old blade has been successfully removed, you’re ready to move on to the next step: installing the new blade onto your Ryobi table saw.
Before changing the blade on a Ryobi table saw, make sure to unplug the saw for safety. Use the blade wrench to loosen the arbor nut, then remove the old blade and replace it with the new one, making sure it’s properly aligned and tightened.
Step 6: Install the new blade
Now that the old blade has been removed, it’s time to install the new blade onto your Ryobi table saw. Installing a new blade will greatly improve the cutting performance and quality of your saw, ensuring precise and clean cuts.
Begin by carefully inspecting the new blade for any signs of damage or defects. Ensure that the blade teeth are sharp and intact, and that the blade is designed for the type of cutting you will be performing.
Hold the new blade by the center hole or the blade body, aligning it with the arbor on your Ryobi table saw. The center hole of the blade should fit securely onto the arbor shaft.
Slide the new blade onto the arbor, making sure it is seated properly and sits flush against the arbor flange. Ensure that the blade is positioned with the teeth facing in the correct direction according to the manufacturer’s instructions.
Once the new blade is in position, it’s time to reinstall the arbor nut. Place the arbor nut onto the arbor shaft and tighten it by hand, ensuring it is threaded correctly. Use the arbor wrench or suitable tool to further tighten the nut, turning it clockwise or in the direction indicated by the manufacturer.
It’s important to note that you should not overtighten the arbor nut, as this can cause damage to the blade or the arbor assembly. Tighten the nut securely, but avoid excessive force.
After tightening the arbor nut, give the blade a gentle tug to make sure it is securely attached to the arbor. The blade should not move or wobble.
Now that the new blade is properly installed, you’re almost done. The next step is to reattach the blade guard for added safety.
Step 7: Tighten the arbor nut
With the new blade installed onto the arbor, it’s important to properly tighten the arbor nut to ensure a secure and stable connection. The arbor nut holds the blade in place and prevents it from becoming loose during operation.
Using the appropriate tool, such as an arbor wrench or the tool provided with your Ryobi table saw, fit it onto the arbor nut securely. Rotate the wrench clockwise to tighten the arbor nut.
Apply a moderate amount of force to tighten the arbor nut. Be careful not to overtighten, as this can put stress on the blade or the arbor assembly.
As you tighten the arbor nut, periodically check the blade for any movement or wobbling. The blade should be securely attached to the arbor without any play or looseness.
If you notice any excessive movement or looseness, stop tightening the arbor nut and double-check that the blade is properly seated on the arbor. Make sure the arbor nut is threaded correctly.
Continue tightening the arbor nut until it is snug and secure, ensuring that the blade is firmly held in place.
Remember, it’s important not to overtighten the arbor nut, as this can lead to damage. Use moderate force and rely on the manufacturer’s guidelines or your Ryobi table saw’s user manual for specific torque specifications, if available.
Now that the arbor nut is securely tightened, you’re ready to move on to the next step: reattaching the blade guard for added protection.
Step 8: Reattach the blade guard
With the arbor nut securely tightened, it’s time to reattach the blade guard to your Ryobi table saw. The blade guard is a crucial safety feature that helps protect you from coming into contact with the spinning blade during operation.
Retrieve the blade guard assembly that was previously removed. Carefully align the mounting holes or slots on the guard with the corresponding attachment points on the saw.
Once aligned, carefully insert the screws or engage the locking mechanism to secure the blade guard assembly in place. If screws are used, tighten them snugly, but avoid over-tightening to prevent any damage.
Ensure that the blade guard is positioned correctly, allowing the blade to spin freely while still providing ample protection. Make any necessary adjustments to ensure proper alignment.
Once the blade guard is securely reattached, double-check that it moves smoothly and does not interfere with the blade or any other parts of the table saw. It should be able to move up and down easily as needed during cutting operations.
Reattaching the blade guard is an important step in maintaining a safe working environment while using your Ryobi table saw. It helps prevent accidental contact with the blade and provides an added layer of protection for your hands and fingers.
With the blade guard securely in place, you’re almost ready to start using your table saw again. The next step involves reconnecting the table saw to the power source and powering it on.
Read more: How To Replace Blade On Ryobi Circular Saw
Step 9: Reconnect and power on the table saw
With the blade guard reattached and secured, it’s time to reconnect your Ryobi table saw to the power source and power it on. This final step will allow you to test the newly installed blade and ensure that everything is functioning properly.
If you had unplugged the table saw, now is the time to reconnect it to the power source. Plug the saw’s power cord back into a suitable electrical outlet or, if it is hardwired, turn on the circuit breaker supplying power to the saw.
Before powering on the table saw, take a moment to visually inspect the area around the blade and the table saw itself. Make sure there are no obstructions, loose objects, or potential hazards that could interfere with the operation of the saw.
Once you have ensured that the area is clear, locate the ON/OFF switch on the saw’s control panel and switch it to the ON position. This should power on the motor and initiate the spinning of the blade.
As the table saw powers on, listen for any unusual sounds or vibrations. A well-installed blade should run smoothly and quietly. If you notice any abnormalities, promptly power off the saw and recheck the installation of the blade to ensure it is properly mounted and aligned.
With the table saw powered on, you can now perform a quick test cut on a scrap piece of material to check the performance of the newly installed blade. Ensure that the material is securely held and feed it into the blade steadily with a controlled motion.
Monitor the quality of the cut, evaluating the clean finish and the absence of any excessive vibration or noise. If the cut is unsatisfactory or you encounter any issues, stop the saw, power it off, and reassess the blade installation.
With successful test cuts, you have completed the process of changing the blade on your Ryobi table saw. Remember to always prioritize safety, follow proper operating procedures, and consult your table saw’s user manual for specific instructions and recommendations.
Congratulations on a successful blade change! Your Ryobi table saw is now ready for your next woodworking project.
Conclusion
Changing the blade on a Ryobi table saw is a simple yet essential task that every woodworker should know how to do. By following the step-by-step guide outlined in this article, you can easily replace the blade and ensure optimal cutting performance.
From gathering the necessary tools and materials to reattaching the blade guard, each step plays a crucial role in the safety and functionality of your table saw. Take the time to familiarize yourself with your Ryobi table saw’s user manual and follow any specific instructions or precautions provided by the manufacturer.
Remember to prioritize your safety throughout the entire blade changing process. Wear appropriate protective gear, such as safety glasses and gloves, and work in a well-ventilated area. Take extra caution when handling the old and new blades to avoid any accidents or injuries.
Regularly changing the blade on your Ryobi table saw ensures that you can achieve clean, precise cuts in your woodworking projects. A sharp blade not only enhances the quality of your work but also contributes to a safer working environment.
By following these steps and taking the necessary precautions, you can confidently and efficiently change the blade on your Ryobi table saw. Enjoy the improved cutting performance and continue creating amazing woodworking projects!
Now that you've mastered changing blades on your Ryobi table saw, why not expand your skills further? If woodworking sparks your interest, our latest guide on the best practices and tools for 2024 is perfect for you. For those who love all things DIY, don't miss our comprehensive review on which power tools reign supreme for any project. Keep your crafting sharp and efficient with these engaging reads!
Frequently Asked Questions about How To Change The Blade On A Ryobi Table Saw
Was this page helpful?
At Storables.com, we guarantee accurate and reliable information. Our content, validated by Expert Board Contributors, is crafted following stringent Editorial Policies. We're committed to providing you with well-researched, expert-backed insights for all your informational needs.


0 thoughts on “How To Change The Blade On A Ryobi Table Saw”