Articles
How To Check For Mold In Basement
Modified: January 6, 2024
Learn how to check for mold in your basement with our informative articles. Take the necessary steps to ensure your home is mold-free.
(Many of the links in this article redirect to a specific reviewed product. Your purchase of these products through affiliate links helps to generate commission for Storables.com, at no extra cost. Learn more)
Introduction
Welcome to the comprehensive guide on how to check for mold in your basement. As a homeowner, it is important to be proactive in identifying and addressing mold growth in your living space. Mold not only poses serious health risks but can also cause damage to your property if left unchecked. The basement is a common area in the house where moisture can accumulate, providing ideal conditions for mold growth. By regularly inspecting your basement for signs of mold and taking appropriate measures, you can ensure a safe and healthy living environment for you and your family.
Mold is a type of fungi that thrives in damp and humid conditions. It can grow on various surfaces, including walls, floors, furniture, and even clothing. The presence of mold in your basement can often go unnoticed, as this area of the house is not frequently used and may not receive proper ventilation. However, it is crucial to regularly check your basement for mold, as it can spread quickly and cause significant damage if left untreated.
In this guide, we will walk you through the steps to effectively check for mold in your basement. We will cover various methods, ranging from visual inspection to using professional mold testing tools. By following these steps, you will be able to detect mold growth early and take appropriate measures to remediate it.
Before we dive into the specific steps, it’s important to note some of the common signs that indicate the presence of mold in your basement. These signs can help you identify potential mold issues and prompt you to take action. Keep an eye out for musty odors, visible mold growth, water stains, peeling paint, and an increase in allergy symptoms among occupants of the house.
Key Takeaways:
- Regularly inspect your basement for musty odors, visible mold, water stains, peeling paint, and increased allergy symptoms to detect and address mold growth early, ensuring a safe and healthy living environment.
- Utilize DIY mold test kits or hire a professional mold inspector to accurately assess the extent of mold growth in your basement, taking immediate action to remediate and remove the mold, prioritizing safety throughout the process.
Read more: How To Check Carpet For Mold
Signs of Mold in the Basement
Mold thrives in damp and humid environments, making the basement an ideal breeding ground. It’s essential to be able to spot the signs of mold growth in your basement to take prompt action. Here are some common signs to watch out for:
- Musty Odors: A musty, earthy smell is often an indication of mold growth. If you notice a persistent unpleasant odor in your basement, it is likely that mold is present.
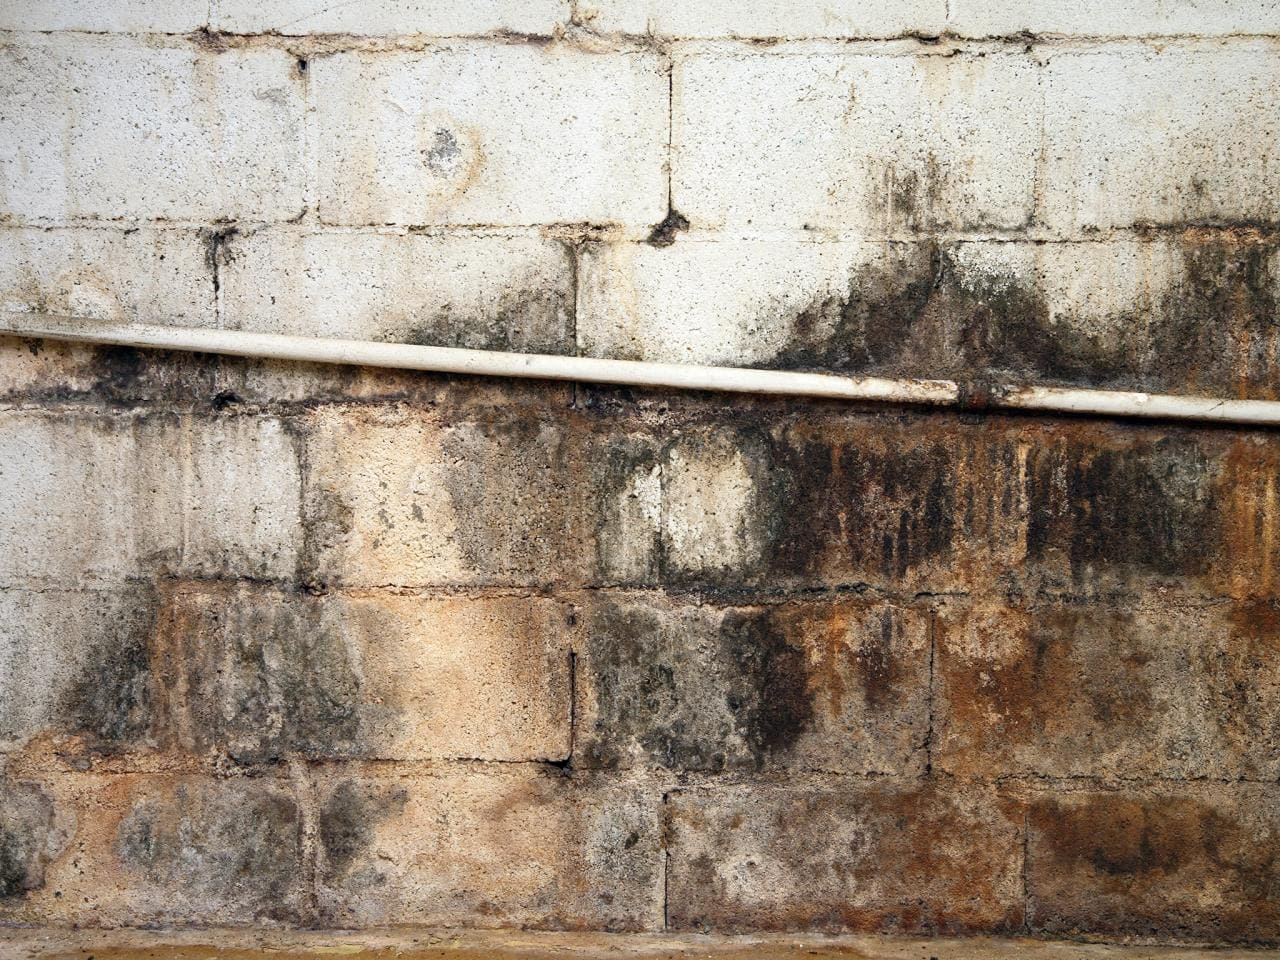
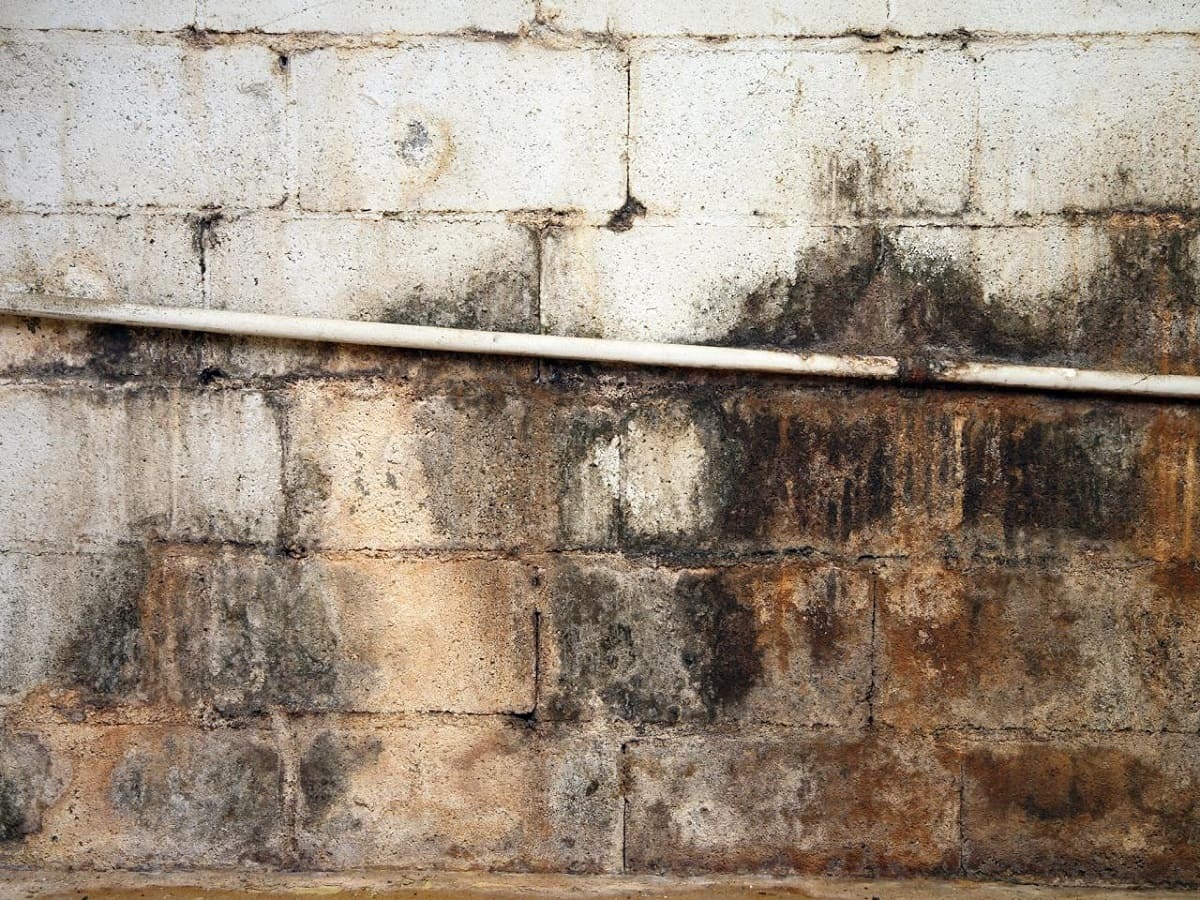
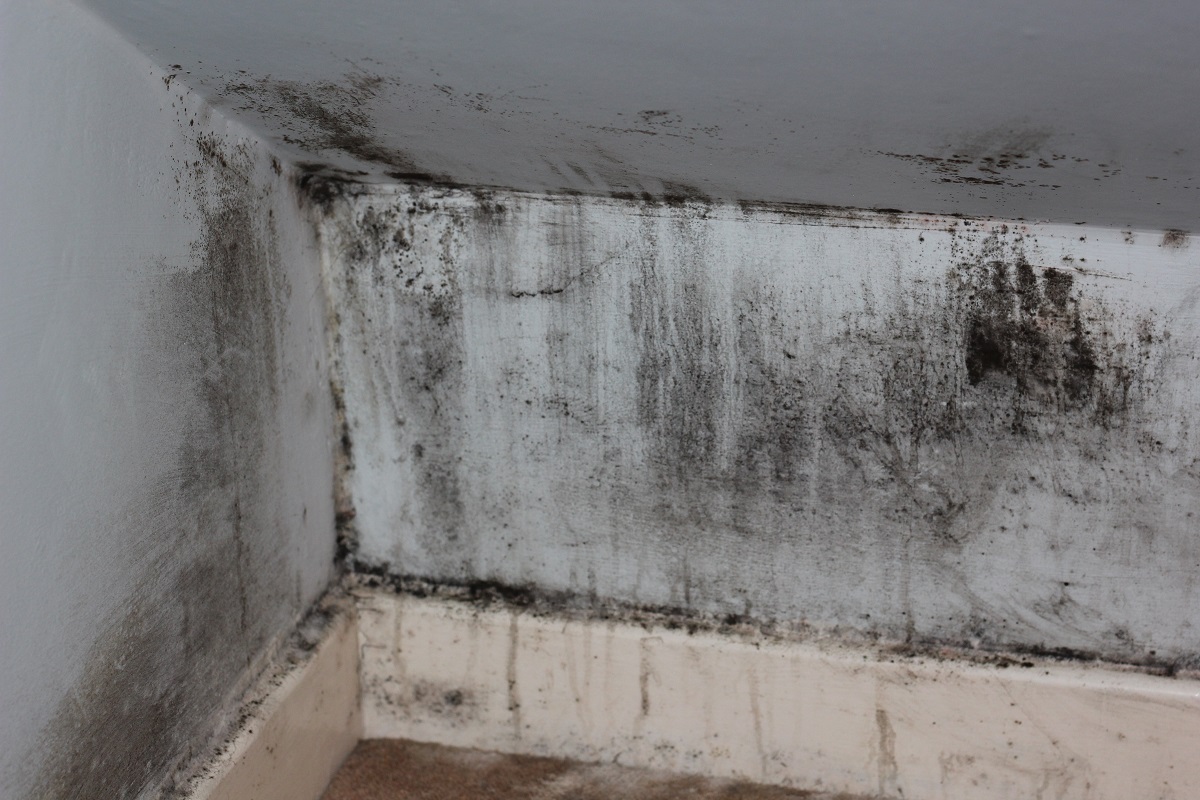
- Visible Mold: The most obvious sign of mold is visible growth on surfaces. Look out for discolored patches, fuzzy growth, or black spots on walls, floors, or ceilings. Pay attention to areas where moisture is likely to accumulate, such as corners, near pipes, or around windows.
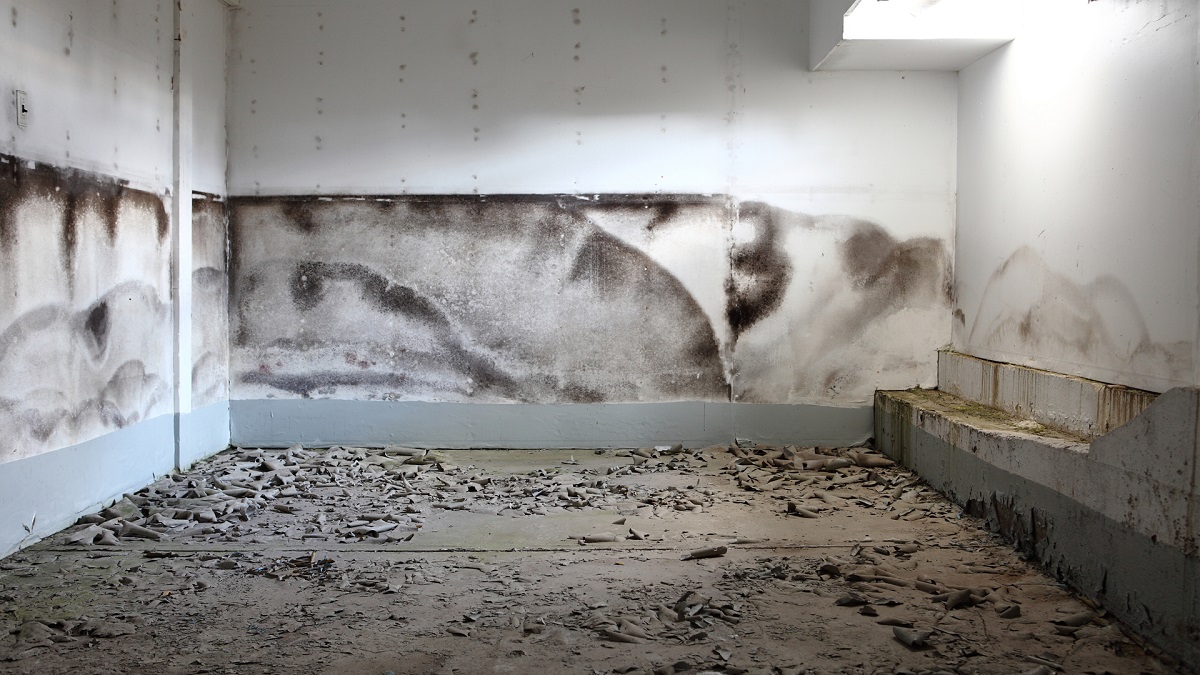
- Water Stains: Water stains on walls or ceilings are indicative of persistent moisture problems, which can lead to mold growth. If you notice any discoloration or water damage, thoroughly inspect the area for mold.
- Peeling or Cracked Paint: Mold growth can cause paint to peel or crack. If you notice peeling or bubbling paint on basement walls or ceilings, it could be a sign of moisture infiltration and mold growth underneath.
- Increased Allergy Symptoms: Mold can trigger allergic reactions and respiratory issues in sensitive individuals. If you or your family members experience an increase in allergies, coughing, sneezing, or other respiratory symptoms when spending time in the basement, mold could be the culprit.
Remember that these are just some of the common signs of mold in the basement. It’s important to be vigilant and regularly inspect your basement for any indications of mold growth. Detecting and addressing mold early can help prevent further damage to your property and safeguard the health of your family.
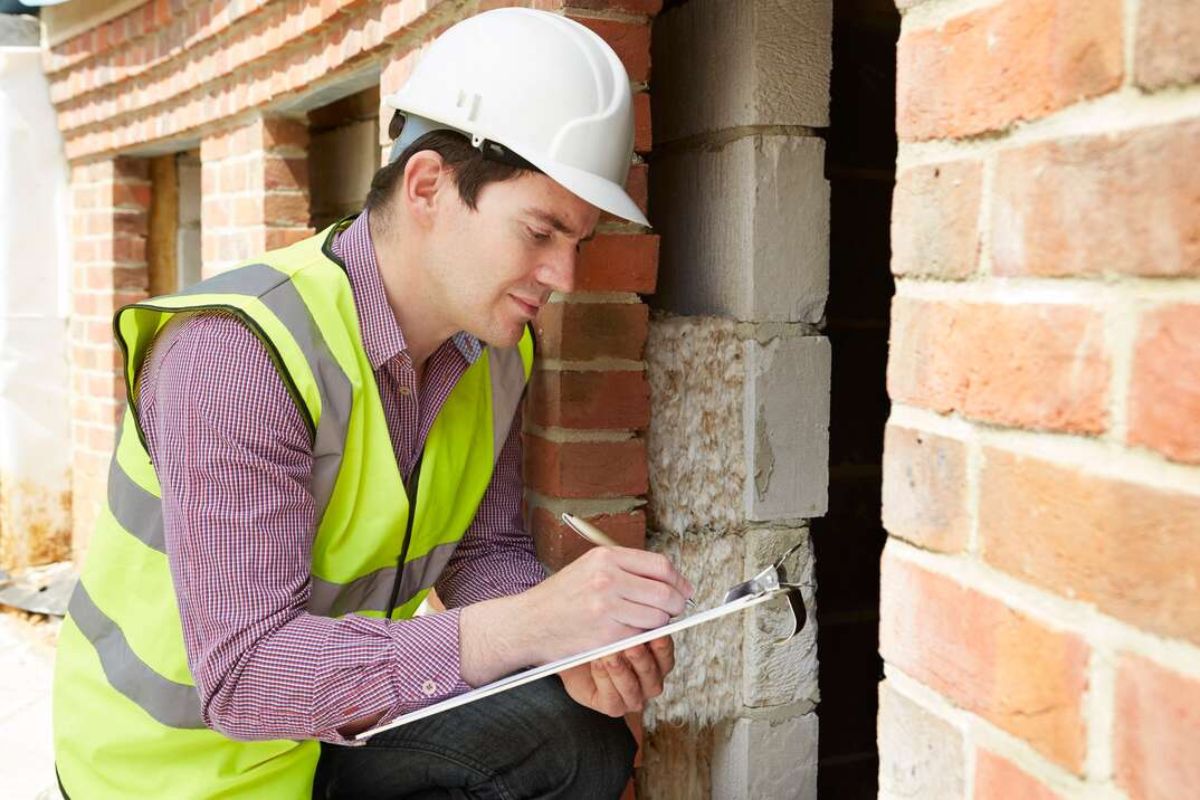
Step 1: Visual Inspection
The first step in checking for mold in your basement is to conduct a thorough visual inspection. This involves carefully examining the walls, floors, ceilings, and any other surfaces for any signs of mold growth.
Start by equipping yourself with a flashlight and protective gear such as gloves and a mask to avoid direct contact with mold spores. Begin at one corner of the basement and systematically work your way around the room, paying close attention to areas where moisture is likely to accumulate, such as near plumbing fixtures, windows, or areas with water stains.
Look for any visible signs of mold, including discolored patches, fuzzy growth, or black spots. Check for any unusual stains or discoloration on surfaces, as these can also indicate moisture problems and potential mold growth.
In addition to mold growth, be on the lookout for any signs of water damage or structural issues that could contribute to mold growth. Inspect for any water stains, warped walls, or cracks in the foundation, as these can provide entry points for moisture and create conducive conditions for mold.
If you find any suspicious areas, take note of their location and take pictures as evidence. This will be helpful for tracking the progression of mold growth and for discussing the issue with a professional if needed.
It’s important to note that not all types of mold are easily detectable by visual inspection alone. Some molds may be hidden behind walls, under flooring, or in inaccessible areas. If you have reason to suspect mold but can’t find any visible signs, it may be necessary to use additional testing methods to confirm its presence.
Proceed to the next step only after completing a thorough visual inspection of your basement. The information gathered during this step will guide the subsequent actions to be taken in checking for mold in the basement.
Step 2: Smell Test
While conducting a visual inspection is important, it’s also essential to utilize your sense of smell to identify potential mold growth in your basement. Mold often produces a distinct musty odor, which can be a clear indication of its presence.
When entering your basement, take a moment to inhale and assess the air quality. Does it smell fresh, or do you notice a damp and musty odor? If you detect a persistent musty smell, it could be a sign of hidden mold growth.
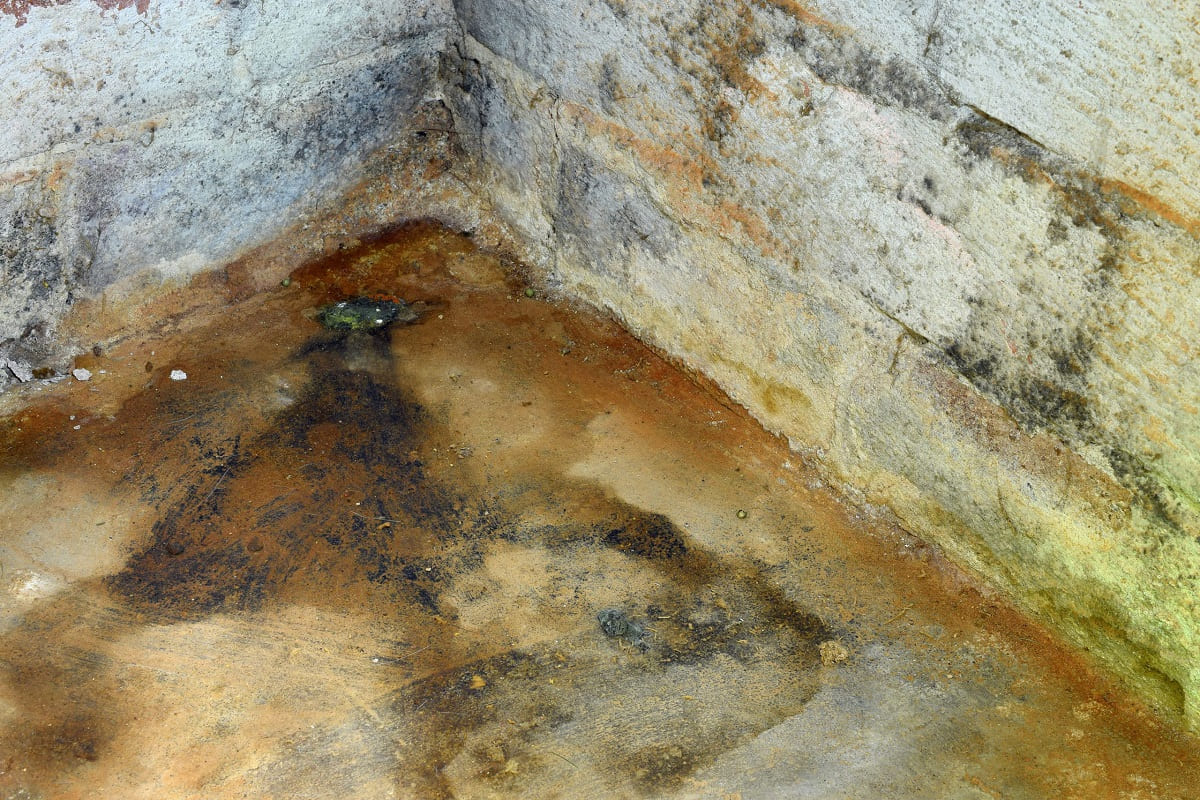
Move around the basement and pay attention to any specific areas where the odor appears to be more intense. Check near walls, floors, or corners where moisture or water damage is evident. If the smell seems to be stronger in certain spots, it is likely that mold is growing nearby.
It’s important to note that relying solely on the smell test is not sufficient evidence to confirm the presence of mold. Other factors, such as poor ventilation or accumulated dirt and debris, can also contribute to unpleasant odors in the basement. Therefore, it is necessary to combine the smell test with visual inspection and additional testing methods for a more accurate assessment.
If you detect a musty odor in your basement, further investigation is advised. Move on to the next steps to thoroughly check for mold and take appropriate actions to address the issue.
Remember, if you are sensitive to mold or have pre-existing respiratory conditions, it’s crucial to take necessary precautions, such as wearing a mask, while performing the smell test or any other mold inspection activities.
Step 3: Check for Moisture
Moisture is a key factor in mold growth, so it’s essential to assess the moisture levels in your basement when checking for mold. Excessive humidity or water intrusion can create a favorable environment for mold to thrive.
Start by visually inspecting the basement for any signs of water leaks, condensation, or dampness. Look for water stains on walls, ceilings, or floors, as well as any visible pooling or water accumulation. Pay attention to areas near plumbing fixtures, windows, and doors, as they are common areas where water can seep in.
Check for any signs of water damage, such as warped or discolored surfaces, bubbling paint, or peeling wallpaper. These are indications of moisture problems that could foster mold growth.
Use a moisture meter to measure the moisture levels in different areas of the basement. These handy devices can provide quantitative data on the amount of moisture present in materials such as walls, floors, or furniture. Aim for moisture levels below 60% to discourage mold growth.
If you detect high moisture levels, it’s important to identify the source of the moisture and take appropriate measures to address it. Common causes of excess moisture in basements include leaks from plumbing pipes, poor drainage, inadequate ventilation, or water intrusion from outside sources.
Repair any leaks or plumbing issues promptly and ensure proper drainage systems are in place to prevent water from entering the basement. Consider installing a dehumidifier to maintain optimal humidity levels and reduce the risk of mold growth.
By checking for moisture and addressing any issues that contribute to excessive humidity, you can create an environment that is less conducive to mold growth and protect your basement from potential mold infestations.
To check for mold in the basement, use a flashlight to inspect dark, damp areas. Look for visible mold growth, musty odors, and water damage. Use a mold testing kit for accurate results.
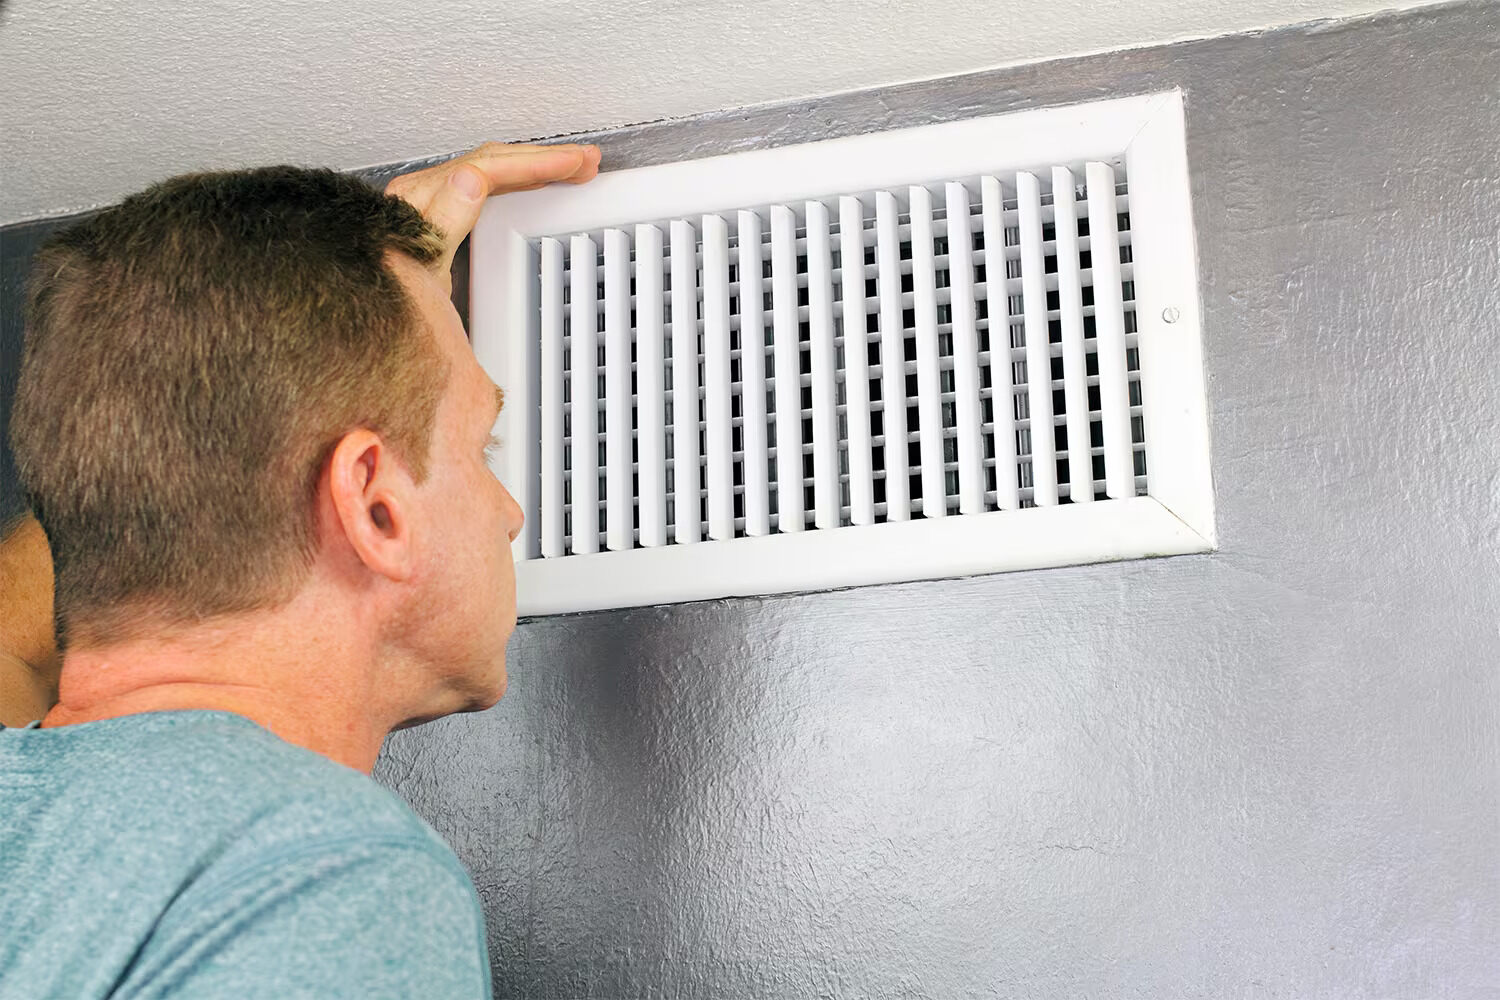
Read more: How To Check For Mold In HVAC System
Step 4: Use a Moisture Meter
While visual inspections can give you a general idea of moisture issues in your basement, using a moisture meter provides a more accurate and quantitative measurement of moisture levels in various materials. This can help pinpoint areas where moisture is present and potentially contributing to mold growth.
A moisture meter is a handheld tool that measures the moisture content of different surfaces. It works by sending electric signals through the material and measuring the resistance to determine the moisture level. These meters are widely available at hardware stores and online retailers.
To use a moisture meter, follow these steps:
- Ensure the moisture meter is calibrated and set to the appropriate setting for the material you are testing (e.g., wood, drywall, concrete).
- Press the pins or sensors of the moisture meter against the material you want to test. For example, check the moisture levels in walls, floors, or other surfaces in the basement.
- Wait for the moisture meter to give a reading, which is usually displayed as a percentage or on a scale. Higher readings indicate higher moisture content.
- Move the moisture meter around different areas of the basement, checking multiple surfaces and locations to get a comprehensive understanding of moisture levels.
- Take note of any areas with high moisture readings, as these areas are more prone to mold growth.
A moisture meter can help you identify hidden moisture problems even if there are no visible signs of mold. It can be particularly useful in determining the moisture levels in building materials such as drywall or wood, which are susceptible to mold growth when damp.
If you discover areas with high moisture levels, it’s crucial to investigate further and address the underlying cause of the excess moisture to prevent mold growth. Proper ventilation, insulation, and moisture control measures may be necessary to mitigate the moisture issues and create a healthier environment in your basement.
Step 5: DIY Mold Test Kits
If you suspect mold growth in your basement but are unable to visually confirm its presence, you can consider using do-it-yourself (DIY) mold test kits. These kits are designed to help homeowners detect and identify the presence of mold spores in the air or on surfaces.
DIY mold test kits typically come with instructions and specialized tools for collecting samples. The collected samples are then sent to a laboratory for analysis. The laboratory will provide a detailed report indicating the types and concentrations of mold spores present in the samples.
Here’s how to use a DIY mold test kit:
- Follow the instructions provided in the kit carefully. Each kit may have specific guidelines for collecting samples, so it’s important to read and understand the instructions before proceeding.
- Wear gloves and a mask to protect yourself during the sampling process.
- Use the provided tools, such as swabs or adhesive tapes, to collect samples from the surfaces you suspect may have mold growth. You may also collect air samples using specialized air sampling cassettes.
- Seal the samples according to the instructions and send them to the designated laboratory for analysis.
- Wait for the laboratory report, which will provide information about the presence and types of mold spores detected in the samples.
Keep in mind that DIY mold test kits can help confirm the presence of mold but may not provide a comprehensive analysis of the extent of the mold problem or the specific type of mold present. They are useful for initial screening but should not replace professional mold inspections, especially if you suspect extensive mold growth or have health concerns.
If the results from the DIY test indicate the presence of mold, it’s recommended to consult with a professional mold inspector or remediation specialist to assess the situation and develop an appropriate plan for mold removal.
Remember, it’s important to follow safety precautions and handle mold samples carefully to avoid exposure to potentially harmful mold spores.
Step 6: Hiring a Professional Mold Inspector
If you are unsure of the extent of mold growth in your basement or if you want a more comprehensive assessment, it is advisable to hire a professional mold inspector. A mold inspector has the expertise and specialized tools to identify and evaluate mold growth accurately.
Here are some key factors to consider when hiring a professional mold inspector:
- Qualifications and Experience: Look for a mold inspector who is certified and has relevant experience in mold inspection and testing. They should be knowledgeable about mold types, health risks, and proper remediation methods.
- Inspection Process: Inquire about their inspection process, including the techniques and tools they use. A thorough inspection should include visual assessment, moisture measurements, air sampling, and surface sampling, if necessary.
- Sample Analysis: Ask about their laboratory analysis procedures and how they interpret the results. A reputable mold inspector should provide a detailed report that outlines the types of mold present, their concentrations, and any recommendations for remediation if needed.
- References and Reviews: Request references from previous clients or check online reviews to ensure the mold inspector has a good reputation for providing accurate and reliable inspections.
- Insurance and Certifications: Confirm if the mold inspector holds liability insurance and any necessary certifications. This ensures that they operate within industry standards and can cover any potential damages or liabilities.
- Cost and Timeframe: Obtain a clear understanding of the cost of the inspection and the expected timeframe for receiving the inspection report.
A professional mold inspector can provide you with a comprehensive assessment of the mold situation in your basement. They can help identify the source of the mold, assess the extent of the growth, and offer recommendations for proper remediation techniques.
Keep in mind that hiring a professional mold inspector is particularly important if you have significant mold growth, suspect hidden mold, or have health concerns related to mold exposure. Their expertise and specialized equipment can provide valuable insights and help you make informed decisions about mold remediation.
Step 7: Remediation and Mold Removal
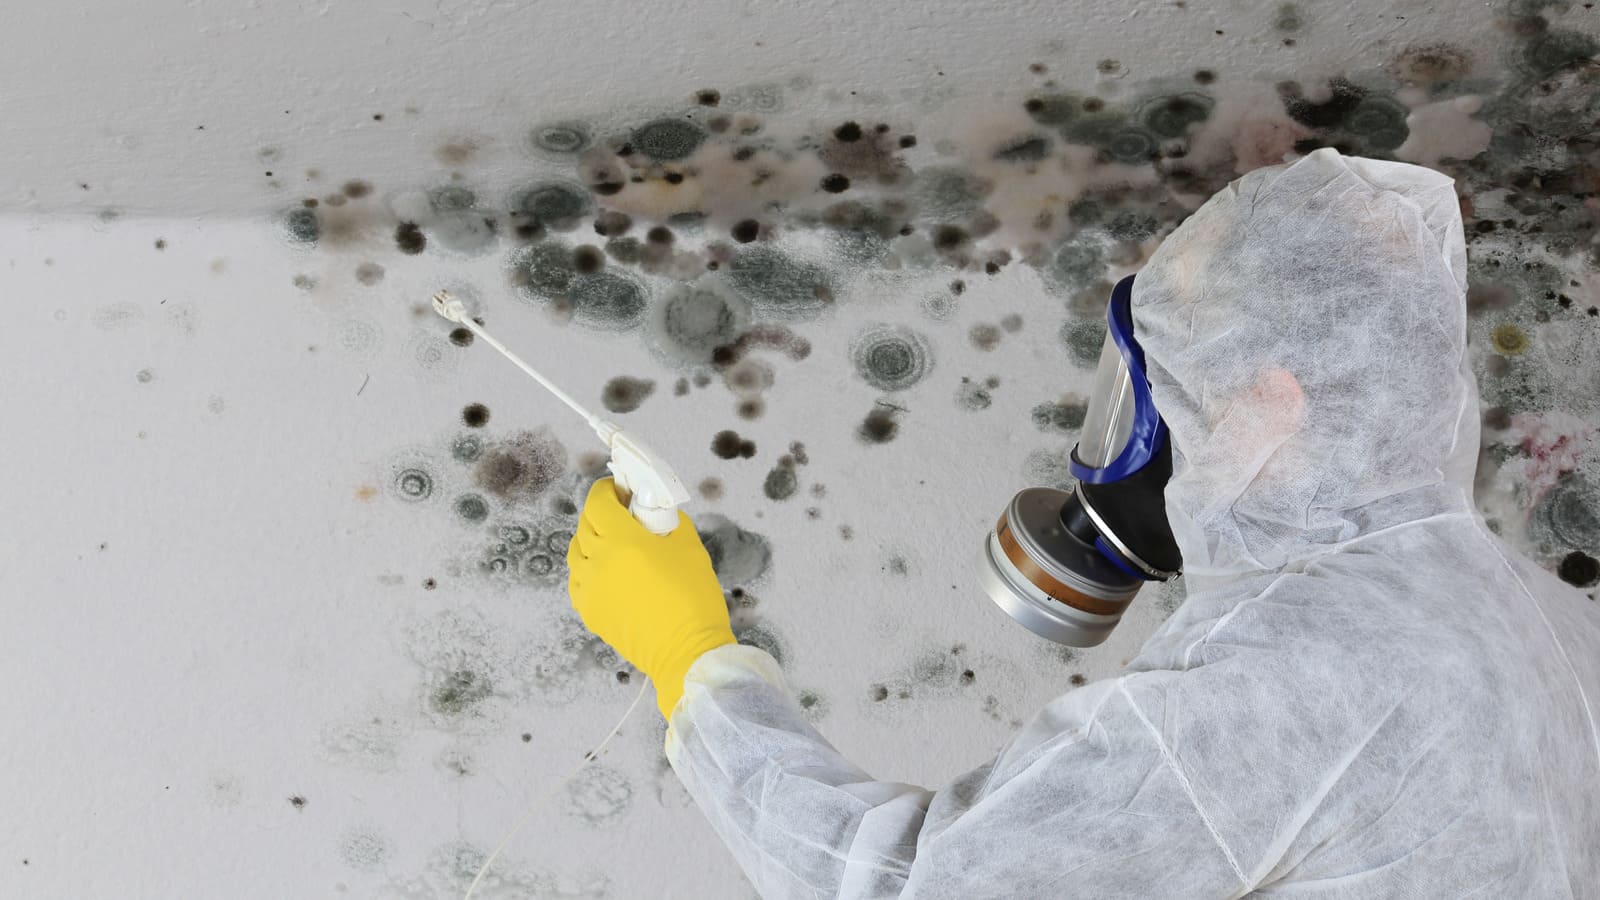
If you have confirmed the presence of mold in your basement through visual inspection, testing, or the assistance of a professional mold inspector, it’s crucial to take immediate action to remediate and remove the mold growth. Mold remediation is necessary to ensure a healthy and safe living environment. Here are the general steps involved in the remediation process:
- Identify and Address Moisture Sources: Before starting the remediation process, it’s essential to identify and fix the underlying moisture issues that are promoting mold growth. Repair leaks, address drainage problems, and improve ventilation to prevent future mold problems.
- Containment: To prevent the spread of mold spores to other areas of the house during the remediation process, it’s important to establish containment measures. This can include sealing off the affected area, using plastic sheeting and duct tape to create barriers and using air filtration devices to capture airborne mold spores.
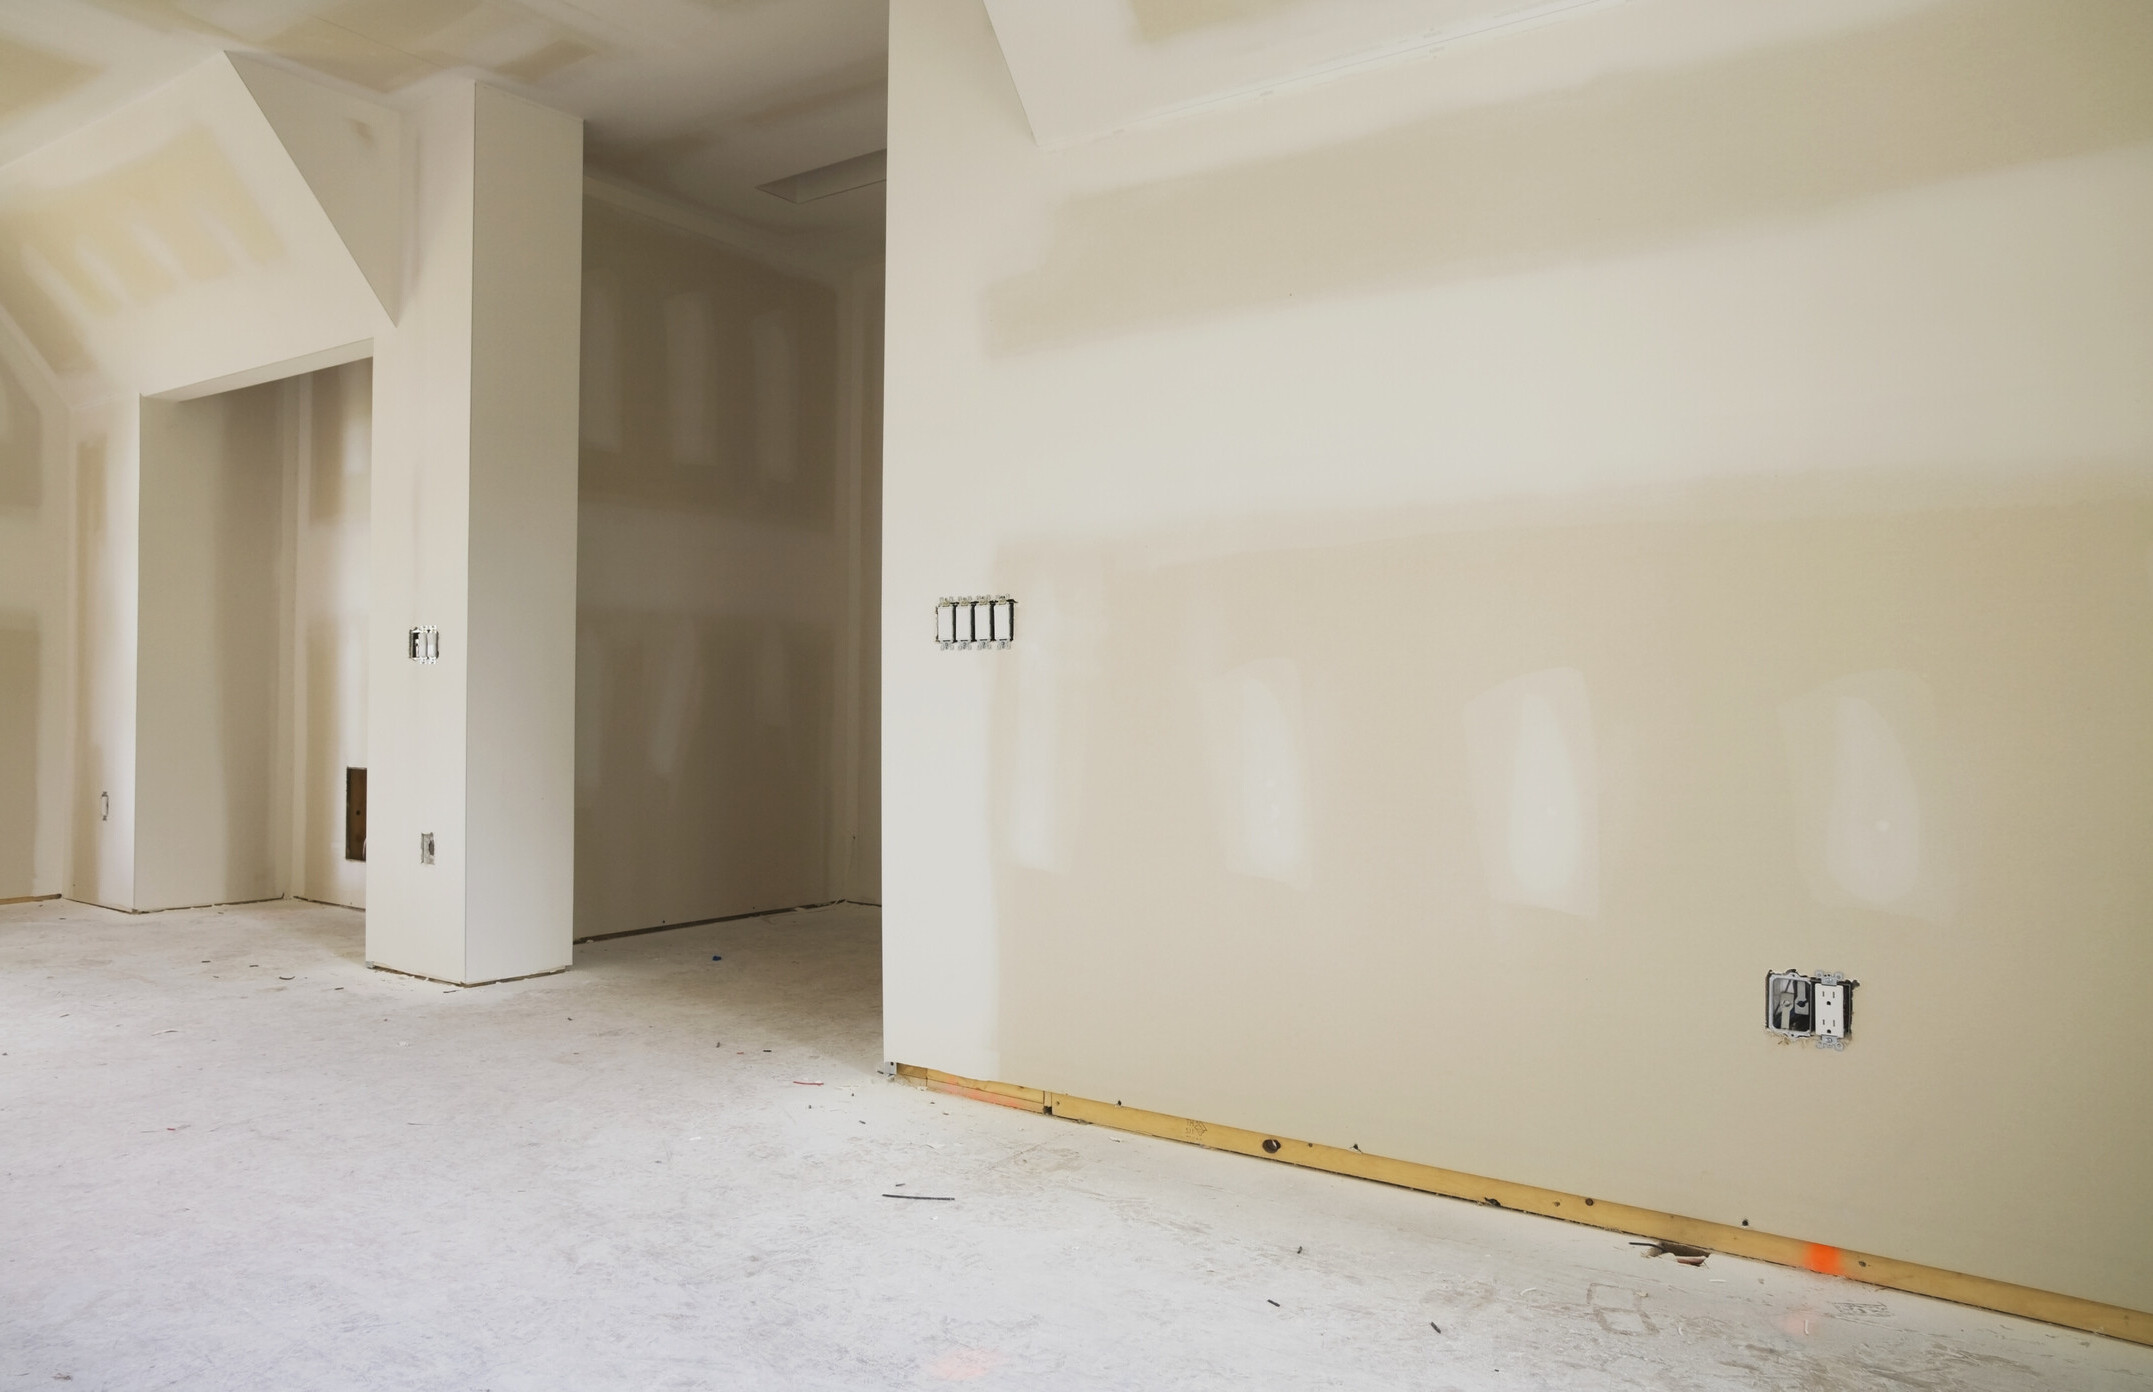
- Removal of Mold-Infested Materials: Remove any mold-infested materials that cannot be salvaged, such as heavily contaminated drywall, carpeting, or insulation. Dispose of these materials properly to prevent cross-contamination.
- Thorough Cleaning: Clean surfaces and materials in the affected area to remove any visible mold growth using appropriate cleaning solutions. Scrub surfaces thoroughly and ensure they are completely dry after cleaning to discourage further mold growth.
- HEPA Vacuuming and Air Purification: Use a HEPA (High-Efficiency Particulate Air) vacuum to remove mold spores from surfaces and the surrounding air. This helps in capturing even the smallest particles of mold. Additionally, utilize air purifiers with HEPA filters to further improve the air quality.
- Prevention Measures: Implement preventive measures to avoid future mold growth. This includes proper ventilation in the basement, prompt repairs for any water leaks or moisture issues, and regular maintenance to keep the area dry and humidity levels in check.
- Consult with Professionals: If the mold infestation is extensive, if there are health concerns, or if you are uncertain about how to effectively remediate the mold, it’s recommended to consult with professional mold remediation specialists. They have the experience, expertise, and appropriate equipment to handle larger or more complex cases of mold growth.
Remember to prioritize your safety during the remediation process by wearing protective gear, such as gloves, masks, and goggles. If you have respiratory issues or allergies, consider staying out of the treated area until the remediation is complete and the air quality has been restored.
By following these steps and effectively removing mold from your basement, you can create a healthier living environment for you and your family, as well as prevent further damage to your property.
Read more: How To Keep Mold Out Of Basement
Conclusion
Taking the necessary steps to check for and address mold growth in your basement is essential for maintaining a safe and healthy living environment. Mold can cause significant damage to your property and pose health risks to you and your family. By following the steps outlined in this guide, you can effectively identify and remediate mold growth in your basement.
Start with a visual inspection, looking for visible signs of mold growth, water stains, and musty odors. If needed, utilize a moisture meter to measure the moisture levels in different areas of your basement. Consider using a DIY mold test kit or hiring a professional mold inspector to further assess the presence and extent of mold growth.
Once you have confirmed the presence of mold, take immediate action to address the moisture sources, remove mold-infested materials, and thoroughly clean and decontaminate the affected area. Implement preventative measures to prevent future mold growth, such as maintaining proper ventilation and addressing any moisture issues promptly.
While you can take many actions to check for and remove mold in your basement on your own, in certain cases, it may be necessary to consult with professionals, especially if the mold growth is extensive or if you have health concerns.
Remember to prioritize safety throughout the entire process, wearing protective gear and reducing your exposure to mold spores. Regularly monitor your basement for any signs of moisture accumulation and address them promptly to prevent the reoccurrence of mold growth.
By being proactive in checking for mold in your basement, you can ensure a healthy living environment, protect your property, and promote the well-being of your family. Don’t underestimate the importance of regular inspections and taking action at the earliest signs of mold growth.
Frequently Asked Questions about How To Check For Mold In Basement
Was this page helpful?
At Storables.com, we guarantee accurate and reliable information. Our content, validated by Expert Board Contributors, is crafted following stringent Editorial Policies. We're committed to providing you with well-researched, expert-backed insights for all your informational needs.


0 thoughts on “How To Check For Mold In Basement”