Home>Home Maintenance>How To Check A Dryer Vent

Home Maintenance
How To Check A Dryer Vent
Modified: October 18, 2024
Learn how to check and clean your dryer vent to prevent fire hazards and improve home maintenance. Follow these simple steps for a safer and more efficient dryer.
(Many of the links in this article redirect to a specific reviewed product. Your purchase of these products through affiliate links helps to generate commission for Storables.com, at no extra cost. Learn more)
Introduction
Welcome to our comprehensive guide on how to check a dryer vent. Proper maintenance of your dryer vent is essential for the efficient and safe operation of your appliance. Over time, lint and other debris can build up in the vent, obstructing airflow and increasing the risk of fire.
Regularly inspecting and cleaning your dryer vent will not only improve the performance of your dryer but also prolong its lifespan. In this article, we will take you through a step-by-step process to help you check your dryer vent for any issues and ensure optimal airflow.
Before we begin, it is important to note that safety should always be your top priority. Make sure to turn off your dryer and unplug it from the power source before performing any maintenance tasks. Additionally, if you are unsure about any of the steps or encounter any problems, it is advisable to consult a professional.
Now, let’s dive into the detailed process of checking your dryer vent and keeping it in excellent condition.
Key Takeaways:
- Regularly checking and cleaning your dryer vent is crucial for safety and efficiency. By following the steps in this guide, you can prevent lint buildup and reduce the risk of fire hazards.
- Gathering the right tools, inspecting the vent, and verifying airflow are key steps. Regular maintenance ensures your dryer operates efficiently and extends its lifespan.
Read more: How To Vent A Dryer
Step 1: Gather the necessary tools and materials
Before you begin inspecting your dryer vent, it is important to gather the necessary tools and materials. Having these items on hand will make the process smoother and more efficient. Here’s what you’ll need:
- A screwdriver
- A vacuum cleaner with a brush attachment
- A flashlight
- A dryer vent brush or flexible cleaning rod
- A bucket or plastic bag
- A damp cloth or sponge
- Dryer vent cleaning solution (optional)
The screwdriver will be used to remove the vent cover or flap, allowing access to the vent opening. The vacuum cleaner with a brush attachment will help you remove any loose debris from the surface. The flashlight will come in handy for illuminating dark areas inside the vent.
The dryer vent brush or flexible cleaning rod is essential for reaching deep into the vent and dislodging any blockages. The bucket or plastic bag can be used to collect the debris that you remove from the vent. The damp cloth or sponge can be used to wipe down the vent and surrounding area, ensuring a clean finish.
Lastly, the dryer vent cleaning solution is an optional item that can help break down stubborn residue and eliminate odors. If you choose to use a cleaning solution, follow the instructions on the product label and ensure it is safe for use on your specific dryer vent materials.
Once you have gathered all the necessary tools and materials, you are ready to move on to the next step of locating the dryer vent.
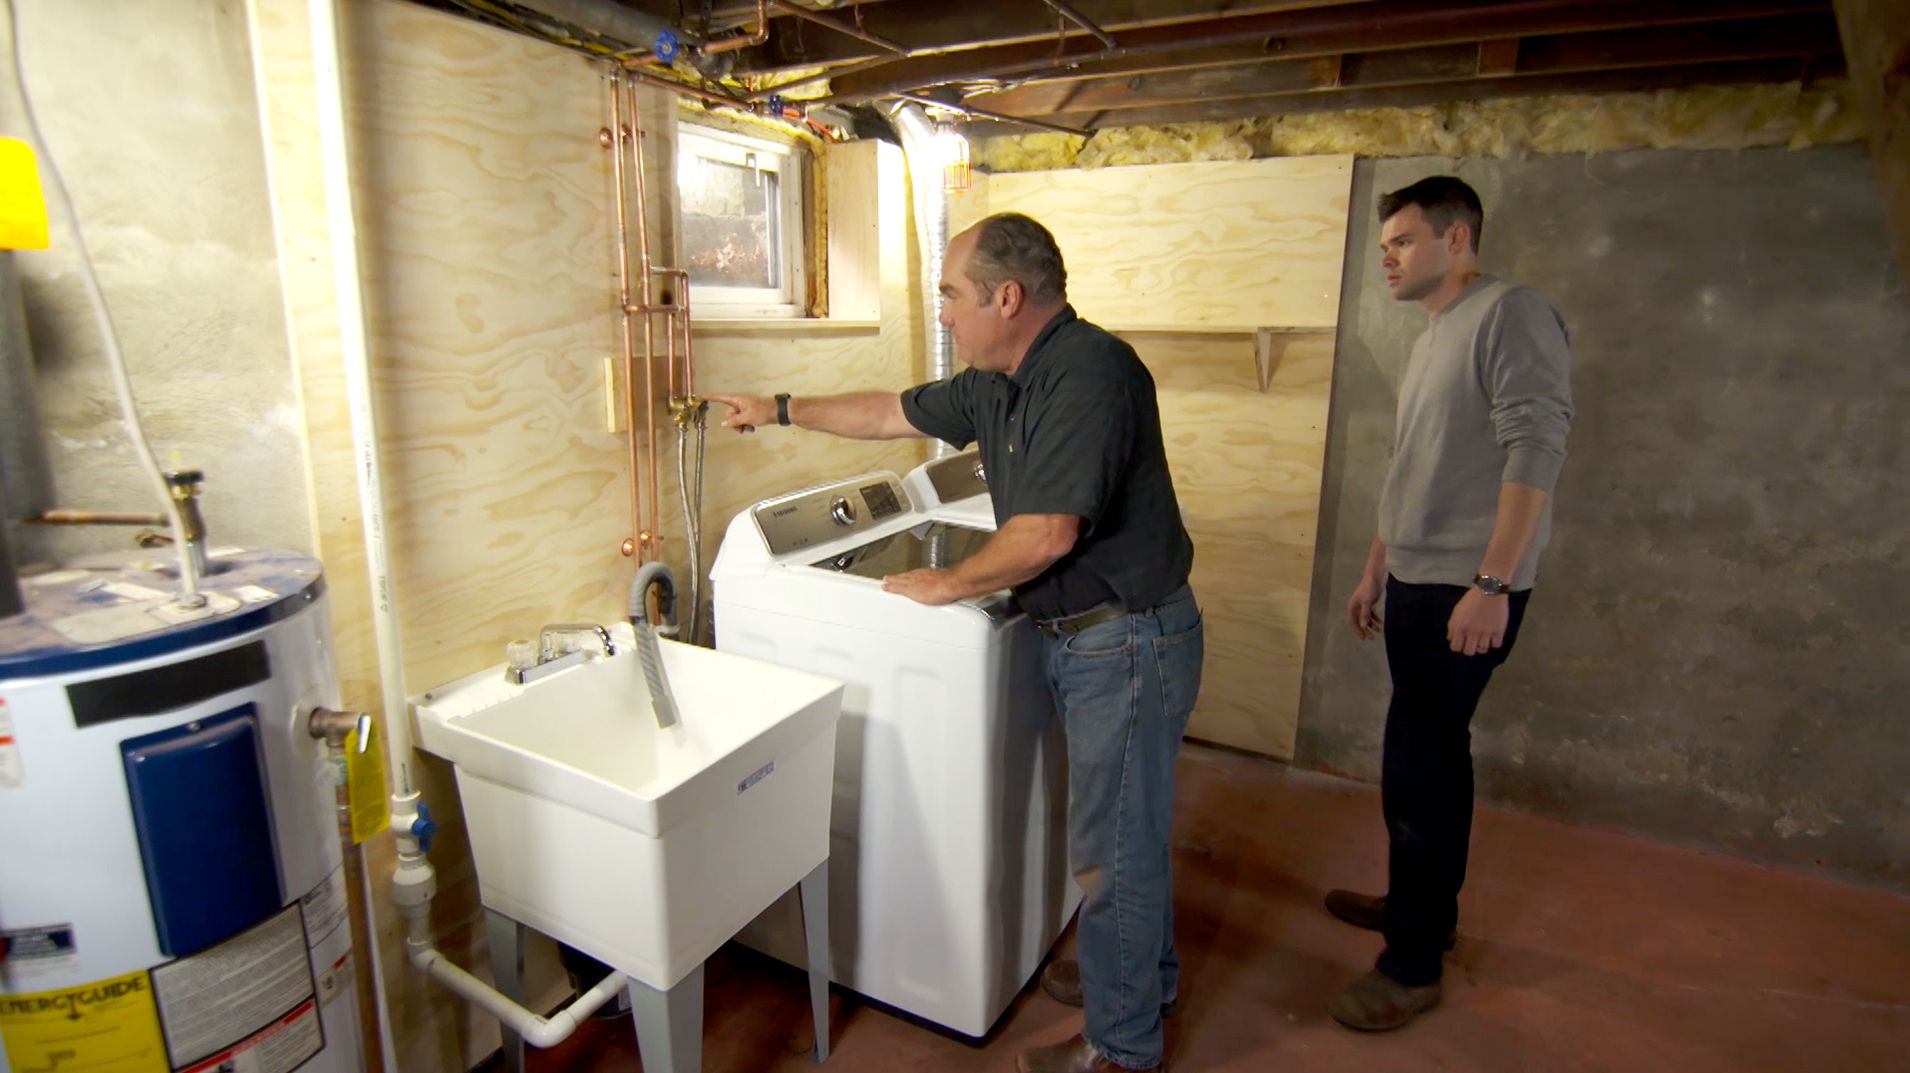
Step 2: Locate the dryer vent
The next step in checking your dryer vent is to locate its position. In most cases, the vent is located on the exterior wall of your home near the laundry area. However, the specific placement can vary depending on the construction of your home and the layout of your laundry room.
Start by moving your dryer away from the wall to create enough space for easy access. Take a moment to inspect the area behind the dryer for any visible signs of the vent, such as a metal duct or a plastic cover. If you still can’t locate the vent, refer to your dryer’s instruction manual or consult the manufacturer’s website for assistance.
If your dryer is located in a basement or other lower level of the house, the vent may be routed through the ceiling or along the floor. In such cases, you may need to check the area above or below the dryer to locate the vent’s exit point.
Once you have successfully identified the vent’s location, take note of any obstacles or obstructions that may hinder proper airflow. Common obstructions can include vegetation, debris, or other structures blocking the vent’s exit. It is important to clear these obstructions to ensure the smooth operation of your dryer.
Now that you have located the dryer vent and assessed any potential obstacles, you are ready to move on to the next step: inspecting the vent opening.
Step 3: Inspect the vent opening
With the dryer vent located, it’s time to closely inspect the vent opening. This is the endpoint where the exhaust air from your dryer is released to the outside environment. A clear and unobstructed vent opening is crucial for proper airflow and the overall performance of your dryer.
Start by removing any cover or flap that may be attached to the vent opening. In some cases, a screwdriver may be needed to loosen or remove screws holding the cover in place. Once the cover is off, take a moment to examine the condition of the vent opening.
Look for any signs of damage such as cracks, dents, or discoloration. These issues can affect the performance of the vent and may require professional repairs or replacement. Additionally, check if the vent opening is properly sealed to prevent air leaks and entry of pests.
Next, inspect the area around the vent opening for any accumulation of lint or debris. Over time, lint can build up on the exterior of the vent, reducing airflow and potentially causing a fire hazard. Use a flashlight to get a clear view and make note of any obstructions that need to be addressed.
If you notice a significant amount of lint or any other debris, it’s a good indication that a more thorough cleaning of the vent is necessary. Lingering debris can also signal inadequate maintenance, so it’s important to take the necessary steps to ensure the vent is clear and functioning properly.
Once you have completed your inspection of the vent opening, it’s time to move on to the next step: checking for blockages inside the vent.
Step 4: Check for blockages inside the vent
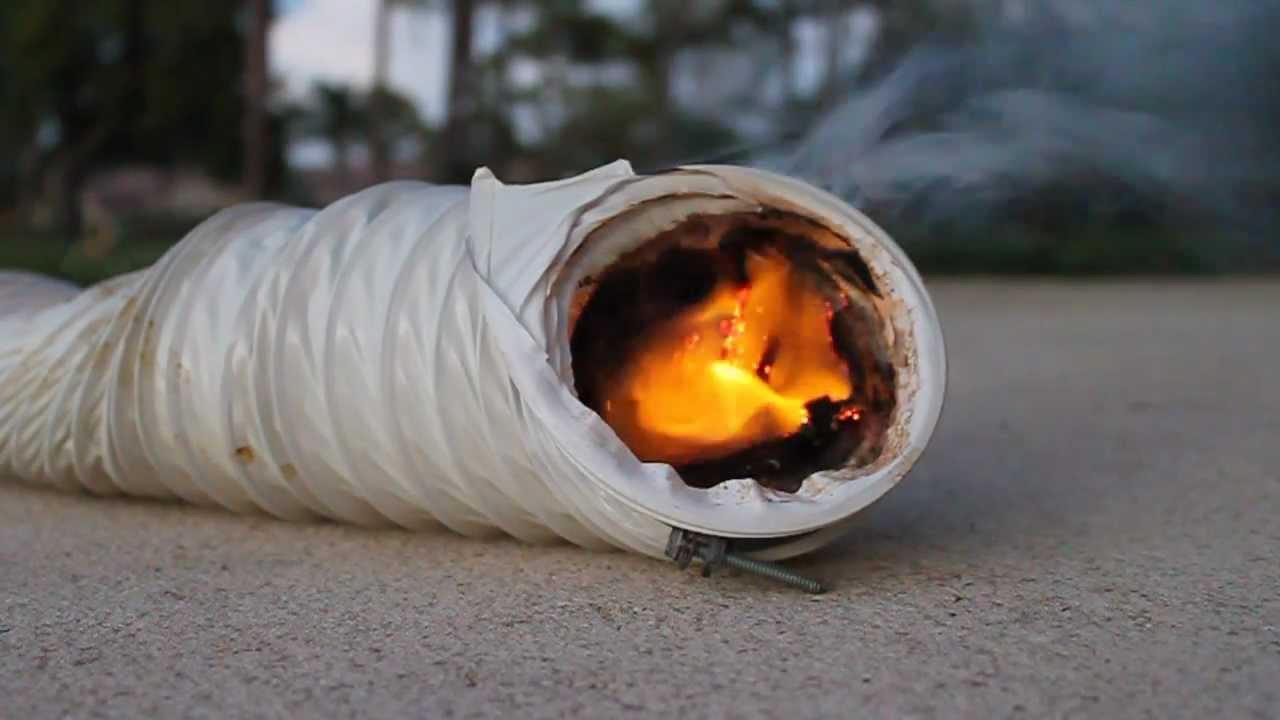
Checking for blockages inside the dryer vent is a crucial step in ensuring optimal airflow and preventing potential hazards. Over time, lint, debris, and other particles can accumulate inside the vent, restricting airflow and increasing the risk of a fire.
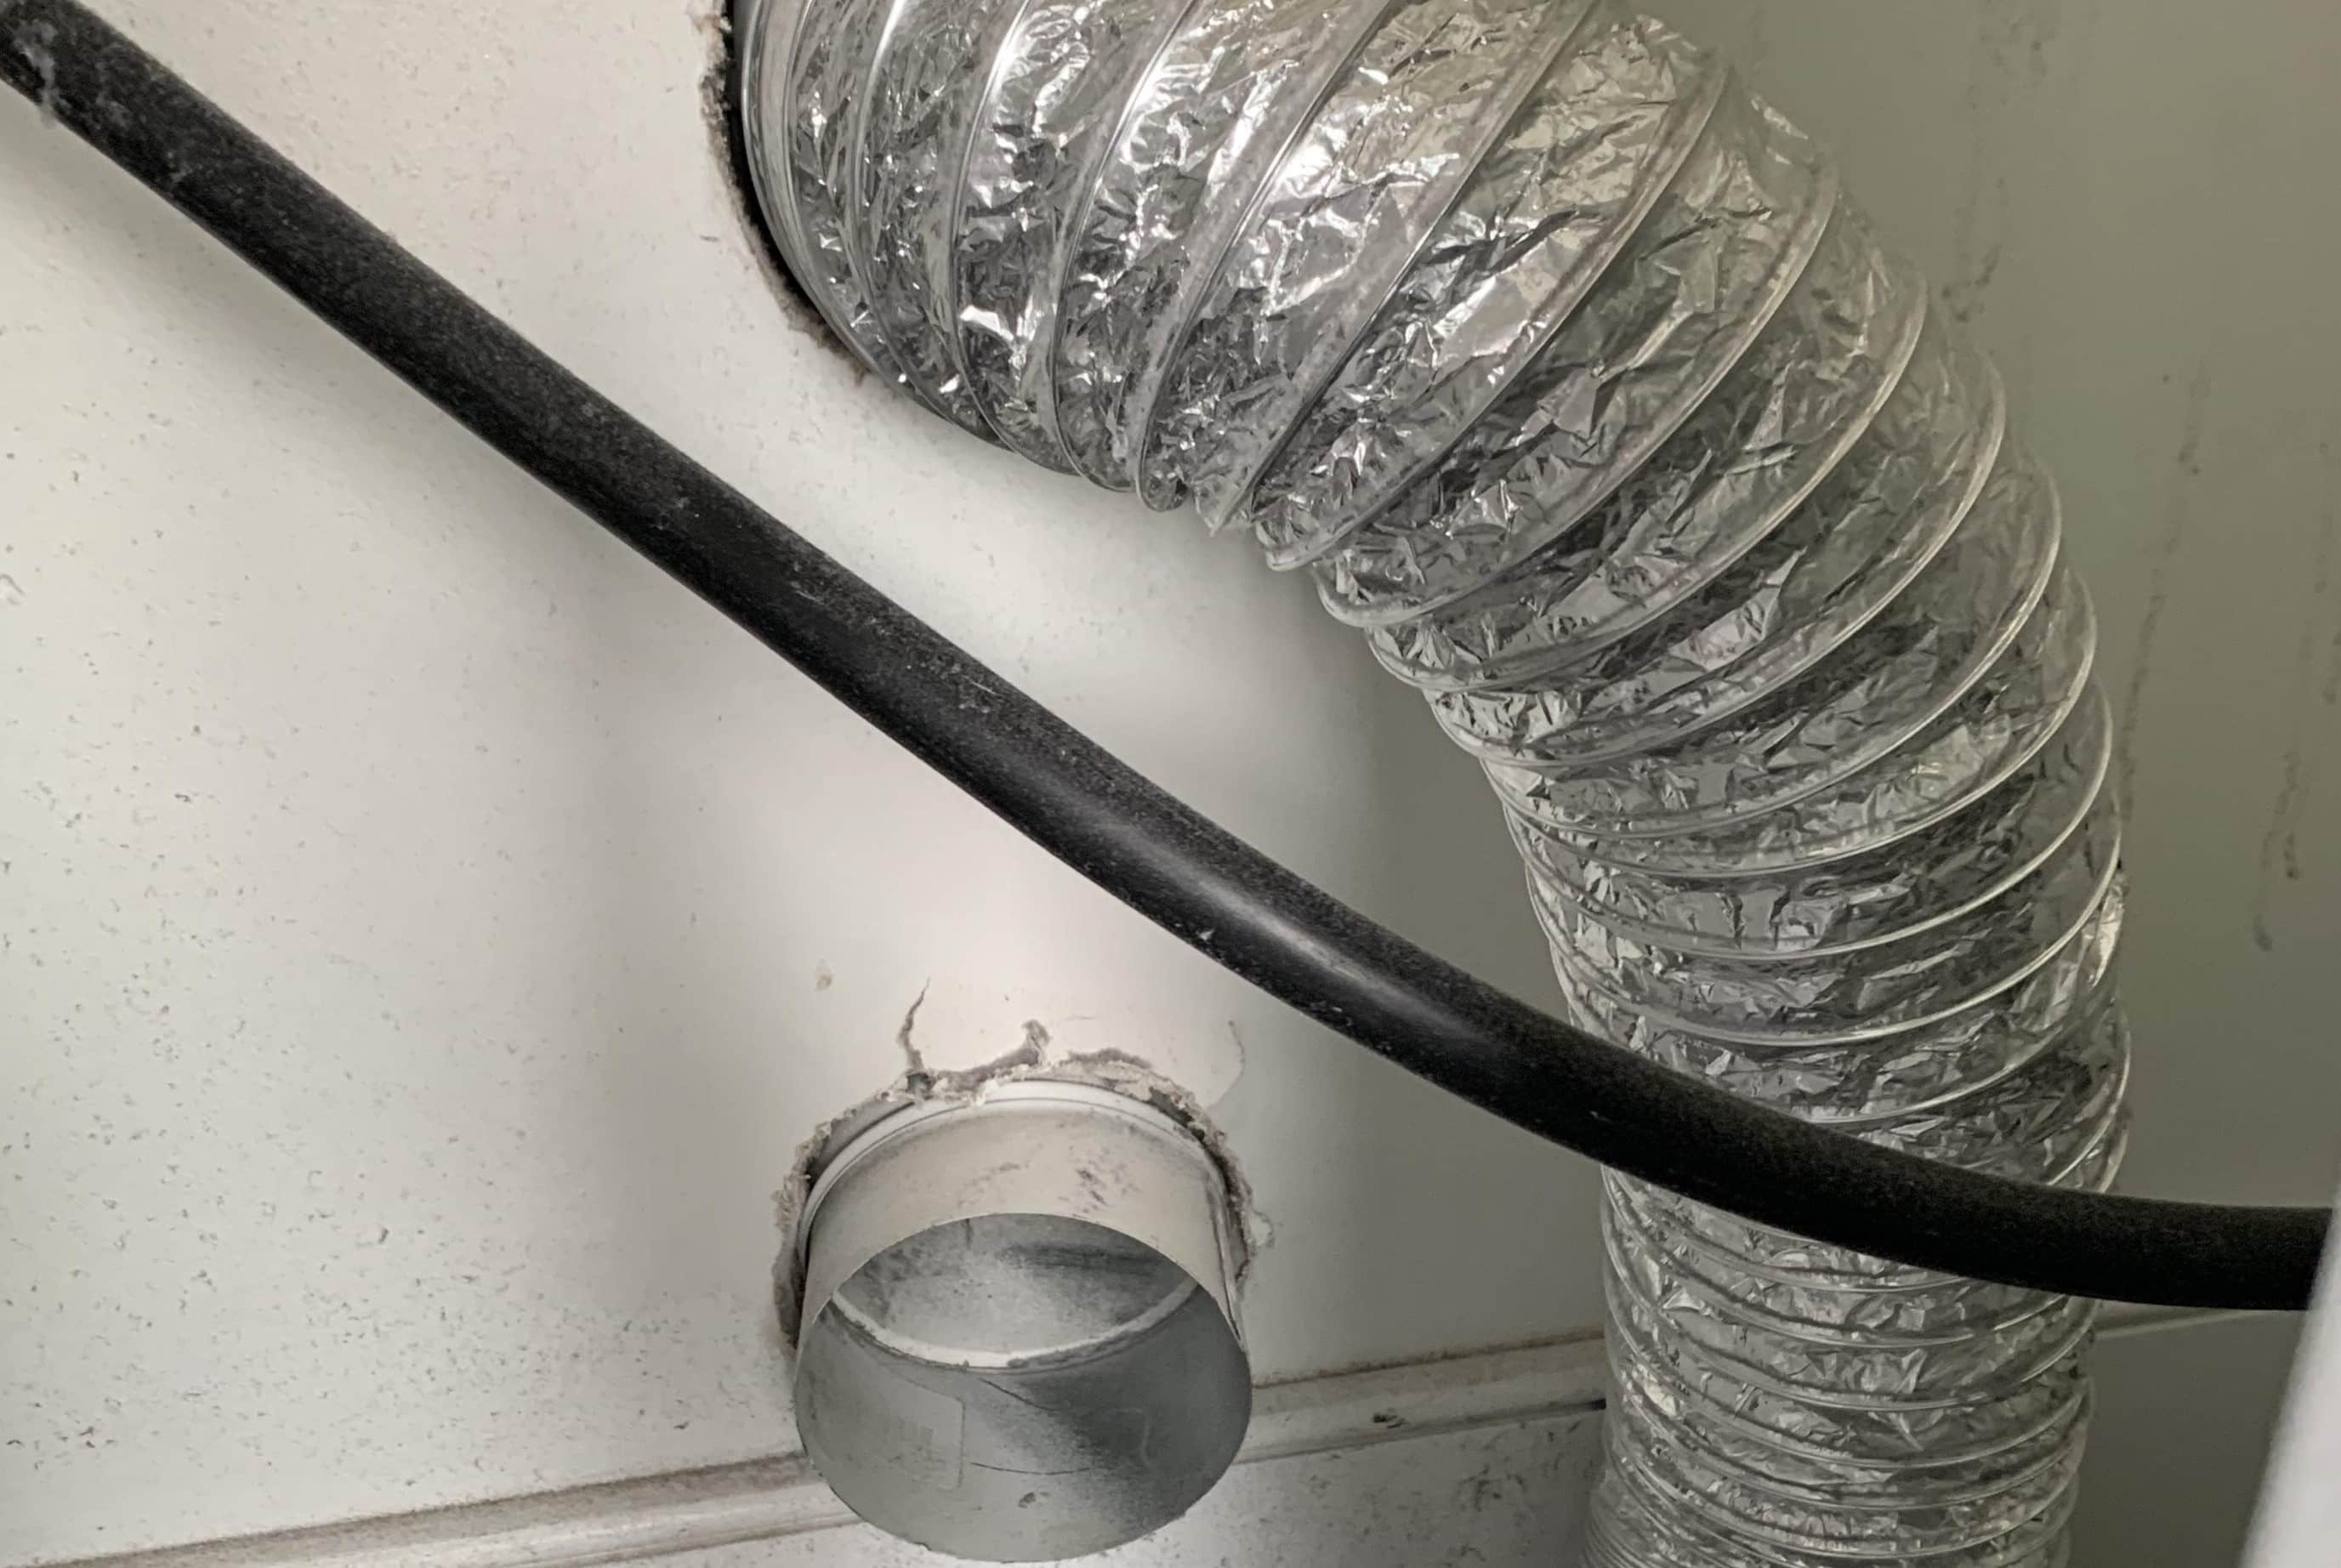
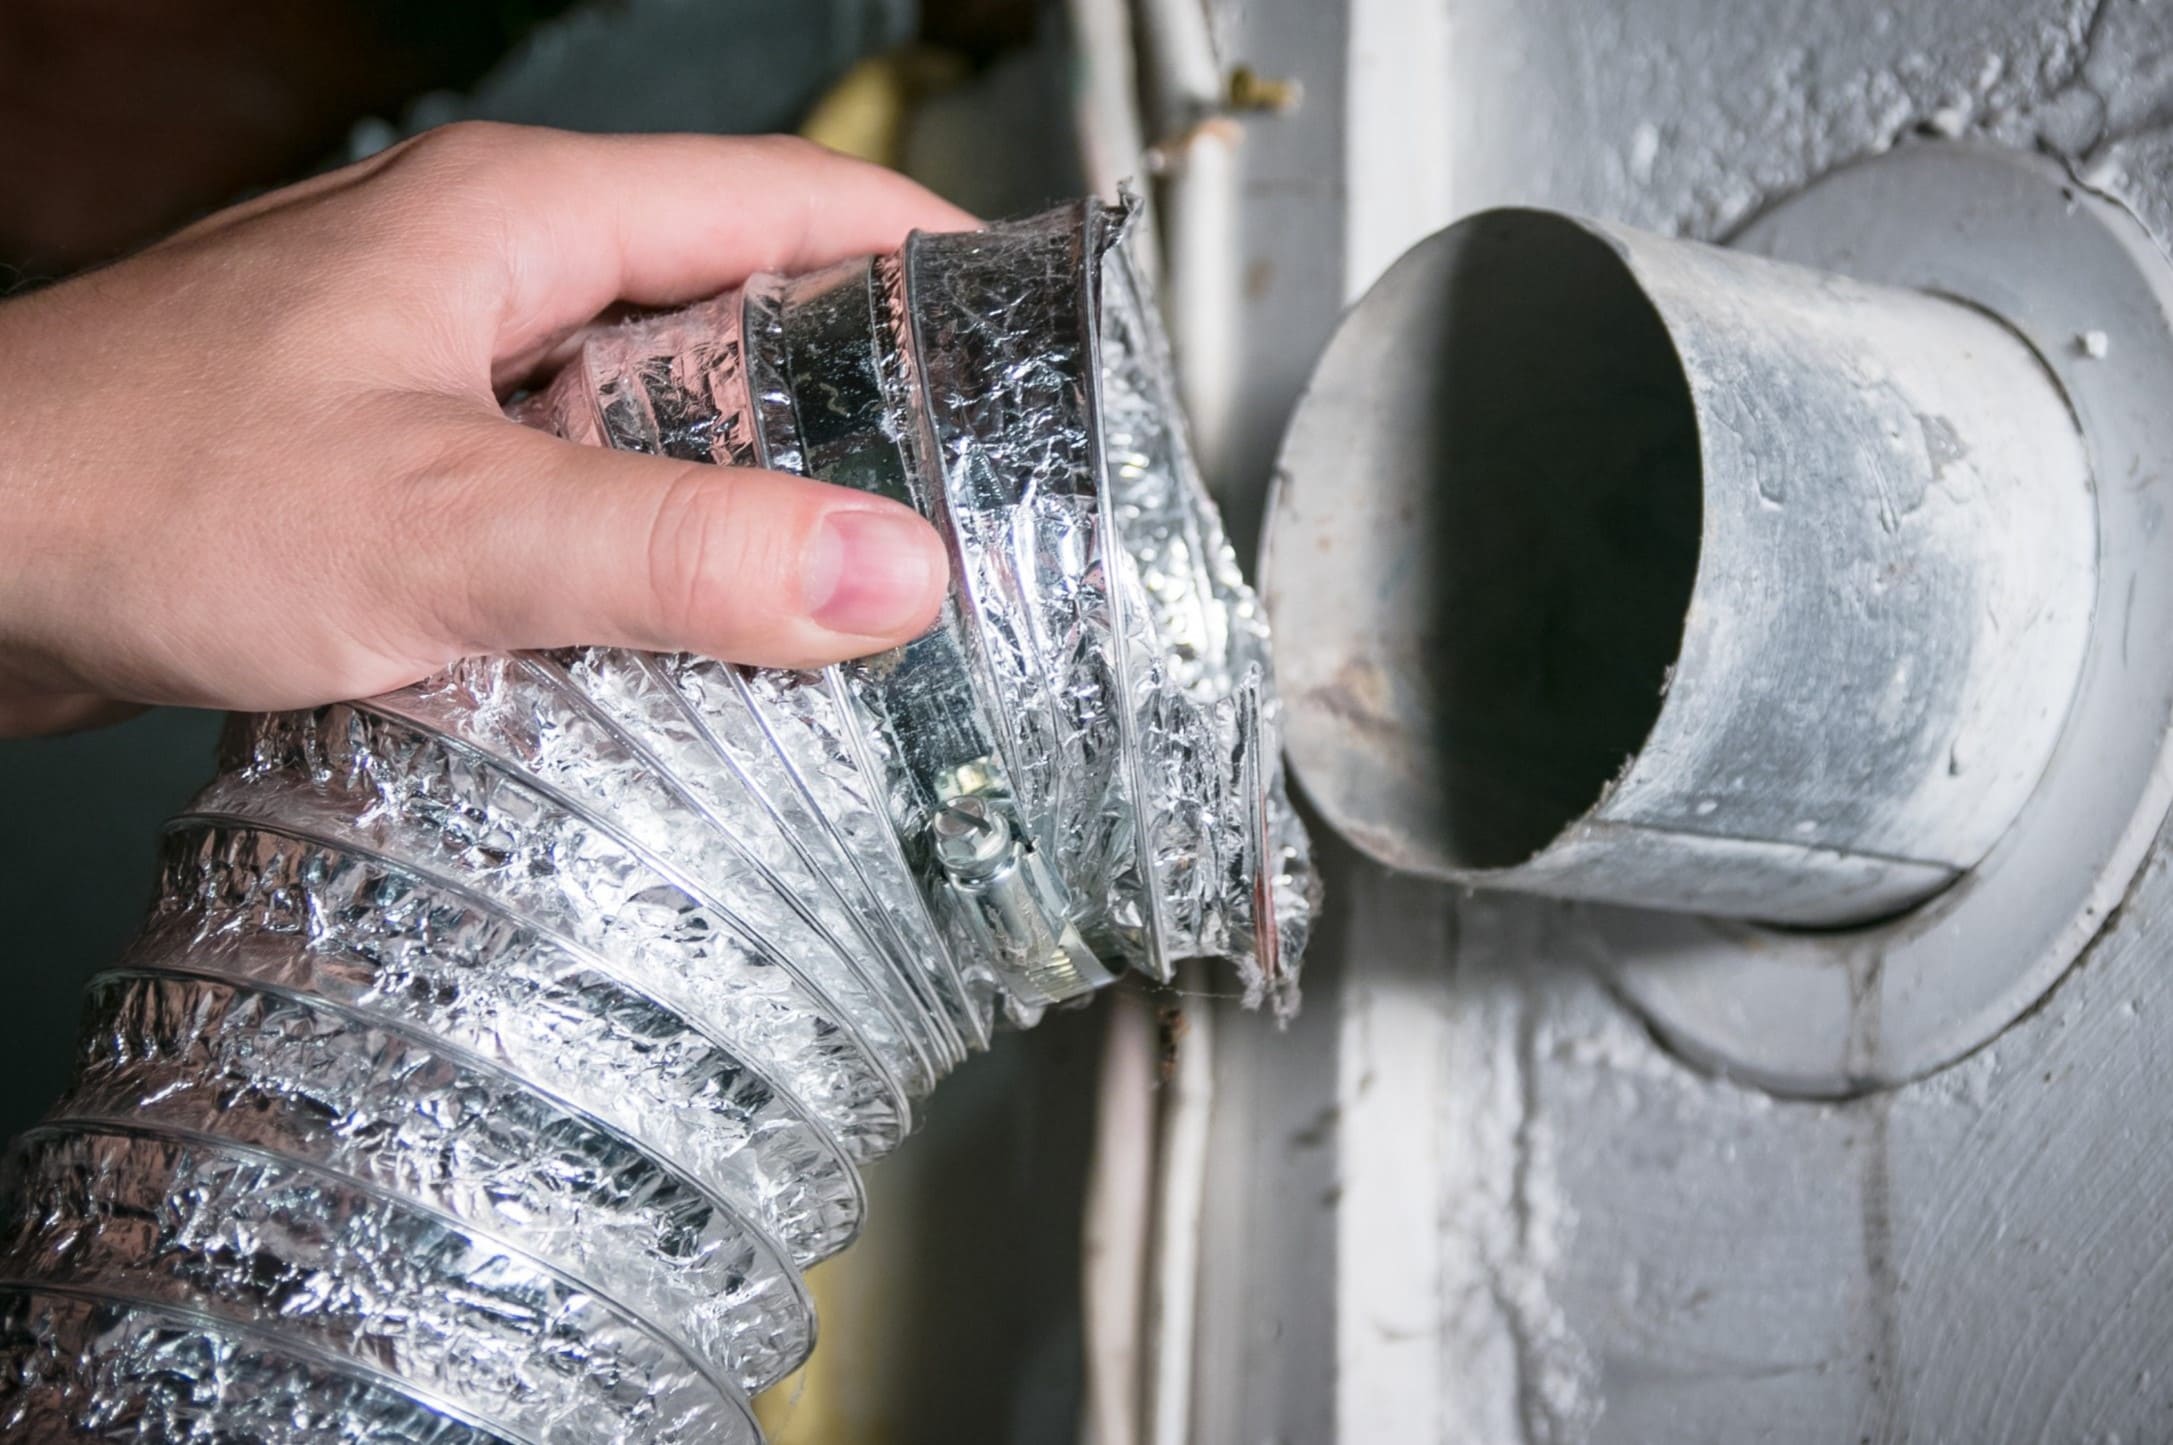
Begin by carefully disconnecting the vent from the back of the dryer. This may involve loosening a clamp or unscrewing the vent hose from the dryer’s exhaust port. Once detached, take a moment to inspect the vent hose for any visible signs of blockages or damage.
Using a flashlight, carefully peer into the vent hose and look for any debris or obstructions. Common culprits include lint, small objects, or even the occasional bird’s nest. If you notice any blockages, it is important to remove them to prevent airflow restrictions.
To remove the blockages, you can use either a dryer vent brush or a flexible cleaning rod. Insert the brush or rod gently into the vent hose and push it through, rotating as you go to dislodge any debris. Be cautious not to force it too forcefully, as this can cause damage to the vent or dryer.
Once you have cleared the blockages, inspect the interior of the dryer itself. Look for any lint buildup around the lint trap area, as well as inside the dryer drum and the vents within the appliance. Use a vacuum cleaner with a brush attachment to remove any visible lint or debris.
After removing the blockages and cleaning the interior of the dryer, reattach the vent hose securely to the dryer’s exhaust port. Ensure that any clamps or fasteners are tightened properly to prevent air leaks.
Now that you have checked for blockages inside the vent, it’s time to move on to the next step: inspecting the vent cover or flap.
Regularly check your dryer vent for lint buildup to prevent potential fire hazards. Use a vent brush to remove any debris and ensure proper airflow.
Read more: How To Replace Dryer Vent
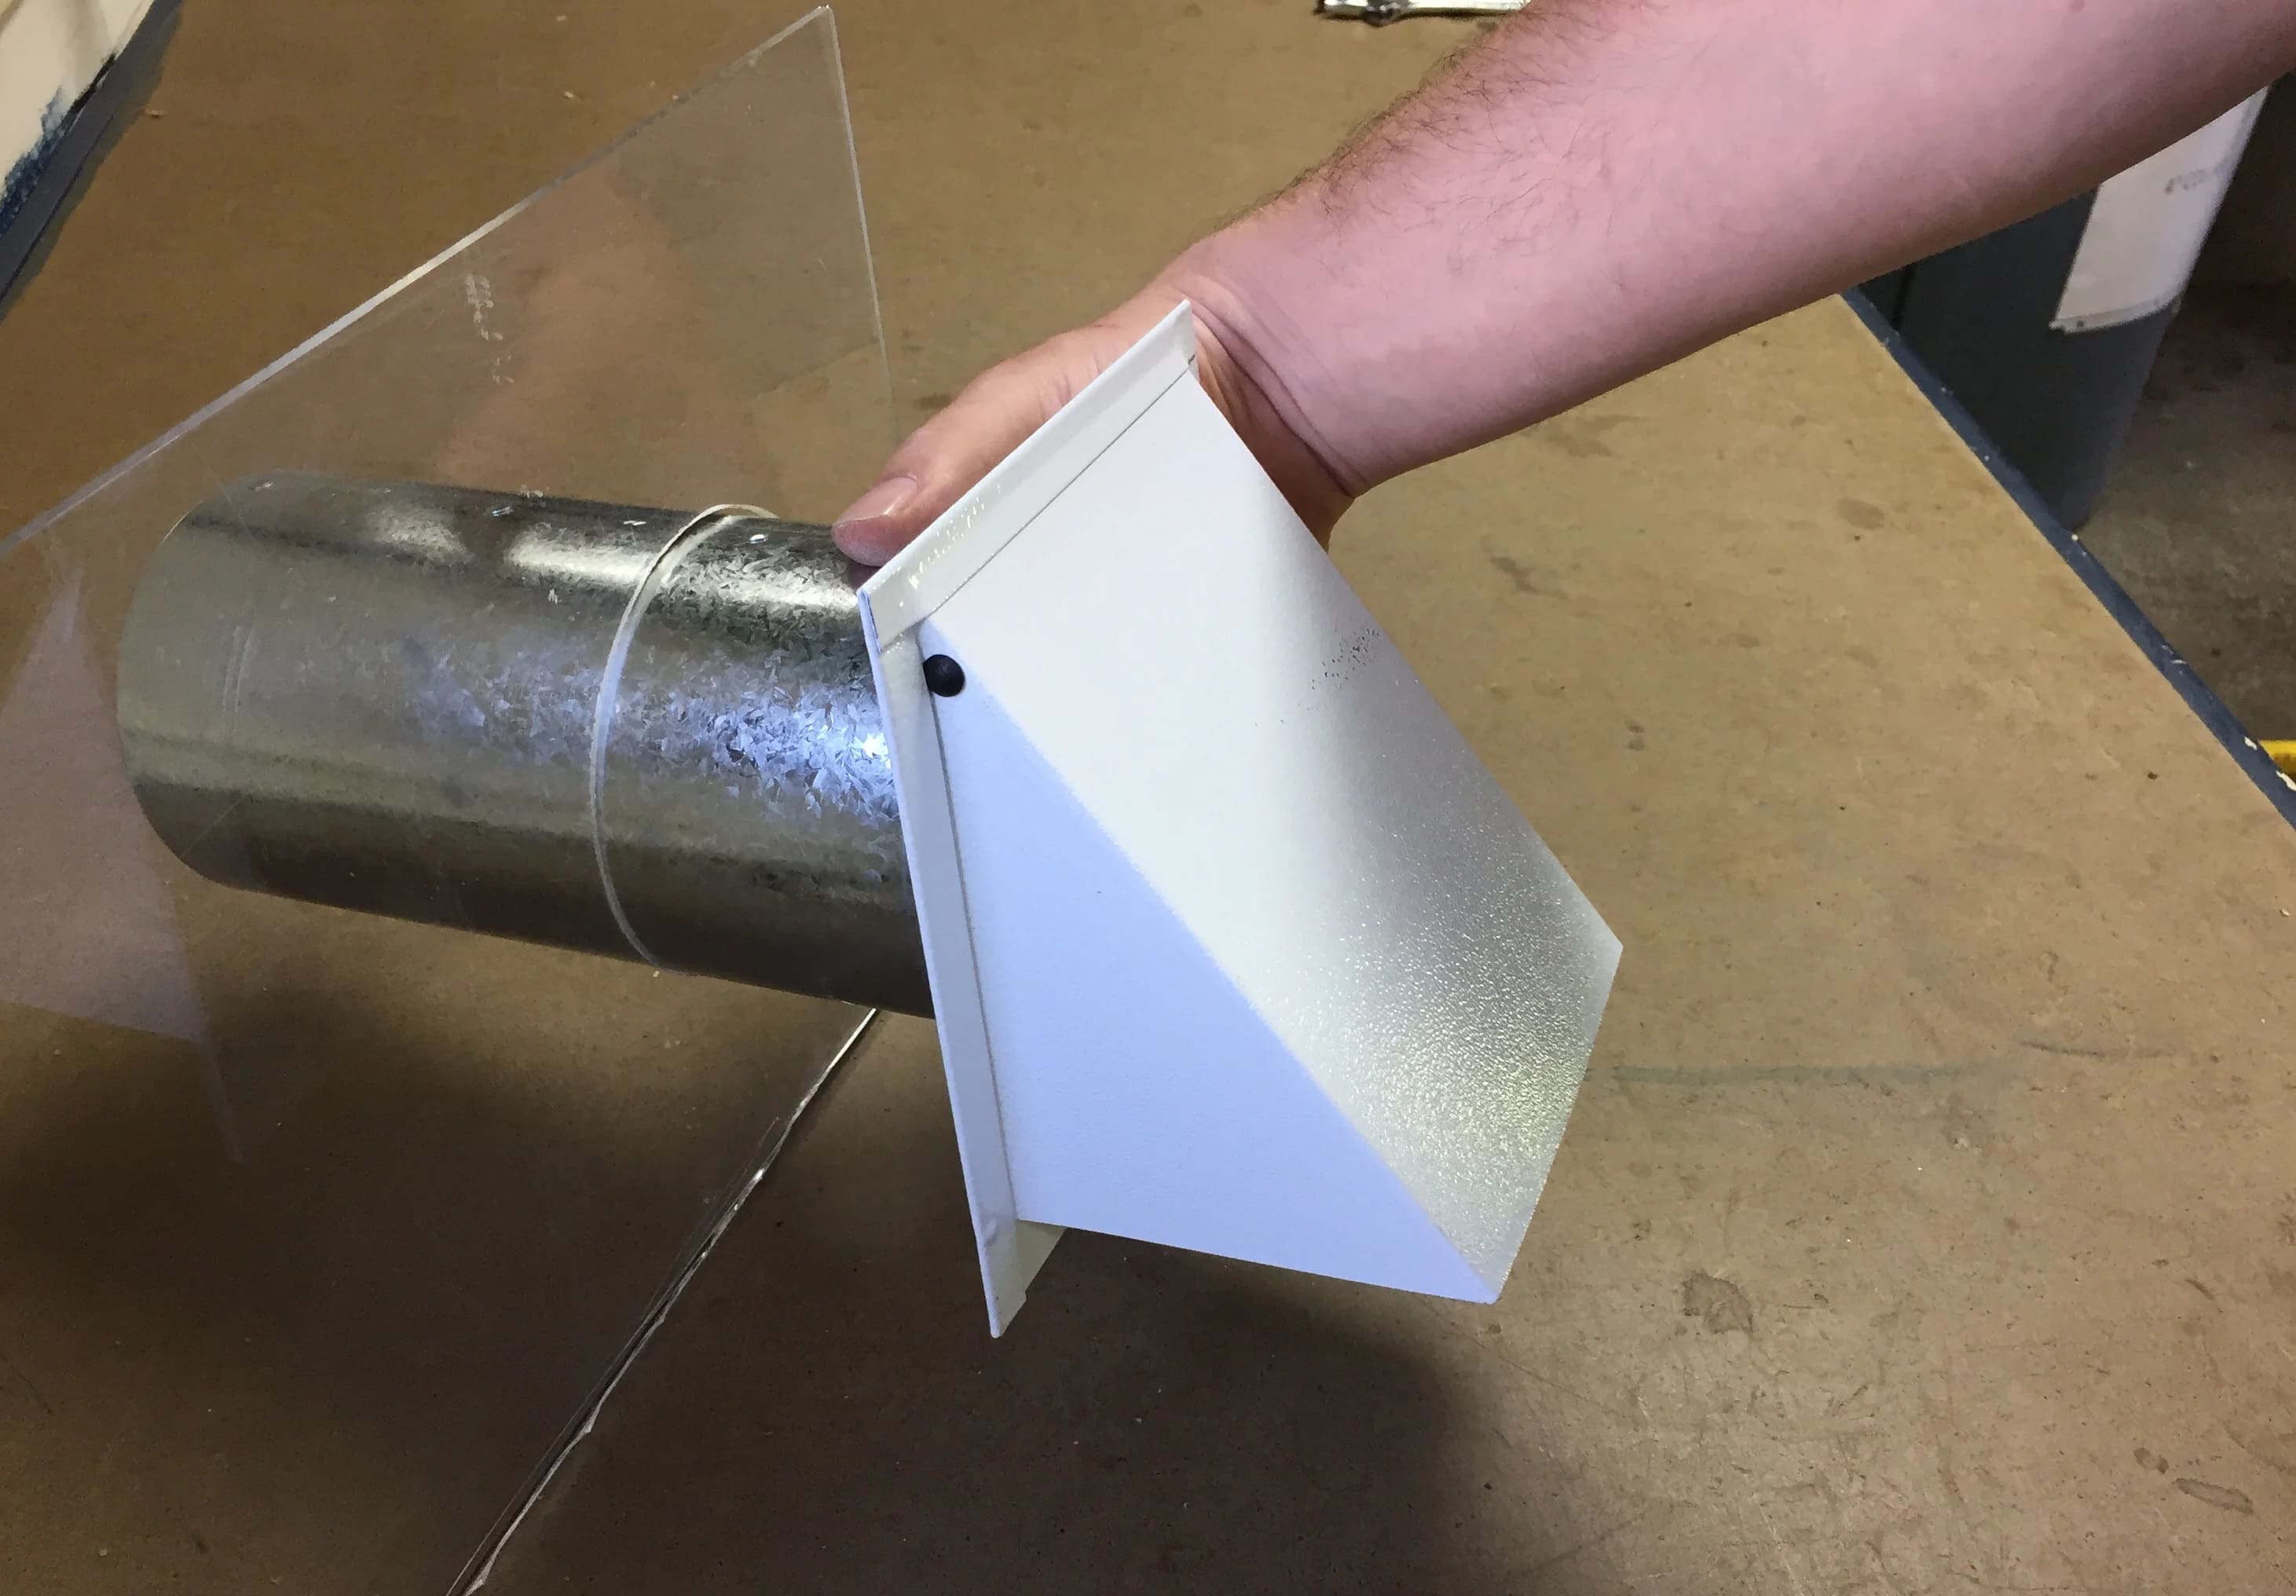
Step 5: Inspect the vent cover or flap
The vent cover or flap plays a vital role in protecting your dryer vent from outdoor elements and preventing the entry of pests. It is important to inspect the vent cover regularly to ensure it is in good condition and functioning properly.
Start by examining the vent cover or flap for any visible signs of damage or deterioration. Look for cracks, breaks, or loose parts that may need repair or replacement. A damaged vent cover can allow moisture, debris, and pests to enter the vent, compromising its efficiency.
If you have a vent cover with a flap, check if it moves freely and closes securely when the dryer is not in use. The flap should open easily to allow the exhaust air to escape but close tightly to prevent any backward airflow or outside elements from entering.
Another crucial aspect to inspect is the vent cover’s mesh screen or grating. This component is designed to prevent insects and small animals from entering the vent. Ensure that the mesh screen is intact and does not have any gaps or holes that may allow pests to get through.
If you notice any issues with the vent cover or flap, it is recommended to replace it as soon as possible. You can find compatible vent covers at home improvement stores or consult a professional for assistance.
Remember, a well-functioning vent cover or flap not only protects your dryer vent but also helps maintain proper airflow and prevents potential hazards. Once you have inspected the vent cover, it’s time to move on to the next step: verifying proper airflow.
Step 6: Verify proper airflow
Verifying proper airflow is a crucial step in the process of checking your dryer vent. Good airflow is essential for efficient drying and preventing lint buildup, which can lead to potential hazards such as overheating or fire.
To verify the airflow, start by turning on your dryer and running it on a hot air cycle. Stand near the vent opening on the exterior of your home and feel for a steady flow of warm air. If you don’t feel any air or if it’s weak and intermittent, there may be an issue with the vent that needs to be addressed.
Next, go inside and observe the dryer’s exhaust. Check if there is a strong and consistent airflow coming out of the vent hose. You can also place your hand near the air vent of the dryer to feel for a powerful flow of hot air. If the airflow is weak or barely noticeable, there may be a blockage or restriction in the vent system.
In addition to checking the airflow, pay attention to any unusual noises or vibrations coming from the dryer. These may indicate an airflow problem or mechanical issue that requires further investigation or professional assistance.
If you notice any issues with the airflow, it is important to address them promptly. Start by checking the vent hose for any obstructions, such as accumulated lint or debris. Clear any blockages using a dryer vent brush or flexible cleaning rod.
If the airflow issues persist, it is advisable to consult a professional dryer vent cleaning service. They have the expertise and specialized equipment to thoroughly clean the vent system and ensure optimal airflow.
By verifying the proper airflow, you can ensure that your dryer is operating efficiently and reduce the risk of fire or other potential hazards. Once you have verified the airflow, it’s time to move on to the next step: cleaning the dryer vent.
Step 7: Cleaning the dryer vent
Cleaning the dryer vent is a crucial step in maintaining optimal performance and safety. Over time, lint, debris, and other particles can accumulate in the vent, leading to reduced airflow and potentially causing a fire hazard.
Start by disconnecting the vent hose from the back of the dryer. Remove any clamps or fasteners holding it in place and carefully pull the hose away from the dryer. This will allow you to access the vent and clean it thoroughly.
The first step in cleaning the dryer vent is to remove any loose debris. Use a vacuum cleaner with a brush attachment to vacuum the inside of the vent hose and the vent opening on the dryer. Pay close attention to any areas where lint may have accumulated, such as the lint trap area and the exhaust vents within the dryer.
Next, use a dryer vent brush or a flexible cleaning rod to clean the inside of the vent hose. Insert the brush or rod into the vent and carefully push it through, rotating it as you go to dislodge any built-up lint or debris. This will help ensure that the vent is clear and free from obstructions.
For longer vent systems or hard-to-reach areas, you may need to use a combination of a flexible cleaning rod and extension rods. These can be connected together to reach deeper into the vent and remove any blockages. Make sure to follow the manufacturer’s instructions for using the cleaning tools properly.
While cleaning the vent, be mindful of the surrounding area and ensure that any dislodged debris is collected and disposed of properly. You can use a bucket or a plastic bag to collect the debris and dispose of it in accordance with local regulations.
Once you have finished cleaning the vent hose and exhaust, reattach the vent hose securely to the dryer’s exhaust port and fasten any clamps or fasteners to ensure a tight connection.
By regularly cleaning the dryer vent, you can improve the efficiency of your dryer, reduce the risk of fire, and extend the lifespan of the appliance. Once you have completed the cleaning process, it’s time to move on to the next step: reassembling and testing the dryer.
Step 8: Reassemble and test the dryer
After cleaning the dryer vent, it’s time to reassemble the components and test the dryer to ensure everything is functioning properly. Follow these steps to complete the process:
1. Carefully reattach the vent hose to the back of the dryer, ensuring a secure and tight connection. Use any clamps or fasteners that were originally in place to hold the vent hose securely.
2. Double-check that all connections are tightened and secure to avoid any air leaks or disconnections that can hinder the airflow.
3. Plug the dryer back into the power source and turn it on to test its operation. Select a regular drying cycle and monitor the dryer for any unusual noises, vibrations, or error codes.
4. Pay attention to the airflow coming out of the vent opening outside. It should now be strong and consistent, indicating that the vent is clean and free from blockages.
5. Run a test load of laundry to ensure that the dryer is working efficiently and drying clothes properly. Observe the drying time and the quality of the dried clothes to make sure everything is functioning as expected.
If you notice any issues or abnormalities during the testing phase, it may indicate that further maintenance or repairs are needed. Consider consulting a professional dryer vent cleaning service or a qualified technician to address any underlying problems.
Remember to continue regular maintenance and cleaning of your dryer vent to prevent lint buildup and ensure optimal performance. Periodically check the vent and clean it as needed to maintain proper airflow and reduce the risk of fire hazards.
Congratulations! You have successfully completed the process of checking and cleaning your dryer vent. By following these steps, you have taken an important step towards maintaining the efficiency and safety of your dryer.
By performing regular inspections and cleaning, you can extend the lifespan of your dryer, save energy, and ensure the safety of your home and family.
Thank you for using our comprehensive guide. If you have any further questions or require additional assistance, don’t hesitate to reach out to a professional or consult your dryer’s manufacturer for specific maintenance recommendations.
Read more: How To Reroute A Dryer Vent
Conclusion
Regularly checking and cleaning your dryer vent is an essential part of home maintenance that cannot be overlooked. By following the steps outlined in this comprehensive guide, you can ensure optimal airflow, improve the efficiency of your dryer, and reduce the risk of fire hazards.
From gathering the necessary tools to verifying proper airflow and cleaning the vent, each step plays a crucial role in keeping your dryer vent in excellent condition. Regular inspections and cleaning will help prevent lint accumulation, blockages, and potential damage to your dryer.
Remember to prioritize safety throughout the process. Always turn off your dryer, unplug it, and exercise caution when working with any electrical appliances. If you encounter any issues or are unsure about any step, consult a professional for assistance.
By maintaining a clean and clear dryer vent, not only will your dryer operate more efficiently, but it will also extend the lifespan of the appliance. Additionally, you can enjoy peace of mind knowing that you have taken proactive measures to reduce the risk of fire hazards in your home.
Make it a habit to perform regular inspections and cleanings of your dryer vent at least once or twice a year, or more frequently if you notice any signs of reduced airflow or lint buildup. Being proactive in the maintenance of your dryer vent will go a long way in ensuring its optimal performance and longevity.
Thank you for taking the time to go through this comprehensive guide on how to check a dryer vent. By following the steps outlined here, you are well-equipped to maintain a safe and efficient drying process for your laundry. Happy drying!
Frequently Asked Questions about How To Check A Dryer Vent
Was this page helpful?
At Storables.com, we guarantee accurate and reliable information. Our content, validated by Expert Board Contributors, is crafted following stringent Editorial Policies. We're committed to providing you with well-researched, expert-backed insights for all your informational needs.