Articles
How To Check Plumbing In A House
Modified: October 31, 2024
Learn all about plumbing in a house with our informative articles. Find out how to check your plumbing system and ensure everything is running smoothly.
(Many of the links in this article redirect to a specific reviewed product. Your purchase of these products through affiliate links helps to generate commission for Storables.com, at no extra cost. Learn more)
Introduction
Welcome to this comprehensive guide on how to check the plumbing in a house. The plumbing system is a crucial component of any home, responsible for delivering clean water and disposing of waste. Regularly assessing and maintaining the plumbing system is essential to avoid costly repairs and ensure the comfort and functionality of your living space.
In this article, we will cover the basic plumbing components, steps for checking the water supply, inspecting the drainage system, examining the water heater, assessing plumbing fixtures, looking for leaks, testing water pressure, and evaluating the ventilation system. By following these guidelines, you can identify potential issues and address them promptly, saving you time, money, and headaches in the long run.
Whether you are a homeowner or a renter, it is beneficial to familiarize yourself with the plumbing system in your house. By understanding how it works and knowing what to look out for, you can prevent avoidable problems and maintain a healthy plumbing system.
Now, let’s dive into the details and explore how to effectively check the plumbing in your house!
Key Takeaways:
- Regularly checking your plumbing system for leaks, water pressure, and ventilation can prevent costly repairs and ensure a healthy, functional living space.
- Understanding basic plumbing components and performing routine inspections can help homeowners and renters maintain a reliable water supply and drainage system.
Read more: How To Check For Leaks In Plumbing
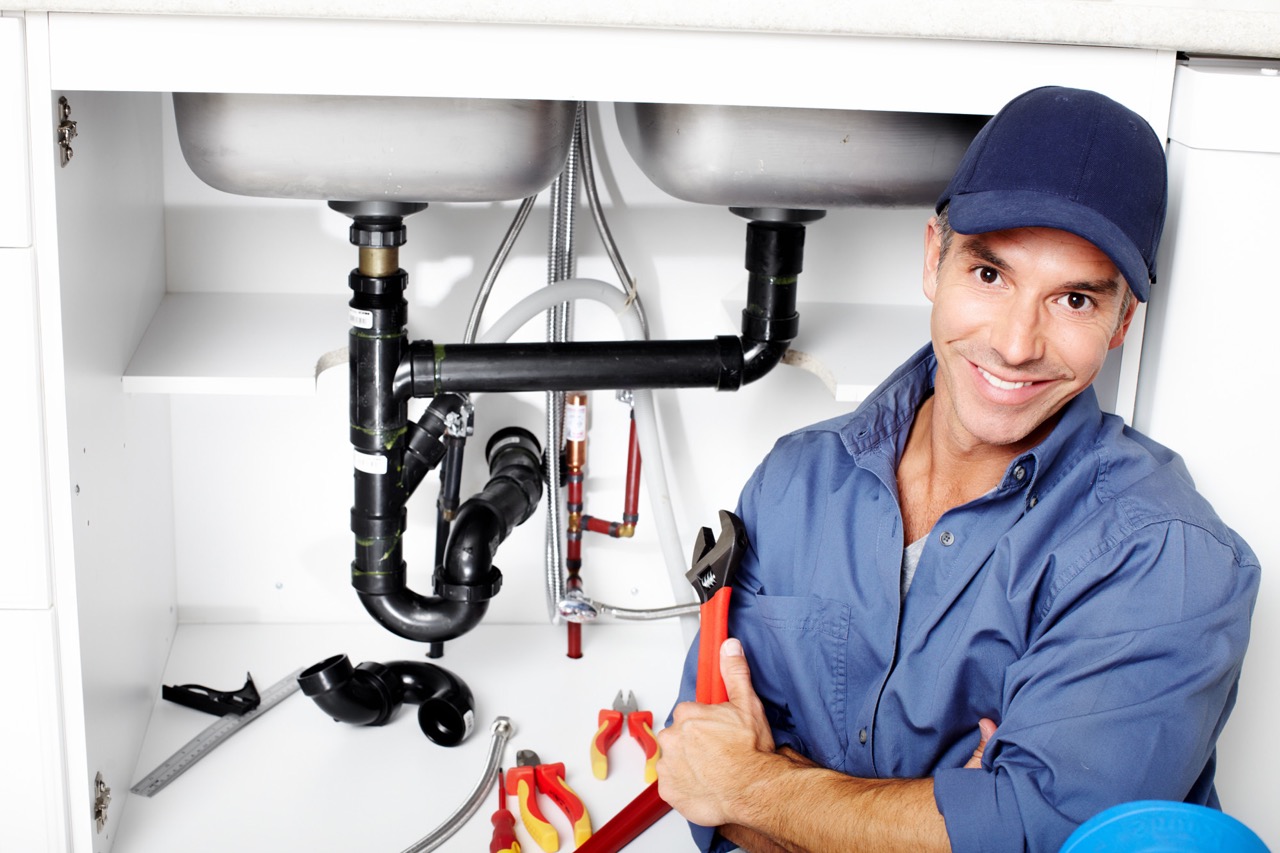
Basic Plumbing Components
Before we begin inspecting the plumbing system, it’s important to familiarize ourselves with the basic components that make it up. Understanding these key elements will help you better navigate and troubleshoot any potential issues that may arise.
1. Pipes:
Pipes are the backbone of any plumbing system. They transport water, gas, and waste materials throughout the house. Common types of pipes include copper, PVC (polyvinyl chloride), and PEX (cross-linked polyethylene). Inspecting the condition of the pipes is crucial to ensure there are no leaks, corrosion, or damage.
2. Fixtures:
Plumbing fixtures include sinks, toilets, showers, bathtubs, and faucets. These are the locations where water is used in a house. Check for any visible cracks, leaks, or loose fittings in the fixtures. Ensure that they are properly sealed and functioning correctly.
3. Water Supply Lines:
The water supply lines carry freshwater from the main water source to each fixture in the house. These lines are usually made of copper or flexible PEX tubing. Inspect the lines for any signs of leaks, corrosion, or damage. Ensure that the shut-off valves are working correctly.
Read more: How To Check Insulation In House
4. Drainage System:
The drainage system is responsible for carrying waste and used water out of the house. It consists of drainpipes, vents, and traps. Check for any clogs, leaks, or foul odors in the drainage system. Also, ensure that all drains are properly functioning and that water flows freely.
5. Water Heater:
The water heater supplies hot water to the house. It can be either a traditional tank-style water heater or a tankless water heater. Inspect the water heater for any signs of leaks, corrosion, or malfunctioning components. Ensure that the temperature and pressure relief valve is working properly.
By understanding these basic plumbing components, you will be well-equipped to assess and maintain your plumbing system effectively. Now, let’s move on to the next steps and learn how to check the water supply in your house.
Checking Water Supply
One of the essential aspects of checking the plumbing system in a house is assessing the water supply. A reliable and efficient water supply is crucial for daily activities such as cooking, cleaning, and bathing. Here are some steps to help you ensure that the water supply is in good condition:
1. Turn on Faucets:
Start by turning on all the faucets in your house. Check for consistent water flow and any signs of discoloration or unusual smells. If you notice any issues, it may indicate a problem with the main water supply or the pipes connected to the specific faucet.
Read more: What Is A Check Valve In Plumbing
2. Check Water Pressure:
Next, test the water pressure throughout the house. Inadequate water pressure can indicate a blockage or a pipe issue. Use a pressure gauge to measure the water pressure at each faucet. Ideally, the pressure should be between 40 and 60 pounds per square inch (psi). If you notice a significant drop in pressure, it may require further investigation.
3. Inspect Water Meter:
Locate your water meter and check for any signs of leaks or unusual activity. The water meter is typically located outside the house, near the street or in the basement. If the meter is spinning or there is water pooling around it, it could indicate a leak in the water supply system.
4. Test Shut-off Valves:
Ensure that all the shut-off valves in your house are functioning correctly. These valves allow you to turn off the water supply to individual fixtures or sections of your plumbing system. Test each valve by shutting off the water supply and then turning it back on. If any valve is leaking or not operating smoothly, it may need to be repaired or replaced.
5. Check Water Filtration System:
If your house has a water filtration or purification system, inspect it to ensure that it is working properly. Replace any filters according to the manufacturer’s recommendations to maintain water quality and prevent clogs or reduced water flow.
By following these steps, you can effectively check the water supply in your house and identify any potential issues that may require further attention. A reliable water supply is essential for day-to-day living, and addressing any problems early on will help you avoid more significant issues in the future.
Next, we will move on to inspecting the drainage system in your house and ensure its proper functioning.
Read more: How Do Home Inspectors Check Plumbing
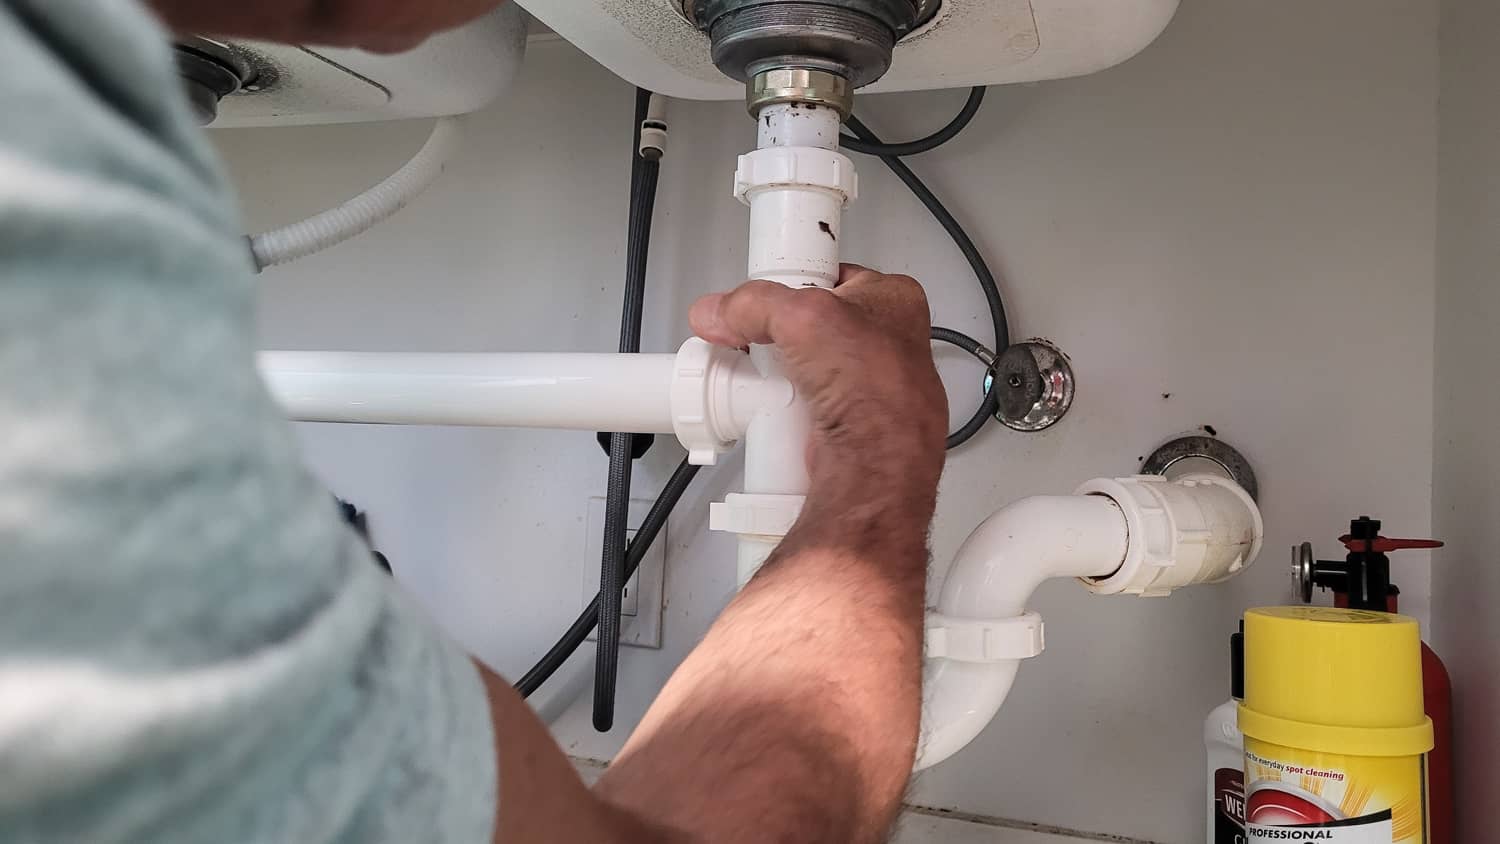
Inspecting Drainage System
The drainage system in your house plays a crucial role in removing waste and used water. Properly inspecting and maintaining the drainage system is essential to prevent clogs, backups, and unpleasant odors. Here are some steps to help you assess the condition of your drainage system:
1. Check Drains:
Start by inspecting all the drains in your house, including sinks, showers, bathtubs, and toilets. Look for any signs of slow drainage or blockages. If a drain is slow to empty or constantly clogs, it may indicate a clog in the pipes or a problem with the trap.
2. Test Toilets:
Flush each toilet in your house and observe how it functions. The toilet should flush smoothly and quickly. If you notice any gurgling sounds, slow flushing, or recurring clogs, it may indicate a problem with the toilet’s plumbing or the drainage system.
3. Inspect Vent Pipes:
Vent pipes allow air to enter the drainage system, preventing vacuum and maintaining proper water flow. Check vent pipes for any obstructions or damage. Make sure there are no bird nests or debris blocking the pipes. A blocked vent pipe can lead to slow drainage and unpleasant odors.
Read more: How To Design Plumbing For A House
4. Look for Signs of Leaks:
Inspect the area around the drains and pipes for any signs of leaks, such as water stains, mold, or musty odors. Even a small leak can lead to significant damage if left unattended. If you notice any signs of a leak, it’s essential to address it promptly to prevent further damage and potential water wastage.
5. Check Sewer Cleanout:
Locate the sewer cleanout, which is a pipe with a removable cap designed to access the main sewer line. Inspect the cleanout and its surroundings for any signs of sewage backup or foul odors. If you notice any issues, it may indicate a problem with the main sewer line or a blockage in the drainage system.
Regularly inspecting your drainage system will help you identify any potential issues and address them before they become major problems. If you encounter any significant issues or if you’re unsure about the condition of your drainage system, it’s recommended to consult a professional plumber for a thorough inspection and necessary repairs.
Next, we will move on to examining the water heater in your house to ensure its proper functioning.
Examining Water Heater
The water heater is an essential component of your plumbing system, providing hot water for various household activities. Regularly examining your water heater will help ensure its proper functioning, efficiency, and longevity. Here are some steps to help you assess the condition of your water heater:
1. Visual Inspection:
Start by visually inspecting the water heater for any signs of leaks, corrosion, or damage. Look for water pooling around the base of the unit, rust on the tank or fittings, or any visible cracks or dents. If you notice any of these issues, it may indicate a problem with the water heater that requires attention.
Read more: How To Run Plumbing In A House
2. Check Temperature and Pressure Relief Valve:
The temperature and pressure relief valve is a crucial safety feature of the water heater. Test the valve by lifting the lever and allowing some water to flow into the overflow pipe. This will ensure that the valve is functioning correctly and can relieve excess pressure or temperature, preventing the tank from bursting.
3. Flush the Tank:
Sediment buildup can affect the efficiency and performance of your water heater. To flush the tank, turn off the power supply or the gas valve, and connect a garden hose to the drain valve at the bottom of the tank. Open the valve and let the water flow until it runs clear. This will help remove any sediment and improve the efficiency of the water heater.
4. Inspect the Anode Rod:
The anode rod is a sacrificial component that protects the tank from corrosion. Inspect the condition of the anode rod and replace it if it is significantly corroded or worn out. This simple maintenance task can extend the lifespan of your water heater.
5. Evaluate Energy Efficiency:
Consider the energy efficiency of your water heater. If you have an older unit, it may be less energy-efficient. Upgrading to a newer, high-efficiency model can help you save on energy costs in the long run. Additionally, insulating the hot water pipes and the tank itself can further improve energy efficiency.
By regularly examining your water heater, you can identify any potential issues and address them promptly. If you’re unsure about the condition of your water heater or if you encounter any significant problems, it’s recommended to consult a professional plumber for a thorough inspection and necessary repairs.
Next, we will move on to assessing the plumbing fixtures in your house to ensure their proper functioning and prevent any leaks or damage.
Assessing Plumbing Fixtures
Plumbing fixtures, such as sinks, toilets, showers, bathtubs, and faucets, are essential for daily activities in your house. Regularly assessing these fixtures will help you identify any potential issues and ensure their proper functioning. Here are some steps to help you assess the condition of your plumbing fixtures:
1. Check for Leaks:
Inspect each fixture for any signs of leaks. Look for dripping faucets, water pooling around the base of sinks or toilets, or water stains on walls or floors. Even small leaks can result in significant water waste and damage over time.
2. Test Faucets:
Turn on each faucet to check for consistent water flow. Ensure that hot and cold water are functioning correctly, and there are no signs of low water pressure or unusual behavior. If a faucet is dripping or has significantly reduced water flow, it may require repairs or replacement.
3. Assess Toilets:
Inspect each toilet for any signs of leaks or issues with flushing. Check for water running continuously in the toilet tank or water seeping into the bowl. A toilet that runs constantly or doesn’t flush properly may need repairs or adjustments.
Read more: How To Unclog Whole House Plumbing
4. Look for Signs of Damage:
Examine the fixtures for any visible damage, such as cracks, chipped enamel, or loose fittings. Damaged fixtures may not only affect their functionality but also impact the aesthetics of your bathroom or kitchen. Address any visible damage promptly to prevent further issues.
5. Test Drains:
Ensure that the drains are working correctly by observing the rate at which water drains from each fixture. If there is slow drainage or backups, it may indicate a clog in the trap or pipes connected to the fixture. Use a plunger or a drain cleaner to clear any blockages.
Regularly assessing your plumbing fixtures will help you catch any potential problems early on and ensure their proper functioning. If you encounter any significant issues or if you’re unsure about the condition of your fixtures, it’s recommended to consult a professional plumber for a detailed inspection and necessary repairs.
Next, we will move on to looking for leaks in your plumbing system, which can cause water damage and waste valuable resources.
Looking for Leaks
Leaks in your plumbing system can lead to water damage, mold growth, and wasted resources. It’s crucial to regularly check for leaks to prevent these issues. Here are some steps to help you identify and address leaks in your plumbing system:
1. Visual Inspection:
Perform a visual inspection of the visible plumbing pipes, joints, and connections in your house. Look for any signs of moisture, water stains, or discoloration. Pay attention to areas with exposed pipes, such as under sinks, behind toilets, or in the basement. If you notice any signs of a leak, pinpoint the source and take appropriate action.
Read more: How To Winterize Plumbing In A Vacant House
2. Check Faucets and Fixtures:
Inspect faucets, showers, and other plumbing fixtures for any signs of leaks. Even a small drip can waste a significant amount of water over time. Ensure that all fixtures are properly tightened and that the washers or cartridges are in good condition. Replace any faulty components to prevent leaks.
3. Examine Toilet Tanks:
Check the toilet tanks for any leaks. Add a few drops of food coloring into the tank and wait for a few minutes without flushing. If the color appears in the bowl, it indicates a leak from the flapper valve or the overflow tube. Replace any worn-out parts to prevent water wastage.
4. Monitor Water Meter:
Turn off all water-consuming devices in your house and check the water meter. Take note of the reading and wait for an hour or more without using any water. If the meter reading has changed, it suggests a possible leak in your plumbing system. In such cases, it’s best to consult a professional plumber to locate and fix the leak.
5. Use a Leak Detection Device:
If you suspect a hidden leak, such as behind walls or under floors, you can use a leak detection device to help locate it. These devices use sound or thermal imaging technology to identify leaks, allowing you to take prompt action and prevent further damage.
Regularly looking for leaks in your plumbing system and addressing them promptly will help conserve water, prevent water damage, and save you from potential expensive repairs. If you’re unable to locate or fix a leak on your own or if the issue seems significant, it’s advisable to seek the assistance of a professional plumber.
Next, we will move on to testing the water pressure in your plumbing system, which is an important factor in its proper functioning.
Read more: How To Replace Plumbing In Old House
Testing Water Pressure
The water pressure in your plumbing system can significantly impact its functionality and efficiency. It’s important to regularly test the water pressure to ensure it falls within the optimal range. Here are some steps to help you test the water pressure in your house:
1. Gather the Necessary Tools:
To test the water pressure, you’ll need a pressure gauge. This can be a simple handheld gauge or a gauge that attaches to a faucet or water outlet. You can purchase a pressure gauge from a local hardware store or online.
2. Select a Faucet/Spigot:
Choose a faucet or spigot that is easily accessible and closest to the main water supply. Typically, an outdoor faucet or a laundry room faucet is a good option. Make sure to remove any aerator or water-saving devices from the selected faucet.
3. Attach the Pressure Gauge:
Attach the pressure gauge to the faucet or spigot according to the manufacturer’s instructions. Ensure a secure connection to get an accurate reading.
Read more: How To Get The Plumbing Plans For My House
4. Open the Faucet/Spigot:
Turn on the faucet or spigot completely and let the water flow freely. Allow the water to run for a few minutes to stabilize the pressure.
5. Read the Pressure Gauge:
Check the pressure gauge reading. The optimal water pressure for residential homes is typically between 40 and 60 pounds per square inch (psi). If the pressure is below or above this range, it may indicate a problem with the pressure regulator or a blockage in the plumbing system.
6. Adjust the Pressure:
If the water pressure is too high, you may need to install a pressure regulator to bring it within the optimal range. On the other hand, if the pressure is low, you may need to contact your water utility company to check the water supply or consult a professional plumber for further investigation.
Regularly testing the water pressure in your plumbing system will help you identify any issues and take appropriate actions to ensure proper functioning and prevent potential damage. If you’re unsure about how to test the water pressure or if you encounter any significant problems, it’s recommended to seek the assistance of a professional plumber.
Finally, we will move on to evaluating the ventilation system in your house, which is essential for a well-functioning plumbing system.
Evaluating Ventilation System
The ventilation system in your house plays a crucial role in maintaining a healthy plumbing system. Proper ventilation helps remove odors, prevent the buildup of harmful gases, and maintain the proper functioning of drains and traps. Here are some steps to help you evaluate the ventilation system in your house:
Read more: How Does Plumbing Work In A Tiny House
1. Inspect Drain Vents:
Start by inspecting the drain vents on your roof. These vent pipes allow air to enter the drainage system, enabling proper water flow and preventing traps from being siphoned. Ensure that the vent pipes are free from debris or obstructions such as bird nests or leaves. Blocked vents can lead to slow drainage and unpleasant odors.
2. Check Ventilation Air Intakes:
Locate the ventilation air intakes in your house. These intakes are usually located near the plumbing fixtures, such as sinks and toilets. Ensure that there are no obstructions blocking the intakes, such as furniture or debris. Blocked intakes can hinder proper air circulation and affect the performance of the ventilation system.
3. Assess Odor Control:
Pay attention to any foul odors coming from the drains or plumbing fixtures. A well-ventilated plumbing system should effectively remove odors, ensuring a pleasant environment throughout your house. If you notice persistent or strong odors, it may indicate a problem with the ventilation, such as blocked vents or inadequate air circulation.
4. Ensure Trap Seals:
Check that each plumbing fixture has a functioning trap. Traps are curved pipes that retain a small amount of water to prevent sewer gases from entering your house. If you notice odors or gurgling sounds from the drains, it may indicate a problem with the trap seals. Adjust or replace the traps if necessary.
5. Listen for Plumbing Noises:
Pay attention to any unusual noises coming from the plumbing system. Gurgling sounds or bubbling noises when draining water can indicate improper ventilation. These noises may be a sign of blocked vents or inadequate air supply to the drainage system.
Evaluating the ventilation system in your house is essential to maintain a well-functioning plumbing system. If you encounter any significant issues or if you’re unsure about the condition of your ventilation system, it’s advisable to consult a professional plumber for a thorough inspection and necessary repairs.
With that, we conclude our comprehensive guide on how to check the plumbing in a house. By following these steps and regular maintenance, you can ensure the proper functioning and longevity of your plumbing system, saving you from potential costly repairs and maintaining the comfort of your living space.
Conclusion
Checking the plumbing system in a house is an essential responsibility for homeowners and renters alike. By regularly assessing the various components of the plumbing system, you can identify potential issues, address them promptly, and maintain a healthy and functional living space.
In this comprehensive guide, we covered the basic plumbing components, steps for checking the water supply, inspecting the drainage system, examining the water heater, assessing plumbing fixtures, looking for leaks, testing water pressure, and evaluating the ventilation system.
By following these steps, you can ensure that your plumbing system is in good condition and functioning optimally. This will not only prevent costly repairs down the line but also save you valuable time, money, and headaches.
Remember to perform visual inspections, test faucets and fixtures, check for leaks, and evaluate the water pressure regularly. Additionally, assess the condition of the water heater, plumbing fixtures, and ventilation system to maintain the efficiency and longevity of your plumbing system.
If you encounter any significant issues or if you’re unsure about the condition of your plumbing system, it’s always advisable to seek the assistance of a professional plumber. They have the knowledge and expertise to inspect, diagnose, and repair any plumbing problems that may arise.
By taking these proactive measures, you’ll not only ensure the smooth operation of your plumbing system but also contribute to the overall comfort and well-being of your household.
So, don’t wait for a plumbing emergency to occur; start checking your plumbing system today and stay one step ahead to avoid any unnecessary inconvenience.
Frequently Asked Questions about How To Check Plumbing In A House
Was this page helpful?
At Storables.com, we guarantee accurate and reliable information. Our content, validated by Expert Board Contributors, is crafted following stringent Editorial Policies. We're committed to providing you with well-researched, expert-backed insights for all your informational needs.

0 thoughts on “How To Check Plumbing In A House”