Articles
How To Cut Holes In Drywall For Plumbing
Modified: December 7, 2023
Learn effective techniques for cutting holes in drywall for plumbing with our informative articles. Expand your DIY skills and complete your plumbing projects with ease.
(Many of the links in this article redirect to a specific reviewed product. Your purchase of these products through affiliate links helps to generate commission for Storables.com, at no extra cost. Learn more)
Introduction
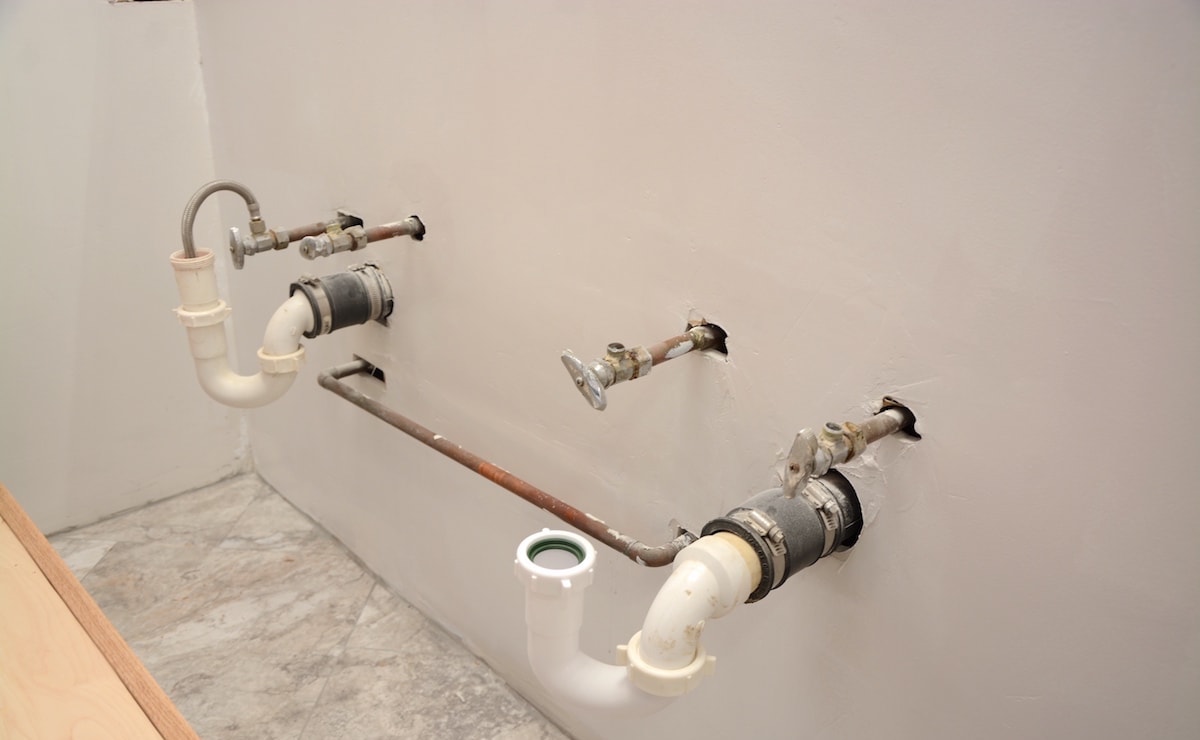
When it comes to plumbing work, one common task that often arises is cutting holes in drywall. Whether you need to install new pipes, repair existing ones, or add plumbing fixtures, knowing how to cut precise holes in drywall is essential. With the right tools and techniques, you can complete this task efficiently and effectively.
In this article, we will guide you through the step-by-step process of cutting holes in drywall for plumbing. We will cover the tools and materials you will need, as well as various methods you can use to achieve accurate and clean cuts. By the end, you will have the knowledge and confidence to tackle any plumbing project that requires cutting holes in drywall.
Note that before starting any plumbing work, it is important to turn off the water supply and ensure that there are no electrical wires or other hidden obstacles behind the drywall. Safety should always be a priority when working on any home improvement project.
Now, let’s dive into the tools and materials you will need for cutting holes in drywall for plumbing.
Key Takeaways:
- Accurately measuring and marking the dimensions of the hole, preparing the drywall, and using the right cutting tools are crucial for achieving clean and precise holes in drywall for plumbing. Safety gear and careful inspection of hidden obstacles are essential for a successful outcome.
- The finishing touches, including smoothing the edges, cleaning the area, checking for proper fit, and applying drywall compound, are vital for creating a professional and seamless result. Patience, precision, and attention to detail are key throughout the entire process.
Tools and Materials Needed
Before you begin cutting holes in drywall for plumbing, gather the following tools and materials:
1. Measuring Tape: A measuring tape is essential for accurately measuring the dimensions of the hole you need to cut.
2. Pencil or Marker: Use a pencil or marker to mark where you will cut the hole on the drywall surface.
3. Keyhole Saw: A keyhole saw, also known as a drywall saw, is a versatile hand tool that is commonly used for cutting small to medium-sized holes in drywall. It has a narrow, pointed blade with sharp teeth and a handle for easy gripping.
4. Jab Saw: Similar to a keyhole saw, a jab saw is designed specifically for cutting large holes in drywall. It has a longer blade with larger teeth, allowing for faster and more aggressive cuts.
5. Rotary Tool: A rotary tool, such as a Dremel, can be used for precise and intricate cuts in drywall. It is equipped with various attachments and can be a useful tool for more complex plumbing projects.
6. Safety Glasses: Safety glasses are necessary to protect your eyes from any dust or debris that may be generated while cutting the drywall.
7. Dust Mask: A dust mask will help prevent you from inhaling any fine particles of dust while working with drywall.
8. Drop Cloth or Tarp: To protect the floor or furniture from any dust or debris, place a drop cloth or tarp before starting the cutting process.
9. Utility Knife: A utility knife can be useful for scoring and cutting the paper surface of the drywall before using other tools.
With these tools and materials at hand, you are ready to move on to the next step: measuring and marking the hole in the drywall.
Step 1: Measuring and Marking
The first step in cutting a hole in drywall for plumbing is to accurately measure and mark the dimensions of the hole. This will ensure that you create the proper space for your plumbing fixtures or pipes.
Here’s how to do it:
- Measure the Dimensions: Use a measuring tape to determine the size and shape of the hole you need to cut. Measure both the width and height of the hole, and make a note of these measurements.
- Mark the Drywall: Locate the spot on the drywall where the hole needs to be. Use a pencil or marker to mark the top and bottom edges of the hole. You can also mark the sides if necessary.
- Create Cutout Lines: To guide your cutting process, use a straightedge or a level to draw cutout lines connecting the marks you made in the previous step. These lines will serve as a guide to keep your cuts straight and precise.
It is crucial to double-check your measurements and markings before proceeding to the next step. Accurate measurements will help ensure that the hole fits perfectly and allows for proper installation of plumbing fixtures or pipes.
Now that you have measured and marked the hole on the drywall, you are ready to prepare the surface for cutting.
Step 2: Preparing the Drywall
After measuring and marking the location of the hole, it’s important to prepare the drywall to make the cutting process smoother and prevent any unnecessary damage.
Follow these steps to prepare the drywall:
- Cover the Surrounding Area: Lay a drop cloth or tarp over the floor or furniture near the area where you will be working. This will protect them from any dust or debris that may be produced during the cutting process.
- Put on Safety Gear: Prior to starting the preparation, ensure you are wearing safety glasses and a dust mask to protect your eyes and respiratory system from dust particles.
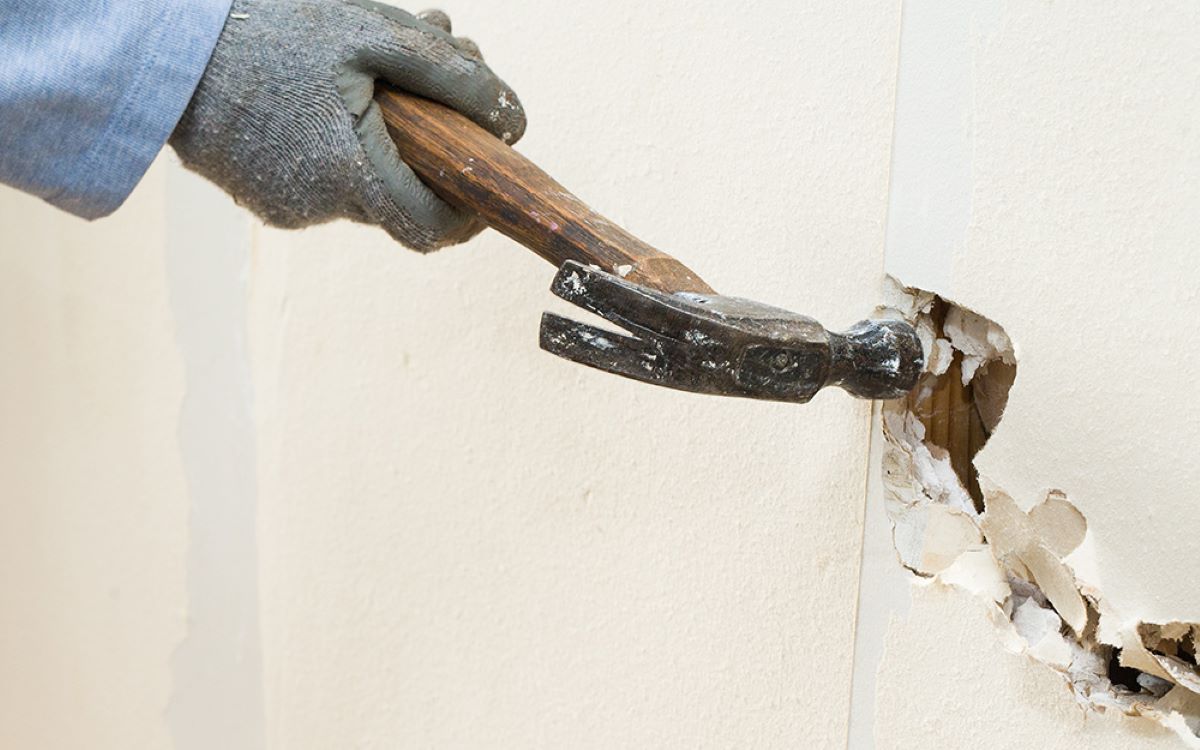
- Score the Outline: Using a utility knife, carefully score along the cutout lines you marked in the previous step. Apply moderate pressure to score the paper surface of the drywall without going too deep. This step helps prevent the drywall from cracking or splintering as you cut.
- Remove the Paper Layer: After scoring, gently peel away the paper layer along the cutout lines. This will expose the underlying gypsum core of the drywall and make it easier to cut through.
- Inspect for Obstacles: Before proceeding with cutting, inspect the area behind the drywall for any electrical wires, pipes, or other hidden obstacles. If you encounter any, adjust the location or size of the hole accordingly to avoid damaging them.
By preparing the drywall in this manner, you minimize the risk of causing unnecessary damage and ensure a clean cut when using your chosen cutting tool. Once you have completed these steps, you are ready to move on to the next step: cutting the hole in the drywall.
Step 3: Using a Keyhole Saw
A keyhole saw is a versatile tool for cutting smaller to medium-sized holes in drywall for plumbing. It has a narrow blade with sharp teeth and is designed to make precise cuts. Follow these steps to use a keyhole saw:
- Select the Right Blade: Choose a keyhole saw blade that is appropriate for the thickness of your drywall. A blade with more teeth per inch (TPI) is suitable for cutting through thinner drywall, while a blade with fewer TPI is better for thicker drywall.
- Align the Saw: Position the saw blade along one of the cutout lines you marked on the drywall. Make sure the blade is perpendicular to the surface and aligned with the desired direction of the cut.
- Start Cutting: Apply gentle, even pressure and begin sawing back and forth along the cutout line. Let the teeth of the saw do the work, avoiding excessive force that could cause the drywall to crack or break.
- Follow the Cutout Lines: Continue sawing along the marked cutout lines, following the guidance of the straight edge or level. Take your time and maintain a steady hand to achieve a clean and accurate cut.
- Work Around Corners or Curves: For curved or corner cuts, pivot the saw accordingly and make controlled, smooth movements. Be cautious not to force the saw, as it may cause the drywall to splinter or crack.
- Remove the Cut Piece: Once you have completed the cut, carefully remove the section of drywall that you have detached. Gently pull it away from the surrounding area to prevent any damage.
- Check the Fit: After removing the cut piece, assess the hole’s size and shape to ensure it matches your plumbing needs. Make any necessary adjustments or additional cuts if needed.
Using a keyhole saw requires patience and precision. Take your time, follow the cutout lines, and create a clean and accurate hole for your plumbing project. Once you are satisfied with the hole, you can proceed to the next step: using a jab saw, if necessary.
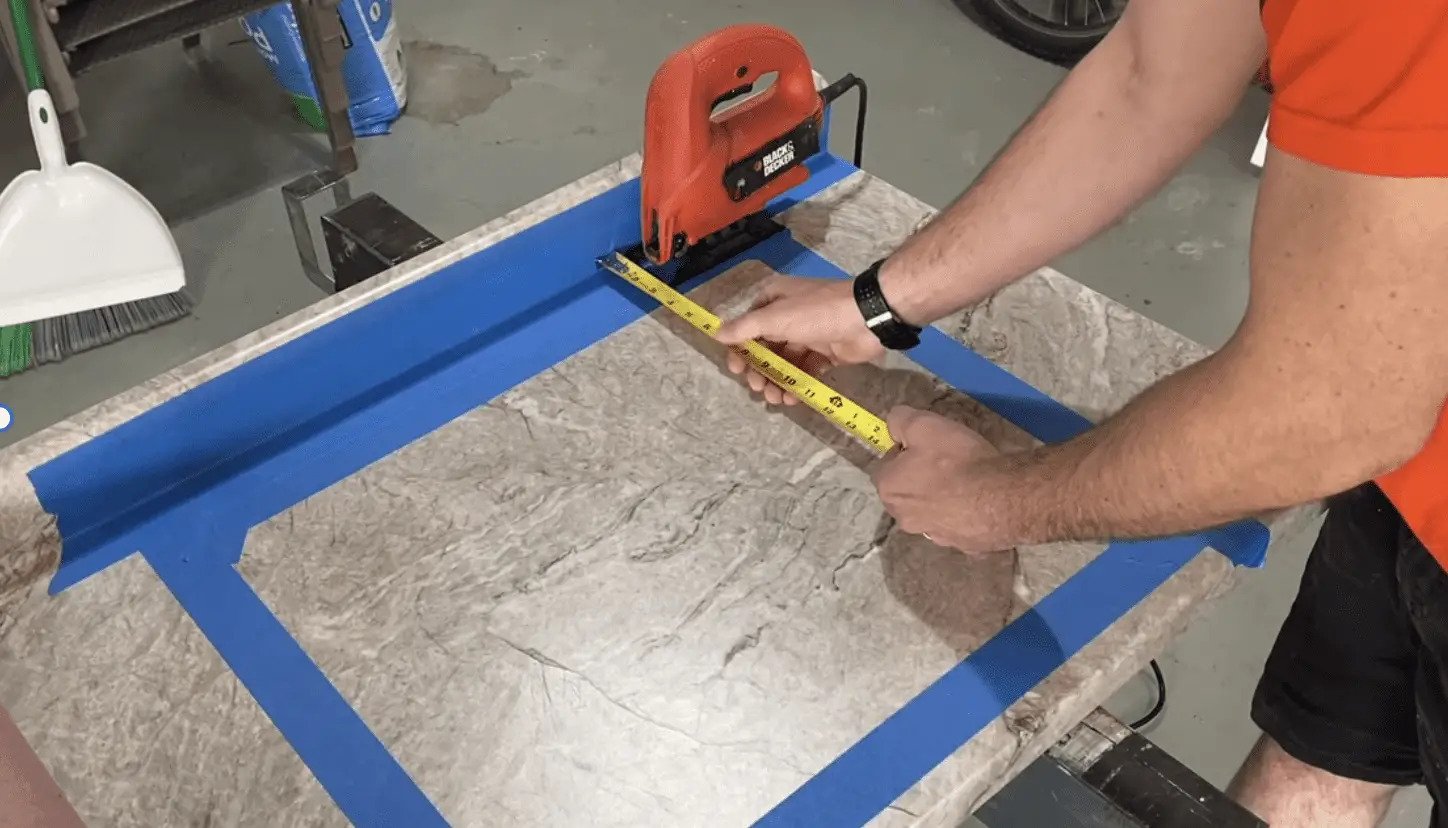
Use a keyhole saw to carefully cut a hole in the drywall for plumbing. Measure and mark the area first, then slowly cut along the lines to avoid damaging the surrounding drywall.
Read more: How To Cut Sink Hole In Granite
Step 4: Using a Jab Saw
If you need to cut larger holes in drywall for plumbing, a jab saw is the ideal tool to use. It has a longer blade with larger teeth, allowing for quicker and more aggressive cuts. Follow these steps to use a jab saw:
- Select the Right Blade: Choose a jab saw blade with larger and coarser teeth. This type of blade is specifically designed for cutting through thicker drywall and making rapid progress.
- Align the Saw: Position the jab saw blade along one of the cutout lines on the drywall. Similar to using a keyhole saw, ensure that the blade is perpendicular to the surface and aligned with the desired direction of the cut.
- Pierce the Drywall: Apply moderate pressure and make the initial cut by piercing the blade into the drywall. Start at the edge of the marked cutout line and push the saw forward to begin the cutting process.
- Continue Cutting: Once the initial cut is made, continue sawing back and forth along the cutout lines. Utilize the long blade and the larger teeth of the jab saw to make smooth and efficient cuts through the drywall.
- Work Around Corners or Curves: For curved or corner cuts, pivot the saw accordingly and adjust your hand movements for optimal control. Take caution not to apply excessive pressure to avoid damaging the drywall.
- Remove the Cut Piece: Once the hole is fully cut, carefully remove the section of drywall that you have detached. Gently pull it away from the surrounding area and set it aside, ensuring it doesn’t cause any damage.
- Check the Fit: After removing the cut piece, check the size and shape of the hole to ensure it meets your plumbing needs. If necessary, make any adjustments or additional cuts to achieve the desired dimensions.
Using a jab saw allows for efficient cutting of larger holes in drywall. Remember to work steadily and carefully to achieve clean and accurate cuts. Once you have completed the hole using a jab saw, you can proceed to the next step: using a rotary tool, if needed.
Step 5: Using a Rotary Tool
If you need to make precise and intricate cuts in drywall for plumbing, a rotary tool can be a valuable addition to your toolkit. Rotary tools, such as a Dremel, are equipped with various attachments that can assist in achieving detailed cuts. Follow these steps to use a rotary tool for cutting holes in drywall:
- Select the Right Attachment: Choose an appropriate cutting attachment for your rotary tool, such as a drywall cutting bit or a spiral cutting bit. Different attachments can be used for different purposes and depths of cuts.
- Mark the Cutout Lines: Use a pencil or marker to clearly mark the cutout lines on the drywall. This will serve as a guide for your rotary tool.
- Secure the Drywall: If possible, secure the drywall to a stable surface to prevent it from vibrating or moving while you work. This will help ensure more precise and controlled cuts.
- Start Cutting: Turn on your rotary tool and position it at the starting point of your marked cutout lines. Slowly guide the tool along the lines, applying light pressure. Let the rotary tool’s high-speed rotation and cutting attachment do the work for you.
- Make Controlled Movements: Move the rotary tool steadily and smoothly along the cutout lines, following the guidance of your markings. Take care not to force the tool or apply excessive pressure, as this can lead to unwanted damage to the drywall.
- Check the Cutting Depth: Periodically check the cutting depth to ensure that you are not cutting too deeply into the drywall. This will help prevent damaging any underlying pipes, wires, or other structures.
- Remove the Cut Piece: Once you have completed the cut, remove the detached section of drywall. Gently pull it away from the surrounding area to avoid causing any further damage or disturbances.
- Inspect and Refine: Check the hole for any rough edges or imperfections. Use sandpaper or a sanding attachment on your rotary tool to smooth out any uneven surfaces or jagged edges.
A rotary tool can provide you with a high level of precision when cutting holes in drywall for plumbing. Take your time, work slowly and steadily, and pay attention to detail. Once you are satisfied with the cut using a rotary tool, you can proceed to the final step: adding the finishing touches.
Step 6: Finishing Touches
After cutting the hole in the drywall for plumbing, it’s time to add the finishing touches to ensure a professional and seamless result. These final steps will help make the hole ready for the installation of plumbing fixtures or pipes.
Follow these steps for the finishing touches:
- Smooth the Edges: Use sandpaper or a sanding block to smooth any rough edges around the cut hole. This will ensure a clean and neat appearance.
- Clean the Area: Remove any dust or debris from the hole and the surrounding area. A vacuum or a brush can be used to clean up any leftover particles.
- Check for Proper Fit: Verify that the hole is the correct size and shape for your plumbing needs. Test-fit any pipes or fixtures to ensure they fit securely and without any obstructions.
- Apply Drywall Compound: If needed, apply a thin layer of drywall compound around the edges of the hole. Use a putty knife or a trowel to spread the compound evenly. This will help blend the edges of the hole with the surrounding drywall and create a smooth finish.
- Allow the Compound to Dry: Follow the manufacturer’s instructions for drying time. Once the drywall compound is completely dry, you can proceed with sanding and painting, if desired.
- Sand and Paint (Optional): If you wish to achieve a seamless and professional finish, sand the area around the hole to create a smooth surface. Then, apply a primer and paint that matches the surrounding wall to give the repaired area a uniform appearance.
By completing these finishing touches, you will have a well-prepared hole in the drywall, ready for plumbing installation. Take your time and ensure that each step is carefully executed to achieve the best results.
With the finishing touches complete, you have successfully cut a hole in the drywall for plumbing. Remember to always follow safety guidelines and take proper precautions when working on any home improvement project. Now you can proceed with your plumbing tasks, knowing that you have the skill and knowledge to handle them with confidence.
Thank you for reading our guide on cutting holes in drywall for plumbing! We hope this information has been helpful and will assist you in your future home projects.
Conclusion
Cutting holes in drywall for plumbing is a common task that often arises during home improvement projects. By following the steps outlined in this guide and using the right tools and techniques, you can successfully cut precise and clean holes in drywall.
We started by discussing the tools and materials needed for this task, including a measuring tape, pencil or marker, keyhole saw, jab saw, rotary tool, safety glasses, dust mask, drop cloth or tarp, and utility knife. These tools are essential for achieving accurate and efficient cuts.
We then walked through each step of the process, from measuring and marking the hole to preparing the drywall, and using different cutting methods such as keyhole saws, jab saws, and rotary tools. Each method has its own advantages and should be chosen based on the size and complexity of the hole you need to create.
In the final step, we discussed the importance of adding the finishing touches. Smoothing the edges, cleaning the area, checking for proper fit, applying drywall compound, and sanding and painting (optional) will give the hole a professional and seamless appearance.
Remember to approach this task with patience, precision, and safety in mind. Double-check measurements, wear appropriate safety gear, and be mindful of any hidden obstacles behind the drywall.
By following the steps outlined in this guide, you now have the knowledge and skills to confidently cut holes in drywall for plumbing. Whether you need to install new pipes, repair existing ones, or add plumbing fixtures, you can tackle these tasks with ease.
Thank you for reading our comprehensive guide on cutting holes in drywall for plumbing. We hope this information has been valuable and will assist you in successfully completing your plumbing projects. Happy cutting!
Frequently Asked Questions about How To Cut Holes In Drywall For Plumbing
Was this page helpful?
At Storables.com, we guarantee accurate and reliable information. Our content, validated by Expert Board Contributors, is crafted following stringent Editorial Policies. We're committed to providing you with well-researched, expert-backed insights for all your informational needs.


0 thoughts on “How To Cut Holes In Drywall For Plumbing”