Home>diy>Architecture & Design>How To Design Plumbing For A House
Architecture & Design
How To Design Plumbing For A House
Modified: December 7, 2023
Learn how to efficiently design plumbing for your house with our expert architecture design tips. Ensure your plumbing system is functional and well-integrated.
(Many of the links in this article redirect to a specific reviewed product. Your purchase of these products through affiliate links helps to generate commission for Storables.com, at no extra cost. Learn more)
Introduction
Welcome to the world of plumbing design! Whether you’re building a new house or renovating an existing one, understanding the intricacies of plumbing is essential to ensure a functional and efficient system. Plumbing design involves the careful planning and installation of water supply and drainage systems, as well as the selection of the right materials and fixtures.
In this article, we will guide you through the process of designing plumbing for a house. We will cover everything from determining water usage needs to selecting the appropriate pipe materials and planning the layout of the water supply and drainage systems. By the end of this article, you will have a solid understanding of how to create a plumbing system that meets the specific requirements of your home.
Before we dive into the details, it’s important to note that plumbing design is not a task to be taken lightly. It requires careful consideration of various factors such as water pressure, flow rates, building codes, and the needs of the household. It’s always a good idea to consult with a professional plumber or an architect with plumbing expertise to ensure that your design meets all the necessary requirements.
Now, let’s get started with the basics of understanding the plumbing system and how to determine your water usage needs.
Key Takeaways:
- Designing a plumbing system involves understanding water supply, drainage, and key concepts like gravity, water pressure, pipe size, and venting. It’s crucial to consult professionals and follow local building codes for a reliable system.
- Determining water usage needs, choosing the right pipe materials, planning the layout, and testing the system are essential steps in designing a functional plumbing system. Attention to detail and thorough inspections ensure a leak-free and efficient system.
Read more: How To Check Plumbing In A House
Understanding the Plumbing System
Before diving into designing the plumbing system, it is crucial to have a solid understanding of how it works. A plumbing system consists of two main components: the water supply system and the drainage system.
The water supply system is responsible for delivering clean and potable water to the various fixtures and appliances in your house. It starts at the main water line entering your property and branches off to different parts of the house, supplying water to the kitchen, bathroom, laundry room, and other areas as needed.
The drainage system, on the other hand, is responsible for removing wastewater and sewage from your home. It includes pipes, drains, and vents that carry wastewater from sinks, toilets, showers, and other fixtures to the main sewer line or septic tank.
Understanding the basic principles of the plumbing system will help you make informed decisions when designing your house’s plumbing. Here are a few key concepts to keep in mind:
- Gravity: Gravity plays a crucial role in the drainage system. Wastewater flows downhill, relying on gravity to move through the pipes and out of the house. Proper slope and venting are essential to maintain a steady flow and prevent clogs.
- Water pressure: Water pressure determines the force at which water is delivered to your fixtures. It is typically regulated by a pressure-reducing valve (PRV) near the main water line. It’s important to ensure that water pressure is adequate for all your appliances and fixtures while avoiding excessively high pressure that can cause damage.
- Size of pipes: The diameter of the pipes used in the plumbing system affects the flow rate and pressure. Larger pipes allow for increased water flow, while smaller pipes create higher pressure. Choosing the right pipe sizes based on the projected water demand is essential for optimal performance.
- Venting: Proper venting is crucial for maintaining the integrity of the drainage system. Vent pipes allow air to enter the system, preventing negative pressure and facilitating the smooth flow of wastewater. Without proper venting, you may experience issues such as slow drainage, gurgling sounds, or sewer gas odors.
By understanding these key concepts, you can start designing a plumbing system that is both efficient and reliable. It’s important to keep local building codes and regulations in mind during the design process to ensure compliance and the safety of your home’s plumbing system.
Now that you have a solid grasp on the fundamentals of the plumbing system, let’s move on to the next step: determining your water usage needs.
Determining Water Usage Needs
Before designing the plumbing system, it is essential to determine your water usage needs. This will help you accurately plan the size of the water supply pipes and ensure an adequate water supply for all the fixtures and appliances in your house.
To determine your water usage needs, consider the following factors:
- Number of occupants: The number of people living in your house will influence the overall water demand. More occupants typically mean higher water usage, especially during peak hours when multiple fixtures may be in use simultaneously.
- Lifestyle and habits: Consider the lifestyle and habits of your household members. Do you have water-intensive activities such as frequent laundry, long showers, or a large garden that requires regular watering? Understanding your specific water usage patterns will help in designing the plumbing system accordingly.
- Fixtures and appliances: Take an inventory of the fixtures and appliances that will require water supply, including sinks, toilets, showers, washing machines, dishwashers, and outdoor faucets. Each fixture has a specific flow rate, which will determine the overall water demand. Consult the manufacturer’s specifications or a plumber to determine the flow rates of different fixtures accurately.
- Water-saving measures: Consider implementing water-saving measures and fixtures to reduce water consumption. Installing low-flow faucets, showerheads, and toilets can significantly decrease water usage without compromising functionality. Incorporating water-efficient appliances such as Energy Star-rated washing machines and dishwashers can also contribute to reducing overall water consumption.
- Outdoor water needs: If you have a garden, lawn, or other outdoor spaces that require water, take into account the amount of water needed for irrigation. Consider installing a separate irrigation system with its own water supply to avoid overburdening the main plumbing system.
Once you have considered these factors, you can estimate your household’s water usage requirements. This estimation will help in determining the size of the water supply pipes and the necessary water pressure to ensure that all fixtures and appliances receive an adequate water supply.
It’s worth noting that it’s always better to overestimate your water usage needs to ensure ample supply rather than underestimating and facing water pressure issues or insufficient flow. Consulting with a professional plumber can be beneficial in accurately calculating your water usage needs and designing a plumbing system that meets your requirements.
Now that you have determined your water usage needs, it’s time to move on to the next step: selecting the right pipe materials for your plumbing system.
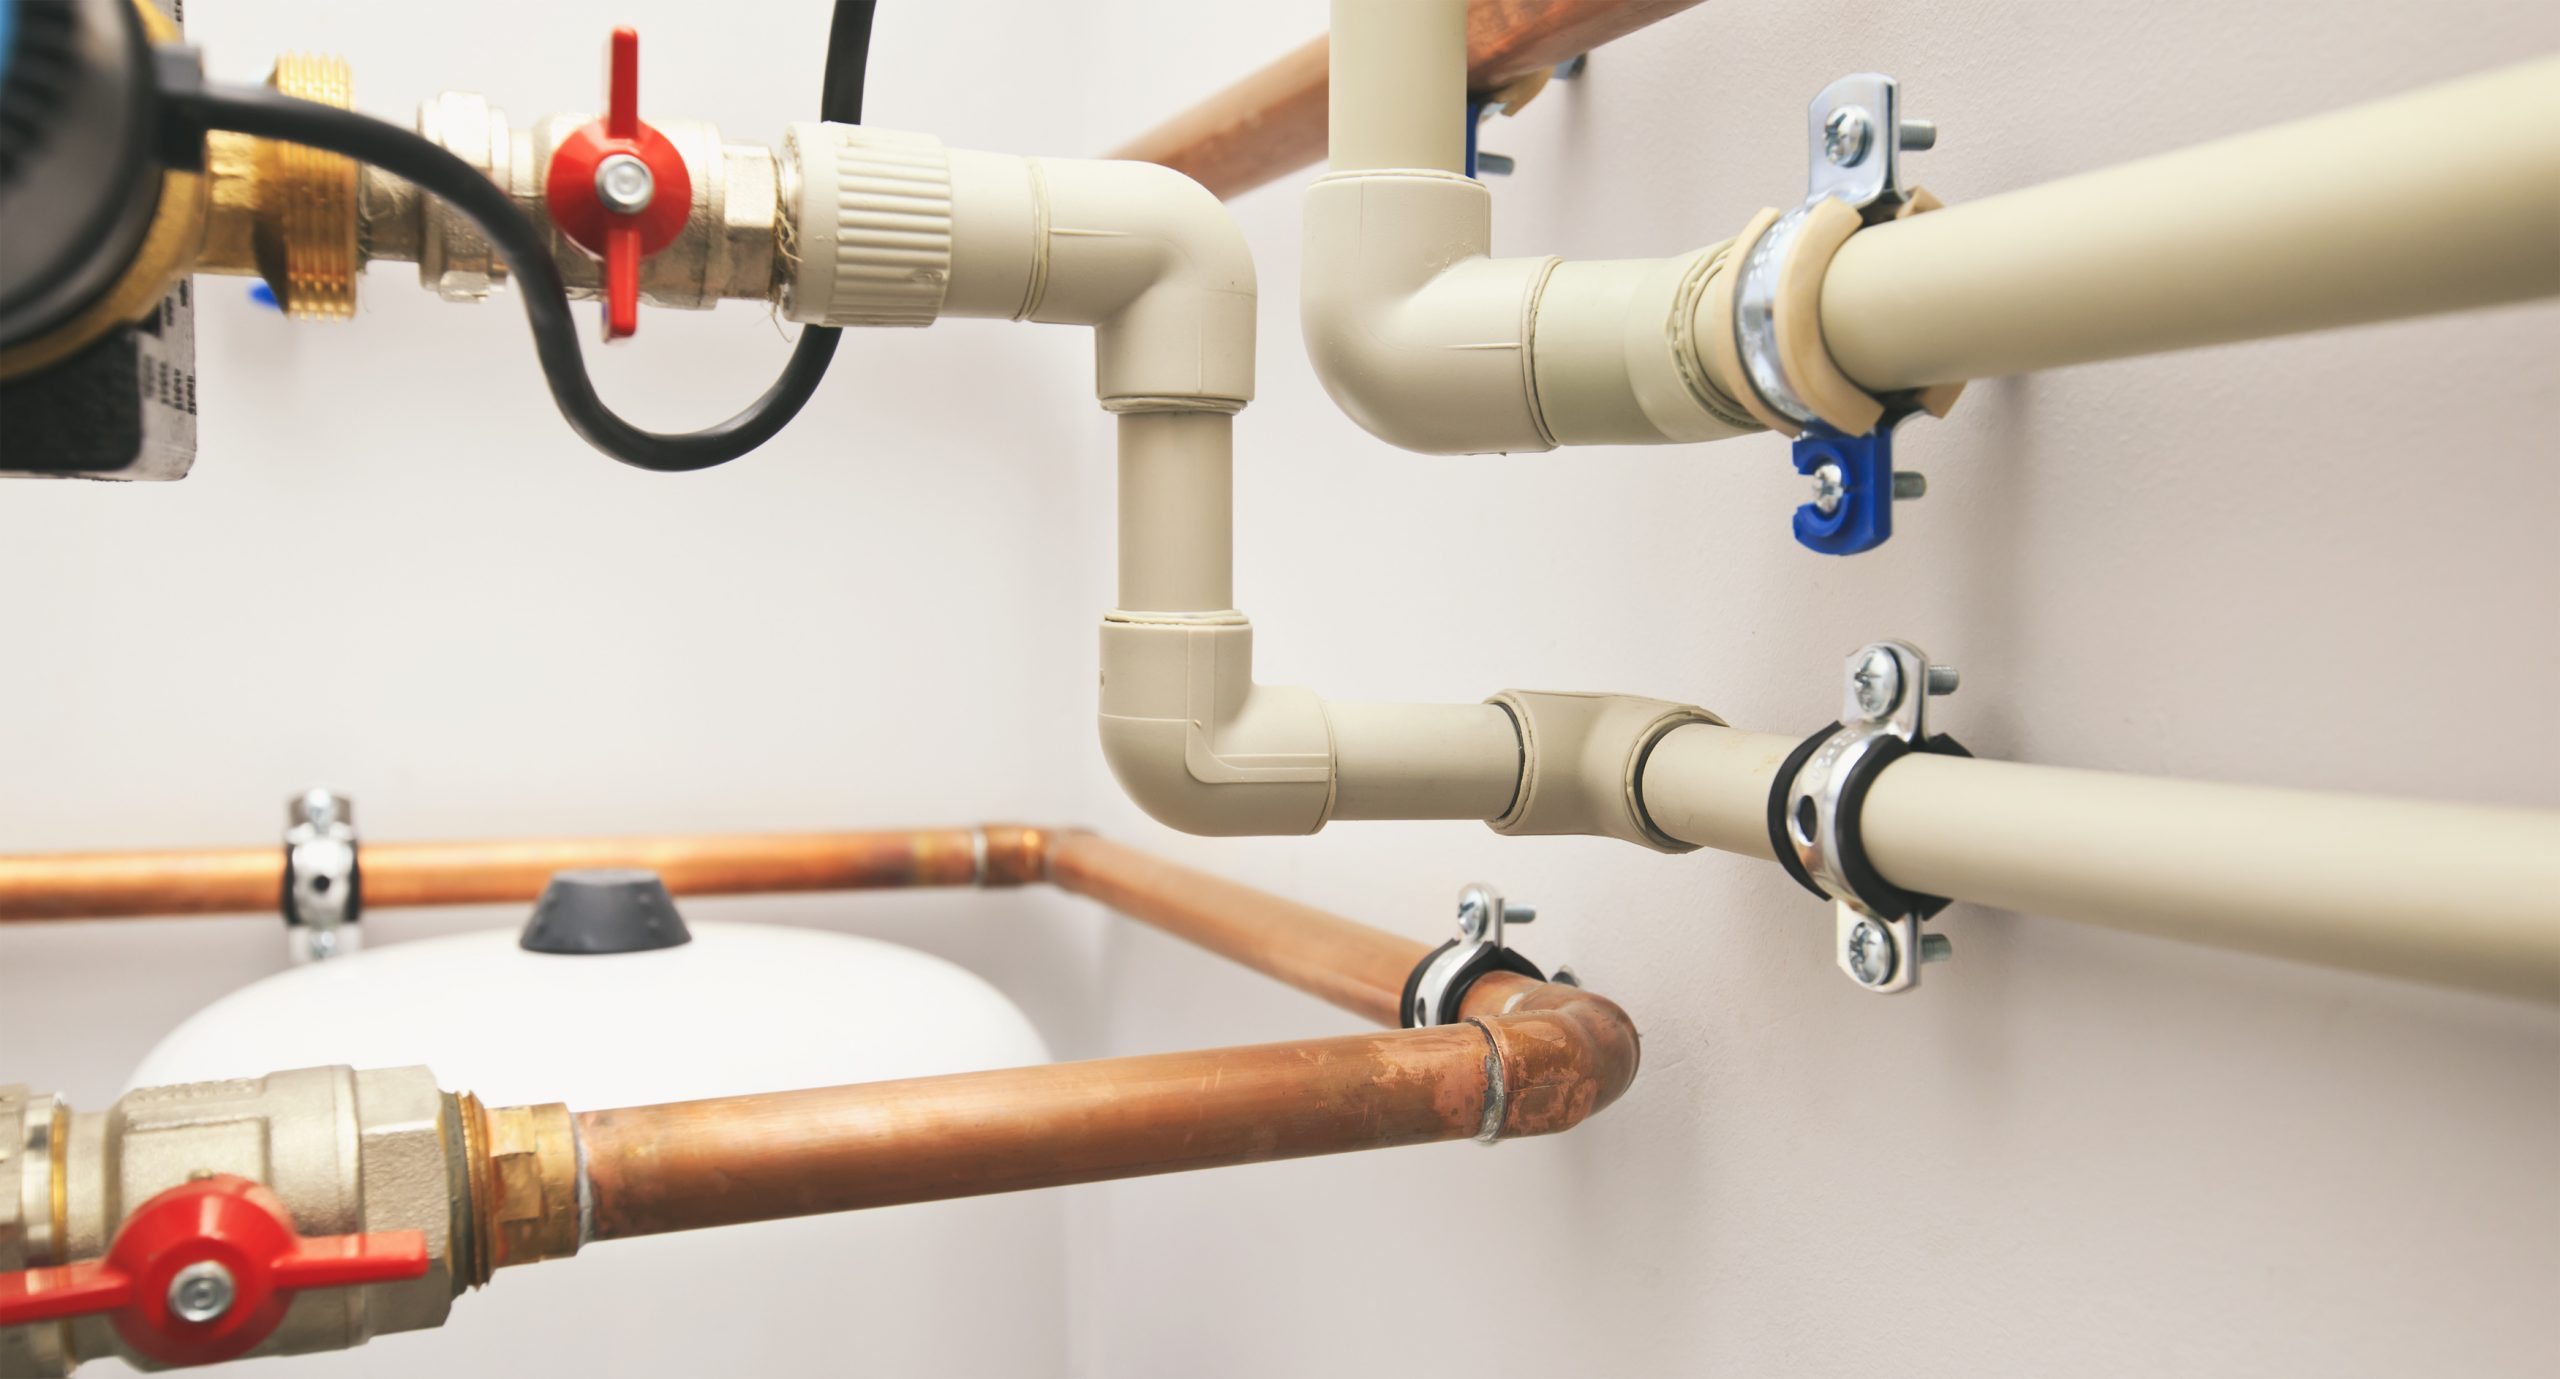
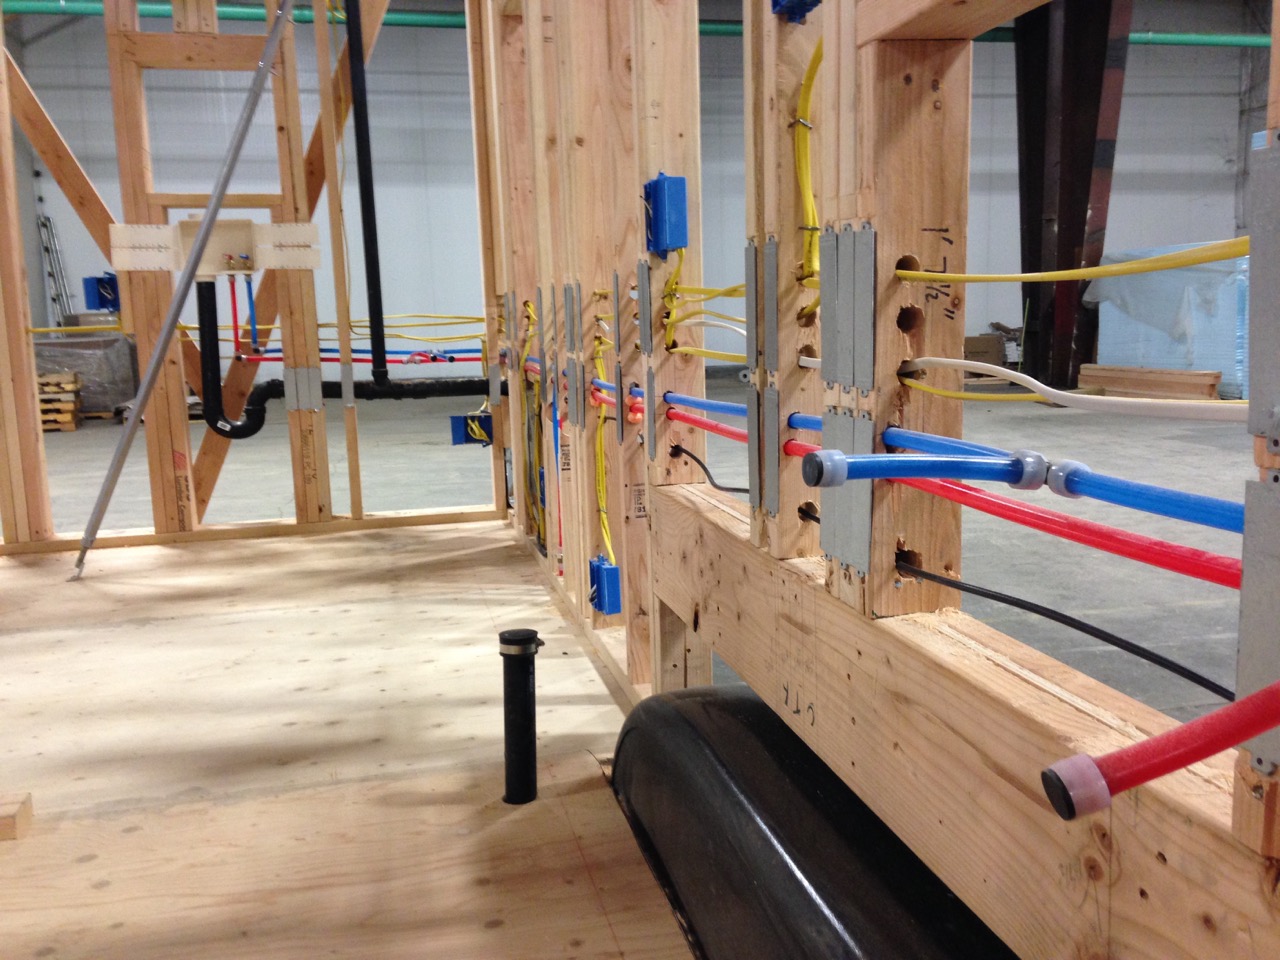
Choosing the Right Pipe Materials
Selecting the right pipe materials is crucial for the longevity and efficiency of your plumbing system. There are several options available, each with its own advantages and considerations. Here are some commonly used pipe materials:
- Copper: Copper pipes have been used for decades and are known for their durability and reliability. They are resistant to corrosion, can withstand high temperatures and pressures, and have a long lifespan. However, copper pipes can be expensive and may require skilled labor for installation.
- PEX (Cross-linked Polyethylene): PEX pipes have gained popularity in recent years due to their flexibility, ease of installation, and affordability. They are resistant to corrosion and can handle high temperatures and pressures. PEX pipes are available in different colors for easy identification of hot and cold water lines, and they can be easily connected using crimp or push-fit fittings.
- CPVC (Chlorinated Polyvinyl Chloride): CPVC pipes are commonly used for hot and cold water supply lines. They are easy to install, cost-effective, and resistant to corrosion. CPVC pipes can handle high temperatures and pressures and are typically connected using solvent cement or mechanical fittings.
- PE (Polyethylene): PE pipes are commonly used for underground water supply lines as they are resistant to chemicals and corrosion. They are lightweight, flexible, and have a long lifespan. PE pipes are typically connected using heat fusion or mechanical fittings.
- Galvanized Steel: Galvanized steel pipes were once a popular choice, but they have become less common due to their susceptibility to corrosion over time. If your house has older galvanized pipes, it may be advisable to replace them with more modern materials.
When choosing pipe materials, it’s important to consider factors such as water quality, budget, local building codes, and the specific needs of your plumbing system. Consulting with a professional plumber can provide valuable insights and help you make an informed decision based on your unique circumstances.
In addition to the main supply lines, you should also consider the material of the pipes for the different fixtures and appliances. For example, flexible stainless steel or braided hoses are commonly used to connect faucets and fixtures to the water supply lines. These hoses provide flexibility and ease of installation.
Remember that each pipe material has its own pros and cons, so it’s important to assess your needs and priorities when making a selection. Opting for durable and reliable materials will ensure a plumbing system that can withstand the test of time and provide efficient water distribution throughout your house.
Now that you have chosen the right pipe materials, let’s move on to the next step: planning the layout of the water supply system.
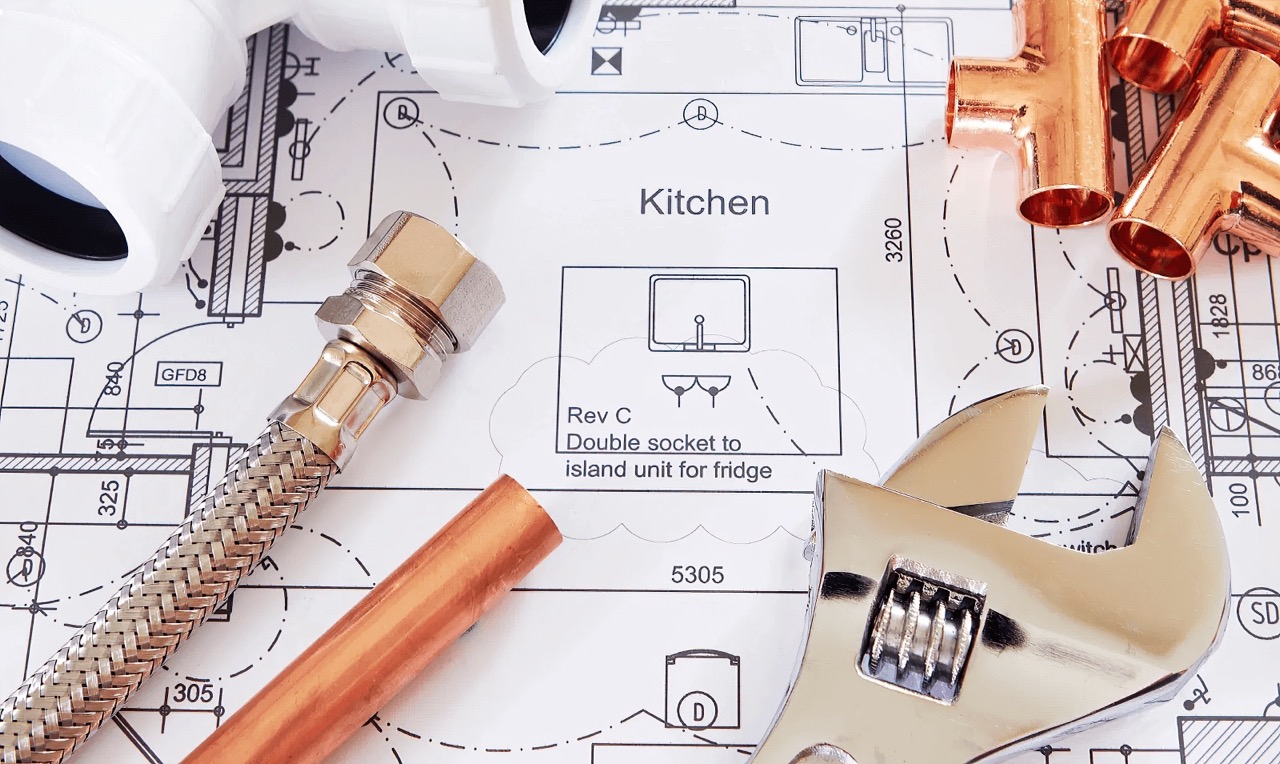
Planning the Layout of Water Supply System
Designing the layout of the water supply system is a crucial step in creating an efficient and functional plumbing system for your house. It involves determining the location of fixtures, choosing the ideal pipe routes, and ensuring adequate water supply to each fixture. Here are the key considerations when planning the layout:
- Fixture placement: Start by determining the placement of fixtures such as sinks, toilets, showers, and appliances. Consider the convenience and functionality of their location, as well as any structural constraints. It’s important to position fixtures in a way that minimizes the length of pipe runs.
- Pipe routing: Plan the route of the water supply pipes to connect the fixtures to the main supply lines. Try to keep the pipe runs as short and direct as possible to minimize pressure loss and ensure efficient water flow. Avoid running pipes through unconditioned or exterior spaces where they may be at risk of freezing.
- Pressure considerations: Take into account the pressure requirements of different fixtures and appliances to ensure adequate water flow. Some fixtures, such as showers, may require higher pressure than others. Positioning fixtures at different elevations may require the use of pressure-reducing valves or booster pumps to maintain consistent water pressure.
- Hot and cold water separation: Install separate hot and cold water lines to ensure efficient delivery of both. This separation allows for better control over the temperature of the water at each fixture and reduces the risk of cross-contamination between hot and cold water lines.
- Access points: Include access points such as shut-off valves and cleanouts at strategic locations to facilitate maintenance and repairs. These access points should be easily accessible and located near fixtures or equipment that may require servicing.
- Consider future expansions: Anticipate future needs and potential expansions when planning the layout. Leave sufficient space and flexibility to accommodate any future additions or changes to the plumbing system, avoiding the need for extensive modifications and disruptions later on.
Creating a detailed plumbing plan or blueprint can be immensely helpful in visualizing the layout and ensuring accuracy during installation. Consider consulting with a professional plumber or architect experienced in plumbing design to assist you in creating an effective layout for your water supply system.
Remember to comply with local building codes and regulations when designing the layout. Building codes may dictate specific requirements for pipe sizing, venting, insulation, and accessibility, so it’s important to familiarize yourself with the applicable codes in your area.
Now that you have a well-planned layout for the water supply system, let’s move on to designing the drainage system.
When designing plumbing for a house, consider the location of fixtures and the flow of water. Plan for easy access to shut-off valves and prioritize proper ventilation to prevent odors and moisture buildup.
Read more: How To Run Plumbing In A House
Designing the Drainage System
The drainage system is a crucial component of your plumbing design, responsible for the efficient removal of wastewater and sewage from your house. Designing an effective drainage system involves careful consideration of pipe sizing, slope, venting, and fixture placement. Here are the key steps to follow when designing the drainage system:
- Fixture placement: Begin by determining the location of fixtures such as sinks, toilets, showers, and appliances. Consider the flow direction and proximity to existing vent pipes. Proper fixture placement is essential for creating a functional and efficient drainage system.
- Pipe sizing: Calculate the required pipe sizes based on the fixture drainage load and the length of the pipe runs. Larger fixtures, such as toilets, typically require larger diameter pipes to accommodate the volume of wastewater. Consult with local building codes or a professional plumber to ensure compliance and proper sizing.
- Slope: Install drainage pipes with the proper slope to facilitate the smooth flow of wastewater. The slope should be sufficient to allow gravity drainage, typically 1/4 inch per foot for horizontal pipes and 1/8 inch per foot for vertical stacks. Proper slope is crucial to avoid clogs and ensure effective drainage.
- Venting: Include vent pipes in the drainage system to allow for the release of sewer gases and maintain proper air pressure in the pipes. Vent pipes should extend above the roofline and be properly connected to each fixture and the main drainage stack. Adequate venting prevents traps from being siphoned and ensures optimal drainage performance.
- Traps: Install traps beneath all fixtures to prevent sewer gases from entering the house. Traps are U-shaped pipes that hold a small amount of water, creating a barrier between the fixture and the sewer line. Make sure to choose the appropriate type of trap for each fixture, following local building codes and regulations.
- Cleanouts: Include cleanouts at strategic locations along the drainage system to provide access for maintenance and clearing clogs. Cleanouts are typically installed at the base of vertical stacks and at changes in direction, allowing for easy inspection and rodding of the pipes when needed.
When designing the drainage system, it’s crucial to ensure that all fixtures are properly vented and adequately connected to the main drainage stack. This prevents issues such as slow drainage, gurgling sounds, or sewer gas odors that can arise from a poorly designed or vented system.
It’s worth noting that designing a drainage system can be complex, especially when dealing with multiple levels or intricate plumbing layouts. It is highly recommended to consult with a professional plumber or architect experienced in drainage design to ensure that your system meets all necessary requirements and operates effectively.
With a well-designed drainage system in place, you can ensure proper wastewater removal and maintain a healthy and functional plumbing system. Now, let’s move on to the next step: installing fixtures and appliances.
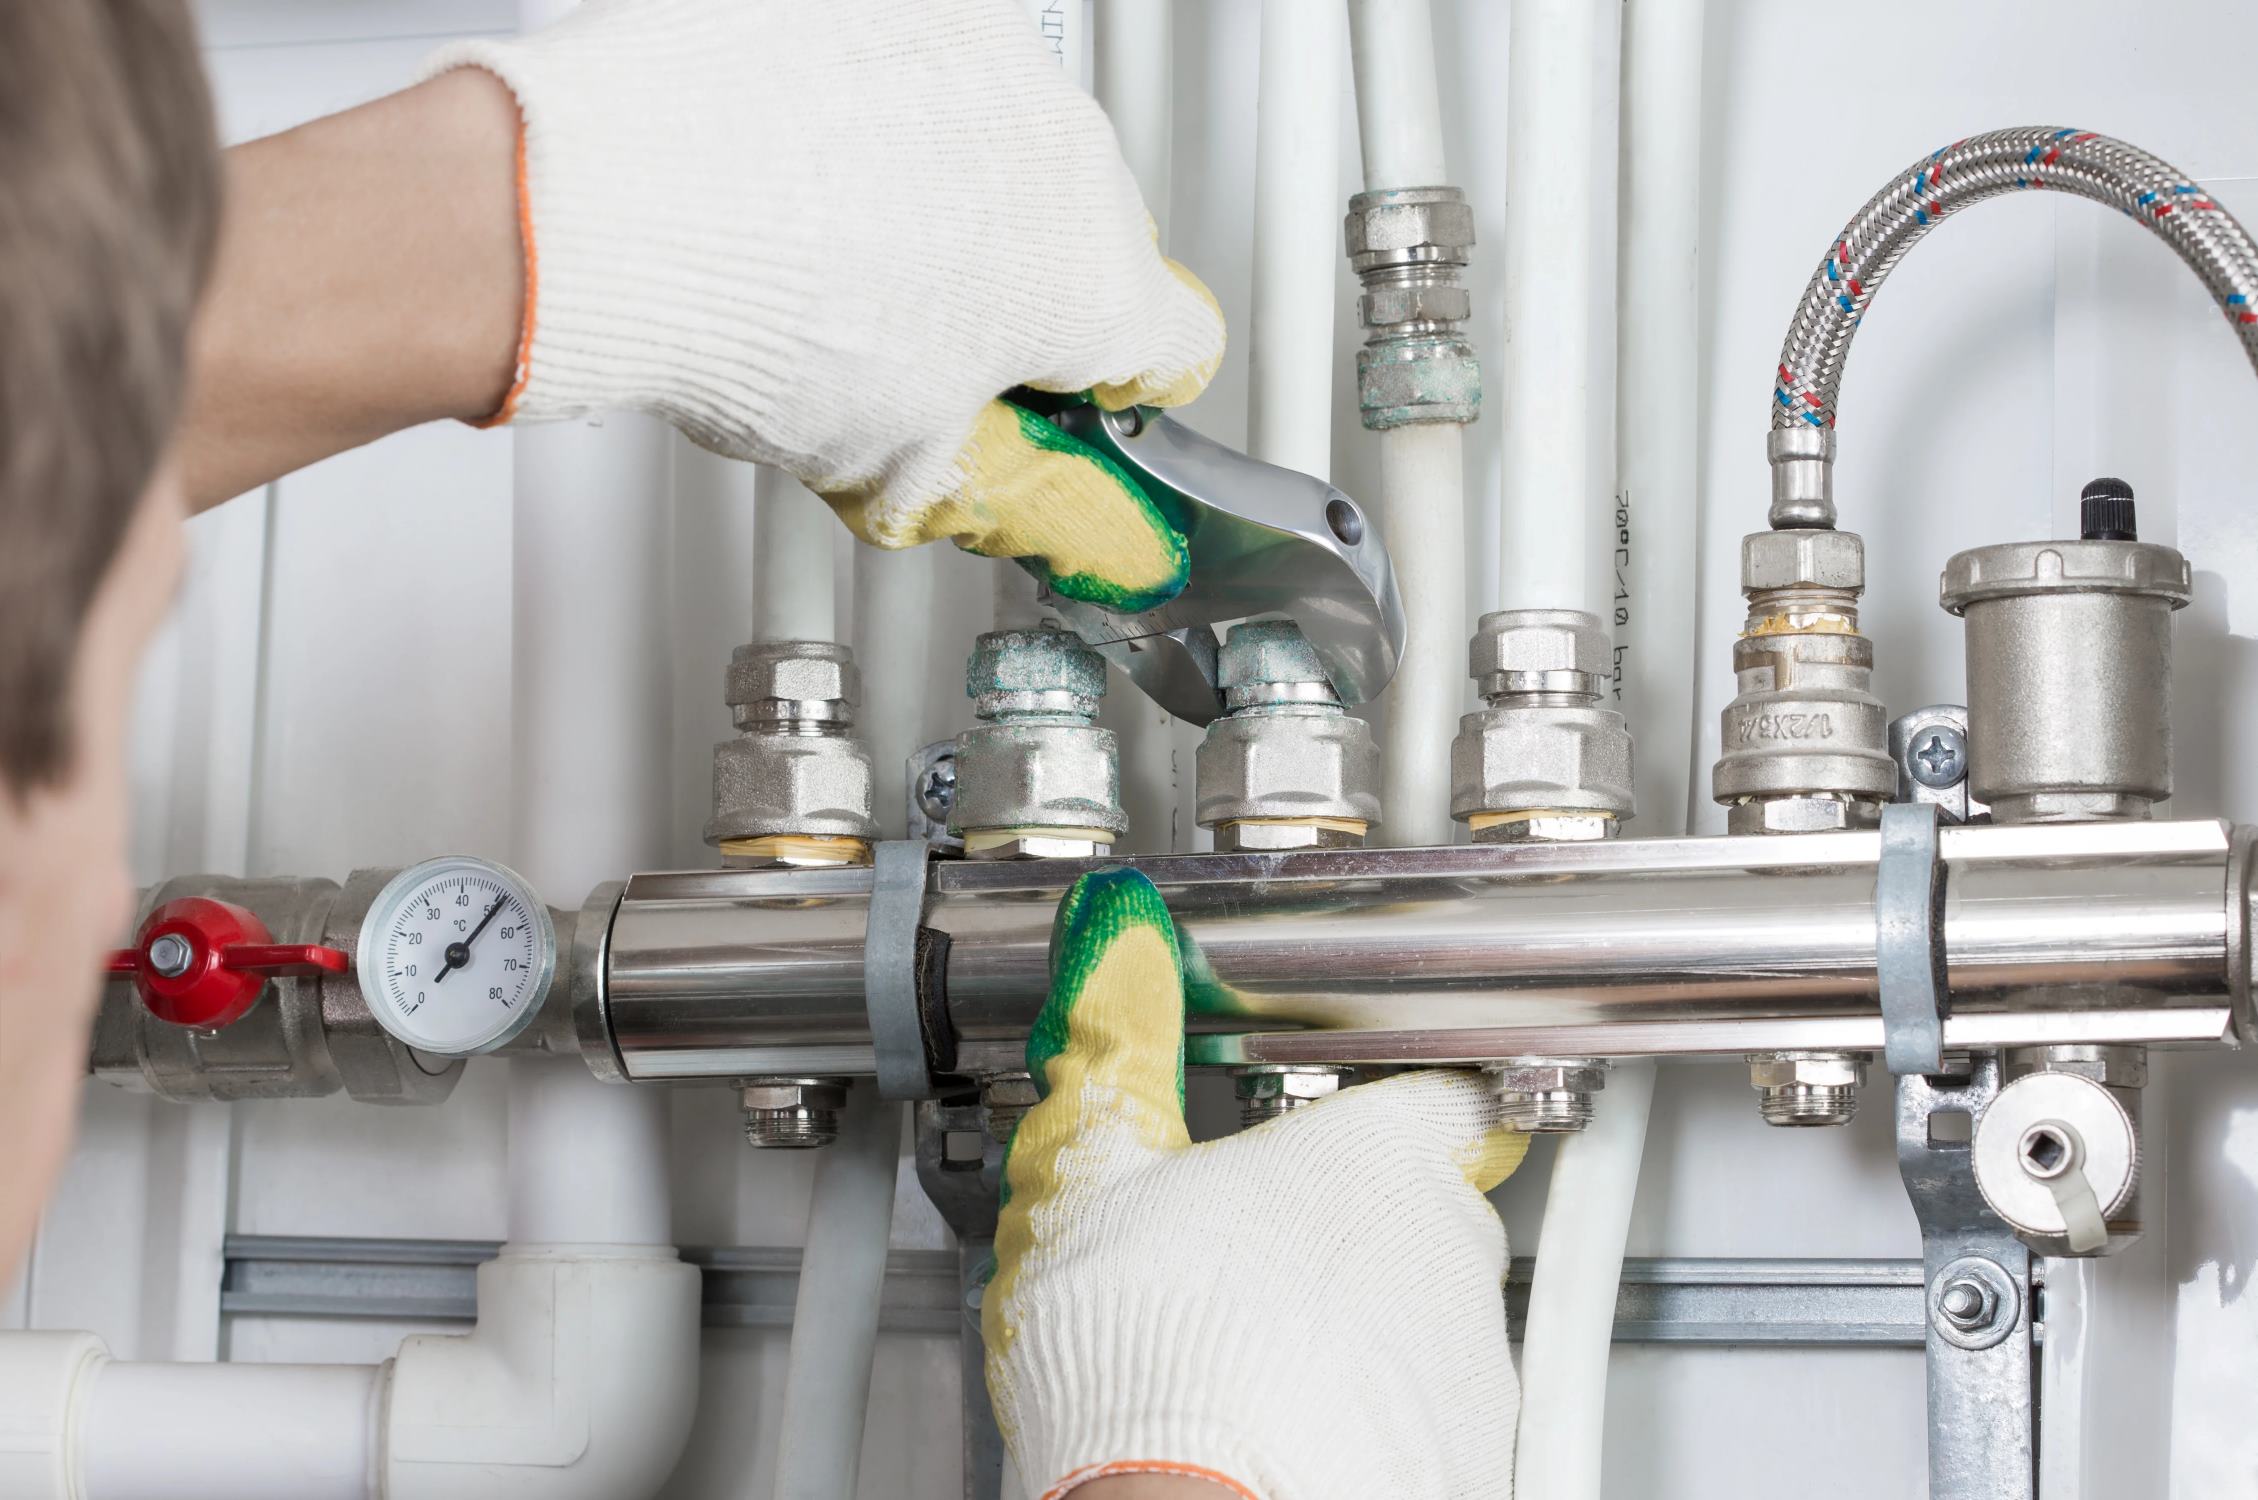
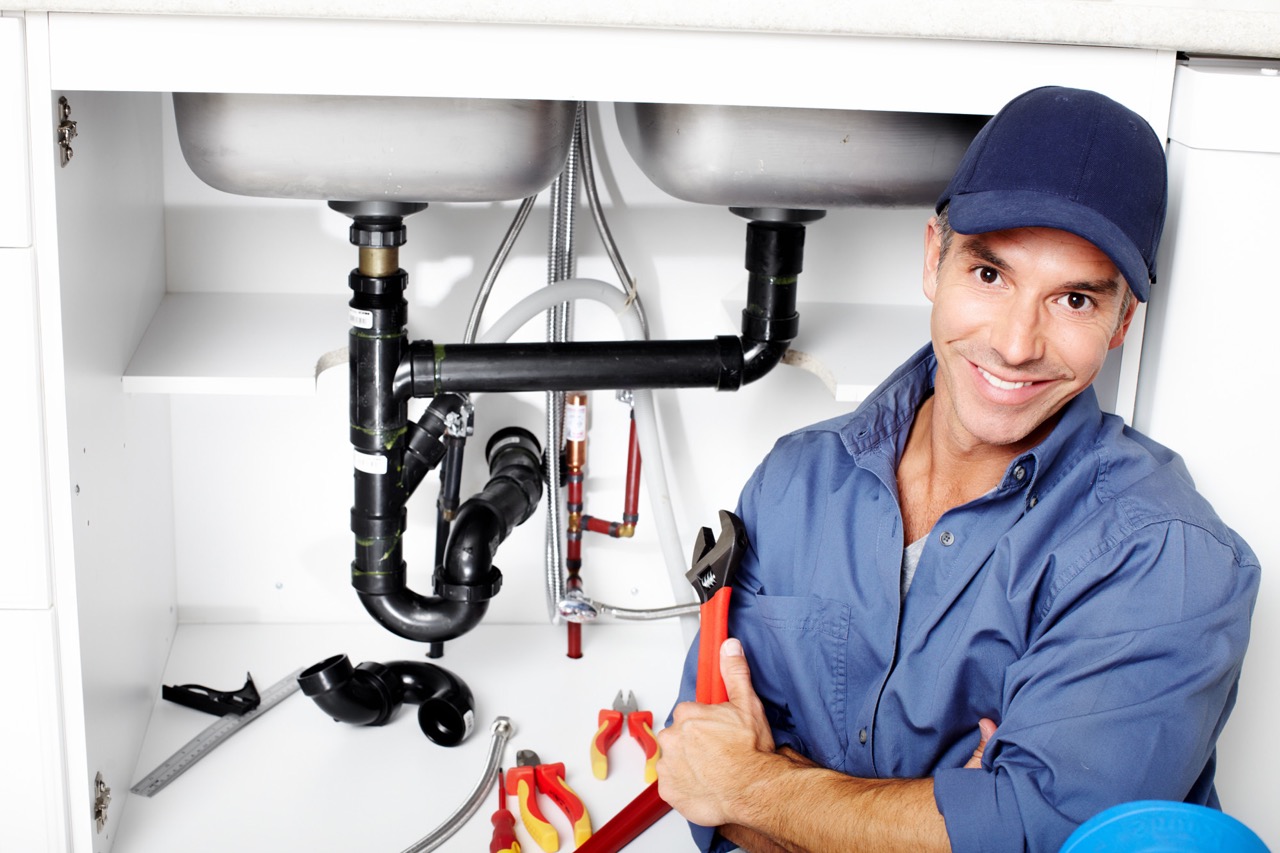
Installing Fixtures and Appliances
Once you have designed the plumbing system, it is time to move on to the installation of fixtures and appliances. Installing fixtures and appliances requires careful attention to detail to ensure proper functionality and prevent leaks or other issues. Here are the steps to guide you through the process:
- Gather the necessary tools and materials: Before starting the installation, gather all the required tools and materials. This may include wrenches, pipe cutters, Teflon tape, plumber’s putty, and pipe fittings specific to the fixtures and appliances you are installing.
- Follow the manufacturer’s instructions: Refer to the manufacturer’s instructions for each fixture and appliance to ensure proper installation. The instructions will provide specific details on the recommended installation process, including any unique considerations or requirements.
- Install the fixtures: Begin by installing the fixtures, such as sinks, toilets, showers, and bathtubs. Follow the step-by-step instructions provided by the manufacturer, ensuring that all connections are tight and secure. Use plumber’s putty or silicone caulk as needed for sealing and preventing leaks.
- Connect the supply lines: Connect the water supply lines to the fixtures, ensuring that hot and cold water lines are properly attached. Use the appropriate fittings and connectors according to the type of pipe material and fixture requirements. Use Teflon tape or pipe thread sealant to ensure a watertight connection.
- Install appliances: If you have appliances such as a dishwasher or washing machine, follow the manufacturer’s instructions for their installation. Connect the water supply lines and drain lines as specified, ensuring secure connections and proper alignment.
- Testing for leaks: After installing each fixture or appliance, perform a thorough check for leaks. Turn on the water supply and inspect all connections and joints for any signs of leakage. Make any necessary adjustments or repairs to ensure a tight and leak-free installation.
- Seal and finish: Once all fixtures and appliances are installed and tested, seal any gaps or openings with caulk to create a clean and finished look. Consider applying a bead of caulk around sinks, bathtubs, and shower bases to prevent water from seeping into unwanted areas.
Remember, the proper installation of fixtures and appliances is crucial for the overall functionality and performance of your plumbing system. If you are unsure or uncomfortable with any aspect of the installation process, it is always recommended to seek the assistance of a professional plumber to ensure a successful and trouble-free installation.
With the fixtures and appliances installed, it’s time to move on to the next step: testing and inspecting the plumbing system.
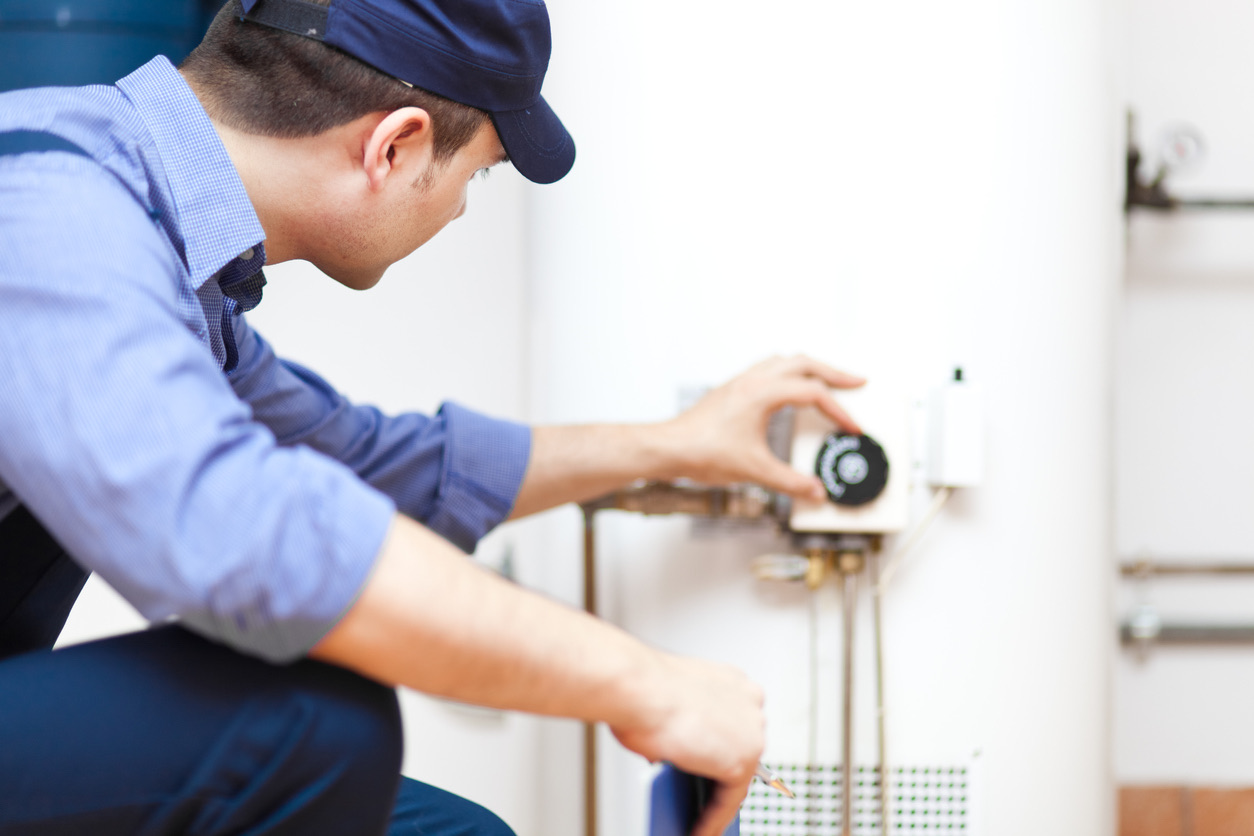
Testing and Inspecting the Plumbing System
Testing and inspecting the plumbing system is a critical step to ensure that everything is functioning properly and that there are no leaks or issues that could cause problems down the line. Taking the time to thoroughly test and inspect the system will help identify and address any potential concerns before they become more significant problems. Here’s a step-by-step guide on how to test and inspect your plumbing system:
- Check for visible leaks: Start by visually inspecting all visible components of the plumbing system, including pipes, connectors, and fixtures. Look for any signs of water leaks, such as puddles or damp areas. Pay close attention to joints and connections, as these are common areas for leaks to occur.
- Test water pressure: Use a pressure gauge to measure the water pressure in your system. Ideally, water pressure should be between 40 and 60 psi (pounds per square inch). If the pressure is excessively high or low, it may indicate an issue with the pressure regulator or other parts of the system. Adjustments may be necessary to bring the pressure within the optimal range.
- Test fixture functionality: Turn on each fixture, one at a time, to ensure they are functioning properly. Check for any signs of poor water flow, low pressure, or unusual noises. Run both hot and cold water to ensure that both sides are working as expected. Flush toilets and check for proper flushing and refilling.
- Check drain performance: Fill sinks, tubs, and showers with water and then drain them completely. Ensure that the drainage is smooth and there are no signs of slow draining or backups. If you notice any issues, it may indicate a clog or improper slope in the drainage pipes.
- Inspect venting: Check that all vent pipes are properly connected and free from blockages. The venting system is vital for releasing sewer gases and maintaining proper pressure in the drainage system. Look for any signs of damage or obstructions, such as nests or debris, which could affect proper venting.
- Perform a water meter test: To check for hidden leaks, turn off all fixtures and appliances that use water and ensure that no water is being used in the house. Locate your water meter and note the reading. Wait for a significant period of time, such as one hour, without using any water. Then, check the meter again. If the reading has changed, it indicates a possible leak in the system.
- Conduct a dye test: If you suspect a leak in a toilet tank, conduct a dye test. Add a few drops of food coloring into the tank and wait for about 30 minutes without flushing. If the colored water appears in the toilet bowl, it suggests that there is a leak that needs to be addressed.
By thoroughly testing and inspecting your plumbing system, you can identify and resolve any issues promptly, ensuring a well-functioning and leak-free system. If you encounter any problems or are unsure about anything, it is advisable to seek the expertise of a professional plumber.
Once you have tested and inspected the plumbing system to your satisfaction, you can have peace of mind knowing that your system is in optimal condition. Regular maintenance and periodic checks are also recommended to address any potential issues before they escalate.
Now that you have successfully tested and inspected the plumbing system, you can confidently conclude your plumbing design journey.
Conclusion
Designing the plumbing system for a house is a complex process that requires careful planning, attention to detail, and a deep understanding of the various components involved. By following the steps outlined in this article, you can create a plumbing system that meets the specific needs of your household while ensuring efficiency, reliability, and longevity.
Understanding the plumbing system and its key components is the first step in the design process. Knowing how water supply and drainage systems work will help you make informed decisions and design a system that functions seamlessly.
Determining your water usage needs is crucial for sizing pipes and ensuring adequate supply. Taking into account factors such as the number of occupants, fixtures, appliances, and future expansions helps in accurately estimating your water demand.
Choosing the right pipe materials is essential to ensure a durable and efficient plumbing system. Copper, PEX, CPVC, PE, and other materials each have their advantages and considerations. Evaluating factors such as water quality, budget, and local building codes will help you make an informed decision.
Once you have selected the pipe materials, planning the layout of the water supply system involves strategic fixture placement, proper pipe routing, and consideration of pressure needs and future expansions. Consulting with professionals and following local codes will help you design an efficient and functional layout.
The design of the drainage system is equally important. Proper fixture placement, correct pipe sizing, adequate slope, venting, and the inclusion of traps and cleanouts all contribute to effective wastewater removal and prevent issues like clogs and sewer gas odors.
Installing fixtures and appliances requires attention to detail, following manufacturer instructions, and ensuring tight connections to prevent leaks. Thoroughly testing and inspecting the plumbing system for leaks, functionality, and proper drainage ensures that everything is in proper working order.
In conclusion, designing the plumbing system for a house is a significant undertaking. It requires a combination of technical knowledge, careful planning, and adherence to building codes. While this article provides a comprehensive guide, it’s always advisable to consult with professionals, architects, or experienced plumbers when designing your plumbing system to ensure that it meets all necessary requirements and operates effectively.
With a well-designed and properly installed plumbing system, you can enjoy the comfort, convenience, and peace of mind that comes with a reliable water supply and efficient wastewater removal in your home.
Frequently Asked Questions about How To Design Plumbing For A House
Was this page helpful?
At Storables.com, we guarantee accurate and reliable information. Our content, validated by Expert Board Contributors, is crafted following stringent Editorial Policies. We're committed to providing you with well-researched, expert-backed insights for all your informational needs.


0 thoughts on “How To Design Plumbing For A House”