Articles
How To Winterize Plumbing In A Vacant House
Modified: October 19, 2024
Learn how to winterize your plumbing in a vacant house with our informative articles. Protect your pipes from freezing and avoid costly repairs.
(Many of the links in this article redirect to a specific reviewed product. Your purchase of these products through affiliate links helps to generate commission for Storables.com, at no extra cost. Learn more)
Introduction
Winterizing the plumbing in a vacant house is crucial to prevent costly damage caused by frozen pipes. When a house is left unoccupied during the winter months, the lower temperatures can cause the water inside the plumbing system to freeze and expand, leading to burst pipes and extensive water damage.
By taking the necessary steps to winterize the plumbing, homeowners can avoid these issues and ensure their property remains protected and ready for occupancy when spring arrives. In this article, we will guide you through the process of winterizing your plumbing in a vacant house, providing valuable tips and techniques to safeguard your pipes during the cold winter months.
It’s important to note that the recommendations provided here are specifically for vacant houses. If you plan to continue using your property during the winter, alternative steps may need to be taken to protect your plumbing system.
Without further ado, let’s dive into the step-by-step process of winterizing your plumbing in a vacant house.
Key Takeaways:
- Protect your vacant house’s plumbing from winter damage by turning off the water supply, draining the lines, insulating pipes, and maintaining a minimum temperature. Regular inspections and proactive measures ensure a trouble-free return in spring.
- Winterizing your plumbing in a vacant house involves steps like insulating the hot water heater, sealing openings, and preparing the drainage system. Arranging for periodic inspections and addressing issues promptly are crucial for maintaining a functional plumbing system.
Read more: How To Winterize Home Plumbing
Step 1: Turn off the water supply and drain the water lines
The first and most crucial step in winterizing your plumbing in a vacant house is to shut off the main water valve and drain the water lines. This will prevent water from sitting stagnant in the system, reducing the risk of freezing and subsequent damage.
To begin, locate the main water valve in your house. This valve is usually found near the water meter or where the main water supply enters your property. Turn the valve clockwise to shut off the water supply to the entire house. This will stop any water from flowing into the plumbing system.
Once the water supply is turned off, it’s time to drain the water lines. Start by opening all the faucets, including the ones in the kitchen, bathrooms, and outdoor spigots. Opening the faucets will relieve the pressure in the pipes and allow the water to flow out.
Next, locate the lowest faucet in your house, usually in the basement or the ground floor. This will be the primary point for draining the water lines. Open this faucet and let the water drain out completely. Keep the faucets open until no more water comes out.
In addition to faucets, don’t forget to drain other fixtures that hold water, such as toilets, showers, and washing machines. Flush the toilets and run the showers to empty the tanks and drain the remaining water.
After draining all the fixtures and faucets, it’s a good idea to leave them open to allow any residual water to evaporate. This helps to further reduce the risk of freezing and ensures a dry plumbing system.
By turning off the water supply and draining the water lines, you take the first critical step in winterizing the plumbing in your vacant house. This prevents any water from remaining in the system and eliminates the potential for freeze-related damage. Now let’s move on to the next step to further protect your plumbing system.
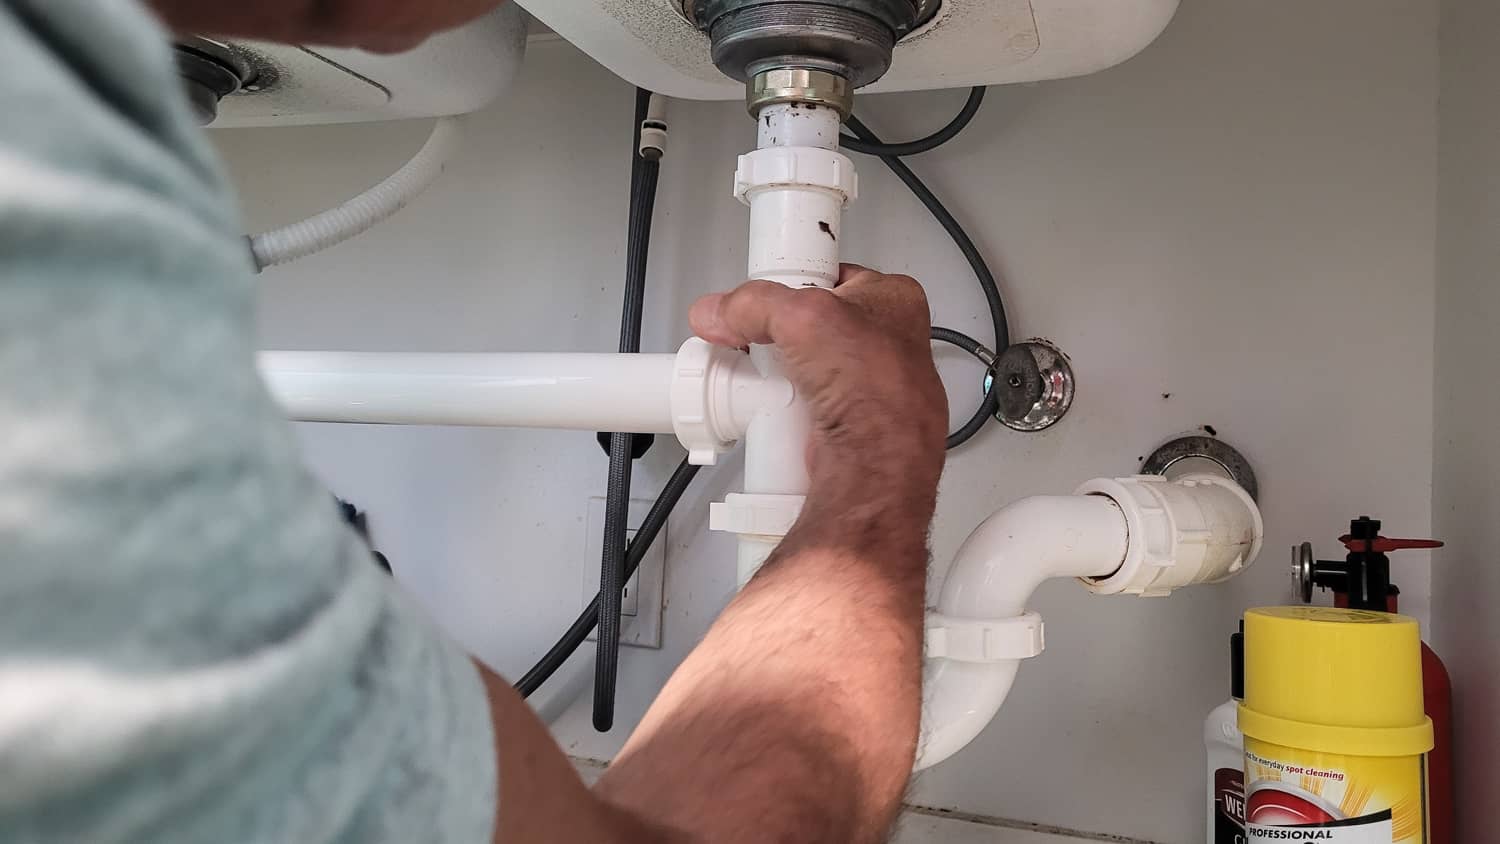
Step 2: Drain the plumbing fixtures and remove water from traps and pipes
After turning off the water supply and draining the water lines, the next step in winterizing your plumbing in a vacant house is to empty and disconnect all toilets, sinks, and faucets, and remove any remaining water from the traps and pipes.
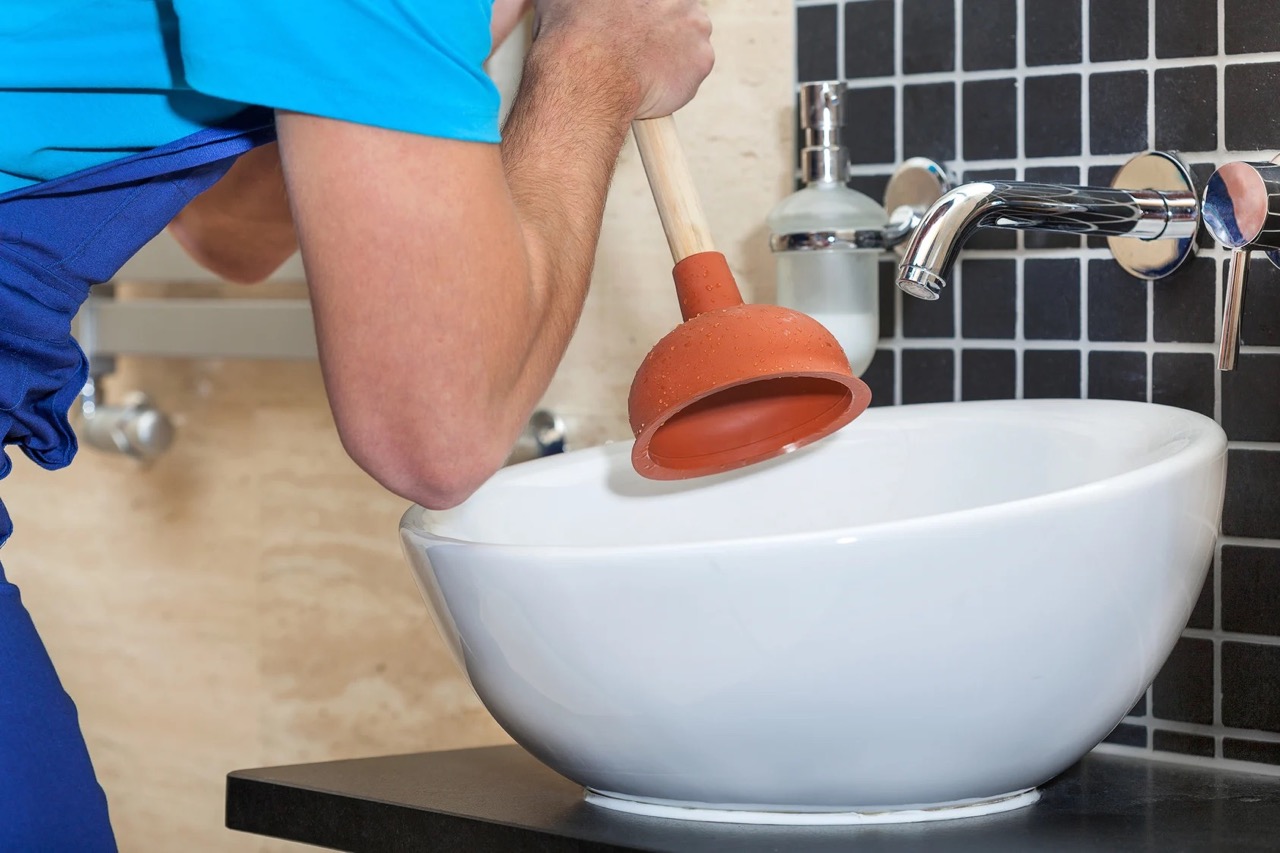
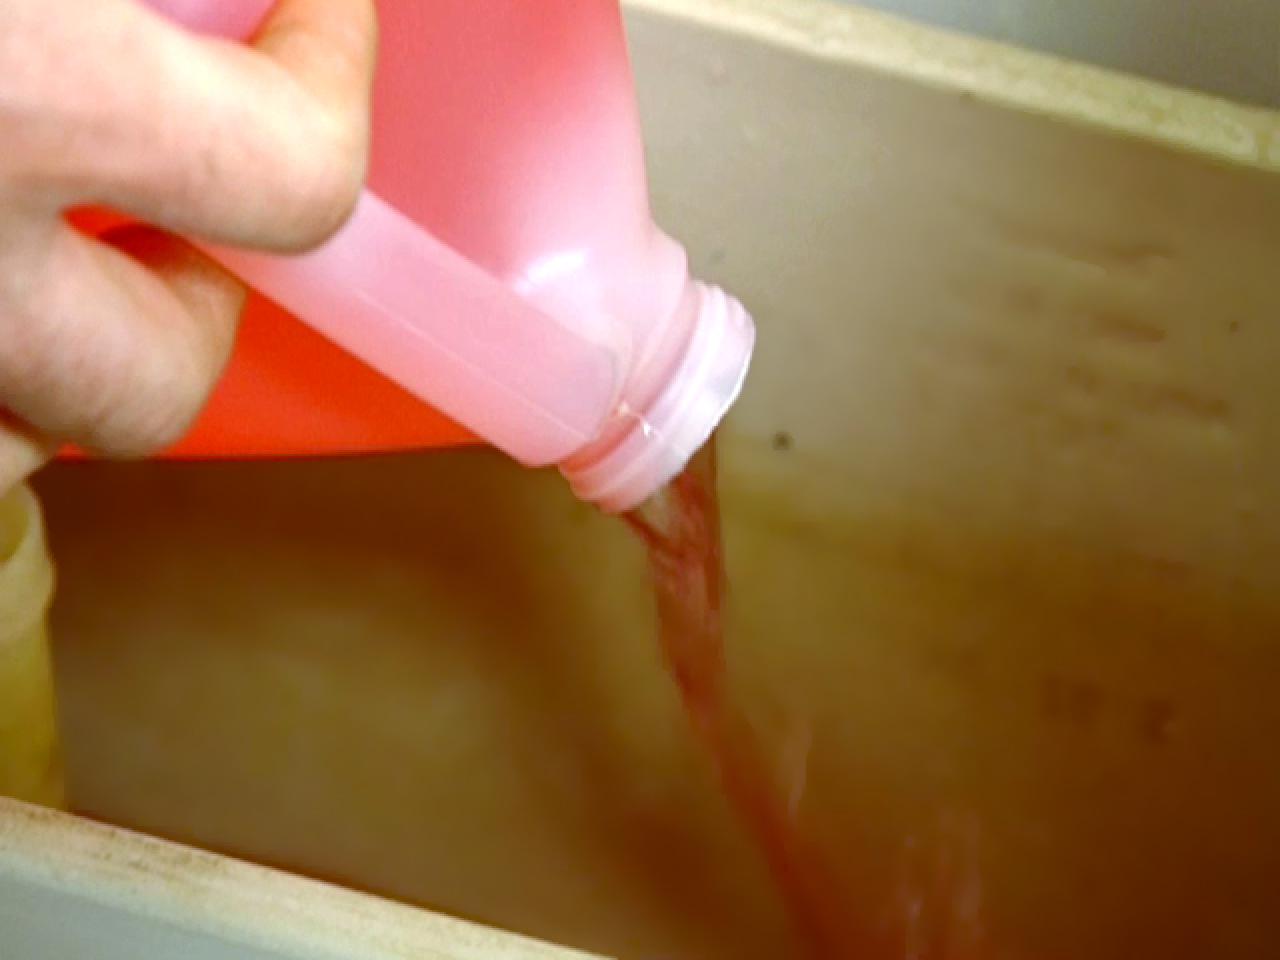
Start by emptying the toilets in your house. Flush the toilets multiple times to remove as much water as possible from the tanks and bowls. Consider using a plunger to force out any remaining water in the bowl. Once the toilets are empty, you can place a small amount of antifreeze in the bowl to prevent any residual water from freezing.
Next, turn off the water supply to the sinks and faucets. Underneath the sink, there are usually shut-off valves that control the water flow. Turn these valves to the closed position to cut off the water supply to the fixtures.
Once the water supply is turned off, open the faucets to drain any remaining water. Run both the hot and cold water faucets until the water stops flowing. This will ensure that all the water is emptied from the supply lines.
In addition to emptying the fixtures, it is crucial to remove any water from the traps and pipes. Traps are the curved sections of pipe located beneath sinks and tubs. They hold water to prevent sewer gases from entering your home. To remove the water from the traps, place a bucket or container under the trap and unscrew the slip nuts with a wrench. Allow the water to drain into the bucket, and then reassemble the trap.
After emptying the traps, proceed to drain the remaining pipes. Start by opening the lowest faucet in your house, similar to the previous step. Once the faucet is open, go through your house and open each faucet for a short time. This will drain any remaining water from the pipes and minimize the risk of freezing.
By emptying and disconnecting all toilets, sinks, and faucets, and removing any water from the traps and pipes, you effectively eliminate water from the fixtures and plumbing system. This helps to prevent freezing and potential damage during the winter months.
Now that the fixtures are drained, let’s move on to the next step to further protect your plumbing system in a vacant house.
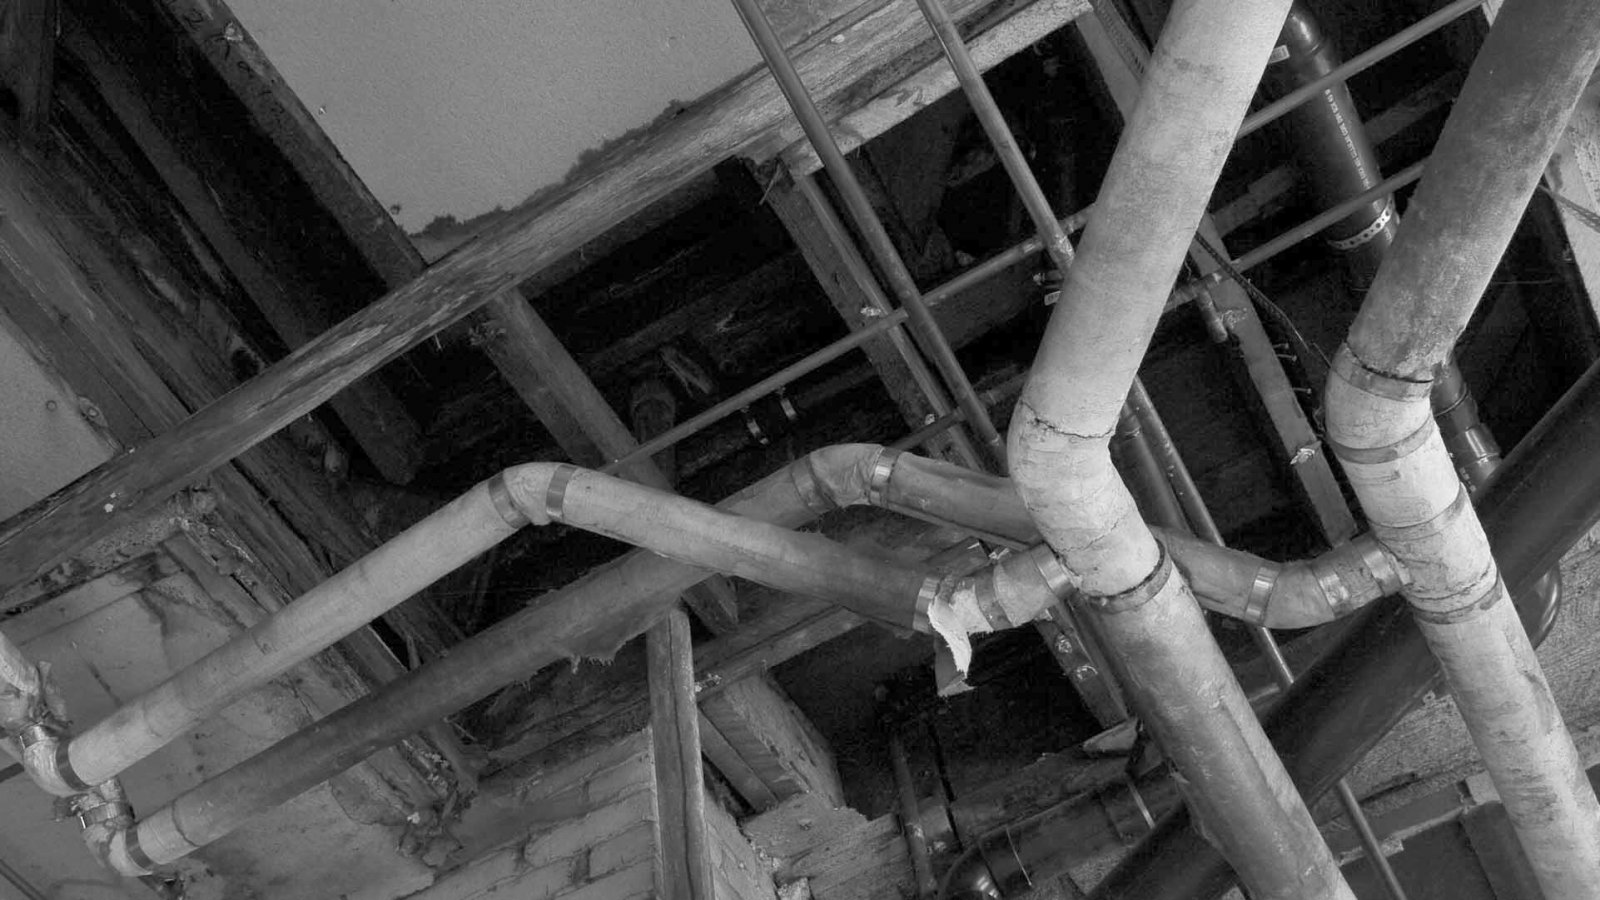
Step 3: Insulate exposed pipes to protect against freezing
One of the critical steps in winterizing your plumbing in a vacant house is to insulate any exposed pipes, especially those in unheated areas. Insulating the pipes helps to prevent them from freezing and potentially bursting due to the extreme cold temperatures.
Start by identifying any pipes that are exposed to the cold air or located in areas with inadequate heating. Common places for exposed pipes include basements, crawl spaces, and attics. Inspect these areas carefully to identify any pipes that may be vulnerable to freezing.
Once you have identified the exposed pipes, it’s time to wrap them with insulation. There are various insulation materials available, including pipe sleeves and foam insulation. Pipe sleeves are pre-cut insulation tubes that easily slip over the pipes, providing a protective barrier against freezing temperatures. Foam insulation, in the form of wrap or tape, can also be used to wrap around the pipes and provide insulation.
Measure the length of each exposed pipe and cut your insulation material accordingly. Slide the pipe sleeves or wrap the foam insulation around the pipes, making sure to cover the entire length. Use tape or zip ties to secure the insulation in place and ensure a snug fit. Pay special attention to areas where pipes turn or connect, as they are more prone to freezing.
It is essential to insulate both hot and cold water pipes. While hot water pipes may be less prone to freezing, insulation helps to conserve energy and maintain consistent water temperatures throughout the plumbing system.
Additionally, don’t forget to insulate any outdoor faucets or hose bibs. Use insulated faucet covers to protect these fixtures from freezing temperatures, as they are particularly vulnerable to winter weather.
By insulating exposed pipes, you create a protective barrier that helps to keep the pipes warmer and prevent freezing. This can significantly reduce the risk of burst pipes and subsequent water damage. Insulation is a vital step in winterizing your plumbing in a vacant house, so be thorough in covering all exposed pipes in unheated areas.
With the pipes insulated, let’s move on to the next step in preparing your plumbing system for winter.
Step 4: Seal openings and cracks to prevent cold air from entering
In order to further protect your plumbing system from freezing temperatures, it is important to seal any openings and cracks where cold air can enter your vacant house. These openings can allow cold air to reach the pipes and increase the risk of freezing and damage.
Start by thoroughly inspecting your house for any gaps or cracks in the walls, floors, ceilings, or foundation. Common areas where cold air can seep in include around windows and doors, electrical outlets, plumbing penetrations, and utility access points.
Using a flashlight, carefully examine these areas to identify any potential openings. Pay attention to areas where different building materials come together, as they are prone to developing small gaps over time.
Once you have identified the openings, it’s time to seal them. Use caulk to fill in small cracks and gaps in walls and baseboards. Apply a generous amount of caulk and smooth it out with a caulk gun or your finger. Make sure to use a caulk suitable for the material you are sealing to ensure maximum effectiveness.
For larger openings around windows and doors, consider using weatherstripping. Weatherstripping helps to create a tight seal and prevent drafts from entering your home. There are various types of weatherstripping available, including adhesive strips, door sweeps, and window gaskets. Choose the appropriate weatherstripping for each specific area and carefully install it according to the manufacturer’s instructions.
Don’t forget to seal any openings where plumbing penetrations exist, such as where pipes enter the house or utility access points. Use expanding foam insulation or caulk to seal these areas, creating a barrier against cold air infiltration.
Sealing openings and cracks is a crucial step in winterizing your plumbing in a vacant house. By preventing cold air from entering, you reduce the risk of freezing and subsequent damage to your plumbing system. Take the time to carefully seal all the identified openings to ensure maximum protection.
With the openings and cracks sealed, let’s move on to the next step in preparing your plumbing system for the winter months.
Make sure to drain all water from the plumbing system, including the water heater and pipes, to prevent freezing and potential damage. Also, consider adding antifreeze to any remaining water in the system.
Read more: How To Winterize A Cottage Plumbing
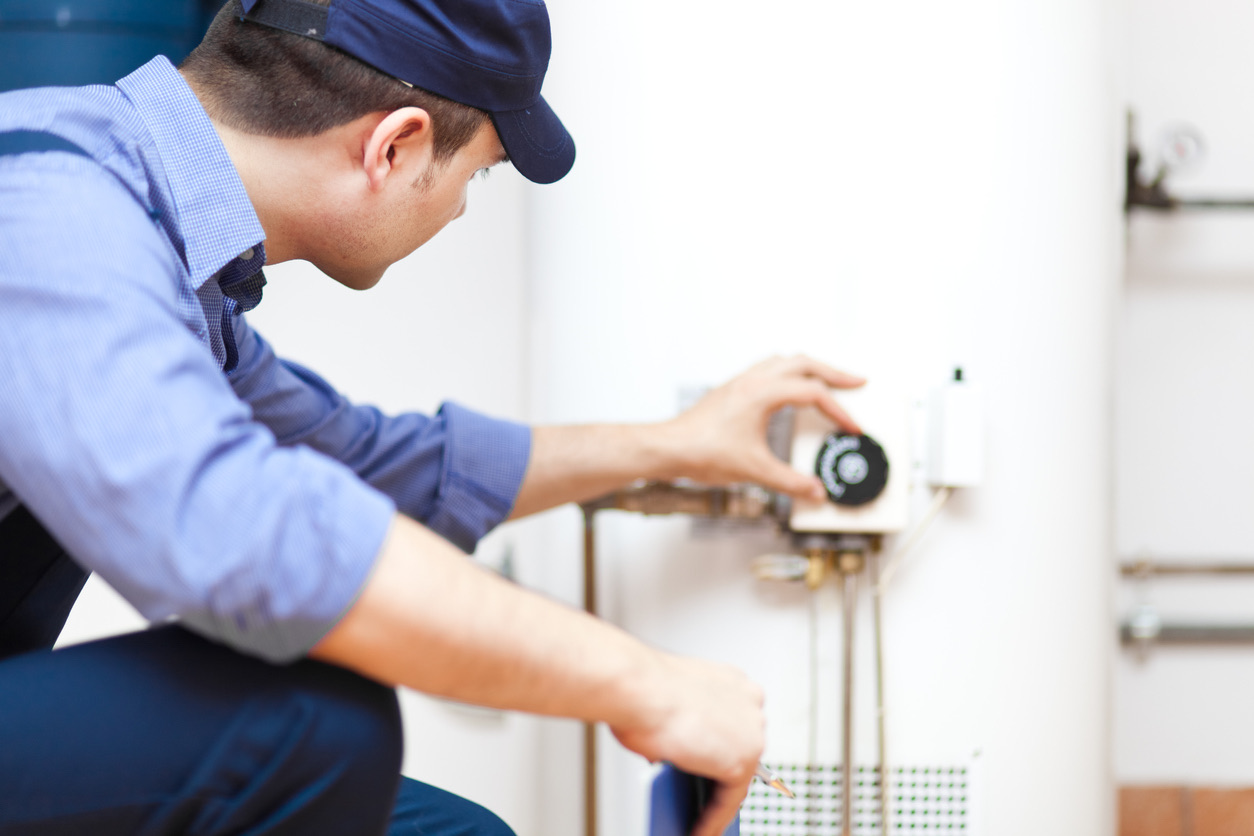
Step 5: Insulate the hot water heater to conserve energy and prevent freezing
Insulating your hot water heater is an important step in winterizing your plumbing in a vacant house. Not only does it help conserve energy by reducing heat loss, but it also provides insulation to prevent freezing during the cold winter months.
To insulate your hot water heater, you will need an insulating blanket specifically designed for this purpose. These blankets are readily available at most hardware stores and are relatively easy to install.
Start by turning off the power to the hot water heater. This ensures your safety while working on the insulation. Follow the manufacturer’s instructions or consult the owner’s manual for your specific hot water heater model to locate the shut-off switch.
Once the power is turned off, measure the height and circumference of your hot water heater to determine the size of the insulating blanket you will need. Cut the blanket to size if necessary, leaving space for any control panel or access areas.
Wrap the insulating blanket around the hot water heater, ensuring that it covers the sides and top completely. Use tape or straps to secure the blanket in place, making sure it is snug and tightly sealed.
When installing the insulation, be careful not to cover any safety valves, the control panel, or the burner area. Following the manufacturer’s guidelines will ensure that these essential components are left accessible and unrestricted.
Insulating your hot water heater not only helps to retain heat and reduce energy consumption but also provides critical protection against freezing. By adding this extra layer of insulation, you can help prevent the water inside the tank from freezing and potentially damaging the heater.
Remember to check the insulation regularly for any signs of wear or damage. If you notice any issues, replace the insulation promptly to maintain its effectiveness.
With the hot water heater insulated, let’s move on to the next step in preparing your plumbing system for winter.
Step 6: Maintain a minimum temperature to prevent freezing
To ensure the safety of your plumbing system in a vacant house during winter, it is essential to maintain a minimum temperature above freezing. This step helps to prevent pipes from freezing and potential damage caused by the extreme cold temperatures.
Start by setting the thermostat to a temperature that keeps the house comfortably warm, but still above freezing. A recommended minimum temperature is around 55 degrees Fahrenheit (13 degrees Celsius). This temperature is sufficient to prevent freezing while also conserving energy.
It’s important to note that the goal of maintaining a minimum temperature is to protect the plumbing system, not to heat the entire house as if it were occupied. By setting the thermostat to a moderate level, you strike a balance between energy efficiency and preventing frozen pipes.
In addition to setting the thermostat, consider using a freeze alarm as an extra layer of protection and monitoring. A freeze alarm is a device that alerts you when the temperature in your house drops below a certain threshold. This alarm can notify you of potential freezing conditions, allowing you to take immediate action and prevent damage to your plumbing system.
Freeze alarms are available in various forms, including standalone units and those that connect to your home’s security system or smartphone. Choose a freeze alarm system that suits your needs and provides the level of monitoring and convenience you desire.
Regularly monitor the temperature in your vacant house to ensure it remains above freezing. If you encounter any issues with the heating system or notice a significant drop in temperature, take prompt action to address the problem and prevent freeze-related damage.
By maintaining a minimum temperature and using a freeze alarm for added monitoring, you take proactive steps to protect your plumbing system from freezing during the winter months. Now let’s move on to the next step to ensure the drainage system in your vacant house is properly prepared for the winter season.
Step 7: Prepare the drainage system to prevent issues
When winterizing the plumbing in a vacant house, it’s essential to prepare the drainage system to prevent any potential issues that could arise during the winter months. Taking the time to properly prepare the drainage system will help ensure its functionality and avoid any surprises when spring arrives.
First, focus on the water softener and filtration systems. These systems require proper maintenance to prevent damage or malfunction caused by freezing temperatures. Start by disconnecting these systems from the plumbing and electricity.
Next, fully drain the water from the water softener tank and filtration system. Follow the manufacturer’s instructions for proper drainage procedures. It’s advisable to consult the user manual or contact the manufacturer if you are unsure about the specific steps to take.
Once drained, it’s a good idea to clean and sanitize these systems. Use appropriate cleaning solutions and procedures outlined in the user manual to ensure that no residue or contaminants are left inside. This will help maintain the integrity of the equipment and ensure its proper functioning when it is time to use it again.
In addition to the water softener and filtration systems, pay attention to the sump pump. This device plays a vital role in preventing water accumulation in your basement or crawl space. Before winter arrives, it is crucial to empty and clean the sump pump.
To empty the sump pump, locate the pump pit and remove any water or debris that may have accumulated. Use a pump or a bucket to remove the water. Once the pit is empty, clean the pump and check for any signs of damage or wear. If necessary, replace any worn-out components to ensure the pump’s efficiency.
By properly preparing the drainage system in your vacant house, you minimize the risk of issues related to water softeners, filtration systems, and sump pumps. These preventative steps help ensure that your plumbing system remains in good condition and ready for use when spring arrives.
Now that the drainage system is prepared, let’s move on to the final step of winterizing your plumbing in a vacant house.
Step 8: Arrange for periodic inspections to maintain the plumbing system
Even though your house is vacant during the winter months, it’s crucial to arrange for periodic inspections to ensure the plumbing system remains in good condition. Having someone check the property regularly can help identify any potential issues and address them promptly, minimizing the risk of extensive damage or costly repairs.
Reach out to a trusted neighbor, friend, or family member who can visit the property on a regular basis. It is advisable to establish clear communication and provide them with a checklist of items to inspect or tasks to perform during each visit.
During each inspection, they should look for any signs of leaks, water damage, or unusual odors. They should also check the thermostat to ensure the temperature remains above freezing, and all systems, such as the heating and alarm systems, are functioning properly.
If any issues are identified during the inspection, it’s crucial to address them promptly. This may involve contacting a professional plumber or other service providers to assess and resolve the problem. Acting quickly can help prevent further damage and minimize repair costs.
Regular inspections also provide an opportunity to check for any signs of pests or intrusion into the property. Rodents or other creatures can wreak havoc on the plumbing system, and addressing any such issues early on can save you from significant headaches down the road.
It’s important to establish a good rapport with the individual performing the inspections and maintain open lines of communication. Provide them with your contact information in case of emergencies or if they have any questions or concerns about the property.
By arranging for periodic inspections and promptly addressing any issues that arise, you ensure the integrity and functionality of your plumbing system throughout the winter. Regular checks and quick action can save you time, money, and unnecessary stress.
With step eight complete, you have successfully winterized the plumbing in your vacant house. By following these steps and taking the necessary precautions, you can rest assured knowing that your plumbing system is protected during the cold winter months.
Remember, when the time comes to return to your house in the spring, it’s advisable to turn on the water supply gradually and inspect the plumbing system for any potential issues before resuming normal use.
Read more: How To Design Plumbing For A House
Conclusion
Winterizing the plumbing in a vacant house is a crucial step to protect your property from the potential damage caused by freezing temperatures. By following the steps outlined in this guide, you can ensure that your plumbing system remains intact and functional throughout the winter months.
From turning off the water supply and draining the water lines to insulating exposed pipes and sealing openings and cracks, each step plays a significant role in preventing freezing and potential damage to your plumbing system.
Additionally, insulating the hot water heater, maintaining a minimum temperature, and preparing the drainage system are all crucial in creating a comprehensive winterization plan that safeguards your plumbing system.
Arranging for periodic inspections and addressing any issues promptly are essential in maintaining the integrity of your plumbing system. Having someone check your property regularly can help identify any emerging problems and prevent costly repairs.
As the winter season comes to an end and you prepare to return to your vacant house, remember to gradually turn on the water supply and inspect the plumbing system for any potential issues before normal use resumes. This final step helps to ensure a smooth transition and provides peace of mind knowing that your plumbing system is in optimal condition.
By taking the time to winterize your plumbing in a vacant house, you safeguard your property, prevent costly damage, and ensure a trouble-free return when the warmer months arrive. Follow these steps, maintain regular inspections, and address any concerns promptly to protect your plumbing system year after year.
Remember, if you have any doubts or concerns about the winterization process, it’s always advisable to consult with a professional plumber who can provide expert guidance tailored to your specific situation.
Stay proactive, stay protected, and enjoy the peace of mind that comes with knowing your plumbing system is winter-ready.
Frequently Asked Questions about How To Winterize Plumbing In A Vacant House
Was this page helpful?
At Storables.com, we guarantee accurate and reliable information. Our content, validated by Expert Board Contributors, is crafted following stringent Editorial Policies. We're committed to providing you with well-researched, expert-backed insights for all your informational needs.

0 thoughts on “How To Winterize Plumbing In A Vacant House”