Home>Construction & Tools>Building Materials>How To Strip Paint Off Brick Fireplace
Building Materials
How To Strip Paint Off Brick Fireplace
Modified: February 17, 2024
Learn how to effectively remove paint from a brick fireplace with our step-by-step guide. Discover the best building materials and techniques for a successful paint stripping project.
(Many of the links in this article redirect to a specific reviewed product. Your purchase of these products through affiliate links helps to generate commission for Storables.com, at no extra cost. Learn more)
Introduction
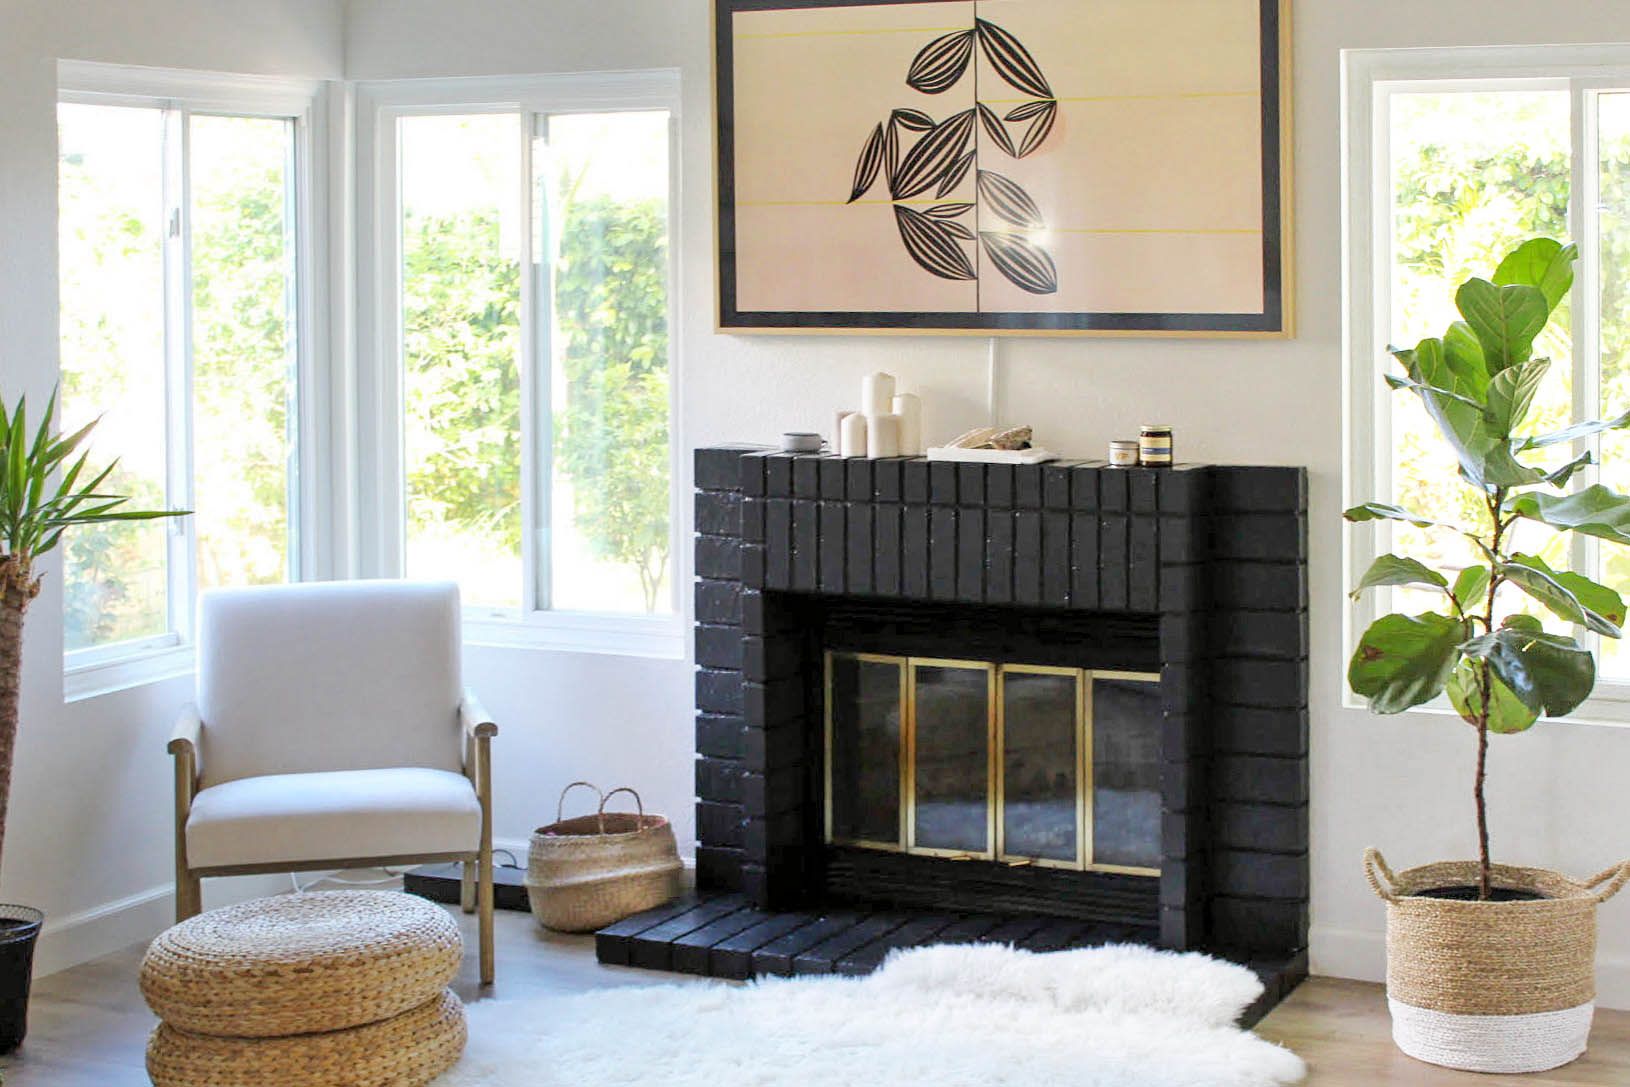
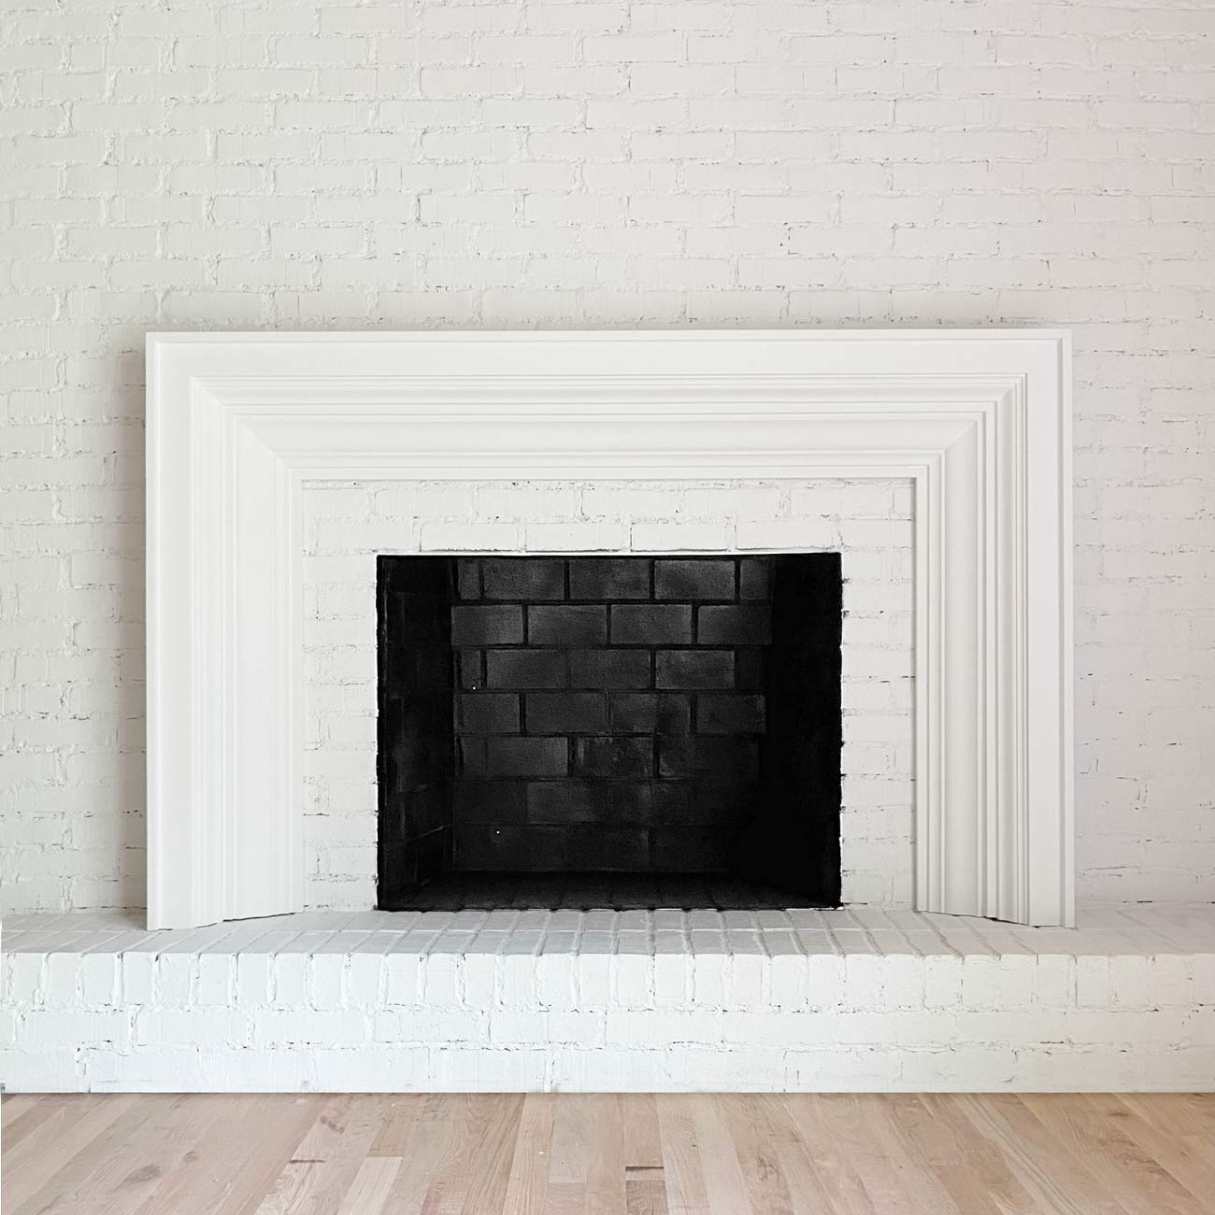
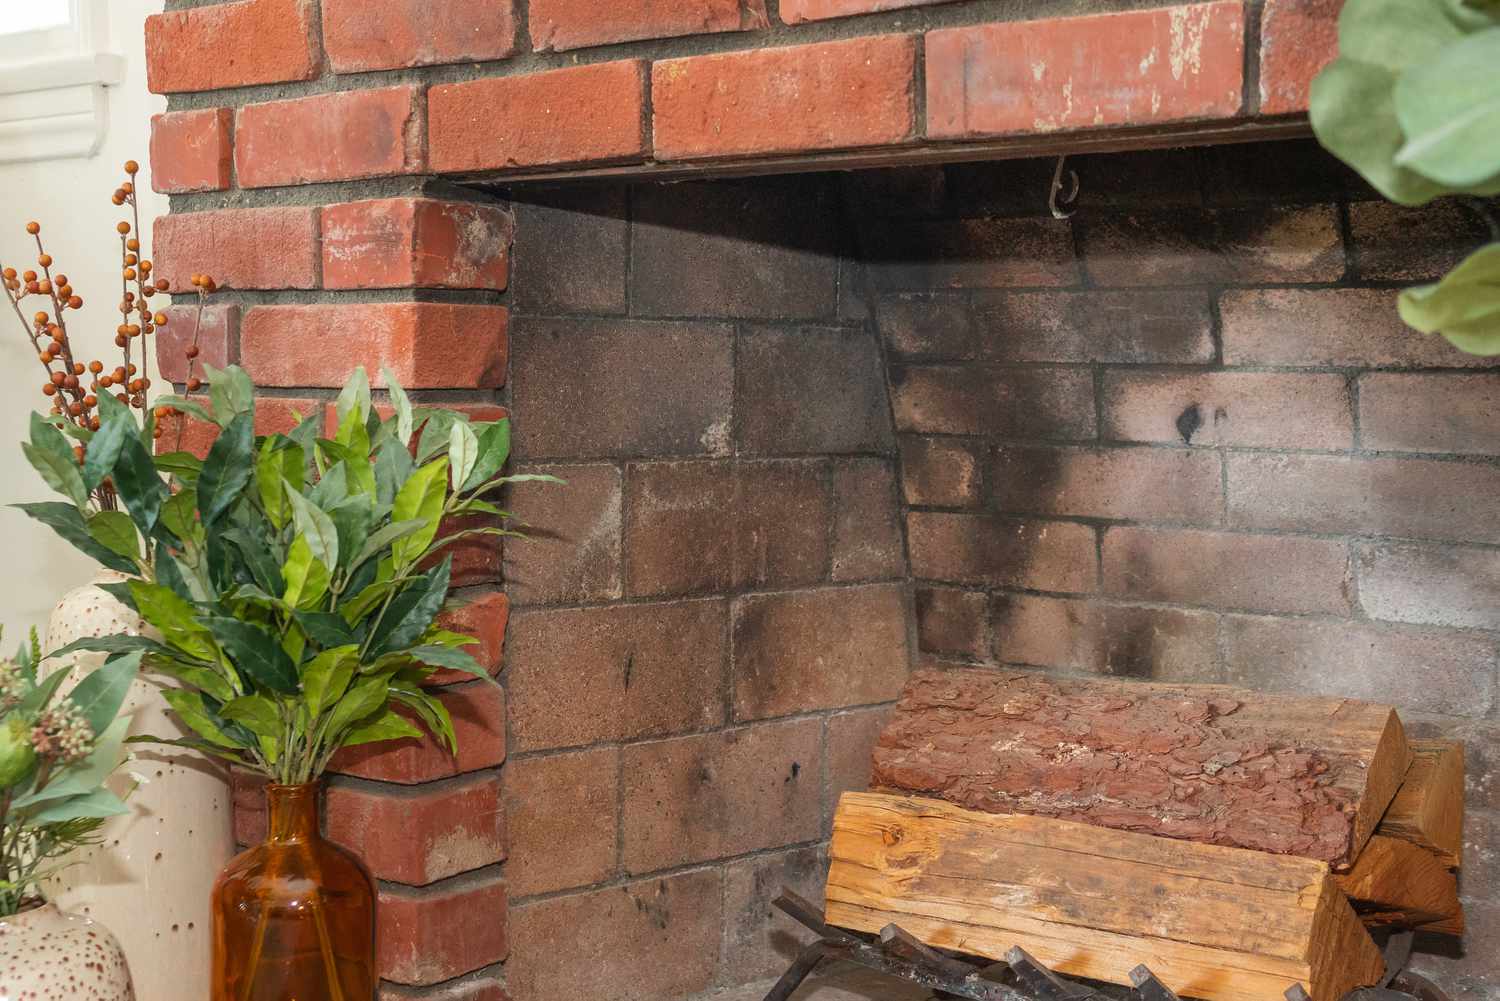
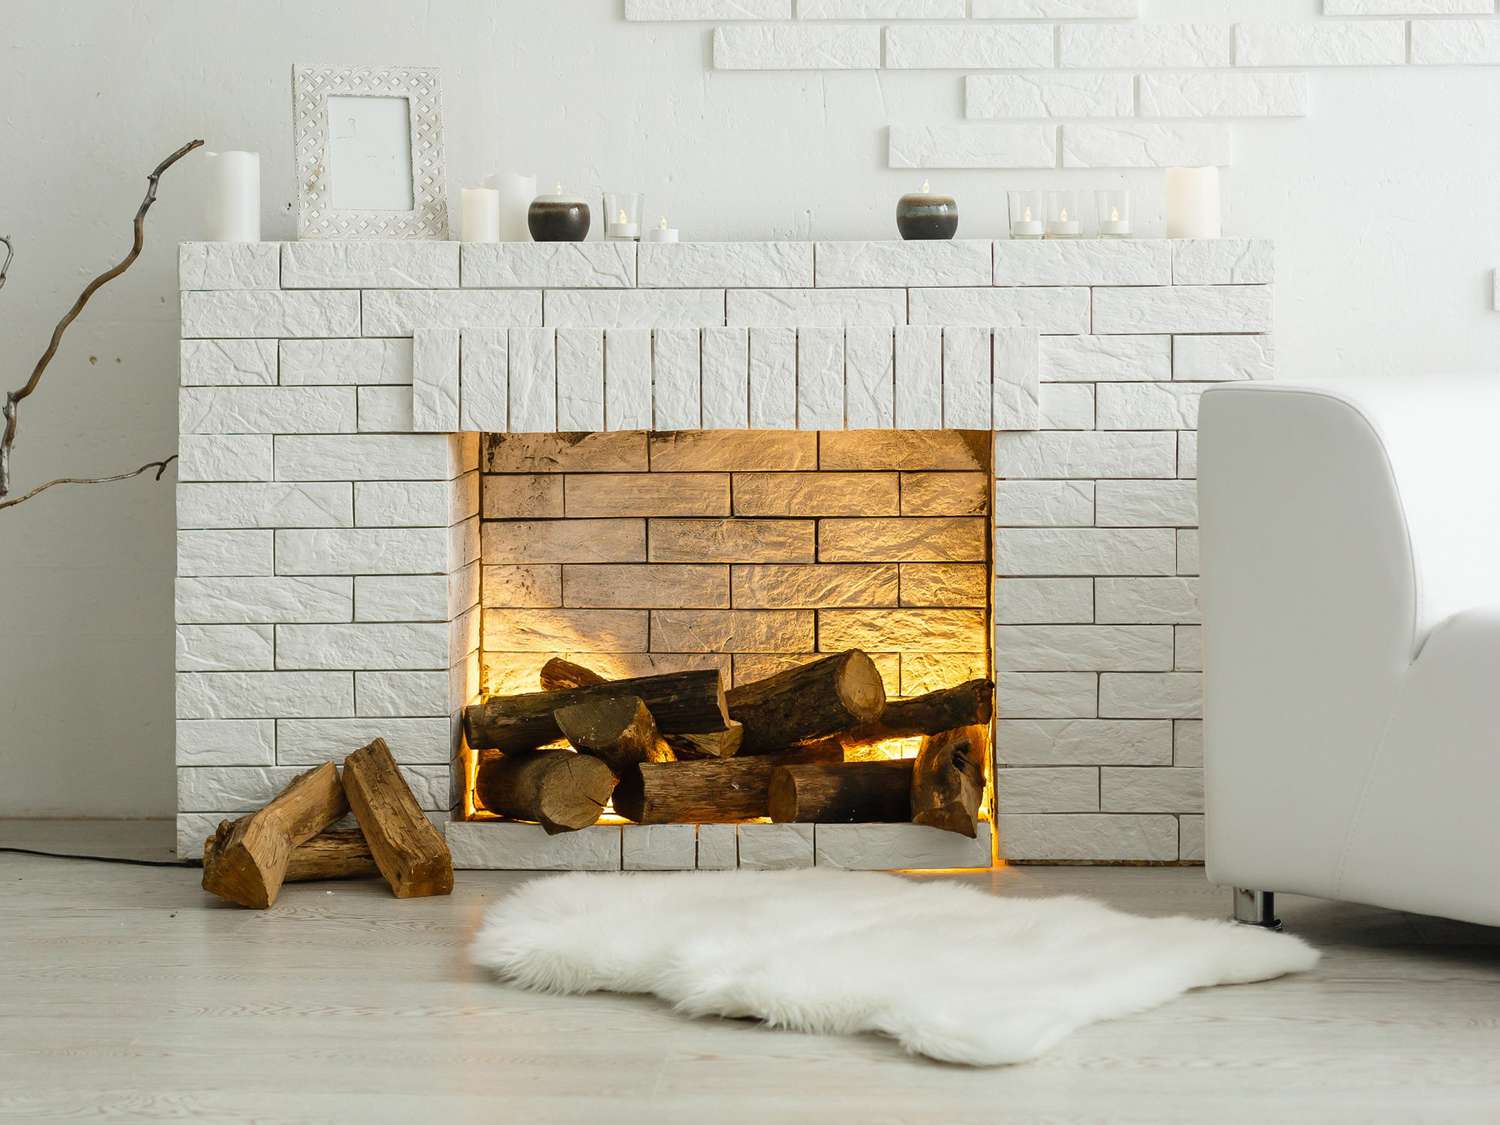
So, you've got a brick fireplace that's been painted over, and you're yearning to restore its natural charm. Stripping paint off a brick fireplace can be a rewarding project that revitalizes the focal point of your living space. Whether you're aiming for a rustic, industrial, or modern look, uncovering the original brick can breathe new life into the room.
Before diving into the process, it's crucial to understand that removing paint from brick requires patience, attention to detail, and the right materials. While it may seem like a daunting task, the transformation can be remarkably satisfying.
In this guide, we'll walk you through the step-by-step process of stripping paint off a brick fireplace. From safety precautions to the materials needed and the actual paint removal process, we've got you covered. So, roll up your sleeves and get ready to embark on a journey to restore the timeless allure of your brick fireplace. Let's dive in!
Key Takeaways:
- Uncover the timeless allure of your brick fireplace by following safety precautions, meticulously preparing the work area, and applying the paint stripper with precision. Embrace the transformative journey of restoring natural charm to your living space.
- Celebrate the satisfaction of revitalizing your brick fireplace by diligently scrubbing, rinsing, and cleaning up. Your commitment to preserving the timeless beauty of brick has brought warmth and character to your home.
Read more: How To Take Paint Off Brick Fireplace
Safety Precautions
Before delving into the paint stripping process, it’s essential to prioritize safety. Here are some crucial safety precautions to keep in mind:
- Protective Gear: Prior to starting the project, ensure that you have the necessary protective gear. This includes safety goggles to shield your eyes from paint chips and chemical splashes, as well as chemical-resistant gloves to safeguard your skin.
- Well-Ventilated Area: Paint stripping often involves the use of potent chemicals. Therefore, it’s imperative to work in a well-ventilated area to minimize exposure to fumes. Open windows and use fans to promote air circulation.
- Dust Mask: Brick dust and paint particles can become airborne during the paint removal process. Wearing a dust mask will help prevent inhalation of these particles, ensuring respiratory protection.
- Sturdy Ladder: If your fireplace extends to a height that requires a ladder for access, ensure that the ladder is stable and securely positioned before climbing to work on the higher areas.
- Chemical Handling: When working with paint strippers or solvents, carefully read and follow the manufacturer’s instructions. Store these chemicals away from children and pets, and dispose of them responsibly according to local regulations.
- Fire Safety: Keep a fire extinguisher within reach as a precautionary measure, especially if you’re working near open flames such as pilot lights or gas lines.
By prioritizing safety and taking the necessary precautions, you can ensure a secure and controlled environment for the paint stripping process, allowing you to focus on achieving the best results without compromising your well-being.
Materials Needed
Before commencing the paint stripping process, it’s essential to gather the necessary materials and tools. Here’s a comprehensive list of items you’ll need to effectively strip paint off your brick fireplace:
- Paint Stripper: Select a high-quality paint stripper specifically designed for masonry surfaces. Opt for a product that is safe for brick and capable of effectively removing multiple layers of paint.
- Protective Gear: As mentioned in the safety precautions, ensure you have safety goggles, chemical-resistant gloves, and a dust mask to protect yourself during the paint removal process.
- Scrub Brushes: Stiff-bristled brushes, such as nylon or wire brushes, are essential for scrubbing the brick and loosening the paint. Have a variety of brush sizes on hand to tackle different areas and crevices.
- Drop Cloths or Plastic Sheeting: Cover the surrounding area and floor with drop cloths or plastic sheeting to protect against paint splatters and drips.
- Plastic Scraper or Putty Knife: These tools will come in handy for gently scraping off softened paint from the brick surface.
- Bucket and Water Source: Prepare a bucket of water and have access to a water source for rinsing the brick and cleaning tools during the process.
- Neutralizing Solution (Optional): Depending on the type of paint stripper used, you may require a neutralizing solution to deactivate any remaining paint stripper residue on the brick.
- Clean Cloths or Rags: Have an ample supply of clean cloths or rags for wiping and drying the brick surface as needed.
- Protective Tarp or Plastic Barrier: If the fireplace is indoors, consider using a protective tarp or plastic barrier to isolate the work area and prevent paint and dust from spreading.
- Stiff Bristle Brush Attachment for Power Drill (Optional): For larger areas or stubborn paint, a stiff bristle brush attachment for a power drill can expedite the scrubbing process.
By ensuring that you have all the necessary materials and tools at your disposal, you can streamline the paint stripping process and achieve optimal results while maintaining a well-prepared and organized work environment.
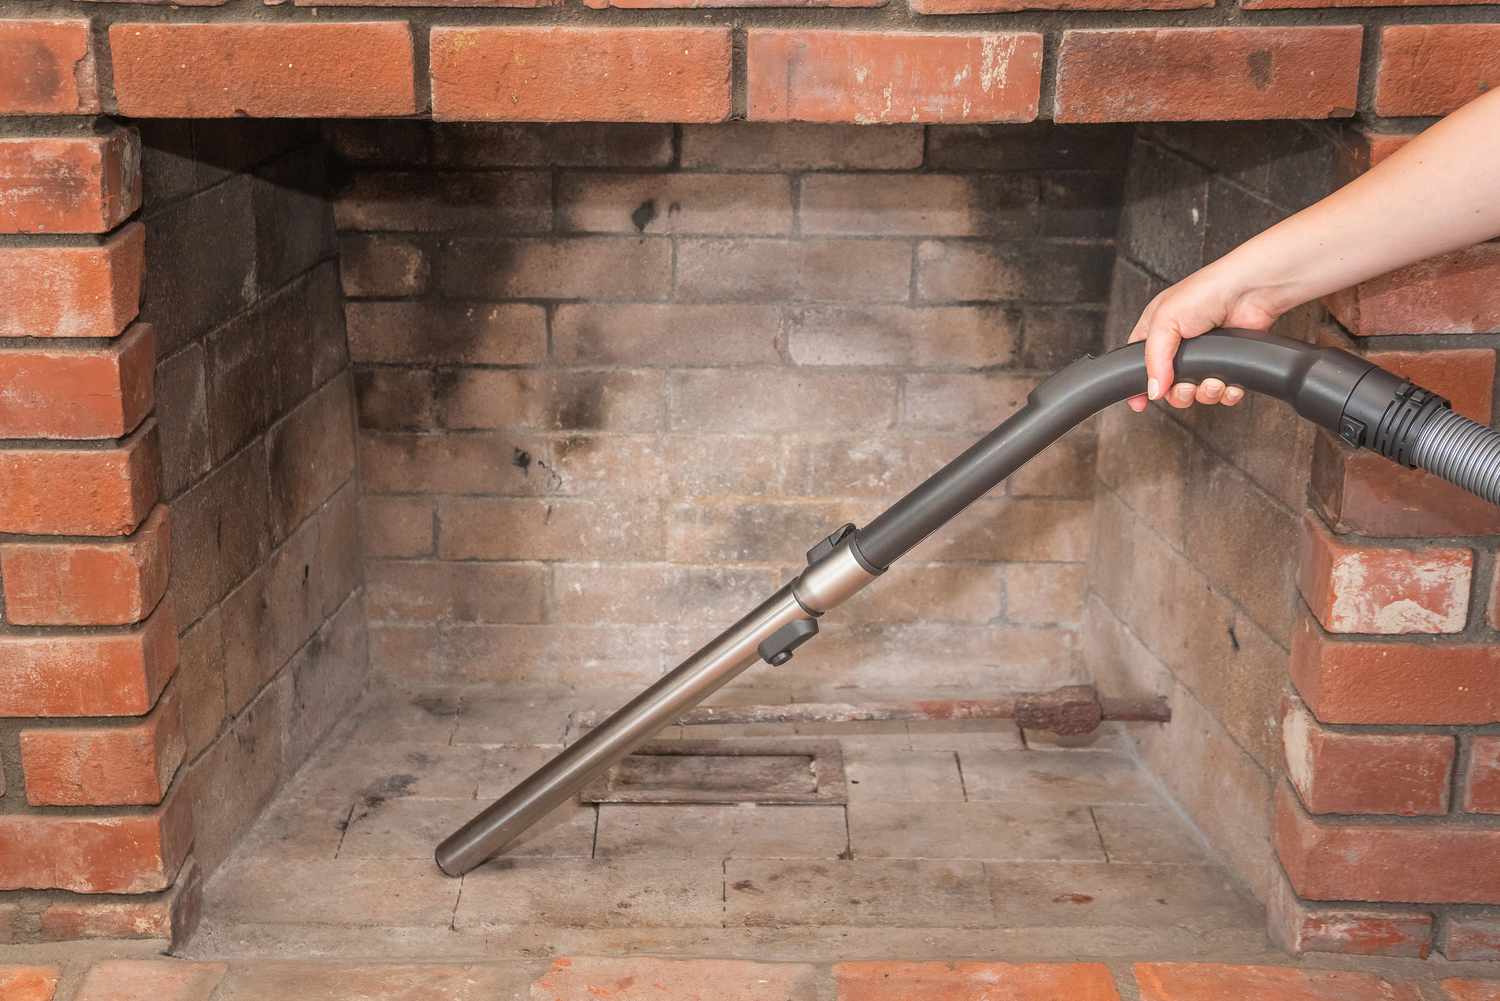
Step 1: Prepare the Work Area
Before diving into the paint stripping process, it’s crucial to prepare the work area to ensure a smooth and efficient undertaking. Follow these steps to set the stage for successful paint removal:
- Clear the Surrounding Space: Remove any furniture, decor, or flammable materials from the vicinity of the fireplace. Clearing the area will provide ample space to maneuver and work safely.
- Protective Coverings: Lay down drop cloths or plastic sheeting to shield the floor and surrounding surfaces from paint drips, splatters, and debris. Secure the coverings to prevent them from shifting during the project.
- Isolate the Work Area: If the fireplace is indoors, consider sealing off the work area with a protective tarp or plastic barrier to contain dust and paint particles, minimizing their spread to other parts of the room.
- Ventilation: Ensure that the work area is well-ventilated. Open windows and use fans to promote air circulation, reducing the concentration of fumes from paint strippers or solvents.
- Organize Tools and Materials: Arrange all the necessary tools and materials within easy reach. Having everything organized and readily accessible will streamline the paint stripping process and minimize disruptions.
- Protective Gear: Prior to starting, don the appropriate protective gear, including safety goggles, chemical-resistant gloves, and a dust mask, to safeguard yourself during the project.
By meticulously preparing the work area, you can create a controlled and organized environment conducive to a successful paint stripping endeavor. Taking the time to set the stage for the project will contribute to a more efficient and gratifying experience as you restore the natural beauty of your brick fireplace.
Step 2: Apply the Paint Stripper
With the work area prepared, it’s time to apply the paint stripper to the brick surface. This crucial step sets the foundation for effectively loosening and removing the layers of paint. Follow these guidelines to ensure a thorough and precise application:
- Read the Manufacturer’s Instructions: Before using the paint stripper, carefully review the manufacturer’s guidelines and safety precautions. Understanding the specific application and safety instructions is essential for achieving optimal results.
- Test in a Small Area: Prior to applying the paint stripper to the entire surface, conduct a small test in an inconspicuous area of the fireplace to assess its effectiveness and any potential reactions with the brick.
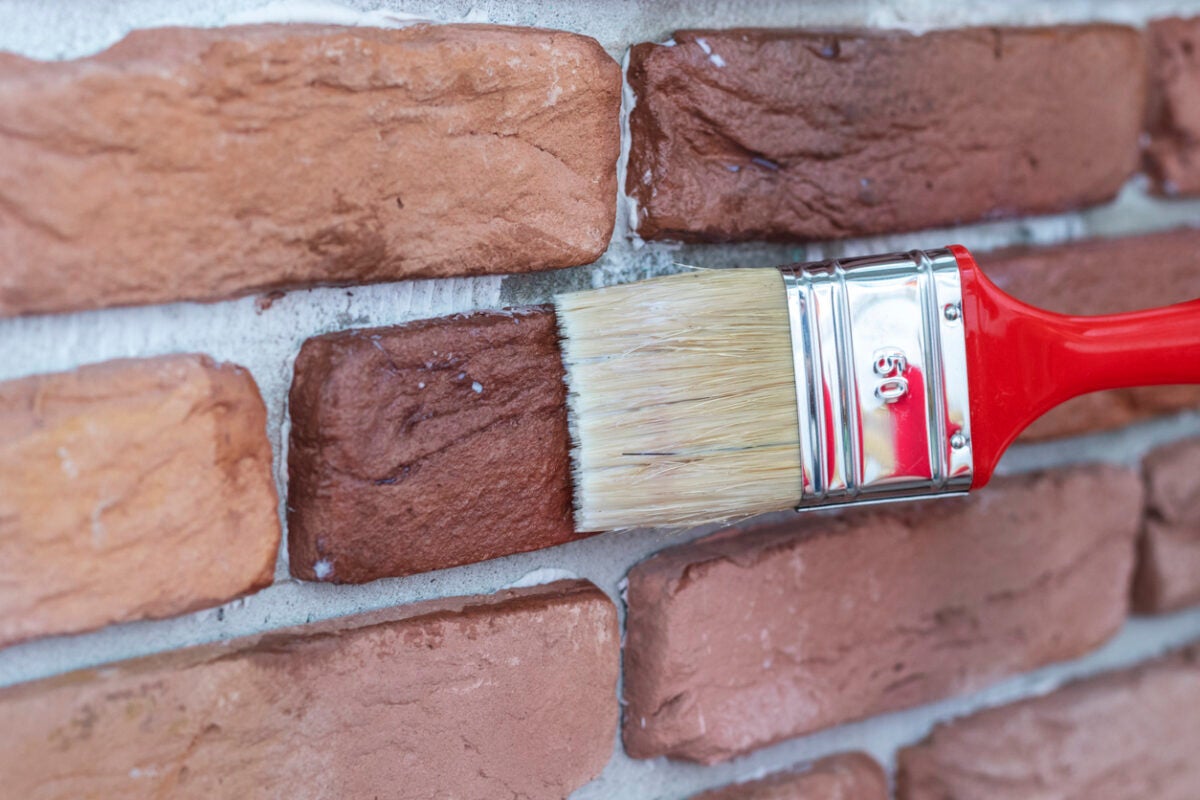
- Apply the Paint Stripper: Using a brush or roller, generously apply the paint stripper to the painted brick surface, ensuring even coverage. Work in manageable sections to maintain control over the application process.
- Allow Dwell Time: After applying the paint stripper, allow it to dwell on the surface for the duration specified in the manufacturer’s instructions. This dwell time is crucial for the stripper to penetrate and soften the paint layers effectively.
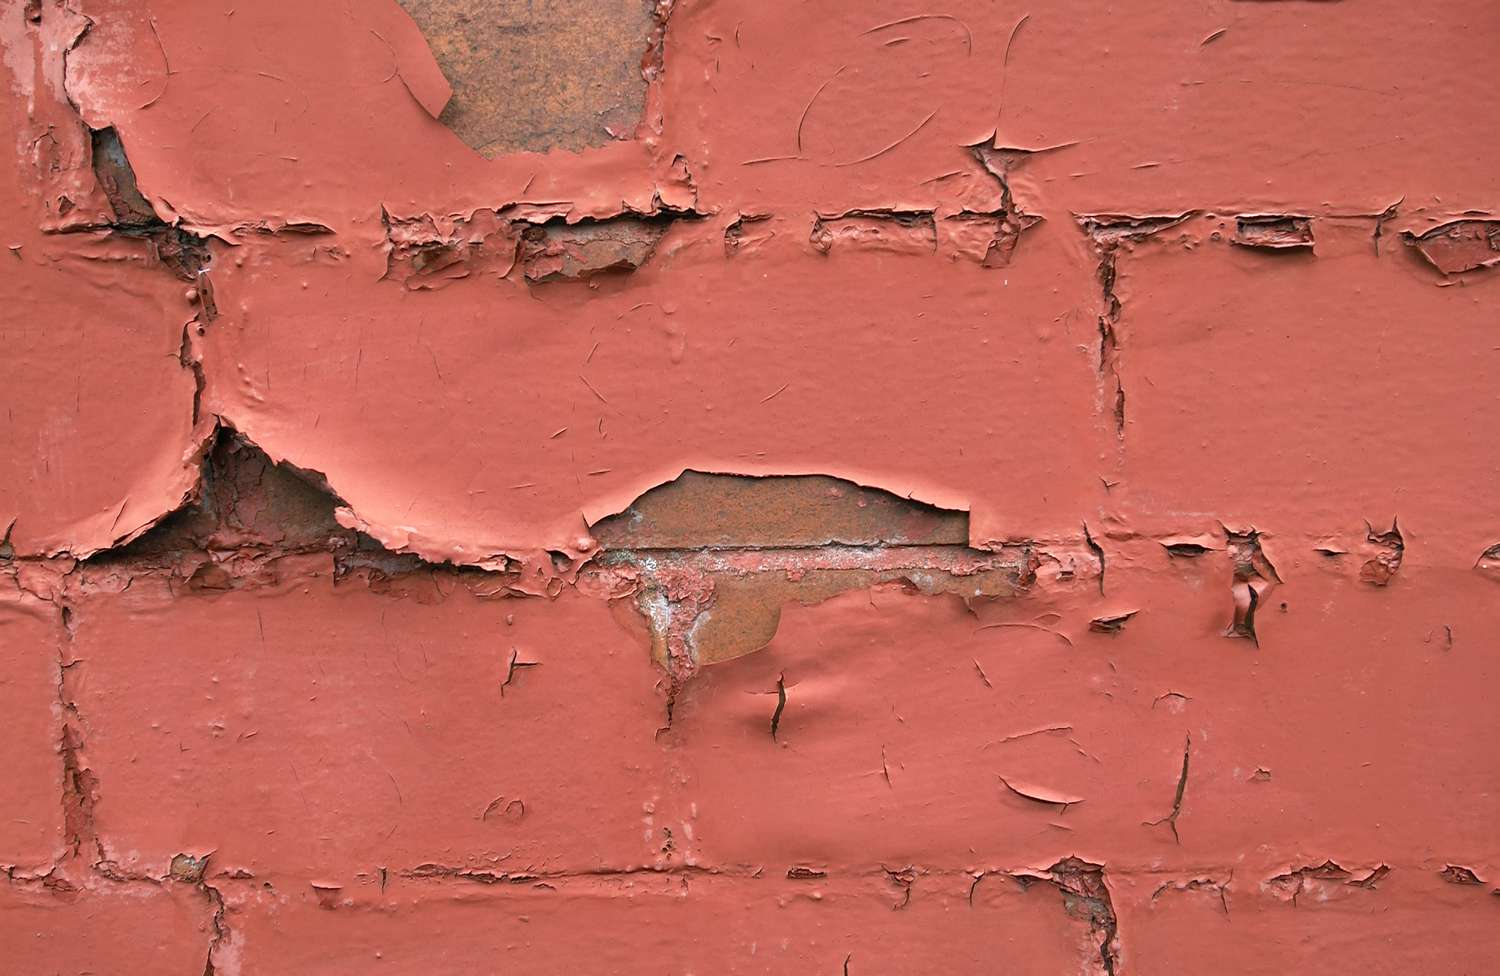
- Monitor the Progress: During the dwell time, periodically check the treated area to observe the paint’s reaction to the stripper. You should notice the paint softening and blistering as the chemical action takes place.
- Reapplication if Necessary: For stubborn or multiple layers of paint, a second application of the paint stripper may be required. Follow the manufacturer’s recommendations for reapplication and ensure adequate coverage.
By carefully applying the paint stripper and adhering to the manufacturer’s instructions, you can initiate the paint removal process with precision and confidence. This meticulous approach sets the stage for effectively loosening the paint from the brick surface, paving the way for the subsequent steps in the paint stripping journey.
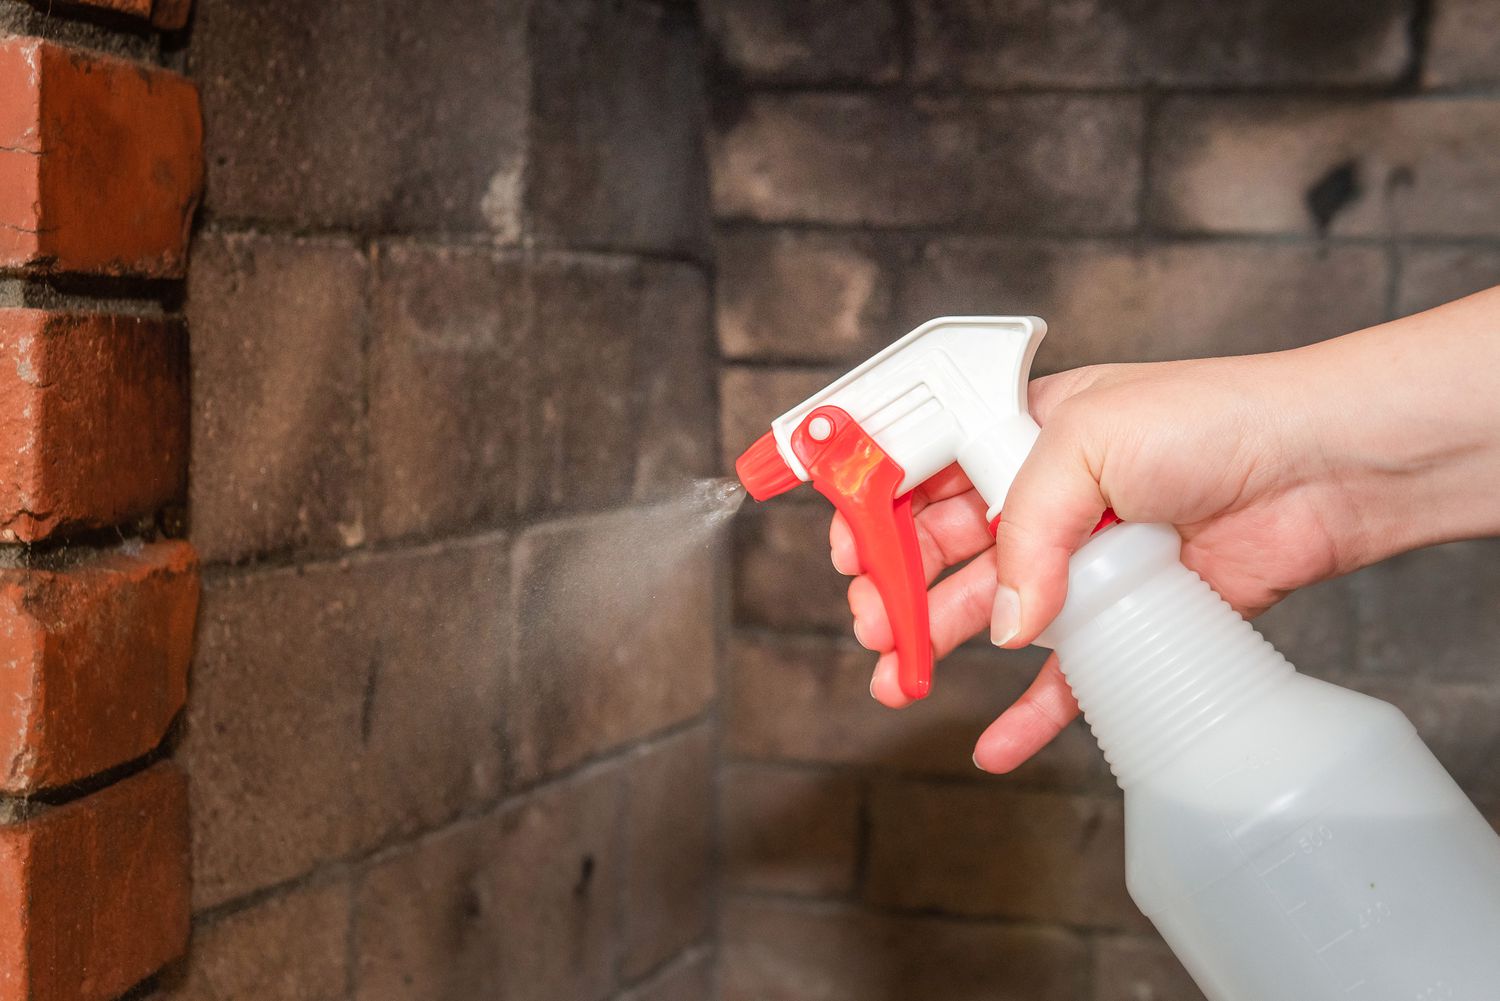
Use a chemical paint stripper specifically designed for masonry surfaces. Apply it according to the manufacturer’s instructions, then use a wire brush or scraper to remove the softened paint. Always wear protective gear and work in a well-ventilated area.
Read more: How To Paint A Brick Fireplace
Step 3: Scrub the Brick
Once the paint stripper has sufficiently softened the paint, it’s time to embark on the crucial step of scrubbing the brick surface to remove the loosened paint layers. Follow these guidelines to effectively scrub the brick and unveil its natural allure:
- Select the Appropriate Brushes: Choose stiff-bristled scrub brushes, such as nylon or wire brushes, that are suitable for masonry surfaces. Have a variety of brush sizes on hand to address different areas and crevices effectively.
- Begin Scrubbing: Starting from the top of the treated area, use firm and consistent strokes to scrub the brick surface. Work in manageable sections, ensuring thorough coverage and attention to detail.
- Remove Softened Paint: As you scrub, you’ll notice the softened paint lifting off the brick. Use a plastic scraper or putty knife to gently remove the loosened paint, taking care not to damage the brick surface.
- Address Stubborn Areas: For areas with stubborn paint residue, apply additional paint stripper as needed and allow it to dwell before resuming the scrubbing process. Persistence and thoroughness are key to achieving a uniformly stripped surface.
- Rinse and Inspect: Periodically rinse the scrubbed areas with water to remove paint residue and assess the progress. This step allows you to monitor the level of paint removal and identify any areas requiring further attention.
- Work Methodically: Approach the scrubbing process methodically, ensuring that all sections of the brick surface receive equal attention. Consistent and thorough scrubbing will yield a beautifully restored brick fireplace.
By diligently scrubbing the brick surface, you can effectively remove the softened paint layers, revealing the timeless elegance of the underlying brick. This step requires patience and attention to detail, but the transformative results will undoubtedly make the effort worthwhile.
Step 4: Rinse and Repeat
As you progress through the paint stripping process, the thorough rinsing of the brick surface and potential repetition of previous steps are vital for achieving a pristine finish. Follow these essential guidelines to ensure effective rinsing and potential reapplication of the paint stripping process:
- Rinse the Brick: Using a bucket of water and a clean cloth or sponge, thoroughly rinse the scrubbed areas of the brick to remove any residual paint stripper, paint residue, and debris. Ensure that the rinsing process is meticulous to reveal the true condition of the brick.
- Inspect the Surface: After rinsing, inspect the brick surface to assess the level of paint removal and the overall condition of the brick. This inspection will guide your decision on whether further paint stripping or spot treatment is necessary.
- Address Any Remaining Paint: If areas of the brick still retain paint residue or if multiple layers of paint persist, consider reapplying the paint stripper to these specific sections. Allow the stripper to dwell and reactivate its paint-softening action before scrubbing and rinsing these targeted areas.
- Neutralize the Surface (Optional): Depending on the type of paint stripper used, a neutralizing solution may be required to deactivate any residual chemical residue on the brick. Follow the manufacturer’s instructions for the appropriate neutralizing process, if applicable.
- Repeat the Process as Needed: For stubborn or extensive paint layers, be prepared to repeat the paint stripping, scrubbing, and rinsing process as necessary. Patience and persistence are key to achieving a thoroughly stripped and revitalized brick surface.
By diligently rinsing the brick and considering the potential need for repetition, you can ensure that the paint stripping process is thorough and comprehensive. This meticulous approach will contribute to a beautifully restored brick fireplace, free from the vestiges of paint and brimming with natural charm.
Step 5: Clean Up
As the paint stripping process nears completion, it’s essential to carry out a thorough clean-up to restore the work area and ensure that the surrounding space is left in pristine condition. Follow these essential steps to effectively clean up after stripping paint off your brick fireplace:
- Dispose of Debris: Collect any paint chips, debris, used cloths, and disposable materials generated during the paint stripping process. Dispose of these items responsibly, adhering to local waste disposal regulations.
- Remove Protective Coverings: Carefully remove the drop cloths, plastic sheeting, and protective barriers from the surrounding area. Dispose of any soiled coverings and ensure that the underlying surfaces are clean and undamaged.
- Clean Tools and Equipment: Thoroughly clean the scrub brushes, plastic scrapers, and any other tools used during the paint stripping process. Rinse them with water and allow them to dry completely before storing them for future use.
- Restore Furnishings and Decor: Return any furniture, decor, or items that were temporarily relocated to their original positions. Ensure that the space surrounding the fireplace is restored to its pre-project arrangement.
- Final Inspection: Conduct a final inspection of the stripped brick surface and the surrounding area. Address any residual paint or debris, and ensure that the fireplace and its environs are clean, tidy, and free from any remnants of the paint stripping process.
- Celebrate Your Achievement: Take a moment to appreciate the transformation you’ve accomplished. Admire the restored beauty of your brick fireplace and revel in the satisfaction of revitalizing a focal point of your home.
By meticulously completing the clean-up process, you can conclude the paint stripping project with a sense of accomplishment and the assurance that your living space is once again adorned with the timeless allure of a beautifully restored brick fireplace.
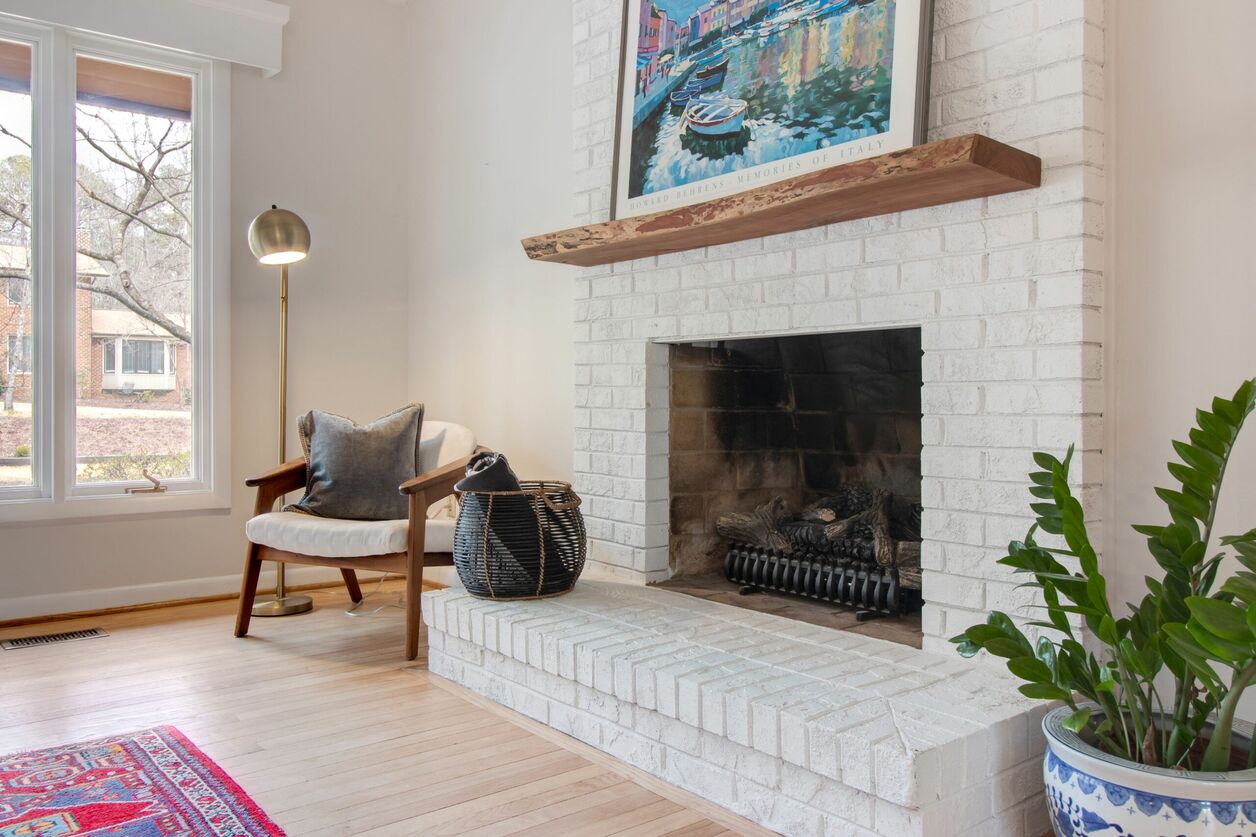
Conclusion
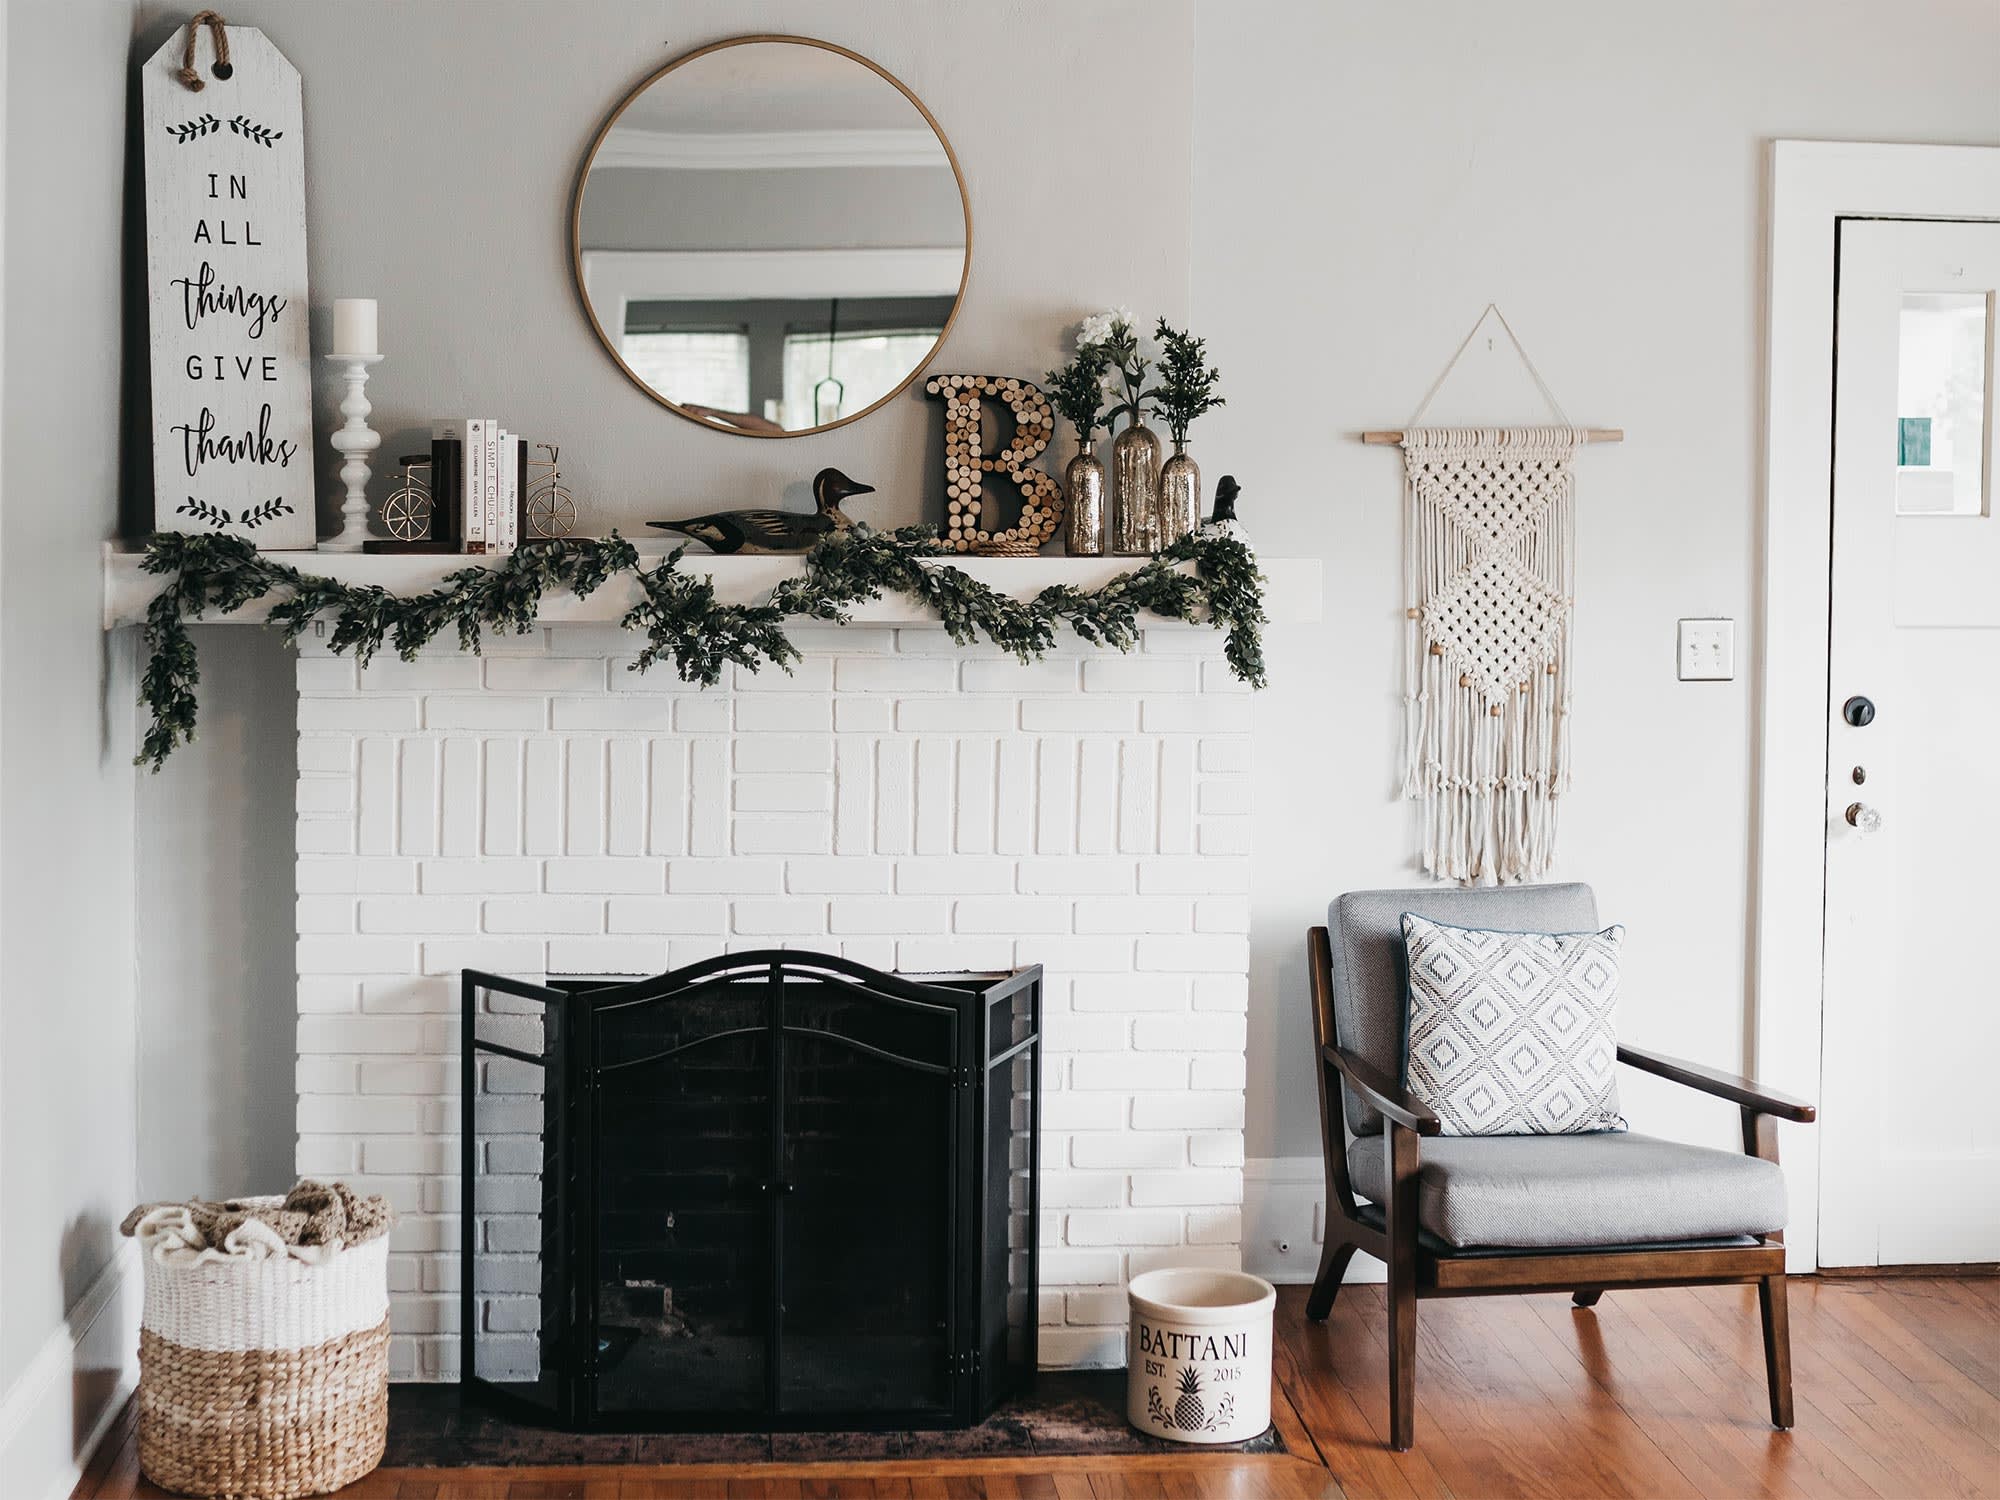
Congratulations on successfully completing the journey of stripping paint off your brick fireplace! The process may have presented its challenges, but the end result is undoubtedly worth the effort. By embracing this project, you’ve not only revitalized a focal point of your living space but also uncovered the timeless charm and character of the brick beneath the layers of paint.
Throughout the paint stripping process, you’ve demonstrated patience, attention to detail, and a commitment to achieving a beautifully restored brick fireplace. From meticulous preparation and precise application of the paint stripper to thorough scrubbing, rinsing, and clean-up, your dedication has culminated in a transformation that breathes new life into the heart of your home.
As you bask in the radiance of your revived brick fireplace, take pride in the craftsmanship and care you’ve invested in this endeavor. Your commitment to preserving the natural beauty of the brick has not only enhanced the aesthetic appeal of your living space but has also imbued it with a sense of history and authenticity.
Now that your brick fireplace stands free from the vestiges of paint, it serves as a testament to your dedication to craftsmanship and the enduring allure of timeless materials. Whether you’ve embraced a rustic, industrial, or modern aesthetic, the restored brick fireplace stands as a captivating centerpiece, exuding warmth and character.
As you relish the ambiance and visual impact of your revitalized brick fireplace, take a moment to appreciate the journey you’ve undertaken. Your commitment to preserving and restoring the inherent beauty of this architectural feature reflects a deep appreciation for the enduring appeal of natural materials.
With the paint stripped away, your brick fireplace now stands as a testament to the enduring allure of authentic materials and the transformative power of craftsmanship. Embrace the renewed charm and character it brings to your living space, and revel in the timeless beauty of your restored brick fireplace.
Frequently Asked Questions about How To Strip Paint Off Brick Fireplace
Was this page helpful?
At Storables.com, we guarantee accurate and reliable information. Our content, validated by Expert Board Contributors, is crafted following stringent Editorial Policies. We're committed to providing you with well-researched, expert-backed insights for all your informational needs.

0 thoughts on “How To Strip Paint Off Brick Fireplace”