Home>Construction & Tools>Building Materials>How To Take Paint Off Brick Fireplace
Building Materials
How To Take Paint Off Brick Fireplace
Modified: February 23, 2024
Learn the best techniques for removing paint from a brick fireplace using building materials. Discover step-by-step instructions and expert tips for a successful project.
(Many of the links in this article redirect to a specific reviewed product. Your purchase of these products through affiliate links helps to generate commission for Storables.com, at no extra cost. Learn more)
Introduction
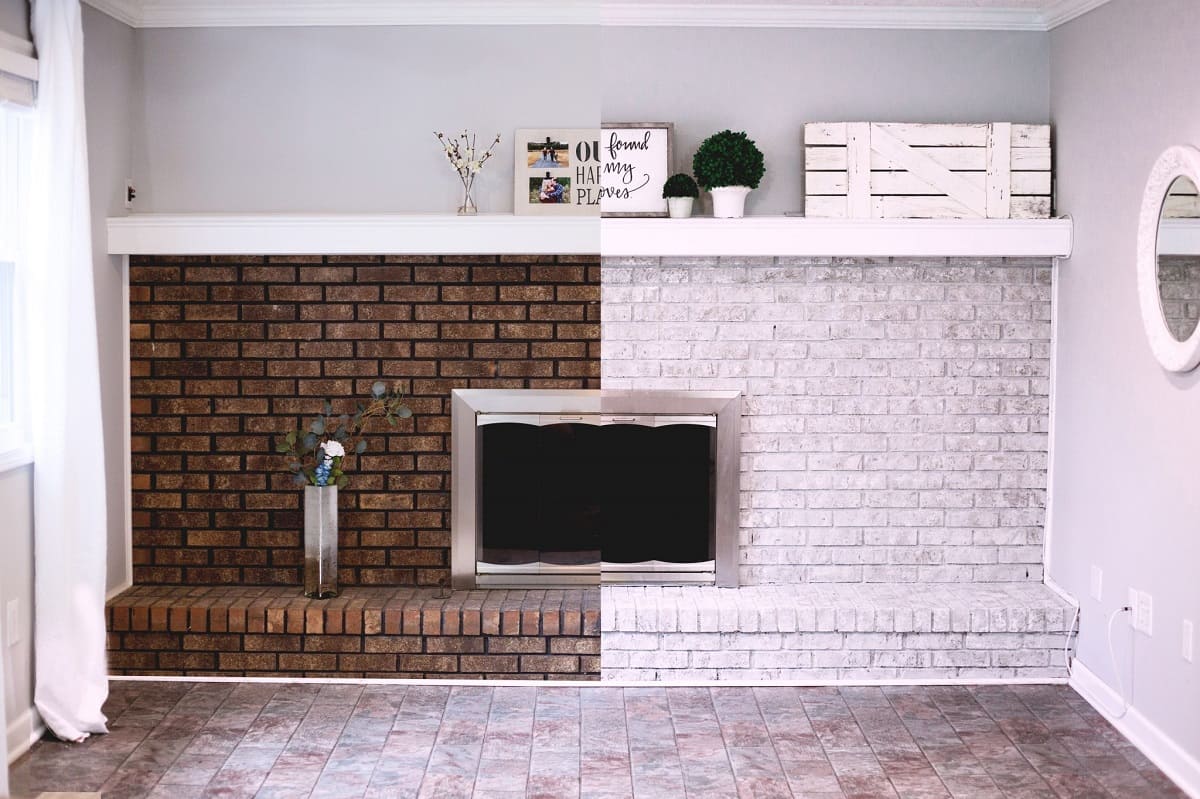
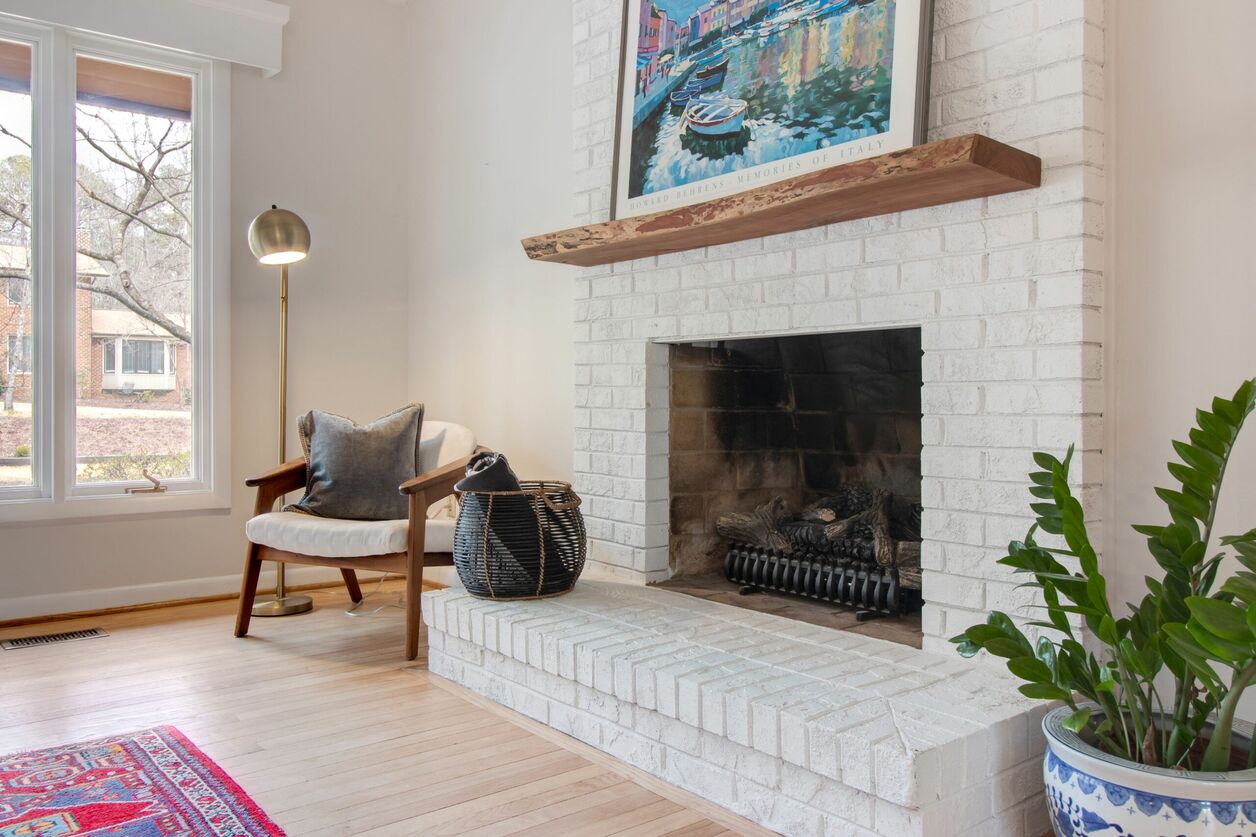
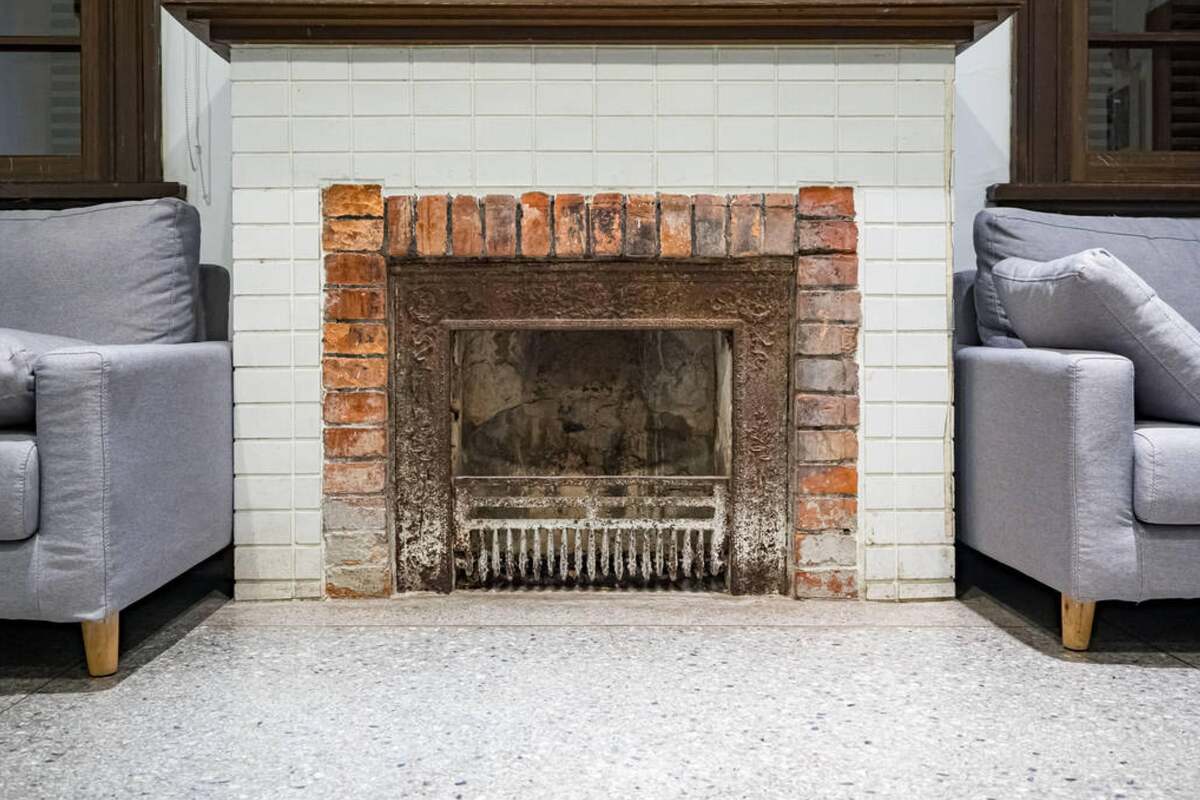
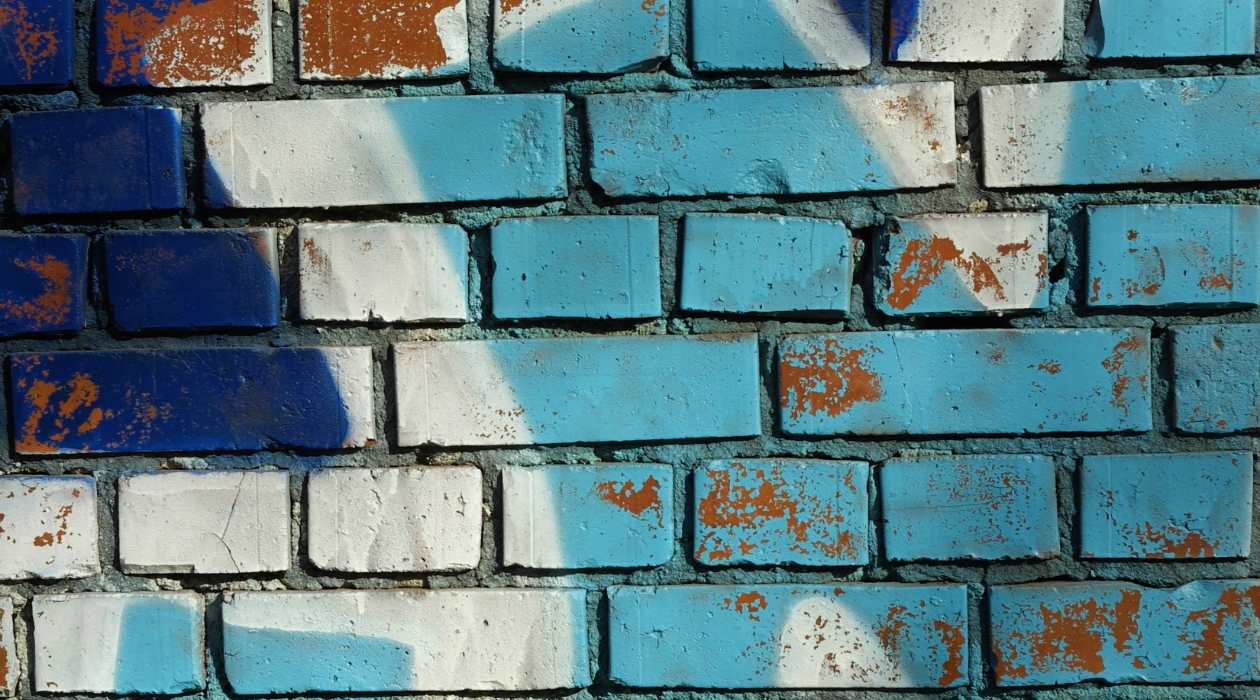
So, you've just moved into a new home, and you're thrilled about the beautiful brick fireplace in the living room. However, there's one small problem: the previous owners decided to paint it, and the color just doesn't suit your style. Or perhaps you've been living in your home for a while, and the once-trendy painted fireplace now feels outdated. Whatever the case may be, you've made the decision to restore the natural beauty of the brick by removing the paint.
Restoring a brick fireplace to its original, unadorned state can bring a sense of timeless charm and warmth to your living space. Whether you're aiming for a rustic, farmhouse aesthetic or a more modern, industrial look, stripping the paint from your brick fireplace can be a rewarding and transformative DIY project.
In this guide, we'll walk you through the step-by-step process of safely and effectively removing paint from a brick fireplace. From gathering the necessary materials to applying the paint stripper and giving your fireplace a fresh new look, we've got you covered. Before we dive into the practical steps, it's crucial to emphasize the importance of safety when undertaking this project. With the right precautions and a bit of elbow grease, you'll soon be enjoying the natural beauty of your exposed brick fireplace.
Key Takeaways:
- Uncover the timeless charm of your brick fireplace by safely removing paint, scrubbing the surface, and adding final touches for a warm, inviting atmosphere in your home.
- Prioritize safety, test paint removal methods, and embrace the natural beauty of exposed brick to transform your fireplace into a captivating focal point with rustic elegance.
Read more: How To Strip Paint Off Brick Fireplace
Safety Precautions
Before embarking on any home improvement project, especially one involving chemical products and physical labor, it’s essential to prioritize safety. When removing paint from a brick fireplace, you’ll be working with potentially hazardous substances and using tools that require careful handling. Here are some crucial safety precautions to keep in mind:
- Protective Gear: Prior to starting the paint removal process, ensure that you’re equipped with the appropriate protective gear. This includes safety goggles to shield your eyes from paint chips and chemical splashes, a respirator or mask to prevent inhalation of fumes, and chemical-resistant gloves to safeguard your skin.
- Ventilation: Adequate ventilation is key when using paint strippers, as these products release fumes that can be harmful if inhaled. Work in a well-ventilated area, and consider using fans or opening windows to promote air circulation.
- Chemical Awareness: Familiarize yourself with the specific paint stripper you’ll be using. Read and follow the manufacturer’s instructions carefully, and be mindful of any warnings or precautions outlined on the product label.
- Work Area Preparation: Before applying the paint stripper, prepare the work area by covering the surrounding floor and furniture with protective materials, such as drop cloths or plastic sheeting, to prevent accidental damage from spills or splatters.
- First Aid Kit: Have a well-stocked first aid kit readily available in case of minor cuts, scrapes, or accidental skin contact with the paint stripper. Promptly attend to any injuries and seek medical attention if necessary.
- Proper Disposal: When handling paint chips and used paint stripper, follow local regulations for proper disposal. Some paint strippers and associated waste may be considered hazardous and require special disposal procedures.
By adhering to these safety precautions and maintaining a vigilant approach throughout the paint removal process, you can minimize potential risks and ensure a safe and successful outcome. With safety at the forefront, you’re ready to move on to the next steps of this rewarding home improvement endeavor.
Gathering the Necessary Materials
Before diving into the paint removal process, it’s essential to gather all the required materials and tools. Having the right supplies at your disposal will streamline the project and contribute to a more efficient and effective outcome. Here’s a comprehensive list of the materials you’ll need to tackle the task of removing paint from your brick fireplace:
- Paint Stripper: Select a high-quality paint stripper specifically formulated for masonry surfaces. Look for a product that is suitable for removing multiple layers of paint and designed for use on brick or stone.
- Protective Gear: As mentioned in the safety precautions, ensure you have safety goggles, a respirator or mask, and chemical-resistant gloves to safeguard yourself during the paint removal process.
- Scraper or Putty Knife: A sturdy scraper or putty knife will be indispensable for loosening and removing the softened paint from the brick surface. Opt for a tool with a comfortable grip and a sharp, durable edge.
- Wire Brush: A wire brush is ideal for agitating and scrubbing the brick after applying the paint stripper, helping to dislodge any remaining paint and achieve a thorough cleaning of the surface.
- Drop Cloths or Plastic Sheeting: Protect the surrounding area by covering the floor and nearby furnishings with drop cloths or plastic sheeting to prevent accidental drips or spills from the paint removal process.
- Bucket and Sponge: Have a bucket of water and a sponge on hand to rinse and clean the brick surface after the paint has been stripped, as well as to neutralize any remaining traces of the paint stripper.
- Neutralizing Solution (Optional): Depending on the type of paint stripper used, a neutralizing solution recommended by the manufacturer may be necessary to fully deactivate any residual chemicals on the brick.
- Protective Tarp or Plastic Tarps: If the fireplace is indoors, consider using a protective tarp or additional plastic tarps to shield the immediate area from potential splatters and drips during the paint removal process.
- Appropriate Clothing: Wear old, long-sleeved clothing and long pants to protect your skin from accidental contact with the paint stripper and to minimize exposure to paint chips and debris.
- Stiff Bristle Brush: A stiff bristle brush can be used to assist in agitating the paint stripper and paint residue, particularly in hard-to-reach or intricate areas of the brick.
By ensuring that you have all the necessary materials and tools ready for the project, you’ll be well-prepared to proceed with confidence and efficiency. With the next step being the testing of the paint, you’re on your way to restoring the natural beauty of your brick fireplace.
Testing the Paint
Before applying the paint stripper to the entire surface of the brick fireplace, it’s crucial to conduct a thorough test to determine the most effective and safe approach for removing the paint. This initial testing phase will help you assess the type of paint used, the number of layers present, and the best method for achieving successful paint removal without causing damage to the underlying brick.
Here’s a step-by-step guide to testing the paint on your brick fireplace:
- Choose a Small Area: Select a discreet and easily accessible section of the fireplace to conduct the paint test. This area will serve as a representative sample for assessing the paint removal process.
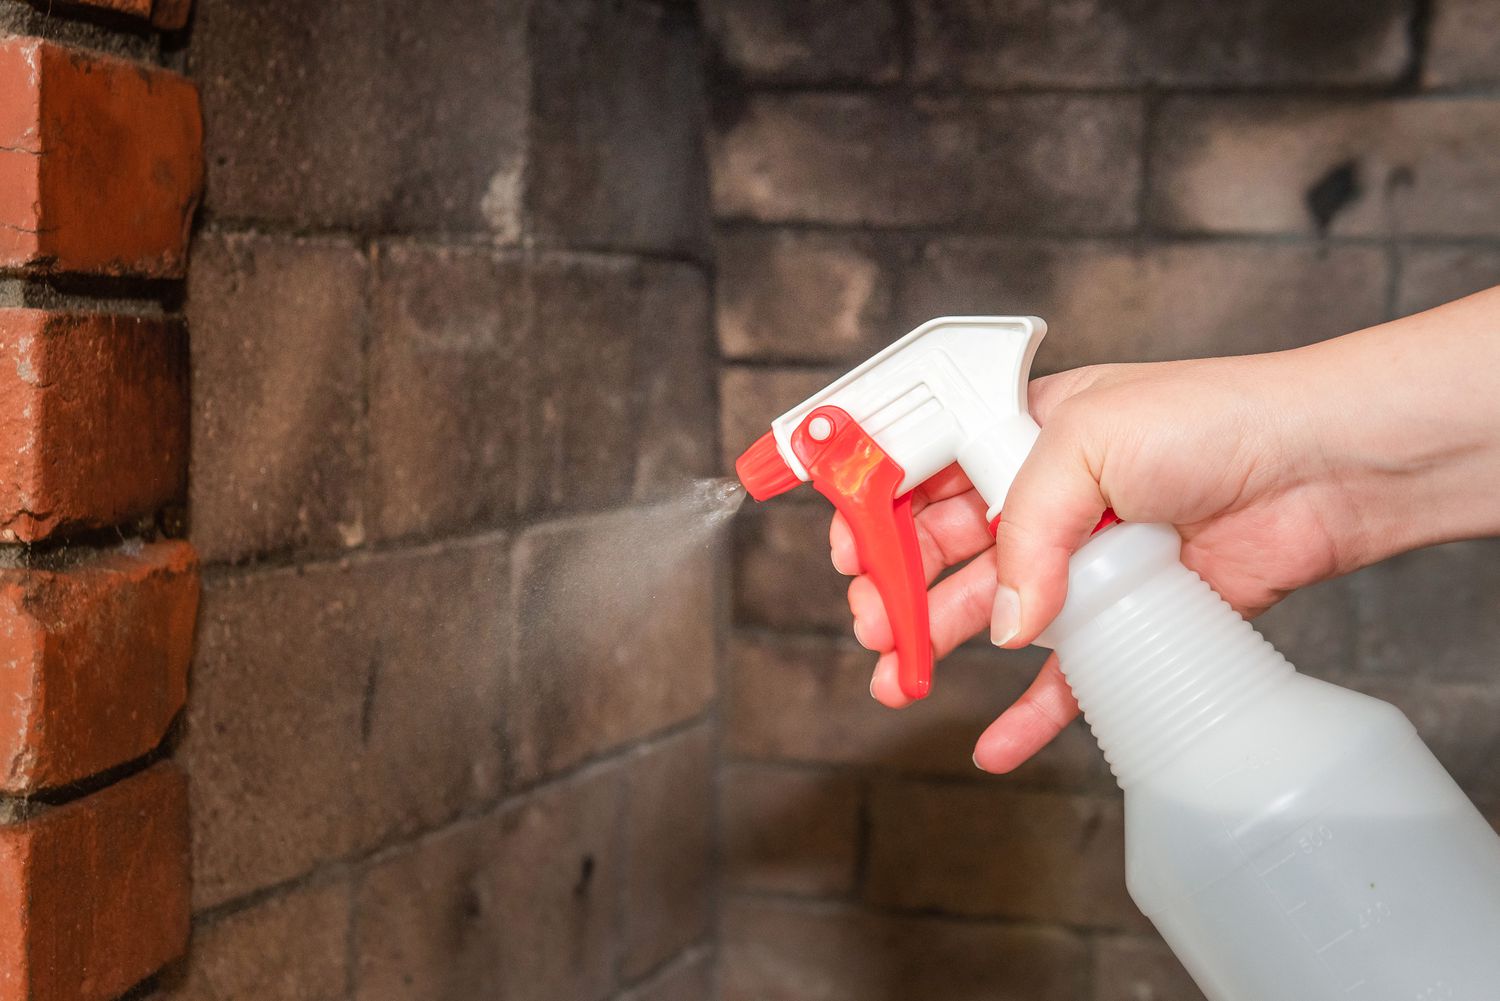
- Apply a Small Amount of Paint Stripper: Following the manufacturer’s instructions, apply a small amount of the paint stripper to the chosen test area using a brush or applicator. Ensure that the application is even and covers the surface adequately.
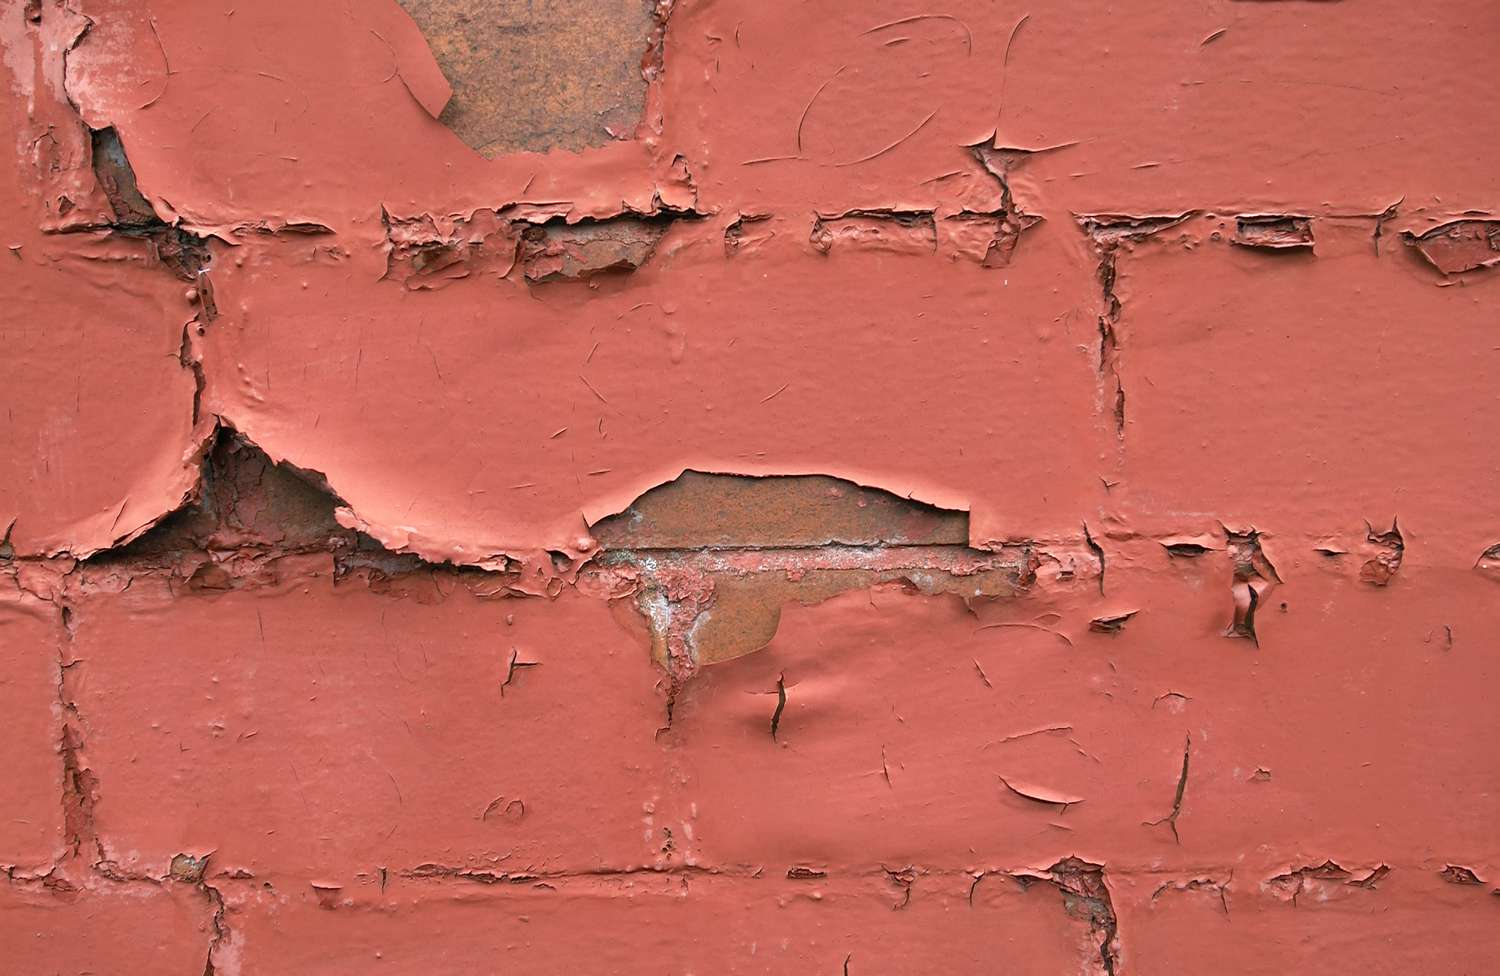
- Observe the Reaction: Allow the paint stripper to work for the recommended duration, typically as specified by the product instructions. Observe how the paint reacts to the stripper, looking for signs of softening, bubbling, or lifting from the brick surface.
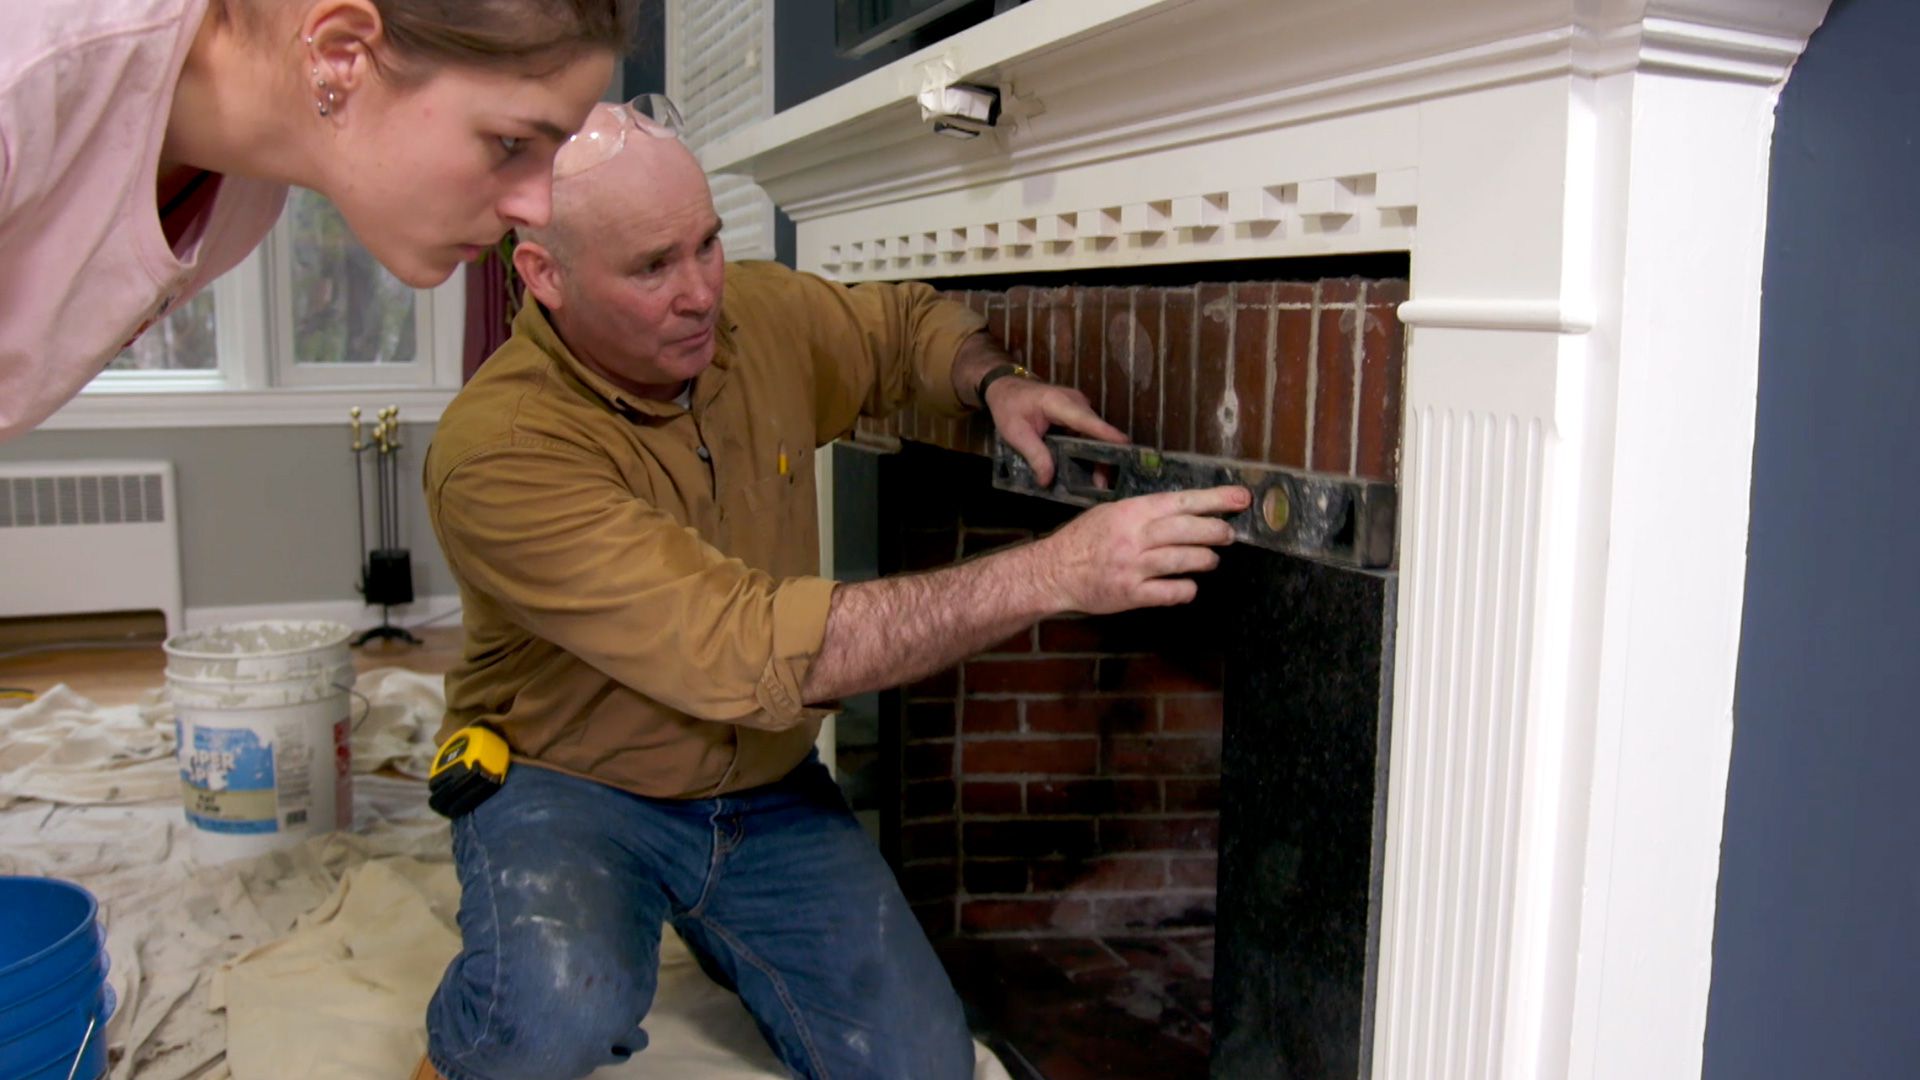
- Scrape or Remove the Paint: After the designated time has elapsed, use a scraper or putty knife to gently test the paint’s response to removal. If the paint easily lifts or comes off in softened layers, the paint stripper is likely effective for the brick surface.
- Assess the Brick Surface: Once the paint is removed from the test area, assess the condition of the underlying brick. Ensure that the brick surface remains intact and undamaged, without signs of excessive etching or erosion caused by the paint stripper.
- Repeat if Necessary: If the initial test yields unsatisfactory results or if multiple layers of paint are present, consider conducting additional tests in different areas of the fireplace to gauge the most appropriate approach for complete paint removal.
By carefully testing the paint on your brick fireplace, you can determine the optimal method for proceeding with the paint removal process. This thoughtful and methodical approach will help you avoid potential damage to the brick and ensure that the subsequent application of the paint stripper achieves the desired results.
Applying the Paint Stripper
With the successful completion of the paint testing phase, you’re now ready to proceed with applying the paint stripper to the entire surface of the brick fireplace. This critical step in the paint removal process requires precision and attention to detail to ensure thorough and effective results. Here’s a comprehensive guide for applying the paint stripper to your brick fireplace:
- Prepare the Work Area: Begin by preparing the surrounding area, including the floor and nearby furnishings, with drop cloths or plastic sheeting to protect them from potential spills or splatters during the paint removal process.
- Put on Protective Gear: Prior to handling the paint stripper, don the necessary protective gear, including safety goggles, a respirator or mask, and chemical-resistant gloves to safeguard yourself from exposure to fumes and chemicals.
- Follow Manufacturer’s Instructions: Carefully review and adhere to the manufacturer’s instructions for the specific paint stripper you’re using. Take note of recommended application methods, dwell times, and safety precautions outlined on the product label.
- Apply the Paint Stripper: Using a brush or applicator recommended for the type of paint stripper being used, apply a generous and even coat of the product to the entire surface of the brick fireplace. Ensure that the paint stripper penetrates any crevices or textured areas of the brick.
- Allow Dwell Time: Once the paint stripper is applied, allow it to dwell on the brick surface for the duration specified by the manufacturer. This dwell time allows the chemical agents in the stripper to effectively soften and lift the paint from the brick.
- Monitor the Progress: During the dwell period, periodically inspect the treated areas to observe the paint’s reaction to the stripper. Look for signs of paint softening, bubbling, or loosening from the brick surface, indicating that the paint is ready for removal.
- Prepare for Paint Removal: As the paint stripper continues to work, prepare your scraping and cleaning tools, including a sturdy scraper or putty knife for removing the softened paint, as well as a bucket of water and a sponge for rinsing the brick surface.
- Work in Sections: If the fireplace is large, consider dividing the surface into manageable sections for applying the paint stripper and subsequent paint removal. Working in sections allows for more controlled and thorough coverage.
By following these steps and exercising care and precision in applying the paint stripper, you’ll set the stage for a successful paint removal process. With the next phase involving the physical removal of the softened paint, your brick fireplace is well on its way to being restored to its natural, unadorned beauty.
Use a chemical paint stripper specifically designed for masonry surfaces. Apply it according to the manufacturer’s instructions, then scrape off the softened paint with a putty knife. Always wear protective gear and work in a well-ventilated area.
Read more: How To Paint A Brick Fireplace
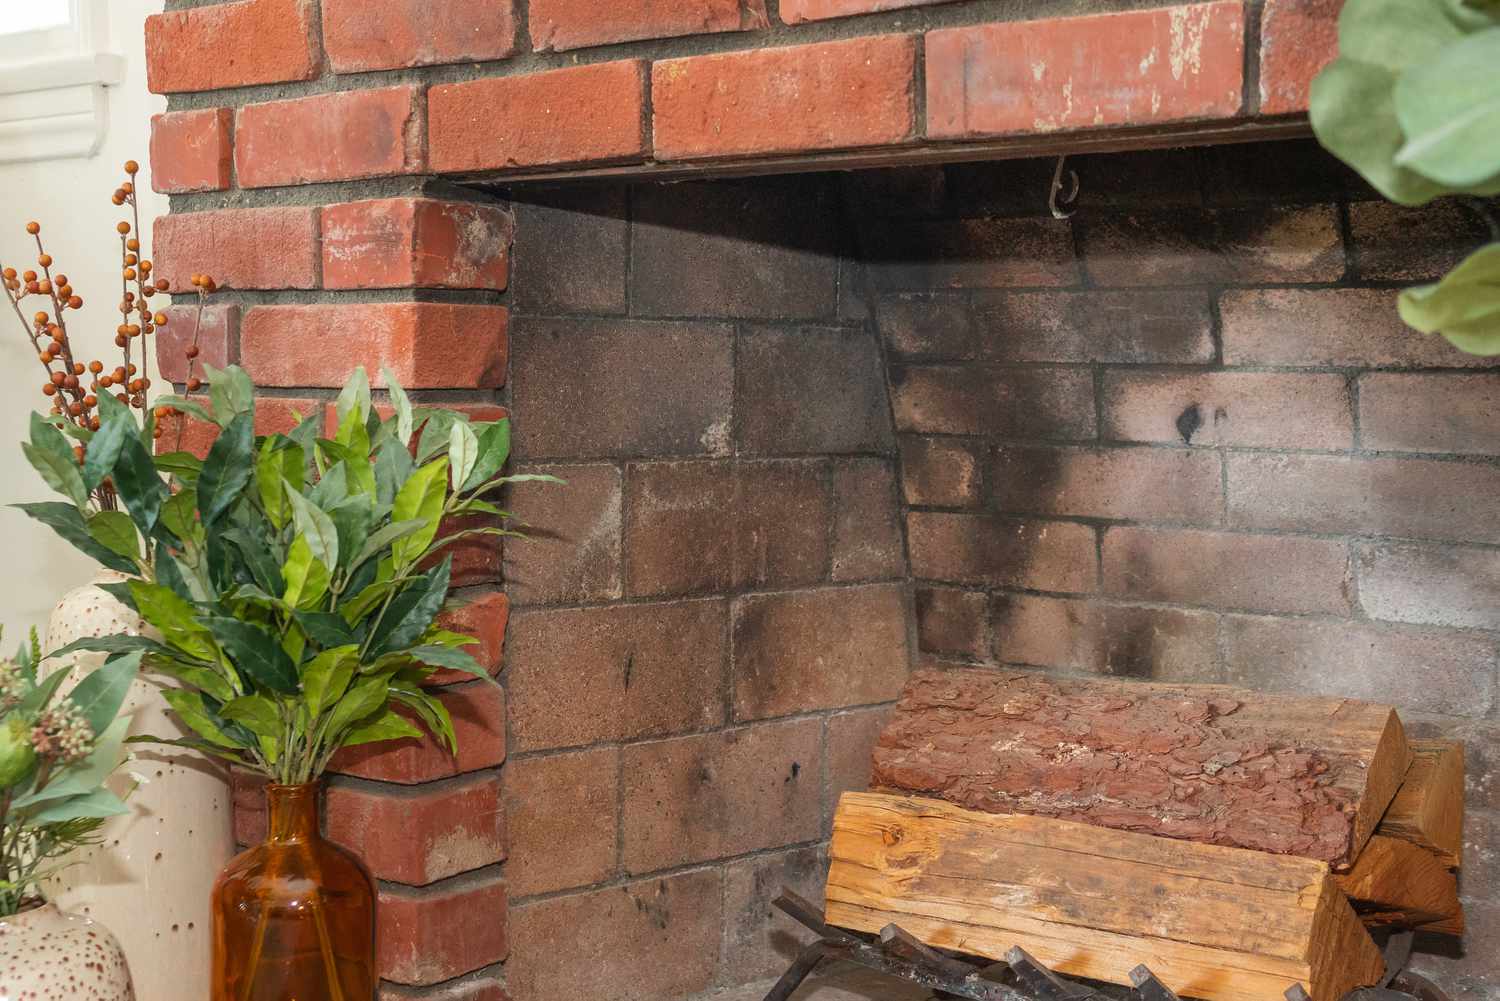
Scrubbing the Brick
After allowing the paint stripper to effectively soften and loosen the paint from the brick surface, the next crucial step in the paint removal process involves thorough scrubbing to dislodge the softened paint and achieve a clean, restored appearance. This phase requires diligence and attention to detail to ensure that the brick’s natural texture and color are fully revealed. Here’s a detailed guide for scrubbing the brick of your fireplace:
- Assess the Softened Paint: Once the designated dwell time has elapsed and the paint has visibly softened, use a scraper or putty knife to gently test the paint’s response to removal. If the paint readily lifts or peels away from the brick, it’s time to proceed with scrubbing.
- Use a Wire Brush: Equip yourself with a sturdy wire brush, ideally one designed for masonry surfaces, to agitate and scrub the brick. The wire bristles are effective in dislodging the softened paint and reaching into the textured areas of the brick.
- Scrub in a Circular Motion: With the wire brush in hand, begin scrubbing the treated areas of the brick in a circular motion, applying moderate pressure to effectively remove the loosened paint. Work methodically and systematically across the entire surface of the fireplace.
- Address Stubborn Areas: Pay particular attention to any stubborn or hard-to-reach areas where paint residue may be lingering. Use the wire brush to concentrate on these spots, ensuring that all traces of paint are thoroughly scrubbed away.
- Rinse and Clean the Brick: Periodically rinse the wire brush and the treated areas of the brick with clean water to remove dislodged paint and paint stripper residue. As you scrub, periodically inspect the cleaned areas to assess the progress and identify any remaining traces of paint.
- Repeat as Needed: If multiple layers of paint are present or if certain areas require additional attention, be prepared to repeat the scrubbing process as necessary. Thoroughness is key to achieving a fully restored brick surface.
- Inspect and Touch Up: Once the scrubbing process is complete, visually inspect the entire surface of the brick fireplace to ensure that all paint has been effectively removed. Touch up any areas where paint residue remains, using the wire brush to gently scrub away lingering traces.
By diligently following these steps and dedicating care and effort to the scrubbing process, you’ll achieve a beautifully restored brick surface, free from the constraints of paint and ready to showcase its natural texture and character. With the brick now free from paint, the next phase involves cleaning the fireplace to reveal its full, unadorned beauty.
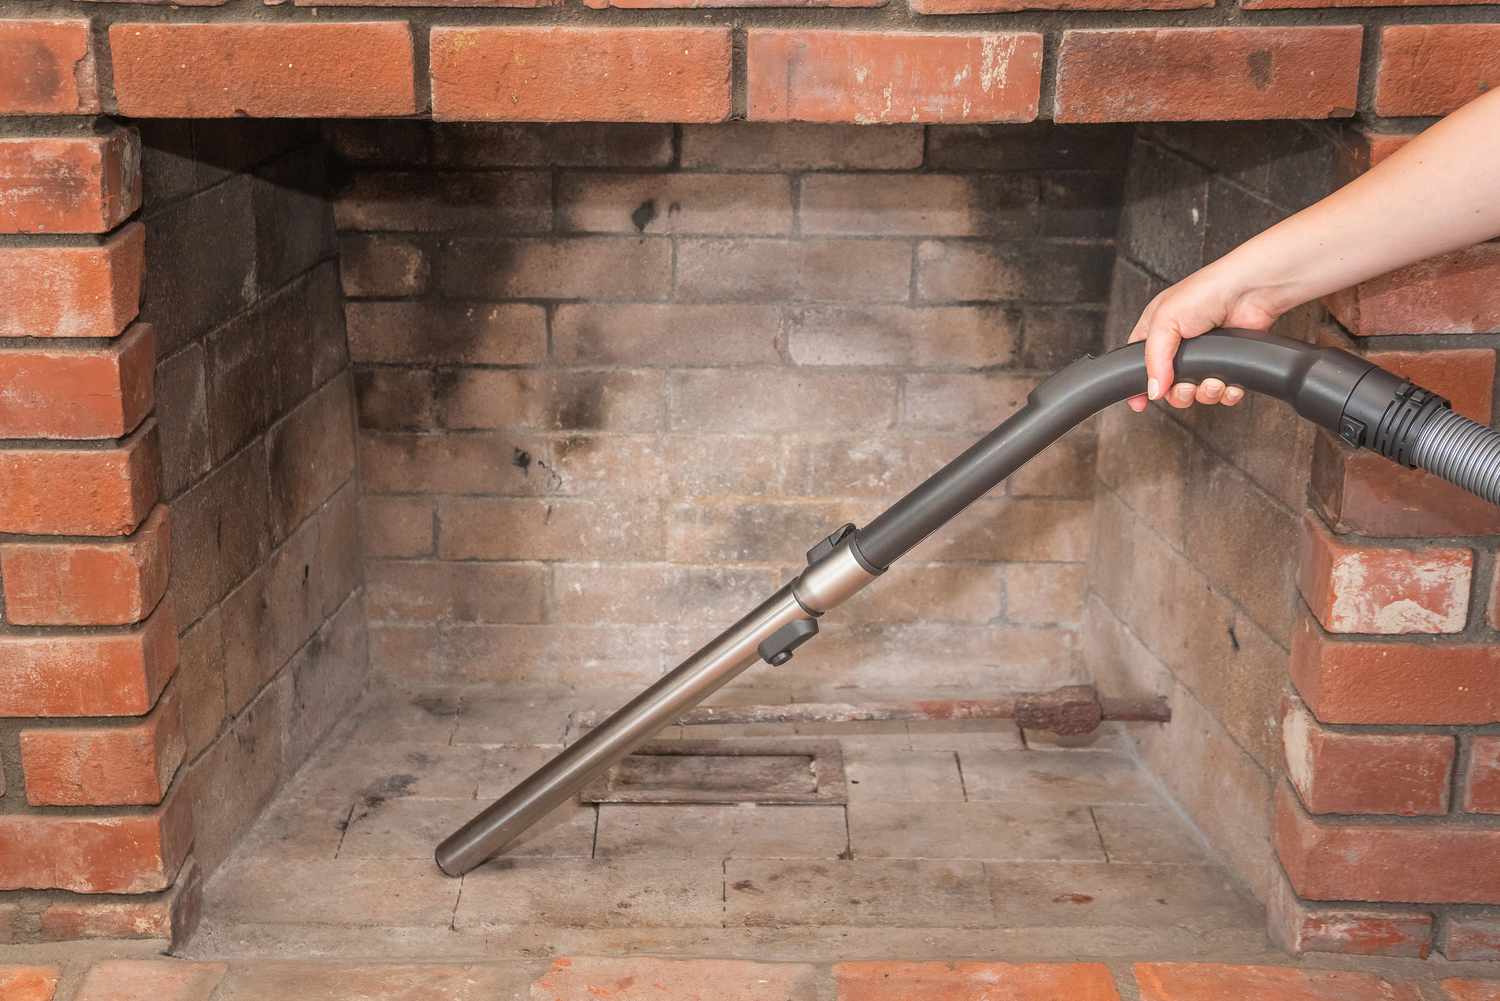
Cleaning the Fireplace
With the paint successfully removed and the brick surface restored to its natural state, the next pivotal phase in the process involves thoroughly cleaning the fireplace to eliminate any residual paint stripper, paint debris, and ensure a pristine, polished appearance. This meticulous cleaning stage will bring out the full beauty of the exposed brick and prepare the fireplace for any final touches or treatments. Here’s a comprehensive guide for cleaning your newly exposed brick fireplace:
- Rinse the Brick: Begin by rinsing the entire surface of the brick fireplace with clean water, using a bucket and sponge or a gentle spray from a hose if the fireplace is located outdoors. This initial rinse will help remove any remaining paint stripper and dislodged paint particles.
- Inspect for Residue: As you rinse the brick, carefully inspect the surface for any lingering traces of paint, paint stripper, or stubborn debris. Address any remaining residue by gently scrubbing the affected areas with a sponge or soft-bristled brush.
- Neutralize if Necessary: Depending on the type of paint stripper used, it may be necessary to neutralize the brick surface to deactivate any residual chemicals. Follow the manufacturer’s recommendations for neutralizing agents or solutions, if applicable, to ensure complete deactivation.
- Dry the Brick: After thoroughly rinsing and cleaning the brick, allow the surface to air dry naturally. If time is a factor, use a clean, absorbent cloth or towels to gently pat the brick dry, ensuring that all moisture is removed before proceeding.
- Inspect for Stains or Discoloration: Once the brick is dry, inspect the entire surface for any remaining stains, discoloration, or areas of uneven cleaning. Address these issues by gently scrubbing affected areas with a sponge or brush, using a mild cleaning solution if necessary.
- Final Rinse and Dry: After addressing any lingering stains or discoloration, perform a final rinse of the brick surface with clean water to remove any cleaning residues. Once rinsed, allow the brick to air dry completely, ensuring that it maintains a clean and unblemished appearance.
By meticulously following these steps and taking care to thoroughly clean the exposed brick, you’ll reveal the fireplace’s natural beauty in all its unadorned splendor. With the brick now free from paint and fully cleaned, the stage is set for any final touches or treatments to further enhance and protect the restored surface.
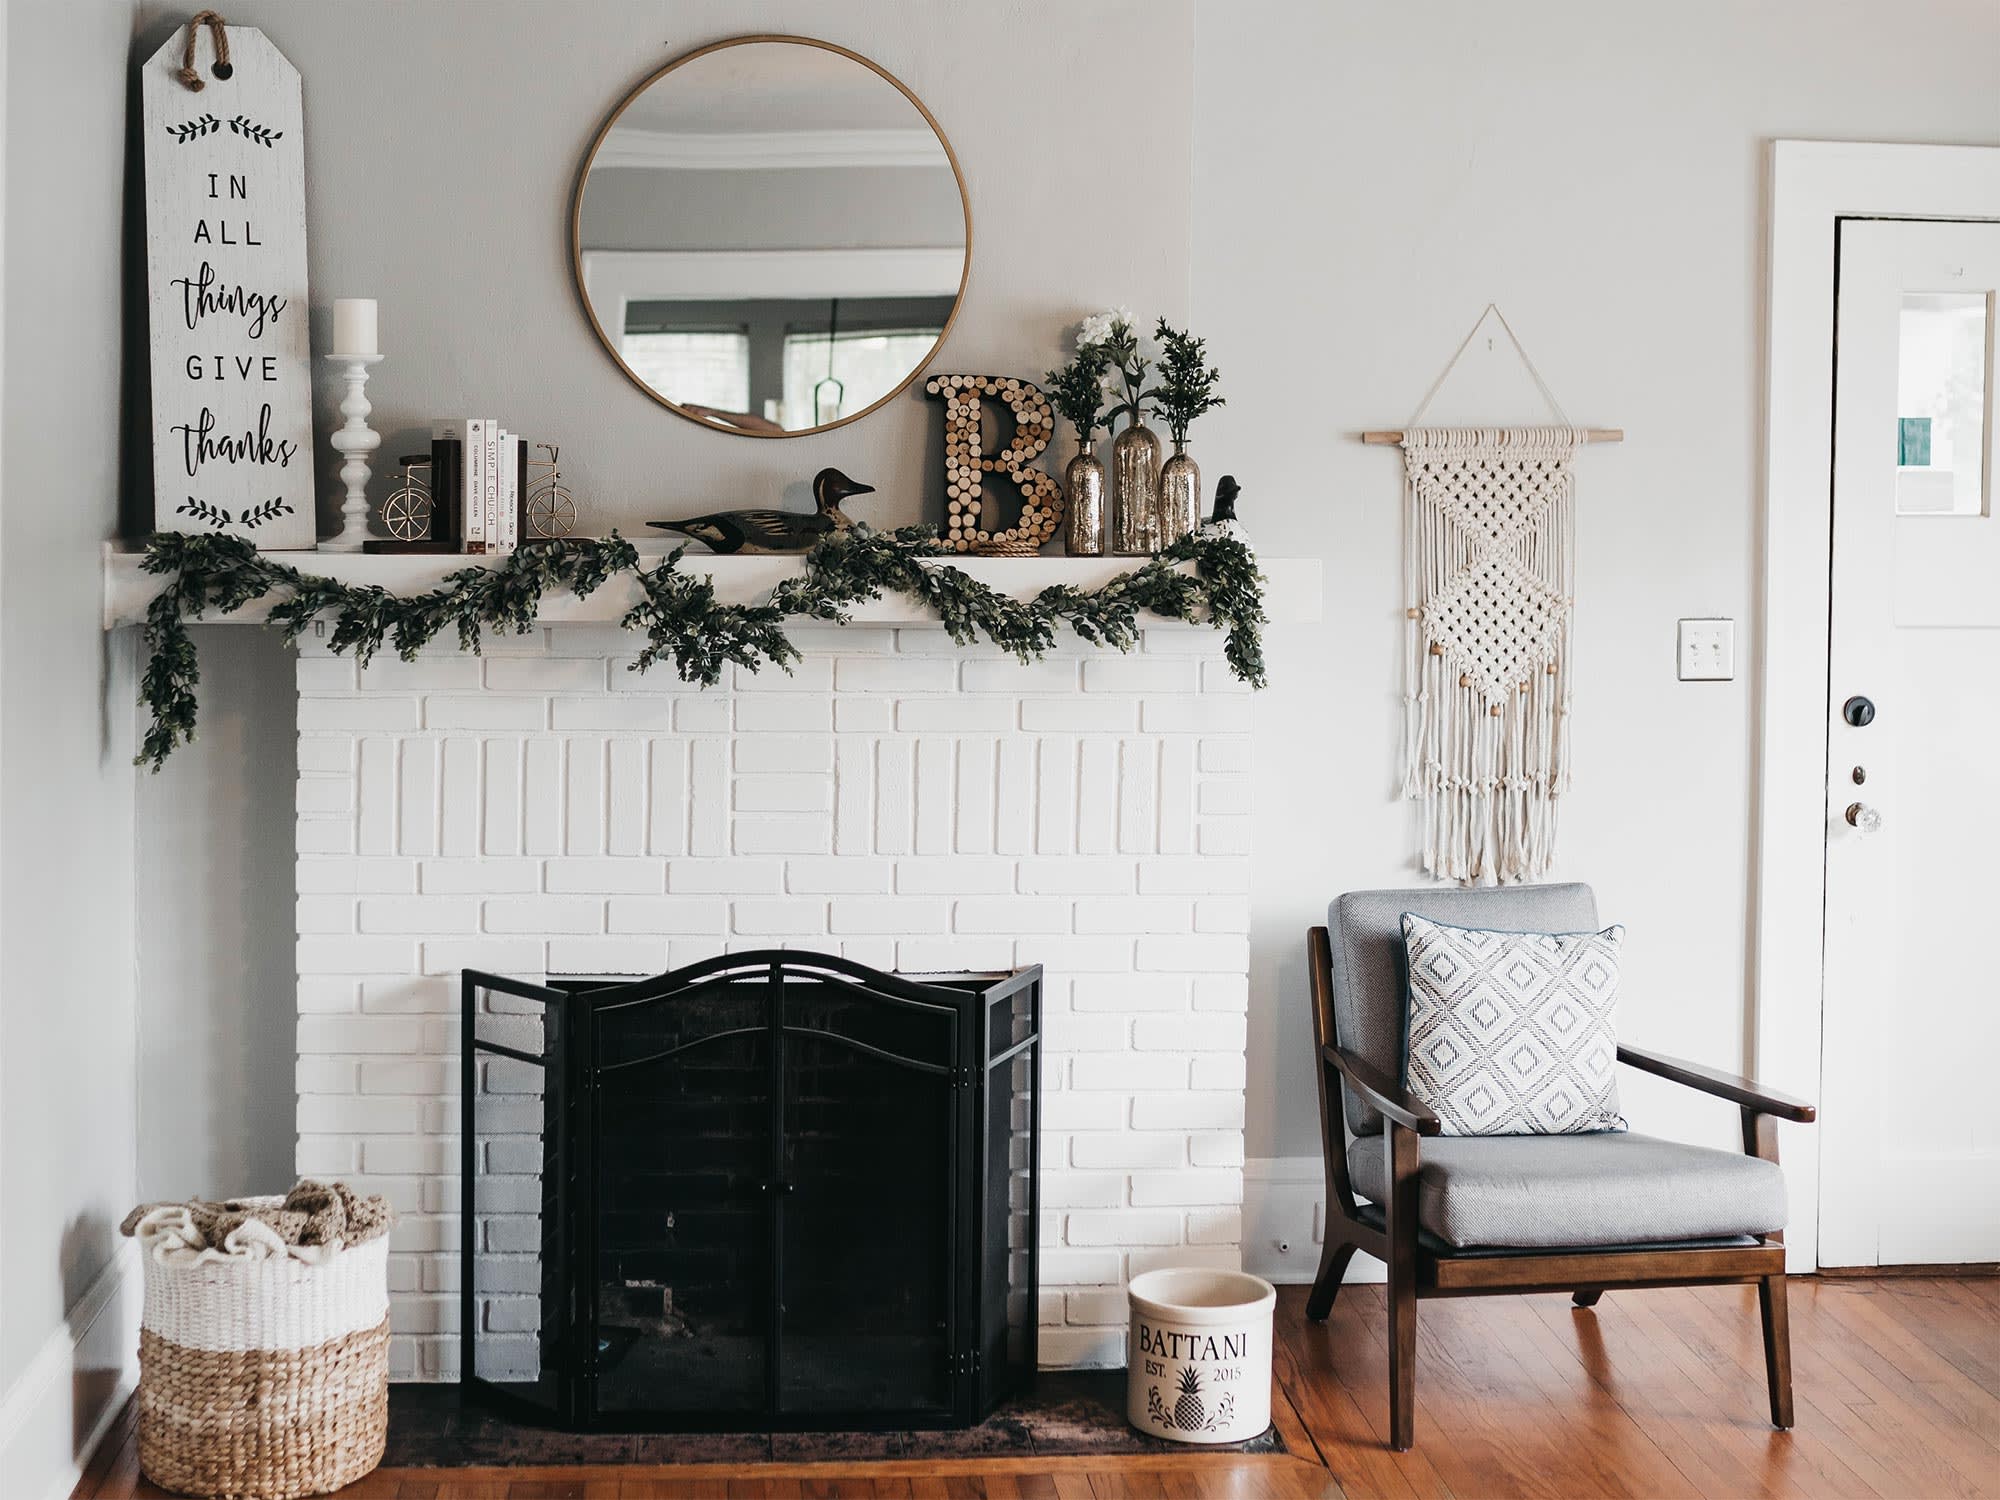
Final Touches
With the brick fireplace now stripped of paint and meticulously cleaned, the final touches will add the perfect finishing elements to enhance its appearance and protect the newly restored surface. These steps will help accentuate the natural beauty of the exposed brick while ensuring its longevity and resilience. Here’s a guide to the final touches for your revitalized brick fireplace:
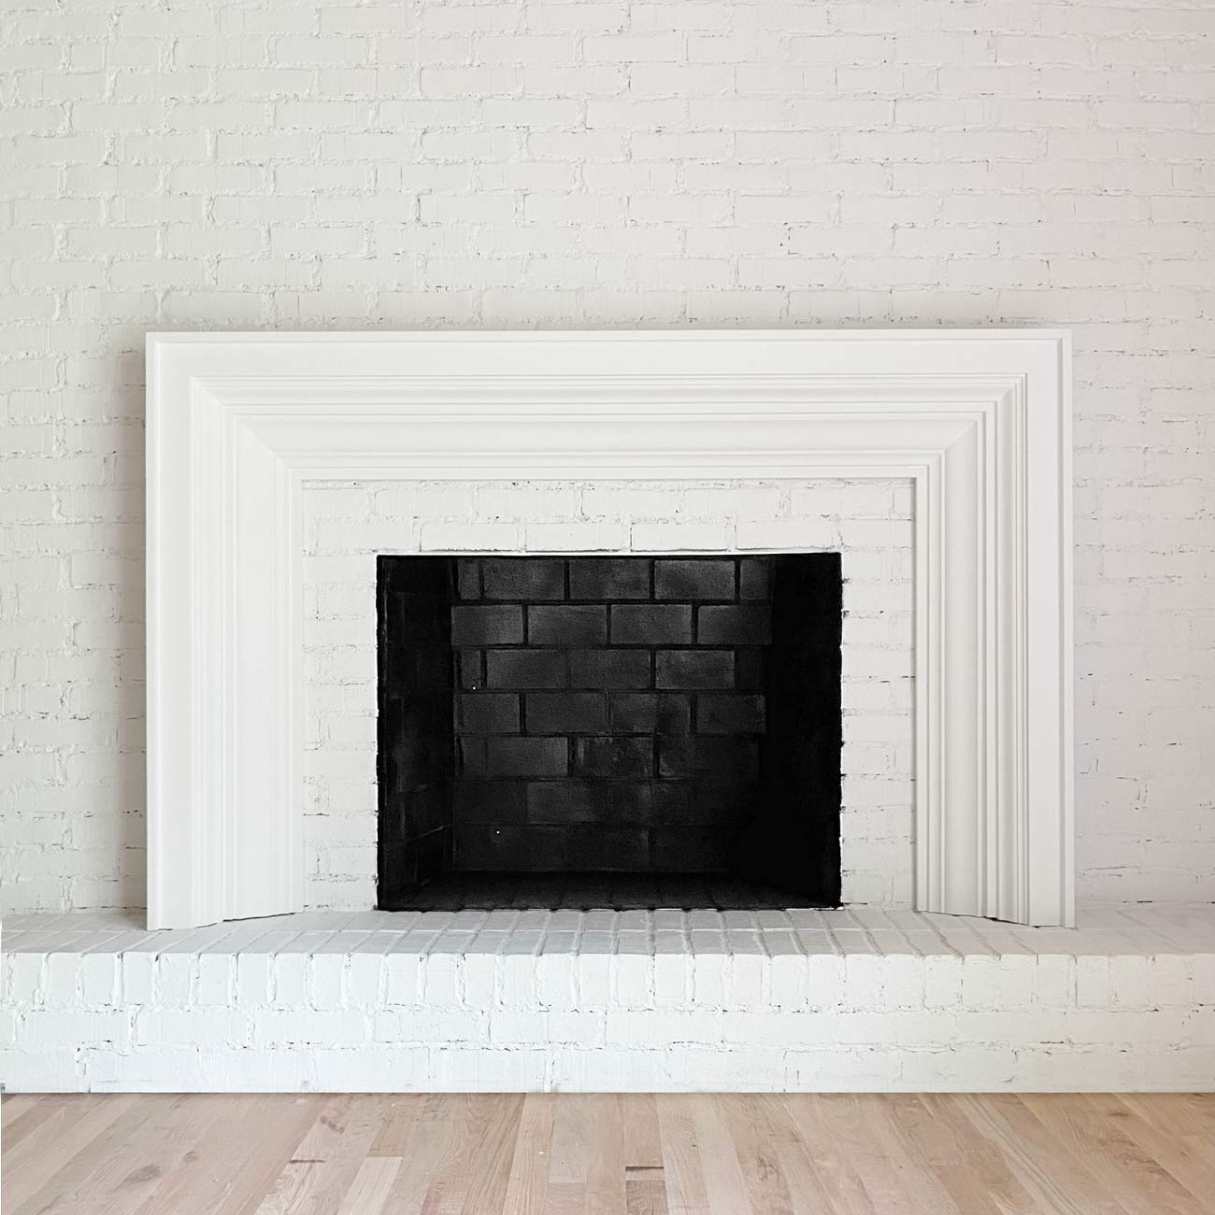
- Sealing the Brick (Optional): Consider applying a breathable, water-repellent masonry sealer to the exposed brick to protect it from moisture and potential staining. Choose a sealer specifically formulated for interior masonry surfaces and follow the manufacturer’s instructions for application.
- Enhancing the Color and Texture: If you desire a deeper, richer appearance for the brick, consider using a masonry enhancer or color wash to accentuate its natural hues and textures. These products can add depth and character to the brick, further highlighting its visual appeal.
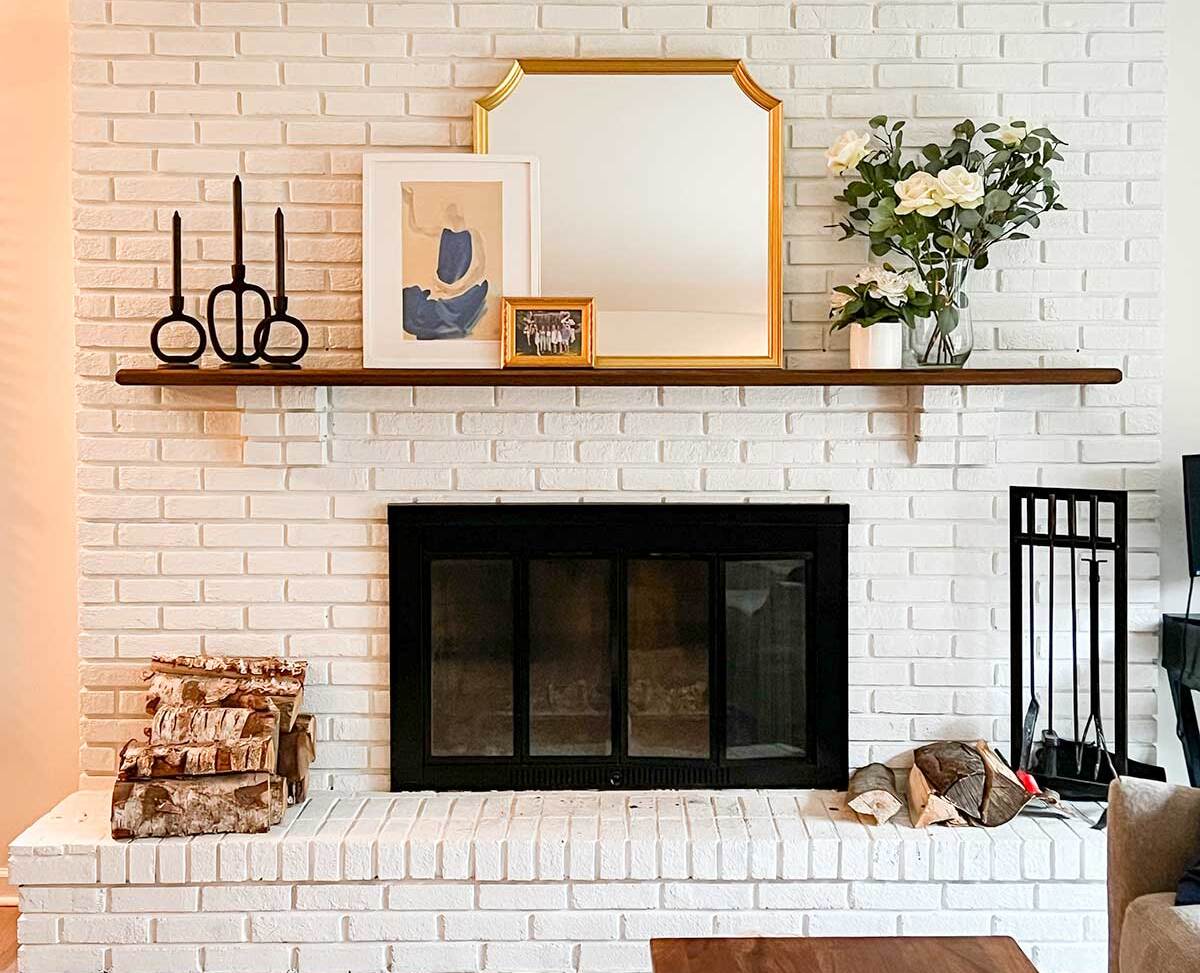
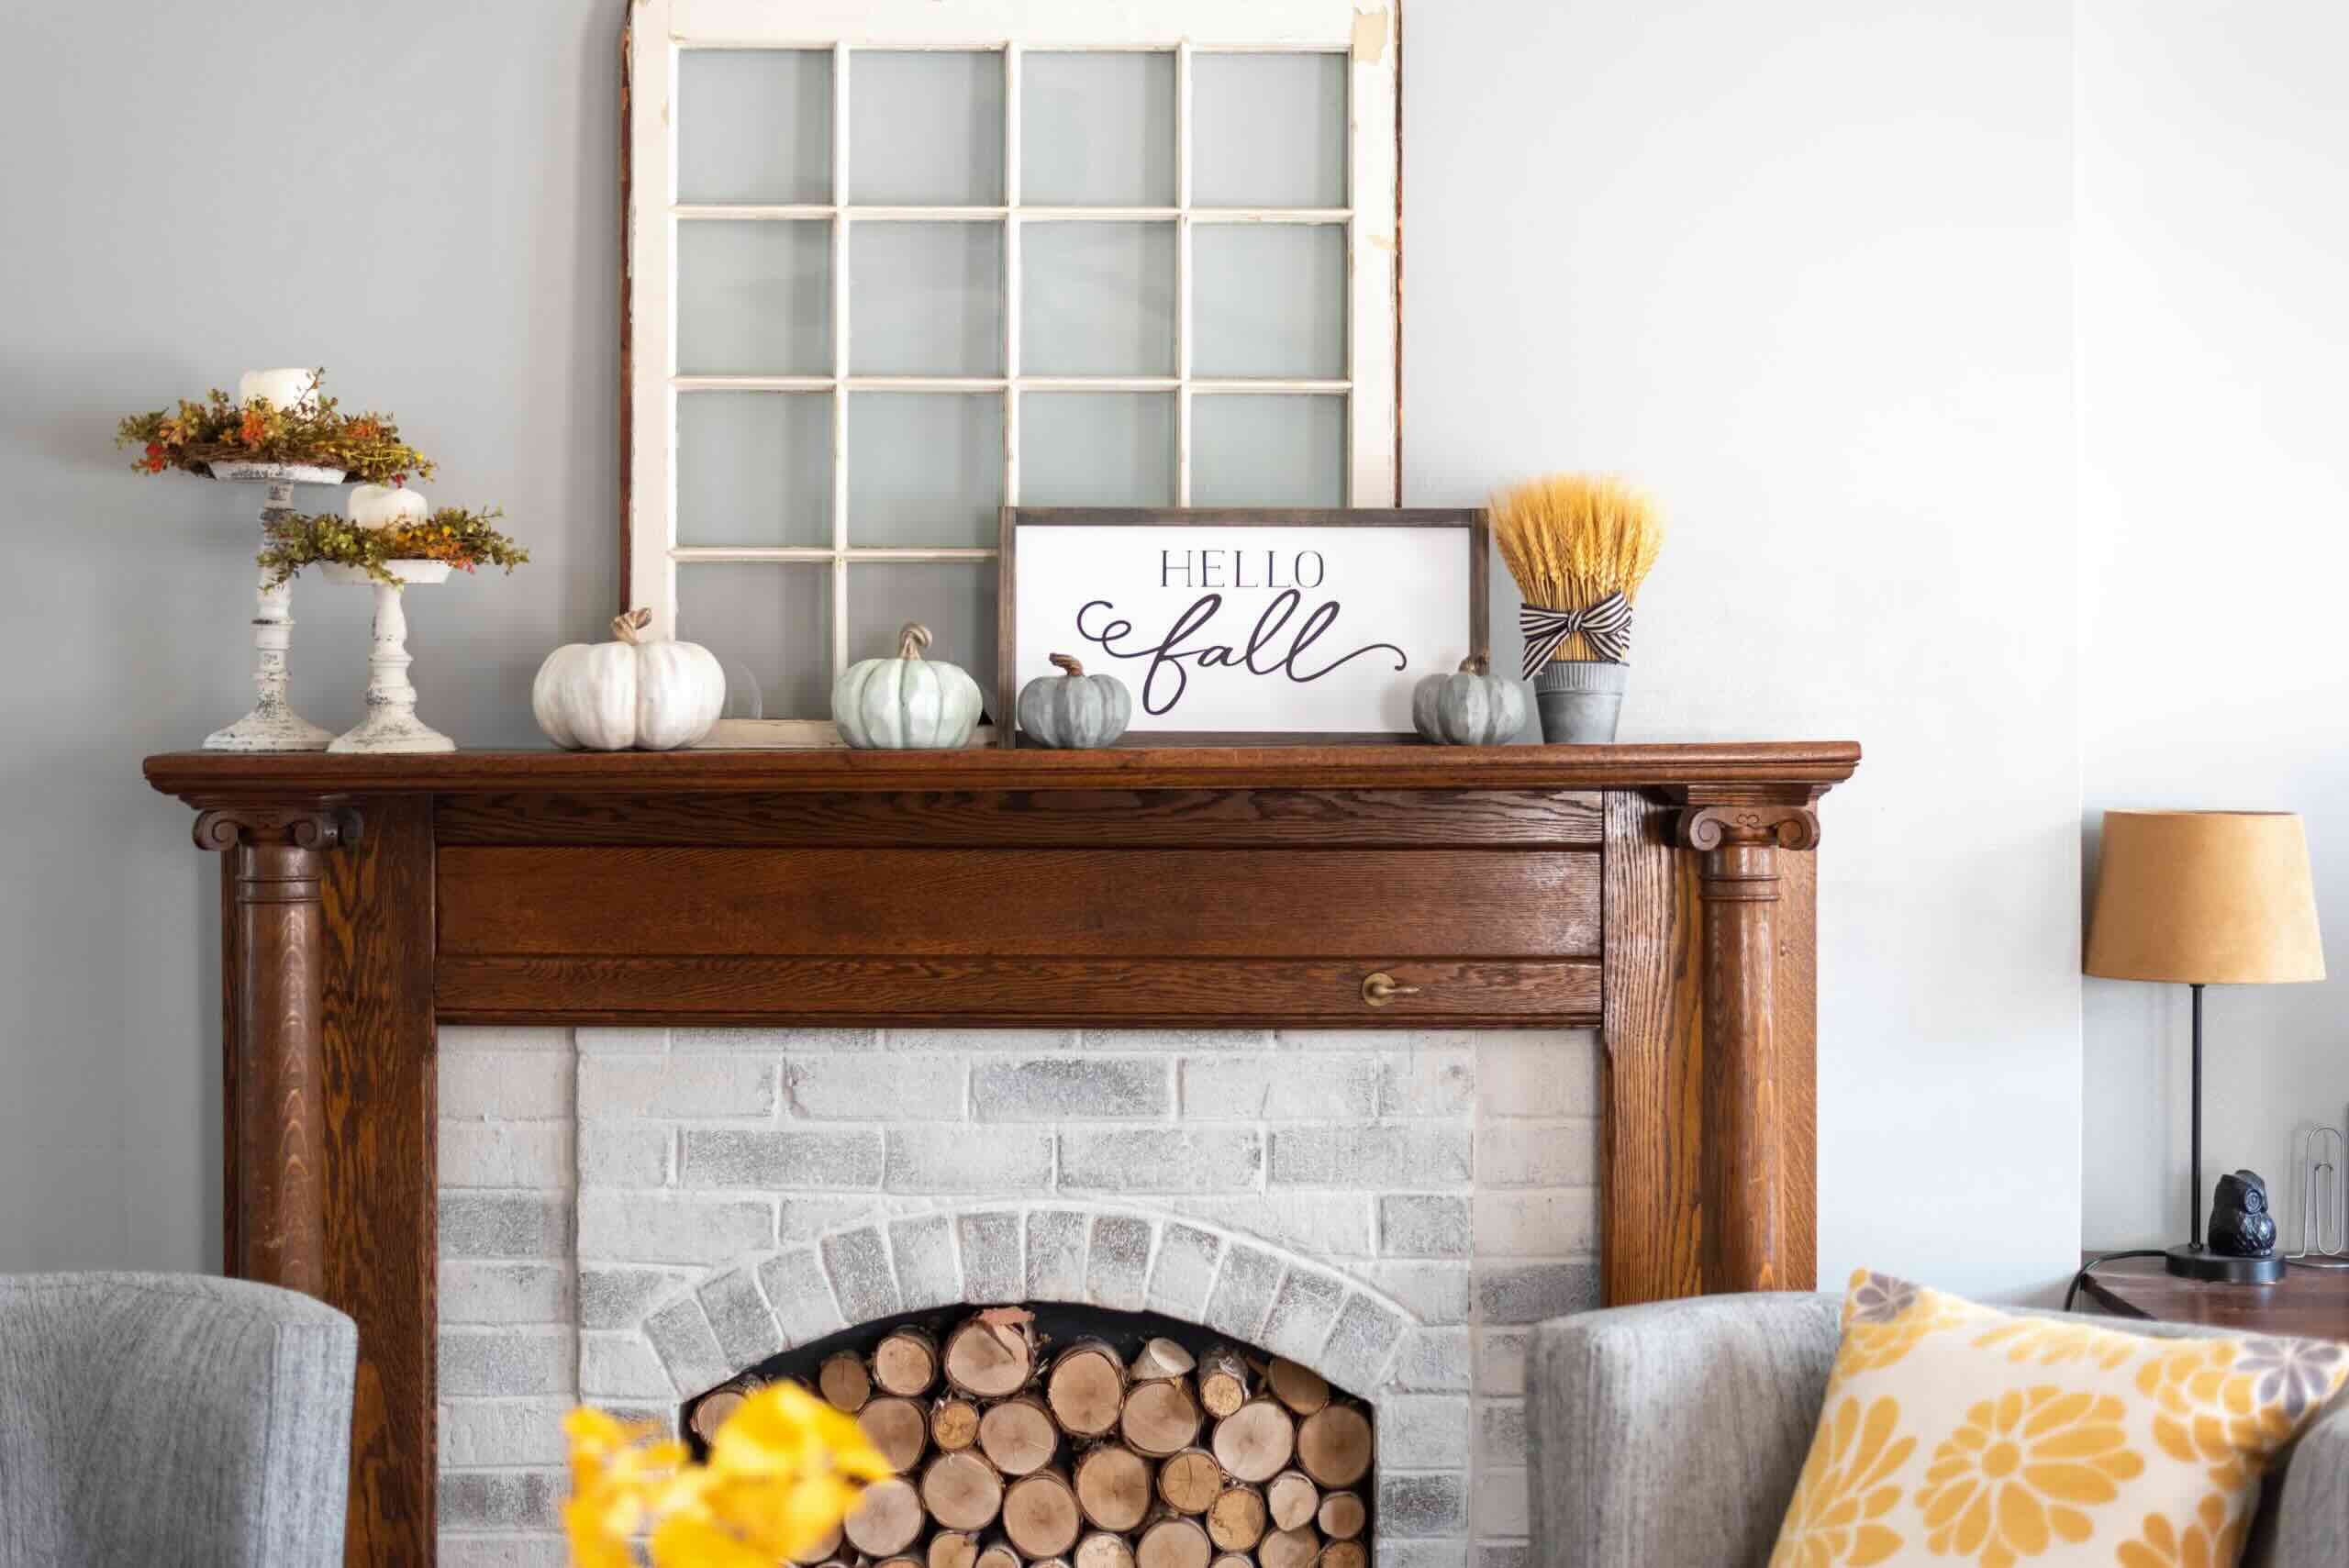
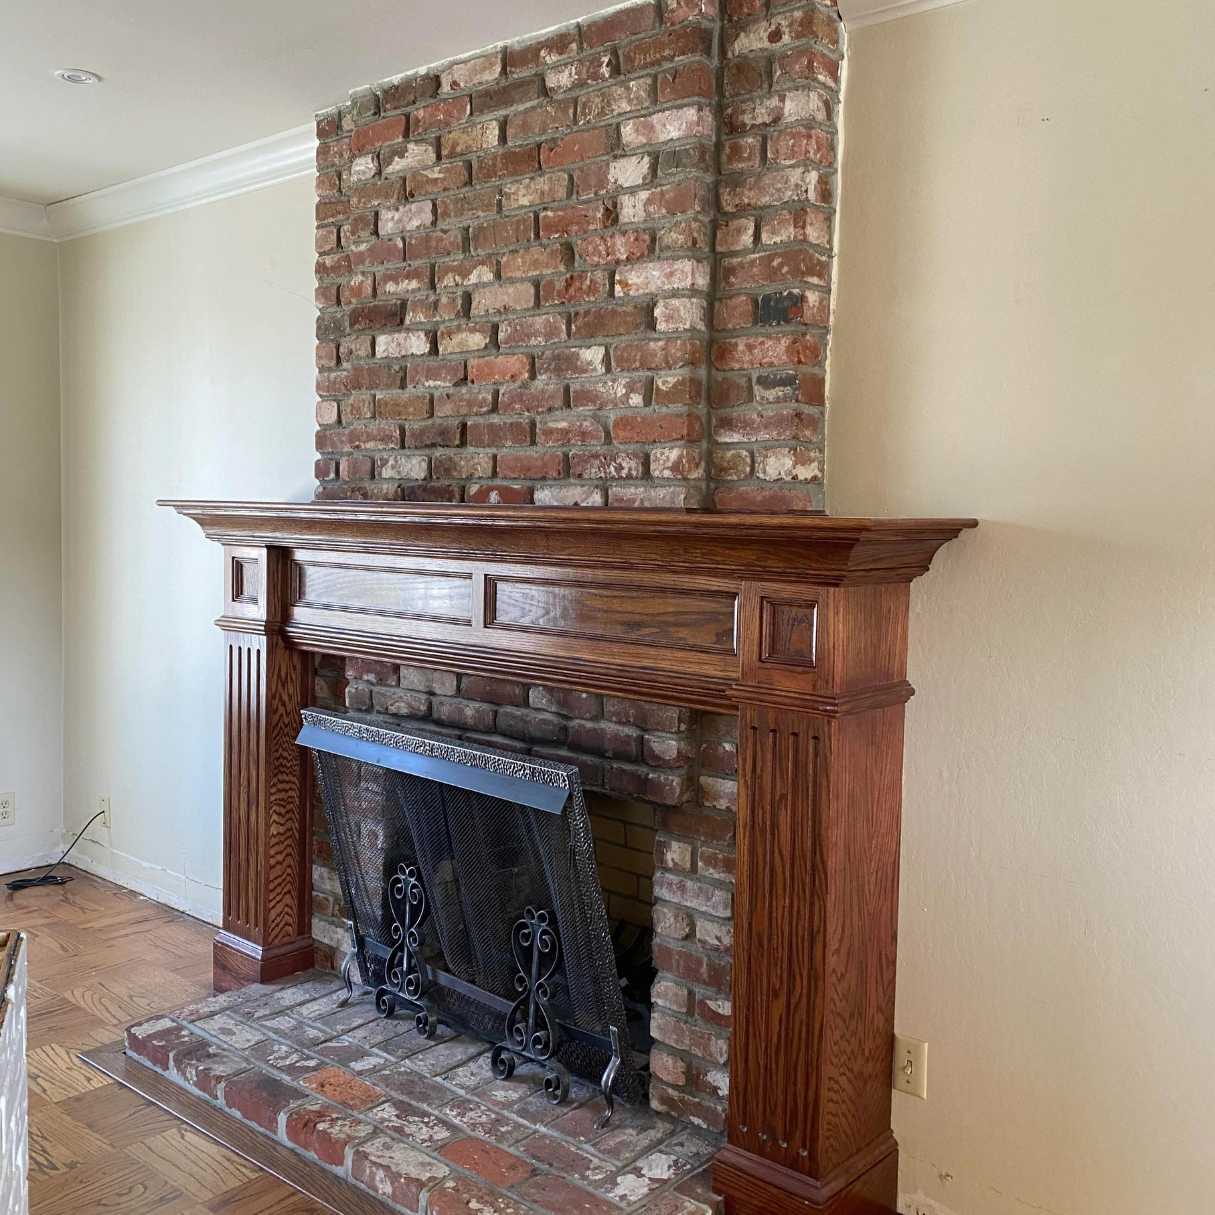
- Accessorizing the Fireplace: Complement the newly exposed brick with carefully chosen fireplace accessories, such as a mantel, hearth decor, or decorative elements that harmonize with the overall aesthetic of the space. These additions can enhance the fireplace’s visual impact and create a cohesive, inviting focal point in the room.
- Lighting and Ambiance: Illuminate the beauty of the exposed brick by strategically incorporating lighting elements, such as sconces, candles, or accent lights, to highlight its texture and create a warm, inviting ambiance. Thoughtfully placed lighting can accentuate the character of the brick and elevate the overall atmosphere of the space.
- Maintaining the Brick: Establish a regular maintenance routine to preserve the beauty of the exposed brick. Periodically dust the surface with a soft brush or cloth, and promptly address any spills or stains to keep the brick looking its best for years to come.
- Enjoying the Transformed Space: Finally, take a moment to savor the transformation of your brick fireplace. Embrace the timeless charm and character of the exposed brick, and relish the cozy, inviting atmosphere it brings to your living space.
By attending to these final touches, you’ll not only enhance the visual allure of the exposed brick fireplace but also ensure that it remains a focal point of warmth and beauty in your home for years to come. With the completion of these steps, your brick fireplace will stand as a testament to the enduring appeal of natural materials and thoughtful design.
Conclusion
Embarking on the journey to restore a painted brick fireplace to its original, unadorned state is a rewarding endeavor that can breathe new life and character into your living space. Through the meticulous process of removing paint, scrubbing the brick, and carefully cleaning and enhancing the surface, you’ve uncovered the timeless beauty and texture of the exposed brick, creating a captivating focal point that exudes warmth and charm.
By following the step-by-step guide outlined in this comprehensive resource, you’ve not only transformed the aesthetic appeal of your fireplace but also honed your DIY skills and deepened your appreciation for the natural materials that enrich your home. The careful consideration of safety precautions, the methodical testing of paint, and the precise application of paint stripper have all contributed to a successful and rewarding outcome.
As you put the finishing touches on your revitalized brick fireplace, you’ve not only enhanced the visual allure of the space but also created a welcoming and inviting atmosphere that beckons you to gather around the hearth and savor the comfort it provides. The exposed brick stands as a testament to the enduring appeal of authentic materials and thoughtful design, enriching the ambiance of your home with its rustic elegance.
As you bask in the glow of your transformed space, take pride in the craftsmanship and care you’ve invested in restoring the natural beauty of your brick fireplace. Embrace the warmth and character it brings to your home, and relish the timeless charm of this enduring feature that will continue to captivate and inspire for years to come.
With the completion of this transformative project, you’ve not only uncovered the inherent allure of the exposed brick but also cultivated a deeper connection to the heart of your home, where the flickering flames and textured surfaces converge to create a haven of comfort and style.
Frequently Asked Questions about How To Take Paint Off Brick Fireplace
Was this page helpful?
At Storables.com, we guarantee accurate and reliable information. Our content, validated by Expert Board Contributors, is crafted following stringent Editorial Policies. We're committed to providing you with well-researched, expert-backed insights for all your informational needs.
0 thoughts on “How To Take Paint Off Brick Fireplace”