Articles
How To Fill Soap Dispenser On Sink
Modified: December 7, 2023
Learn how to properly fill a soap dispenser on your sink with our informative articles. Find step-by-step guides and helpful tips to ensure a mess-free experience.
(Many of the links in this article redirect to a specific reviewed product. Your purchase of these products through affiliate links helps to generate commission for Storables.com, at no extra cost. Learn more)
Introduction
Having a soap dispenser on your sink can be a convenient and hygienic way to keep your hands clean. Whether it’s in your kitchen or bathroom, refilling the soap dispenser is a regular task that needs to be done to ensure a continuous supply of soap. If you’re unsure about how to fill a soap dispenser on your sink, don’t worry! In this article, we will guide you through the step-by-step process of filling a soap dispenser, so you can keep your hands germ-free without any hassle.
Filling a soap dispenser is a simple task that requires a few basic materials and a few minutes of your time. By following these easy steps, you’ll have a fully stocked soap dispenser in no time. So let’s get started!
Key Takeaways:
- Keep your hands clean and your sink area hygienic by following these simple steps to fill your soap dispenser. It’s an easy and quick process that ensures a continuous supply of soap for your convenience.
- Regularly refilling your soap dispenser not only promotes good hygiene but also helps create a welcoming and clean environment in your kitchen or bathroom. Enjoy the satisfaction of a well-maintained sink area with a fully stocked soap dispenser.
Read more: How To Remove Sink Soap Dispenser
Step 1: Gather the necessary materials
Before you begin filling your soap dispenser, it’s important to gather all the necessary materials. This will make the process much smoother and ensure that everything is within reach. Here are the materials you’ll need:
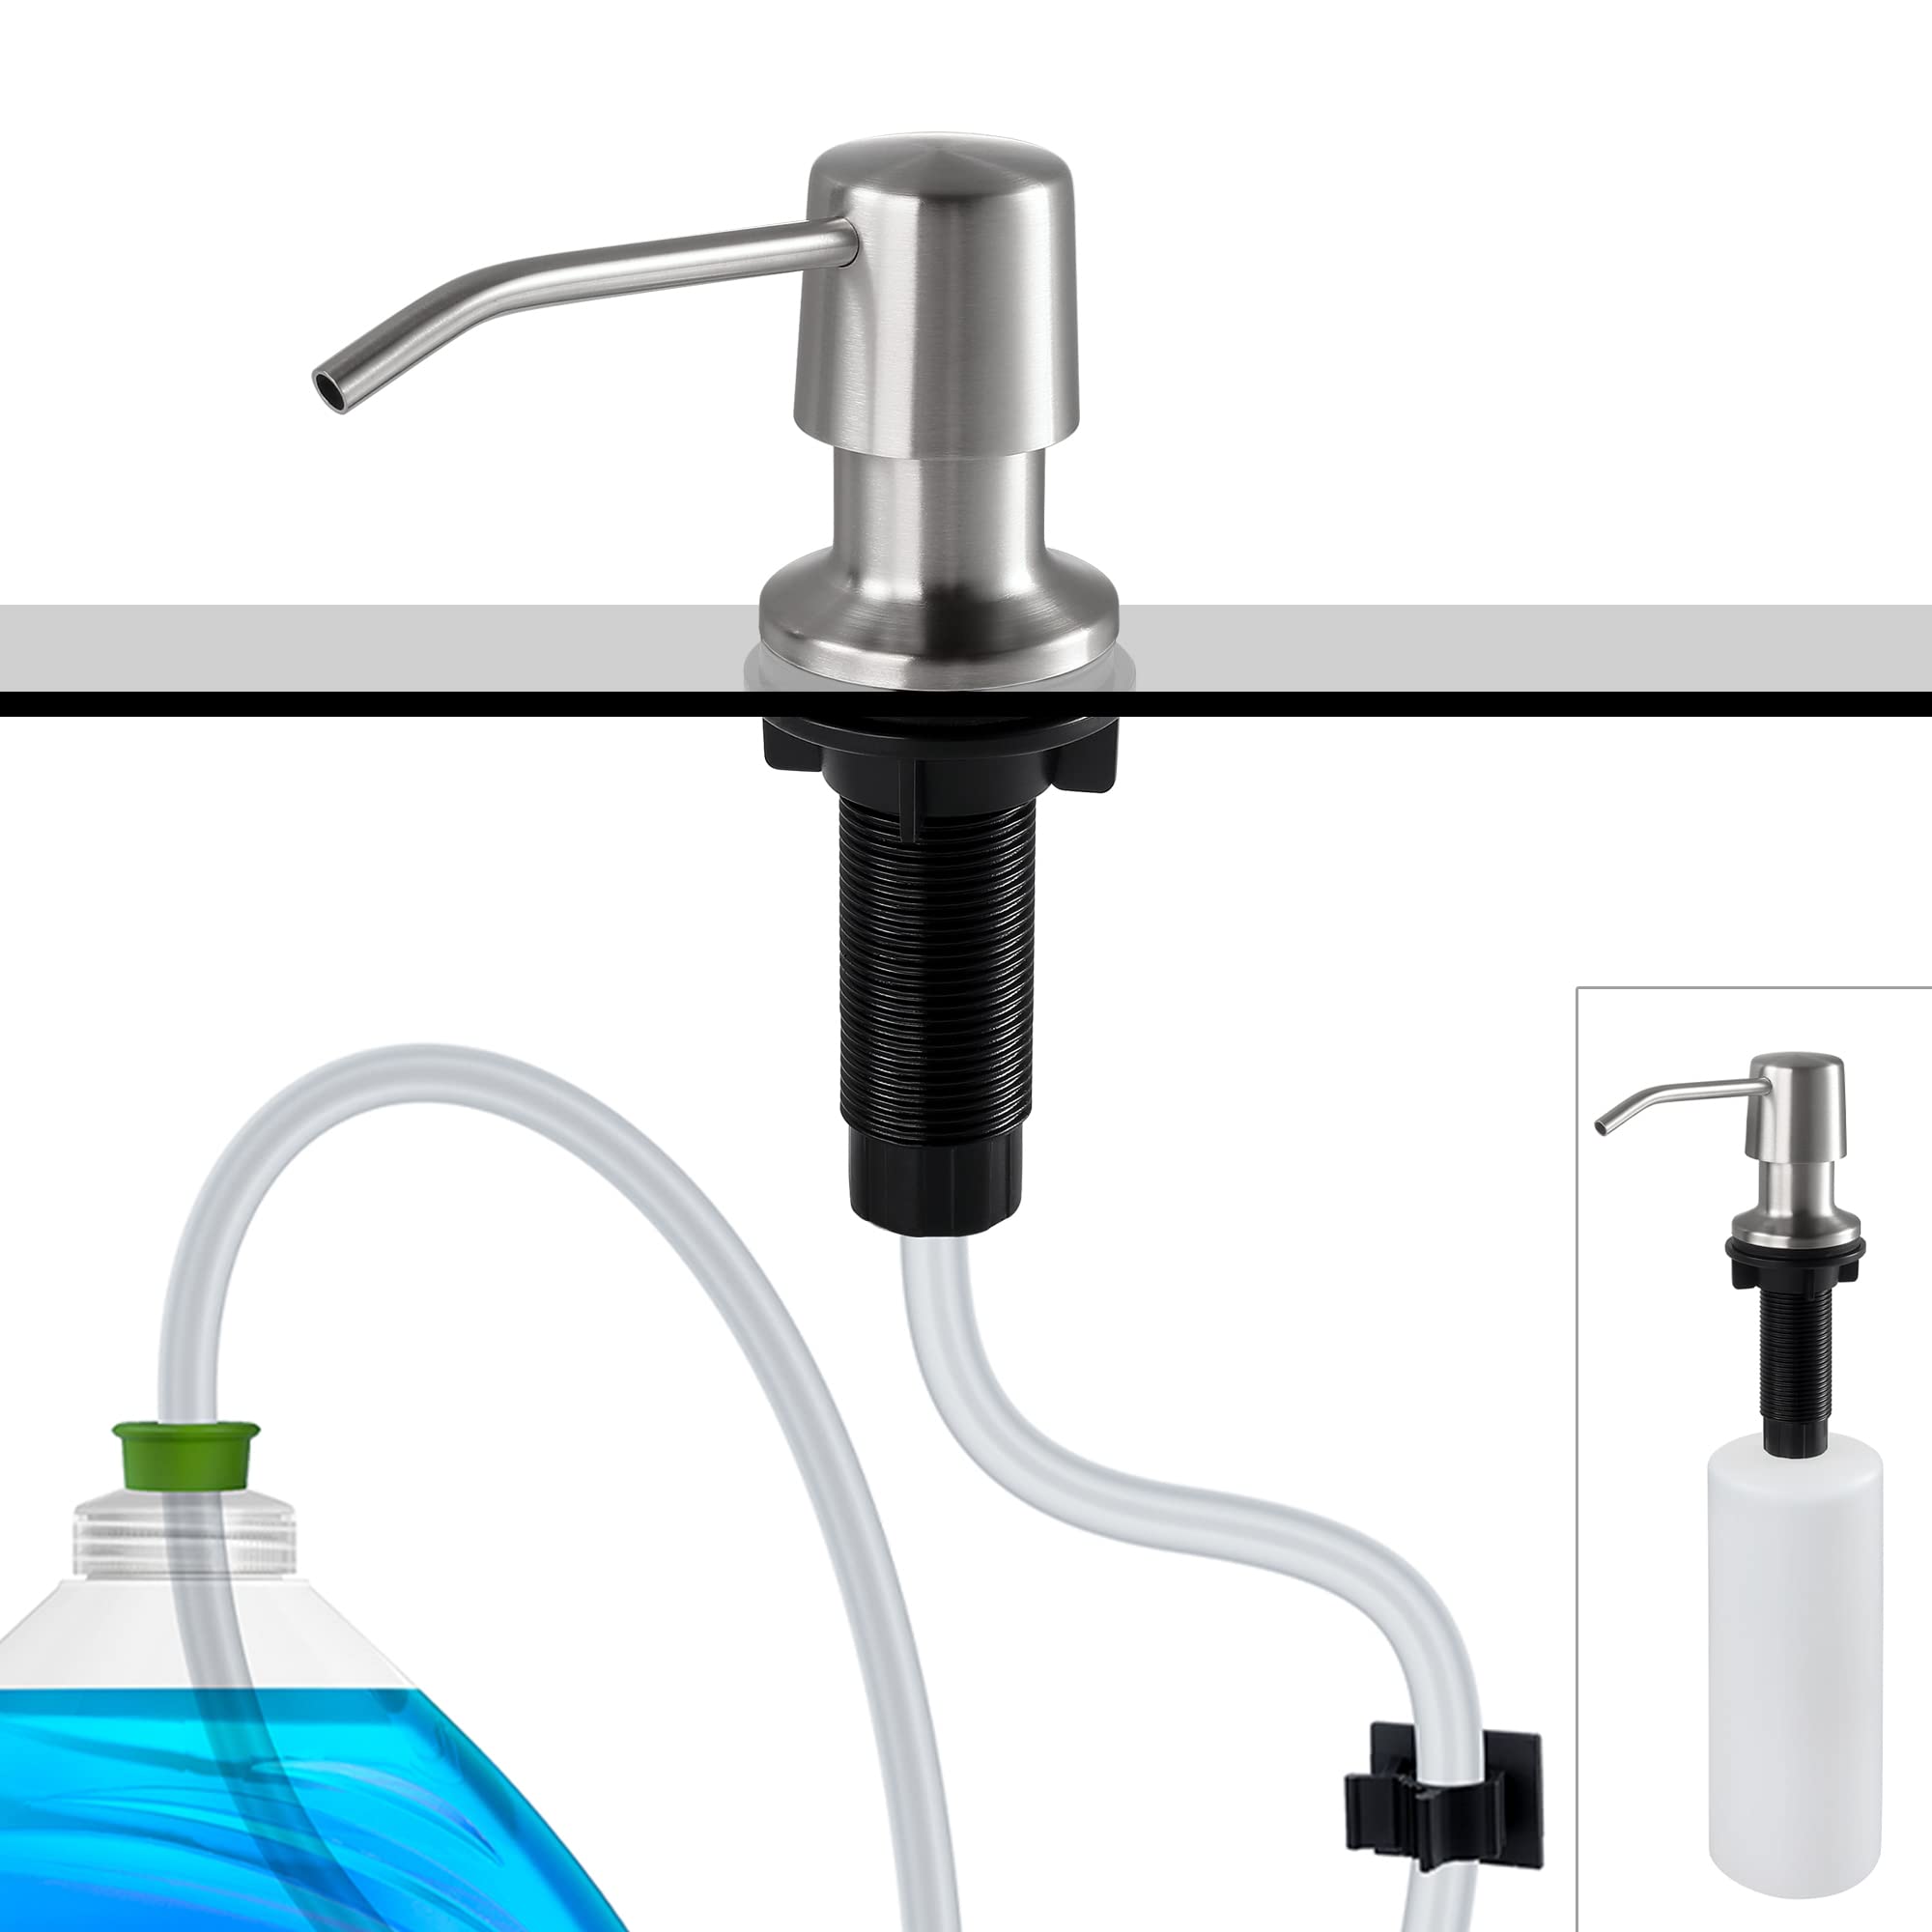
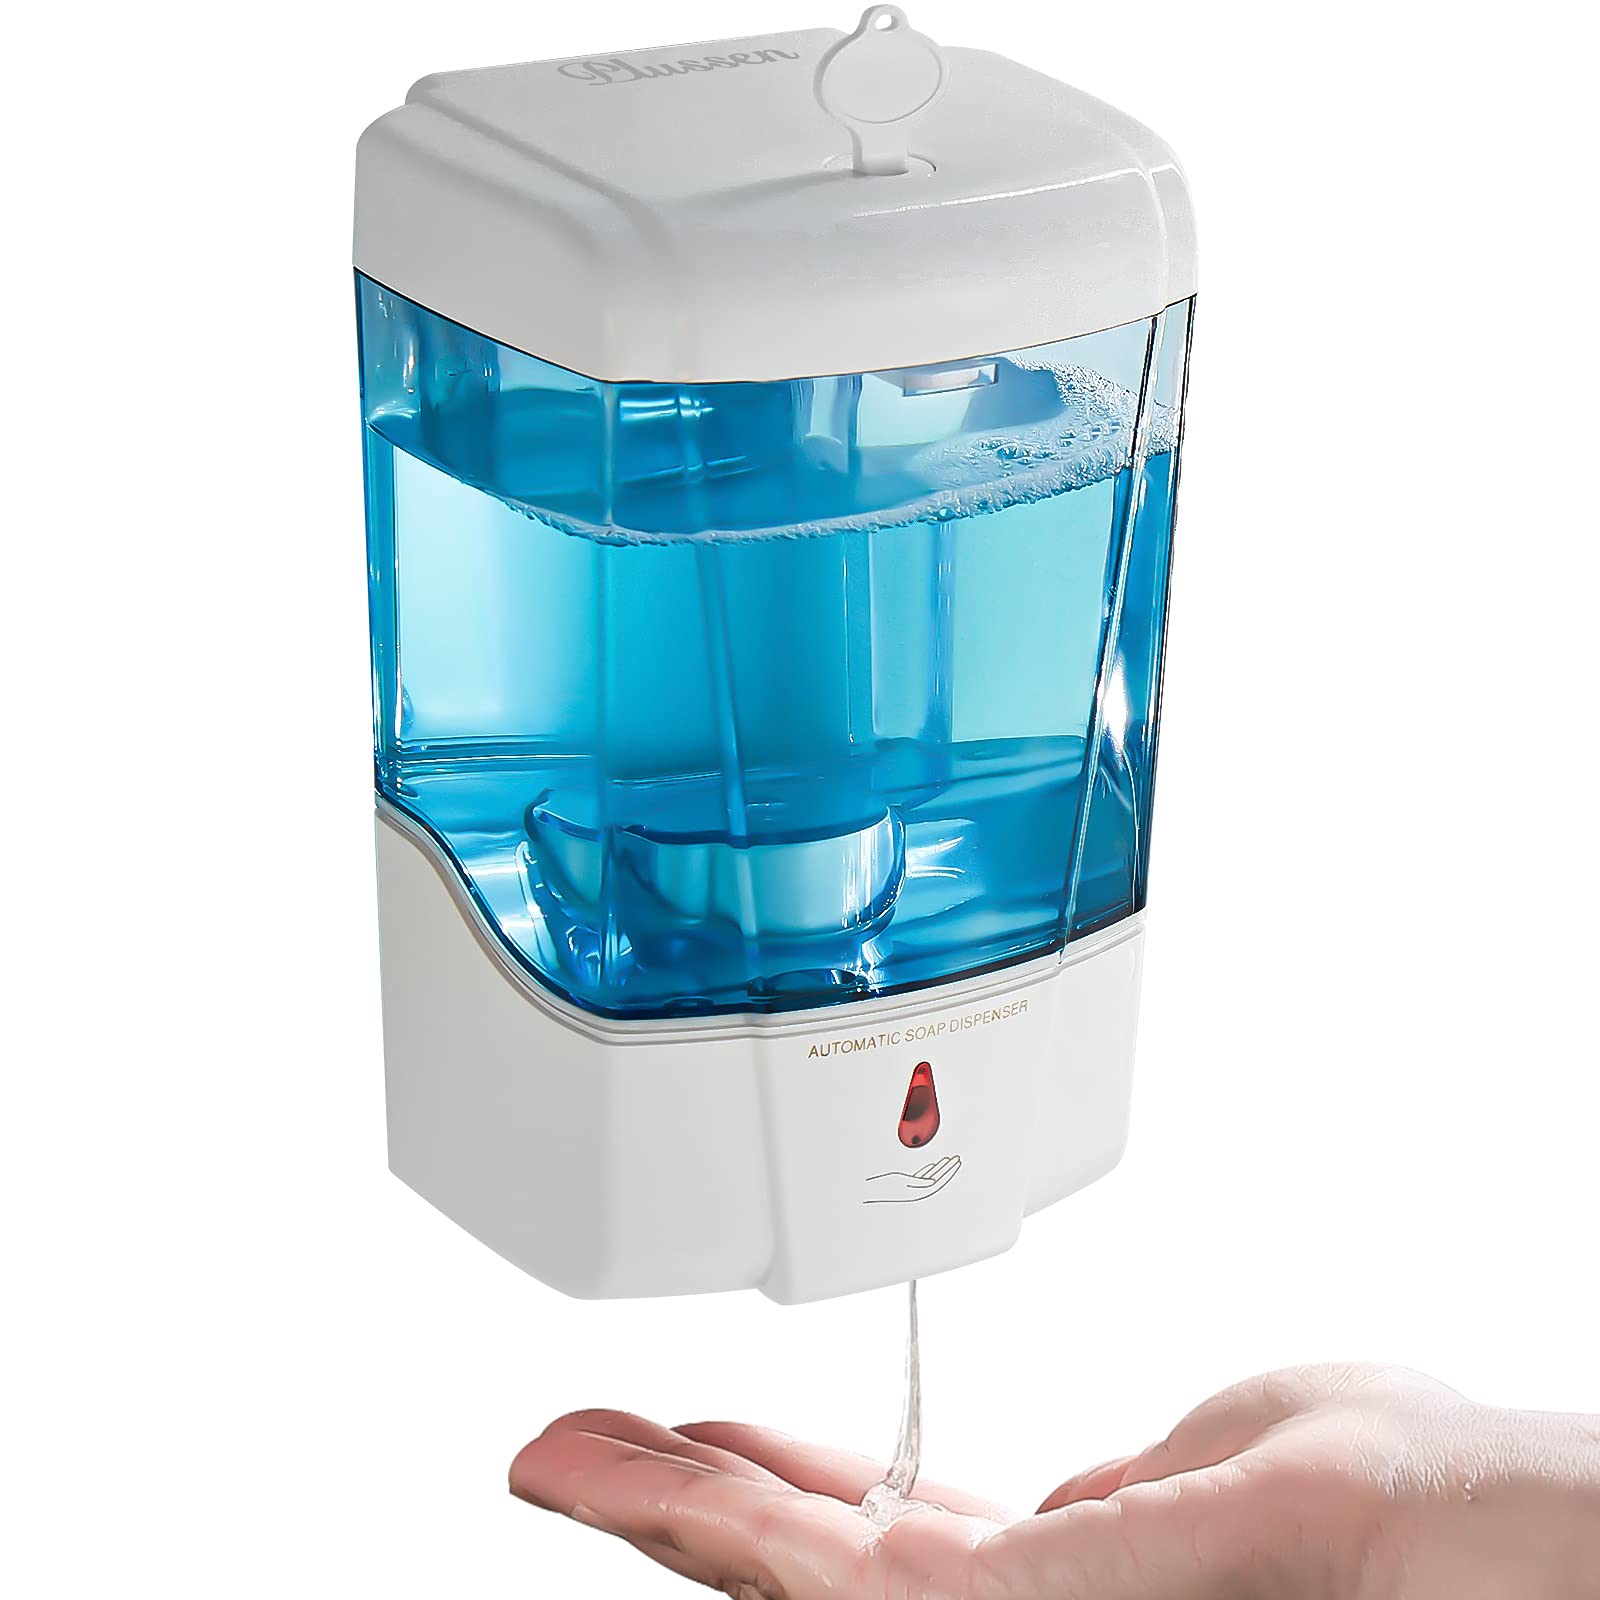
- A soap dispenser: Make sure you have a soap dispenser that is compatible with the type of soap you plan to use. There are various types available, such as pump dispensers or touchless dispensers. Choose one that suits your needs and preferences.
- Soap refill: Depending on the type of soap dispenser you have, you may need a specific type of soap refill. It could be liquid hand soap, foaming hand soap, or even a specialized soap for sensitive skin. Check the label on your dispenser or consult the manufacturer’s instructions to determine the appropriate soap refill.
- A clean cloth or paper towel: You’ll need a cloth or paper towel to clean any spills or drips during the filling process. This will help maintain cleanliness and prevent any slippery surfaces around your sink.
Once you have gathered these materials, you’re ready to move on to the next step of filling your soap dispenser.
Step 2: Remove the dispenser pump
Now that you have gathered all the necessary materials, it’s time to remove the dispenser pump from the soap dispenser. Follow these steps:
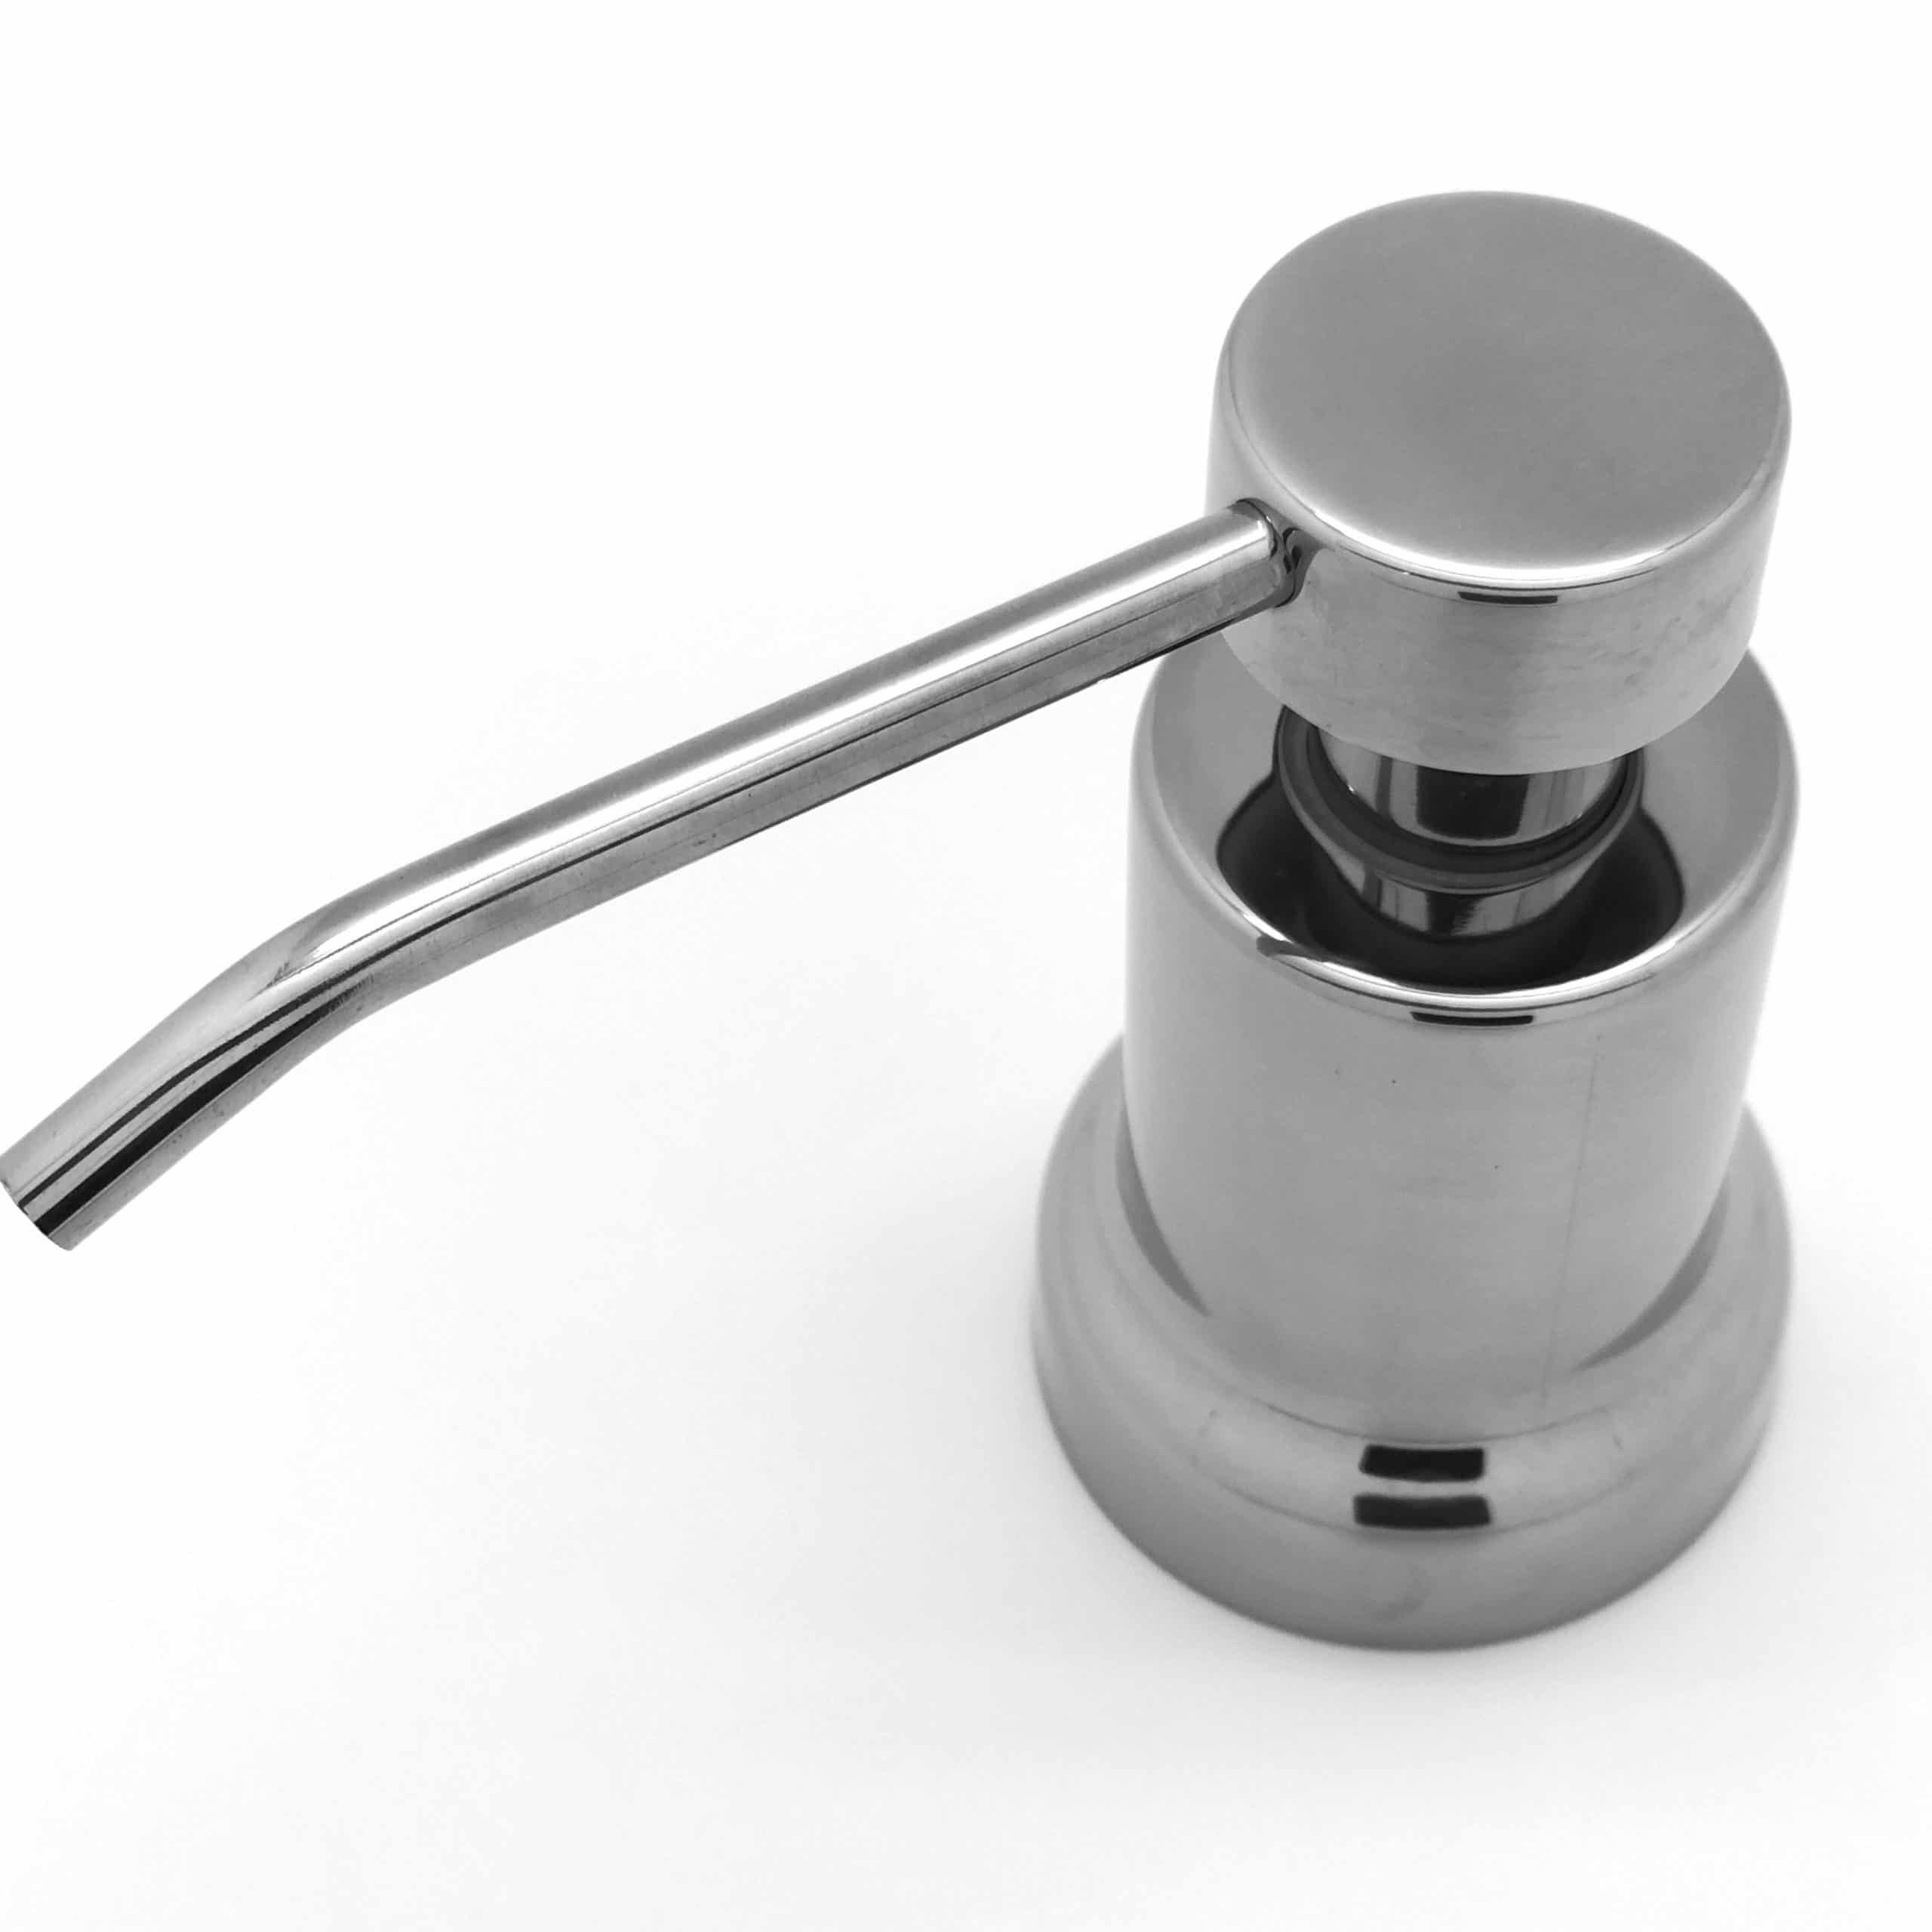
- Locate the dispenser pump: Most soap dispensers have a detachable pump located on the top or back of the dispenser. Look for a small plastic or metal piece that connects the pump to the rest of the dispenser.
- Twist or unscrew the pump: Depending on the design of your soap dispenser, you may need to twist or unscrew the pump to remove it. Some pumps have a locking mechanism that needs to be released before they can be taken off. Pay attention to any markings or arrows that indicate the direction of twisting or unscrewing.
- Gently pull out the pump: Once you have released any locking mechanism, carefully pull the pump straight up and out of the dispenser. Be gentle to avoid any damage or breakage.
By removing the dispenser pump, you create an opening that will allow you to pour in the soap refill easily. With the pump out of the way, you can proceed to the next step of preparing the soap.
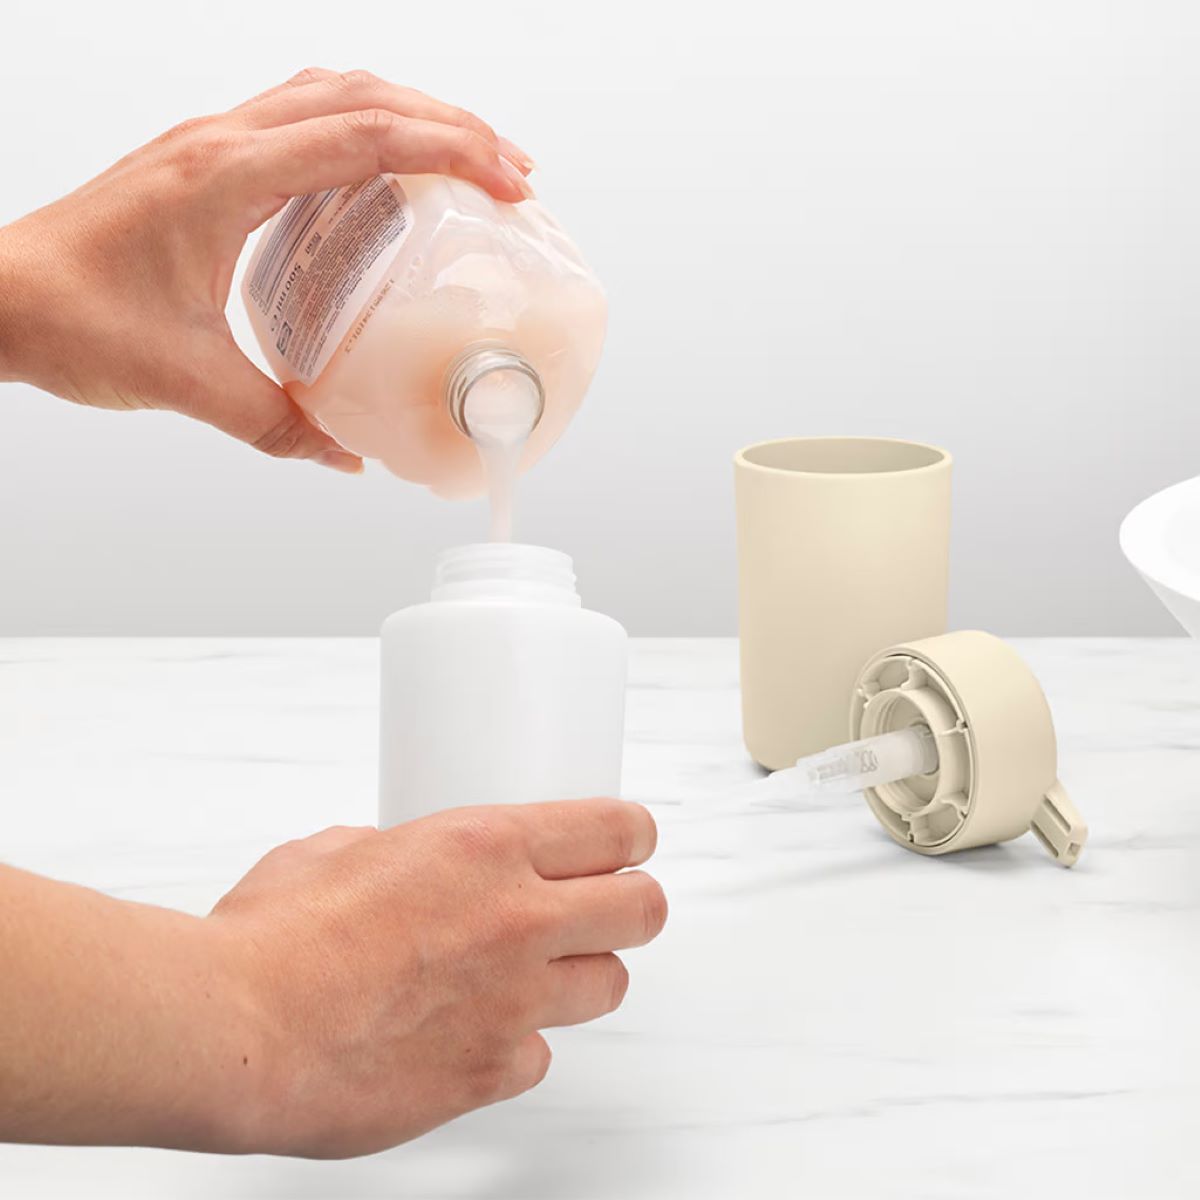
Step 3: Prepare the soap
With the dispenser pump removed, it’s time to prepare the soap for filling. Follow these steps to ensure a smooth and mess-free process:
- Clean the soap dispenser: Before filling with new soap, it’s important to clean the inside of the dispenser to remove any residue or build-up from the previous soap. Use warm water and mild soap to clean the inside of the dispenser. Rinse thoroughly and dry with a clean cloth or paper towel.
- Shake or stir the soap: If you’re using a liquid or foaming soap refill, give it a gentle shake or stir to ensure that any settled ingredients or separation is evenly distributed. This will ensure a consistent and effective soap solution.
- Check the consistency of the soap: Depending on the type of soap you’re using, you may need to dilute it with water. Some liquid soaps can be quite thick, and diluting them will make them easier to dispense. Follow the instructions provided with your soap refill to determine if any dilution is necessary.
By preparing the soap beforehand, you ensure that it is ready to be poured smoothly into the dispenser and that it will dispense properly when in use.
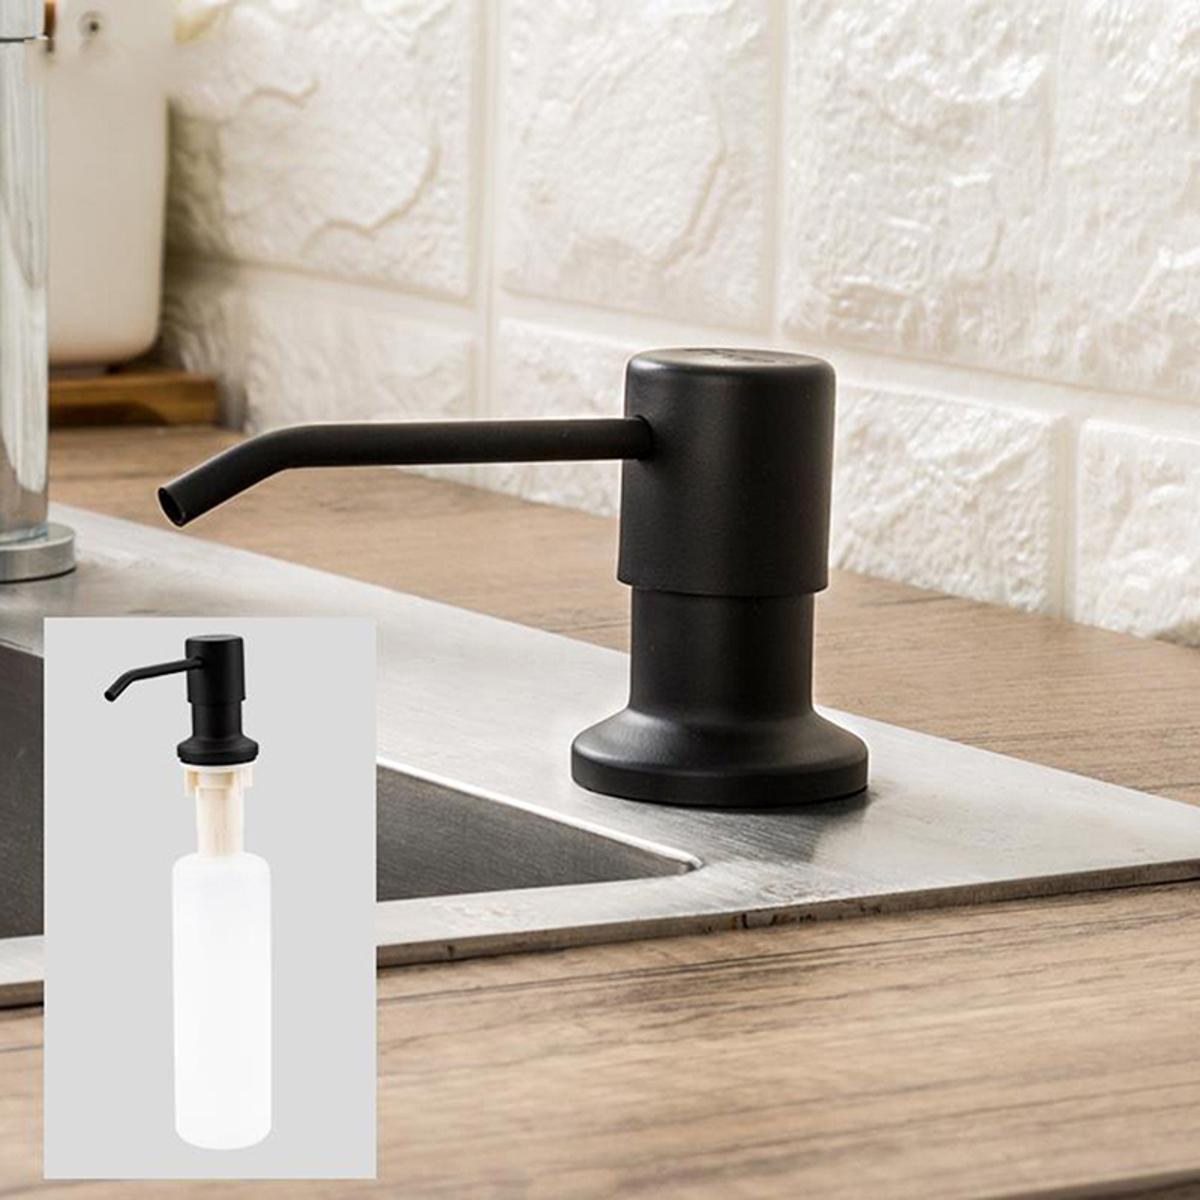
To fill a soap dispenser on the sink, unscrew the top of the dispenser and pour in liquid soap until it reaches the fill line. Then, screw the top back on securely.
Step 4: Pour the soap into the dispenser
Now that you have prepared the soap, it’s time to pour it into the dispenser. Follow these steps to achieve a clean and efficient pour:
- Hold the soap dispenser steady: Place the soap dispenser on a stable surface, such as the sink counter, and hold it firmly to prevent it from tipping over during the pouring process.
- Pour the soap slowly: Begin pouring the prepared soap into the opening of the dispenser. Pour slowly and steadily to avoid any spills or overflow. Take your time and ensure that the soap is entering the dispenser without any mess or waste.
- Fill the dispenser to the appropriate level: Fill the dispenser up to the recommended fill line or just below the rim of the dispenser. Avoid overfilling, as it can cause spills when reattaching the pump.
By pouring the soap carefully and filling it to the appropriate level, you ensure that the dispenser is properly filled and ready for use.
Step 5: Reattach the dispenser pump
With the soap poured into the dispenser, it’s time to reattach the pump. Follow these steps to securely reattach the dispenser pump:
- Line up the pump with the opening: Hold the dispenser pump in your hand and align it with the opening on the top or back of the soap dispenser. Ensure that it is positioned correctly for easy insertion.
- Push the pump into the dispenser: Apply gentle pressure and push the pump firmly into the dispenser. Be careful not to force it or push too hard, as this can cause the pump to break or become misaligned.
- Twist or screw the pump back in place: If your dispenser pump has a twist or screw mechanism, rotate it in the appropriate direction to secure it back into place. Ensure that it is tightly secured to prevent any leakage.
- Test the pump: Press the pump a few times to check if it is properly attached and functioning. The soap should dispense smoothly and easily with each press.
By securely reattaching the dispenser pump, you ensure that the soap will dispense effectively and that there will be no leakage or mess during use.
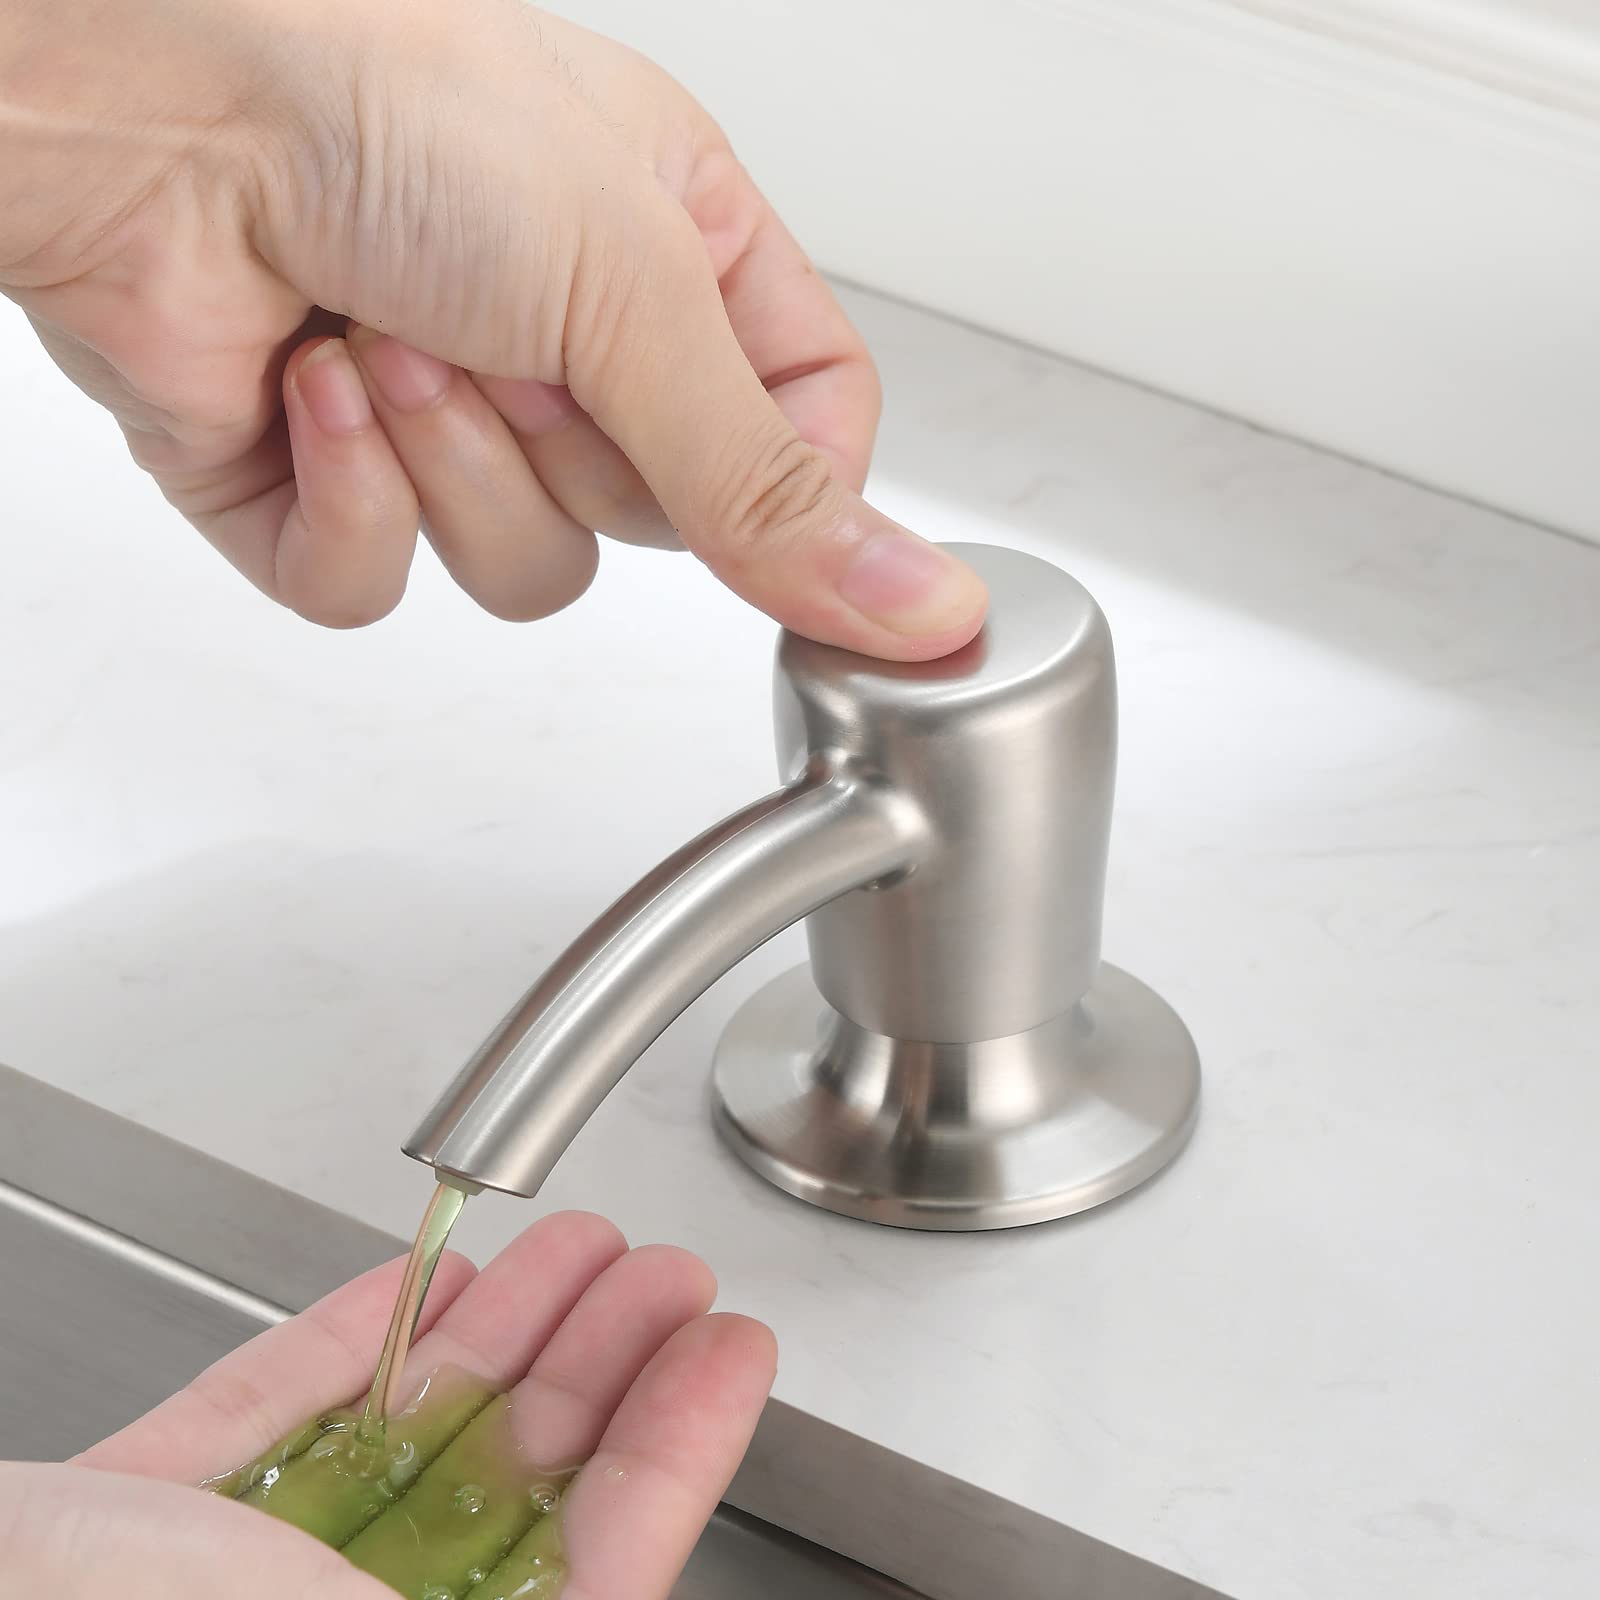
Step 6: Test the dispenser
After reattaching the dispenser pump, it’s important to test the dispenser to ensure that it is working correctly. Follow these steps to complete the process:
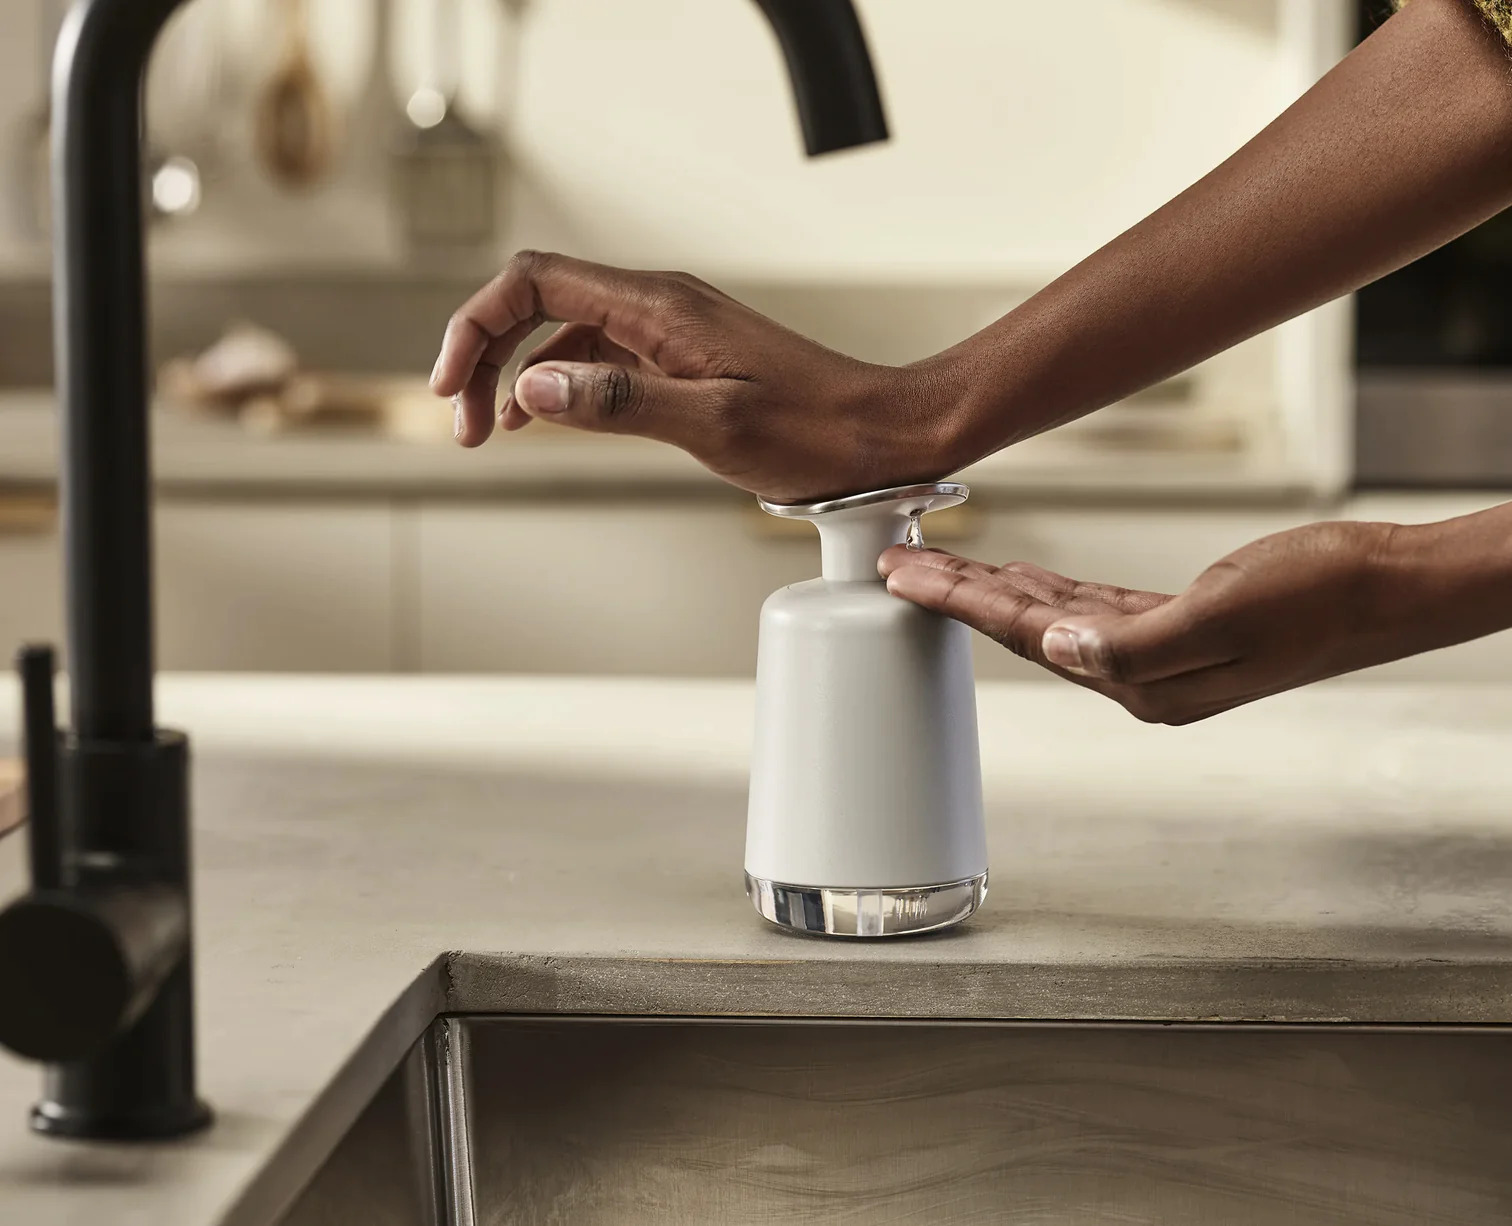
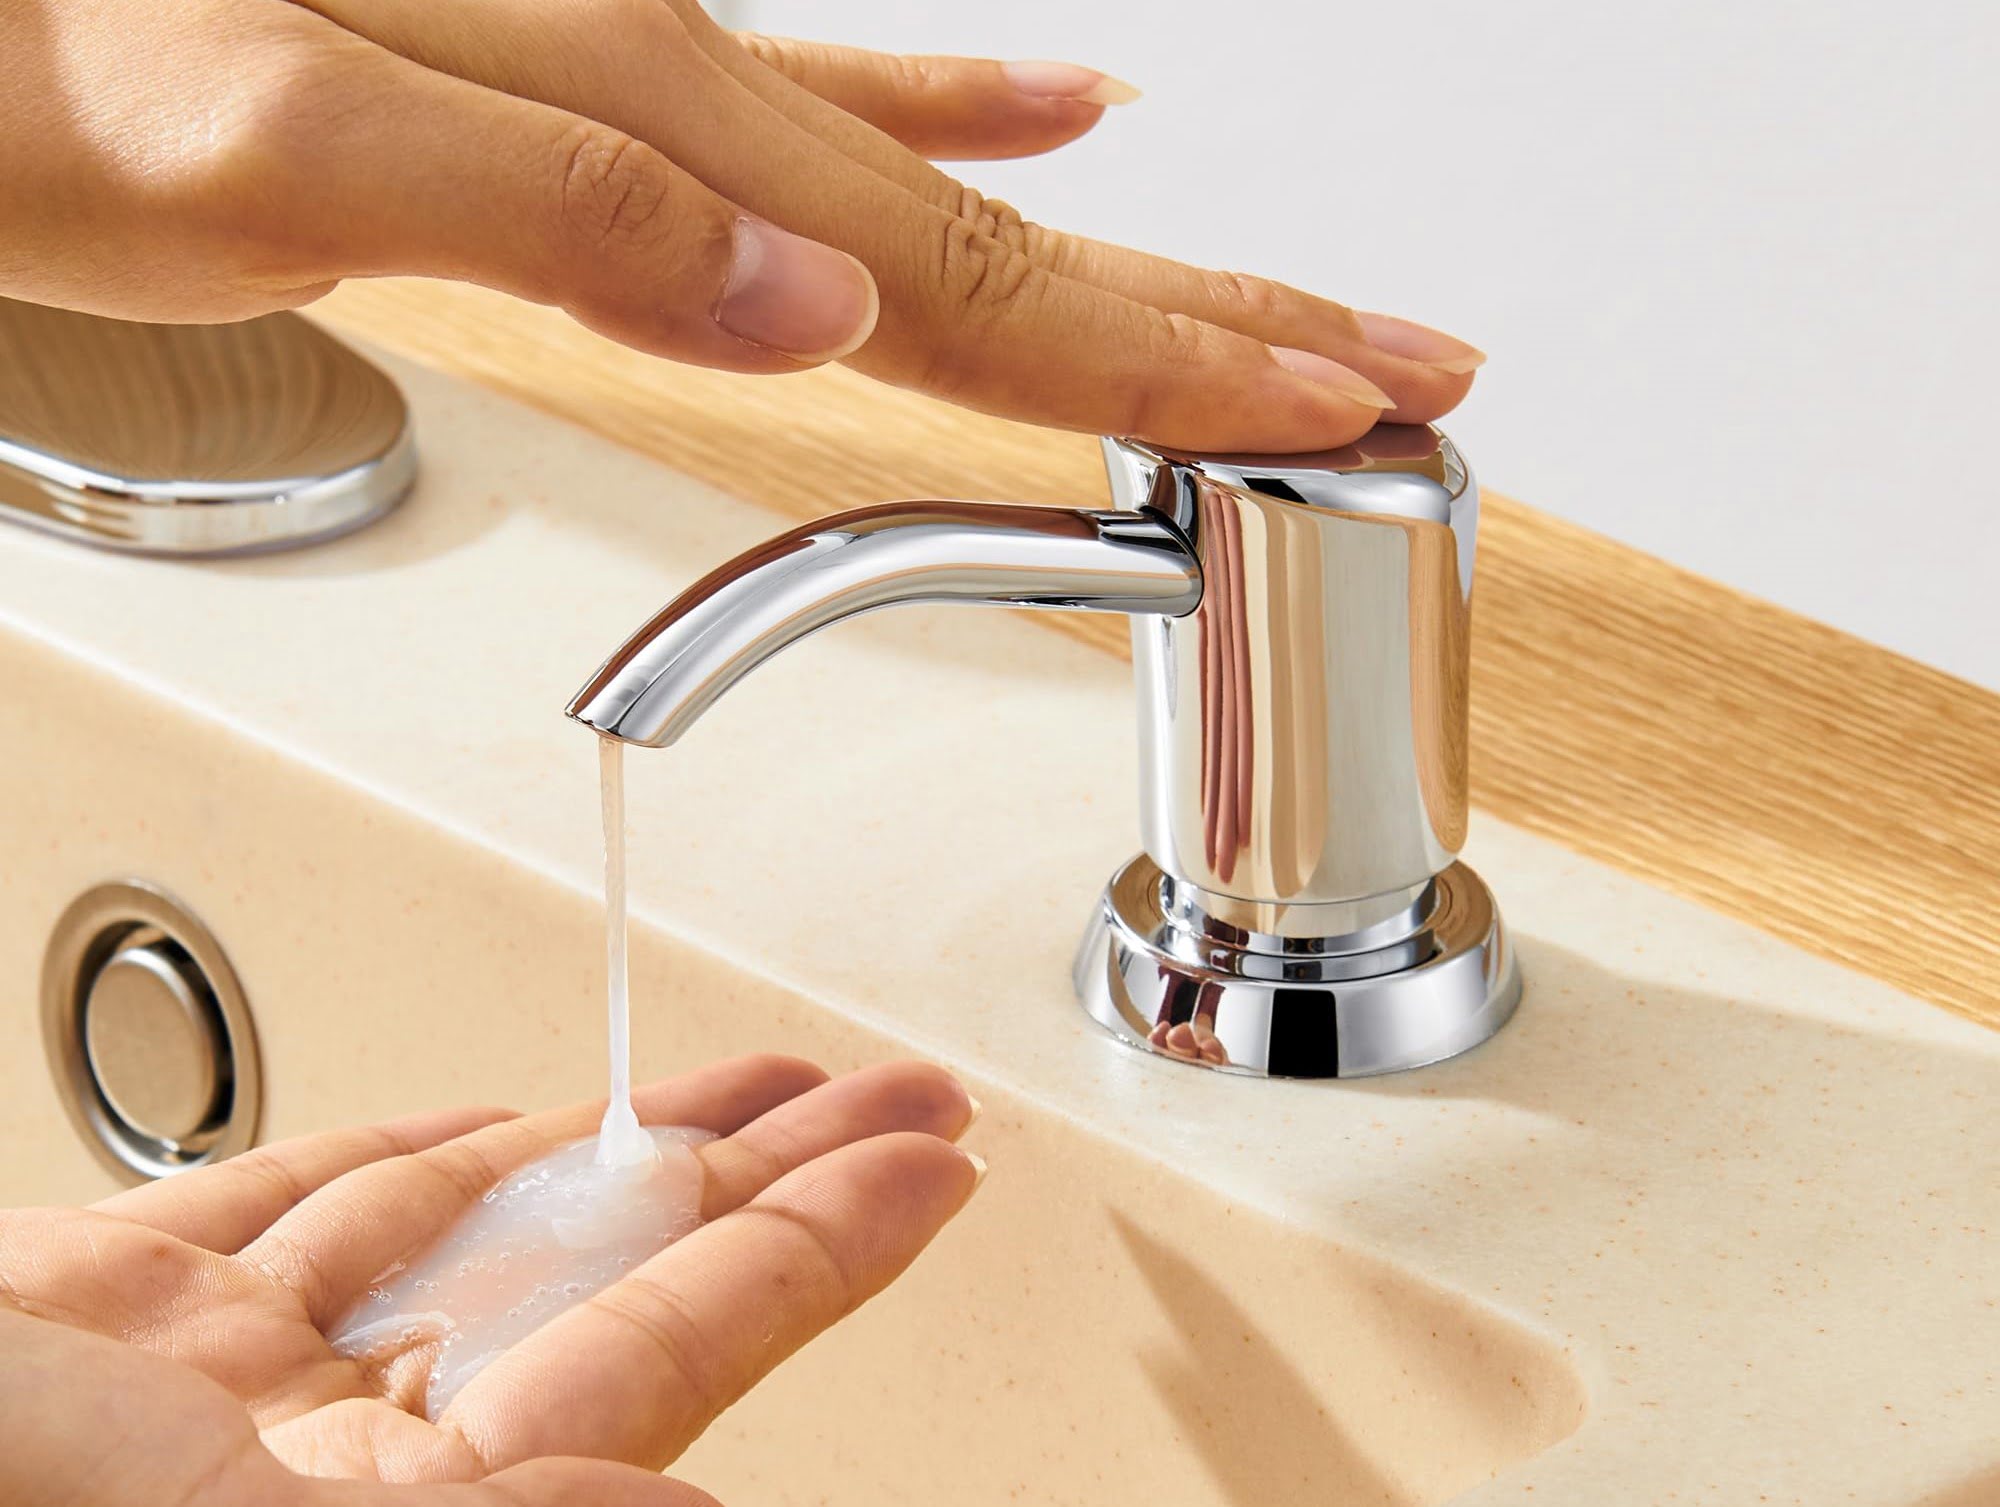
- Place your hand under the dispenser: Position your hand directly below the dispenser pump or sensor, depending on the type of dispenser you have.
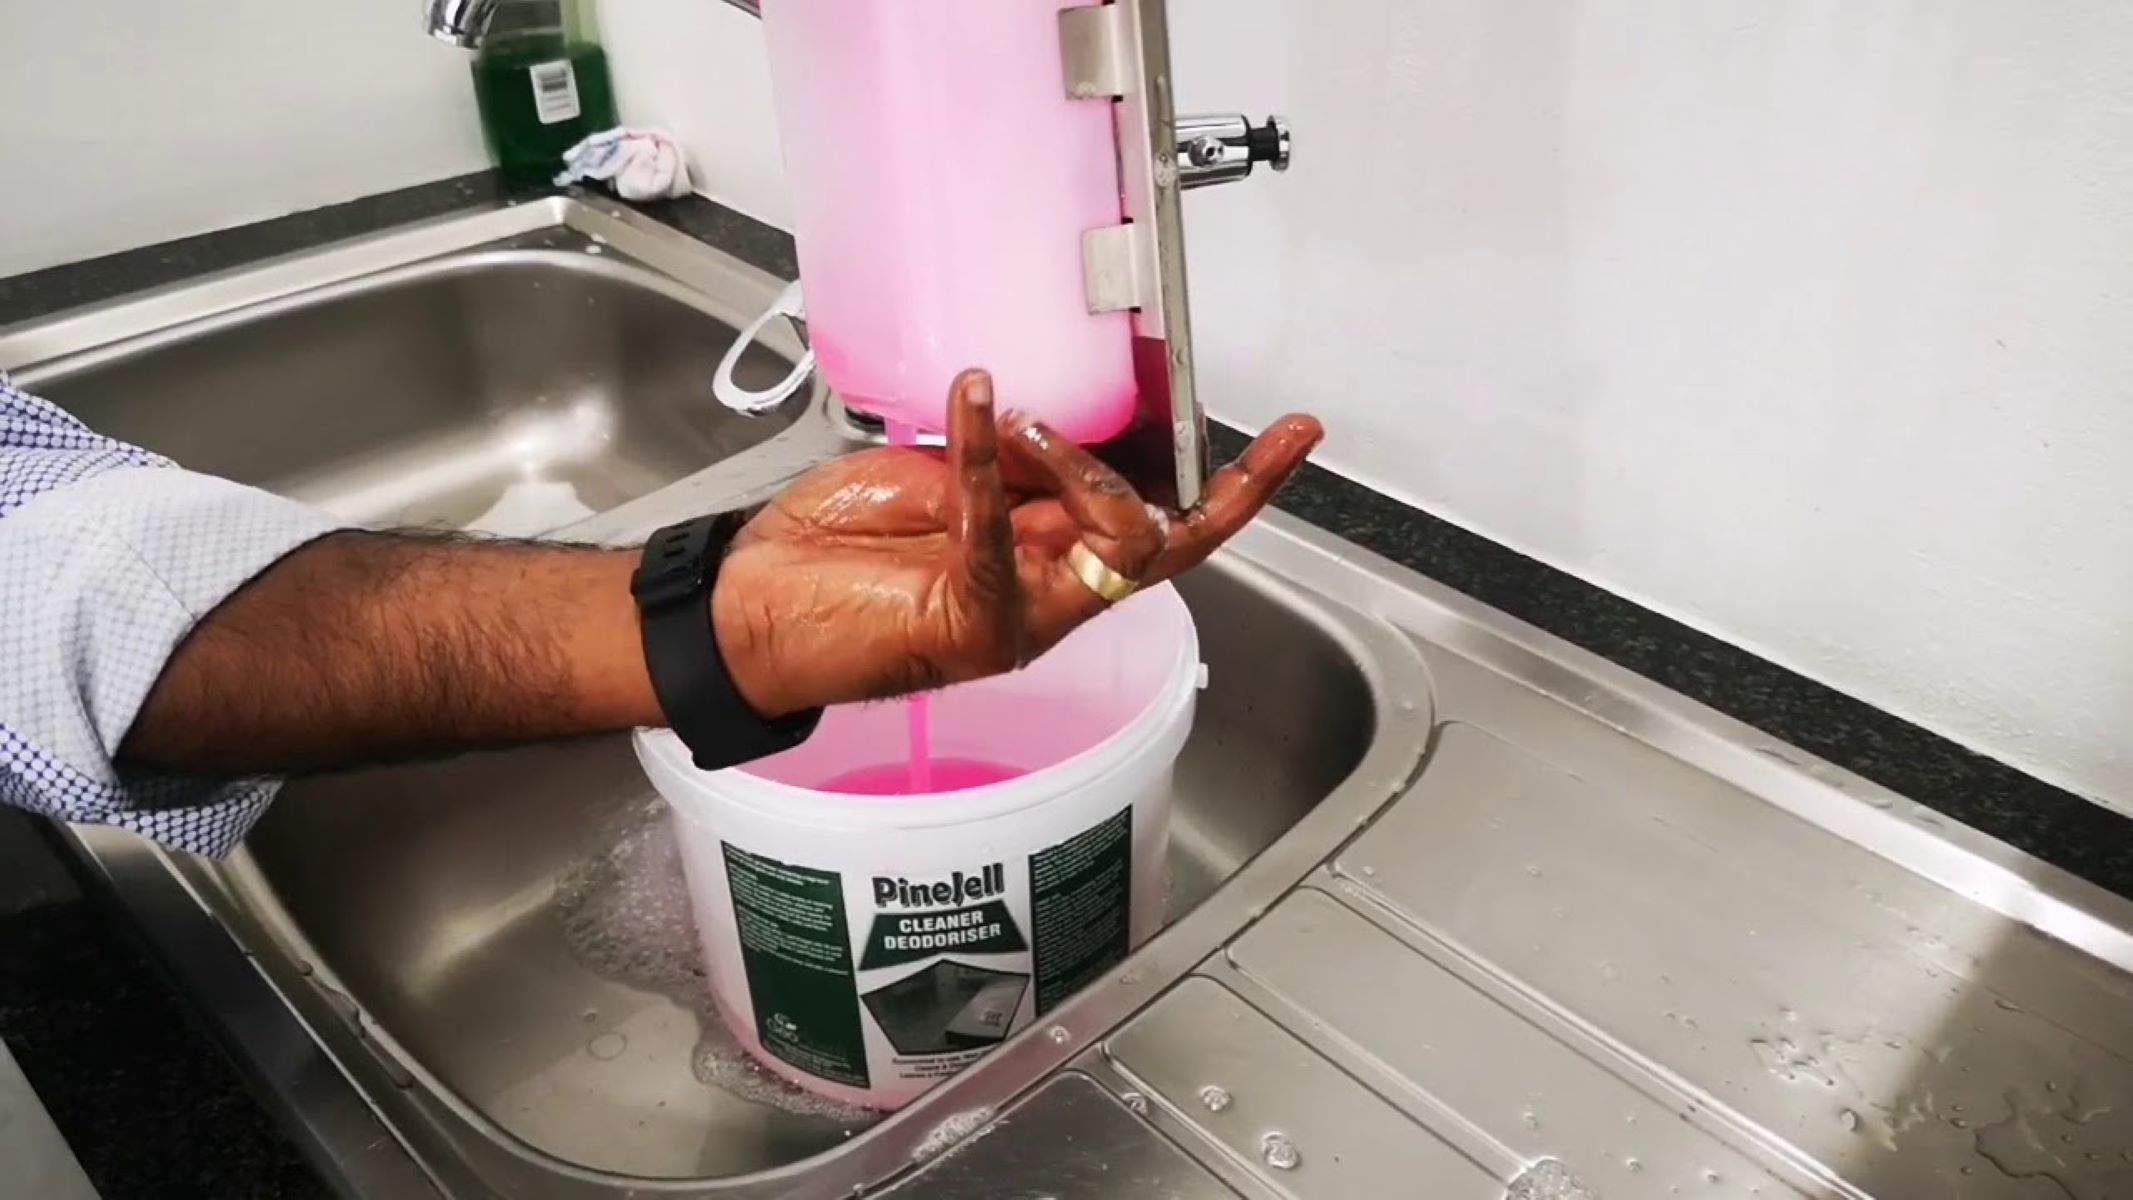
- Press or activate the dispenser: Activate the dispenser by pressing down on the pump or waving your hand in front of the sensor, depending on the type of dispenser. The soap should be dispensed smoothly and easily into your hand without any issues.
- Check for proper flow and consistency: Observe the flow of the soap as it is dispensed. Make sure it is coming out consistently and in the desired amount. If the soap is too thin or too thick, you may need to adjust the soap-to-water ratio for future refills.
By testing the dispenser, you can ensure that it is functioning properly and that the soap is being dispensed effectively. If any issues arise during the test, you may need to troubleshoot or adjust the dispenser or the soap refill as needed.
Conclusion
Filling a soap dispenser on your sink is a straightforward process that can be done with ease. By following the simple steps outlined in this article, you can keep your hands clean and ensure a continuous supply of soap. Remember to gather all the necessary materials, remove the dispenser pump, prepare the soap, pour it into the dispenser, reattach the pump, and test the dispenser for functionality. This way, you’ll have a fully stocked soap dispenser that is ready to use whenever you need it.
Regularly refilling your soap dispenser not only promotes good hygiene but also helps create a welcoming and clean environment in your kitchen or bathroom. By keeping the dispenser filled and functioning properly, you can make handwashing a convenient and enjoyable experience for yourself and your family.
So, next time your soap dispenser needs refilling, follow these steps and enjoy the satisfaction of a well-maintained sink area. Remember, cleanliness is essential, and a filled soap dispenser is the first step towards achieving it!
Frequently Asked Questions about How To Fill Soap Dispenser On Sink
Was this page helpful?
At Storables.com, we guarantee accurate and reliable information. Our content, validated by Expert Board Contributors, is crafted following stringent Editorial Policies. We're committed to providing you with well-researched, expert-backed insights for all your informational needs.


0 thoughts on “How To Fill Soap Dispenser On Sink”