Articles
How To Clean A Washer Filter
Modified: February 21, 2024
Learn how to clean a washer filter with our informative articles. Keep your washing machine running smoothly and efficiently with these helpful tips.
(Many of the links in this article redirect to a specific reviewed product. Your purchase of these products through affiliate links helps to generate commission for Storables.com, at no extra cost. Learn more)
Introduction
Welcome to our comprehensive guide on how to clean a washer filter. If you’ve noticed your washing machine isn’t performing as efficiently as it used to, or if your clothes are coming out less clean than before, chances are, your washer filter is in need of a good cleaning. The washer filter plays a crucial role in preventing lint, debris, and other particles from clogging up your machine and affecting its performance.
Over time, the filter can become clogged with dirt, lint, and other types of residue. This can lead to reduced water flow, longer washing cycles, and even potential damage to your washer. Regularly cleaning your washer filter is essential to maintain its functionality and ensure optimal performance.
In this article, we will walk you through the step-by-step process of cleaning your washer filter. We will also provide you with helpful tips and precautions to ensure a successful and safe cleaning experience. So, grab your tools and let’s get started!
Key Takeaways:
- Regularly cleaning your washer filter is essential to maintain its functionality and ensure optimal performance. It helps prevent clogs, improves water flow, and extends the lifespan of your machine.
- By following the provided step-by-step process and valuable tips, you can ensure a smooth and effective cleaning experience for your washer filter, resulting in a well-maintained and high-performing washing machine.
Read more: How To Clean Whirlpool Washer Filter
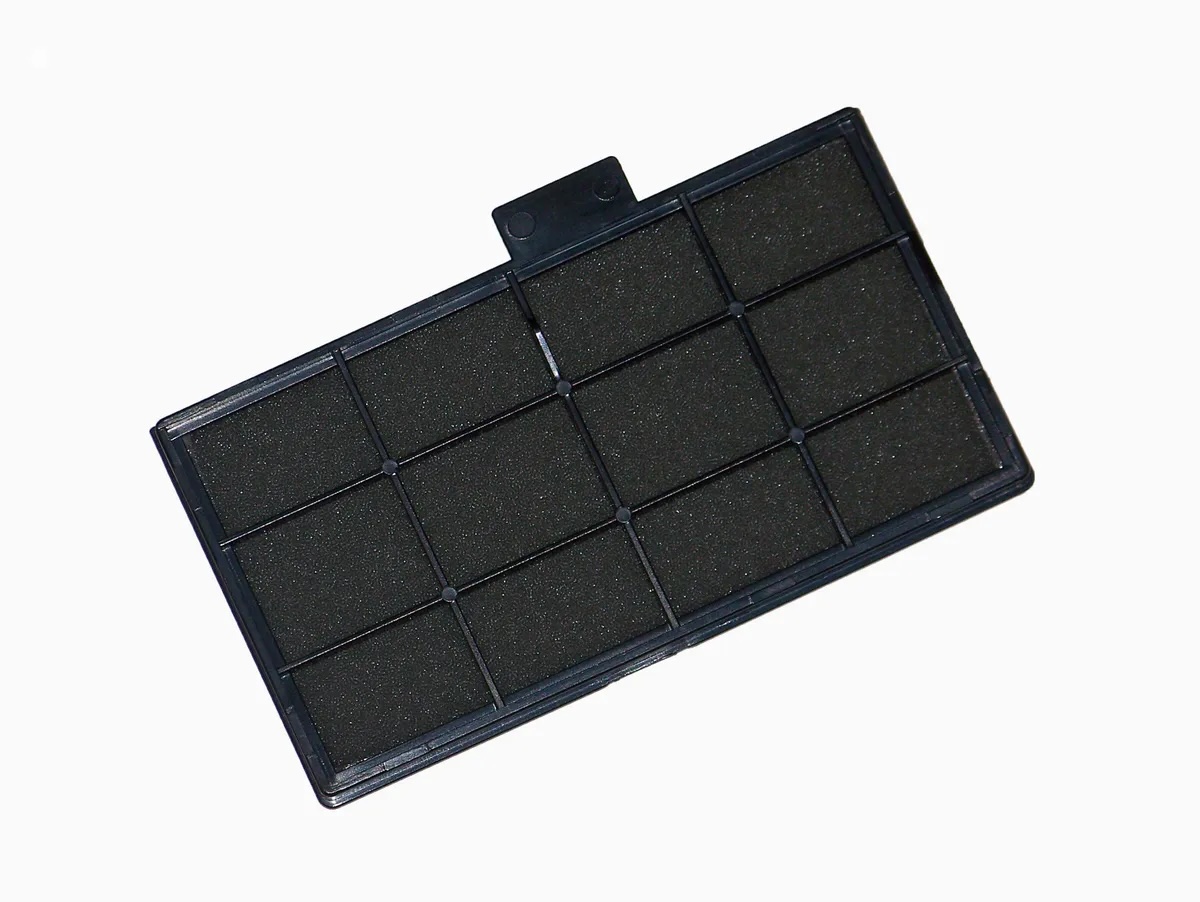
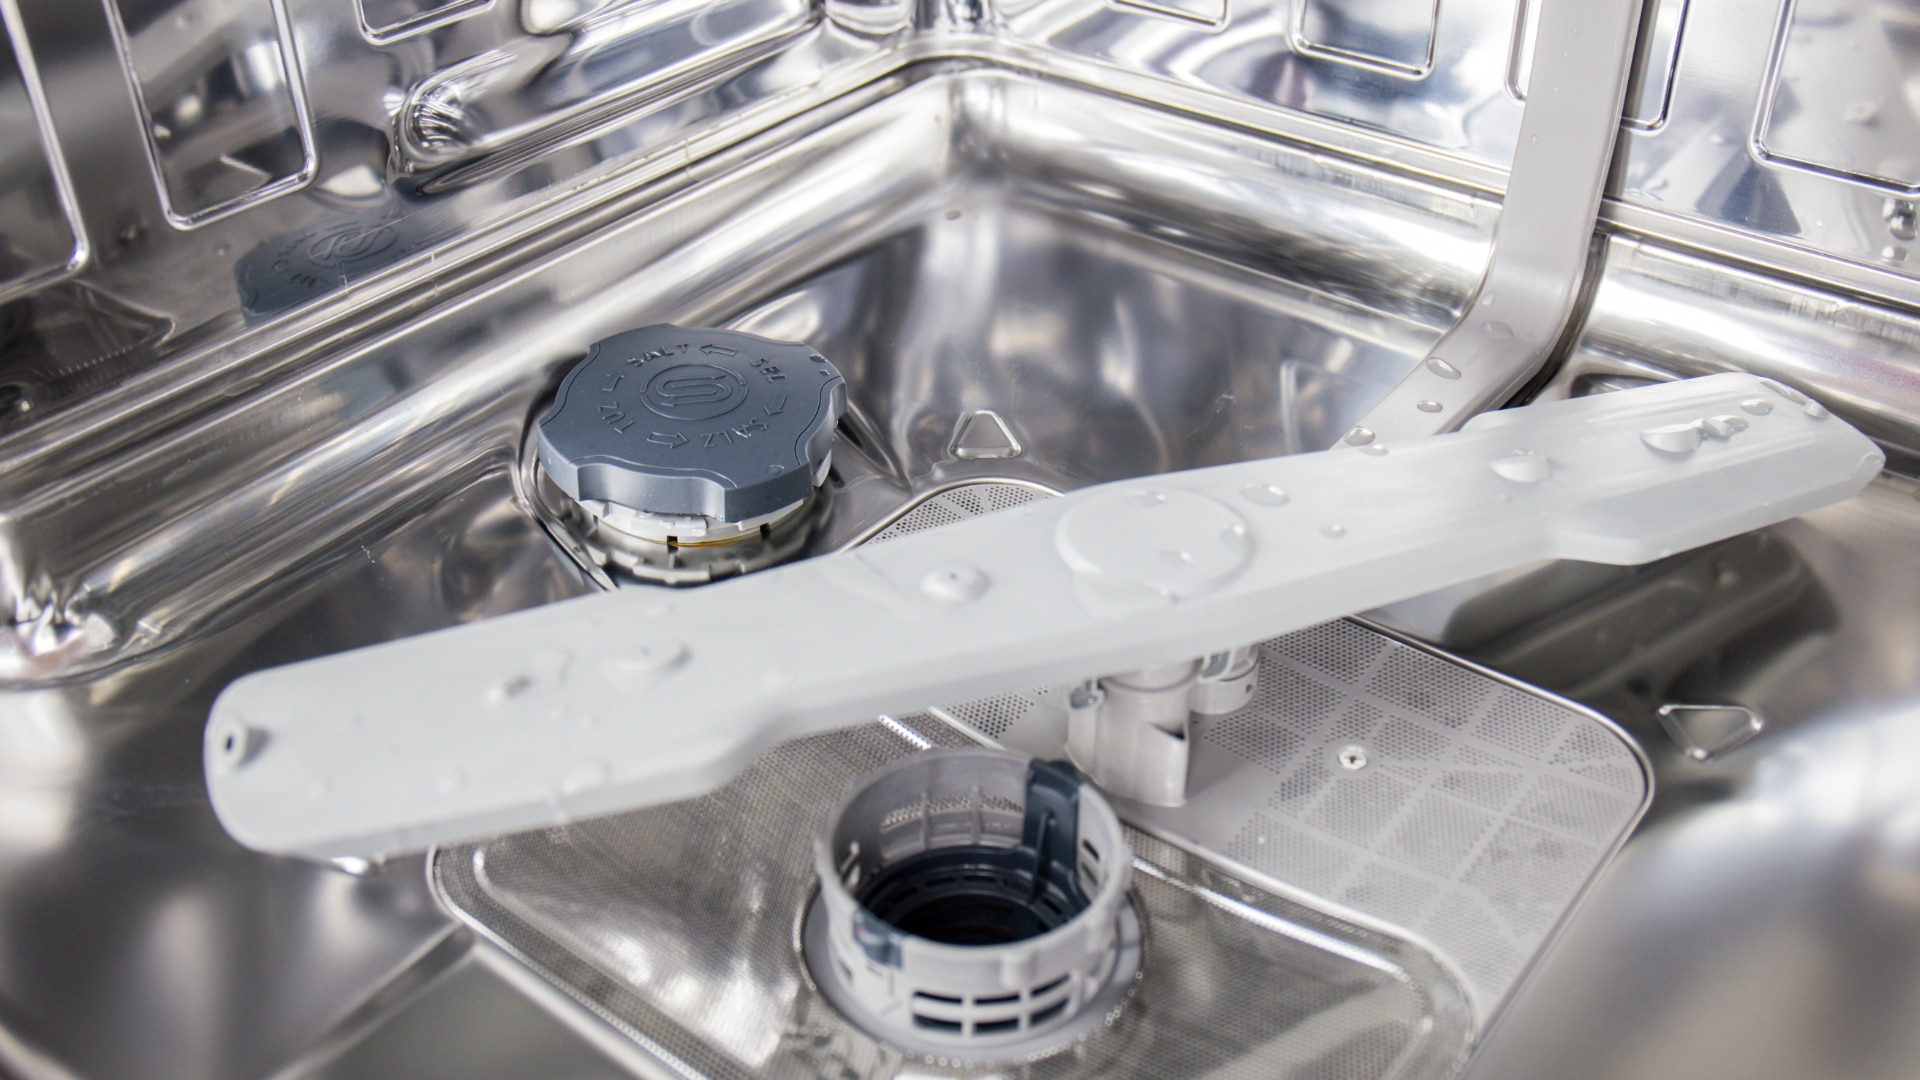
Understanding the Washer Filter
Before we dive into the cleaning process, it’s important to understand the purpose and function of the washer filter. The filter is typically located inside the machine and serves as a barrier between your laundry and the water supply. Its main job is to catch any debris, lint, or other particles that may have come loose from your clothes during the washing process.
Over time, this debris accumulates in the filter and can hinder water flow, leading to issues such as longer washing cycles, poor cleaning performance, and even potential damage to your machine. Cleaning the washer filter regularly is essential to ensure that your washer operates at its optimum level and delivers clean, fresh-smelling laundry every time.
The location of the washer filter can vary depending on the make and model of your washing machine. Some machines have an easily accessible front-facing filter, while others have a hidden filter inside the machine. Consult your washing machine’s user manual for specific instructions on locating the filter in your particular model.
Now that you have a better understanding of the importance of the washer filter, let’s gather the tools and materials you’ll need to clean it.
Tools and Materials Needed
Before you begin the process of cleaning your washer filter, gather the following tools and materials:
- Screwdriver: Depending on your washer model, you may need a flathead or Phillips screwdriver to remove any screws holding the filter in place.
- Bucket or basin: You will need a container to catch any water or debris that may come out while removing the filter.
- Gloves: It’s a good idea to wear gloves to protect your hands from any dirt, grime, or potentially sharp edges as you handle the filter.
- Old toothbrush or soft brush: This will be used to gently scrub away any stubborn debris or residue from the filter.
- Mild soap or vinegar: You might need a mild soap or vinegar to help remove any built-up grime or odors from the filter.
- Clean, lint-free cloth: You will use this cloth to wipe down the filter and ensure it is thoroughly cleaned before reinstalling it.
Having these tools and materials ready before you begin will help streamline the cleaning process and make it easier to achieve the best results.
Now that you have everything you need, let’s move on to the step-by-step process of cleaning your washer filter.
Step 1: Preparation
Before you start cleaning the washer filter, it’s important to take some precautionary measures to ensure a hassle-free and safe cleaning experience. Follow these steps for proper preparation:
- Turn off the washing machine: To avoid any accidents or mishaps, make sure your washing machine is completely turned off and unplugged from the power source. Safety should always be your top priority.
- Put on gloves: Wear protective gloves to keep your hands clean and protect them from any sharp edges or debris that may be in the filter.
- Place a towel and a bucket or basin: Lay down a towel or old cloth in front of the washing machine to catch any water or debris that may spill out during the cleaning process. Have a bucket or basin ready to collect the water.
By following these preparation steps, you can ensure a smooth and organized cleaning process, preventing any mess or potential damage to your surroundings.
Now it’s time to move on to the next step: locating the washer filter.
Step 2: Locating the Washer Filter
Locating the washer filter will depend on the make and model of your washing machine. While some machines have an easily accessible front-facing filter, others may have a hidden filter inside the machine or behind a panel. Here are some general steps to help you locate the filter:
- Refer to the user manual: Consult your washing machine’s user manual for specific instructions on where to find the filter. The manual will provide you with the most accurate information for your particular model.
- Check near the drum: In many front-loading washing machines, the filter is located near the drum, behind a small panel. Look for any removable panels or access points that may lead to the filter.
- Inspect the bottom or back of the machine: Some top-loading washing machines have the filter located at the bottom of the machine, while others may have it at the back. Look for any visible openings or panels in these areas.
- Check for a lint trap or coin trap: If you can’t find a specific filter, your machine may have a lint trap or a coin trap. These traps are designed to catch larger debris and coins to prevent them from reaching the filter or pump. Refer to the user manual for instructions on how to clean or remove these traps.
Once you have located the filter, you are ready to move on to the next step: removing the filter.
Read more: How To Clean Samsung Washer Filter
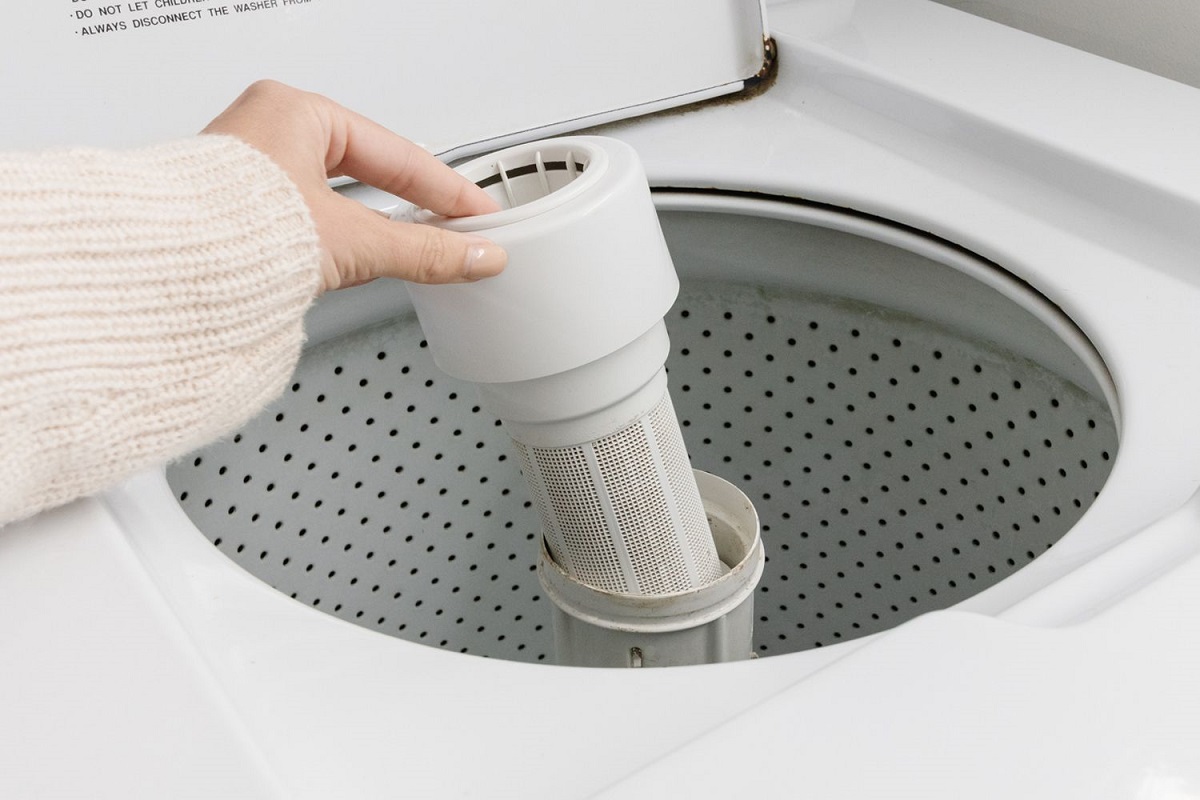
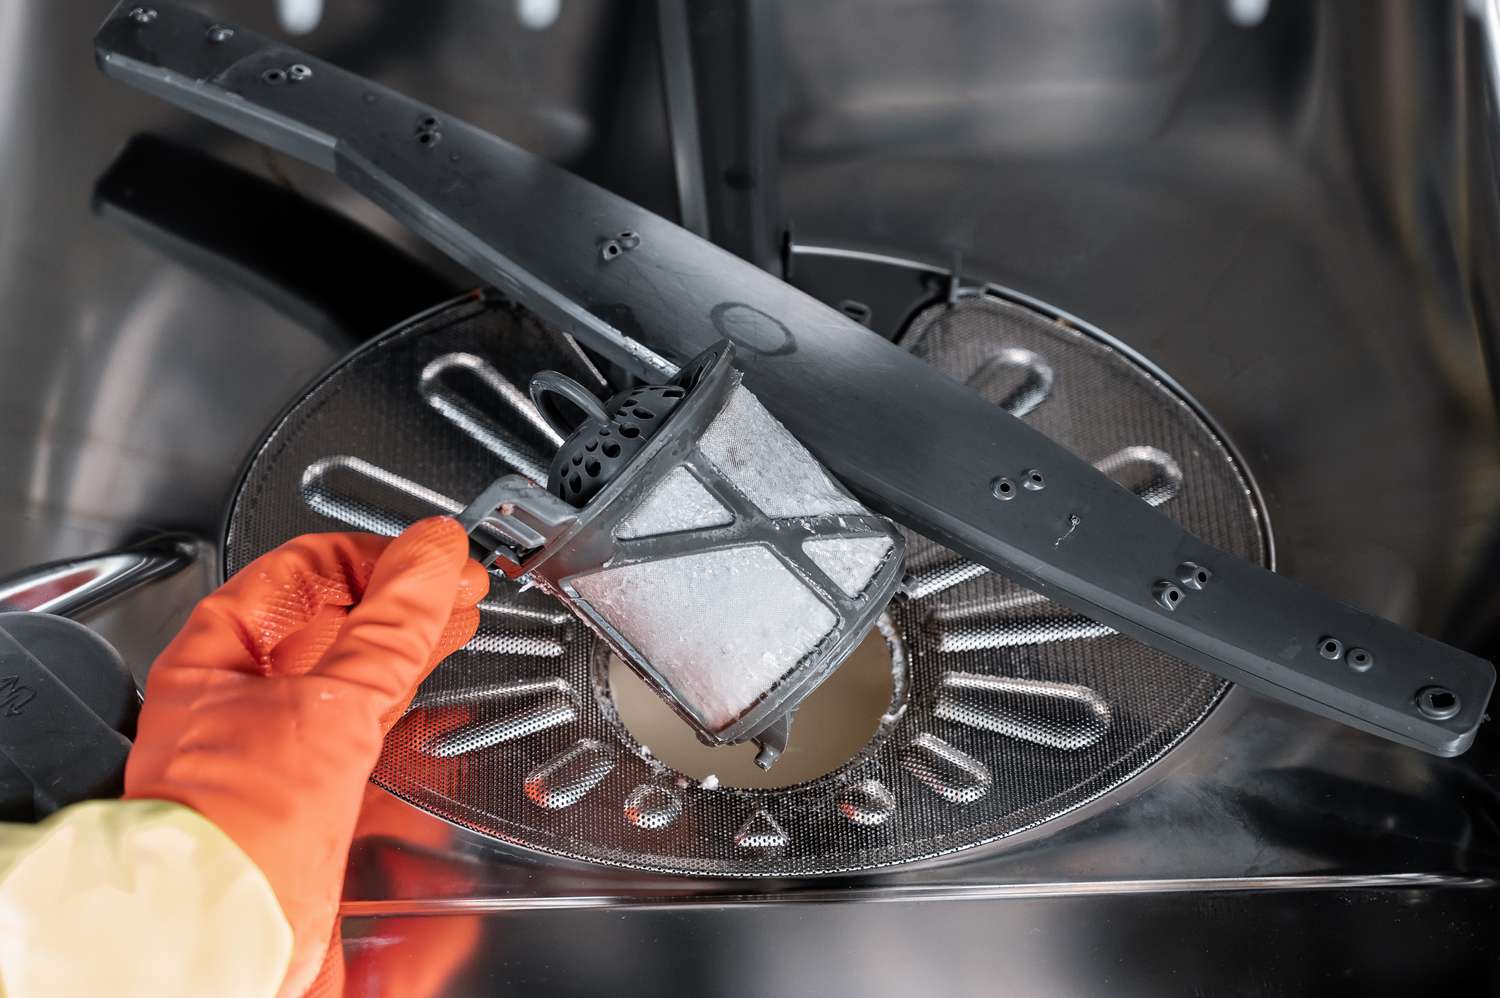
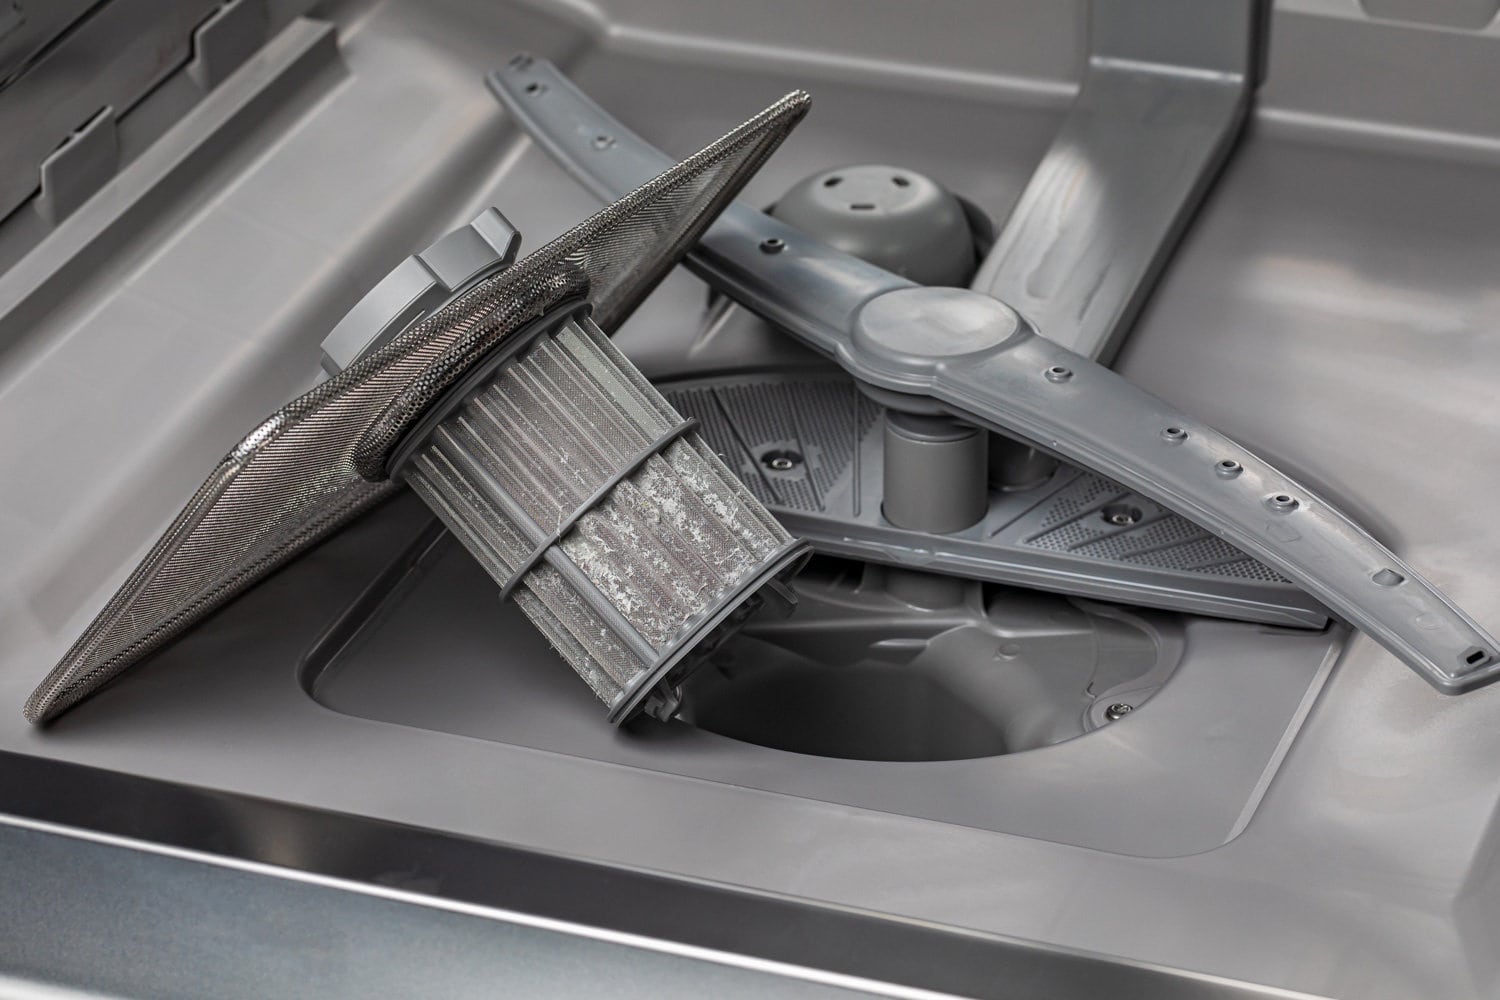
Step 3: Removing the Filter
Now that you have located the washer filter, it’s time to remove it. Follow these steps to safely remove the filter from your washing machine:
- Consult the user manual: Refer to your washing machine’s user manual for specific instructions on removing the filter. Different models may have varying methods of filter removal.
- Prepare the bucket or basin: Place the bucket or basin beneath the filter to catch any water or debris that may come out during the removal process.
- Remove any screws or clips: Some filters may be secured in place with screws or clips. Use a screwdriver or your fingers to carefully remove these and set them aside in a safe place.
- Gently pull or twist the filter: With one hand, gently pull or twist the filter to release it from its housing. Be cautious as some filters may be tightly fitted and require a bit of force.
- Continue extracting the filter: Slowly and carefully pull the filter out from its housing, making sure to capture any water or debris that may spill out in the bucket or basin.
Once you have successfully removed the filter, you can proceed to the next step: cleaning the filter.
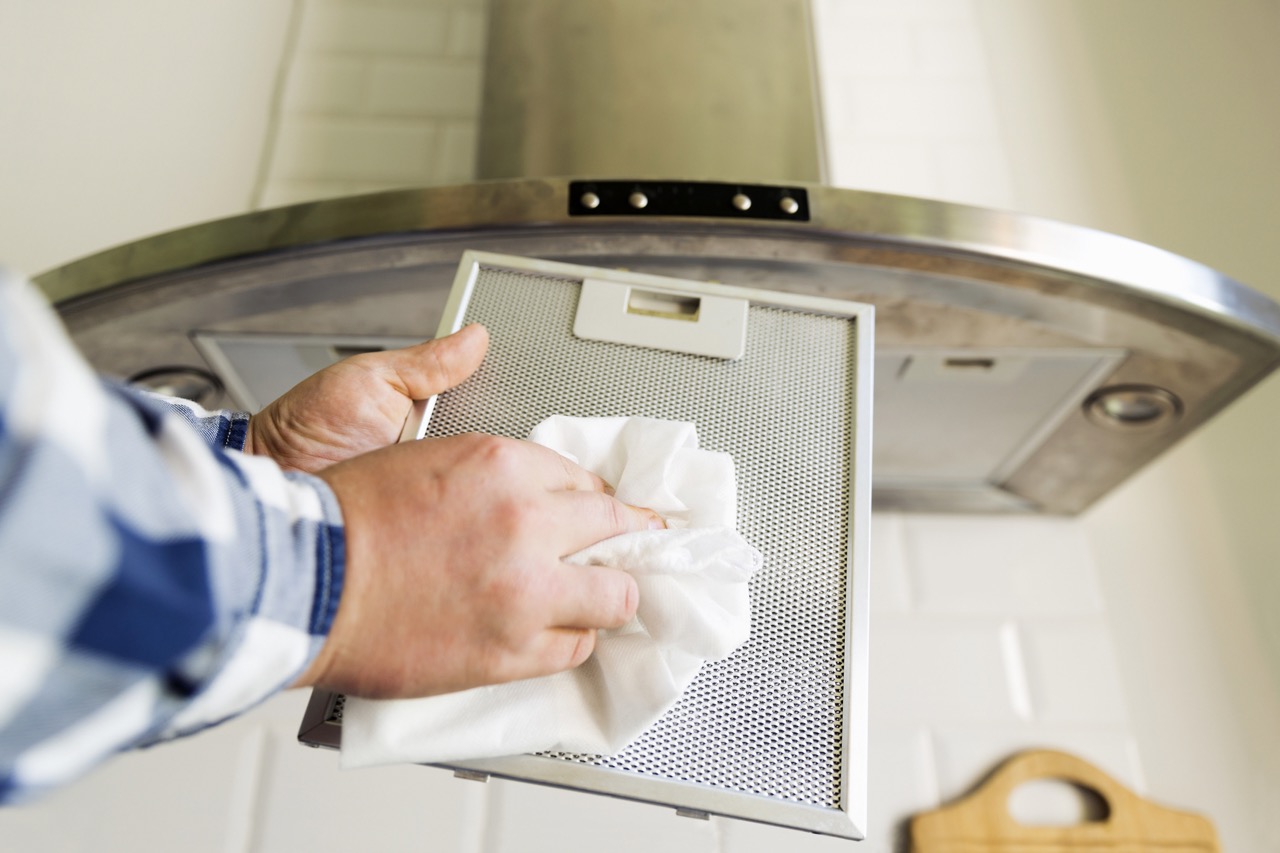
Regularly clean your washer filter to prevent clogs and maintain optimal performance. Refer to your washer’s manual for specific instructions on how to locate and clean the filter.
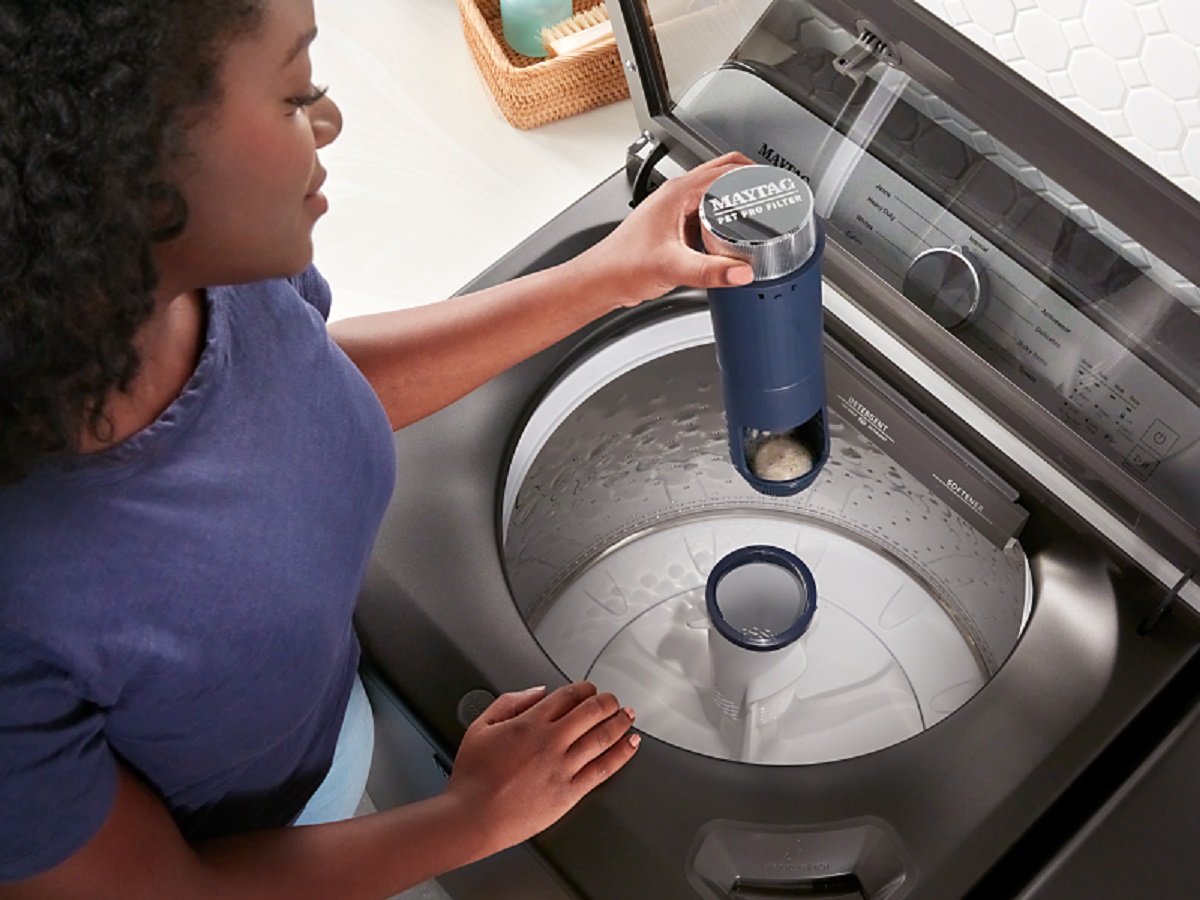
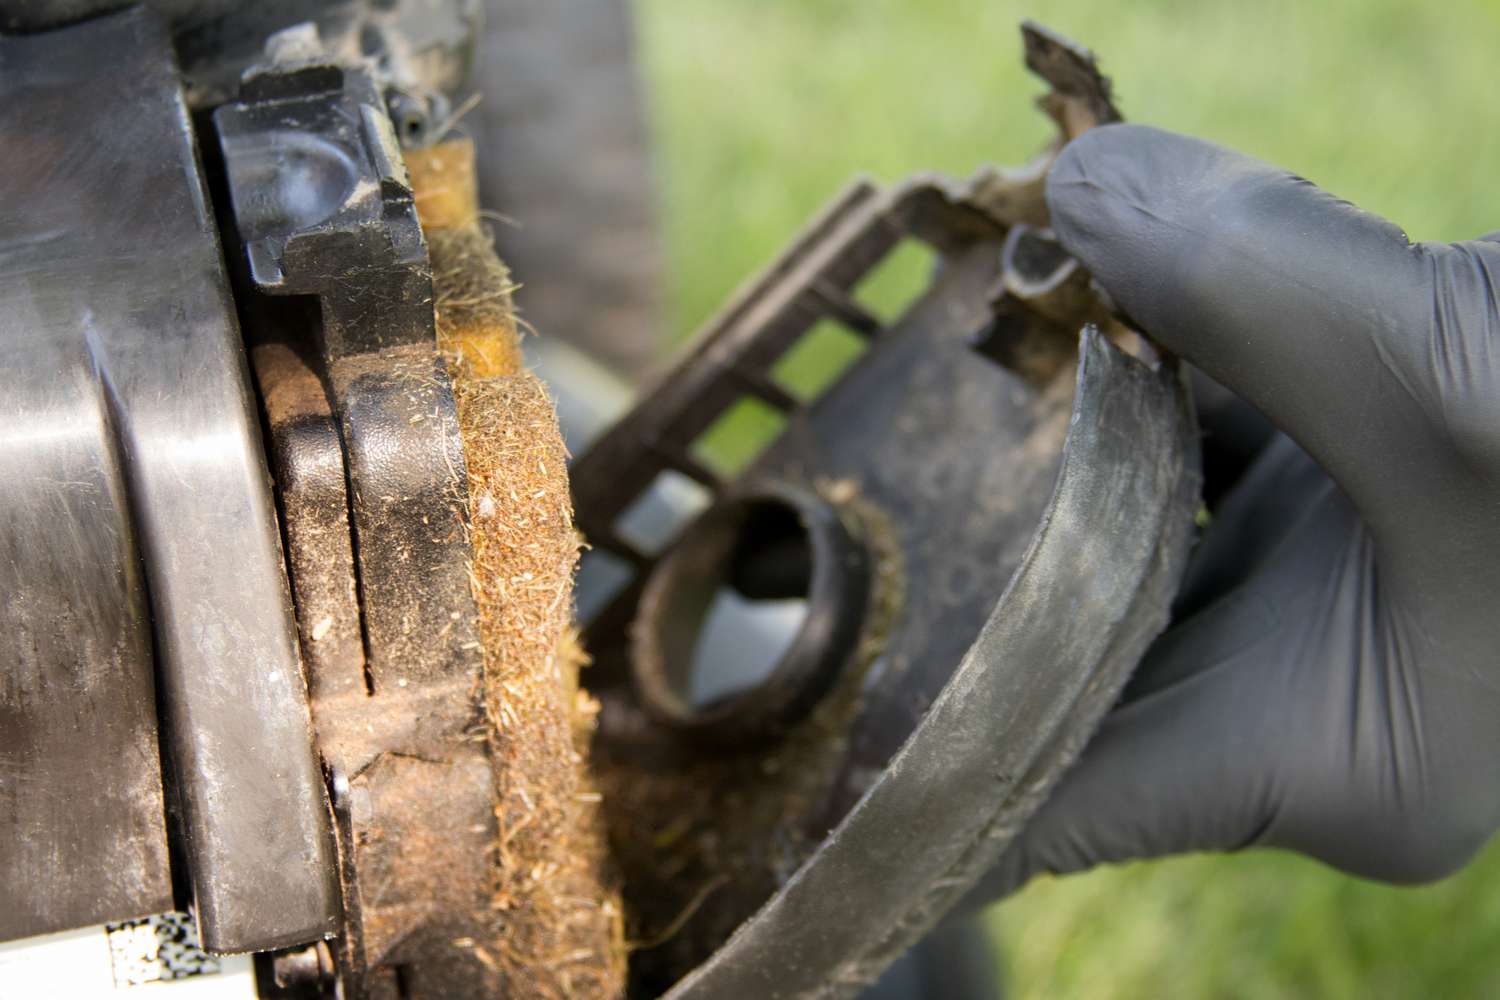
Step 4: Cleaning the Filter
Now that you have removed the washer filter, it’s time to give it a thorough cleaning. Follow these steps to ensure your filter is free from debris and functioning optimally:
- Inspect the filter: Take a close look at the filter and check for any visible debris, lint, or residue. Use your fingers or a soft brush to gently remove any loose particles.
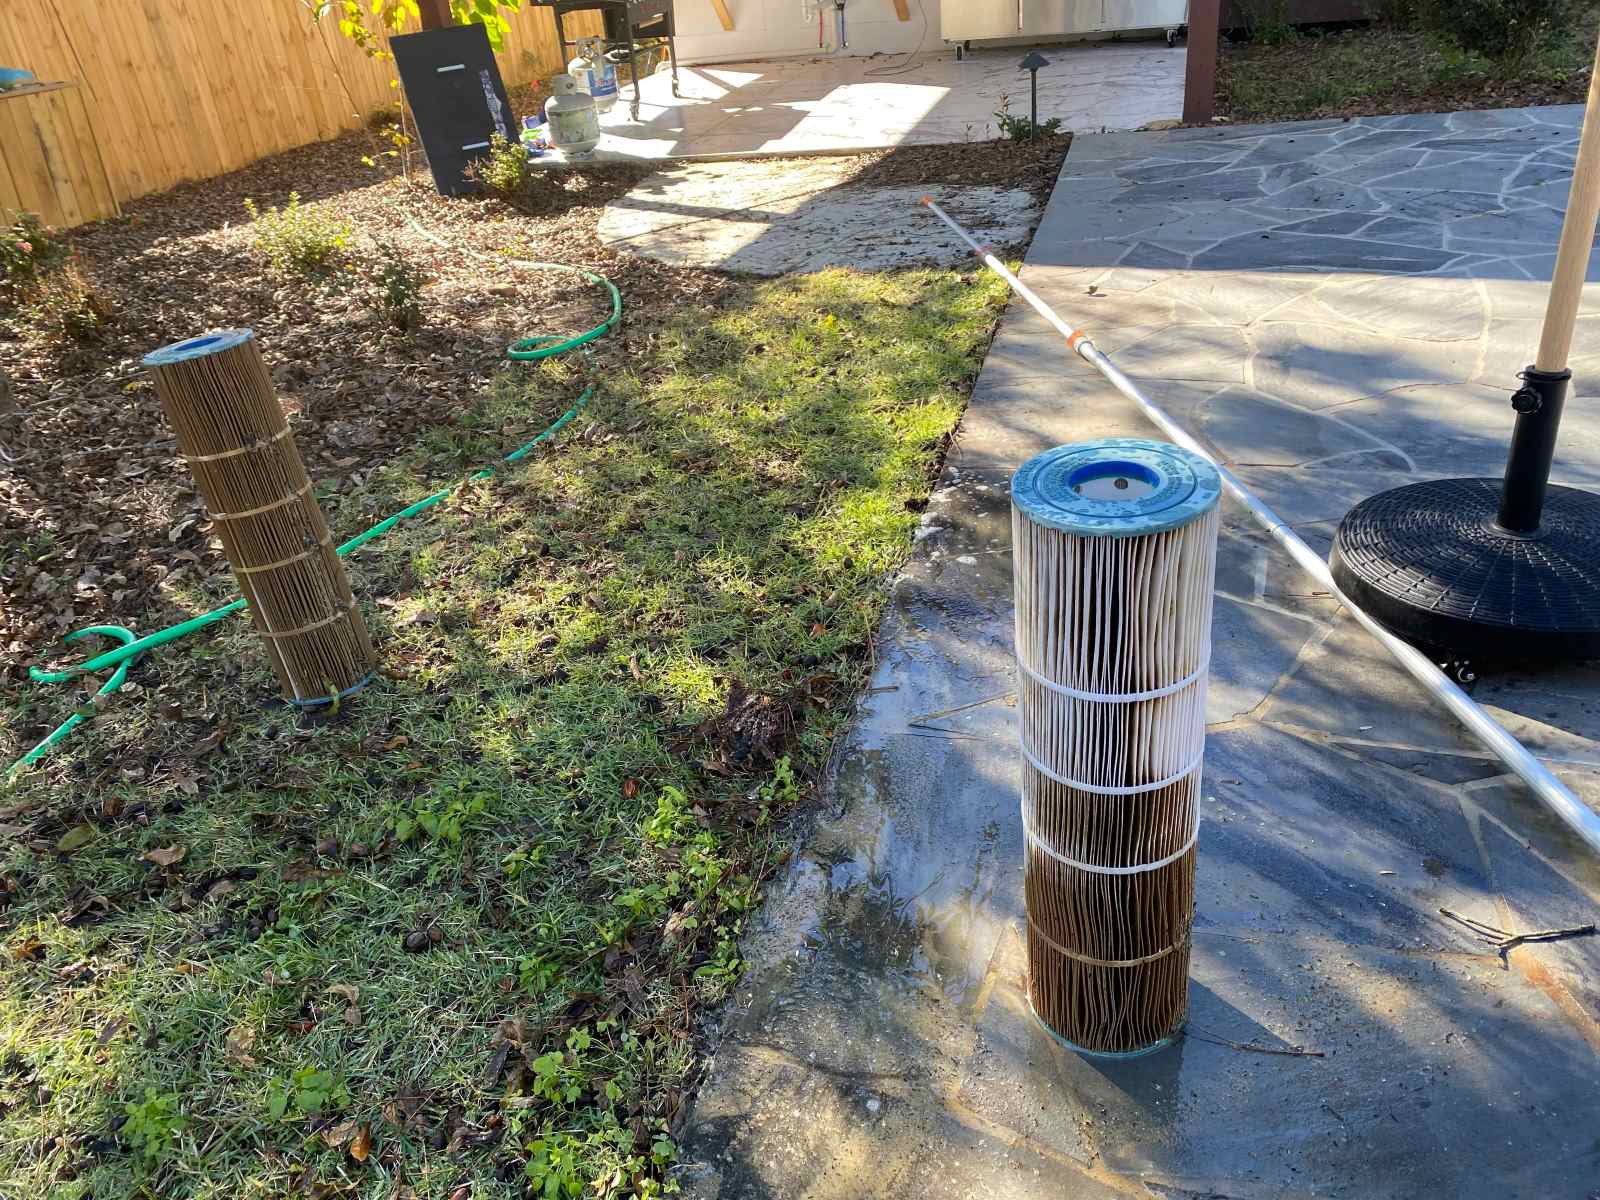
- Rinse the filter: Hold the filter under running water and rinse away any remaining debris. Be sure to remove any stubborn dirt or grime by gently scrubbing with an old toothbrush or soft brush.
- Completely submerge the filter: Fill a sink or a large basin with warm water. Add a small amount of mild soap or vinegar to create a cleaning solution. Completely submerge the filter in the solution.
- Soak the filter: Allow the filter to soak in the cleaning solution for 15-20 minutes. This will help to loosen any trapped debris and remove built-up residue.
- Scrub the filter: After soaking, take the old toothbrush or soft brush and gently scrub the filter. Pay special attention to any areas with stubborn residue or stains. Continue scrubbing until the filter is clean and free from any dirt or grime.
- Rinse thoroughly: Once you have finished scrubbing, rinse the filter under running water to remove any soap or vinegar residue. Ensure that all traces of cleaning solution are completely washed away.
- Inspect for cleanliness: Take a final look at the filter to ensure it is clean and free from any debris or residue. If necessary, repeat the cleaning process until the filter is thoroughly clean.
Once you are satisfied with the cleanliness of the filter, it’s time to move on to the next step: reinstalling the filter.
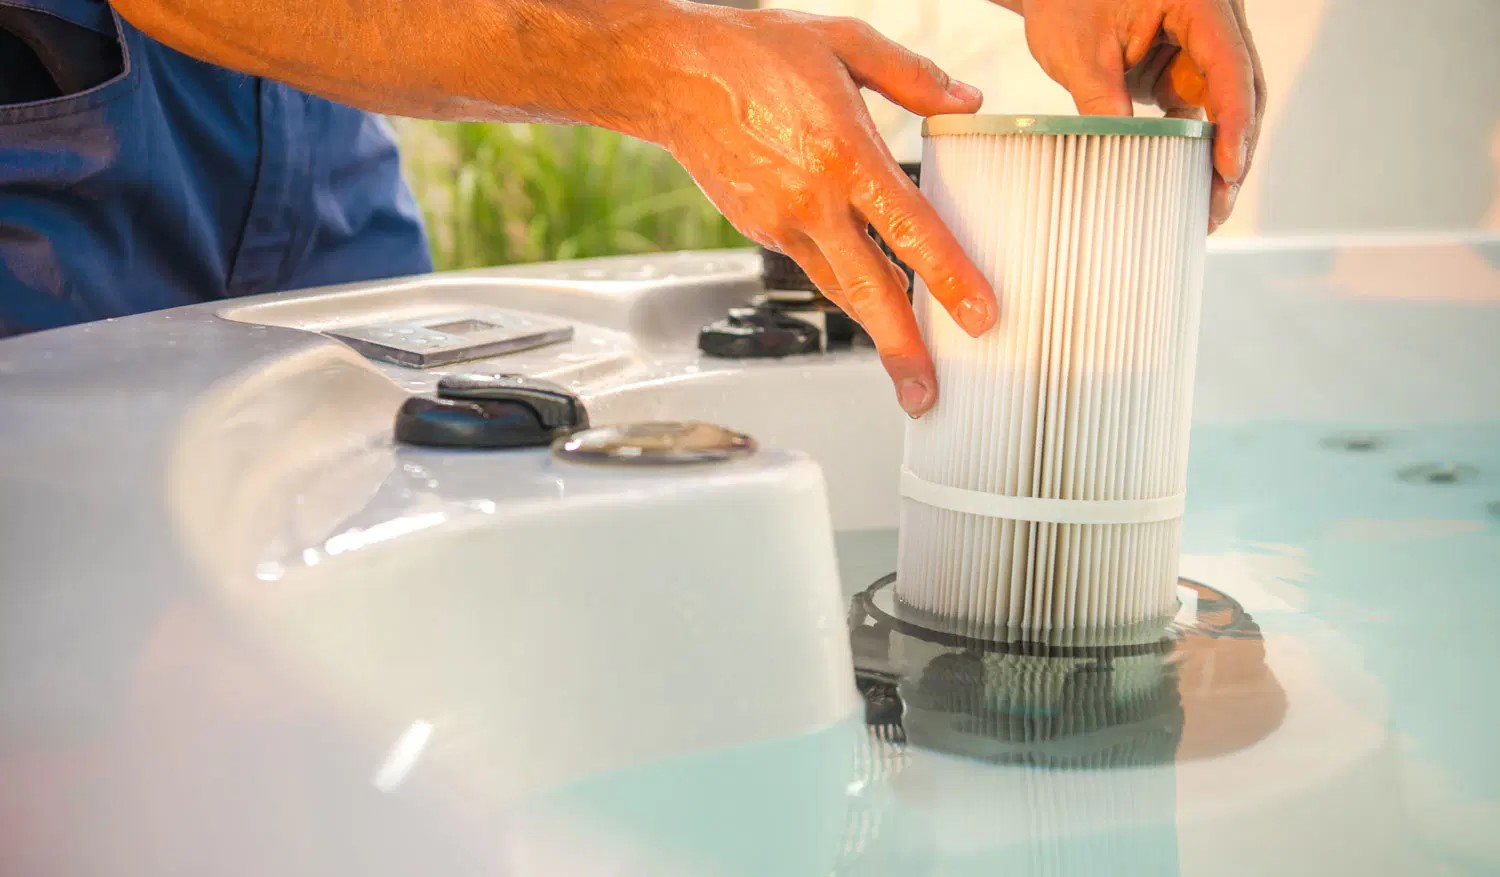
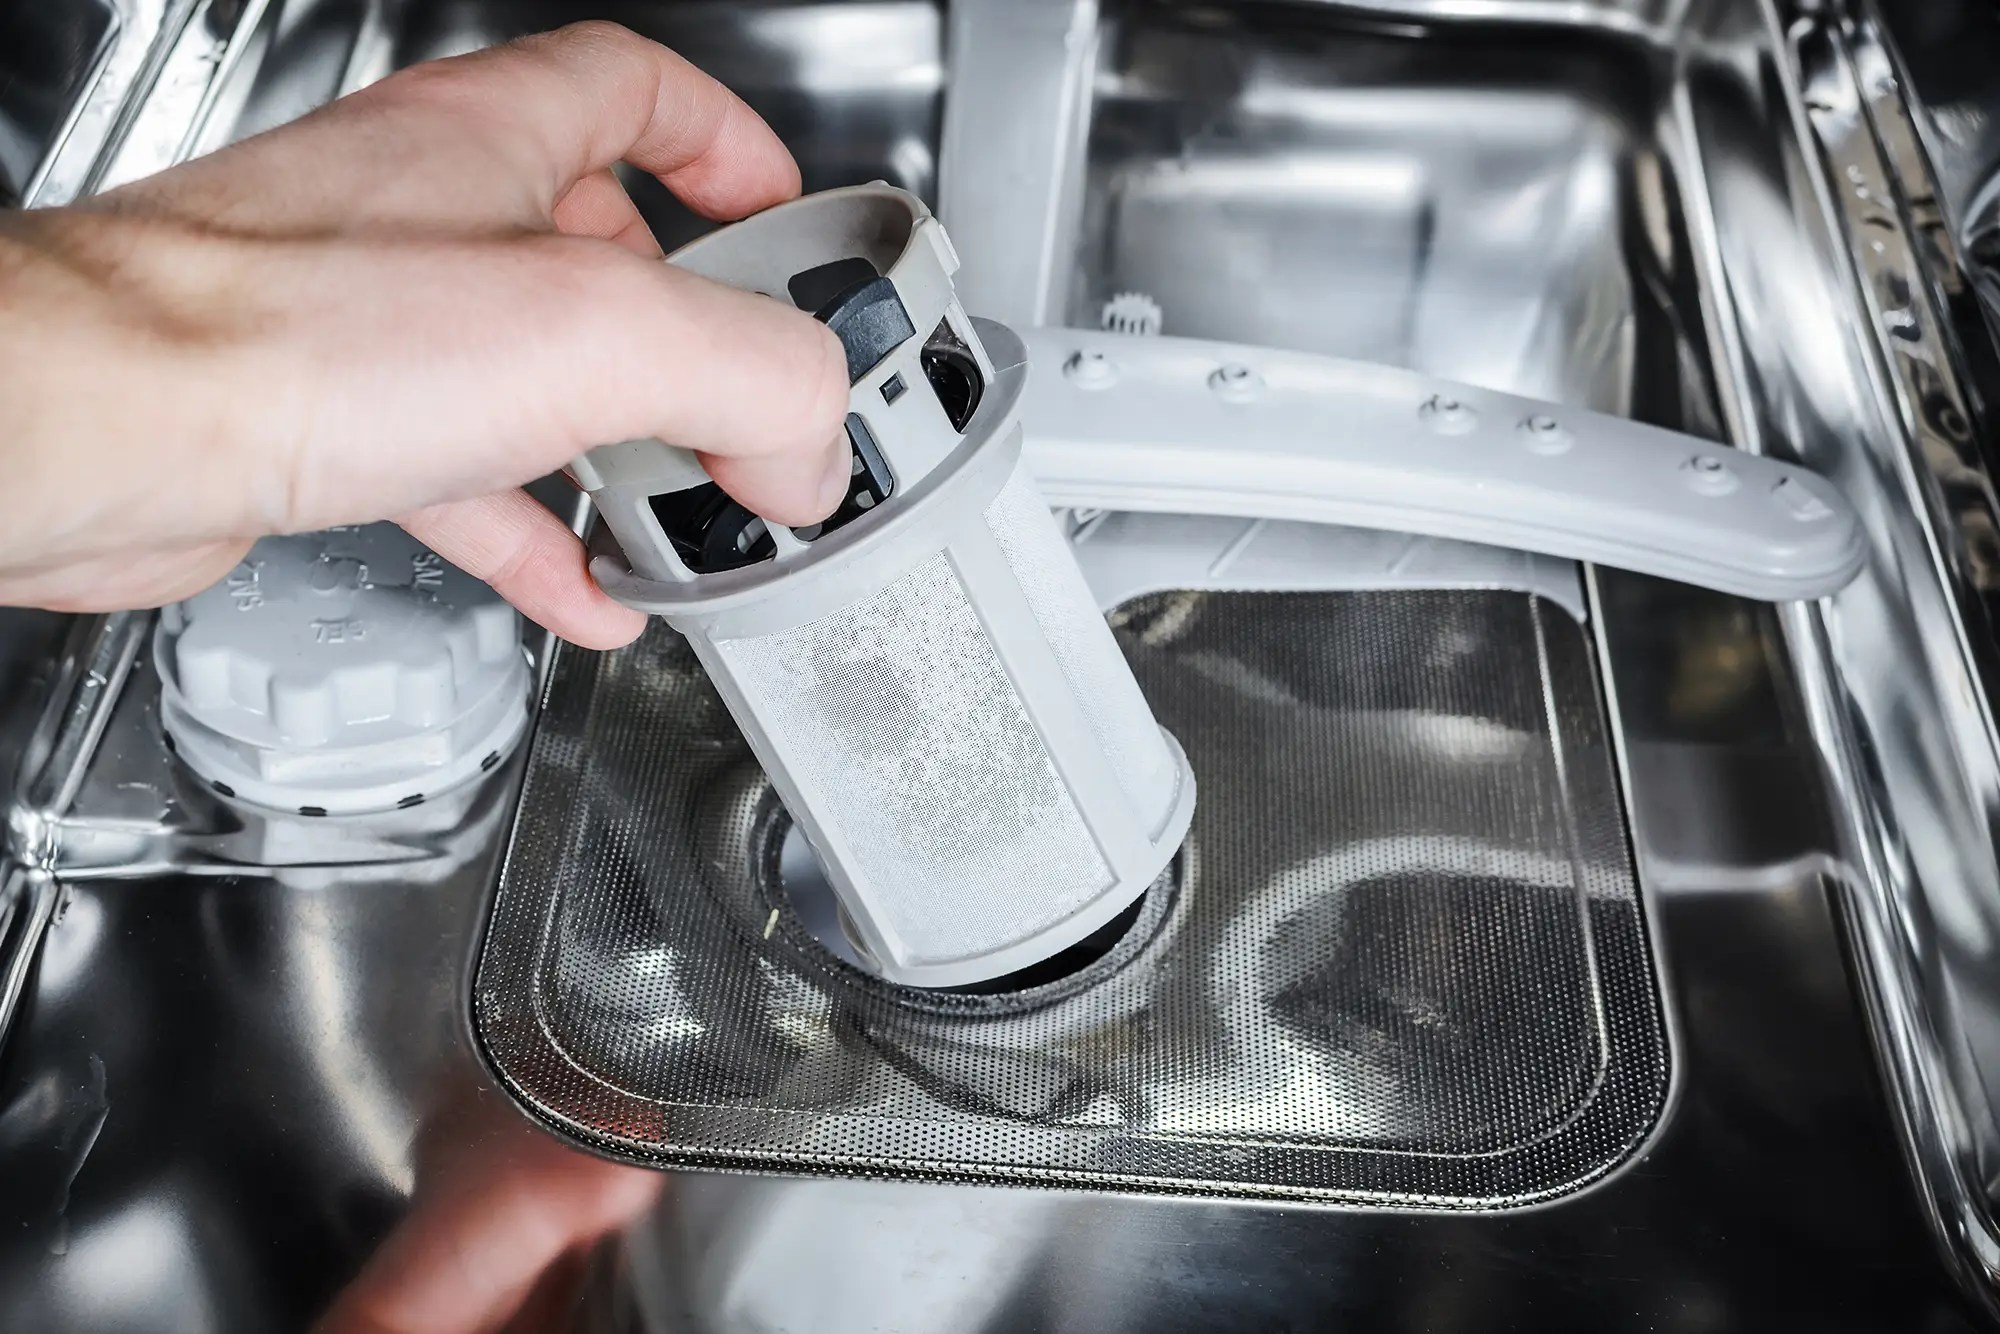
Step 5: Reinstalling the Filter
Now that you have cleaned the washer filter, it’s time to reassemble and reinstall it into your washing machine. Follow these steps to ensure the proper reinstallation of the filter:
- Inspect the filter housing: Before reinstalling the filter, check the filter housing for any debris or residue. Use a clean cloth or paper towel to wipe away any dirt or moisture.
- Align the filter: Position the filter at the opening of the filter housing, ensuring that it is properly aligned and fits securely.
- Push or twist the filter into place: Apply gentle pressure to push or twist the filter back into its housing. Make sure it is securely in place and sits flush with the surrounding area.
- Secure any screws or clips: If the filter is held in place with screws or clips, reinstall them using a screwdriver or your fingers. Ensure they are tight enough to keep the filter securely in place.
- Double-check the installation: Once you have secured the filter, give it a slight tug or twist to confirm that it is firmly in place and doesn’t move or come loose easily.
Now that you have successfully reinstalled the filter, it’s time to move on to the next step: testing the washer.
Step 6: Testing the Washer
With the filter properly reinstalled, it’s time to test your washing machine to ensure everything is working correctly. Follow these steps to test the washer:
- Close the washer door or lid: Make sure the washer’s door or lid is securely closed before starting the test.
- Plug in the washing machine: Connect the washer to the power source and ensure it is properly plugged in.
- Select a test cycle: Choose a test cycle on your washing machine that involves water. This can be a regular wash cycle or a rinse cycle.
- Start the test cycle: Start the selected cycle and allow the washer to run its course. Observe the water flow and drainage to ensure there are no issues or signs of blockages.
- Monitor the machine: Throughout the cycle, pay attention to any unusual noises, leaks, or error messages that may indicate a problem with the washer. If you notice any abnormalities, stop the cycle and consult the user manual or a professional technician for assistance.
- Check the cleanliness of the clothes: Once the cycle is complete, check the cleanliness of the clothes. If they appear cleaner and smell fresher than before, it indicates that the cleaning process has been successful.
If the test cycle goes smoothly and the clothes come out fresh and clean, congratulations! You have successfully cleaned and reinstalled the washer filter.
Before concluding, let’s go over some additional tips and precautions to keep in mind when cleaning your washer filter.
Read more: How to Clean Filter on LG Top Load Washer
Additional Tips and Precautions
When cleaning your washer filter, it’s important to keep the following tips and precautions in mind:
- Frequency of cleaning: It is recommended to clean the washer filter every 1-3 months, or as needed. Regular maintenance will help prevent clogs and ensure optimal performance.
- Inspect the filter regularly: Take a quick look at the filter before each laundry load to check for any visible debris. If you notice a buildup, clean the filter before proceeding with the wash.
- Follow manufacturer instructions: Always refer to the user manual or manufacturer’s recommendations for your specific washing machine model. Each machine may have unique instructions or specifications for filter cleaning.
- Be gentle: When cleaning the filter, use gentle scrubbing motions and avoid using excessive force. This will prevent damage to the filter or surrounding components.
- Use mild cleaning agents: Stick to mild soaps or vinegar when cleaning the filter. Avoid using harsh chemicals or abrasive cleaners, as they can damage the filter or leave residue behind.
- Keep the area clean: Regularly wipe down the filter housing and surrounding areas to remove any lint or residue buildup. This will prevent it from potentially clogging the filter in the future.
- Consult a professional if needed: If you encounter any difficulties or are unsure about cleaning the washer filter yourself, don’t hesitate to contact a professional technician for assistance.
By following these tips and precautions, you can ensure a smooth and effective cleaning process for your washer filter, resulting in a well-maintained and high-performing washing machine.
Finally, with your washer filter cleaned and reinstalled, you can now enjoy cleaner and fresher laundry. Regular maintenance of the filter will help extend the lifespan of your washing machine and ensure consistently excellent washing results.
Happy washing!
Conclusion
Cleaning the washer filter is an essential maintenance task that should not be overlooked. By regularly cleaning and maintaining the filter, you can ensure that your washing machine operates at its best, delivering clean and fresh laundry with every wash. It helps prevent clogs, improves water flow, and extends the lifespan of your machine.
In this comprehensive guide, we walked you through the step-by-step process of cleaning your washer filter. We discussed the importance of understanding the filter’s function, gathered the necessary tools and materials, and prepared for the cleaning process. We then guided you through locating and removing the filter, followed by detailed instructions on thoroughly cleaning and reinstalling it.
Additionally, we provided you with valuable tips and precautions to enhance your cleaning experience, ensuring both safety and efficiency. By following these tips and incorporating regular filter cleaning into your laundry routine, you can maintain the optimal performance of your washing machine.
Remember, each washing machine may differ in terms of filter location and specific cleaning instructions, so always consult your user manual for accurate guidance. If in doubt, don’t hesitate to seek assistance from a professional technician.
By devoting a small amount of time and effort to cleaning your washer filter, you can enjoy the benefits of a well-maintained machine and clean, fresh-smelling clothes. So, grab your gloves, tools, and materials, and get ready to give your washer filter the attention it deserves.
Happy cleaning!
Frequently Asked Questions about How To Clean A Washer Filter
Was this page helpful?
At Storables.com, we guarantee accurate and reliable information. Our content, validated by Expert Board Contributors, is crafted following stringent Editorial Policies. We're committed to providing you with well-researched, expert-backed insights for all your informational needs.

0 thoughts on “How To Clean A Washer Filter”