Articles
How To Clean Samsung Washer Filter
Modified: May 6, 2024
Learn how to clean the filter on your Samsung washer with these helpful articles. Maintain optimum performance and prolong the lifespan of your appliance.
(Many of the links in this article redirect to a specific reviewed product. Your purchase of these products through affiliate links helps to generate commission for Storables.com, at no extra cost. Learn more)
Introduction
Welcome to this comprehensive guide on how to clean the filter of your Samsung washer. Keeping your washer filter clean is essential for maintaining the efficiency and longevity of your machine. Over time, debris, lint, and other particles can accumulate in the filter, causing clogs and reducing the washer’s performance. Cleaning the filter regularly not only ensures optimal washing results but also prevents potential damage to your washer.
In this article, we will walk you through the step-by-step process of cleaning the filter on your Samsung washer. We will provide you with all the necessary information and tips to make the task quick and hassle-free.
Before we begin, it is important to note that the steps mentioned in this guide are specific to Samsung washers. If you have a different brand or model, please consult the respective manufacturer’s instructions for cleaning the filter.
So, let’s get started on learning how to clean the filter of your Samsung washer and keep your laundry days stress-free!
Key Takeaways:
- Regularly cleaning the filter of your Samsung washer is essential for optimal performance, preventing clogs, and ensuring clean laundry. Follow the step-by-step guide to maintain a stress-free laundry routine.
- By gathering the necessary materials, locating, removing, cleaning, and reinstalling the filter, you can prolong the life of your Samsung washer and maintain its efficiency. Test the washer to confirm successful cleaning.
Read more: How To Clean A Washer Filter
Step 1: Gather the necessary materials
Before you begin cleaning the filter of your Samsung washer, it is important to gather all the necessary materials. Having everything ready will help streamline the process and ensure that you have everything you need.
Here are the materials you will need:
- A pair of rubber gloves: Rubber gloves will protect your hands from any dirt or debris that may be present in the filter.
- A small brush or toothbrush: A soft-bristled brush or toothbrush will be helpful for removing any stubborn residue or build-up on the filter.
- A bucket or shallow container: You will need a bucket or shallow container to collect any water that may be trapped in the filter.
- A towel or absorbent cloth: Keeping a towel or absorbent cloth nearby will help absorb any water that may spill during the cleaning process.
Once you have gathered all these materials, you are now ready to proceed to the next step: locating the filter on your Samsung washer.
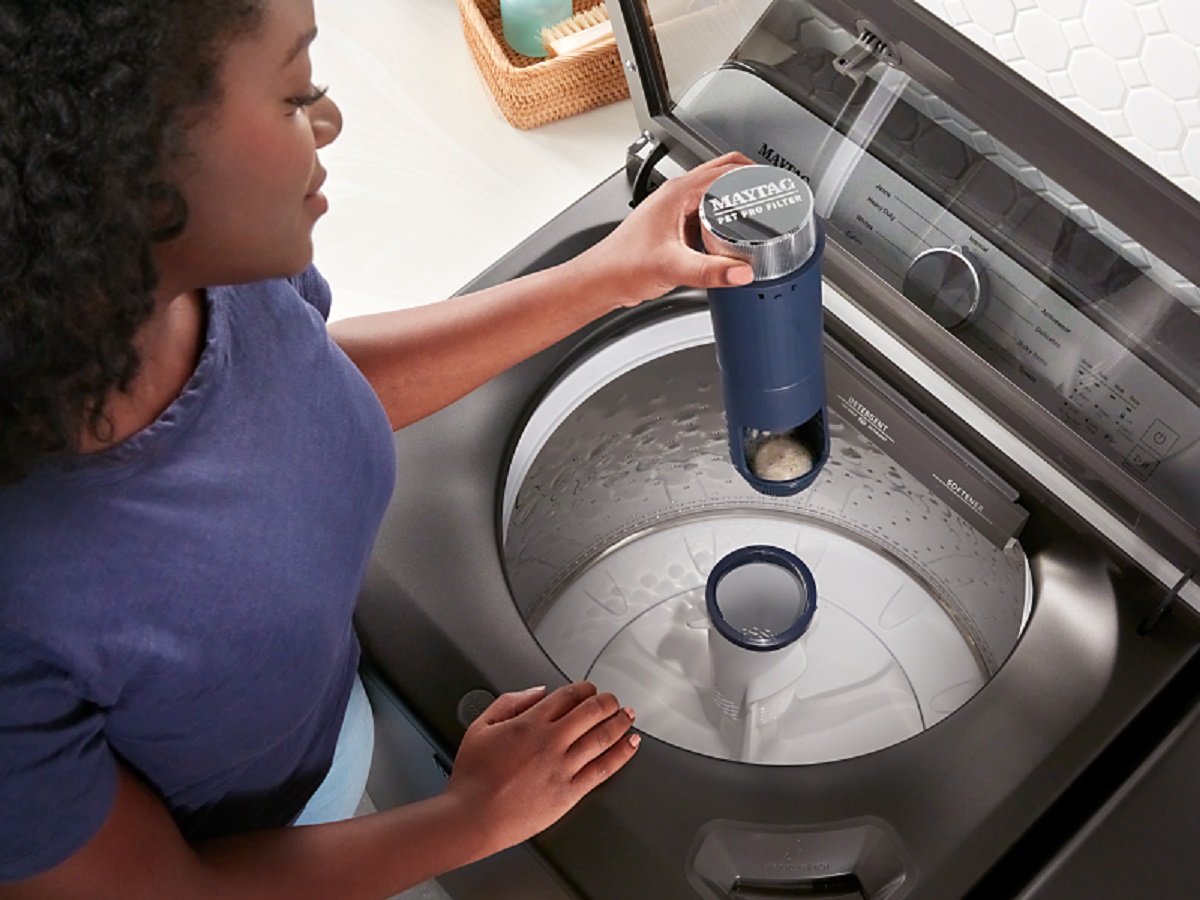
Step 2: Locate the filter on your Samsung washer
In order to clean the filter of your Samsung washer, you first need to locate where it is located on the machine. The filter is responsible for capturing lint, debris, and other particles from the water used during the wash cycle. It is important to locate the filter so that you can access it easily and clean it regularly.
Here are the general steps to locate the filter on your Samsung washer:
- Refer to the user manual: The first step is to consult the user manual that came with your Samsung washer. The manual will have specific instructions on where to find the filter on your particular model. It may also include diagrams or illustrations to assist you.
- Check the front of the machine: In most Samsung washers, the filter is typically located at the front of the machine, behind the front bottom panel. Look for a small access panel or door that can be opened to reveal the filter.
- Inspect the sides and back: If you cannot find the filter at the front, check the sides and back of the washer. Some models may have the filter located in a different area, such as near the water inlet or drain hose.
Once you have located the filter, you are ready to move on to the next step: removing the filter for cleaning.
Step 3: Remove the filter
Now that you have located the filter on your Samsung washer, the next step is to remove it for cleaning. Removing the filter is a relatively simple process, but it is important to follow the proper steps to avoid any damage to the filter or the washer.
Here’s how to remove the filter from your Samsung washer:
- Make sure the washer is turned off: Before you begin, ensure that your Samsung washer is completely turned off and unplugged from the power source. This will prevent any accidents or electrical shocks while handling the filter.
- Open the access panel or door: Locate the access panel or door that covers the filter. Depending on your washer model, you may need to remove screws or simply pull open the panel.
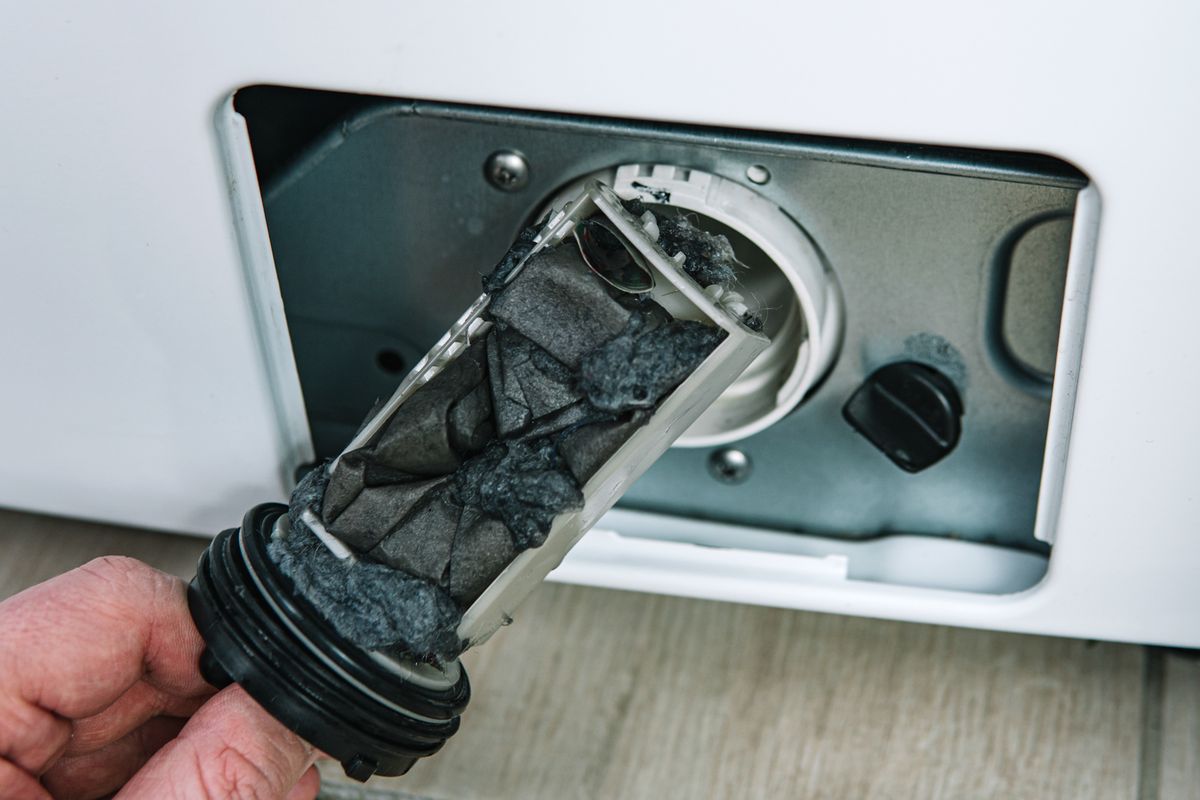
- Gently pull out the filter: Once the access panel is open, you should be able to see the filter. Use your hand to gently pull the filter out of its housing. It may be helpful to wear rubber gloves to protect your hands from any dirt or debris that may be present.
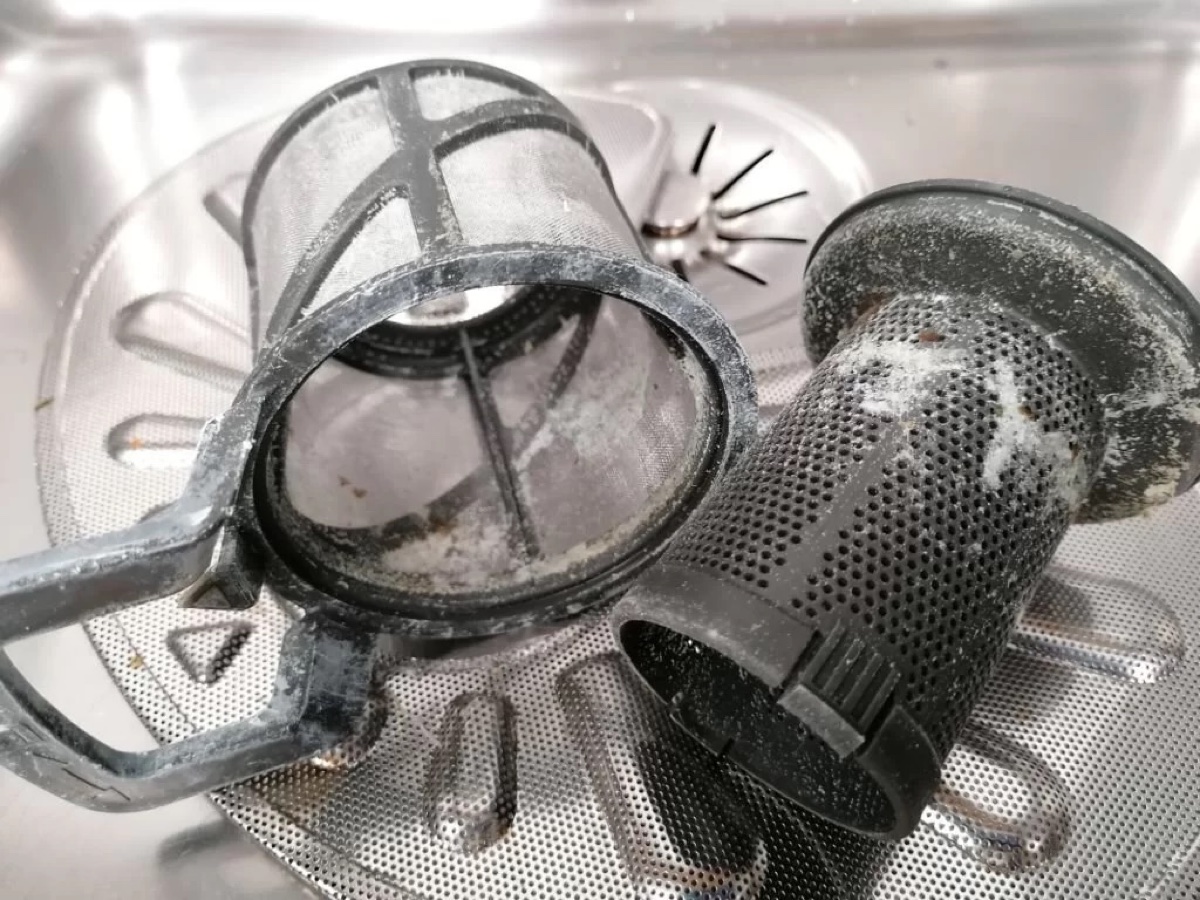
- Inspect the filter: Once removed, take a moment to inspect the filter. Look for any visible signs of dirt, lint, or debris. This will give you an indication of how dirty the filter is and the level of cleaning it requires.
With the filter now removed from your Samsung washer, you are ready to move on to the next step: cleaning the filter thoroughly.
To clean the Samsung washer filter, first, unplug the machine. Locate the filter at the bottom front of the washer and twist it counterclockwise to remove. Clean the filter under running water and reinsert it back into the washer.
Step 4: Clean the filter
With the filter of your Samsung washer removed, it’s time to clean it to ensure optimal performance and prevent any blockages or clogs. Cleaning the filter regularly will help keep your washer running efficiently and prolong its lifespan.
Follow these steps to effectively clean the filter:
- Inspect the filter: Before you start cleaning, take a close look at the filter. Check for any visible signs of dirt, lint, or debris. If the filter is heavily clogged, you may need to remove larger particles using your hands or a small brush before proceeding with the cleaning.
- Rinse the filter: Hold the filter under running water to rinse away loose debris and residue. Use your fingers to gently rub any stubborn dirt or stains. Make sure to clean all sides of the filter thoroughly.
- Soak the filter: Fill a bucket or shallow container with warm water. Add a few drops of mild detergent or dish soap to create a soapy solution. Submerge the filter in the soapy water and let it soak for about 15-20 minutes. This will help dissolve and loosen any stubborn grime.
- Scrub the filter: After soaking, take a soft-bristled brush or toothbrush and gently scrub the filter to remove any remaining dirt or residue. Pay attention to any hard-to-reach areas or crevices where build-up may be present.
- Rinse thoroughly: Once the filter has been scrubbed, rinse it thoroughly under running water to remove any soap residue. Ensure that all the soap is washed away to prevent any potential residue from interfering with the washer’s performance.
- Dry the filter: Finally, use a towel or absorbent cloth to pat dry the filter. Make sure it is completely dry before reinstalling it in the washer. This will prevent any moisture from causing mold or mildew growth.
Now that you have successfully cleaned the filter of your Samsung washer, it’s time to proceed to the next step: reinstalling the filter.
Read more: How To Clean Samsung Washer
Step 5: Reinstall the filter
After cleaning the filter of your Samsung washer, the next step is to properly reinstall it. Reinstalling the filter correctly is crucial to ensure that it functions effectively and is securely in place.
Follow these steps to reinstall the filter:
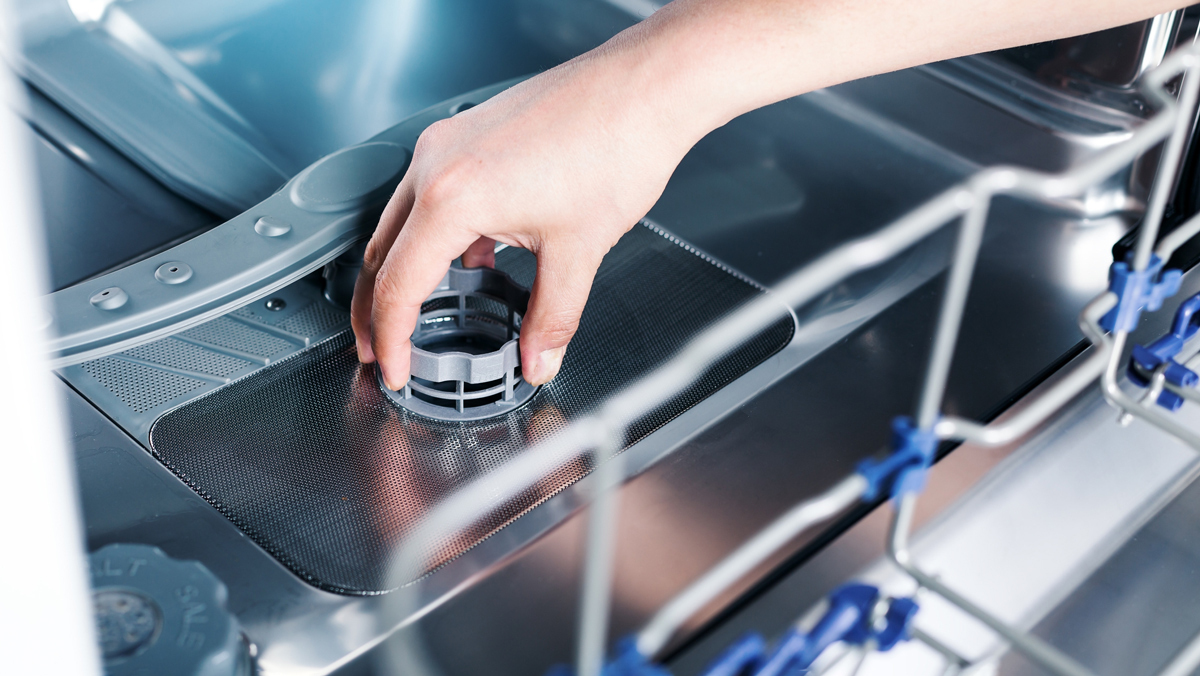
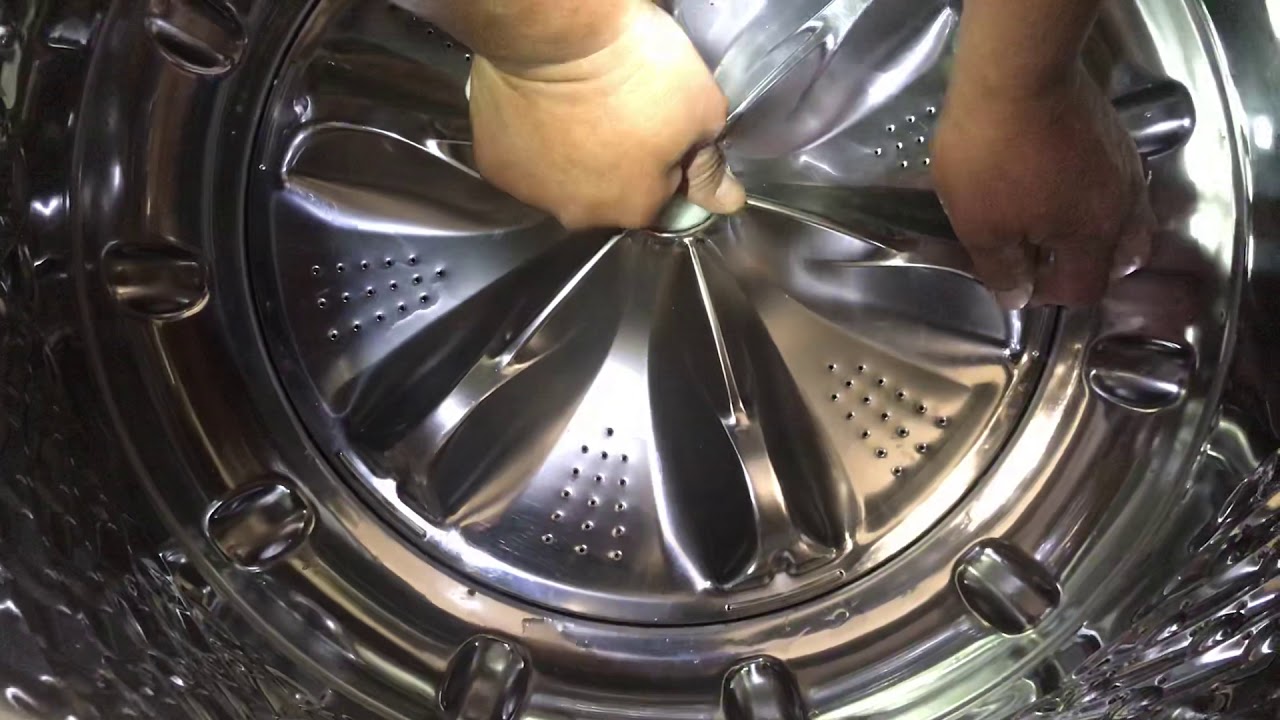
- Inspect the filter housing: Before inserting the filter, carefully inspect the filter housing inside the washer. Check for any signs of dirt, debris, or residue. If necessary, wipe the housing clean with a damp cloth.
- Align the filter: Take the cleaned filter and align it with the filter housing. Make sure that the filter is positioned correctly and fits snugly into place. It should slide in easily without any force.
- Push the filter back in: Once aligned, gently push the filter back into the filter housing. Ensure that it is fully inserted and sits securely in place. You may hear a click or feel a slight resistance when the filter is properly installed.
- Close the access panel or door: Once the filter is securely in place, close the access panel or door that covers the filter. Depending on your washer model, you may need to fasten screws or simply snap the panel back into position.
With the filter successfully reinstalled in your Samsung washer, you are ready to move on to the next step: testing your washer to ensure everything is working correctly.
Step 6: Test your washer
After cleaning and reinstalling the filter of your Samsung washer, it is important to test the machine to ensure that everything is in working order. Testing your washer will give you peace of mind and allow you to confirm that the filter cleaning process has been successful.
Here’s how you can test your washer:
- Plug in your washer: Make sure your Samsung washer is properly plugged into a power source.
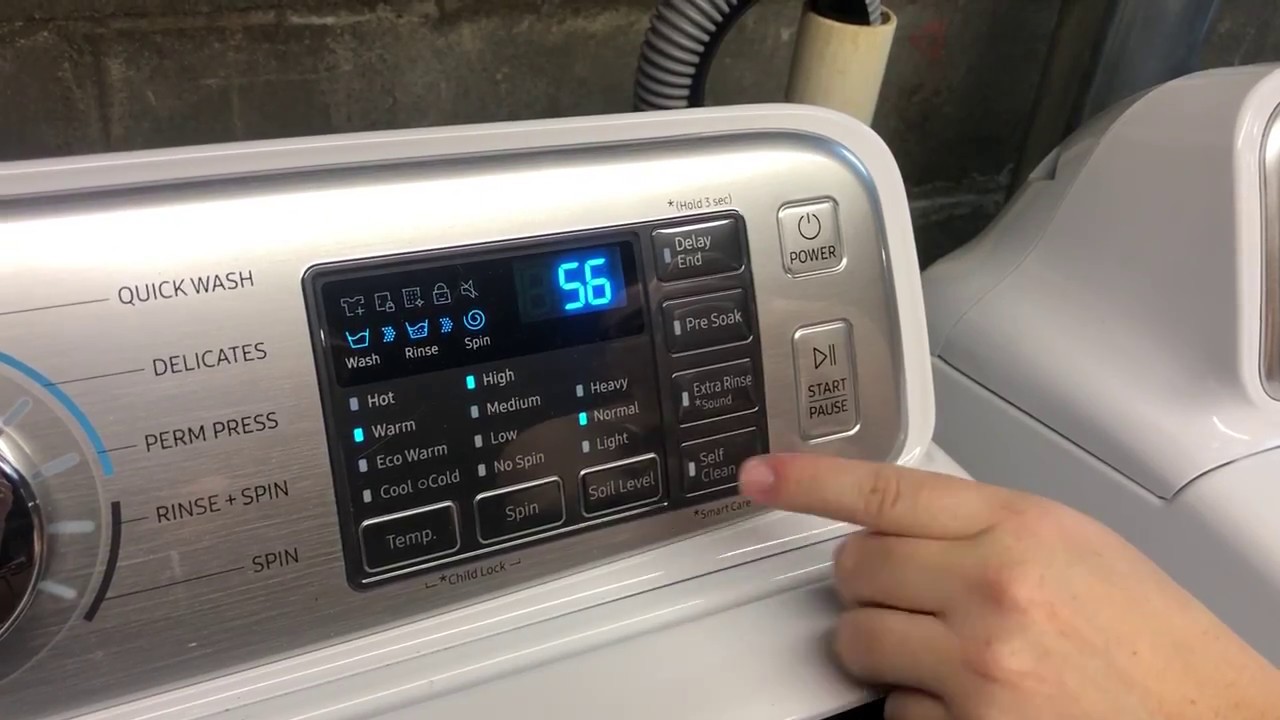
- Turn on the power: Switch on the power button of your washer to activate it.
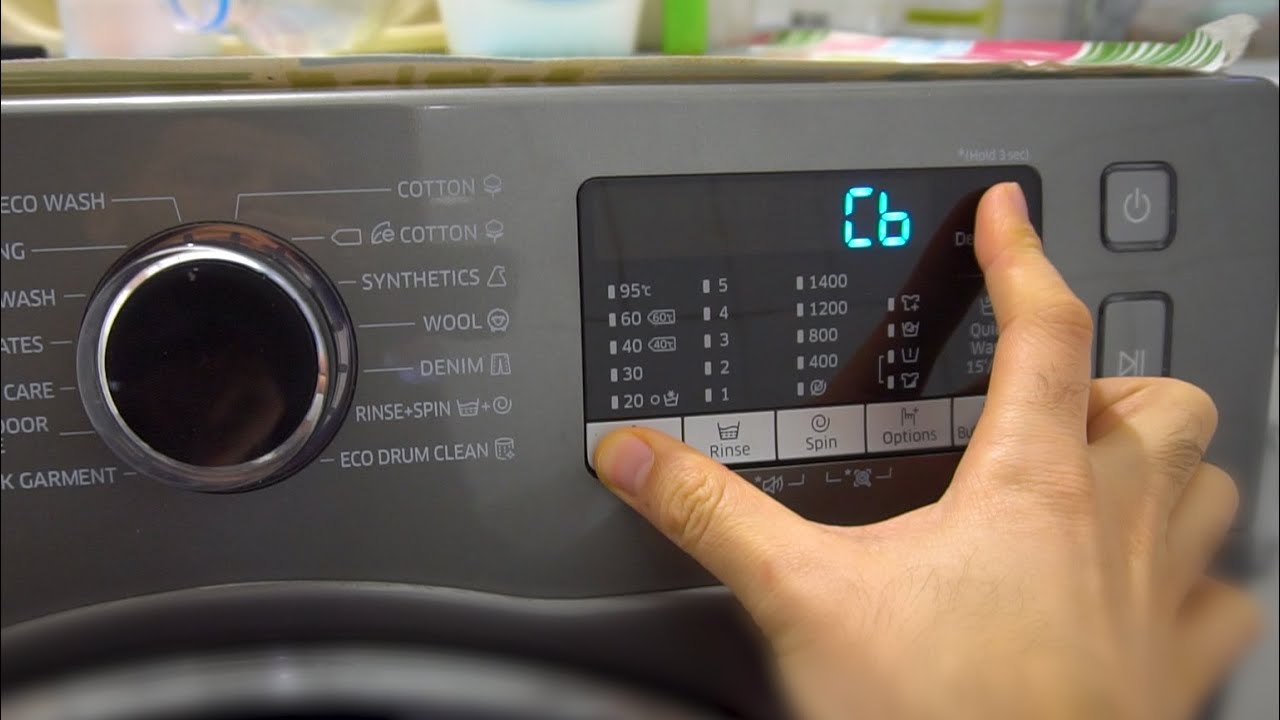
- Select a test cycle: Choose a test cycle on your washer’s control panel, such as a quick wash or a regular load. This will help you evaluate the washer’s performance and make sure it is functioning as expected.
- Start the cycle: Press the start button to begin the selected test cycle. Allow the washer to run through the complete cycle, observing its operation closely.
- Monitor water flow and drainage: During the test cycle, pay attention to the water flow and drainage of the washer. Check for any leaks, unusual noises, or slow drainage. If you notice any issues, stop the cycle and troubleshoot or seek professional assistance.
- Check for clean clothes: Once the cycle is complete, open the washer door and inspect your clothes. Ensure that they are clean and free from any residual dirt or debris. If you notice any lingering dirt, run another cycle or adjust the settings accordingly.
By performing a test cycle on your Samsung washer, you can confirm that the filter has been cleaned effectively and that the machine is working optimally.
Congratulations! You have successfully cleaned the filter of your Samsung washer and tested its performance. Regularly cleaning the filter will help maintain your washer’s efficiency and ensure that your laundry comes out clean and fresh every time.
Conclusion
Cleaning the filter of your Samsung washer is a crucial maintenance task that should be performed regularly to ensure optimal performance and prevent any potential issues. By following the step-by-step guide outlined in this article, you can keep your washer in great condition and extend its lifespan.
Here are the key points to remember:
- Gather all the necessary materials before starting the cleaning process.
- Locate the filter on your Samsung washer by referring to the user manual and inspecting the front, sides, and back of the machine.
- Remove the filter carefully, making sure the washer is turned off and the filter is pulled out gently.
- Clean the filter by rinsing, soaking, scrubbing, and thoroughly drying it to remove dirt, debris, and residue.
- Reinstall the filter by aligning it with the housing and pushing it securely into place. Make sure to close the access panel or door afterward.
- Test your washer by running a test cycle to ensure proper operation, water flow, and cleanliness of your clothes.
By incorporating regular filter cleaning into your laundry routine, you can avoid clogs, improve washing performance, and prolong the life of your Samsung washer.
Remember, always consult your washer’s user manual for specific instructions and follow any manufacturer recommendations for maintenance and cleaning.
Now that you have the knowledge and tools to clean the filter of your Samsung washer, go ahead and keep your laundry days stress-free with a clean and efficient machine!
Now that you're familiar with cleaning your Samsung washer filter, why stop there? Expand your maintenance skills by learning more on how to keep any washer running smoothly. Our detailed guide on cleaning washer filters offers practical tips and straightforward advice, ensuring your appliance performs well. Don’t let a dirty filter slow you down; check out our comprehensive article and keep your washer in top condition.
Frequently Asked Questions about How To Clean Samsung Washer Filter
Was this page helpful?
At Storables.com, we guarantee accurate and reliable information. Our content, validated by Expert Board Contributors, is crafted following stringent Editorial Policies. We're committed to providing you with well-researched, expert-backed insights for all your informational needs.


0 thoughts on “How To Clean Samsung Washer Filter”