
Articles
How To Clean A White Sink
Modified: January 8, 2024
Learn effective ways to clean a white sink in this comprehensive article. Discover tips, tricks, and cleaning products to restore its shine and keep it looking pristine.
(Many of the links in this article redirect to a specific reviewed product. Your purchase of these products through affiliate links helps to generate commission for Storables.com, at no extra cost. Learn more)
Introduction
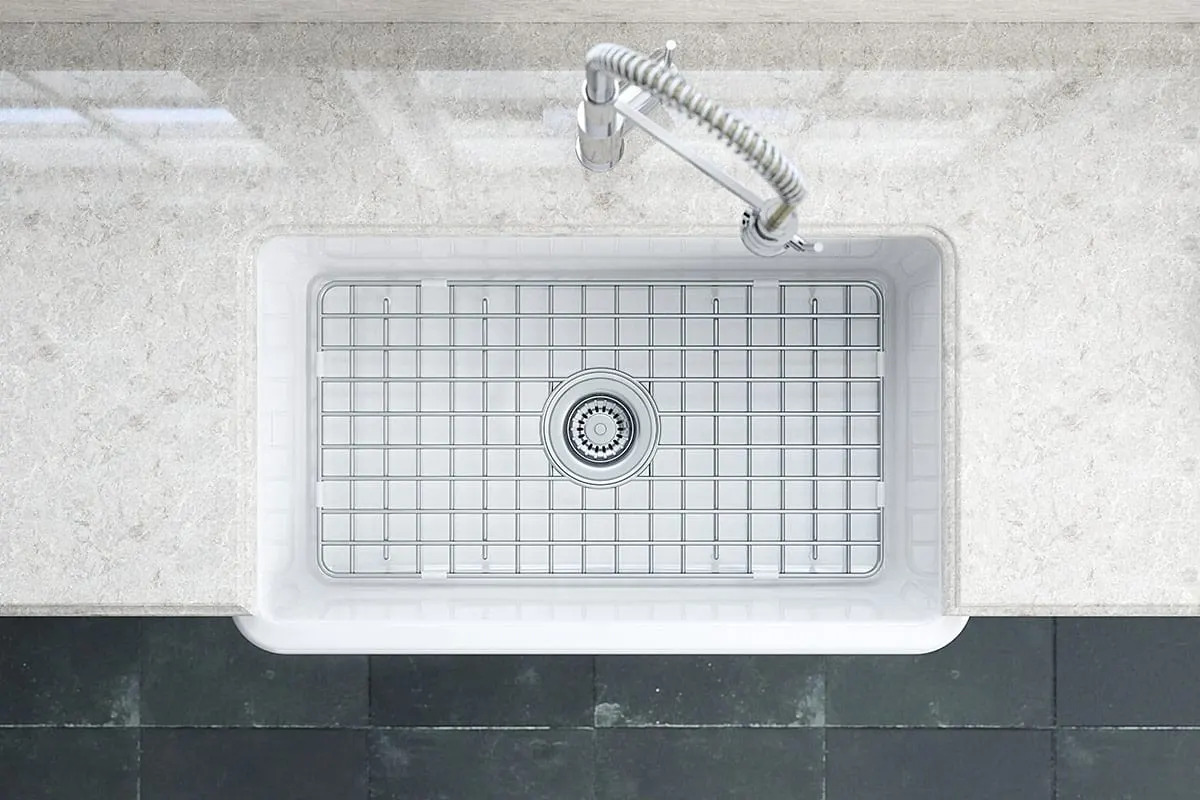
Having a white sink in your kitchen or bathroom can add a touch of elegance and cleanliness to the space. However, white sinks are also prone to showing stains and discoloration more easily than other sink materials. To keep your white sink looking pristine, it’s important to know how to clean it properly.
In this article, we will walk you through step-by-step instructions on how to clean a white sink effectively. We will provide you with the necessary supplies, guide you on how to clear the area before cleaning, and offer tips and tricks to remove stains, clean the surfaces, rinse, and dry the sink, and finish up with a polish to bring out its shine. Additionally, we will share some maintenance tips to help you keep your white sink looking its best for years to come.
So, if you’re ready to make your white sink sparkle like new, let’s dive into the process of cleaning and maintaining its pristine appearance.
Key Takeaways:
- Keep your white sink pristine by using gentle cleaning solutions like mild dish soap, baking soda, and vinegar. Clear the area, remove stains, clean surfaces, rinse, dry, and polish for a sparkling finish.
- Regular maintenance is key to preserving the beauty of your white sink. Wipe it down after use, avoid harsh chemicals, protect it from scratches, and address stains promptly for long-lasting elegance.
Read more: How To Clean A White Corian Sink
Gather Supplies
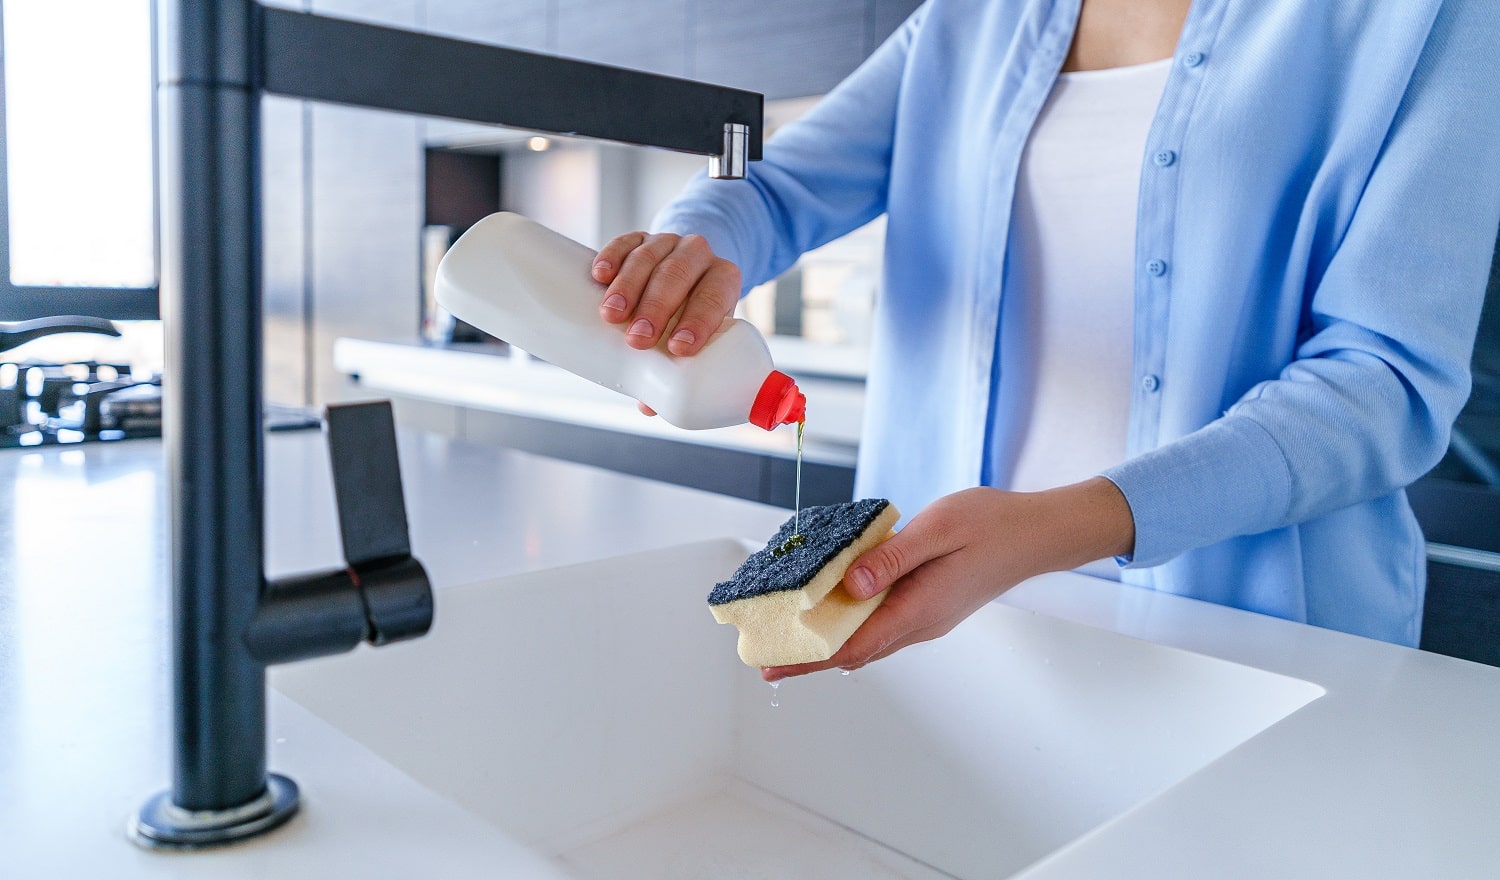
Before you start cleaning your white sink, it’s essential to gather all the necessary supplies to ensure an effective and efficient cleaning process. Here’s a list of items you will need:
- Mild dish soap or specialized sink cleaner: Choose a gentle cleaning solution that won’t damage the sink’s surface.
- Baking soda: This multi-purpose household ingredient helps remove stains and odors.
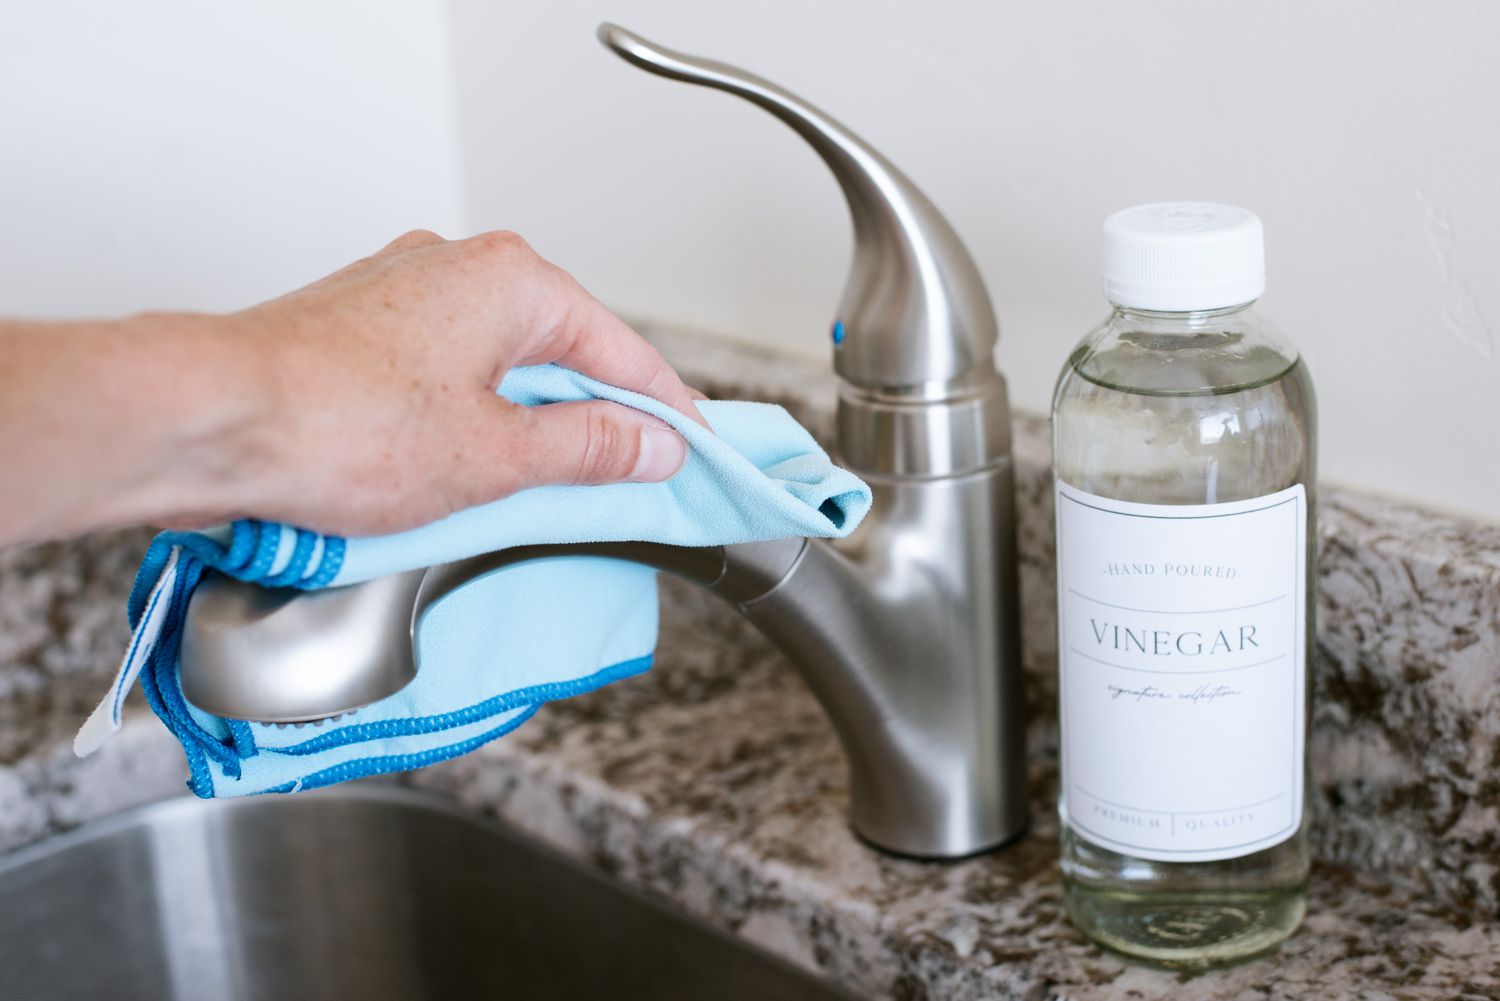
- Vinegar: White vinegar is a natural cleaning agent that helps dissolve mineral deposits.
- Lemon or lemon juice: The acidity in lemons helps to brighten and freshen the sink.
- Microfiber or soft cloth: These non-abrasive cloths are suitable for cleaning the sink without scratching the surface.
- Soft-bristled brush: Use a brush with gentle bristles to scrub any hard-to-reach areas.
- Old toothbrush: This small tool is perfect for cleaning around faucet fixtures and drains.
- Warm water: You will need water for rinsing the sink throughout the cleaning process.
- Protective gloves: It’s a good idea to wear gloves to protect your hands from harsh chemicals.
Having these supplies ready beforehand will save you time and ensure that you have everything you need to clean your white sink effectively.
Next, it’s important to clear the area surrounding the sink to provide ample workspace for the cleaning process.
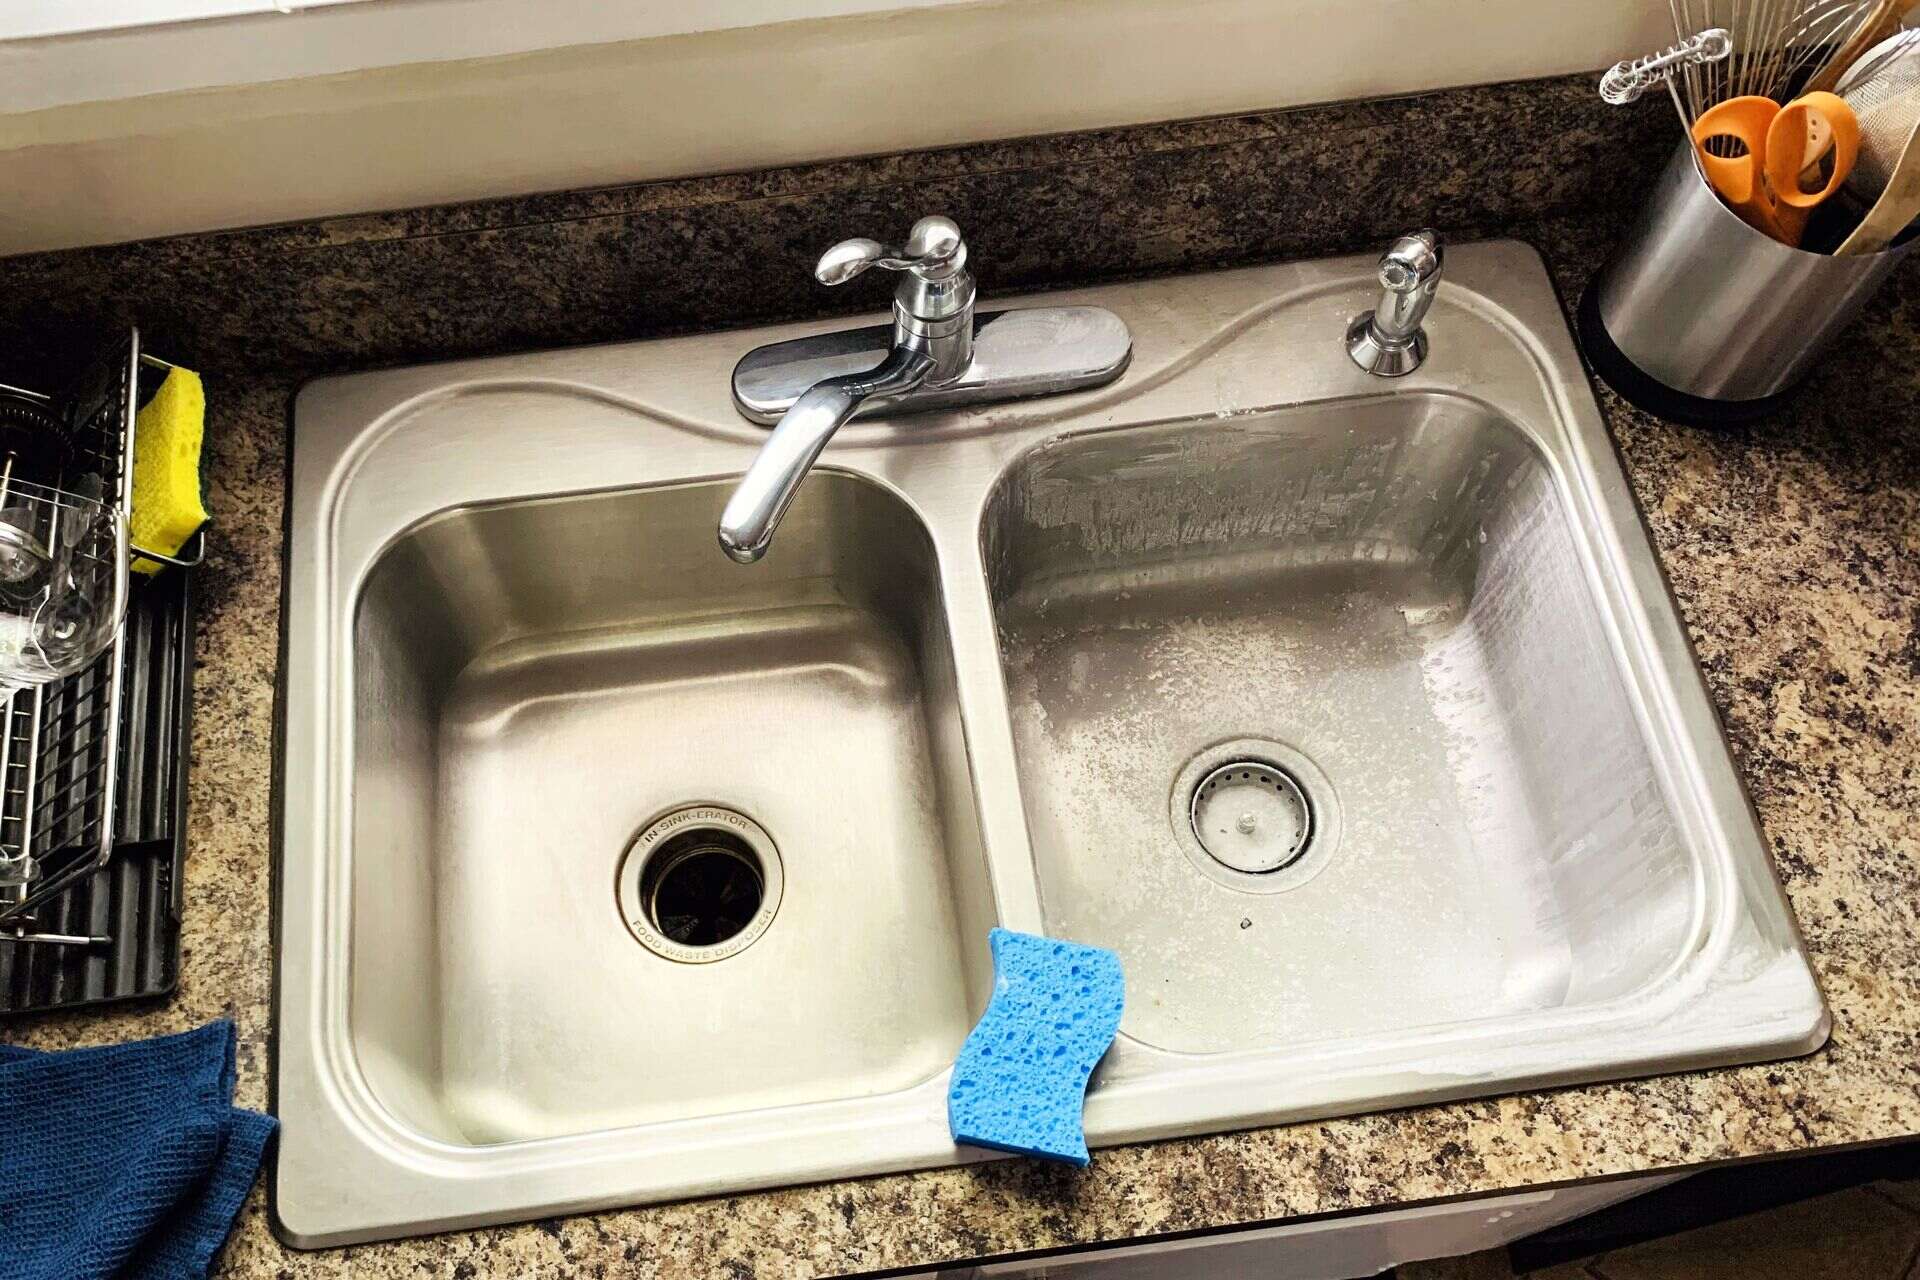
Clear the Area
Before you begin cleaning your white sink, it’s crucial to clear the area around it. Here are a few simple steps to help you prepare the workspace:
- Remove any dishes or utensils: Take out any dishes, cups, or utensils that may be in or around the sink. This will allow you to have a clear and unobstructed space to work with.
- Clear the countertops: Remove any items from the countertops near the sink to prevent them from getting wet or potentially coming into contact with cleaning solutions.
- Protect surrounding surfaces: Place a towel or old cloth on the countertop adjacent to the sink to protect it from any splashes or spills that may occur during the cleaning process.
- Open windows or turn on the ventilation: If the cleaning products you will be using have a strong scent or if you want to ensure proper ventilation, open the windows or turn on the ventilation system to allow fresh air to circulate.
By clearing the area and taking these precautions, you’ll create a safe and organized space to clean your white sink without any unnecessary distractions or obstacles. Now that the area is ready, let’s move on to the next step: removing stains from your sink.
Remove Stains
Stains can be a common issue with white sinks, but with the right techniques, they can be effectively removed. Here’s how to tackle different types of stains:
- Food and beverage stains: For everyday food and beverage stains, start by wetting the stained area. Sprinkle some baking soda onto the stain and gently scrub it using a soft cloth or sponge. If the stain persists, you can make a paste with baking soda and water and leave it on the stain for a few minutes before scrubbing again.
- Mineral deposits and hard water stains: Mineral deposits and hard water stains can be stubborn. To remove them, soak a cloth in white vinegar or lemon juice and place it directly over the stained area. Let it sit for about 15-20 minutes. Then, gently scrub the area with a soft cloth or brush. Rinse thoroughly with water afterwards to remove any residue.
- Rust stains: Rust stains can be challenging to remove, but there are effective methods to tackle them. Apply a small amount of lemon juice or vinegar directly to the stain and let it sit for a few minutes. Then, use a soft cloth or brush to scrub the rust stains away. If the stain is persistent, you can make a paste using baking soda and water and gently scrub the area again.
- Grease and oil stains: Grease and oil stains can be unsightly in a white sink. To remove them, mix a small amount of mild dish soap with warm water. Dip a sponge or cloth into the soapy water and scrub the stained area gently. Rinse thoroughly with water.
Remember, different stains may require different methods, and patience is key. If one method doesn’t completely remove the stain, you can try a different approach or repeat the process. Once the stains have been addressed, it’s time to clean the surfaces of your white sink.
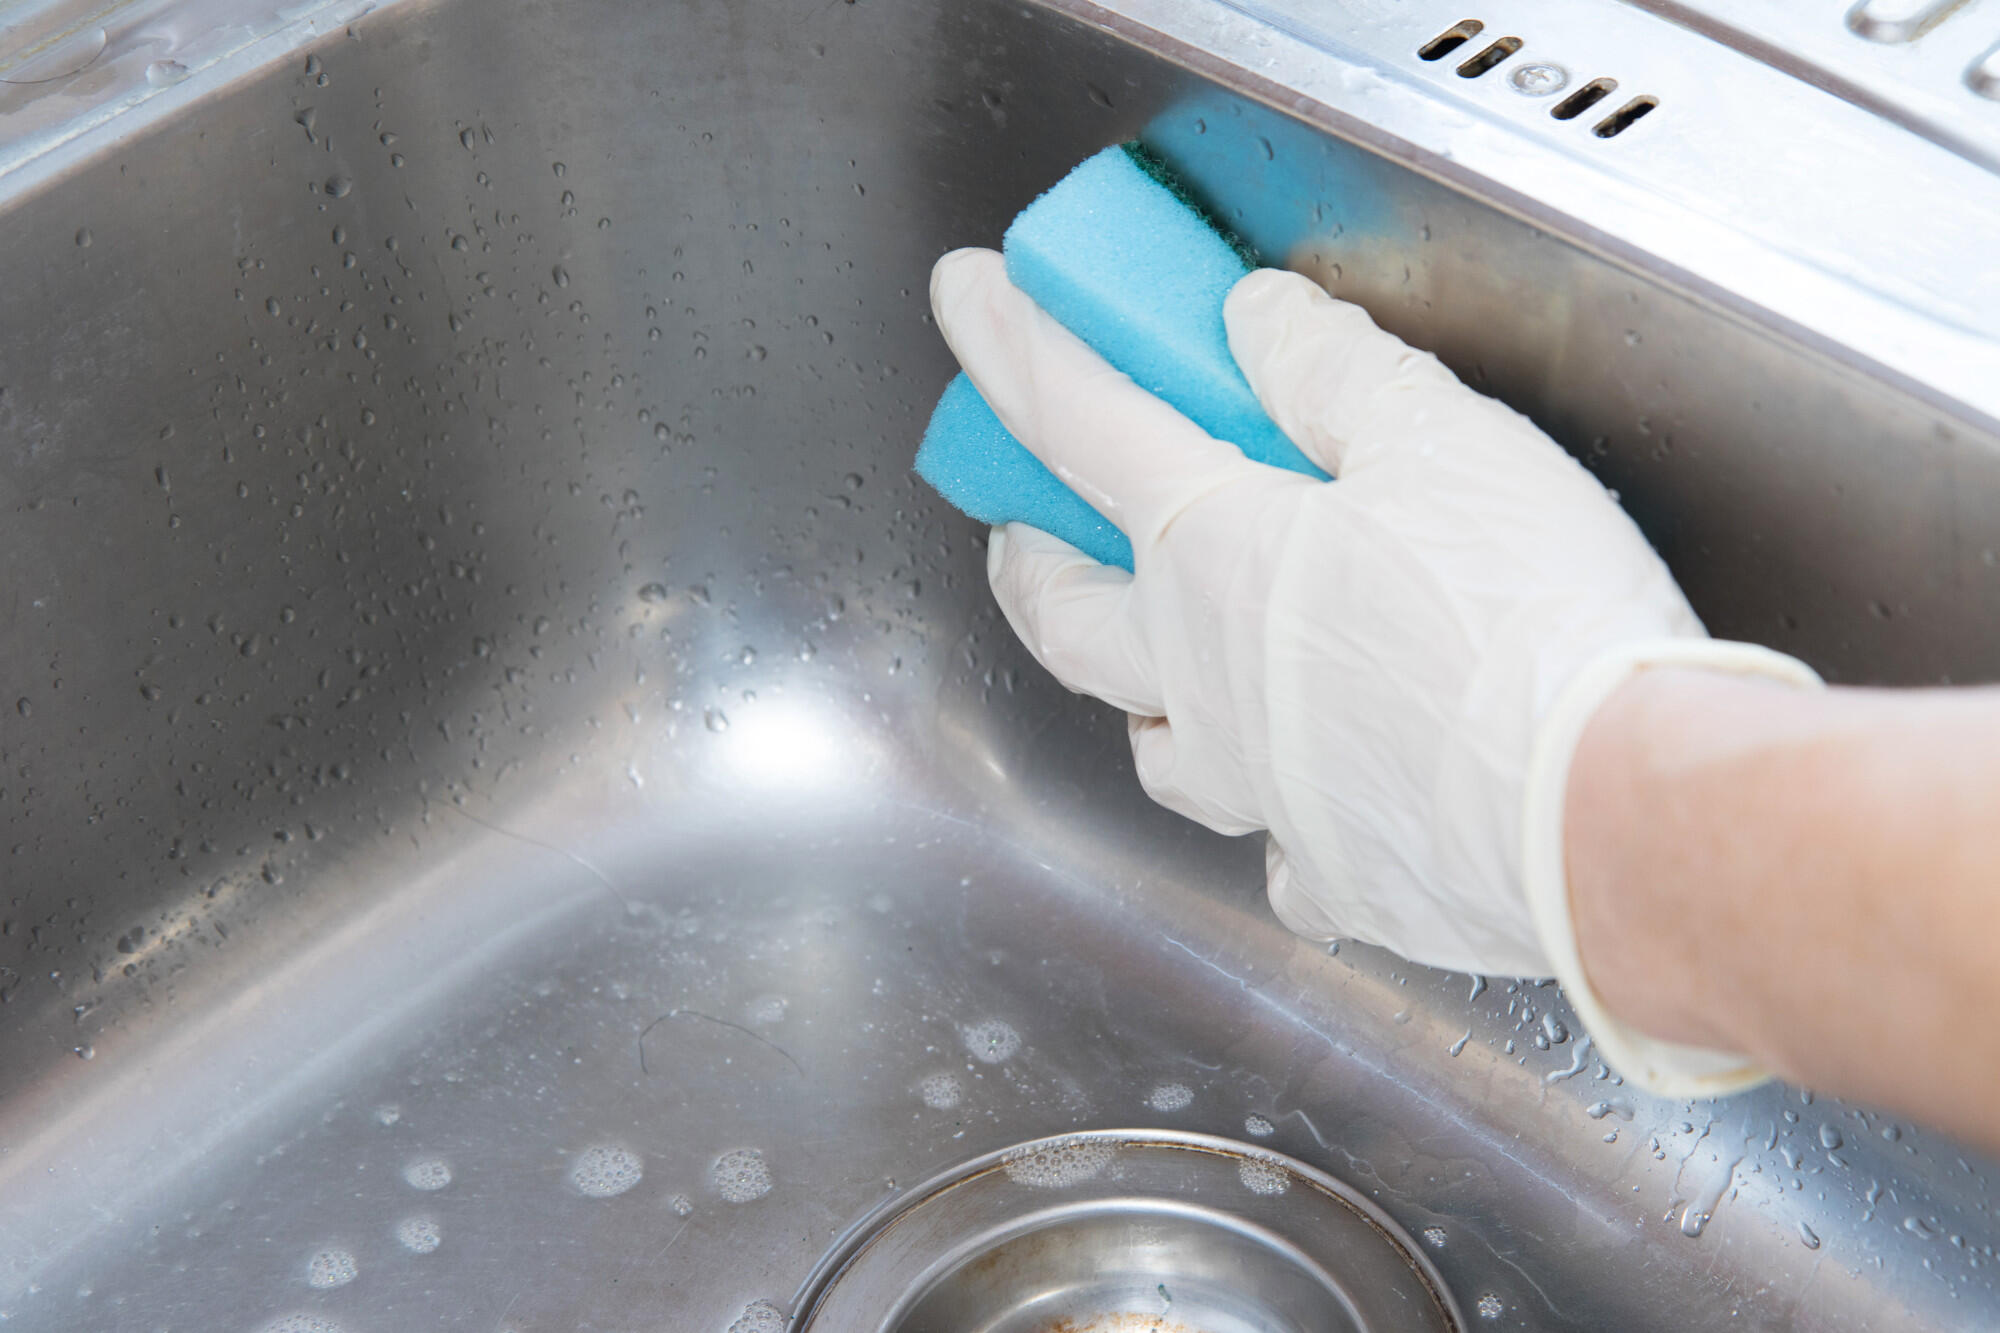
Clean the Surfaces
After removing stains from your white sink, it’s important to clean the surfaces to eliminate any dirt, grime, or residual cleaning products. Here’s how to clean the surfaces of your sink:
- Wet the entire sink: Start by wetting the entire sink, including both the basin and the surrounding surfaces.
- Squirt a small amount of mild dish soap or specialized sink cleaner onto a sponge or cloth: Apply a small amount of the cleaning solution onto a sponge or cloth.
- Gently scrub the sink surfaces: Use the sponge or cloth to scrub the sink surfaces thoroughly. Pay special attention to corners, crevices, and any noticeable dirt or stains.
- Rinse with warm water: Once you’ve scrubbed the sink surfaces, rinse them thoroughly with warm water. Be sure to remove all traces of soap or cleaner.
- Use a soft-bristled brush for hard-to-reach areas: For areas that are difficult to reach with a sponge or cloth, such as around the faucet fixtures or drains, use a soft-bristled brush to scrub and clean.
Remember to be gentle while scrubbing to avoid scratching the sink’s surface. The goal is to remove dirt and grime without causing any damage. Once you’ve finished cleaning the surfaces, it’s time to rinse and dry your white sink.
Use a mixture of baking soda and water to create a paste, then scrub the sink with a soft sponge. For tough stains, use a mixture of vinegar and water to soak the sink for a few hours before scrubbing.
Read more: How To Clean White Ceramic Sink
Rinse and Dry
After cleaning the surfaces of your white sink, it’s important to rinse off any remaining residue and dry the sink to prevent water spots. Follow these steps to properly rinse and dry your sink:
- Use clean, warm water: Begin by rinsing the entire sink with clean, warm water. Make sure to thoroughly rinse off any soap or cleaning solution residue.
- Use a soft cloth or towel to dry: After rinsing, use a soft cloth or towel to dry the sink. Start from the top and work your way down to ensure all surfaces are dry.
- Pay attention to corners and crevices: Take extra care to dry any hard-to-reach areas, such as corners and crevices, to prevent water from pooling or causing water spots.
By thoroughly rinsing and drying your white sink, you’ll ensure that it’s free from any remaining cleaning products or water spots. Now that your sink is clean and dry, you can move on to the final step of polishing and bringing out its shine.
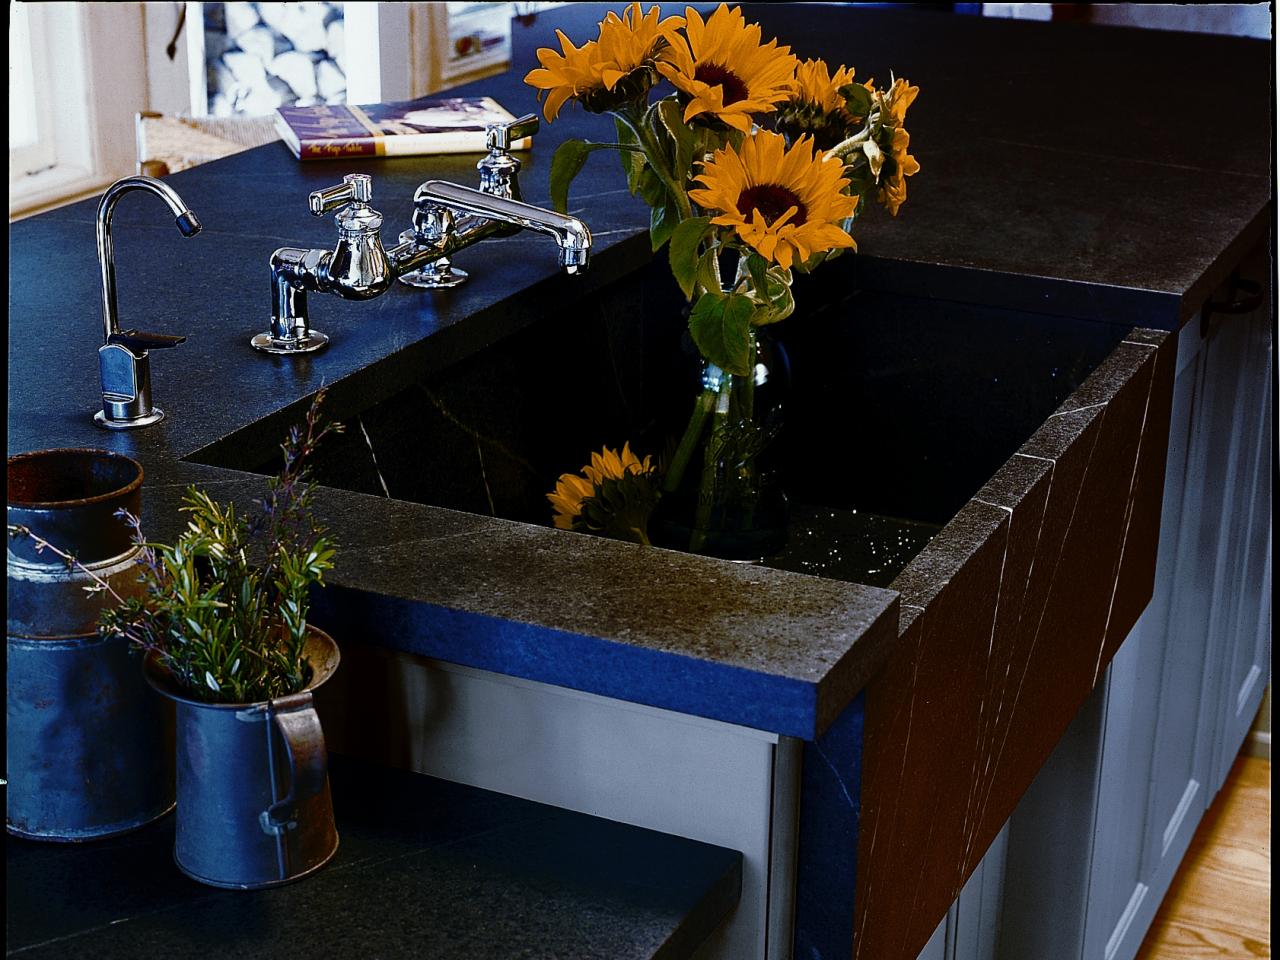
Polish and Shine
To give your white sink that extra sparkle and shine, follow these steps to polish it:
- Apply a non-abrasive sink polish or a homemade polishing solution: You can use a specific sink polish recommended by the manufacturer or create a homemade solution. One effective homemade solution involves applying a small amount of baking soda onto a damp cloth and gently buffing the sink in circular motions.
- Focus on the entire sink surface: With the polish or homemade solution applied, focus on buffing the entire sink surface, including the basin, edges, and faucet fixtures.
- Remove excess polish or solution: After polishing, use a clean, damp cloth to remove any excess polish or solution on the sink’s surface.
Once you’ve completed the polishing process, take a step back and admire your sparkling white sink. The polishing step adds a final touch, leaving your sink looking clean, shiny, and refreshed.
Now that you’ve learned how to properly clean and polish your white sink, it’s important to know some maintenance tips to prolong its pristine appearance.
Maintenance Tips
Keeping your white sink in great condition requires regular maintenance. Here are some maintenance tips to help you preserve its pristine appearance:
- Wipe the sink regularly: After each use, wipe down the sink with a soft cloth or sponge to remove any spills, food particles, or residue. This simple step will prevent buildup and staining.
- Avoid harsh chemicals and abrasive cleaners: Harsh chemicals and abrasive cleaners can damage the sink’s surface. Stick to mild dish soap or specialized sink cleaners that are gentle on the material.
- Be mindful of what you put in the sink: Avoid putting hot pans, sharp knives, or heavy objects directly into the sink. Instead, use a sink mat or protective pads to prevent scratches or dents.
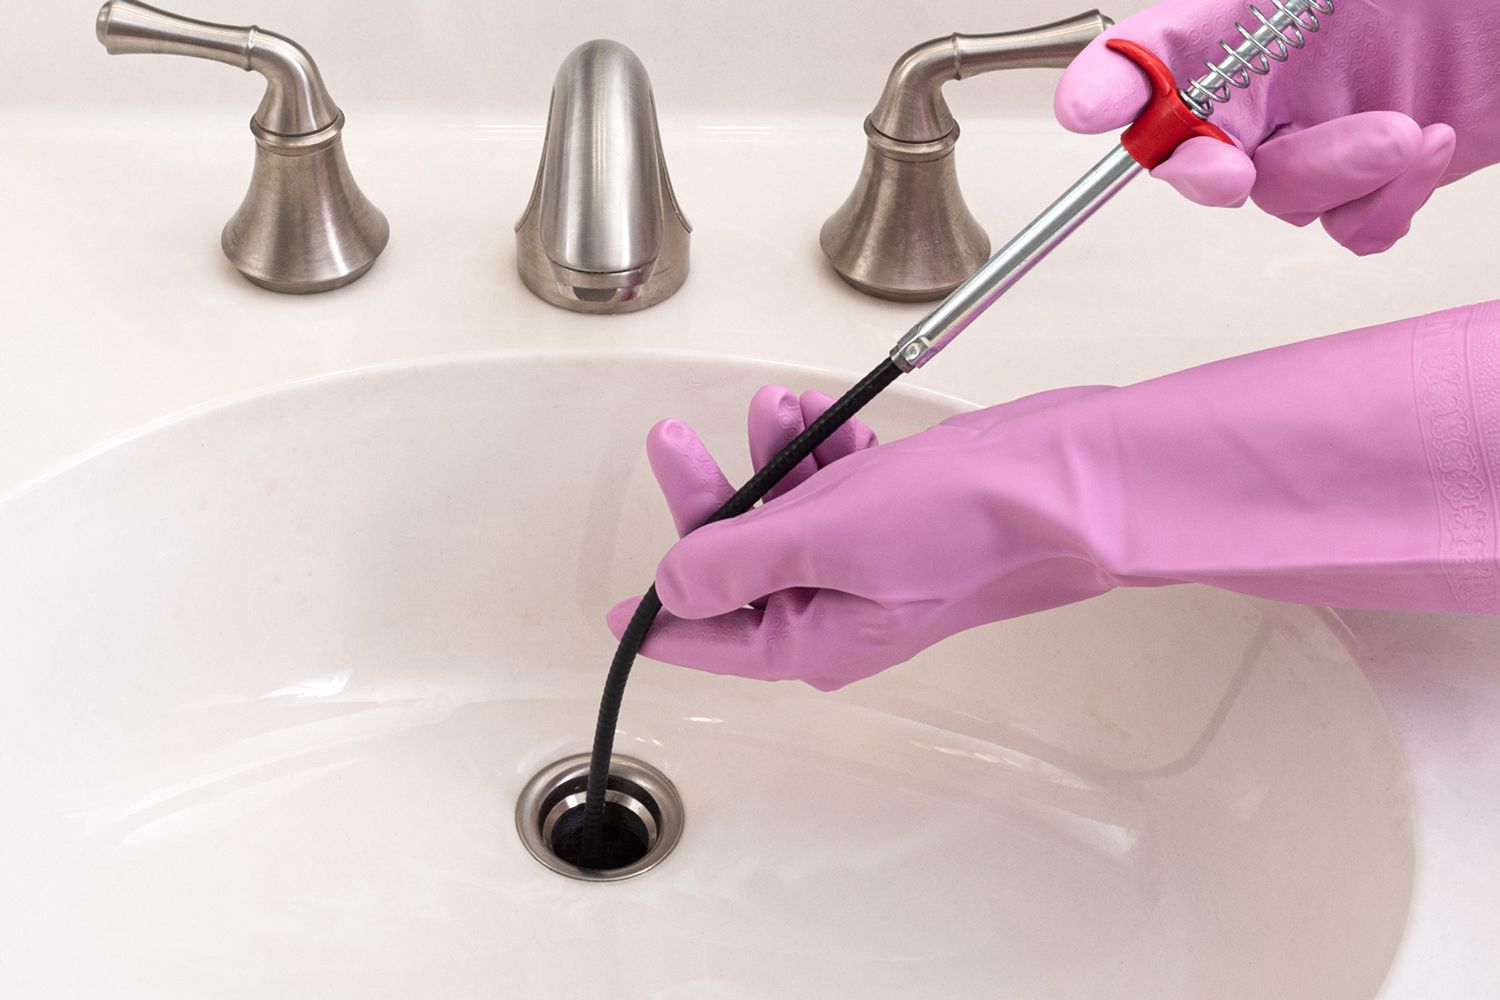
- Regularly clean the drain: Keep the drain free from debris and buildup by using a drain strainer or stopper. Regularly clean the strainer to prevent clogs.
- Address stains and marks promptly: Don’t let stains or marks sit for too long. Address them as soon as you notice them to prevent them from becoming more difficult to remove.
- Consider using a sink protector: To protect your sink from scratches and dings, use a sink protector or liner. This will provide a barrier between sharp objects and the sink’s surface.
- Avoid leaving standing water: Standing water can cause mineral deposits and water spots. After use, wipe the sink dry to prevent any lingering water.
By following these maintenance tips, you’ll ensure that your white sink stays clean, beautiful, and free from damage. Regular care and attention will help maintain its pristine appearance for years to come.
Now that you have all the necessary information on how to clean and maintain your white sink, it’s time to put it into practice and enjoy the renewed shine and beauty of your sink.
Conclusion
Cleaning a white sink doesn’t have to be a daunting task. With the right supplies, techniques, and regular maintenance, you can keep your white sink looking pristine and sparkling clean. By following the step-by-step guide provided in this article, you can effectively remove stains, clean the surfaces, rinse, dry, and polish your sink to bring out its shine.
Remember to gather all the necessary supplies beforehand and clear the area around the sink to create a conducive workspace. Address different types of stains using appropriate methods and be gentle to avoid scratching the sink’s surface. Clean the surfaces of the sink thoroughly and rinse off any residue before drying it to prevent water spots.
To add an extra touch of brilliance, polish your white sink using a suitable sink polish or a homemade solution. Additionally, implement the maintenance tips to keep your sink looking its best, such as wiping it regularly, avoiding harsh chemicals, and protecting it from scratches and heavy objects.
By following these guidelines, you’ll be able to maintain the beauty and cleanliness of your white sink for years to come. Enjoy the fresh look and elegance it brings to your kitchen or bathroom, and take pride in your sparkling white sink!
Now it’s time to roll up your sleeves, gather your supplies, and give your white sink the cleaning it deserves. Happy cleaning!
Frequently Asked Questions about How To Clean A White Sink
Was this page helpful?
At Storables.com, we guarantee accurate and reliable information. Our content, validated by Expert Board Contributors, is crafted following stringent Editorial Policies. We're committed to providing you with well-researched, expert-backed insights for all your informational needs.


0 thoughts on “How To Clean A White Sink”