Articles
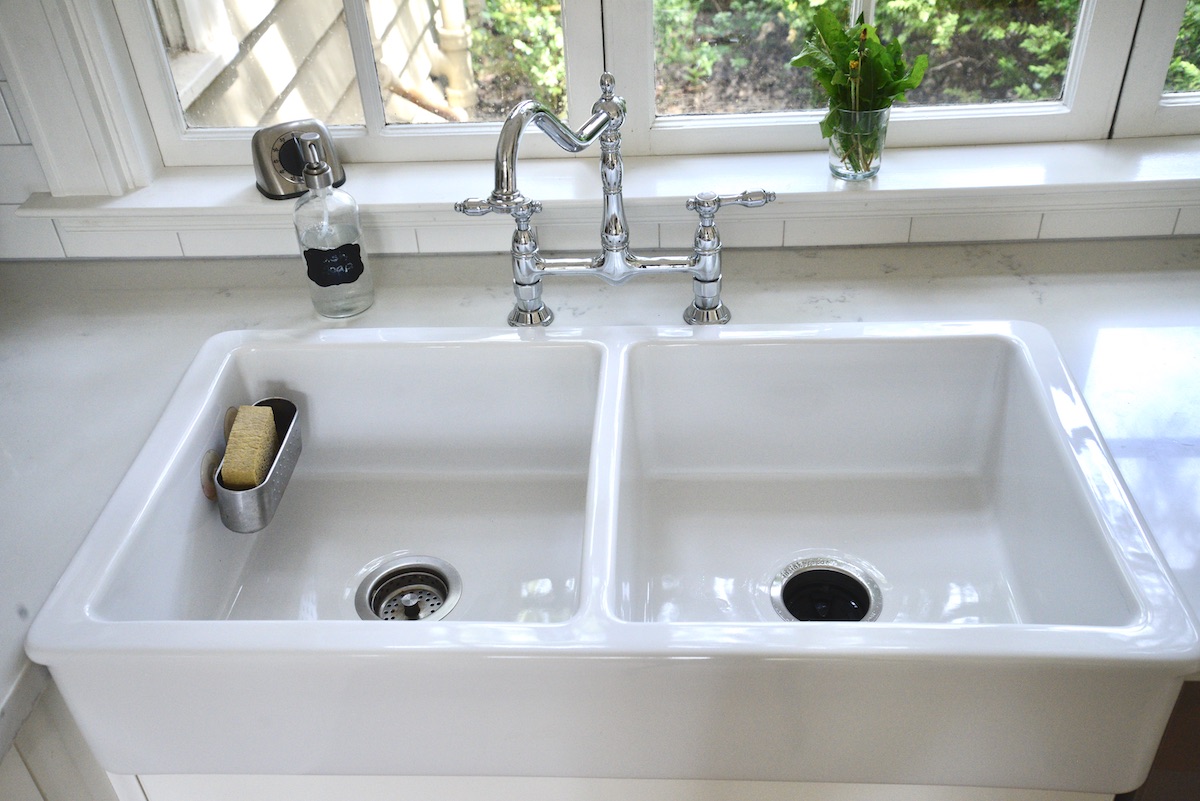
How To Clean Sink Aerator
Modified: October 29, 2024
Learn the best methods to clean your sink aerator with these informative articles. Keep your sink clean and functioning optimally with our helpful tips.
(Many of the links in this article redirect to a specific reviewed product. Your purchase of these products through affiliate links helps to generate commission for Storables.com, at no extra cost. Learn more)
Introduction
The sink aerator plays an important role in maintaining the proper function of your faucet while conserving water by reducing flow rates. Over time, however, these small, mesh screens can become clogged with mineral deposits, debris, and sediment, leading to reduced water pressure and inefficient performance.
Cleaning the sink aerator is a simple and effective way to restore its functionality and improve the overall performance of your faucet. In this article, we will guide you through the step-by-step process of cleaning your sink aerator, ensuring that your kitchen or bathroom sink remains in optimal condition.
By following these easy-to-follow instructions, you can quickly and efficiently clean your sink aerator without the need for professional assistance or costly repairs. So, let’s gather our tools, roll up our sleeves, and get ready to give your sink aerator the attention it deserves!
Key Takeaways:
- Regularly cleaning your sink aerator with simple tools and materials can restore water flow, prevent blockages, and maintain optimal faucet performance without the need for professional assistance.
- By following the step-by-step guide, you can efficiently disassemble, clean, and reassemble your sink aerator, ensuring a smooth and hassle-free process for maintaining your kitchen or bathroom sink.
Read more: How To Clean Aerator On Faucet
Step 1: Gather the necessary tools
Before you begin cleaning your sink aerator, it’s important to gather all the necessary tools and materials. Having these items ready beforehand will make the process smoother and more efficient. Here are the tools you’ll need:
- Adjustable wrench or pliers
- Bucket or bowl
- Soft brush or toothbrush
- Vinegar or lime scale remover
- Clean cloth or towel
An adjustable wrench or pliers will be needed to remove the aerator from the sink. It’s important to ensure you have the right size wrench or pliers that can fit the aerator securely without causing damage.
You’ll also need a bucket or a bowl to catch any excess water that may spill out as you remove the aerator. This will prevent any mess or damage to your countertops or floors.
A soft brush or toothbrush will come in handy for scrubbing away any stubborn debris or mineral deposits that may have accumulated on the aerator screen.
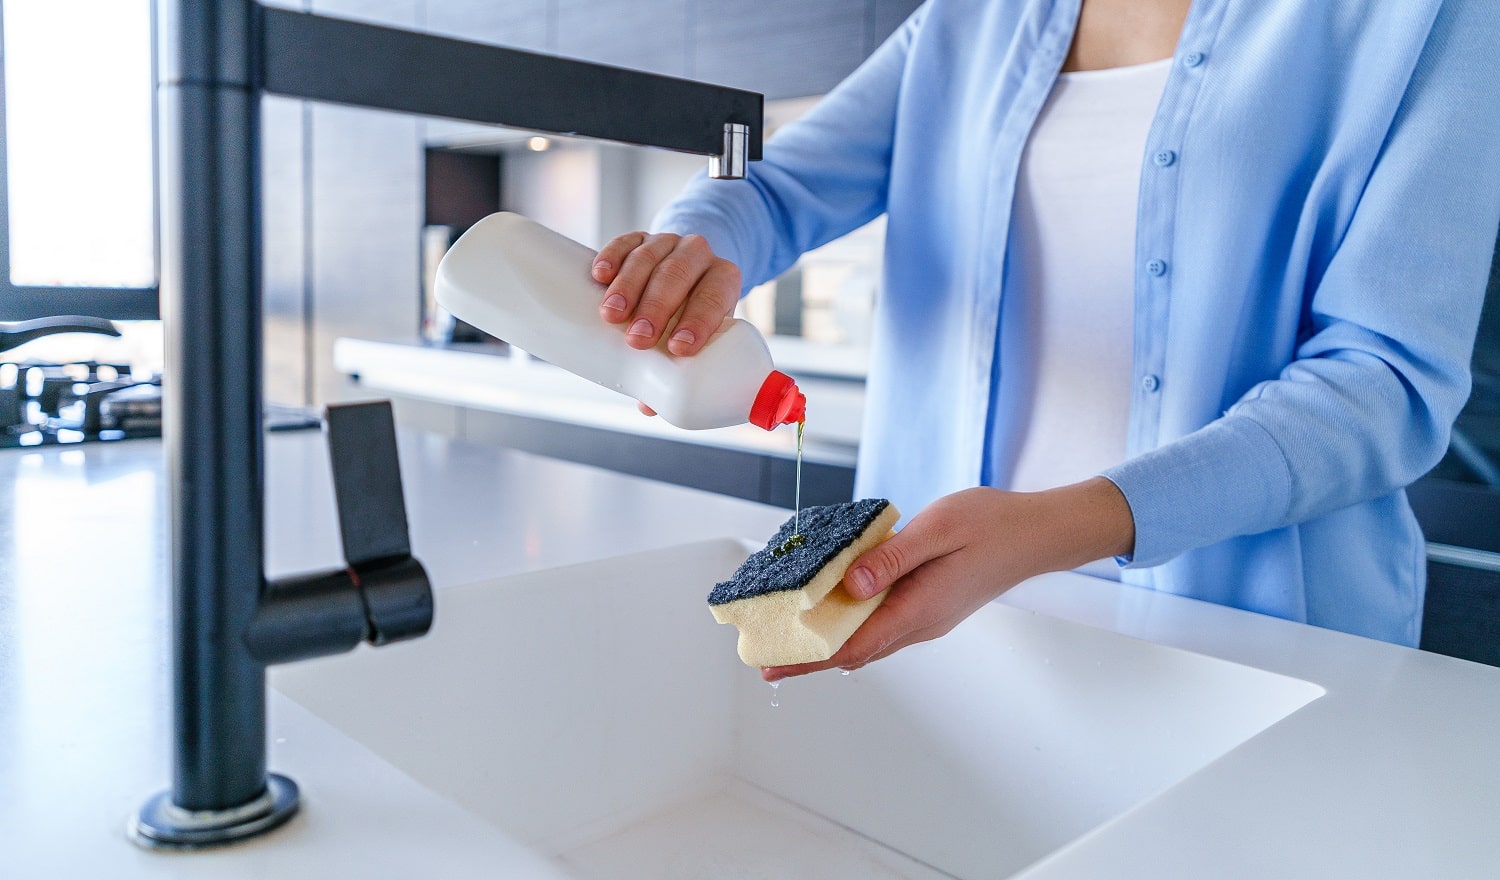
For cleaning the aerator and removing any mineral buildup, you can choose to use vinegar or a lime scale remover. Vinegar is a natural and cost-effective option that is readily available in most households. Lime scale removers, on the other hand, are specifically designed to dissolve mineral deposits and can be purchased from hardware or home improvement stores.
Lastly, have a clean cloth or towel nearby to dry the aerator and other parts after cleaning.
Now that you have all the necessary tools, you’re ready to move on to the next step: preparing the workspace.
Step 2: Prepare the workspace
Before you start cleaning your sink aerator, it’s important to create a clean and organized workspace. This will ensure that you can work efficiently and minimize the chances of losing any small parts during the process.
Here are a few steps to prepare your workspace:
- Clear the area around your sink: Remove any items, such as soap dispensers or dish racks, from around the sink area. This will give you enough space to work comfortably and prevent any accidental damage to these items.
- Lay down a towel: Place a towel on the countertop or floor near the sink to catch any water or small parts that may fall during the cleaning process. This will make clean-up easier and prevent any damage to your surfaces.
- Have a well-lit area: Make sure you have adequate lighting in your workspace. This will help you see any small debris or build-up on the aerator and ensure a thorough cleaning.
- Organize your tools: Lay out all the tools and materials you gathered in Step 1 in an organized manner. This will make it easier to access them as you progress through the cleaning process.
By creating a clean and organized workspace, you’ll be able to focus on the task at hand without any distractions. Now that your workspace is prepared, we can move on to the next step: removing the aerator from the sink.
Step 3: Remove the aerator from the sink
Before you can begin cleaning the sink aerator, you’ll need to remove it from the sink. Follow these steps to safely and effectively remove the aerator:
- Locate the aerator: The aerator is typically located at the tip of the faucet where the water comes out. It is a small, cylindrical attachment that screws onto the faucet spout.
- Protect the faucet finish: To prevent scratching or damaging the faucet finish, wrap a soft cloth or towel around the aerator. This will provide a cushioned barrier between the aerator and the pliers or wrench.
- Use pliers or an adjustable wrench: Grip the wrapped aerator with pliers or an adjustable wrench. Make sure the grip is secure but not too tight to avoid damaging the aerator.
- Turn counterclockwise to unscrew: With a firm grip on the aerator, turn it counterclockwise to unscrew it from the faucet spout. Apply steady pressure but be cautious not to use excessive force to avoid any damage to the faucet or aerator.
- Continue unscrewing until the aerator is completely off: Keep turning until the aerator is loosened and can be removed from the faucet spout. Set aside the aerator in a safe place where it won’t roll or get lost.
Remember to take note of the order in which the aerator parts are removed, as this will make reassembling later much easier. If you’re unsure, you can take a picture or make a quick sketch for reference.
Now that you have successfully removed the aerator from the sink, you’re ready to move on to the next step: disassembling the aerator to clean its individual parts.
Step 4: Disassemble the aerator
Now that you have removed the aerator from the sink, it’s time to disassemble it so that you can clean its individual parts. Follow these steps to safely disassemble the aerator:
- Inspect the aerator: Take a close look at the aerator and identify any visible screws or tabs. These are the parts that hold the aerator together.
- Use a screwdriver or pliers: If your aerator has visible screws, use a screwdriver to carefully remove them. If there are no screws, you may need to grip the tabs or grooves with pliers to separate the aerator into its components.
- Separate the aerator parts: Once the screws are removed or the tabs are separated, gently pull apart the different parts of the aerator. These may include the outer shell, the mesh screen, and any other internal components.
- Keep track of the parts: As you disassemble the aerator, be sure to keep track of the order and placement of each part. This will make reassembly easier later on. Consider laying out the parts in the order they were removed or using a small tray to hold them.
Some aerators may have additional parts such as rubber gaskets or washers. These should also be carefully removed and kept aside for cleaning or replacement if needed.
By disassembling the aerator, you’ll have better access to each individual part, allowing for a more thorough cleaning. Now that the aerator is disassembled, you’re ready to move on to the next step: soaking the parts in a cleaning solution.
Read more: How To Clean A Brass Sink
Step 5: Soak the parts in a cleaning solution
Now that you have disassembled the aerator, it’s time to give the individual parts a deep cleaning by soaking them in a cleaning solution. This will help remove any stubborn debris, mineral deposits, or grime that may have accumulated over time. Follow these steps to effectively soak the aerator parts:
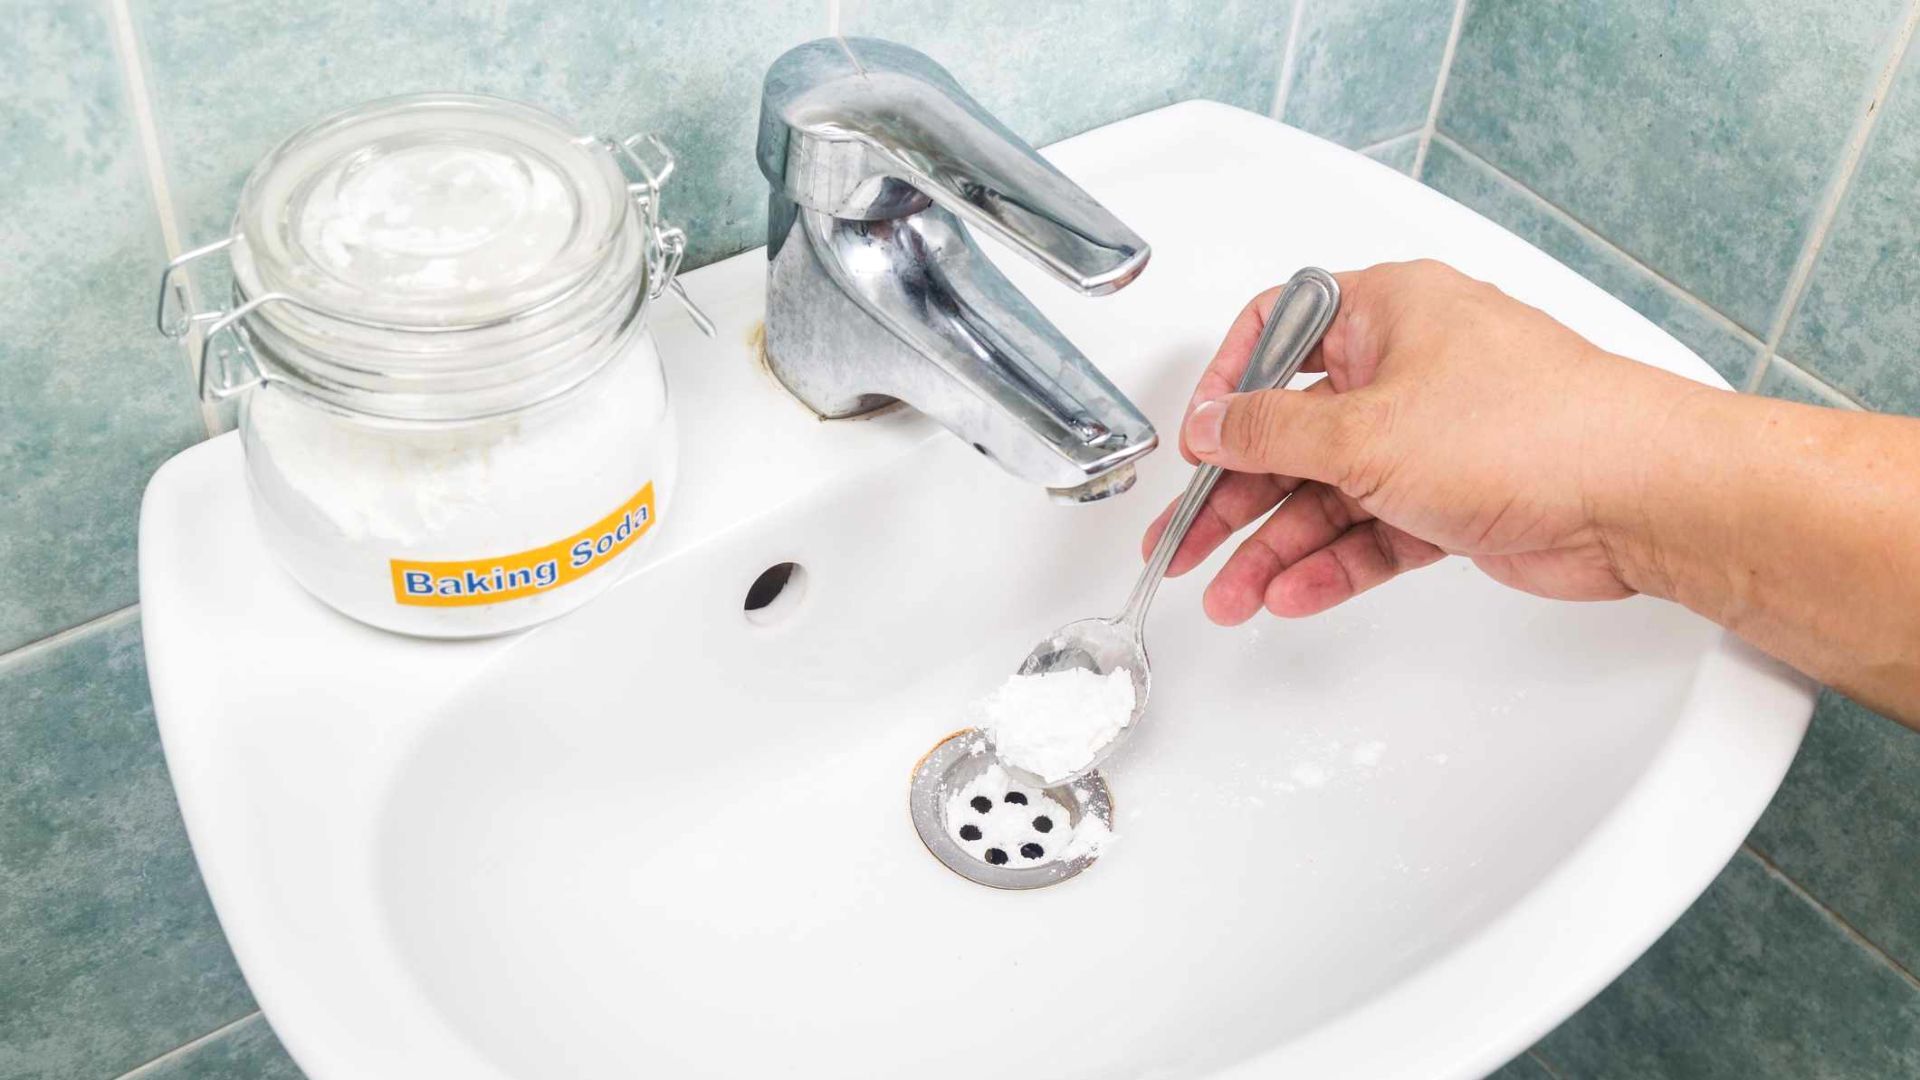
- Select a cleaning solution: You have a few options for the cleaning solution. One popular choice is vinegar, which is a natural and effective cleaner. Another option is a lime scale remover, specifically designed to dissolve mineral deposits. Choose the cleaning solution that suits your preference and availability.
- Prepare the cleaning solution: Dilute the vinegar in a bowl or sink filled with equal parts of vinegar and water. If you’re using a lime scale remover, follow the instructions on the product label for the appropriate dilution amount.
- Immerse the aerator parts: Place the disassembled aerator parts into the cleaning solution, ensuring that they are fully submerged. If necessary, gently agitate the solution to help loosen any debris or buildup.
- Let the parts soak: Allow the aerator parts to soak in the cleaning solution for about 30 minutes to an hour. This will give the solution enough time to break down any grime or mineral deposits.
- Clean stubborn areas: During the soaking process, you may notice some stubborn areas that require additional attention. Use a soft brush or toothbrush to gently scrub these areas, ensuring that you do not scratch or damage the aerator parts.
- Rinse the parts: Once the soaking time is complete, carefully remove the aerator parts from the cleaning solution. Rinse them thoroughly under running water to remove any residual cleaning solution and loosened debris.
- Inspect the parts: Take a close look at each part to ensure they are clean and free from any remaining debris or stains. If necessary, repeat the soaking and cleaning process to achieve the desired results.
- Pat dry or air dry: Use a clean cloth or towel to pat-dry the aerator parts. Alternatively, you can let them air dry completely before proceeding to the next step.
By soaking the aerator parts in a cleaning solution, you’ll effectively remove any build-up or debris, ensuring that they are thoroughly cleaned and ready for reassembly. Now that the parts are clean, let’s move on to the next step: cleaning the aerator screen.
To clean a sink aerator, unscrew it from the faucet and soak it in vinegar for a few hours to dissolve mineral deposits. Use a small brush to scrub away any remaining debris before reattaching.
Step 6: Clean the aerator screen
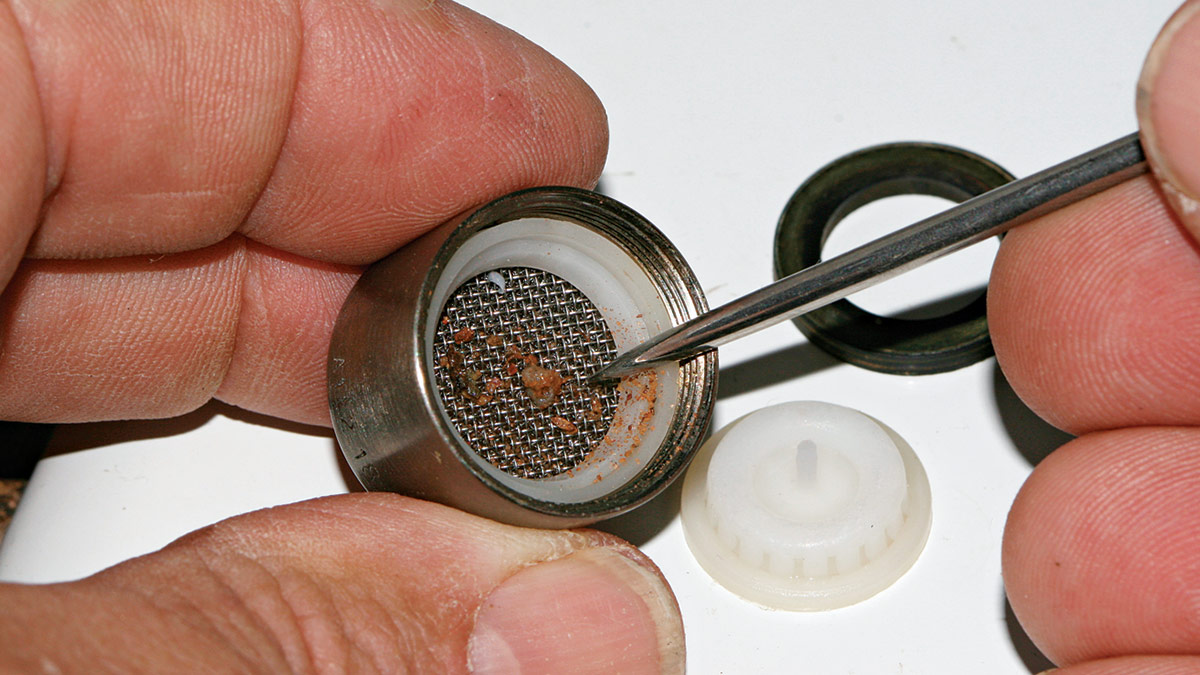
Now that the aerator parts have been soaked and cleaned, it’s time to focus on the aerator screen. The screen is a crucial component that filters out debris and ensures a smooth flow of water. Follow these steps to effectively clean the aerator screen:
- Locate the aerator screen: Within the disassembled aerator, you’ll find a small mesh screen typically located at the end of the aerator. This screen is responsible for filtering out particles and sediment.
- Inspect the screen: Take a close look at the screen to identify any visible build-up or sediment that may be blocking the tiny holes. These blockages can impair water flow and decrease the aerator’s performance.
- Clean the screen with a brush: Using a soft brush or an old toothbrush, gently scrub the screen to remove any debris or mineral deposits. Pay extra attention to the areas around the tiny holes, making sure to dislodge any particles that may be blocking them.
- Use vinegar or lime scale remover for stubborn build-up: If the screen has stubborn build-up that is difficult to remove with just a brush, you can dip it in vinegar or a lime scale remover for a few minutes. This will help dissolve the mineral deposits and make it easier to clean.
- Rinse the screen: After cleaning, rinse the aerator screen under running water to flush out any loosened debris and cleaning solution. Use your fingertips to gently rub the screen and ensure that it is completely clean.
- Inspect the screen again: Once rinsed, inspect the screen to ensure that it is free from any remaining debris or residue. If needed, repeat the cleaning process until the screen is completely clean and unclogged.
- Pat dry the screen: Use a clean cloth or paper towel to gently pat-dry the screen. Ensure that it is completely dry before proceeding to the next step.
Cleaning the aerator screen is essential for maintaining optimal water flow and preventing any blockages. By following these steps, you’ll be able to effectively clean the screen and ensure that your sink aerator works at its best. Now that the screen is clean, let’s move on to the next step: clearing out any debris in the aerator housing.
Step 7: Clear out any debris in the aerator housing
Now that you have cleaned the aerator screen, it’s time to focus on clearing out any debris that may be lodged within the aerator housing. Over time, sediment and small particles can accumulate in this area, potentially causing blockages and affecting water flow. Follow these steps to effectively clear out any debris in the aerator housing:
- Inspect the aerator housing: Take a close look inside the aerator housing, using a flashlight if needed, to spot any visible debris or build-up. Pay attention to the walls and bottom of the housing.
- Use a brush or toothpick to remove debris: Use a soft brush, such as a toothbrush, or a toothpick to gently dislodge any debris from the aerator housing. Be cautious not to scratch or damage the housing as you clean.
- Flush the housing with water: Once you have removed as much debris as possible, flush the aerator housing with running water. Direct the water flow into the housing to help dislodge any remaining particles and flush them out.
- Use a small tool for stubborn debris: If there are stubborn or hard-to-reach debris inside the housing, you can use a small tool, such as a needle or a small flathead screwdriver, to carefully dislodge and remove them. Take extra care not to damage the housing or any other internal components.
- Rinse the housing thoroughly: After removing the debris, thoroughly rinse the aerator housing under running water to ensure that all loose particles are flushed out. Use your fingertips or a gentle stream of water to clean any remaining residue.
- Inspect the housing again: After rinsing, inspect the aerator housing to make sure it is clean and free from any debris. If necessary, repeat the cleaning process until the housing is completely clear.
- Pat dry the aerator housing: Use a clean cloth or towel to pat dry the aerator housing. Ensure that it is completely dry before moving on to the next step.
Clearing out any debris in the aerator housing is crucial for maintaining optimal water flow and preventing any clogs. By following these steps, you’ll be able to effectively clean the housing and ensure that your sink aerator functions at its best. Now that the aerator housing is clean, let’s proceed to the next step: reassembling the aerator.
Step 8: Reassemble the aerator
Now that you have cleaned the individual parts of the aerator, including the screen and housing, it’s time to reassemble the aerator. Follow these steps to properly reassemble the aerator:
- Retrieve the aerator parts: Gather all the cleaned and dry aerator parts, including the housing, screen, and any other internal components.
- Refer to your notes or reference image: If you took notes or a reference image during the disassembly process, use it as a guide to reassemble the aerator in the correct order. Alternatively, follow the reverse order of the disassembly.
- Place the screen back into the housing: Insert the cleaned aerator screen back into the housing, ensuring that it fits snugly and the holes are facing downwards. The screen should sit securely in place without any gaps or misalignment.
- If applicable, reinsert gaskets or washers: If your aerator had any rubber gaskets or washers, make sure to place them back in their respective positions. These gaskets help provide a watertight seal once the aerator is reattached to the faucet.
- Align the other internal components: If there were any other internal components that were disassembled, align them in the correct order according to your reference image or notes. Ensure that each part fits properly and connects seamlessly.
- Screw or snap the aerator back together: If you had screws or tabs, align them with their respective openings and gently secure the aerator parts together. Use a screwdriver or pliers to tighten the screws if necessary, but be careful not to overtighten.
- Ensure proper fit and alignment: Double-check that all the parts are securely in place and that the aerator is properly assembled. Wiggle the aerator gently to ensure it is stable and won’t come apart when reinstalled on the faucet.
- Inspect the aerator: Take a final look at the reassembled aerator to check for any visible gaps, misalignments, or loose parts. Make any necessary adjustments to ensure that everything is in order.
Reassembling the aerator is crucial to restoring its proper functionality. By following these steps and paying attention to detail, you’ll be able to securely and correctly put the aerator back together. Now that the aerator is reassembled, let’s move on to the next step: reinstalling the aerator onto the sink faucet.
Read more: How To Clean Sink Grid
Step 9: Reinstall the aerator onto the sink
Now that you have successfully reassembled the aerator, it’s time to reinstall it onto the sink faucet. Follow these steps to securely reinstall the aerator:
- Locate the faucet spout: Identify the spout of your sink faucet where the aerator will be attached. Ensure that the spout is clean and free from any debris or obstructions.
- Position the aerator: Hold the reassembled aerator in your hand and align it with the faucet spout. Make sure the threads on the aerator match up with the faucet spout threads.
- Hand-tighten the aerator: Gently screw the aerator onto the faucet spout by hand. Start by turning it clockwise to ensure it catches the threads and is securely attached. Tighten until it is snug, but be careful not to overtighten, as this can cause damage to the aerator and faucet.
- Use an adjustable wrench or pliers if needed: If the aerator is not fully tightened by hand or requires a bit more force, you can use an adjustable wrench or pliers with a protective covering to avoid scratching or damaging the aerator. Firmly grip the aerator and turn it clockwise until it is securely in place.
- Tighten carefully: Take care not to overtighten the aerator, as this can lead to leaks or damage. Once the aerator feels snug and secure, stop tightening.
- Turn on the faucet: With the aerator reinstalled, turn on the faucet to check for proper water flow. Ensure that the water flows smoothly without any leaks or splashing.
- Check for leaks: While the faucet is running, inspect the aerator connection for any signs of water leakage. If you notice any leaks, carefully tighten the aerator slightly to stop the leakage.
- Make final adjustments: Once the aerator is securely installed, examine it visually to ensure that it is aligned properly and sits flush against the faucet spout. Make any necessary adjustments to achieve the desired position and appearance.
- Enjoy your clean and functional sink: Now that the aerator is successfully reinstalled, you can enjoy the benefits of a clean and efficient sink. The water should flow smoothly, and any previous issues with low pressure or inconsistent flow should be resolved.
By reinstalling the aerator onto the sink faucet, you have completed the cleaning process and restored the functionality of your sink. Congratulations! Remember to periodically clean your sink aerator to maintain optimal performance.
Conclusion
Cleaning your sink aerator is a straightforward process that can significantly improve the performance and functionality of your faucet. By following the step-by-step guide outlined in this article, you can effectively clean and maintain your sink aerator without the need for professional assistance. Here’s a recap of the steps:
- Gather the necessary tools
- Prepare the workspace
- Remove the aerator from the sink
- Disassemble the aerator
- Soak the parts in a cleaning solution
- Clean the aerator screen
- Clear out any debris in the aerator housing
- Reassemble the aerator
- Reinstall the aerator onto the sink
Regularly cleaning your sink aerator not only restores water flow and pressure but also prevents future issues caused by mineral build-up and debris. It is recommended to clean the aerator every few months or as needed, depending on the water quality in your area.
Remember to take necessary precautions while working with tools and cleaning solutions to ensure your safety and to avoid damaging the aerator or faucet. If at any point you are unsure or encounter difficulties, it is always a good idea to consult a professional plumber.
By investing a little time and effort in cleaning your sink aerator, you can enjoy a consistently excellent water flow, reduced water usage, and a well-maintained faucet. So, get started on cleaning your sink aerator today and experience the difference it can make!
Frequently Asked Questions about How To Clean Sink Aerator
Was this page helpful?
At Storables.com, we guarantee accurate and reliable information. Our content, validated by Expert Board Contributors, is crafted following stringent Editorial Policies. We're committed to providing you with well-researched, expert-backed insights for all your informational needs.
0 thoughts on “How To Clean Sink Aerator”