Articles
How To Clean White Ceramic Sink
Modified: December 7, 2023
Discover effective techniques and tips in our comprehensive articles on how to clean white ceramic sinks for a pristine and sparkling finish.
(Many of the links in this article redirect to a specific reviewed product. Your purchase of these products through affiliate links helps to generate commission for Storables.com, at no extra cost. Learn more)
Introduction
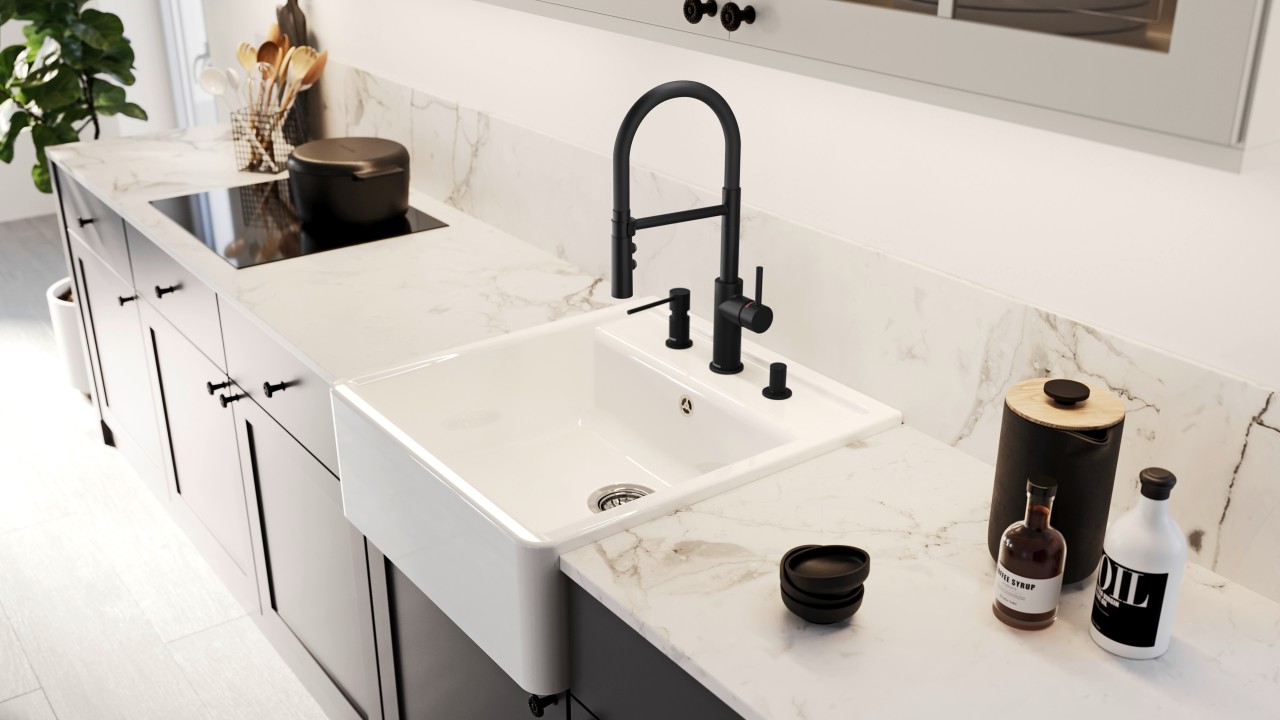
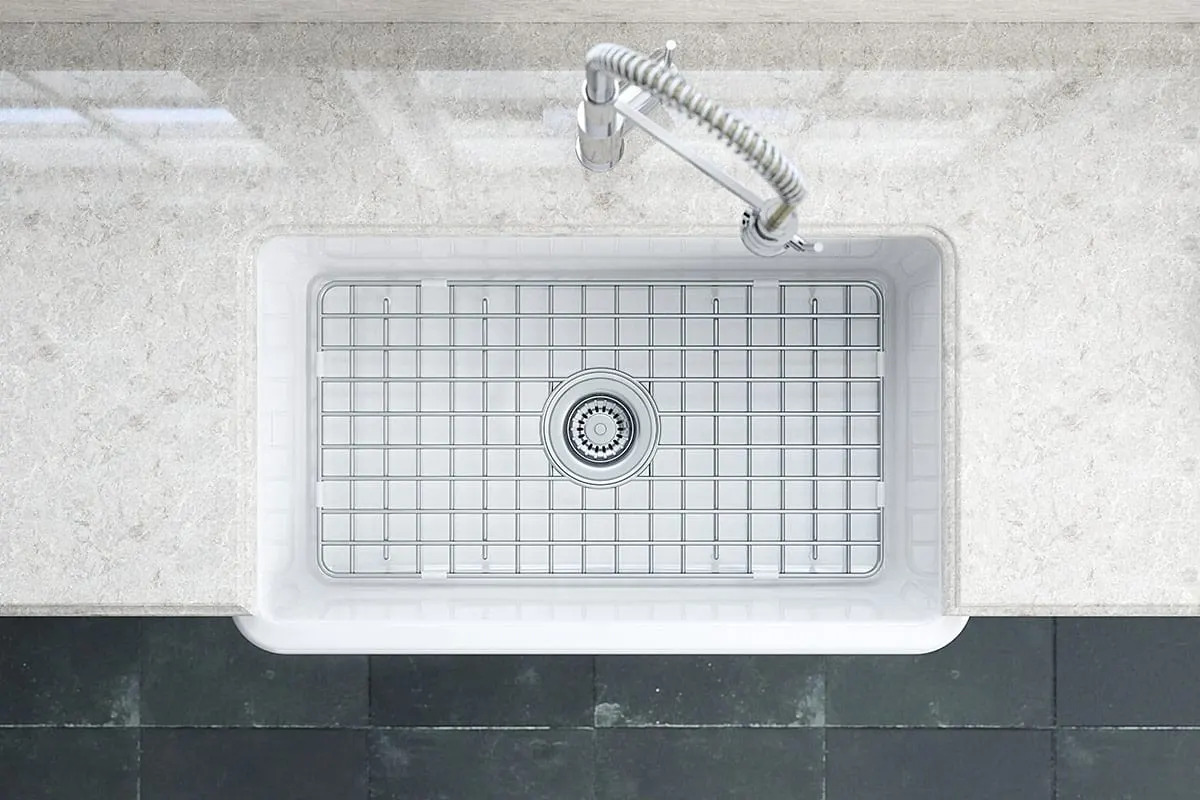
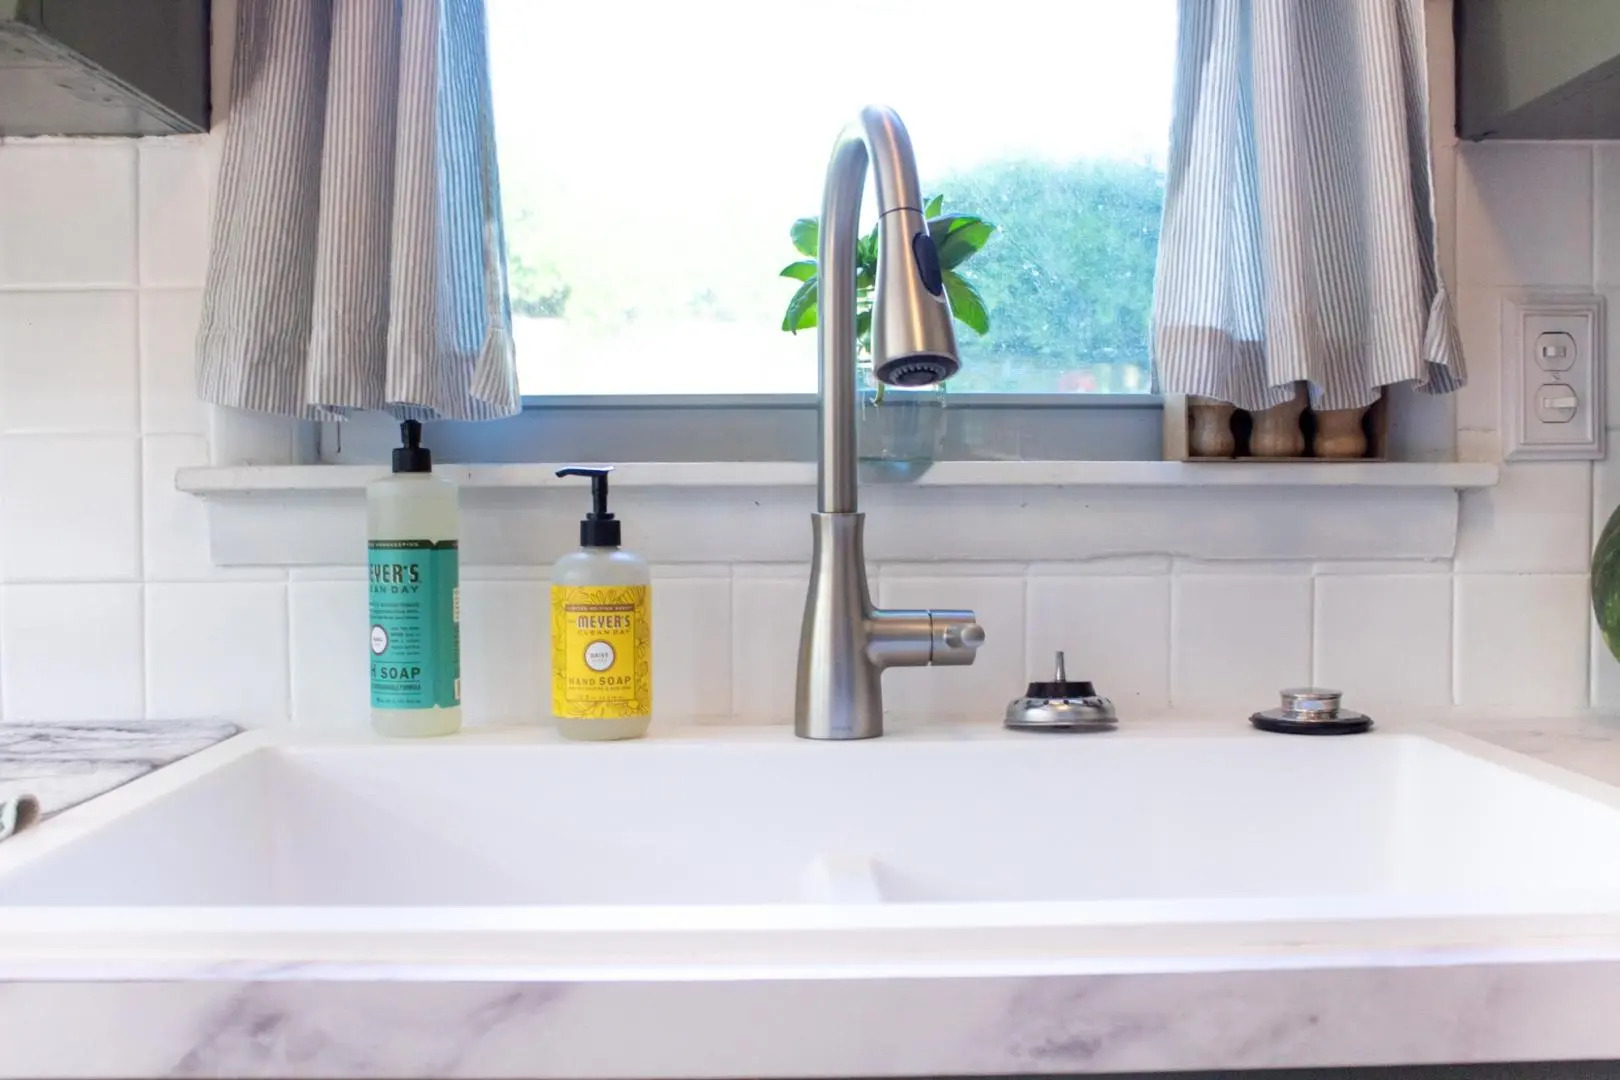
A white ceramic sink is a beautiful addition to any bathroom or kitchen. It adds a touch of elegance and sophistication to the space. However, over time, the sink can become dull, stained, and dirty due to daily use. Proper cleaning and maintenance are essential to keep your white ceramic sink looking its best.
In this article, we will guide you through the step-by-step process of cleaning a white ceramic sink. By following these instructions and using the right cleaning supplies, you can restore the sink’s brightness and maintain its pristine condition.
Before we delve into the cleaning process, it’s important to gather all the necessary supplies. This will ensure you have everything you need within reach, avoiding interruptions in the cleaning process. The supplies you will need include:
- Mild dish soap or ceramic sink cleaner
- Baking soda
- Vinegar
- Lemon or lemon juice
- Soft sponge or cloth
- Soft-bristle brush
- Old toothbrush
- Microfiber towel
Once you have all the required supplies ready, you can proceed to the next step of removing any debris or loose dirt from the sink. This step is essential as it will make the cleaning process more effective by eliminating any surface dirt and grime that can hinder the cleaning agents’ performance.
Now that you have a clear understanding of the introductory section, let’s move on to the detailed steps, starting with the removal of debris and loose dirt from the sink.
Key Takeaways:
- Restore the shine and elegance of your white ceramic sink by following a simple step-by-step cleaning process using gentle supplies and effective homemade cleaning solutions.
- Maintain the pristine condition of your white ceramic sink with regular cleaning routines, thorough scrubbing, and optional polishing for a sparkling, inviting space in your bathroom or kitchen.
Read more: How To Clean A White Corian Sink
Step 1: Gather the necessary supplies
Before you begin cleaning your white ceramic sink, it’s important to gather all the necessary supplies. This will ensure that you have everything you need within reach and avoid any interruptions during the cleaning process. Here is a list of the supplies you will need:
- Mild dish soap or ceramic sink cleaner: Choose a gentle and non-abrasive cleaner specifically designed for ceramic sinks. Avoid using harsh chemicals or abrasive cleaners as they can damage the surface of the sink.
- Baking soda: Baking soda is a natural and effective cleaning agent that can help remove stains and odors from your sink.
- Vinegar: Vinegar is another excellent natural cleaner that can help dissolve mineral deposits and sanitize the sink.
- Lemon or lemon juice: Lemon contains natural acids that can help remove stains and brighten the sink.
- Soft sponge or cloth: Use a soft sponge or cloth to clean the sink without scratching the surface.
- Soft-bristle brush: A soft-bristle brush can be used to scrub away tough stains and reach into hard-to-reach areas of the sink.
- Old toothbrush: An old toothbrush can be handy for cleaning around the faucet and drain.
- Microfiber towel: A microfiber towel is ideal for drying the sink and leaving it streak-free.
Once you have gathered all the necessary supplies, place them near your sink so they are easily accessible throughout the cleaning process. Having everything ready will streamline the cleaning process and help you achieve the best results.
Now that you have all the supplies ready, you are well-prepared to tackle the cleaning of your white ceramic sink. In the next step, we will guide you through the process of removing any debris or loose dirt from the sink before you commence the actual cleaning.
Step 2: Remove any debris or loose dirt
Before you start cleaning your white ceramic sink, it’s important to remove any debris or loose dirt that may be sitting on the surface. This step is crucial as it allows for a more effective and thorough cleaning process. Here’s how you can get rid of the debris and loose dirt:
- Clear the sink: Remove any objects or accessories that may be present in the sink, such as toothbrush holders or soap dispensers. This will make it easier to access all areas of the sink.
- Rinse with warm water: Use warm water to rinse the entire sink. This will help loosen any loose dirt or food particles that may be sticking to the surface.
- Use a soft cloth or sponge: Take a soft cloth or sponge and gently wipe the sink’s surface, paying attention to the edges, corners, and drain area. Be careful not to scrub too hard, as this can cause scratches or damage the ceramic.
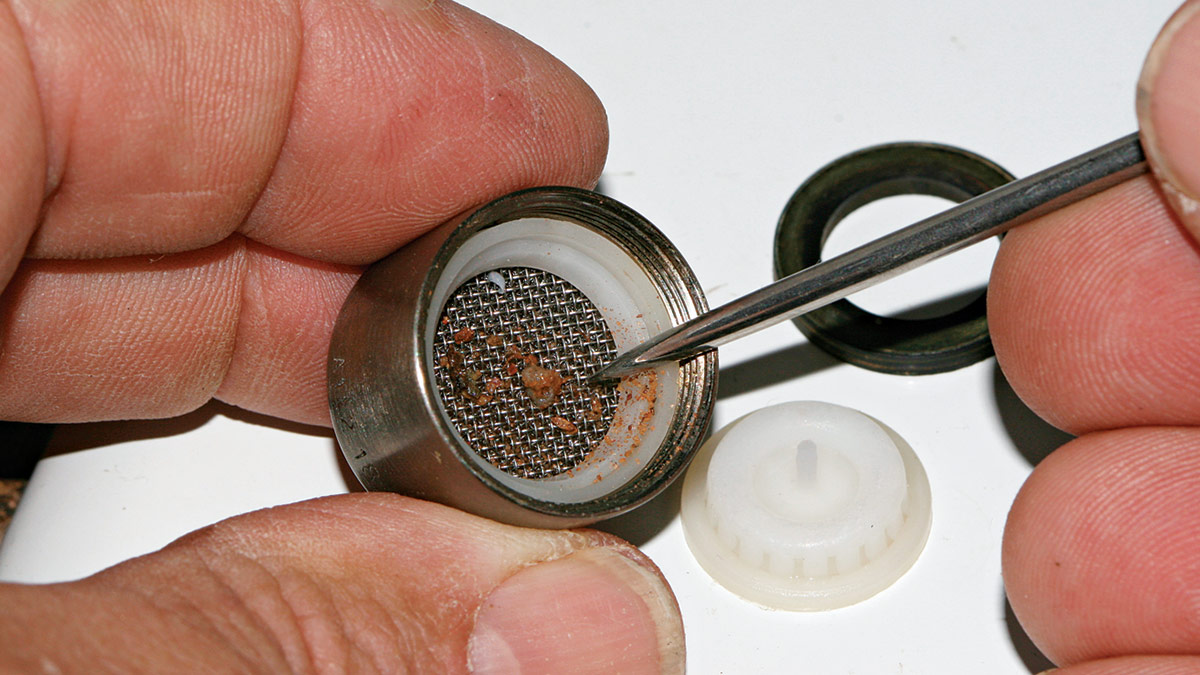
- Remove stuck-on debris: If you come across any stubborn debris or residue, use a soft-bristle brush or an old toothbrush to gently scrub the affected areas. Apply gentle pressure and scrub in a circular motion to dislodge the debris.
It’s important to note that if your sink has any stains that are not being removed with this simple process, don’t worry. We will address stain removal in later steps. The primary goal here is to remove any loose dirt or debris that may hinder the cleaning process.
By completing this step, you have successfully cleared the sink of any debris or loose dirt. Now, you are ready to move on to the next step, which involves preparing a cleaning solution for your white ceramic sink.
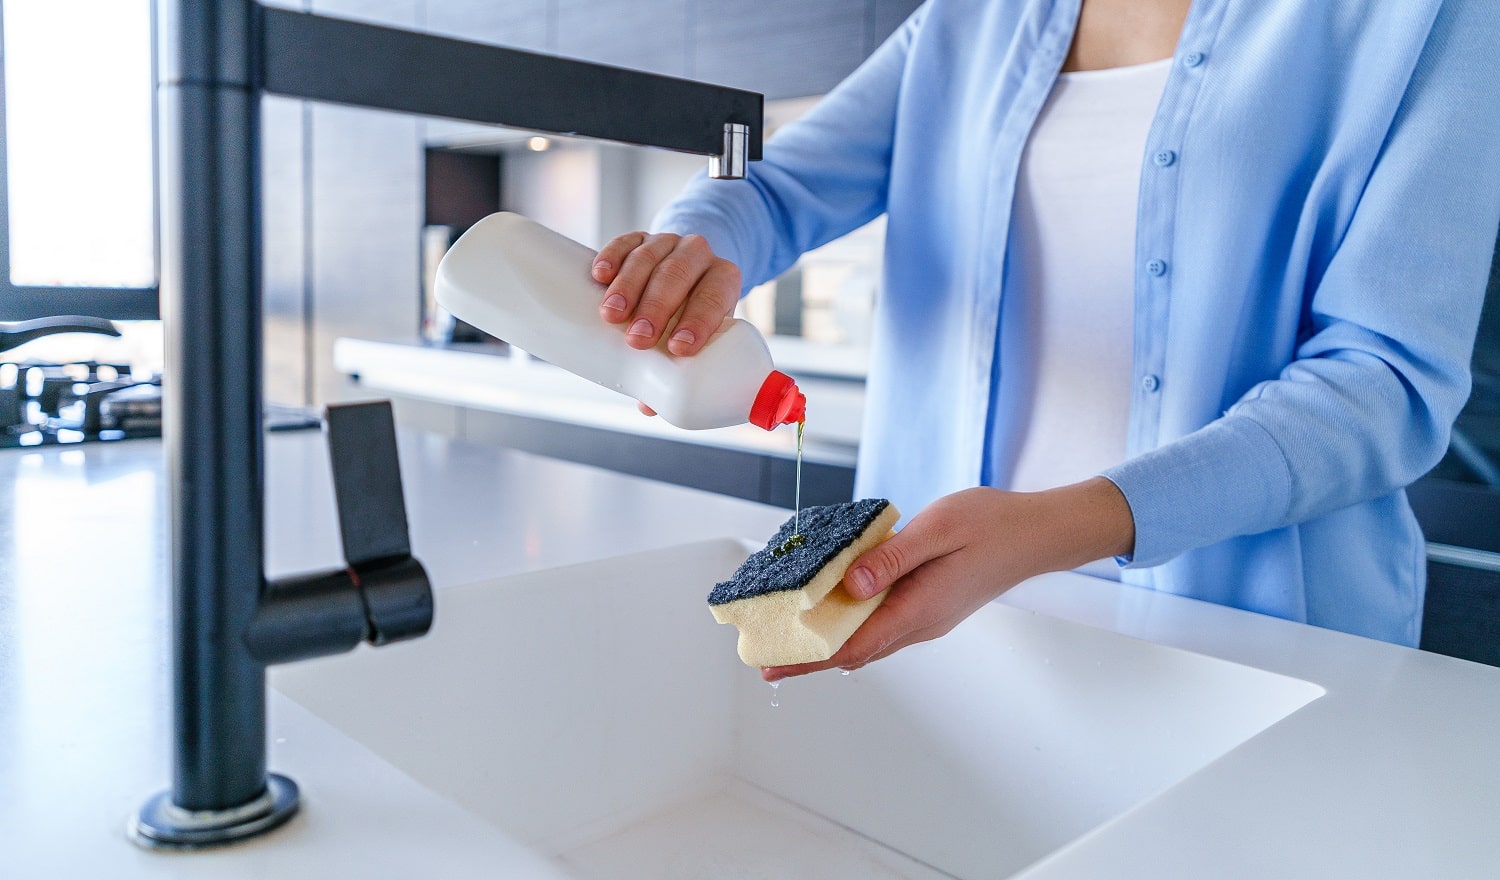
Step 3: Prepare a cleaning solution
Now that you have cleared your white ceramic sink of any debris or loose dirt, it’s time to prepare a cleaning solution that will effectively remove stains and restore the sink’s shine. Here are a few options for creating a homemade cleaning solution:
- Mild dish soap: Mix a few drops of mild dish soap with warm water in a bowl or basin. This gentle solution is suitable for regular cleaning and maintenance of your white ceramic sink.
- Baking soda paste: Mix baking soda with a small amount of water to create a paste-like consistency. Baking soda is a natural cleaner and can help remove tough stains from the ceramic sink.
- Vinegar and water: Mix equal parts vinegar and water in a spray bottle. Vinegar is a versatile cleaner that can effectively remove mineral deposits and grime from the sink.
- Lemon juice: Squeeze fresh lemon juice into a bowl or spray bottle. Lemon juice contains natural acids that can help break down stains and brighten the surface of your white ceramic sink.
Choose the option that suits your preference and the severity of stains in your sink. It’s important to note that if you have a specific ceramic sink cleaner recommended by the manufacturer, you can use that as well, following the instructions on the label.
Once you have prepared your cleaning solution of choice, you are ready to proceed to the next step: applying the cleaning solution to the sink. This will help eliminate stains, dirt, and buildup that may be present on the surface of your white ceramic sink.
Step 4: Apply the cleaning solution to the sink
With your cleaning solution prepared, it’s time to apply it to your white ceramic sink. The cleaning solution will help break down stains, remove dirt, and restore the sink’s cleanliness and shine. Follow these steps to apply the cleaning solution effectively:
- Dampen the sink: Wet the entire surface of the sink with water. This will help the cleaning solution spread more evenly and make it easier to scrub away dirt and stains.
- Apply the cleaning solution: Dip a soft sponge, cloth, or brush into the cleaning solution of your choice. Start by applying the solution to the walls of the sink, and then move on to the bottom and edges.
- Focused on stained areas: If you have specific stained areas, apply a bit more cleaning solution and let it sit for a few minutes to help break down the stains.
- Avoid abrasive materials: Be cautious not to use abrasive materials that can scratch or damage the surface of your ceramic sink. Stick to soft sponges, cloths, or brushes to protect the sink’s finish.
As you apply the cleaning solution, work in small sections to ensure that you cover the entire sink’s surface. Pay extra attention to areas that are prone to stains and buildup, such as around the drain and faucet. By applying the cleaning solution methodically, you will achieve more thorough and effective results.
Once you have applied the cleaning solution to the sink, allow it to sit for a few minutes. This will give the solution a chance to penetrate and break down any stubborn stains. In the next step, we will guide you through the process of scrubbing the sink to remove tough stains and dirt.
To clean a white ceramic sink, make a paste of baking soda and water, then scrub the sink with a soft sponge. Rinse thoroughly and dry with a clean cloth to prevent water spots.
Read more: How To Clean A White Cast Iron Sink
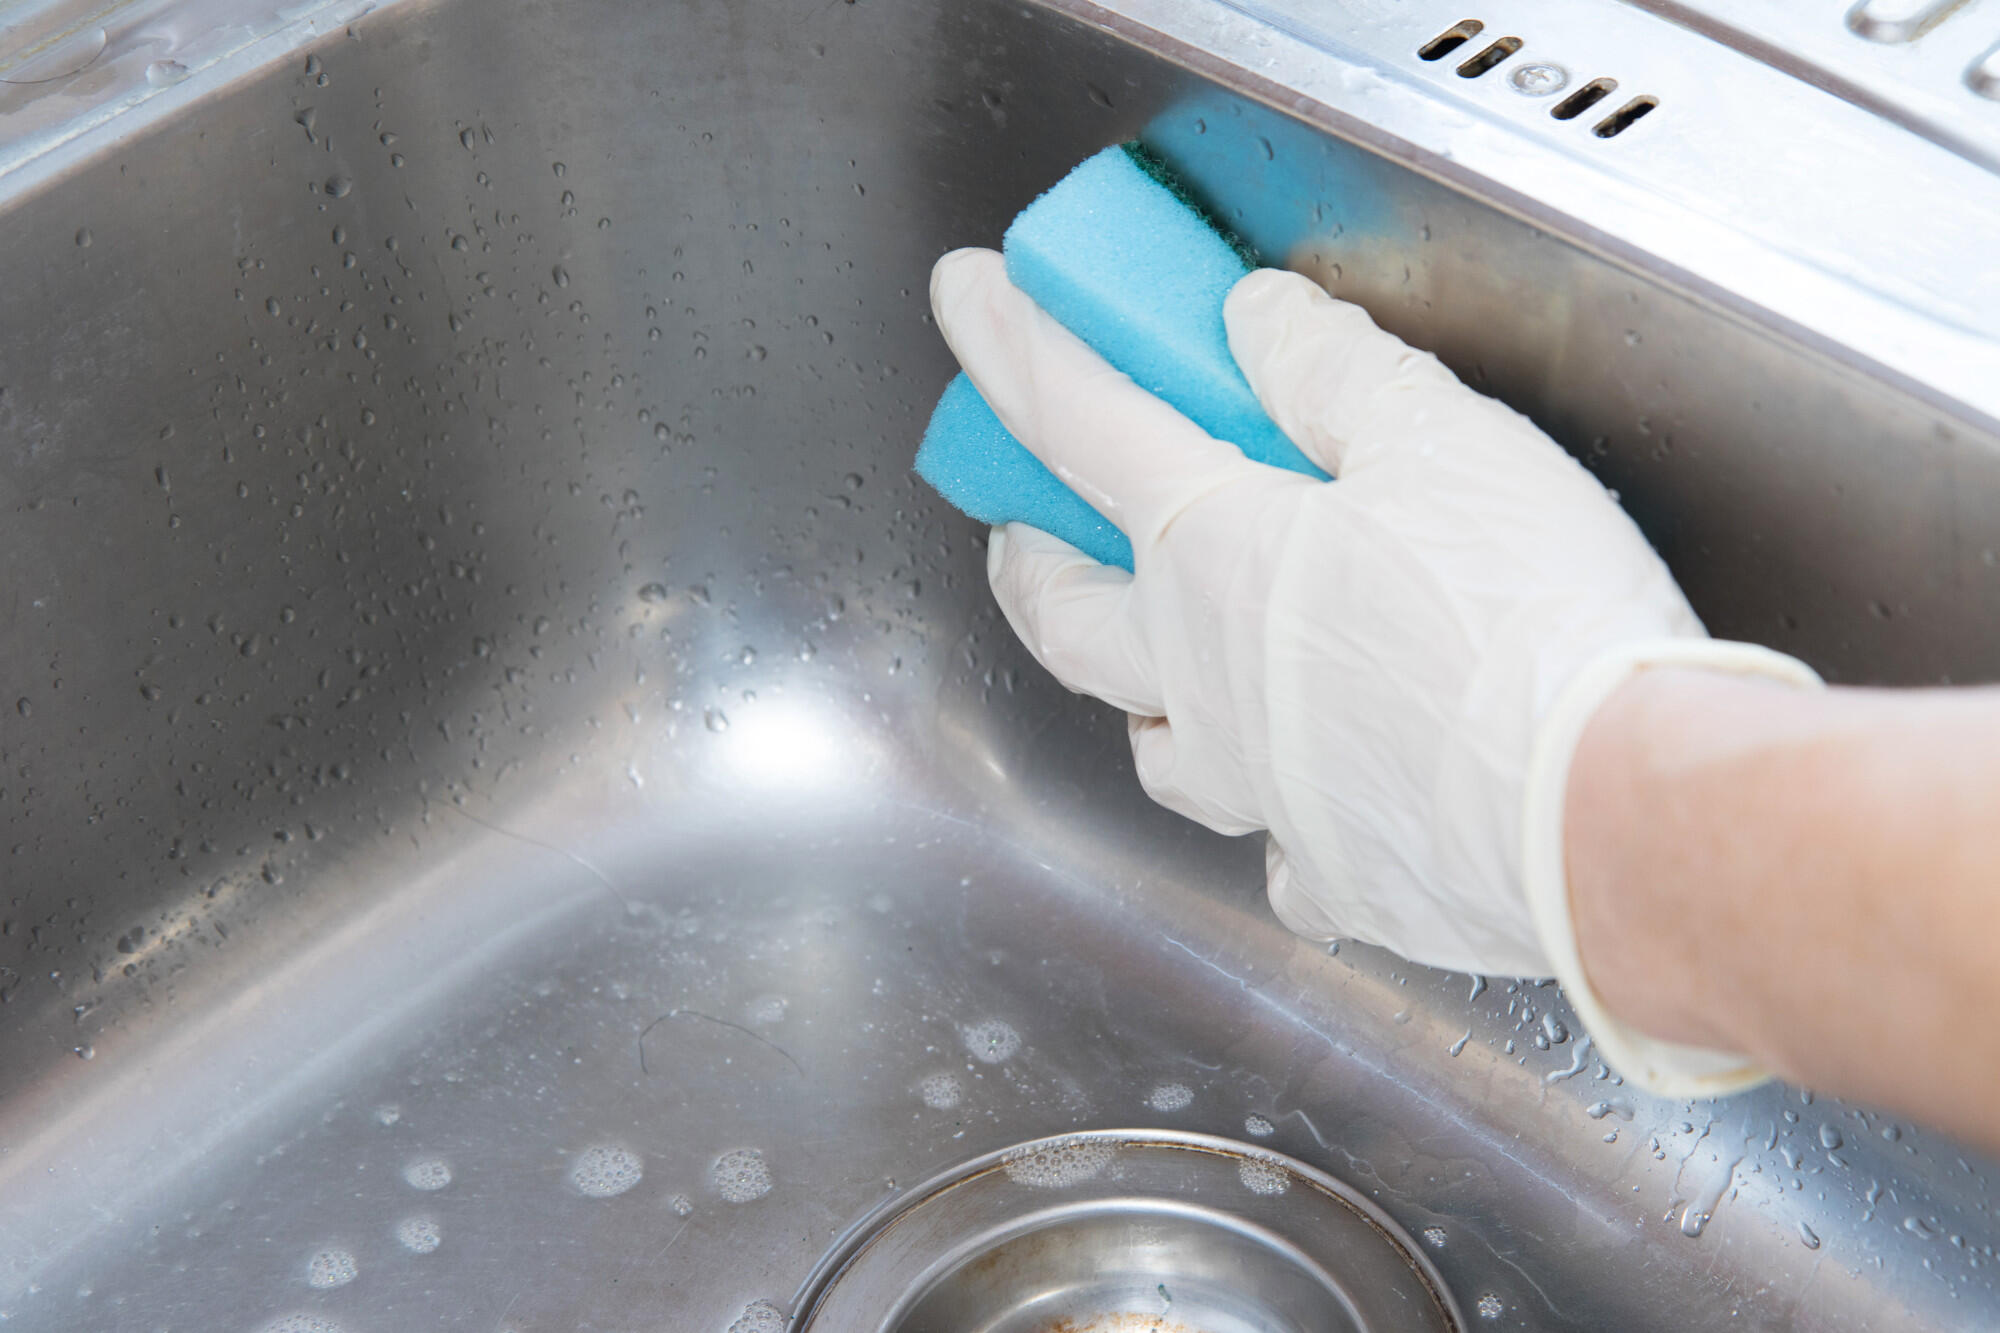
Step 5: Scrub the sink thoroughly
After allowing the cleaning solution to sit for a few minutes, it’s time to scrub your white ceramic sink thoroughly. Scrubbing will help remove tough stains, dirt, and grime from the surface. Follow these steps to ensure a thorough scrubbing of your sink:
- Start with the walls: Begin by scrubbing the walls of the sink using a soft sponge, cloth, or soft-bristle brush. Work in circular motions and apply gentle pressure to lift off any stains or residue.
- Focus on stained areas: Pay extra attention to areas that have tough stains or buildup. If necessary, apply a bit more cleaning solution to these areas and use a gentle scrubbing motion to break down the stains.
- Scrub the bottom of the sink: Move on to scrubbing the bottom of the sink, making sure to cover the entire surface. Use back-and-forth or circular motions to effectively remove any dirt or stains.
- Clean hard-to-reach areas: Don’t forget to clean hard-to-reach areas, such as the edges of the sink and around the drain. Use an old toothbrush or soft-bristle brush to access these areas and scrub away any buildup.
While scrubbing, remember to be gentle and avoid using abrasive materials that can scratch the surface of your ceramic sink. A moderate amount of pressure is usually sufficient to remove stains and dirt without causing damage.
Continue scrubbing the sink until you are satisfied with the cleanliness of the surface. This step may require some elbow grease, especially for tough stains, but with patience and persistence, your white ceramic sink will regain its shine and pristine condition.
With the sink thoroughly scrubbed, it’s time to move on to the next step: rinsing the sink with clean water to remove any leftover cleaning solution and residue.
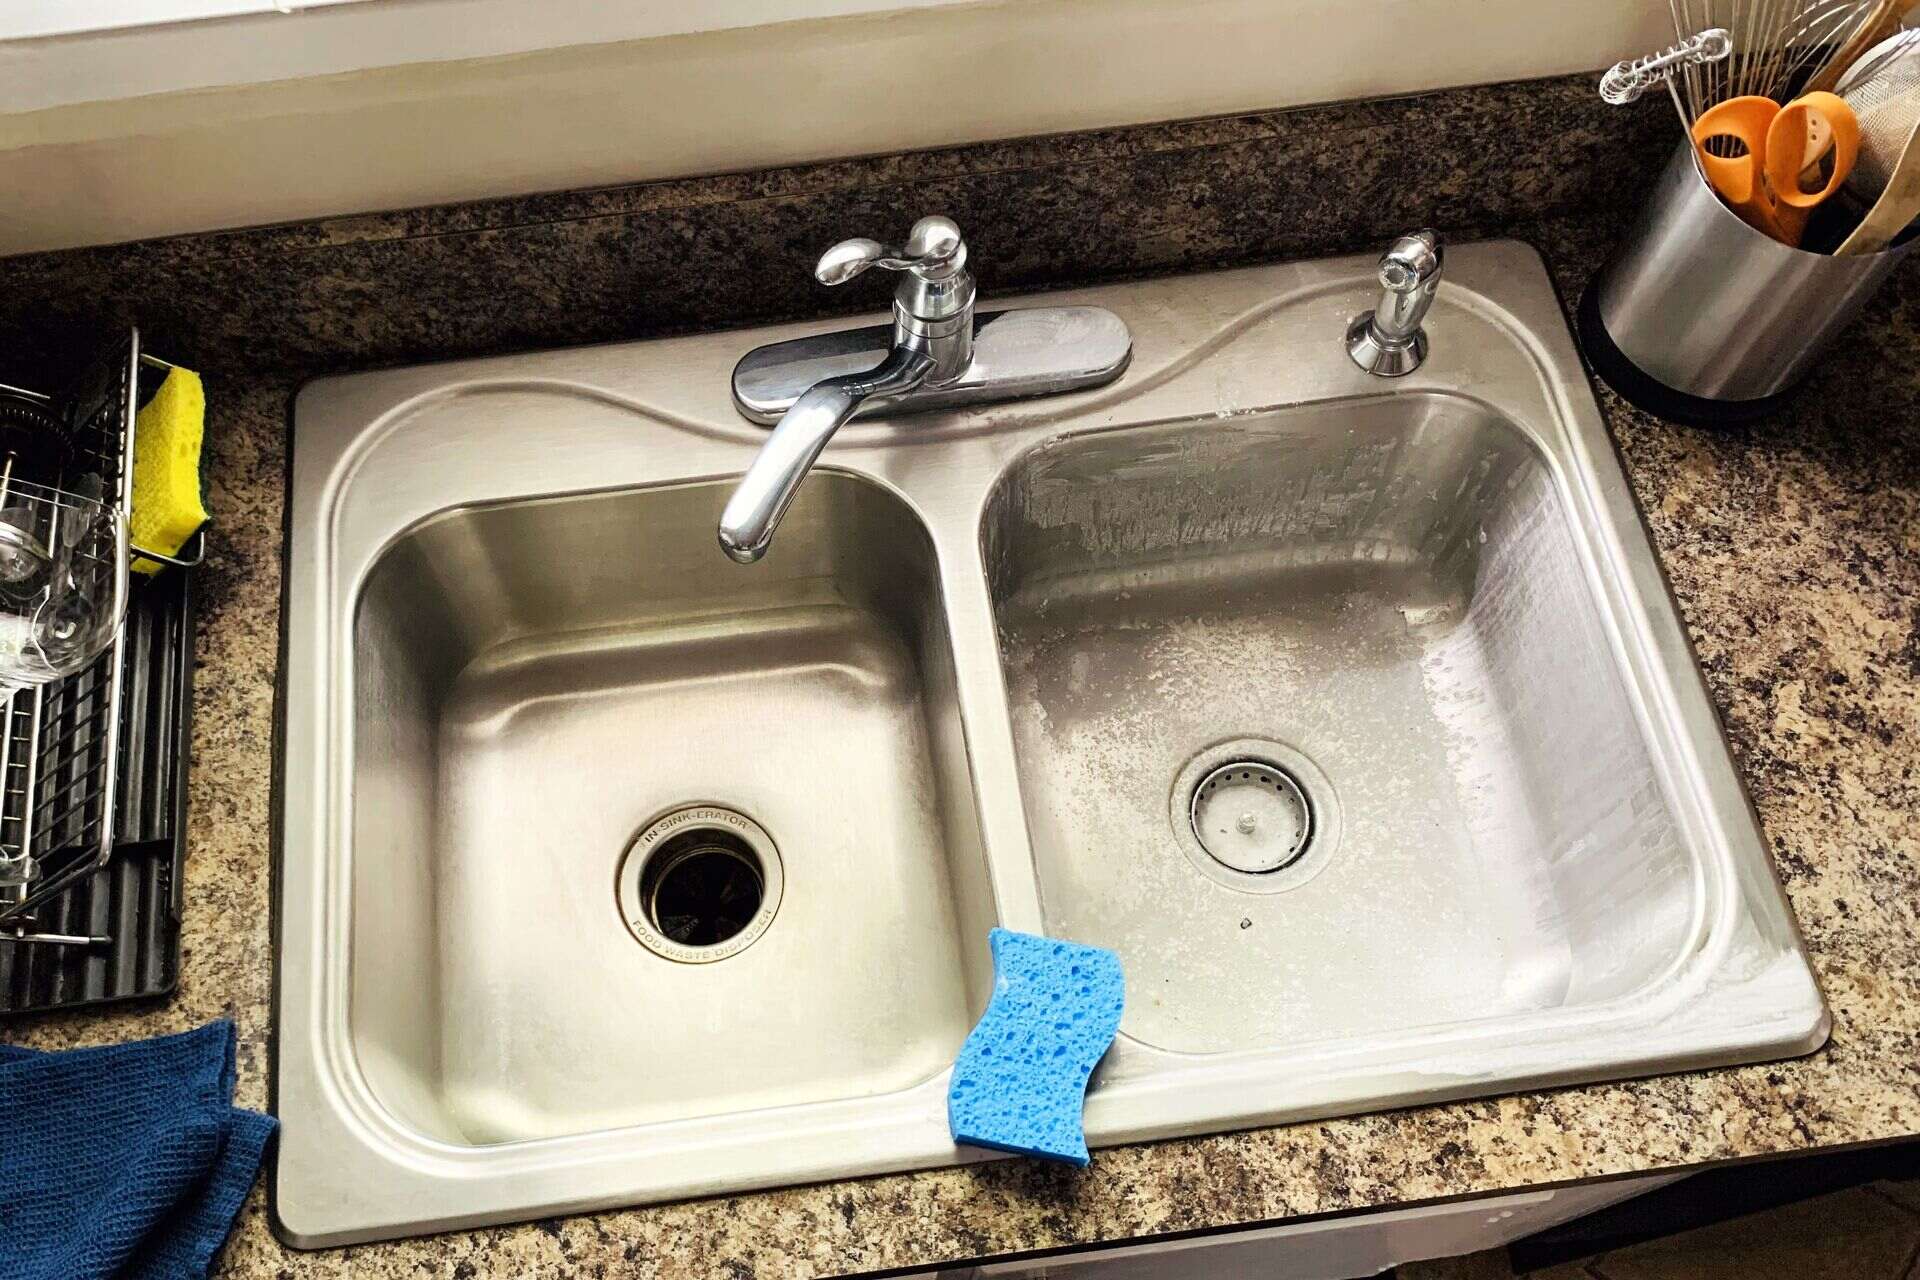
Step 6: Rinse the sink with clean water
After scrubbing your white ceramic sink, it’s important to rinse it thoroughly with clean water. Rinsing will remove any remaining cleaning solution, residue, and loosened dirt from the surface. Follow these steps to ensure a proper rinsing of your sink:
- Turn on the faucet: Start by turning on the faucet and allowing clean water to flow into the sink. Adjust the water temperature to your preference.
- Use your hand or a cup: Use your hand or a cup to splash water all over the sink. Make sure to cover every area, including the walls, bottom, edges, and drain.
- Rinse thoroughly: Continue rinsing the sink until you no longer see any suds or traces of the cleaning solution. This step is crucial to remove any residue that may be left behind.
- Check for any remaining stains: After rinsing, inspect the sink for any stubborn stains that may still be present. If you notice any remaining stains, you can repeat the scrubbing and rinsing process or move on to additional stain removal methods, which will be covered in later steps.
It’s important to ensure that all the cleaning solution and dirt are completely rinsed off. Residue left behind can dull the sink’s appearance and potentially cause further staining if not properly removed.
Once you have thoroughly rinsed the sink, move on to the next step: wiping the sink dry to prevent water spots and streaks.
Step 7: Wipe the sink dry
After rinsing your white ceramic sink, it’s important to wipe it dry to prevent water spots and streaks. Drying the sink thoroughly will help maintain its pristine appearance and minimize the chances of any remaining moisture causing stains or discoloration. Follow these steps to ensure your sink is properly dried:
- Use a clean, dry cloth or microfiber towel: Grab a clean, dry cloth or microfiber towel specifically designated for drying purposes.
- Start with the walls and bottom: Begin by gently wiping the walls of the sink, starting from the highest point and working your way down to the bottom. Make sure to catch any remaining moisture.
- Pay attention to edges and corners: Be thorough in wiping the edges, corners, and hard-to-reach areas of the sink to ensure no moisture is left behind.
- Dry the faucet and drain areas: Use the cloth or towel to dry the faucet and drain, ensuring no water droplets or residue remain.
When wiping the sink dry, make sure to be gentle and avoid using abrasive materials or excessive force. This will protect the surface of your ceramic sink from scratches or damage.
By thoroughly drying your sink, you will not only maintain its appearance but also prevent water spots and streaks that can detract from its cleanliness. Once the sink is dry, you can move on to the optional step of polishing it to restore its shine.
Step 8: Polish the sink (optional)
Polishing your white ceramic sink is an optional step, but it can add an extra level of shine and luster to the surface. Polishing helps remove any remaining dullness or water spots, leaving your sink looking beautifully clean and bright. Here’s how you can polish your sink:
- Select a ceramic sink polish: Choose a ceramic sink polish that is specifically designed for use on white ceramic surfaces. Make sure to follow the manufacturer’s instructions for the best results.
- Apply a small amount of polish: Use a soft cloth or microfiber towel to apply a small amount of polish to the surface of the sink. Start with a small section and work your way around the sink.
- Buff the sink: Using circular motions, gently buff the sink’s surface with the cloth or towel. Apply a bit of pressure as needed to restore the shine and remove any remaining imperfections.
- Continue polishing: Repeat the process of applying the polish and buffing the sink until you have covered the entire surface of the sink. Be thorough in your polishing to achieve a consistent shine.
It’s important to note that not all white ceramic sinks require polishing, especially if they still maintain a high level of shine after the cleaning process. However, if you want to enhance the overall appearance and bring out the natural beauty of your sink, polishing can be a beneficial step.
After polishing, take a step back and admire the result of your hard work. Your white ceramic sink should now be sparkling clean, free from stains, and radiating a fresh, polished finish.
Congratulations! You have successfully completed the process of cleaning and polishing your white ceramic sink. By following these steps and maintaining regular cleaning routines, you can keep your sink looking its best for years to come.
Next time you use your sink, you can enjoy the satisfaction of knowing it is not only clean but also beautifully maintained.
Note: Remember to always refer to the manufacturer’s guidelines for specific care instructions for your white ceramic sink.
Read also: 10 Best White Ceramic Vase for 2025
Conclusion
Cleaning a white ceramic sink may seem like a daunting task, but with the right approach and supplies, it can be easily accomplished. By following the step-by-step process outlined in this article, you can bring back the shine and beauty of your sink, making it a focal point in your bathroom or kitchen.
Starting with gathering the necessary supplies, removing any debris or loose dirt, and preparing a cleaning solution, you lay the foundation for a successful cleaning process. Applying the cleaning solution, scrubbing the sink thoroughly, and rinsing it with clean water help eliminate stains and dirt that may have accumulated over time.
Once the sink is clean, drying it with a soft cloth or microfiber towel prevents water spots and streaks. If you choose to take it a step further, polishing the sink gives it an extra shine and luster.
Remember to always follow manufacturer guidelines and use gentle, non-abrasive cleaning agents to protect the surface of your white ceramic sink. Regular maintenance and cleaning routines will help maintain its pristine condition and ensure its longevity.
Now that you have the knowledge and tools to clean your white ceramic sink effectively, go ahead and give it the attention it deserves. With a fresh, clean sink, you’ll be able to enjoy a bright and inviting space in your bathroom or kitchen.
So roll up your sleeves, gather your supplies, and let’s get that white ceramic sink looking immaculate and stunning!
Frequently Asked Questions about How To Clean White Ceramic Sink
Was this page helpful?
At Storables.com, we guarantee accurate and reliable information. Our content, validated by Expert Board Contributors, is crafted following stringent Editorial Policies. We're committed to providing you with well-researched, expert-backed insights for all your informational needs.


0 thoughts on “How To Clean White Ceramic Sink”