Articles
How To Clean Black Gunk From Faucet
Modified: August 28, 2024
Learn effective ways to clean black gunk from your faucet with our informative articles. Say goodbye to stubborn grime and restore your faucet's shine!
(Many of the links in this article redirect to a specific reviewed product. Your purchase of these products through affiliate links helps to generate commission for Storables.com, at no extra cost. Learn more)
Introduction
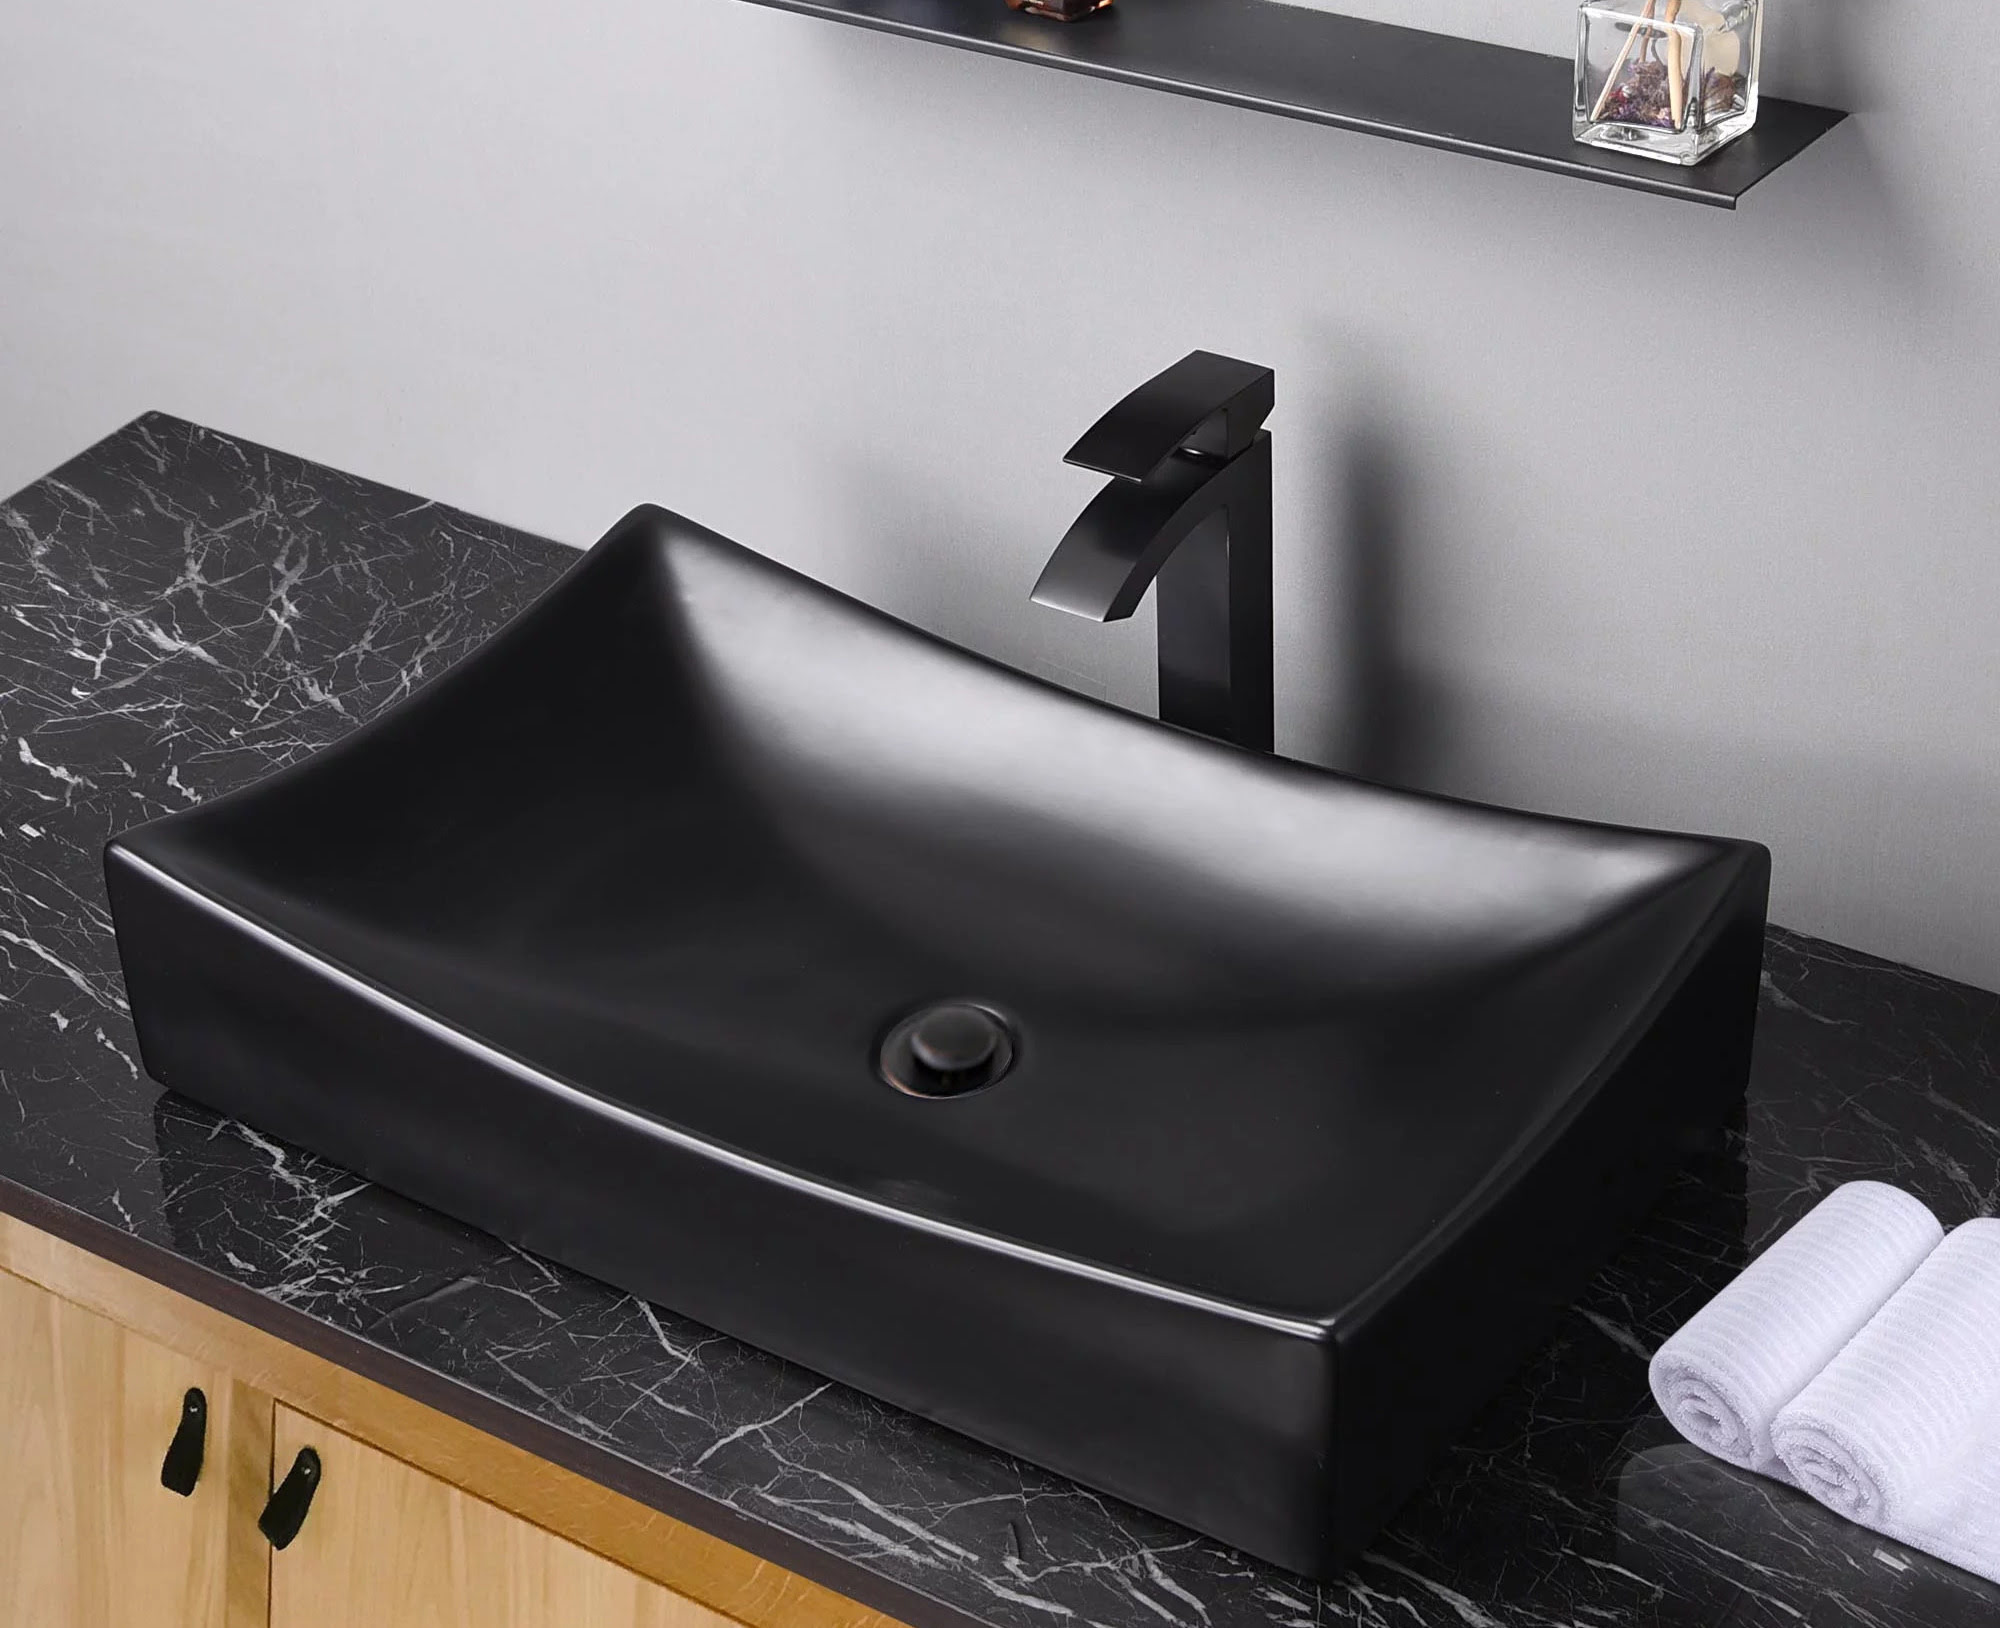
Welcome to our guide on how to clean black gunk from faucets. Over time, you may notice a buildup of black gunk or grime on your faucets, especially around the aerator. This unsightly buildup not only affects the appearance of your faucets but can also impact their performance. If left untreated, it can lead to reduced water flow and even plumbing issues.
But fear not! Cleaning black gunk from faucets is a relatively simple process that you can do yourself with just a few tools and materials. In this article, we’ll walk you through the step-by-step process of removing and cleaning the faucet aerator, as well as other parts of the faucet that may be affected by black gunk buildup. We’ll also provide tips on preventing future buildup so you can keep your faucets looking and functioning their best.
Before we get started, it’s important to note that the methods described in this guide are suitable for cleaning black gunk from faucets made of various materials, such as chrome, stainless steel, brass, or nickel. However, if your faucets have a specialty finish or if you’re unsure of the material, it’s always a good idea to check with the manufacturer’s guidelines or consult a professional to ensure you don’t damage the faucet’s surface.
Now, let’s dive in and learn how to effectively clean black gunk from your faucets!
Key Takeaways:
- Say goodbye to black gunk on your faucets! Use vinegar, a toothbrush, and mild soap to remove buildup and keep your faucets sparkling and functioning flawlessly.
- Prevent future black gunk by installing a water softener, flushing the faucet regularly, and keeping it dry. Regular maintenance ensures long-lasting clean and efficient faucets.
What Causes Black Gunk in Faucets
Before we can effectively clean black gunk from faucets, it’s important to understand what causes this buildup in the first place. The black gunk is usually a combination of minerals, bacteria, and other organic matter that accumulates over time.
One of the primary causes of black gunk in faucets is hard water. Hard water has a high mineral content, particularly calcium and magnesium. These minerals can cause scaling and buildup on various surfaces, including faucets. As water flows through the faucet, it leaves behind small deposits of minerals, forming the black gunk.
In addition to hard water, another culprit of black gunk is mold and mildew. The warm and damp environment surrounding faucets creates an ideal breeding ground for these fungi. Over time, mold and mildew can grow and start to form dark, slimy substances on the surface of the faucet.
Furthermore, stagnant water can also contribute to black gunk buildup. If water is left sitting in the faucet for extended periods, it can promote the growth of bacteria and other organic matter. This leads to the formation of the black gunk.
Lastly, poor cleaning habits can exacerbate the problem. If faucets are not regularly cleaned and maintained, the black gunk can accumulate and become harder to remove. It’s important to regularly clean your faucets as part of your household cleaning routine to prevent the buildup of black gunk.
Now that we understand what causes the black gunk in faucets, let’s move on to the tools and materials you’ll need to effectively clean it.
Tools and Materials Needed
Before you begin cleaning the black gunk from your faucets, it’s important to gather the necessary tools and materials. Having everything prepared beforehand will make the cleaning process smoother and more efficient. Here are the tools and materials you’ll need:
- Adjustable wrench or pliers: You’ll need this to loosen and remove the aerator.
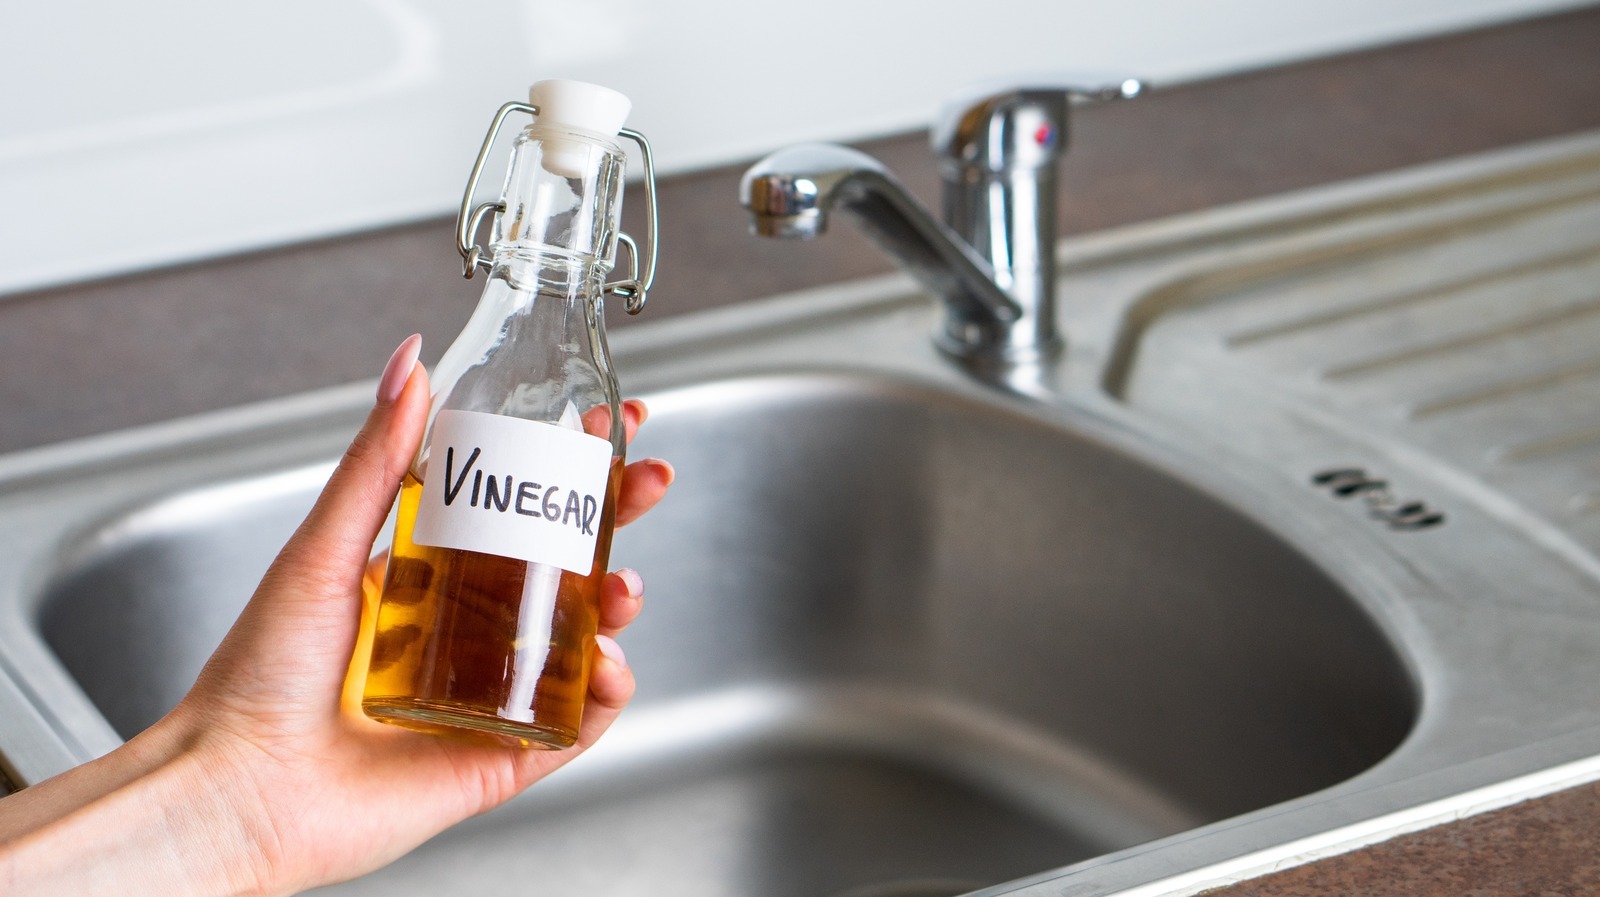
- White vinegar: Vinegar is a natural and effective cleaning agent that helps dissolve mineral deposits and kill bacteria.
- Small bowl or container: This will be used for soaking the aerator in the vinegar solution.
- Toothbrush or small brush: A soft-bristled toothbrush or a small brush will be used to scrub the aerator and other areas affected by the black gunk.
- Paper towels or a clean cloth: These will be used to dry the components after cleaning.
- Mild dish soap: This can be used to give the faucet a final clean and remove any remaining residue.
These tools and materials should be readily available in most households. If you don’t have vinegar on hand, you can also use a lime or calcium deposit cleaner specifically designed for faucets. However, vinegar is a more natural and cost-effective option.
Now that you have all the necessary tools and materials, you’re ready to start the cleaning process. In the next section, we’ll walk you through the step-by-step instructions on how to remove and clean the aerator.
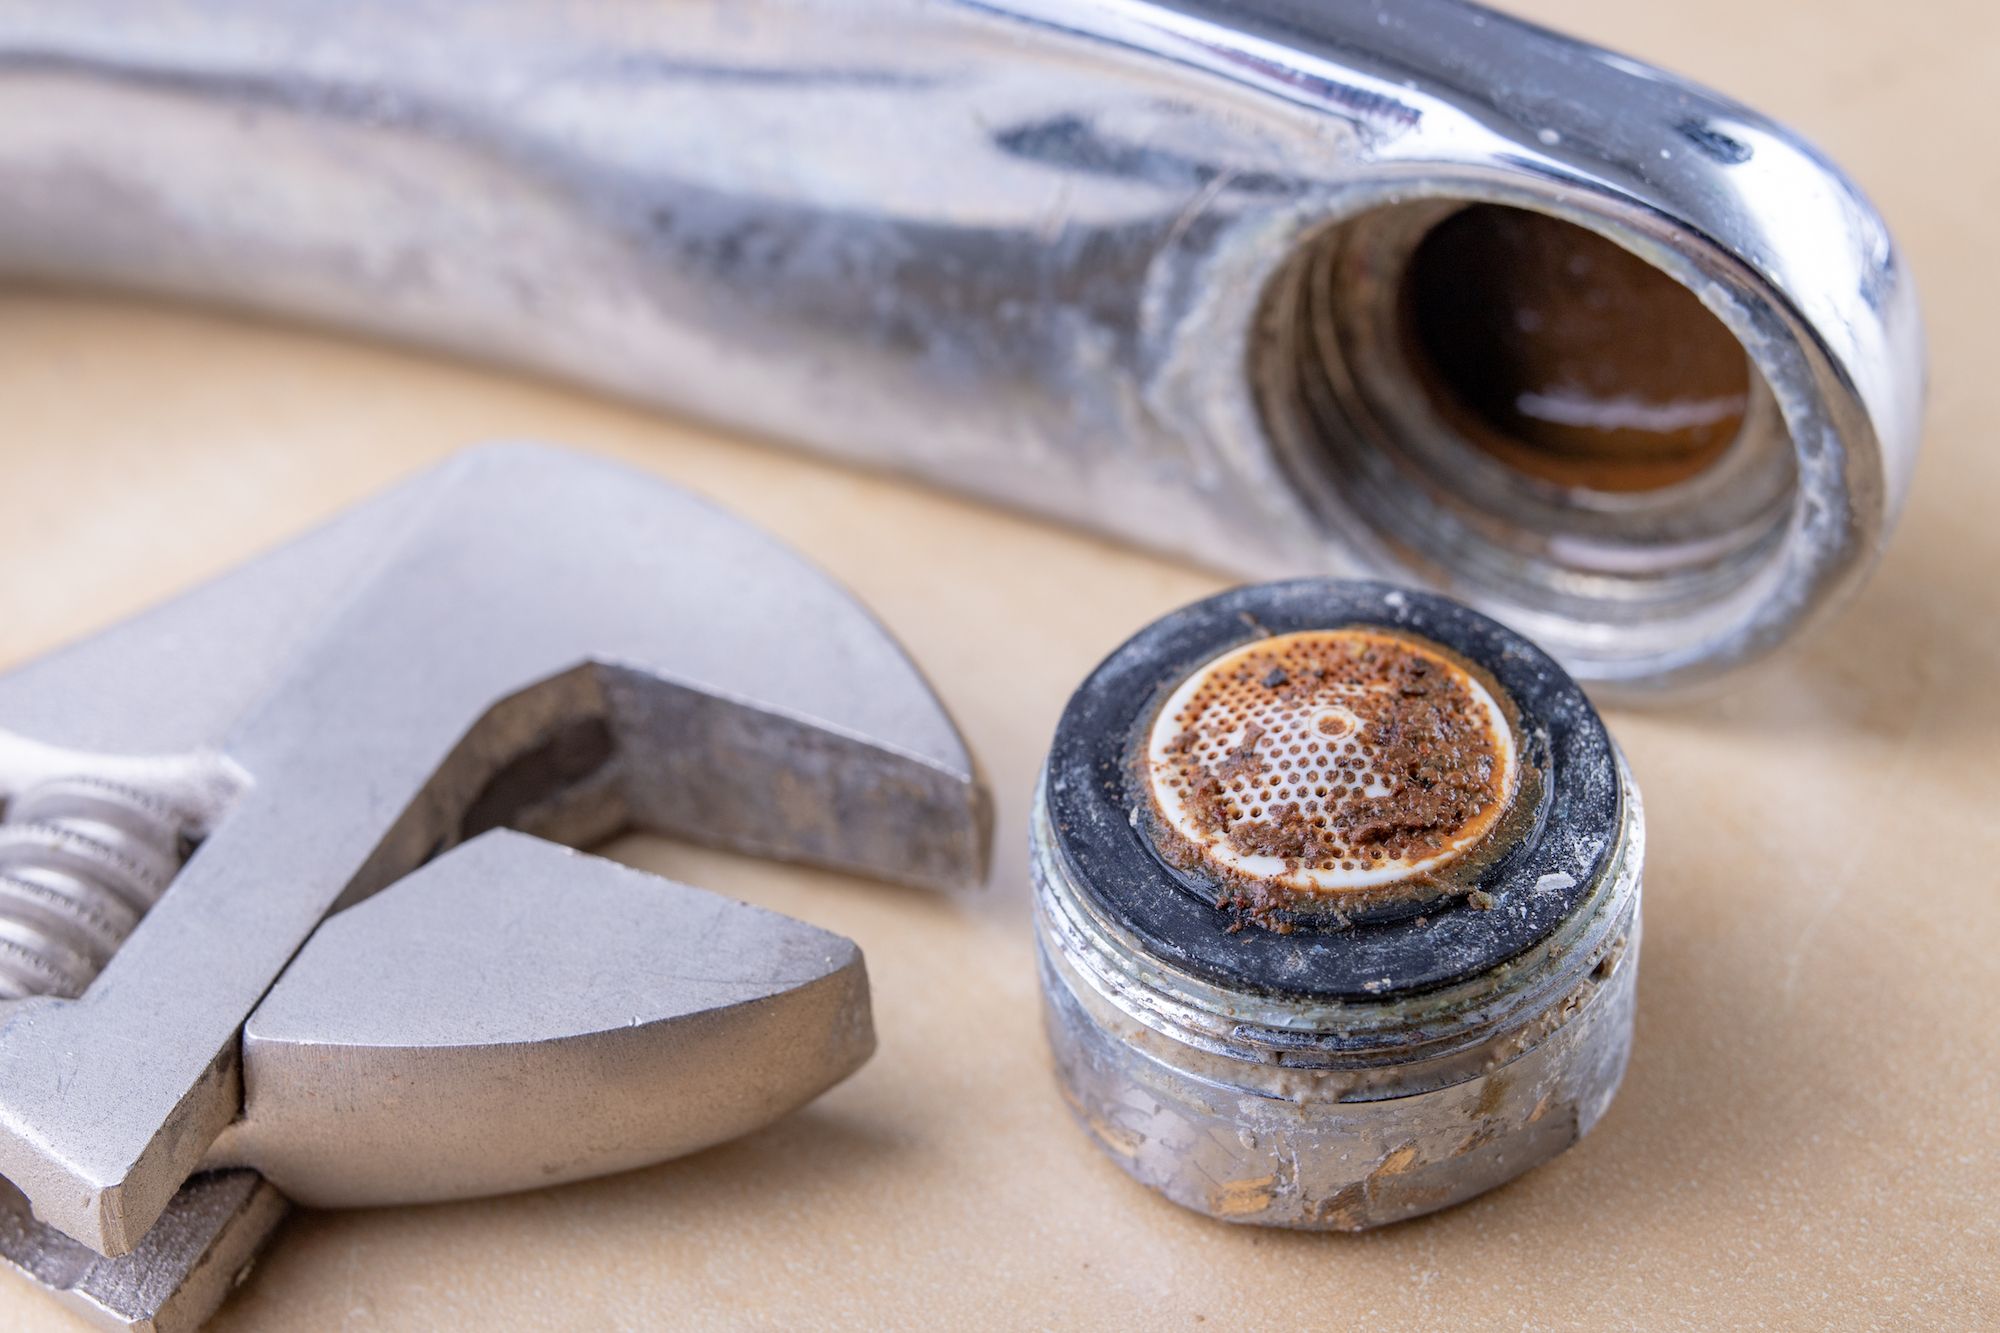
Step 1: Remove the Faucet Aerator
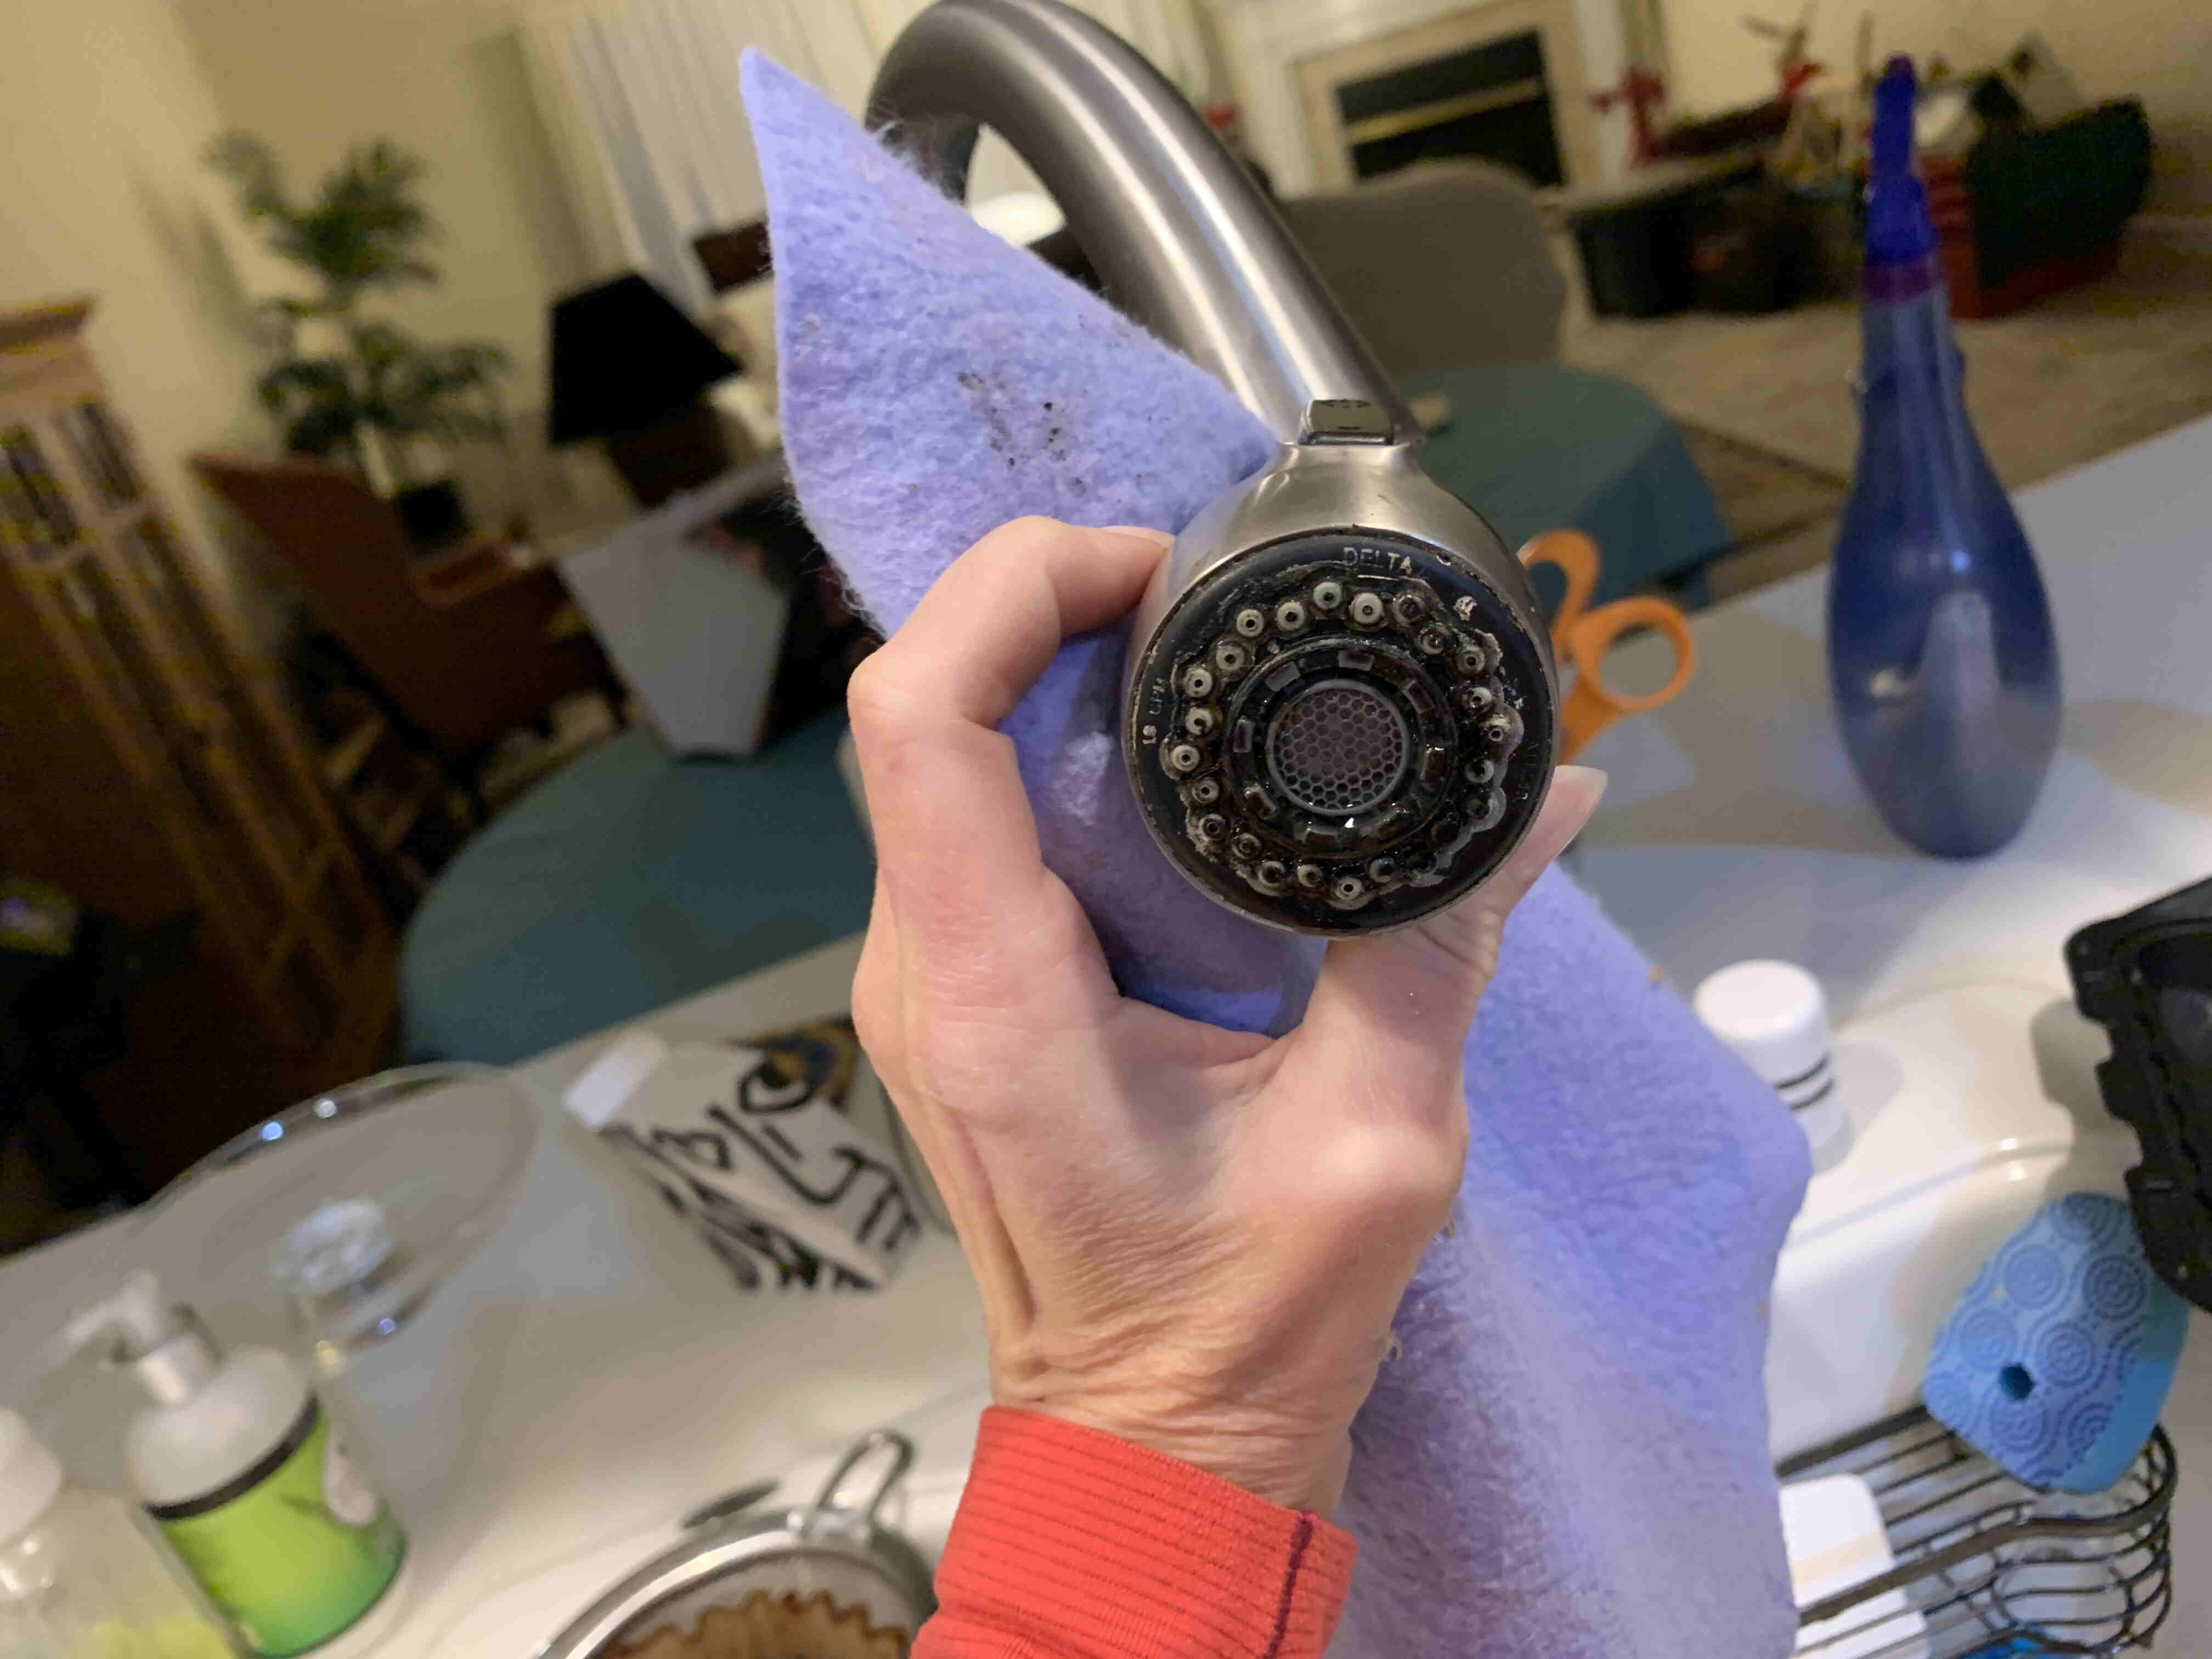
The first step in cleaning the black gunk from your faucets is to remove the aerator. The aerator is a small mesh screen located at the end of the faucet spout. It helps regulate the flow of water and prevent splashing.
To remove the aerator, follow these steps:
- Turn off the water supply to the faucet. Look for the shut-off valves under the sink and close them to stop the water flow.
- Position a towel or a small bowl underneath the faucet to catch any drips.
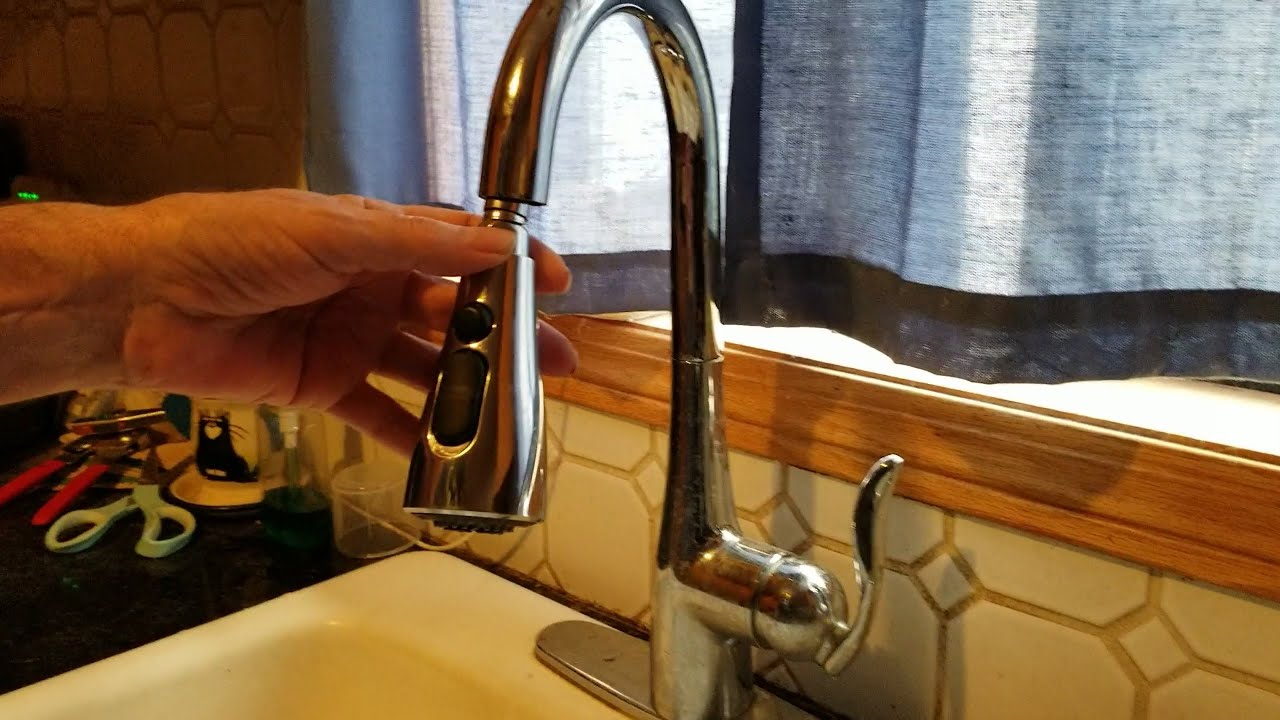
- Using an adjustable wrench or pliers, grip the aerator firmly and turn it counterclockwise to unscrew it. Be careful not to scratch or damage the faucet surface. If the aerator is too tight, wrap a cloth around it to provide better grip.
- Continue unscrewing until the aerator comes off completely. Set it aside in a safe place.
Once you have successfully removed the aerator, you can move on to the next step – soaking it in a vinegar solution to break down the black gunk. We’ll discuss this in detail in the following section.
Step 2: Soak the Aerator in Vinegar Solution
Now that you have removed the aerator from the faucet, it’s time to clean it by soaking it in a vinegar solution. Vinegar is a natural cleaning agent that helps dissolve mineral deposits and kill bacteria, making it effective in removing the black gunk.
Follow these steps to soak the aerator:
- Fill a small bowl or container with equal parts white vinegar and water. The amount will depend on the size of your aerator, but enough solution to fully submerge it is ideal.
- Place the aerator into the vinegar solution, making sure it is fully immersed. Allow it to soak for at least 30 minutes to an hour. This will give the vinegar enough time to break down the black gunk.
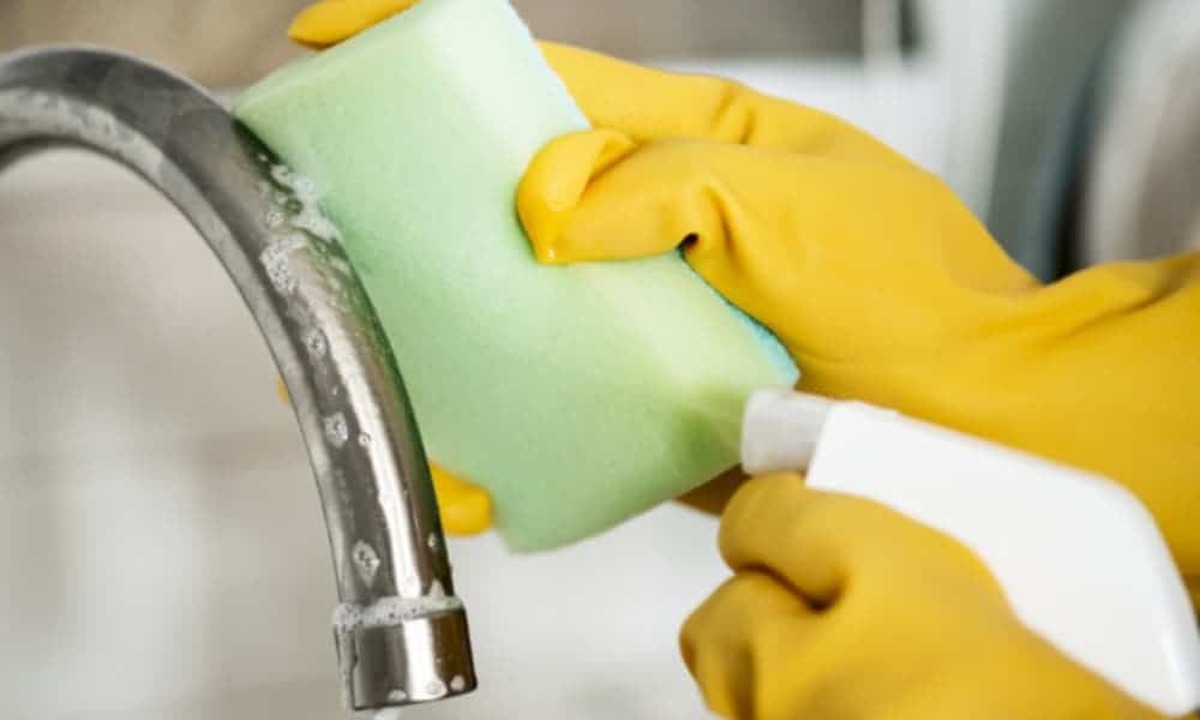
- While the aerator is soaking, you can take this opportunity to clean other parts of the faucet, such as the spout and handles, using a mild solution of dish soap and water. Use a soft cloth or sponge to gently scrub away any dirt or grime.
Soaking the aerator in a vinegar solution will help loosen and dissolve the black gunk, making it easier to clean in the next step. Vinegar is also a natural disinfectant, which will help kill any bacteria or mold present in the aerator.
Once the aerator has finished soaking, you’re ready for the next step – scrubbing it to remove the remaining black gunk. We’ll cover this in detail in the following section.
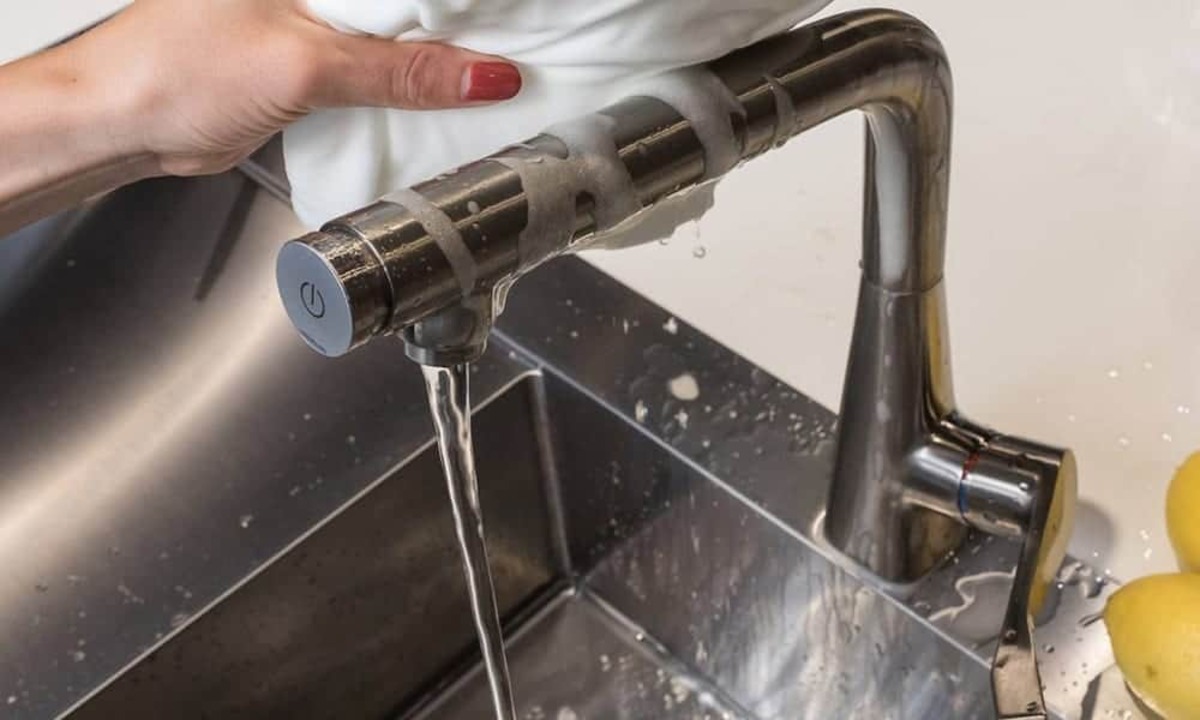
Use a mixture of equal parts white vinegar and water to soak a cloth and wrap it around the faucet. Let it sit for 30 minutes, then scrub with a toothbrush to remove the black gunk.
Step 3: Scrub the Aerator
Now that you have soaked the aerator in the vinegar solution and allowed it to break down the black gunk, it’s time to scrub away the remaining residue. This step will help remove any stubborn buildup and leave your aerator looking clean and functioning optimally.
- Remove the aerator from the vinegar solution and rinse it under running water to remove any loose debris.
- Using a soft-bristled toothbrush or a small brush, gently scrub the aerator. Pay special attention to the mesh screen and any other areas where the black gunk may have accumulated. Use a circular motion and apply gentle pressure to avoid damaging the aerator.
- If there are stubborn deposits that are difficult to remove, you can dip the toothbrush or brush in the vinegar solution and continue scrubbing. The acidity of the vinegar will help break down the residue.
- Rinse the aerator thoroughly under running water to remove any loosened debris and vinegar. Check that the mesh screen is clean and free from any remaining black gunk.
- Inspect the aerator for any remaining buildup. If necessary, repeat the soaking and scrubbing process until the aerator is completely clean.
Once you’re satisfied with the cleanliness of the aerator, it’s time to move on to the next step – rinsing and reattaching the aerator to the faucet. We’ll cover this in detail in the following section.
Step 4: Rinse and Reattach the Aerator
After scrubbing the aerator to remove the black gunk and thoroughly rinsing it, the next step is to reattach it to the faucet. This will complete the cleaning process and allow you to enjoy a well-functioning and visually appealing faucet once again.
Follow these steps to rinse and reattach the aerator:
- Hold the aerator under running water and rinse it thoroughly. Make sure to remove any remaining debris or vinegar residue.
- Inspect the aerator to ensure that all the black gunk has been successfully removed. If you still notice any buildup, repeat the cleaning process until the aerator is clean.
- Once the aerator is clean and free of debris, screw it back onto the faucet spout. Use your hand to tighten it firmly but avoid overtightening, as it may lead to damage.
- If necessary, use an adjustable wrench or pliers, wrapped in a cloth, to give the aerator a final gentle tightening.
- Check that the aerator is securely attached and the water flow is unobstructed. Turn on the water supply and test the faucet to ensure everything is working properly.
With the aerator rinsed and reattached, your faucet should now be free from the black gunk buildup. However, it’s important to note that other parts of the faucet, such as the handles and spout, may still be affected by the black gunk. In the next step, we’ll discuss how to clean these areas to complete the overall cleaning process.
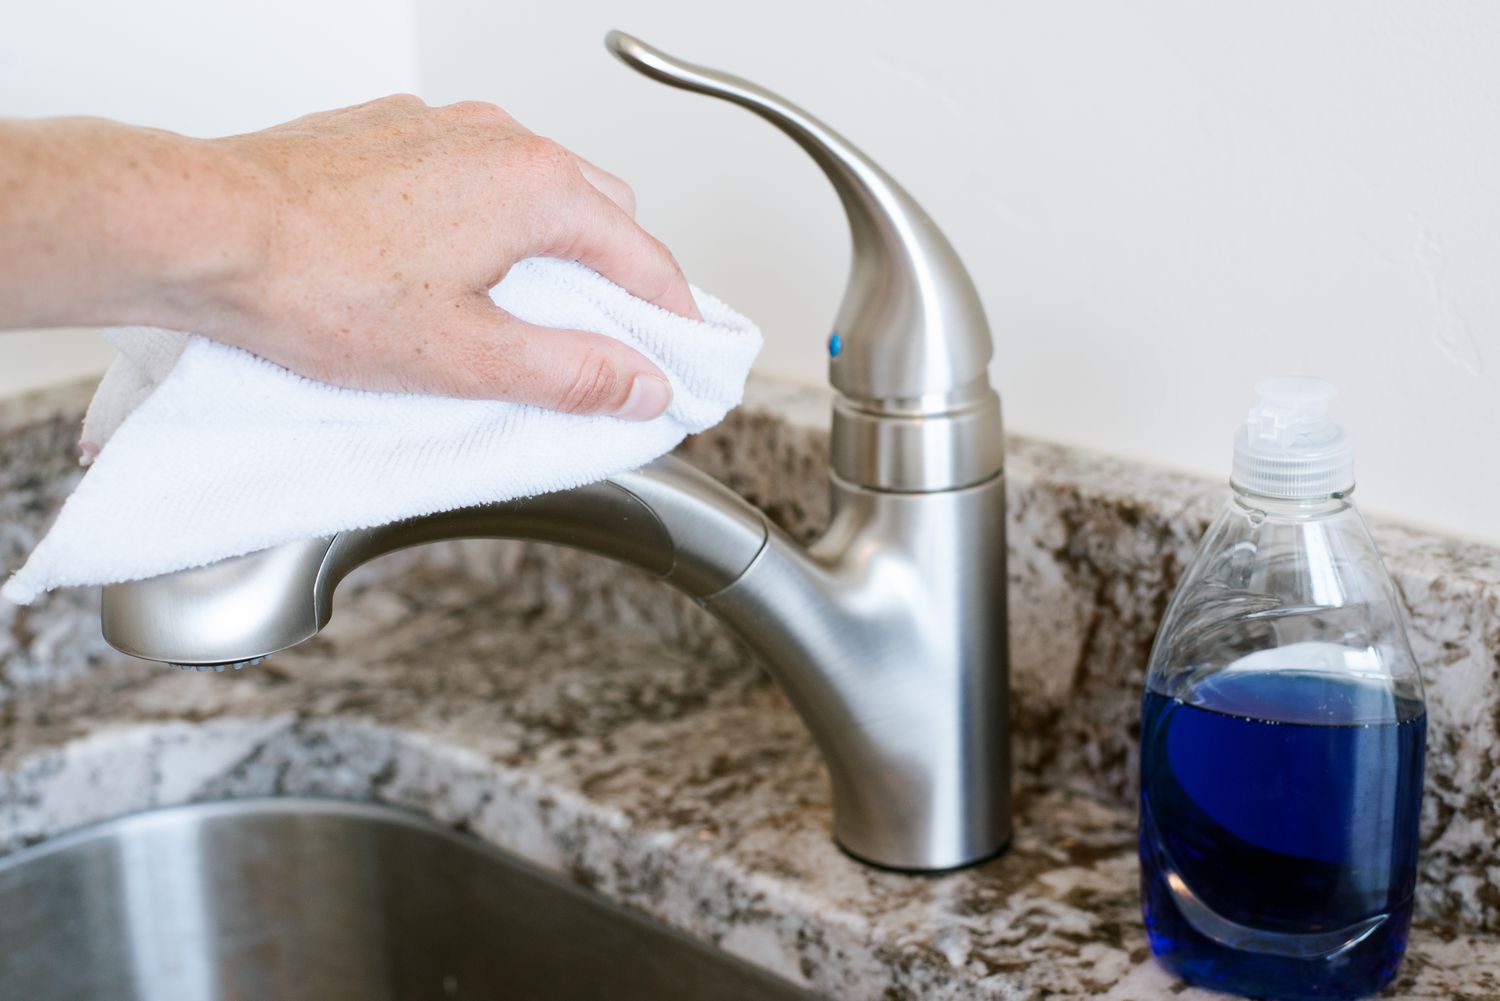
Step 5: Clean Other Parts of the Faucet
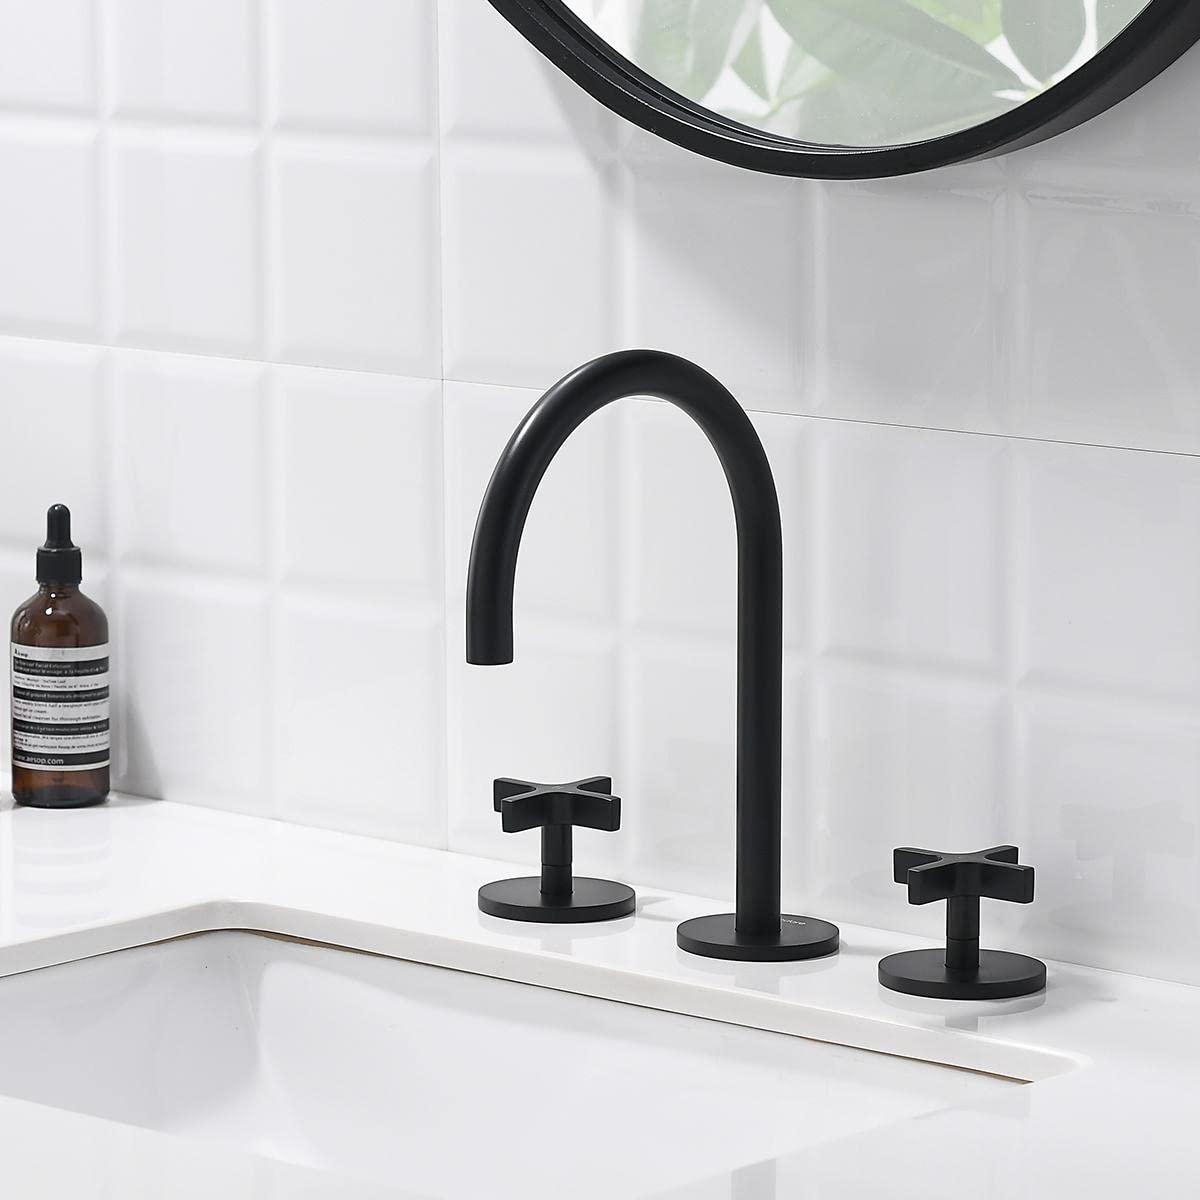
While cleaning the aerator is a crucial step in removing black gunk from your faucet, it’s important not to overlook other parts of the faucet that may also be affected by buildup. The handles, spout, and other areas can accumulate dirt, grime, and residue over time.
Here’s how you can clean the other parts of the faucet:
- Prepare a mild solution of dish soap and water in a small bowl or container.
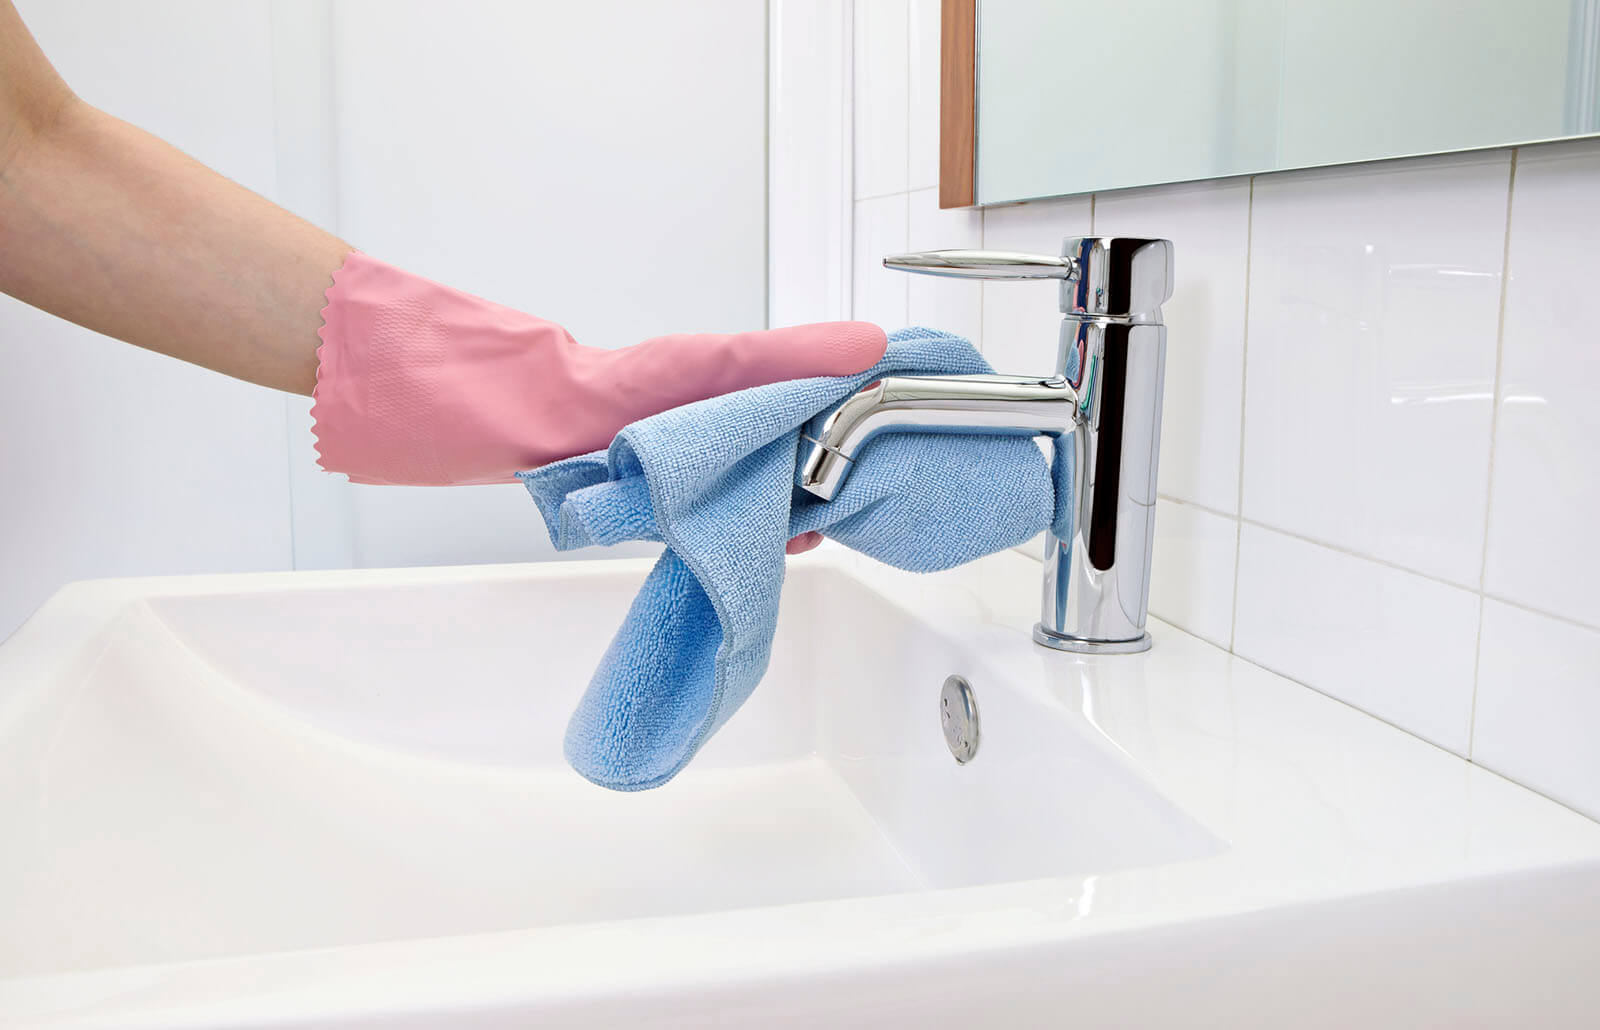
- Dip a soft cloth or sponge into the soapy water and wring it out to remove excess moisture.
- Gently scrub the handles, spout, and any other areas of the faucet that may have black gunk or residue. Ensure that you reach all the nooks and crannies for a thorough clean.
- Rinse the faucet with clean water to remove any soap residue.
- Using a dry cloth or paper towel, wipe the faucet dry to prevent water spots and promote a shiny finish.
By cleaning the other parts of the faucet, you not only ensure a complete removal of the black gunk but also maintain the overall cleanliness and appearance of the faucet.
With the faucet now thoroughly cleaned, it’s important to consider steps to prevent future black gunk buildup. We’ll discuss these prevention strategies in the next step.
Step 6: Preventing Black Gunk Buildup
Now that you have successfully cleaned the black gunk from your faucet, it’s important to implement preventive measures to avoid future buildup. By taking a few simple steps, you can keep your faucet clean and functioning optimally for an extended period. Here are some preventive measures to consider:
- Regular cleaning: Make it a habit to clean your faucet regularly. Wipe down the handles, spout, and other areas with a mild solution of dish soap and water to remove any dirt or grime that may accumulate.
- Use a water softener: If you have hard water, consider installing a water softener. A water softener helps reduce the mineral content in the water, minimizing the chances of scaling and black gunk buildup.
- Flush the faucet regularly: Routinely flush your faucet by running hot water through it for a few minutes. This helps remove any stagnant water and prevents bacterial growth.
- Install a water filter: Consider installing a water filter on your faucet. A water filter helps remove impurities and contaminants from the water, which can contribute to black gunk buildup.
- Keep the faucet dry: After each use, wipe the faucet dry with a cloth or paper towel. This prevents water spots and reduces the chances of grime accumulating on the surface.
Following these preventive measures will significantly reduce the likelihood of black gunk buildup in your faucet. By staying proactive, you can enjoy clean and efficient faucets for a longer time.
With these steps completed, you’ve successfully learned how to remove black gunk from faucets and prevent future buildup. By taking the time to regularly clean and maintain your faucets, you can ensure they look great and function flawlessly for years to come. Congratulations on a job well done!
If you have any further questions or concerns about cleaning and maintaining your faucets, consult with a professional plumber for expert advice.
Read more: How To Clean A Black Cooktop
Conclusion
Cleaning black gunk from your faucets is a straightforward process that can significantly improve their appearance and performance. By following the steps outlined in this guide and utilizing the necessary tools and materials, you can easily remove the buildup of black gunk and restore your faucets to their former glory.
Remember that hard water, mold and mildew, stagnant water, and poor cleaning habits are common causes of black gunk in faucets. Understanding these causes will help you take proactive measures to prevent future buildup and keep your faucets clean.
Throughout the cleaning process, it’s important to use the appropriate tools and materials, such as an adjustable wrench or pliers, white vinegar, a small bowl or container, a toothbrush or small brush, and mild dish soap. These items will help you effectively tackle the black gunk and ensure a thorough cleaning.
In addition to cleaning the aerator, don’t forget to address other parts of the faucet, such as the handles and spout, to maintain overall cleanliness. Regular maintenance and preventive measures, such as regular cleaning, using a water softener, flushing the faucet, and keeping it dry, will help minimize future black gunk buildup.
By taking the time to clean your faucets and implementing preventive measures, you can enjoy clean, attractive, and efficiently functioning faucets for years to come.
Thank you for following our guide on how to clean black gunk from faucets. We hope this information has been helpful and that your faucets shine brightly like new!
Keeping your home in tip-top shape is easier than you might think! For those looking to extend their DIY skills beyond the faucet, learning about routine home maintenance can save you headaches and money. If your kitchen appliances need attention, don't miss our cleaning hacks for ovens that ensure a spotless appliance with minimal fuss. And for areas demanding frequent care, our guide on bathroom cleaning provides expert advice to keep your washroom sparkling and sanitary. Dive into these resources to keep every corner of your home looking great!
Frequently Asked Questions about How To Clean Black Gunk From Faucet
Was this page helpful?
At Storables.com, we guarantee accurate and reliable information. Our content, validated by Expert Board Contributors, is crafted following stringent Editorial Policies. We're committed to providing you with well-researched, expert-backed insights for all your informational needs.


0 thoughts on “How To Clean Black Gunk From Faucet”