Articles
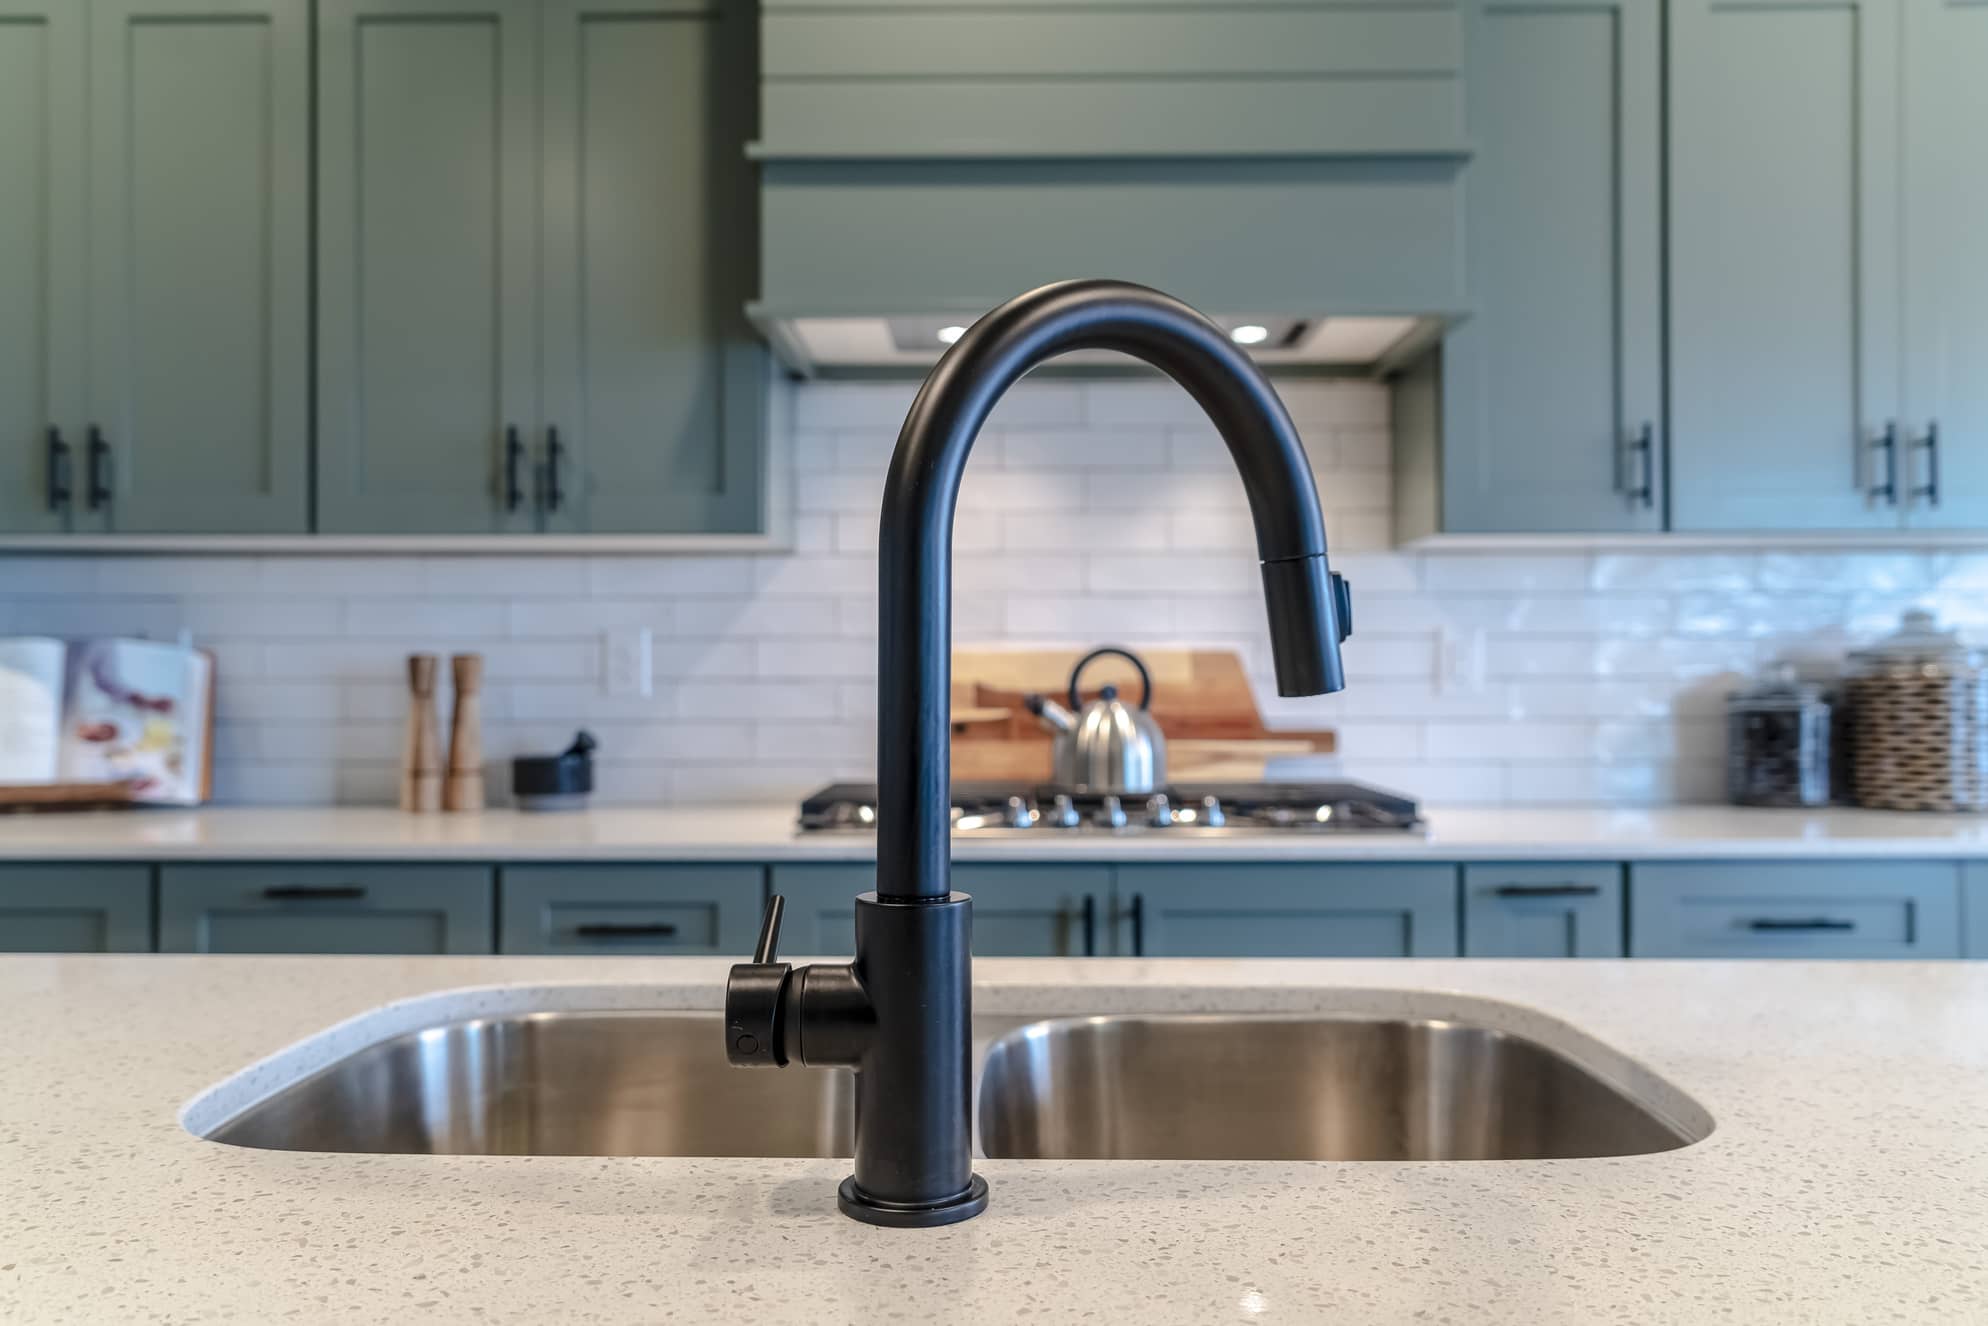
How To Clean Moen Kitchen Faucet
Modified: October 28, 2024
Discover effective techniques and step-by-step guides in our collection of articles on how to clean a Moen kitchen faucet.
(Many of the links in this article redirect to a specific reviewed product. Your purchase of these products through affiliate links helps to generate commission for Storables.com, at no extra cost. Learn more)
Introduction
Cleaning your Moen kitchen faucet is an essential task to keep it functioning properly and maintain its appearance. Over time, mineral deposits, debris, and grime can build up on various parts of the faucet, affecting its performance and aesthetic appeal. By regularly cleaning your Moen kitchen faucet, you can ensure a smooth water flow, prevent leaks, and prolong the lifespan of the faucet.
In this article, we will guide you through the step-by-step process of cleaning your Moen kitchen faucet. We will discuss the tools and materials you will need, as well as provide detailed instructions on how to disassemble, clean, and reassemble the different components of the faucet. So, let’s dive in and get your Moen kitchen faucet looking and functioning like new!
Key Takeaways:
- Regularly cleaning your Moen kitchen faucet with simple tools and materials can ensure smooth water flow, prevent leaks, and extend its lifespan, keeping it looking and functioning like new.
- By following the step-by-step process of disassembling, cleaning, and reassembling your Moen kitchen faucet, you can easily maintain its optimal performance, prevent clogs, and enhance its aesthetic appeal.
Read more: How To Remove A Moen Kitchen Faucet
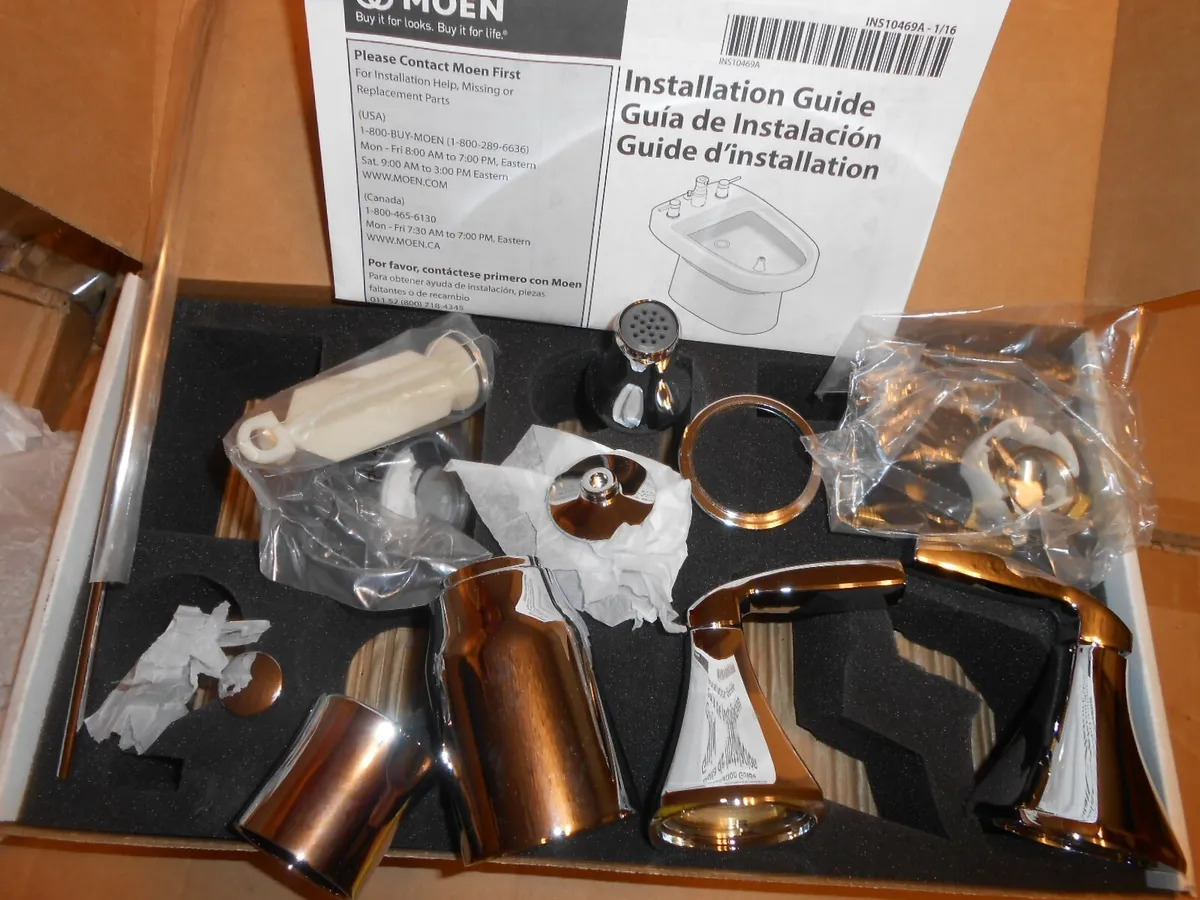
Tools and Materials Needed
Before you begin cleaning your Moen kitchen faucet, gather the following tools and materials:
- A wrench or pliers
- A soft cloth or sponge
- A small brush or toothbrush
- Vinegar or a mild dish soap
- A bowl or container
- Old toothpicks or a small wire brush
Having these tools and materials ready will make the cleaning process easier and more efficient. Now let’s move on to the step-by-step instructions on how to clean your Moen kitchen faucet.
Step 1: Shut off the Water Supply
Before you start cleaning your Moen kitchen faucet, it’s important to shut off the water supply to avoid any accidental leaks or water wastage. Locate the water shut-off valves under the sink and turn them clockwise until they are fully closed.
If you can’t find the shut-off valves or if they are not functioning properly, you may need to turn off the main water supply to your home. This can usually be done at the water meter or the main shut-off valve, which is typically located in the basement or near the water heater.
Ensure that the water supply is completely shut off before proceeding to the next steps. This will prevent any water flow while you disassemble and clean the faucet, reducing the risk of getting wet or causing damage to the surrounding area.
Once you’ve shut off the water supply, you can proceed to the next step of disassembling the Moen kitchen faucet for thorough cleaning.
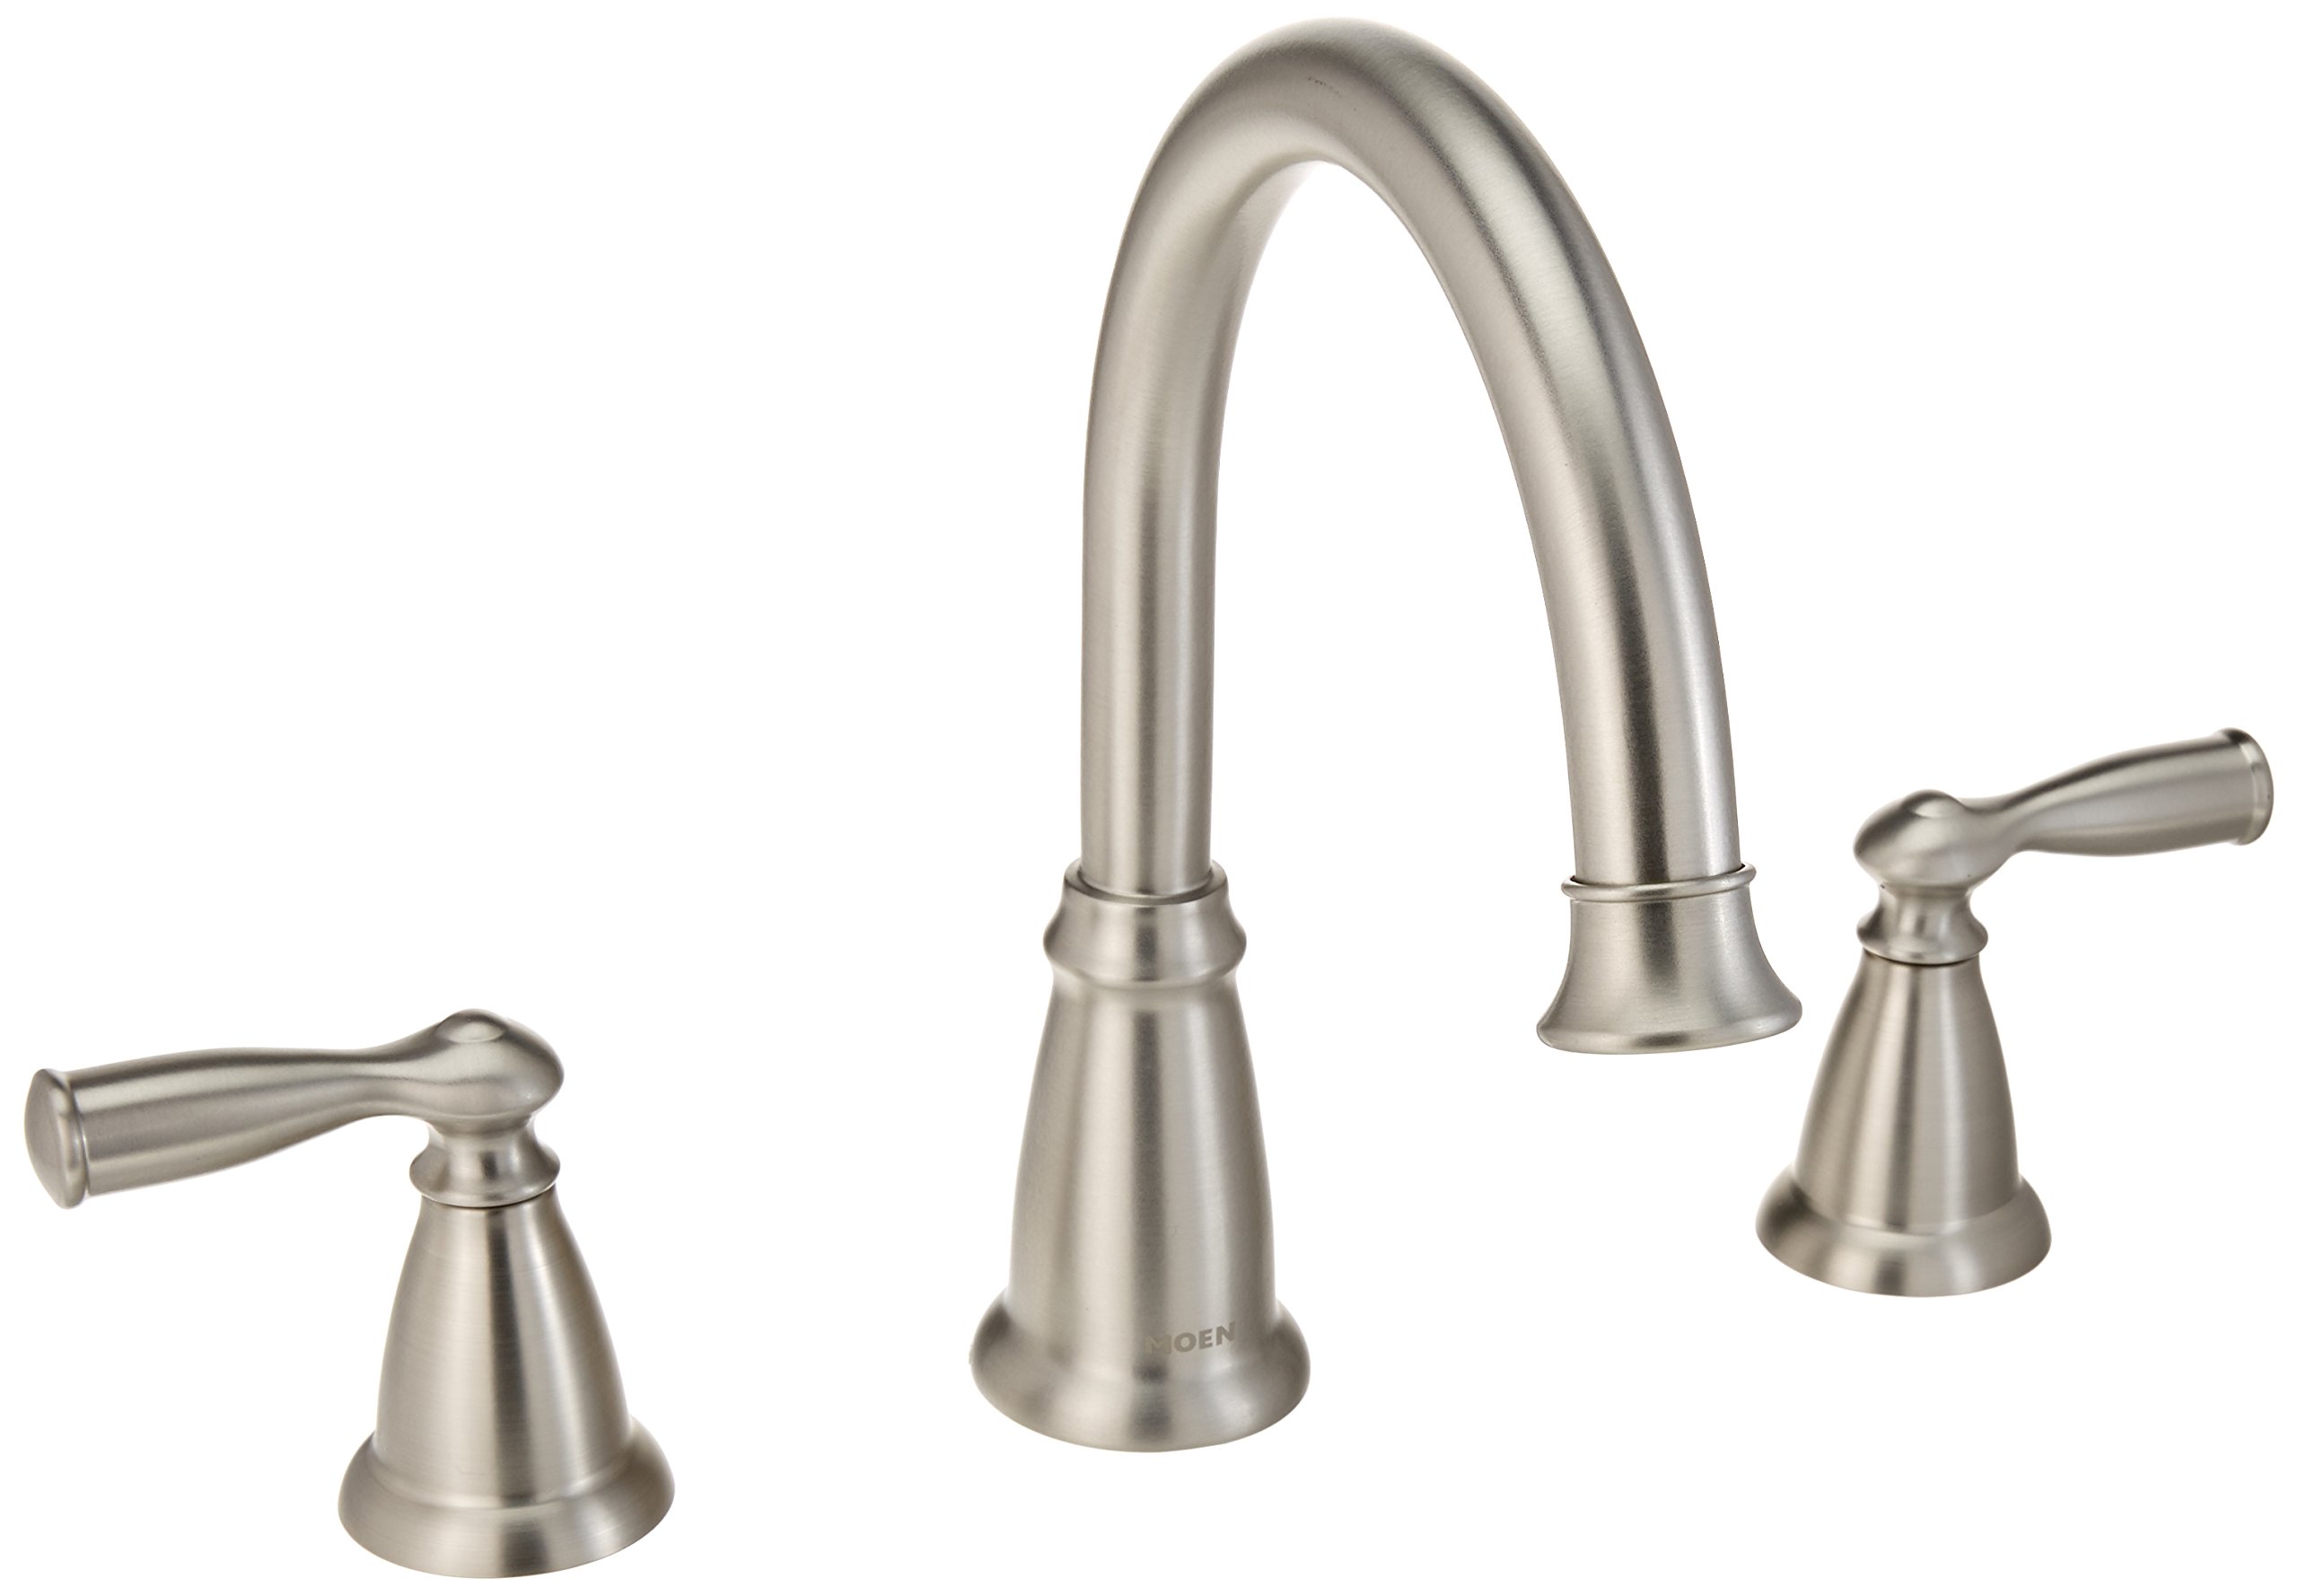
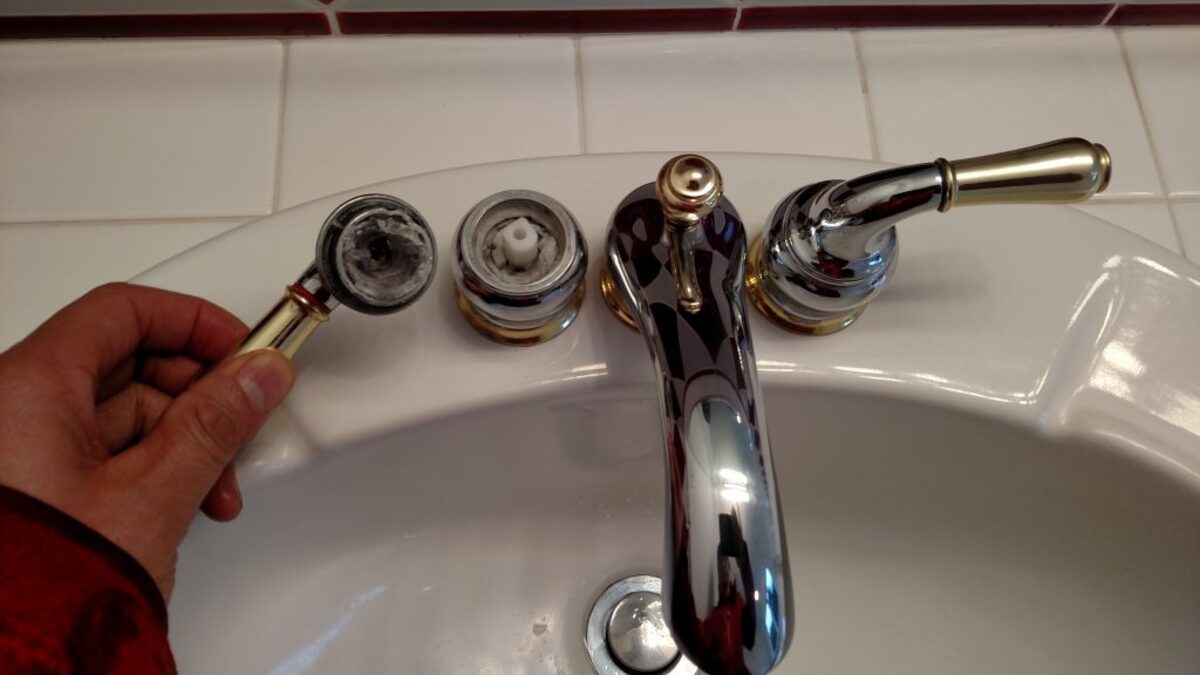
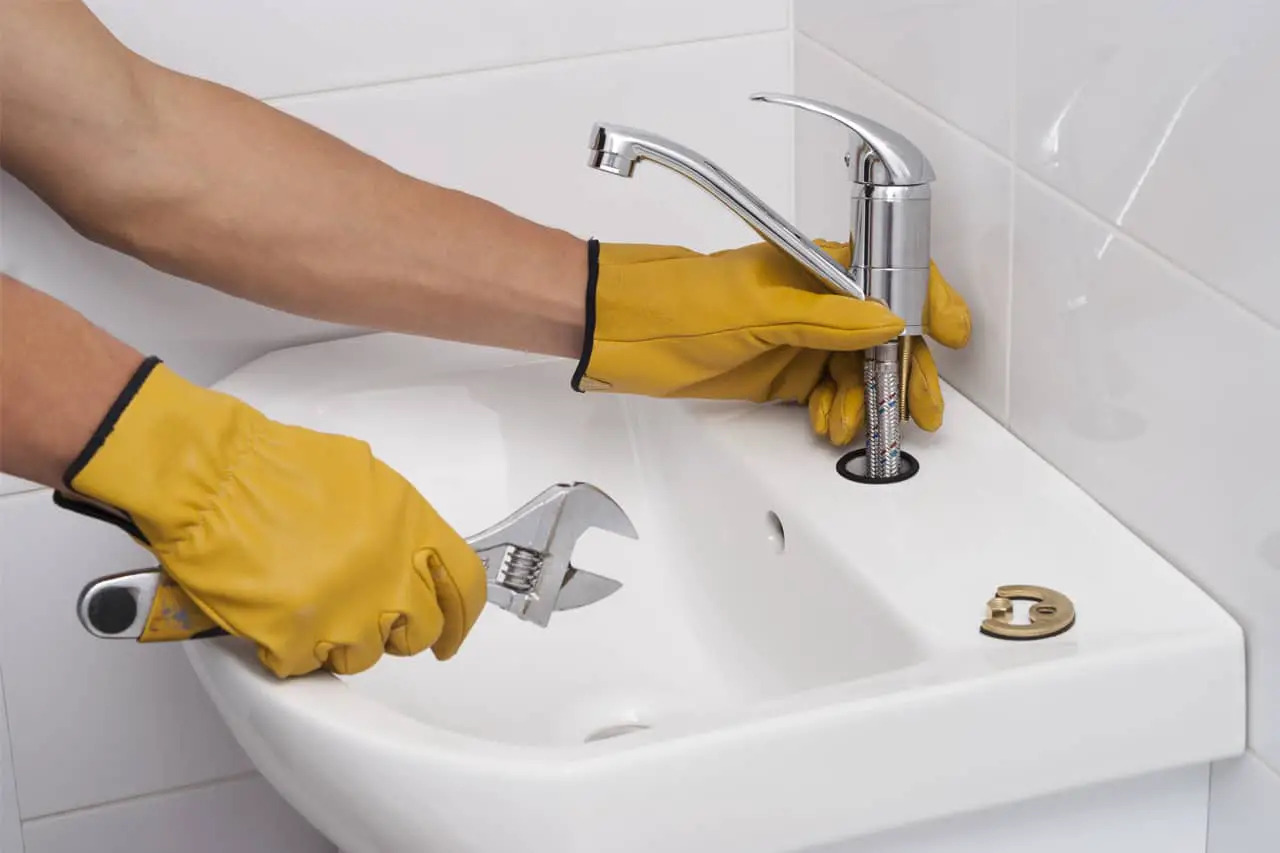
Step 2: Disassemble the Faucet
To properly clean your Moen kitchen faucet, you’ll need to disassemble it. Follow these steps to disassemble the faucet:
- Start by locating the handle of your faucet. This is typically located on top or at the side of the faucet head.
- Using a wrench or pliers, loosen the screw or nut holding the handle in place. Once loose, carefully remove the handle.
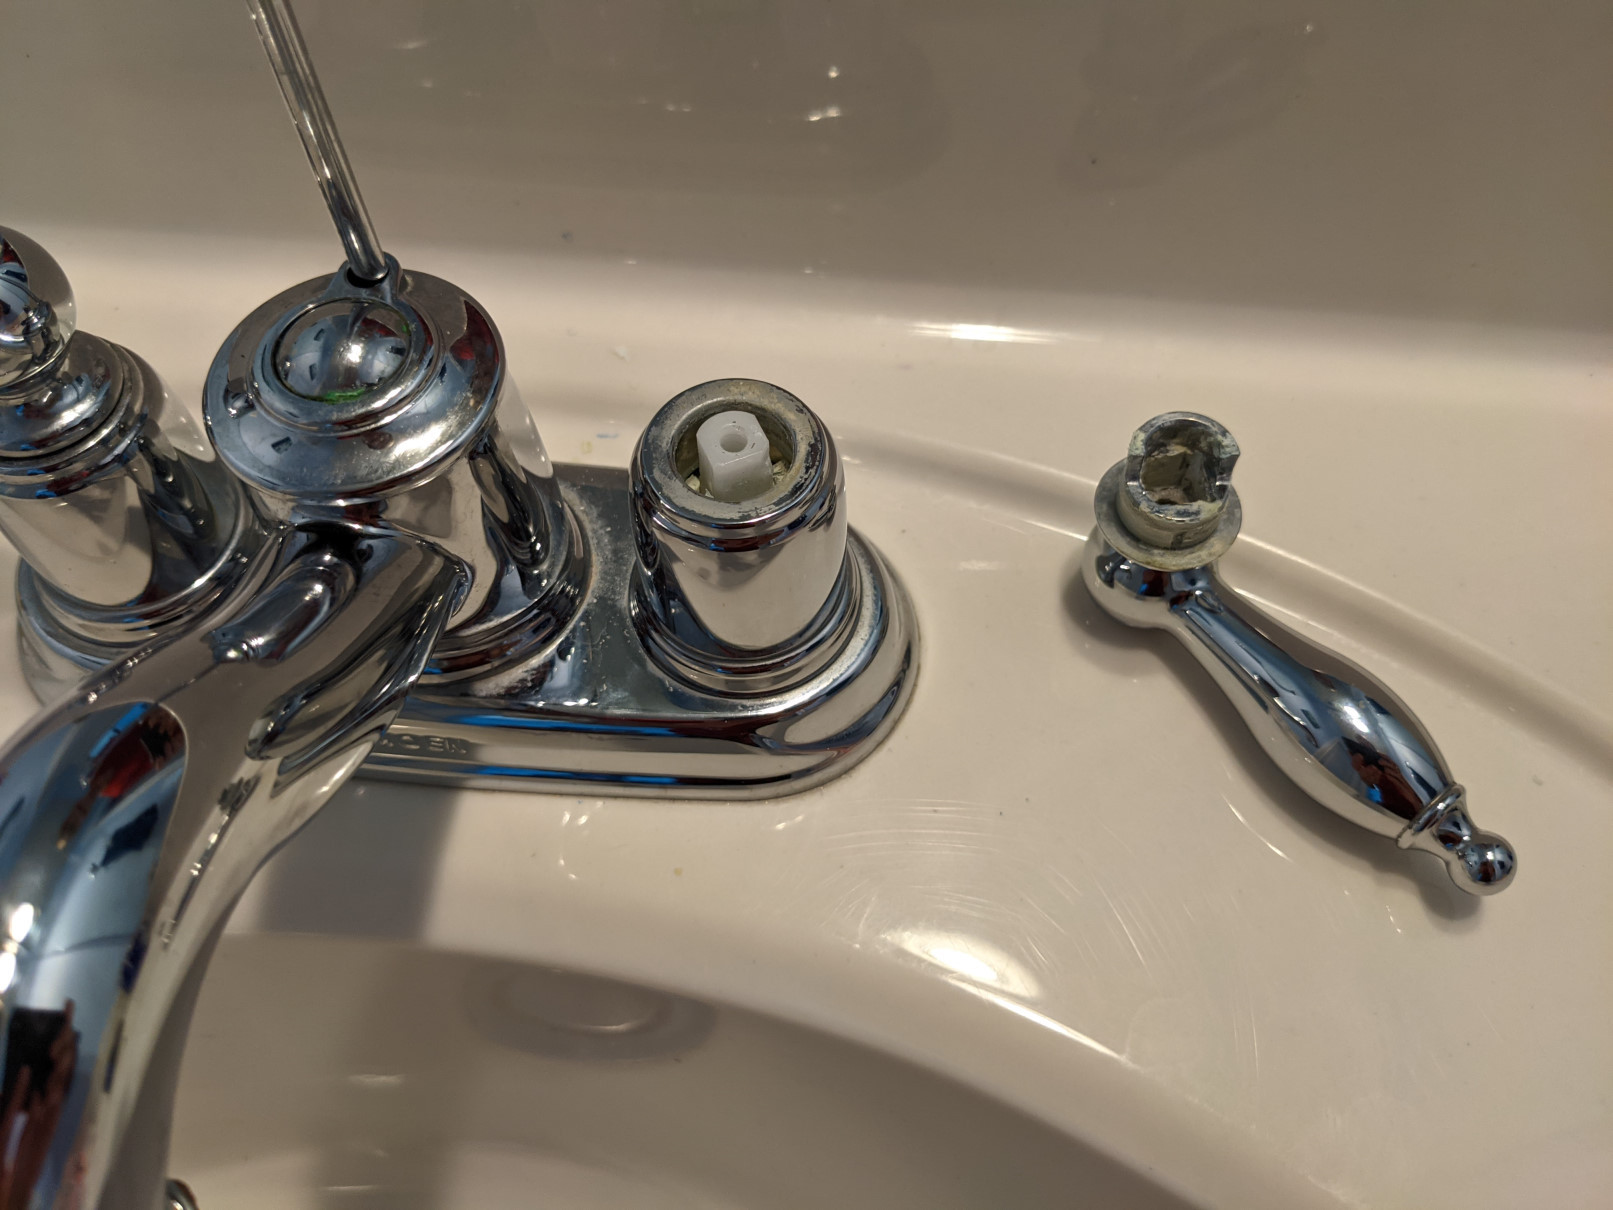
- Next, locate the retaining clip or nut that holds the cartridge in place. Depending on the model of your Moen faucet, you may need to use pliers or a cartridge removal tool to remove it. Once removed, set it aside.
- Once the retaining clip or nut is removed, gently pull out the cartridge from the faucet body. Be cautious not to damage the cartridge or any surrounding components.
- Take note of the order in which you disassemble the faucet components. This will make reassembly easier later on.
By disassembling the faucet, you’ll be able to access the different parts that may have accumulated dirt, grime, or mineral deposits. The next steps will focus on cleaning these components to restore the functionality and appearance of your Moen kitchen faucet.
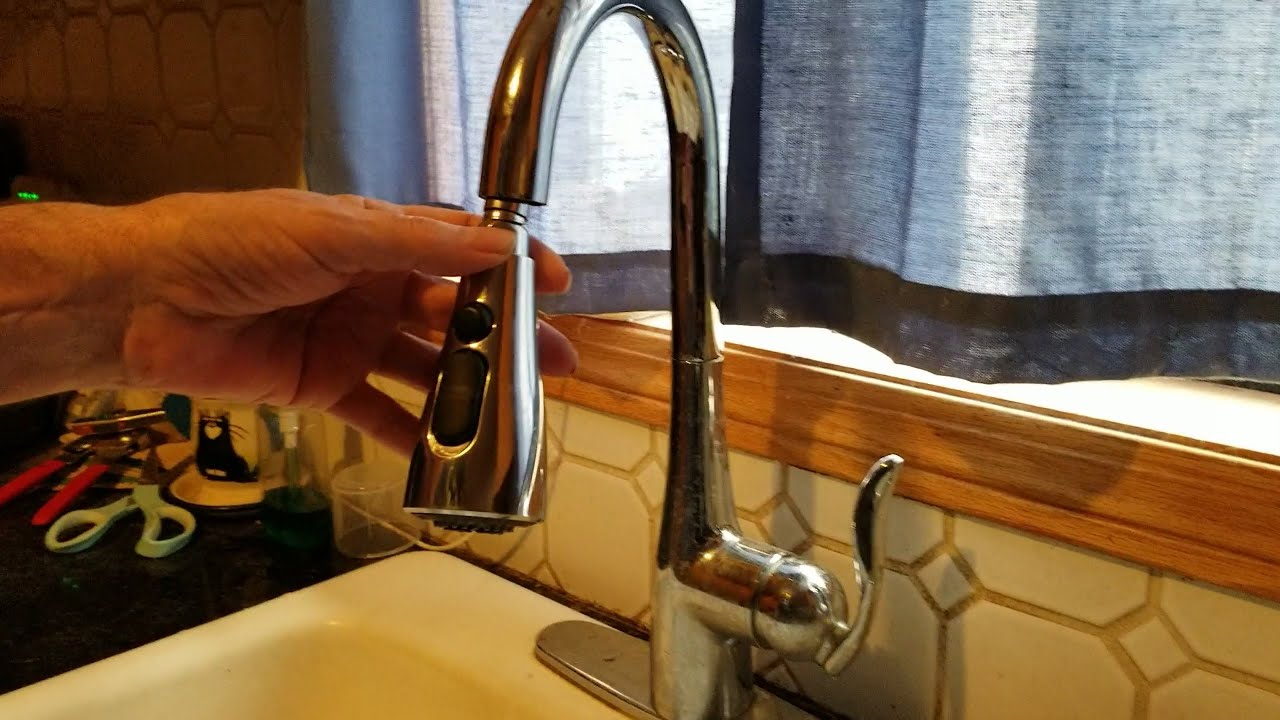
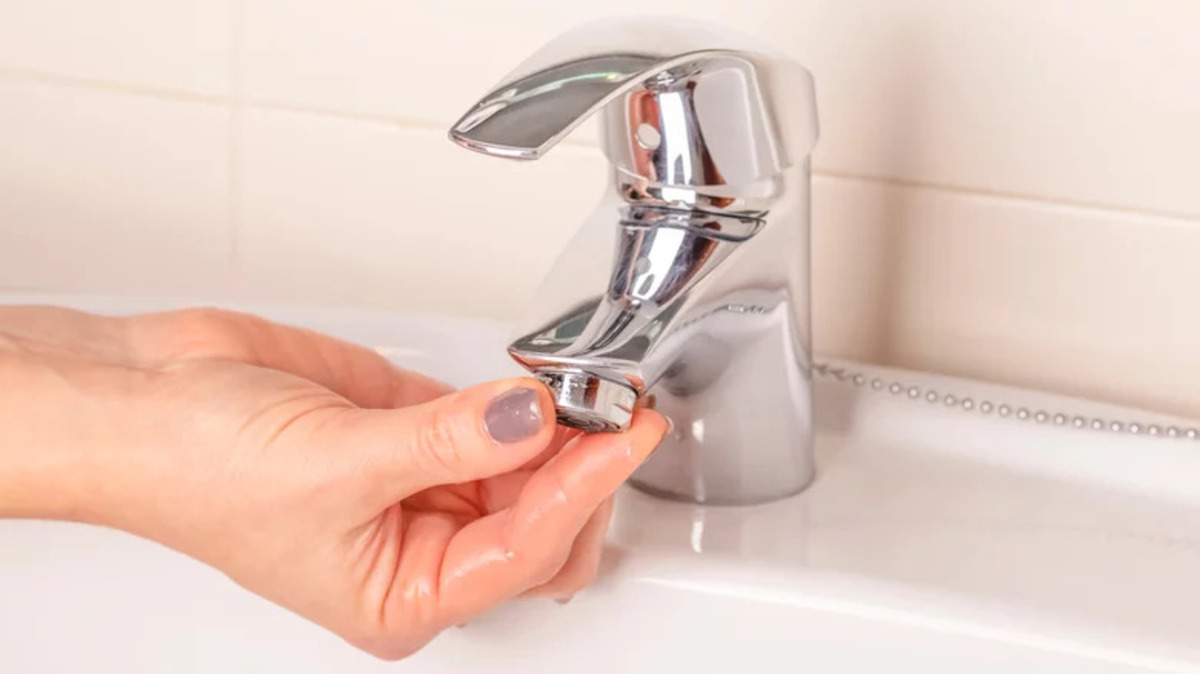
Step 3: Clean the Aerator
The next component to clean is the aerator, which is located at the end of the faucet spout. The aerator helps to regulate the water flow and can become clogged with mineral deposits over time. To clean the aerator, follow these steps:
- Twist the aerator counterclockwise to unscrew it from the faucet spout. If it’s stuck, you can use pliers with a cloth or tape around the aerator to protect it from scratches.
- Once removed, disassemble the aerator by unscrewing the different components. Take note of the order in which you remove the parts to simplify reassembly later.
- Place the aerator parts in a bowl or container filled with vinegar or a mixture of warm water and mild dish soap. Let them soak for about 15-20 minutes. Vinegar helps to dissolve mineral deposits, while dish soap helps to remove grime and dirt.
- After soaking, use an old toothbrush or a small brush to gently scrub each component of the aerator. Pay close attention to any clogged holes or buildup on the screens or washers.
- Rinse each part thoroughly with water to remove any residue or cleaning solution. Inspect each component for any remaining debris or mineral deposits. If necessary, continue scrubbing until they are clean.
- Once all the parts are clean, reassemble the aerator in the reverse order to how you disassembled it. Make sure each piece is properly aligned and tightened.
- Finally, screw the aerator back onto the faucet spout by twisting it clockwise. Use your hand or pliers (with a cloth or tape) to ensure a tight and secure fit.
Cleaning the aerator will help restore a smooth water flow and prevent any potential clogs or water pressure issues. Continue to the next step for cleaning the cartridge and other parts of your Moen kitchen faucet.
To clean a Moen kitchen faucet, mix equal parts of water and white vinegar in a spray bottle. Spray the faucet and let it sit for a few minutes, then wipe it down with a soft cloth. This will help remove any mineral deposits and keep your faucet looking shiny and new.
Read more: How To Repair A Moen Shower Faucet
Step 4: Clean the Cartridge
The cartridge is a vital component of your Moen kitchen faucet, responsible for controlling the water flow and temperature. Over time, the cartridge can become clogged or develop mineral deposits that affect its performance. Follow these steps to clean the cartridge:
- Inspect the cartridge for any visible debris or mineral buildup. If you notice any, use a soft cloth or sponge to gently wipe off the surface.
- If the cartridge is heavily clogged or has stubborn mineral deposits, you may need to soak it in a container filled with vinegar. Ensure that the cartridge is completely submerged in the vinegar and let it soak for about 30 minutes to an hour.
- After soaking, use a soft brush or toothbrush to scrub the cartridge gently. Pay attention to any grooves or crevices where debris may be lodged.
- Rinse the cartridge thoroughly with water to remove any vinegar or loose debris. Inspect it to ensure all the buildup has been removed.
- Before reassembling the faucet, it’s a good idea to lubricate the cartridge with silicone grease. Apply a thin layer of grease to the O-rings and other moving parts of the cartridge to ensure smooth operation.
Cleaning the cartridge is crucial for maintaining the functionality and performance of your Moen kitchen faucet. Once the cartridge is clean and lubricated, continue to the next step to clean the other parts of the faucet.
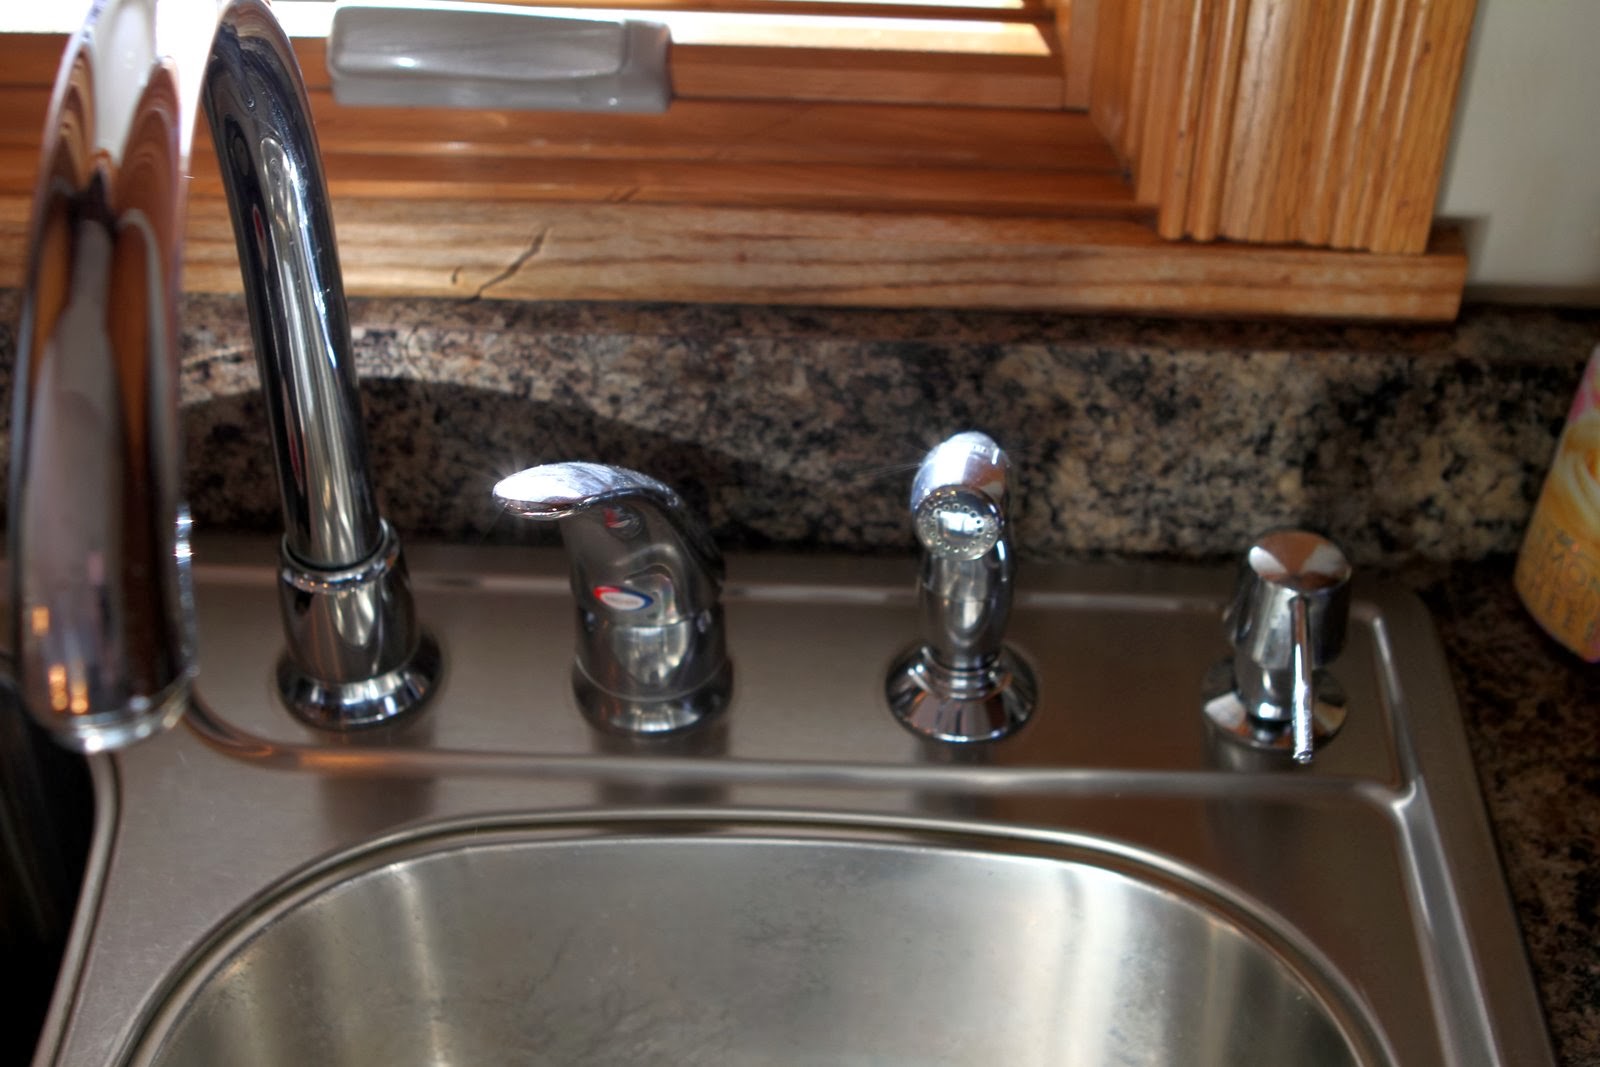
Step 5: Clean the Other Parts
In addition to the aerator and cartridge, there are other parts of your Moen kitchen faucet that may require cleaning. These include the faucet body, spout, handle, and any other visible components. Follow these steps to clean the other parts:
- Start by using a soft cloth or sponge soaked in warm water and mild dish soap to wipe down the faucet body, handle, and spout. Remove any dirt, grime, or fingerprints.
- If there are stubborn stains or mineral deposits, you can apply vinegar directly to the affected areas. Let it sit for a few minutes to break down the buildup.
- Gently scrub the stained or affected areas using a soft brush or sponge. Be cautious not to scratch or damage the surface of the faucet.
- Rinse the parts thoroughly with water to remove any cleaning solution or residue. Wipe them dry with a clean cloth to prevent water spots.
- For any hard-to-reach areas or small crevices, you can use an old toothbrush or a small wire brush to remove any leftover debris.
By cleaning all the visible parts of your Moen kitchen faucet, you can ensure that it not only functions properly but also looks its best. Once the other parts are clean and dry, you can proceed to the next step for reassembling the faucet.
Step 6: Reassemble the Faucet
Now that you have cleaned all the individual components of your Moen kitchen faucet, it’s time to reassemble them. Follow these steps to ensure a proper reassembly:
- Starting with the cartridge, carefully insert it back into the faucet body. Ensure that it is aligned properly and fully seated.
- Next, reattach the retaining clip or nut that holds the cartridge in place. Use pliers or a cartridge removal tool (if necessary) to tighten it securely.
- Proceed to reattach the handle. Align the handle with the mounting hole and tighten the screw or nut according to the manufacturer’s instructions. Ensure that the handle is secure and doesn’t wobble.
- If you have removed the aerator, now is the time to reattach it to the faucet spout. Simply twist it clockwise until it is snug and secure.
Double-check all the connections and make sure that everything is properly fastened and aligned. This will prevent any leaks or malfunctions when you turn the water supply back on.
With the faucet reassembled, you are almost done. The final step is to turn the water supply back on and test the faucet for any leaks or issues.
Step 7: Turn on the Water Supply
After successfully reassembling your Moen kitchen faucet, it’s time to turn on the water supply and test the faucet for any leaks or issues. Follow these steps to turn on the water supply:
- Locate the shut-off valves under the sink. These are the same valves you turned off in Step 1 to shut off the water supply.
- Slowly turn the shut-off valves counterclockwise to gradually open the water supply. This will ensure a smooth transition and prevent any sudden water pressure surges.
- Once the water supply is fully opened, check the faucet for any leaks. Inspect the handle, spout, and the area around the cartridge for any signs of water dripping or pooling.
- If you notice any leaks, tighten the connections or replace any faulty seals or washers as needed. It’s important to address leaks promptly to prevent water damage and ensure proper faucet performance.
- Once you have confirmed that there are no leaks, turn on both hot and cold water faucets to test the water flow and temperature. Ensure that the water flows smoothly and that the temperature is being regulated properly.
If everything is functioning correctly, congratulations! You have successfully cleaned and reassembled your Moen kitchen faucet. Enjoy the improved performance and renewed appearance of your faucet.
Regularly cleaning your Moen kitchen faucet will help maintain its functionality and extend its lifespan. Consider incorporating this cleaning process into your regular home maintenance routine to keep your faucet in top shape for years to come.
Remember to consult the manufacturer’s instructions specific to your Moen kitchen faucet model for any additional steps or specific cleaning recommendations.
Read more: How To Fix A Moen Kitchen Faucet
Conclusion
Cleaning your Moen kitchen faucet is an essential maintenance task that helps to keep it functioning properly and looking its best. By following the step-by-step process outlined in this article, you can easily clean and maintain your faucet to ensure optimal performance and longevity.
We started by shutting off the water supply to avoid any accidents and then proceeded to disassemble the faucet, including removing the handle and cartridge. We then focused on cleaning the individual components, such as the aerator and cartridge, to remove mineral deposits, debris, and grime.
After thorough cleaning, we reassembled the faucet, making sure all the connections were secure. Finally, we turned on the water supply and tested the faucet for any leaks or issues, ensuring proper water flow and temperature regulation.
Regularly cleaning your Moen kitchen faucet not only enhances its performance but also enhances its aesthetic appeal. By removing mineral deposits and other buildup, you can prevent clogs, improve water flow, and extend the lifespan of your faucet.
Remember to consult the manufacturer’s instructions specific to your Moen kitchen faucet model for any additional cleaning recommendations or maintenance tips.
By taking the time to clean your Moen kitchen faucet, you can enjoy the benefits of a well-maintained and reliable faucet in your daily kitchen routines. So don’t delay, gather your tools and materials, and start cleaning your Moen kitchen faucet today!
Frequently Asked Questions about How To Clean Moen Kitchen Faucet
Was this page helpful?
At Storables.com, we guarantee accurate and reliable information. Our content, validated by Expert Board Contributors, is crafted following stringent Editorial Policies. We're committed to providing you with well-researched, expert-backed insights for all your informational needs.


0 thoughts on “How To Clean Moen Kitchen Faucet”