
Articles
How To Remove A Delta Kitchen Faucet
Modified: May 6, 2024
Learn how to remove a Delta kitchen faucet easily with step-by-step instructions and expert tips. Find helpful articles to guide you through the process and complete the task efficiently.
(Many of the links in this article redirect to a specific reviewed product. Your purchase of these products through affiliate links helps to generate commission for Storables.com, at no extra cost. Learn more)
Introduction
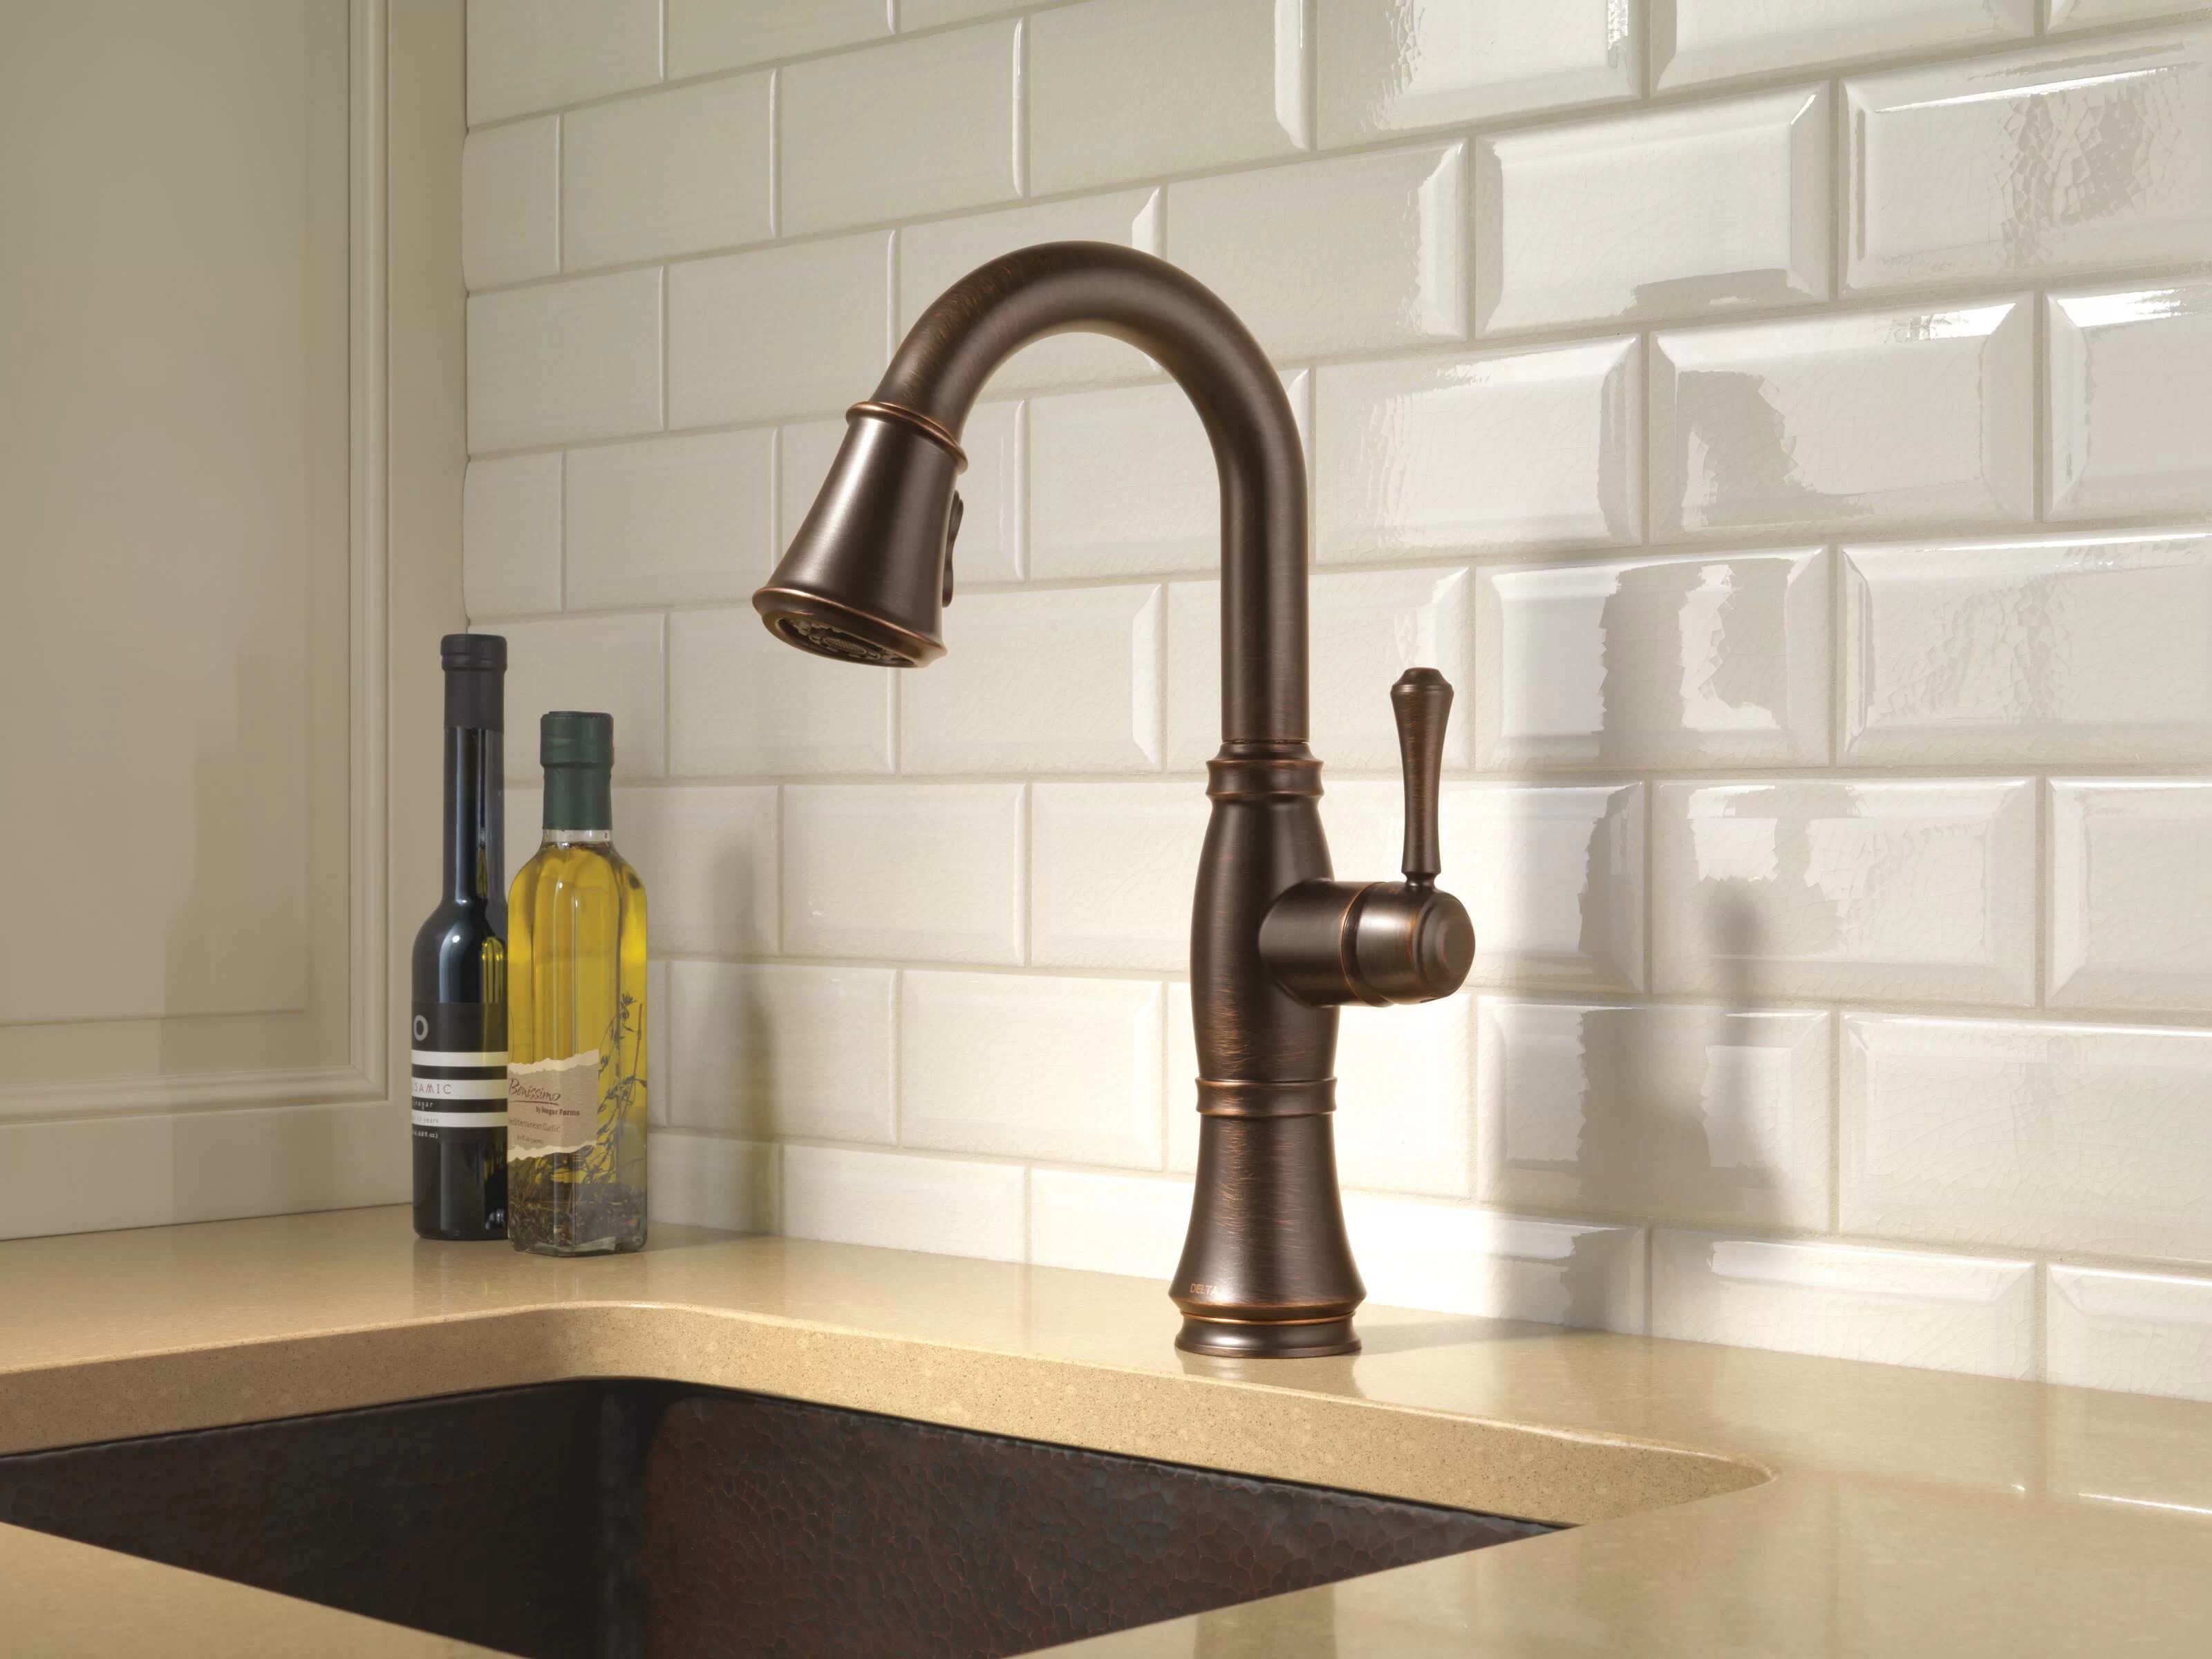
Removing a Delta kitchen faucet can be a daunting task if you’re not familiar with the process. Whether you’re upgrading your kitchen decor or replacing a faulty faucet, knowing how to safely remove a Delta kitchen faucet is essential. By following a few simple steps, you’ll be able to successfully remove your Delta kitchen faucet and complete your plumbing project with ease.
In this article, we will guide you through each step of the process, from gathering the necessary tools and materials to safely disconnecting the faucet and removing it from your sink. We will also provide some additional information on how to install a new faucet if you choose to do so.
Before you begin, make sure you have a basic understanding of plumbing systems and are familiar with using tools such as a wrench, pliers, and screwdriver. It’s also important to turn off the water supply before starting any work to prevent any potential leaks or accidents.
Now, let’s get started on removing your Delta kitchen faucet!
Key Takeaways:
- Removing a Delta kitchen faucet requires gathering tools, turning off the water supply, disconnecting water lines, and unscrewing the mounting nut. Reassembly and optional installation of a new faucet complete the process.
- Successfully removing and reassembling a Delta kitchen faucet can be a manageable DIY task with the right tools and careful steps. It’s an opportunity to upgrade the functionality and aesthetics of your kitchen space.
Read more: How To Remove Delta Faucet Handle
Step 1: Gather the necessary tools and materials
Before you can begin removing your Delta kitchen faucet, you’ll need to gather the appropriate tools and materials. Having everything on hand will make the process much smoother and save you time in the long run. Here’s a list of what you’ll need:
- Adjustable wrench
- Plumber’s tape
- Pliers
- Screwdriver (flathead or Phillips, depending on the faucet)
- Bucket or towel to catch any water drips
- New faucet (optional, if you plan to replace it)
The adjustable wrench will come in handy for loosening and tightening nuts and bolts, while the pliers will be useful for gripping and twisting parts. The screwdriver will be needed to remove any screws holding the faucet in place.
Plumber’s tape, also known as Teflon tape, is an essential material to have on hand. It helps create a tight seal and prevents leaks when reconnecting the water supply lines. Make sure to use a high-quality plumber’s tape for best results.
Having a bucket or towel nearby is important to catch any water that may drip or spill during the removal process. This will help prevent any damage to your countertops or kitchen floor.
If you plan to replace your Delta kitchen faucet with a new one, make sure you have the new faucet ready to go. This includes all the necessary parts and components, such as the faucet itself, handles, spout, and any additional features or accessories.
Once you have gathered all the tools and materials, you’re ready to move on to the next step: turning off the water supply.
Step 2: Turn off the water supply
Before you begin removing your Delta kitchen faucet, it’s crucial to turn off the water supply. This step will ensure that no water is flowing through the faucet while you work, preventing any potential accidents or water damage.
To turn off the water supply, locate the shut-off valves under your sink. These valves are typically located on the hot and cold water supply lines leading to the faucet. They are usually small, cylindrical valves with a lever or handle that can be turned clockwise to shut off the water.
Once you’ve located the shut-off valves, use an adjustable wrench to turn the handles or levers clockwise until they are fully closed. This will shut off the water supply to your Delta kitchen faucet.
After turning off the water supply, it’s a good idea to test the faucet to make sure there is no water flow. Turn on the faucet handles to both the hot and cold settings to release any residual water in the lines. If no water comes out, you have successfully turned off the water supply.
If you experience any difficulty turning off the shut-off valves or notice any leaks, it’s best to consult a professional plumber for assistance. They will be able to identify the issue and make any necessary repairs before you proceed with removing the faucet.
Now that the water supply is turned off, you’re ready to move on to the next step: disconnecting the water supply lines.
Step 3: Disconnect the water supply lines
With the water supply turned off, it’s time to disconnect the water supply lines from your Delta kitchen faucet. This step will allow you to remove the faucet without any obstructions.
Start by placing a bucket or towel under the sink to catch any water that may still be in the lines. This will help prevent any mess or damage to your kitchen.
Locate the water supply lines connected to the bottom of the faucet. There will be one for hot water and one for cold water. These lines are usually made of flexible tubing and are connected to the faucet with nuts or connectors.
Use an adjustable wrench to loosen and remove the nuts or connectors securing the water supply lines to the faucet. Turn the nuts counterclockwise until they are loose enough to be removed by hand. You may need to use pliers or a wrench if the nuts are tightly secured.
Once the nuts are removed, gently pull the water supply lines away from the faucet. Be careful not to twist or bend the lines too much, as this can cause damage or leaks.
After the water supply lines are disconnected, inspect them for any signs of wear or damage. If you notice any cracks, kinks, or other issues, it’s a good idea to replace them before installing a new faucet.
With the water supply lines disconnected, you can now move on to the next step: removing the faucet handle.
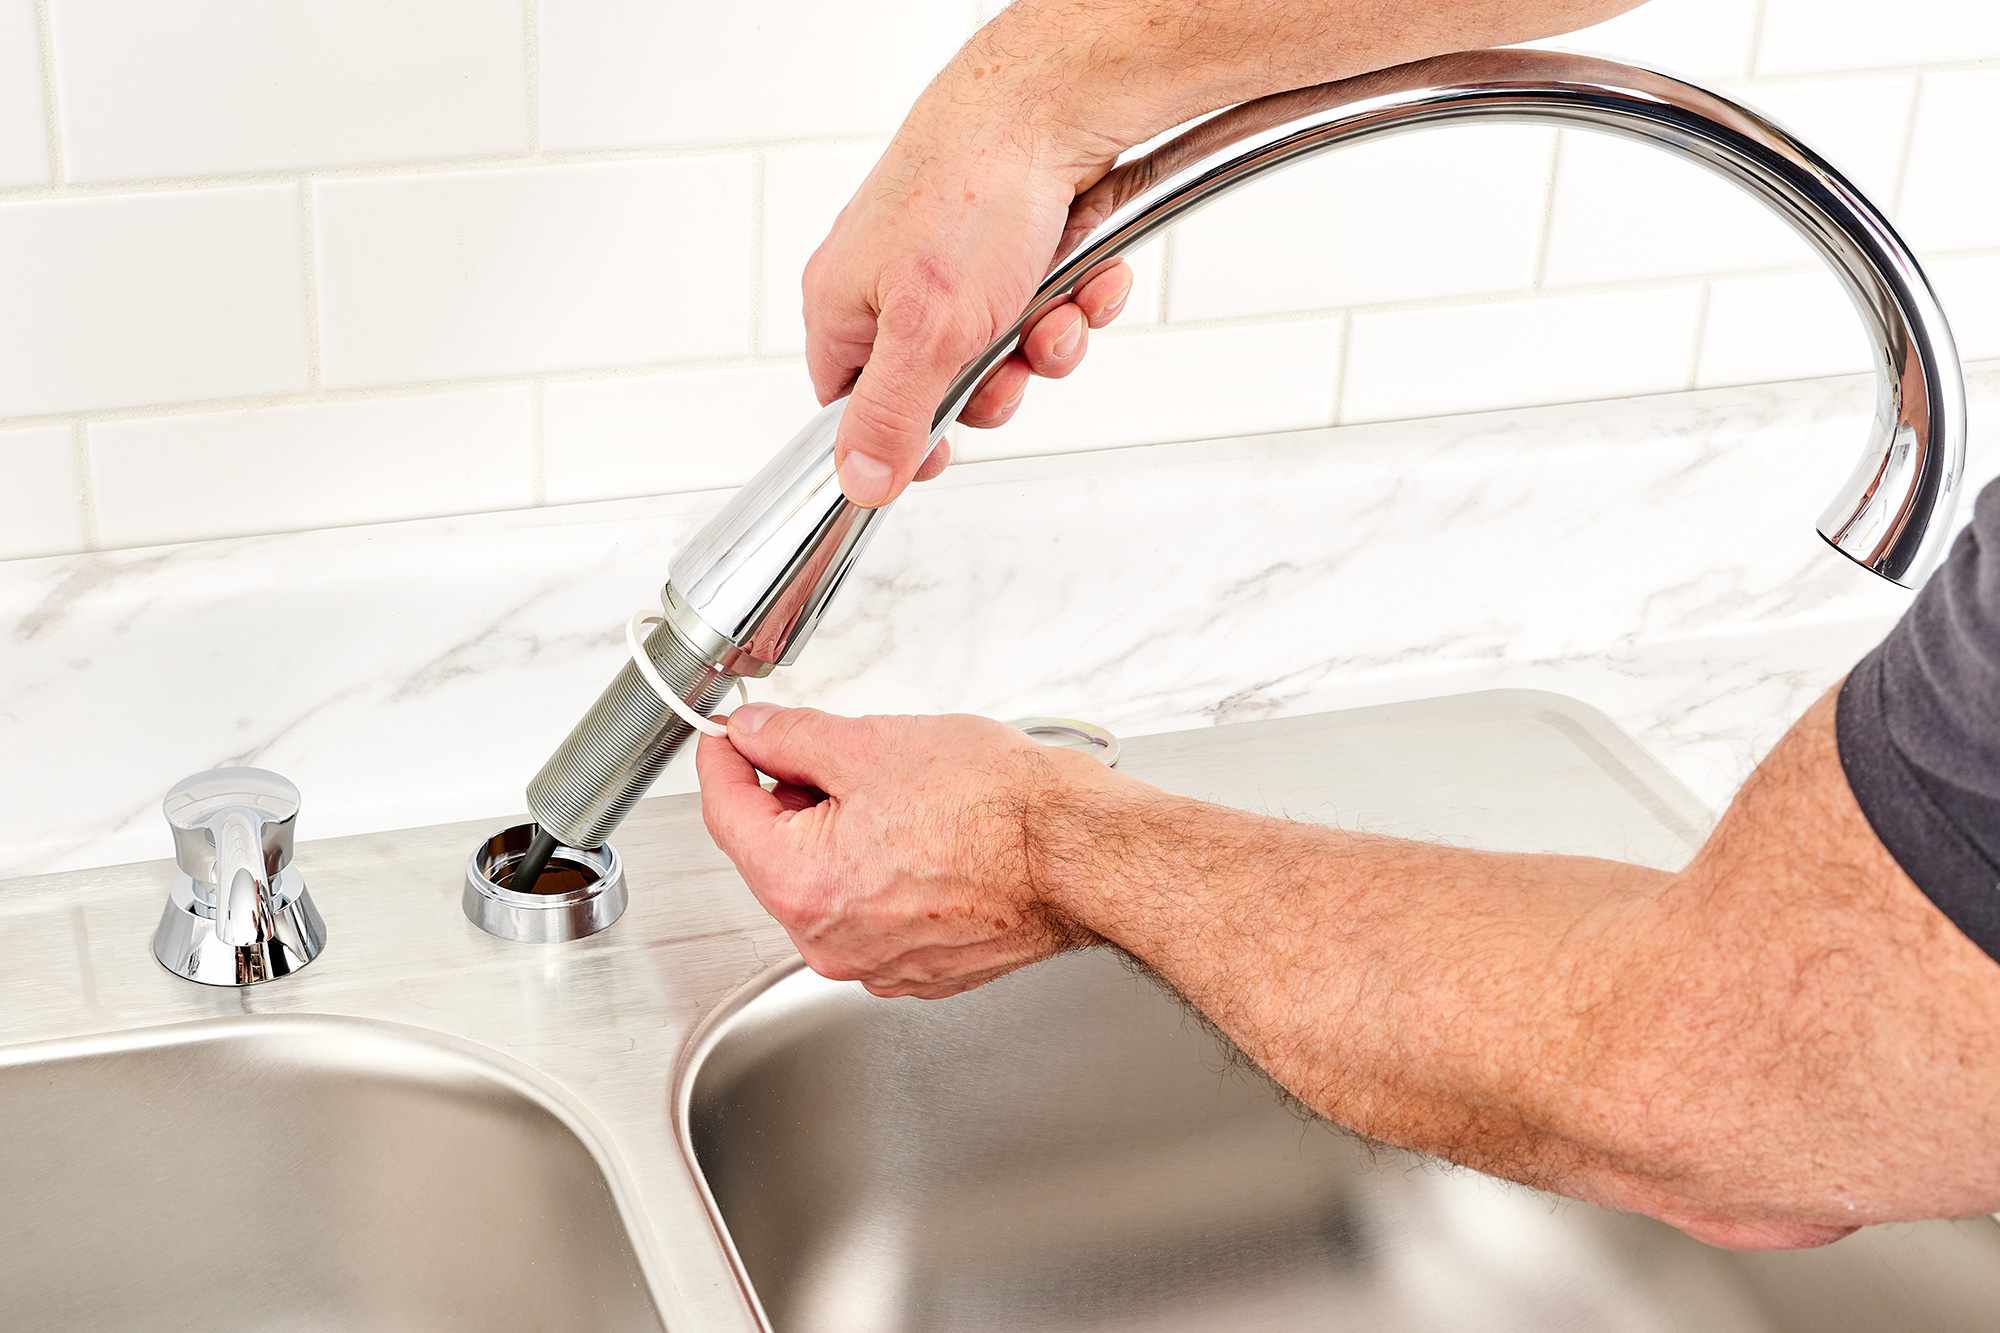
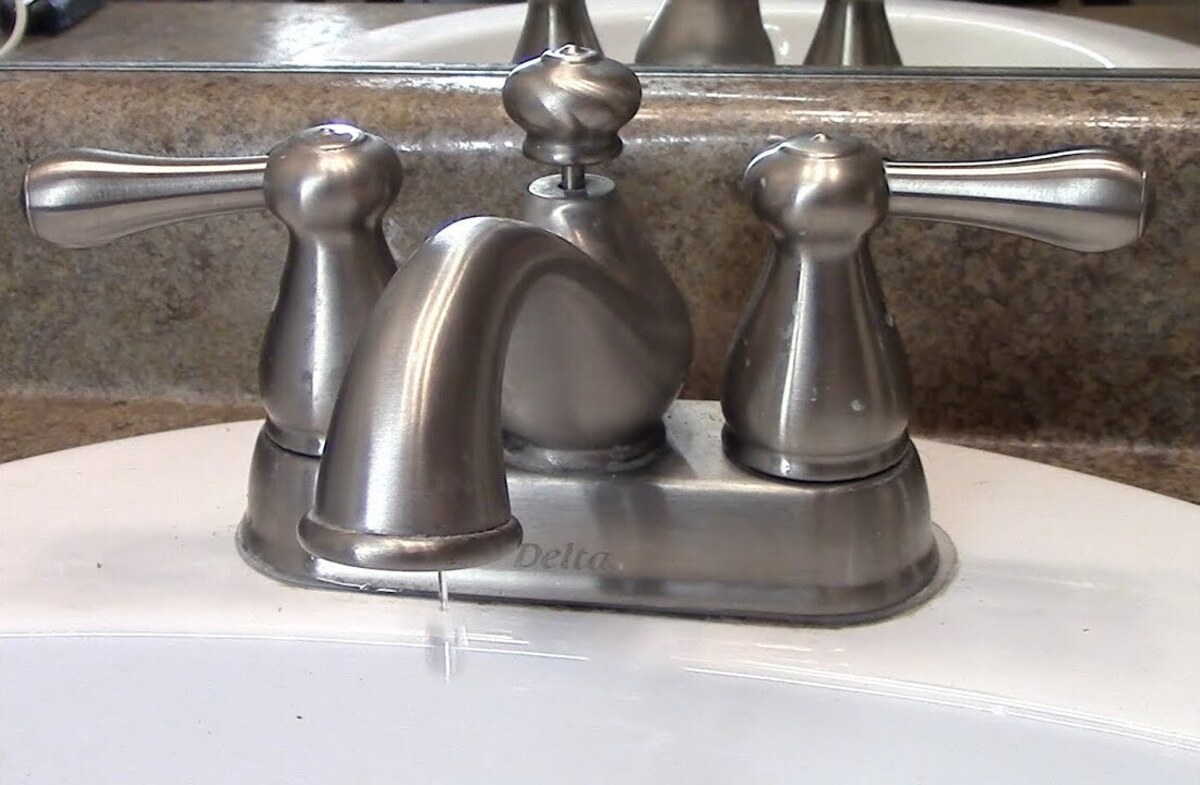
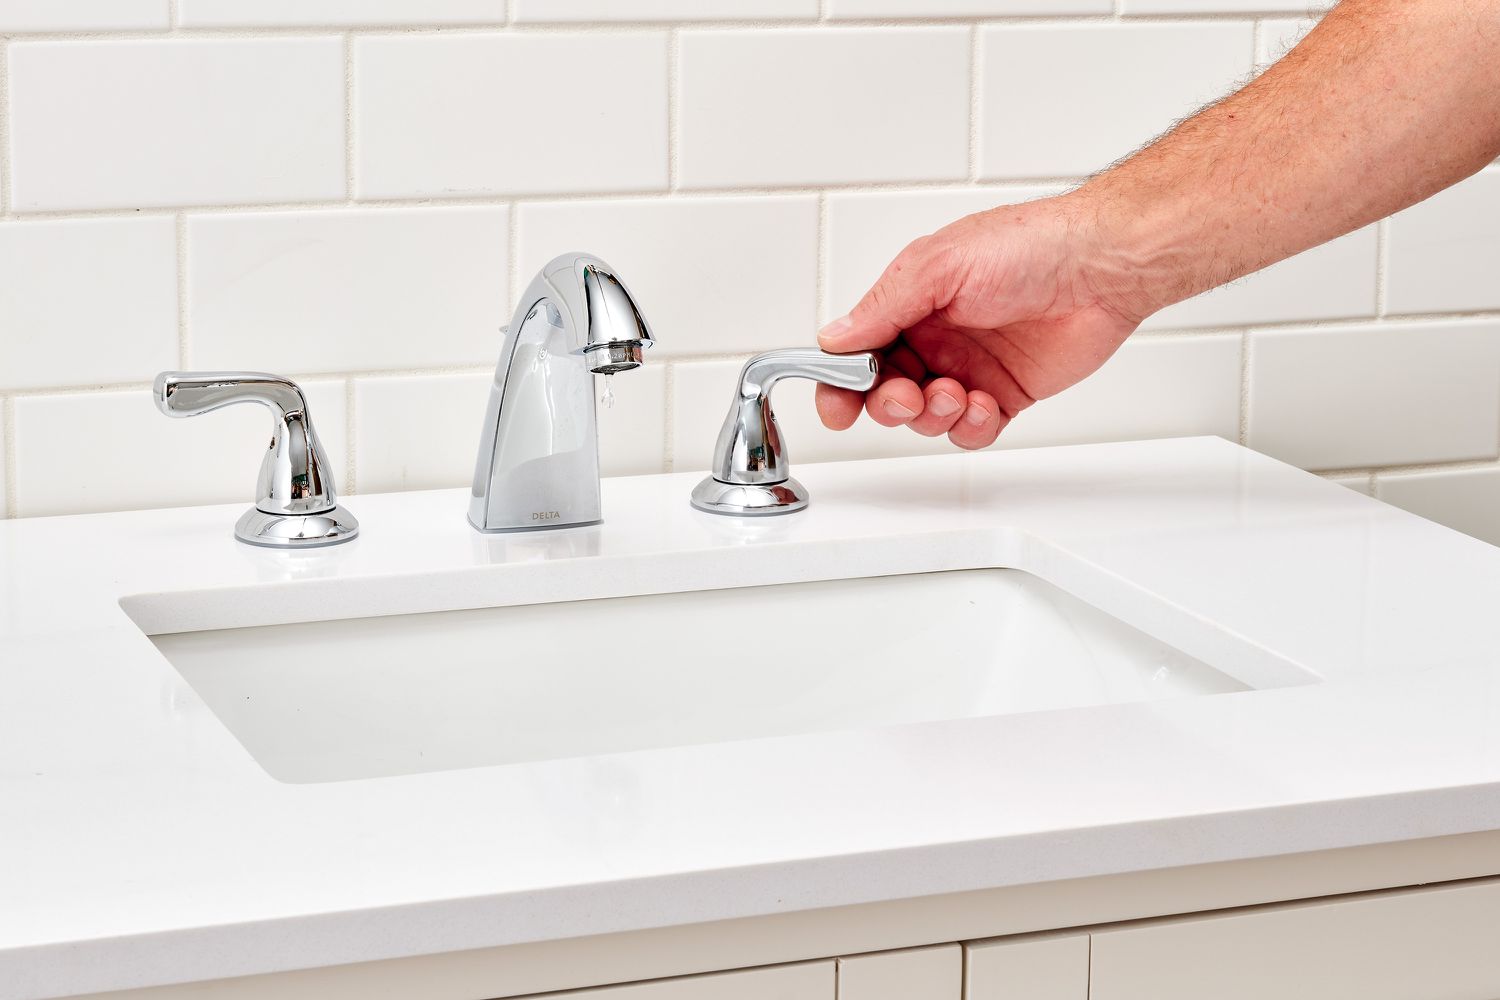
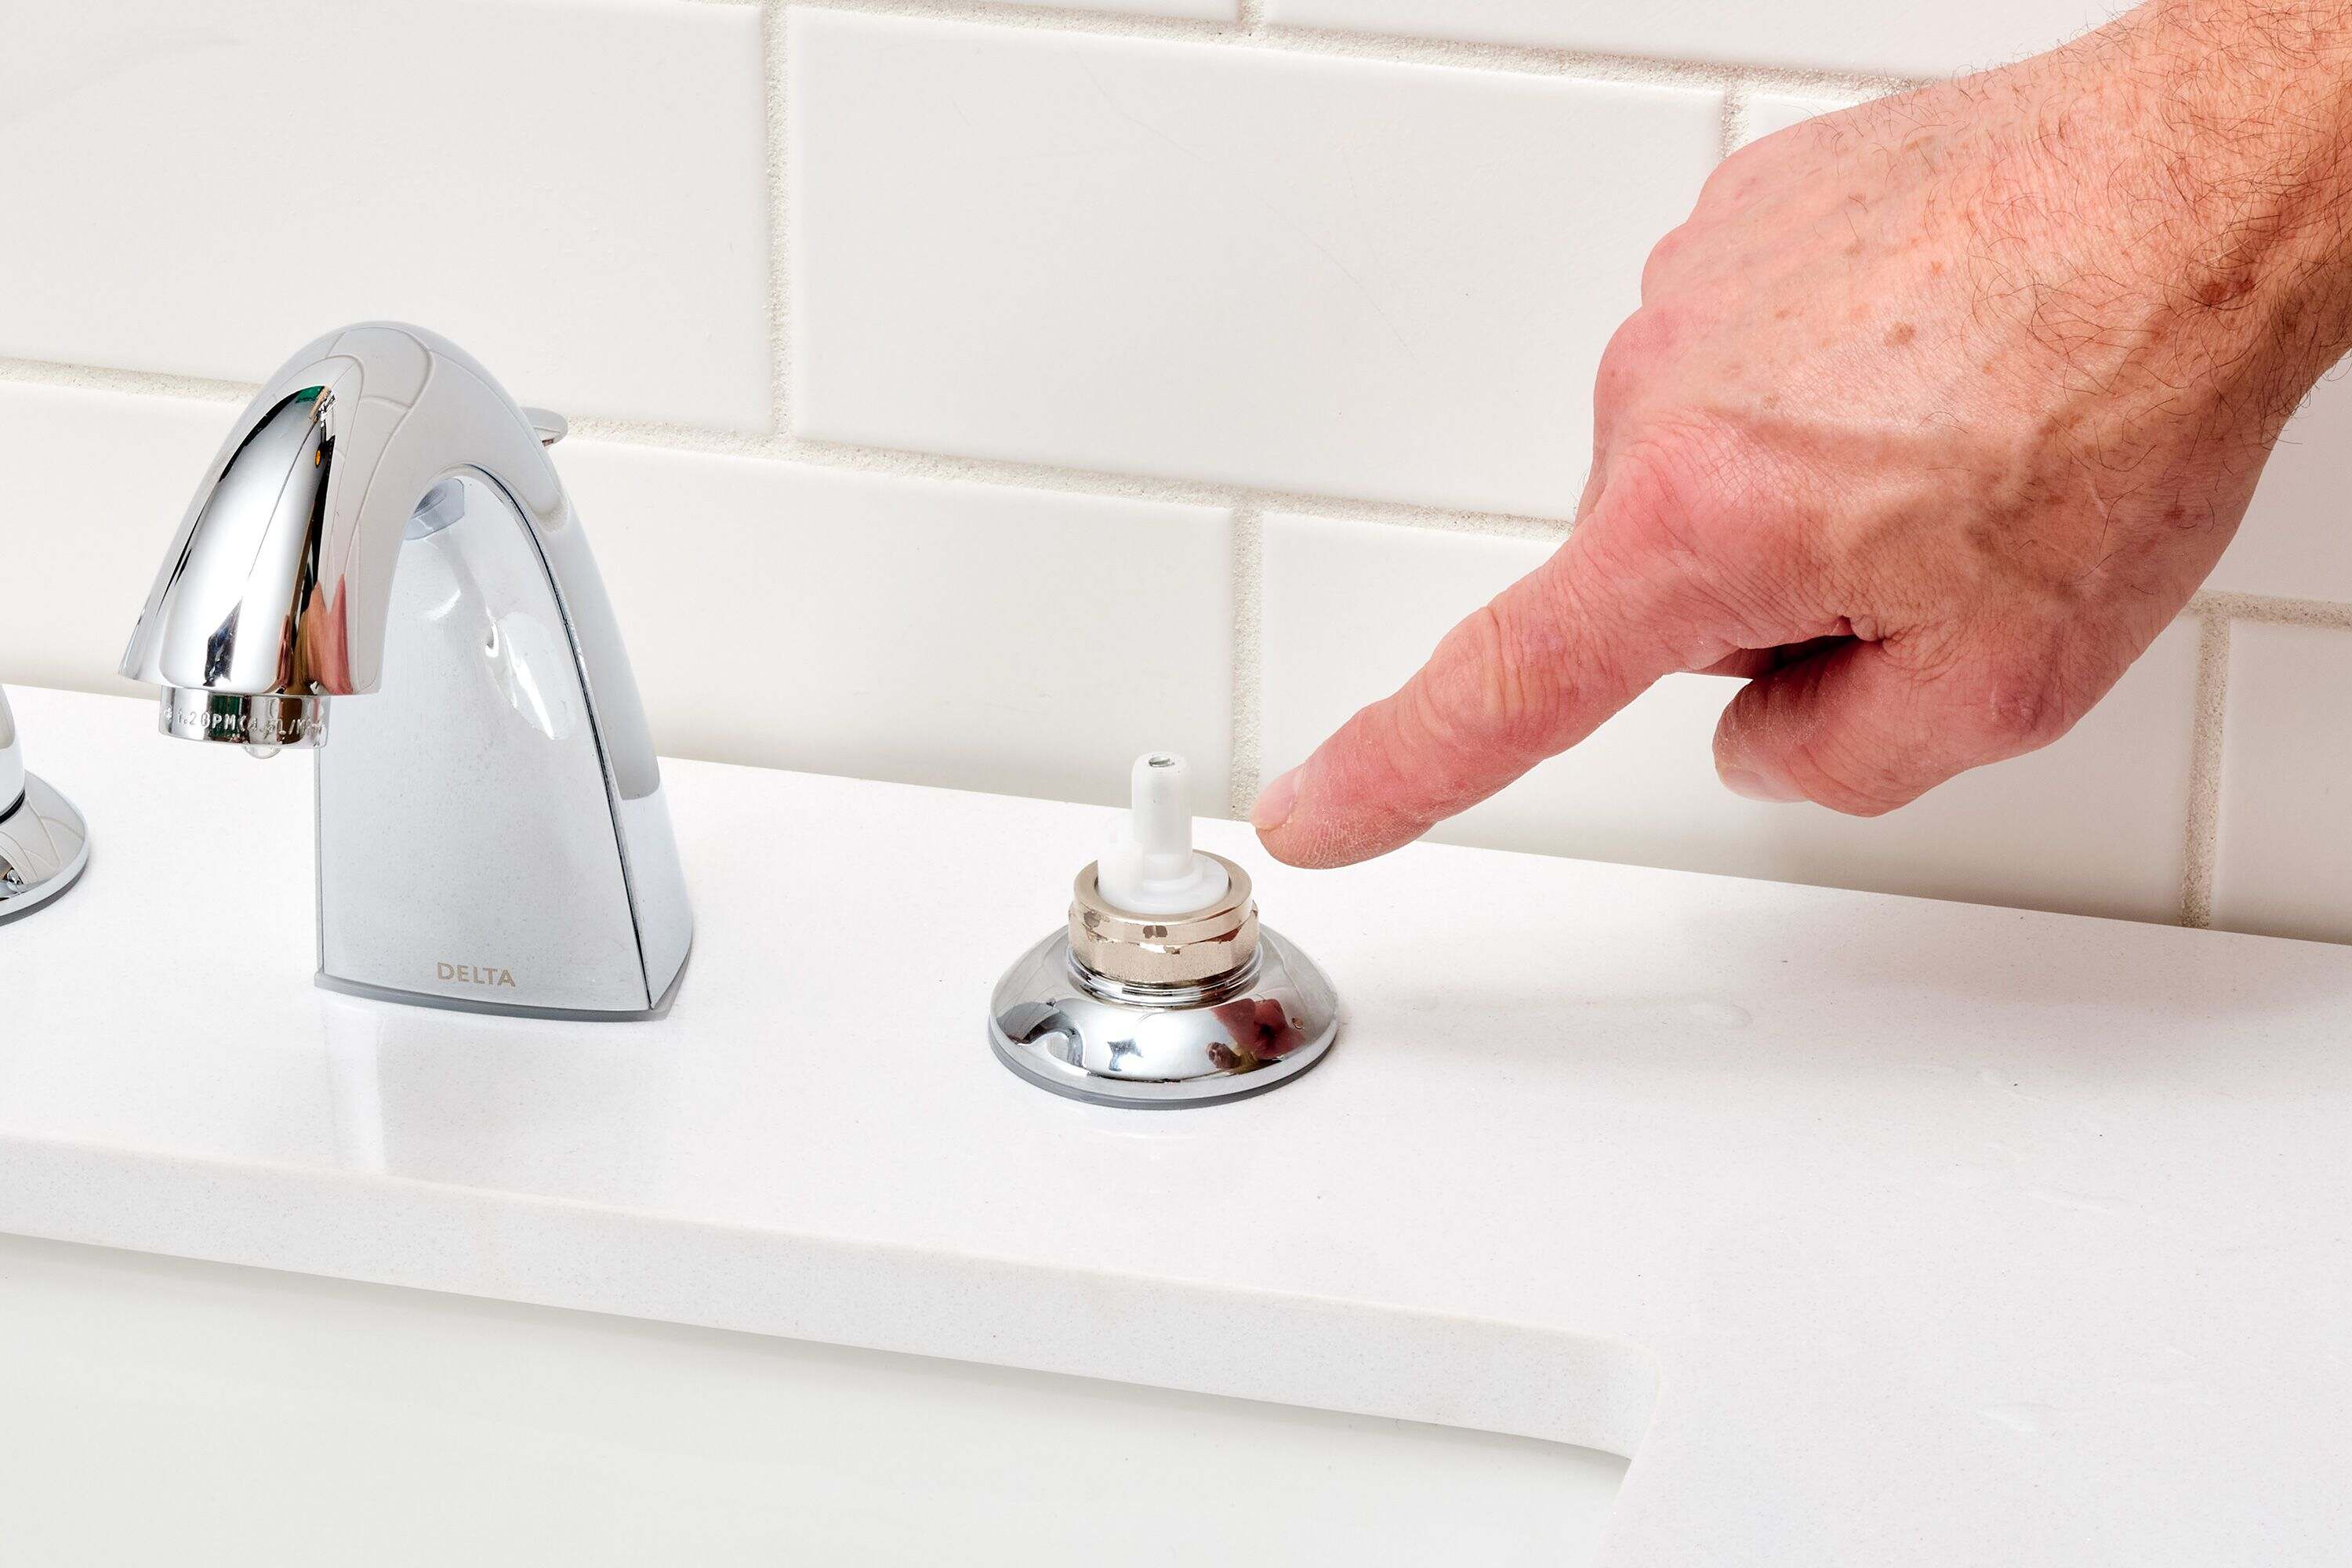
Step 4: Remove the faucet handle
Now that the water supply lines are disconnected, it’s time to remove the faucet handle from your Delta kitchen faucet. The handle is usually held in place by a screw or a cap that needs to be removed.
Start by locating the screw or cap that is securing the faucet handle. This can usually be found on the top or front of the handle. If there is a cap, use a flathead screwdriver to gently pry it off.
If there is a screw, use a Phillips screwdriver to loosen and remove it. Turn the screw counterclockwise until it is loose enough to be pulled out. Set the screw aside in a safe place so you don’t lose it.
Once the screw or cap is removed, you should be able to lift off the faucet handle. Gently pull upwards to release it from the faucet body. If the handle feels stuck, wiggle it slightly from side to side while pulling upwards to loosen it.
Underneath the handle, you may find a decorative plate or sleeve. This can usually be removed by twisting it counterclockwise or pulling it straight off. Set aside the plate or sleeve as you will need it for reassembly later on.
With the faucet handle successfully removed, take a moment to inspect it for any damage or signs of wear. If necessary, you can replace the handle with a new one that matches your new faucet or simply clean and reuse the existing handle.
Now that the faucet handle is removed, you can proceed to the next step: unscrewing and removing the mounting nut.
Read more: How To Remove Delta Shower Faucet
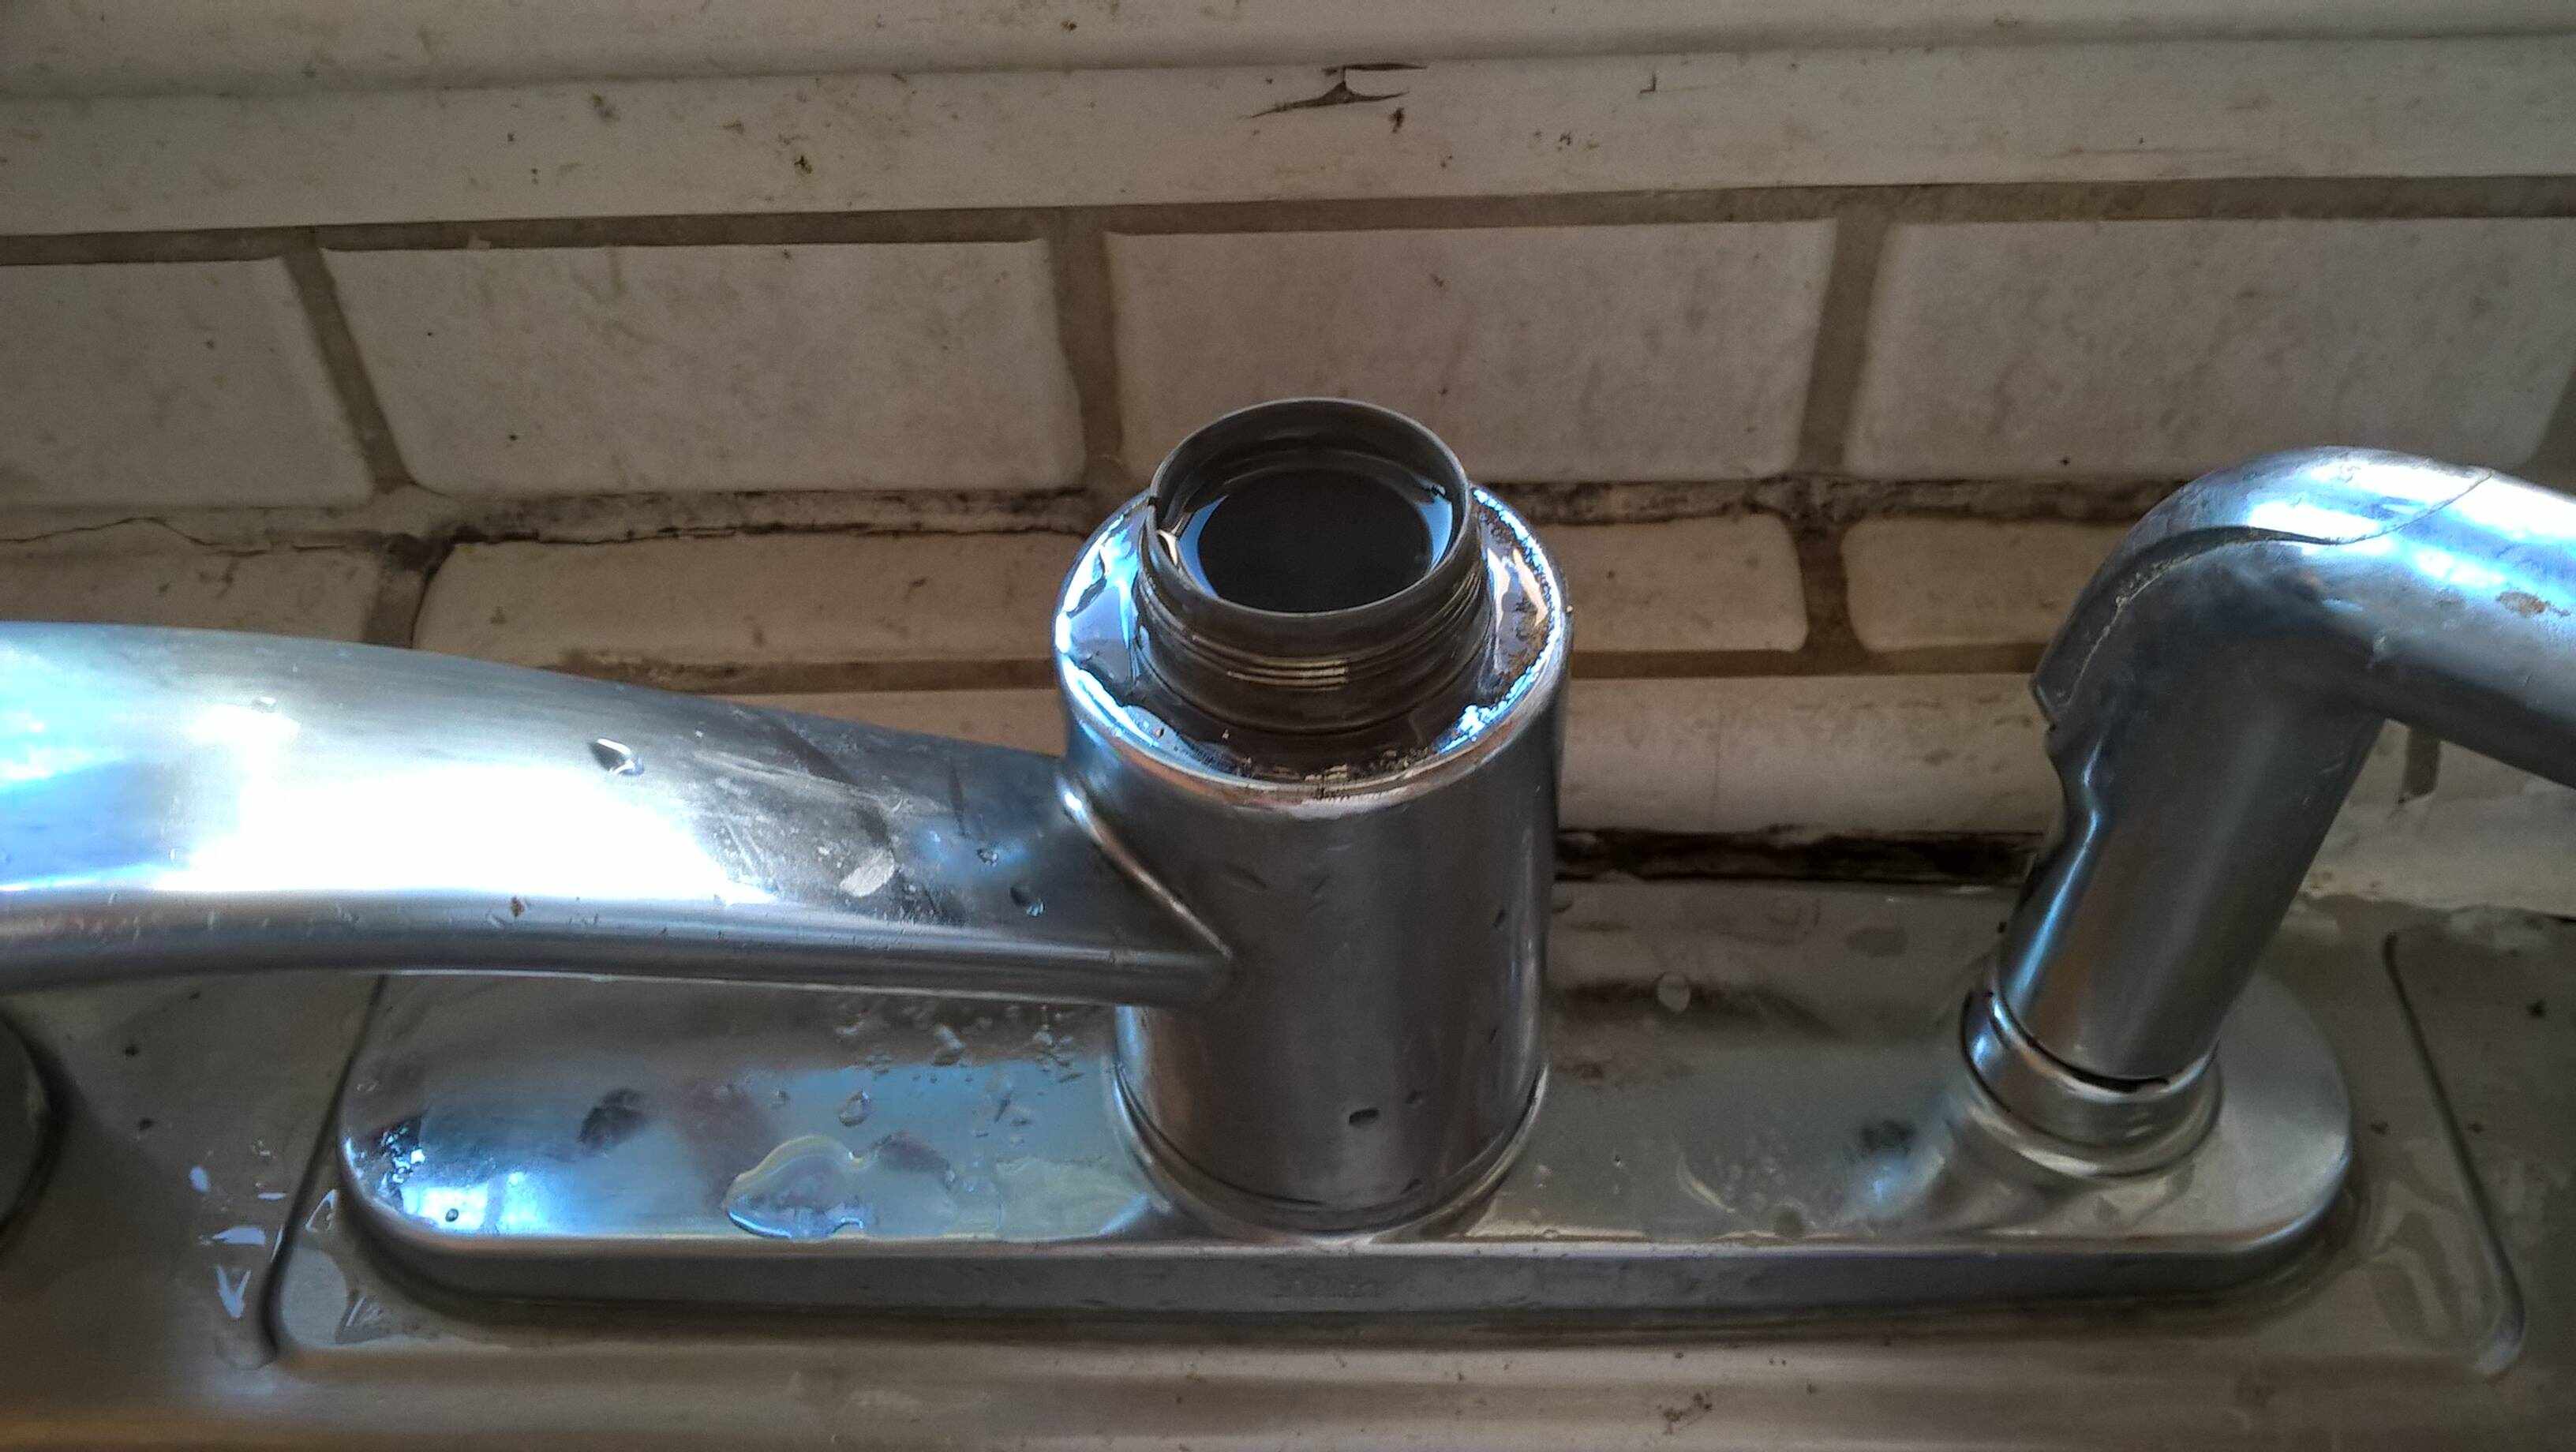
Step 5: Unscrew and remove the mounting nut
With the faucet handle removed, the next step in removing your Delta kitchen faucet is to unscrew and remove the mounting nut that holds the faucet in place. The mounting nut is located directly under the handle and secures the faucet to the sink or countertop.
Using an adjustable wrench, locate the mounting nut and turn it counterclockwise to loosen it. The nut may be tightly secured, so you may need to apply some force to loosen it. Be careful not to strip the nut or damage the surrounding area.
Once the mounting nut is sufficiently loosened, continue turning it by hand until you can remove it completely. Set the mounting nut aside in a safe place, as you may need it for reinstallation or to secure a new faucet.
With the mounting nut removed, you should be able to lift the faucet assembly out of the sink or countertop. Gently wiggle the faucet back and forth to loosen it from any remaining adhesive or sealant.
If the faucet assembly is still firmly stuck in place, you may need to use a utility knife or putty knife to carefully loosen any sealant or adhesive around the base of the faucet. Take your time and be cautious not to damage the sink or countertop surface.
Once the faucet assembly is free, lift it out of the sink or countertop completely. Take this opportunity to clean the area where the faucet was installed, removing any leftover debris or sealant.
With the mounting nut removed and the faucet assembly lifted out, you have successfully completed this step. Now you can move on to the next step: detaching the faucet from the sink.
Before removing a Delta kitchen faucet, turn off the water supply and disconnect the water lines. Use a wrench to loosen and remove the mounting nuts, then lift the faucet out of the sink.
Step 6: Detach the faucet from the sink
Now that the mounting nut is removed, it’s time to detach the Delta kitchen faucet from the sink or countertop. This step involves disconnecting any remaining connections and freeing the faucet from its position.
Start by examining the underside of the sink or countertop where the faucet was installed. You may find additional nuts or screws securing the faucet in place. Use a screwdriver or wrench to loosen and remove these fasteners, if necessary.
Next, carefully lift the faucet assembly out of the sink. Be cautious not to damage the surrounding area or any other fixtures, such as a soap dispenser or sprayer attachment.
If the faucet is tightly secured or seems stuck, you may need to use a penetrating lubricant, such as WD-40, to loosen any stubborn connections. Apply the lubricant according to the manufacturer’s instructions and allow it to penetrate the joints for a few minutes before attempting to remove the faucet again.
Once the faucet is detached, you can inspect the area for any signs of corrosion or buildup. Clean the surrounding surface with a mild cleaning solution to remove any grime or residue.
If you plan to install a new faucet, take measurements of the installation area and make note of any additional components you may need. This will help ensure a smooth installation process later on.
With the faucet successfully detached from the sink or countertop, you have completed this step. Now you can proceed to the next step: installing a new faucet, if desired, or move on to reassembling and reconnecting the faucet.
Step 7: Install a new faucet (optional)
If you plan to upgrade or replace your Delta kitchen faucet, this step will guide you through the installation process. Installing a new faucet can give your kitchen a fresh and updated look, and it’s also an opportunity to choose a faucet that better suits your needs and style.
Before you begin, make sure you have the new faucet ready, along with any additional components or accessories that come with it. Refer to the manufacturer’s instructions for specific installation steps, as these can vary depending on the model and type of faucet you have chosen.
Start by placing the new faucet into the installation area on the sink or countertop. Align the mounting holes of the faucet with the holes in the sink or countertop.
Once the faucet is positioned correctly, secure it in place by tightening the mounting nut underneath. Use an adjustable wrench to turn the nut clockwise until it is snug and the faucet is secure. Avoid over-tightening, as this can cause damage.
Next, reconnect the water supply lines to the corresponding connections on the new faucet. Apply plumber’s tape to the threaded ends of the water supply lines to create a tight seal. Then, use an adjustable wrench to tighten the nuts or connectors, ensuring they are snug but not overly tight.
If your new faucet has any additional features or accessories, such as a side sprayer or soap dispenser, follow the manufacturer’s instructions to install and connect these components.
Once all the connections are made and tightened, turn on the water supply valves underneath the sink to allow water to flow to the new faucet. Check for any leaks or drips and make any necessary adjustments or repairs if needed.
Finally, test the new faucet by turning on the handles and ensuring that both hot and cold water flow correctly. Check for any issues with the water pressure or temperature, and make any adjustments as necessary.
By following these steps and the manufacturer’s instructions, you can successfully install a new Delta kitchen faucet and enjoy the benefits of an upgraded and functional fixture in your kitchen.
If you do not plan to install a new faucet, you can skip this optional step and move on to the next step: reassembling and reconnecting the faucet.
Step 8: Reassemble and reconnect the faucet
Now that you have either installed a new faucet or decided to keep your existing one, it’s time to reassemble and reconnect the faucet. This step involves putting all the components back together and reconnecting the water supply lines.
Start by reattaching the faucet handle. Place the handle back onto the faucet body and secure it in place with the screw or cap that was removed earlier. If using a screw, use a Phillips screwdriver to tighten it clockwise. If using a cap, press it firmly into place.
If there was a decorative plate or sleeve underneath the handle, reattach it by twisting it clockwise or pressing it back onto the faucet body.
Next, reconnect the water supply lines to the corresponding connections on the faucet. Apply plumber’s tape to the threaded ends of the water supply lines for a tight seal. Use an adjustable wrench to tighten the nuts or connectors, making sure they are snug but not overly tight.
Once the water supply lines are securely connected, turn on the shut-off valves underneath the sink to allow water to flow to the faucet. Slowly turn on the handles and check for any leaks or drips. If any leaks are detected, tighten the connections or add more plumber’s tape if necessary.
To ensure proper functionality, test the faucet by turning on both hot and cold water. Check for any issues with water pressure or temperature, and make any adjustments if needed.
After confirming that the faucet is working properly and there are no leaks, clean up any water spills and check the area around the faucet for a neat and tidy appearance.
Congratulations! You have successfully reassembled and reconnected your Delta kitchen faucet. Now you can move on to the final step: turning on the water supply.
Read more: How To Remove Aerator From Delta Faucet
Step 9: Turn on the water supply
We’re almost done! After reassembling and reconnecting your Delta kitchen faucet, the final step is to turn on the water supply. By doing so, you’ll allow water to flow through the faucet and ensure that everything is working properly.
Start by locating the shut-off valves underneath the sink where you previously turned them off. If they are not already in the on position, use an adjustable wrench to turn the handles or levers counterclockwise until they are fully open.
Slowly turn on the faucet handles to allow water to flow through the newly reconnected faucet. Check for any leaks or drips around the connections and handle area. If you notice any leaks, tighten the connections or add more plumber’s tape to create a better seal.
Allow the water to run for a few minutes to flush out any air or debris that may have accumulated during the installation process. Check the water pressure and temperature to ensure they are functioning as expected. Make any necessary adjustments to the handles or valves to achieve your desired water flow and temperature.
If you notice any issues with water pressure, temperature, or leaks that you are unable to resolve, it may be best to contact a professional plumber for assistance. They can help diagnose and fix any potential problems.
Once you’re satisfied with the function and appearance of your Delta kitchen faucet, it’s time to celebrate! You have successfully removed, reassembled, and reconnected your faucet, completing your plumbing project. Enjoy the improved functionality and aesthetic of your kitchen!
Remember to periodically check your faucet for any signs of leaks or issues and address them promptly to prevent any water damage or further complications.
Thank you for following this step-by-step guide. We hope it was helpful in assisting you with the removal and reconnection of your Delta kitchen faucet.
Conclusion
Removing a Delta kitchen faucet may seem like a daunting task, but with the right tools and knowledge, it can be a straightforward process. By following the step-by-step guide outlined in this article, you can successfully remove, reassemble, and reconnect your Delta kitchen faucet.
We began by gathering the necessary tools and materials, including an adjustable wrench, pliers, screwdriver, and a new faucet if you desired to replace the existing one. Then, we proceeded to turn off the water supply by locating and closing the shut-off valves to prevent any water flow during the removal process.
Next, we disconnected the water supply lines to free the faucet from its connections. This involved using an adjustable wrench to loosen and remove the nuts or connectors, while taking precautions to catch any water drips with a bucket or towel.
We then moved on to removing the faucet handle by locating and removing the screw or cap that secured it. Gently lifting the handle allowed us to access the mounting nut, which was unscrewed and removed to release the faucet from the sink.
If you chose to install a new faucet, we provided guidance on positioning and securing it, as well as connecting the water supply lines and any additional features or accessories.
Finally, we reassembled and reconnected the faucet by attaching the handle, decorative plate or sleeve, and tightening the water supply line connections. Before turning on the water supply, we checked for leaks, adjusted the handles, and ensured proper water flow and temperature.
In conclusion, removing a Delta kitchen faucet is a manageable DIY task that can be accomplished by following the steps laid out in this guide. It’s important to exercise caution, use the appropriate tools, and be mindful of water connections to avoid any mishaps or damage.
Remember to take your time, follow the manufacturer’s instructions, and consider seeking professional help if you encounter any difficulties or complications.
By successfully removing and reassembling your Delta kitchen faucet, you have not only acquired valuable plumbing skills but also transformed the functionality and appearance of your kitchen space. Enjoy your updated faucet and the convenience it brings to your daily kitchen routines!
Now that you've tackled removing your Delta kitchen faucet, why not consider upgrading with a fresher, more efficient model? Our next article guides you through selecting the perfect kitchen faucet head, ideal for revitalizing your kitchen's functionality and aesthetic in 2024. Dive into our comprehensive review of the top picks to ensure your kitchen not only looks great but also performs at its best.
Frequently Asked Questions about How To Remove A Delta Kitchen Faucet
Was this page helpful?
At Storables.com, we guarantee accurate and reliable information. Our content, validated by Expert Board Contributors, is crafted following stringent Editorial Policies. We're committed to providing you with well-researched, expert-backed insights for all your informational needs.


0 thoughts on “How To Remove A Delta Kitchen Faucet”