Home>Furniture>Outdoor Furniture>How To Clean Brick Pavers Patio
Outdoor Furniture
How To Clean Brick Pavers Patio
Modified: March 22, 2024
Learn how to clean your brick pavers patio and restore it to its original beauty. Remove dirt, stains, and moss with these outdoor furniture cleaning tips.
(Many of the links in this article redirect to a specific reviewed product. Your purchase of these products through affiliate links helps to generate commission for Storables.com, at no extra cost. Learn more)
Introduction
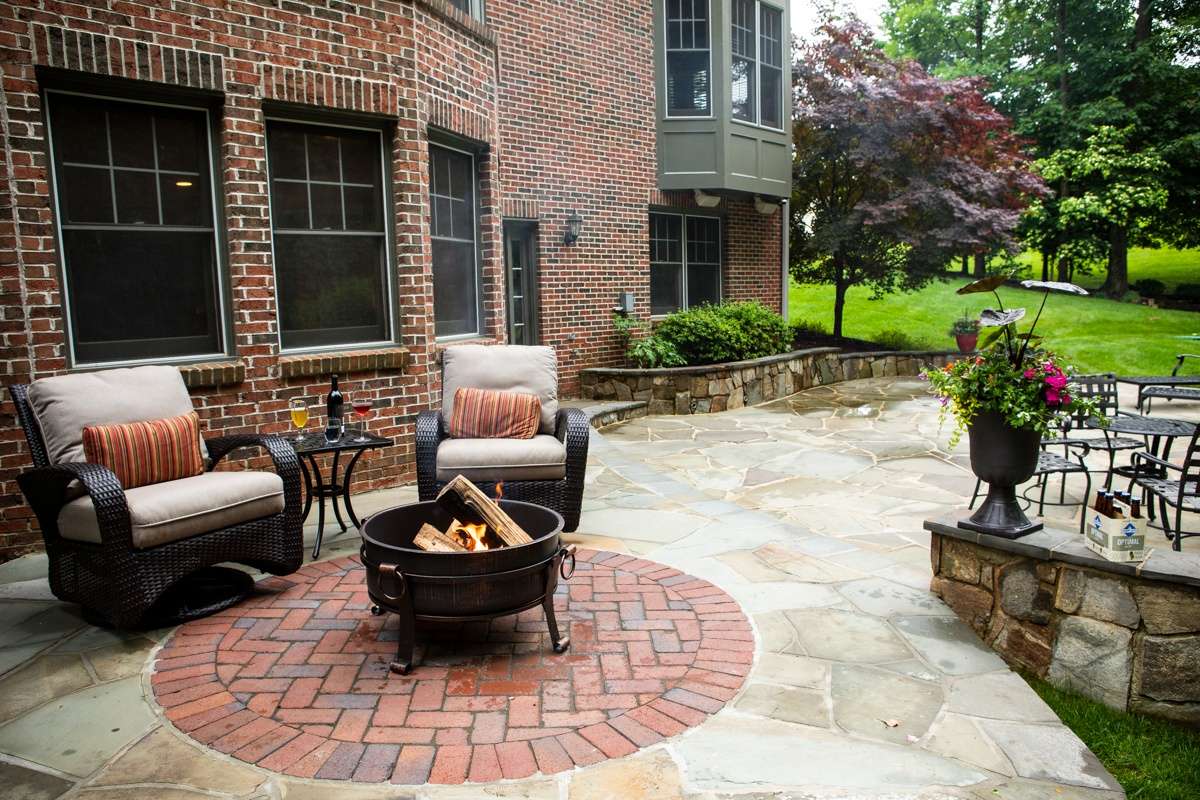
Welcome to the wonderful world of outdoor furniture! Whether you have a spacious backyard, a cozy balcony, or a charming patio, investing in outdoor furniture adds both functionality and style to your outdoor living space. Outdoor furniture is designed to withstand the elements, providing you with a comfortable and inviting space to relax, entertain, and enjoy nature.
When it comes to choosing outdoor furniture, there are a plethora of options available to suit every taste and budget. From classic wooden furniture to modern rattan pieces, the choices are endless. But once you’ve selected the perfect outdoor furniture, it’s essential to maintain and care for it to prolong its lifespan.
In this article, we will delve into the world of outdoor furniture cleaning and maintenance. We will provide you with valuable tips and techniques to keep your outdoor furniture looking its best year after year. Whether you have teak, aluminum, wrought iron, or plastic furniture, we’ve got you covered.
Cleaning your outdoor furniture not only improves its appearance but also helps to prevent damage caused by dirt, grime, and weather exposure. Regular cleaning and maintenance can help extend the life of your furniture and save you money in the long run.
So, roll up your sleeves, grab some cleaning supplies, and let’s get started on transforming your outdoor space into a haven of relaxation and beauty!
Key Takeaways:
- Keep your outdoor furniture looking great by cleaning and maintaining it regularly. Use mild detergent, vinegar, and protective gear to tackle stains and protect your patio from the elements.
- Prepare your patio by removing debris, treating stains, and sealing the pavers. Regular maintenance, such as cleaning, protecting from weather, and inspecting for damage, will ensure your outdoor furniture lasts for years.
Read more: How To Make A Patio With Brick Pavers
Tools and Materials Needed
Before you begin cleaning your outdoor furniture, it’s important to gather the necessary tools and materials. Having the right supplies on hand will make the cleaning process easier and more effective. Here are the essential tools and materials you will need:
- Mild detergent or soap
- Bucket or large container
- Sponge or soft-bristle brush
- Garden hose
- Microfiber cloth or soft towels
- Vinegar or lemon juice (for removing stains)
- Protective gloves
- Protective eyewear
- Scrubbing pad or toothbrush (for hard-to-reach areas)
- Sealant or protectant (for certain types of outdoor furniture)
These tools and materials will help you tackle dirt, grime, stains, and other common outdoor furniture issues. Make sure you have everything ready before you start, as it will save you time and ensure a hassle-free cleaning process.
It’s worth noting that the specific tools and materials you’ll need may vary depending on the material of your outdoor furniture. For example, wooden furniture may require a specific wood cleaner or oil for maintenance, while metal furniture may require rust remover or polish. Always refer to the manufacturer’s recommendations for cleaning and maintenance.
Now that you have the necessary tools and materials, let’s move on to preparing your patio for cleaning.
Preparing the Patio
Before diving into the cleaning process, it’s important to prepare your patio to ensure a smooth and efficient cleaning experience. Here are a few steps to follow:
- Remove any outdoor furniture or accessories from the patio. This will give you more space to work and prevent them from getting in the way during the cleaning process.
- Sweep or brush away any loose debris or leaves from the patio. Use a broom or a leaf blower to clear the surface and make it easier to spot stains or stubborn dirt.
- If your patio has plants or potted flowers, move them to a safe location, away from the cleaning area. This will prevent any damage to your plants and allow you to clean the patio more effectively.
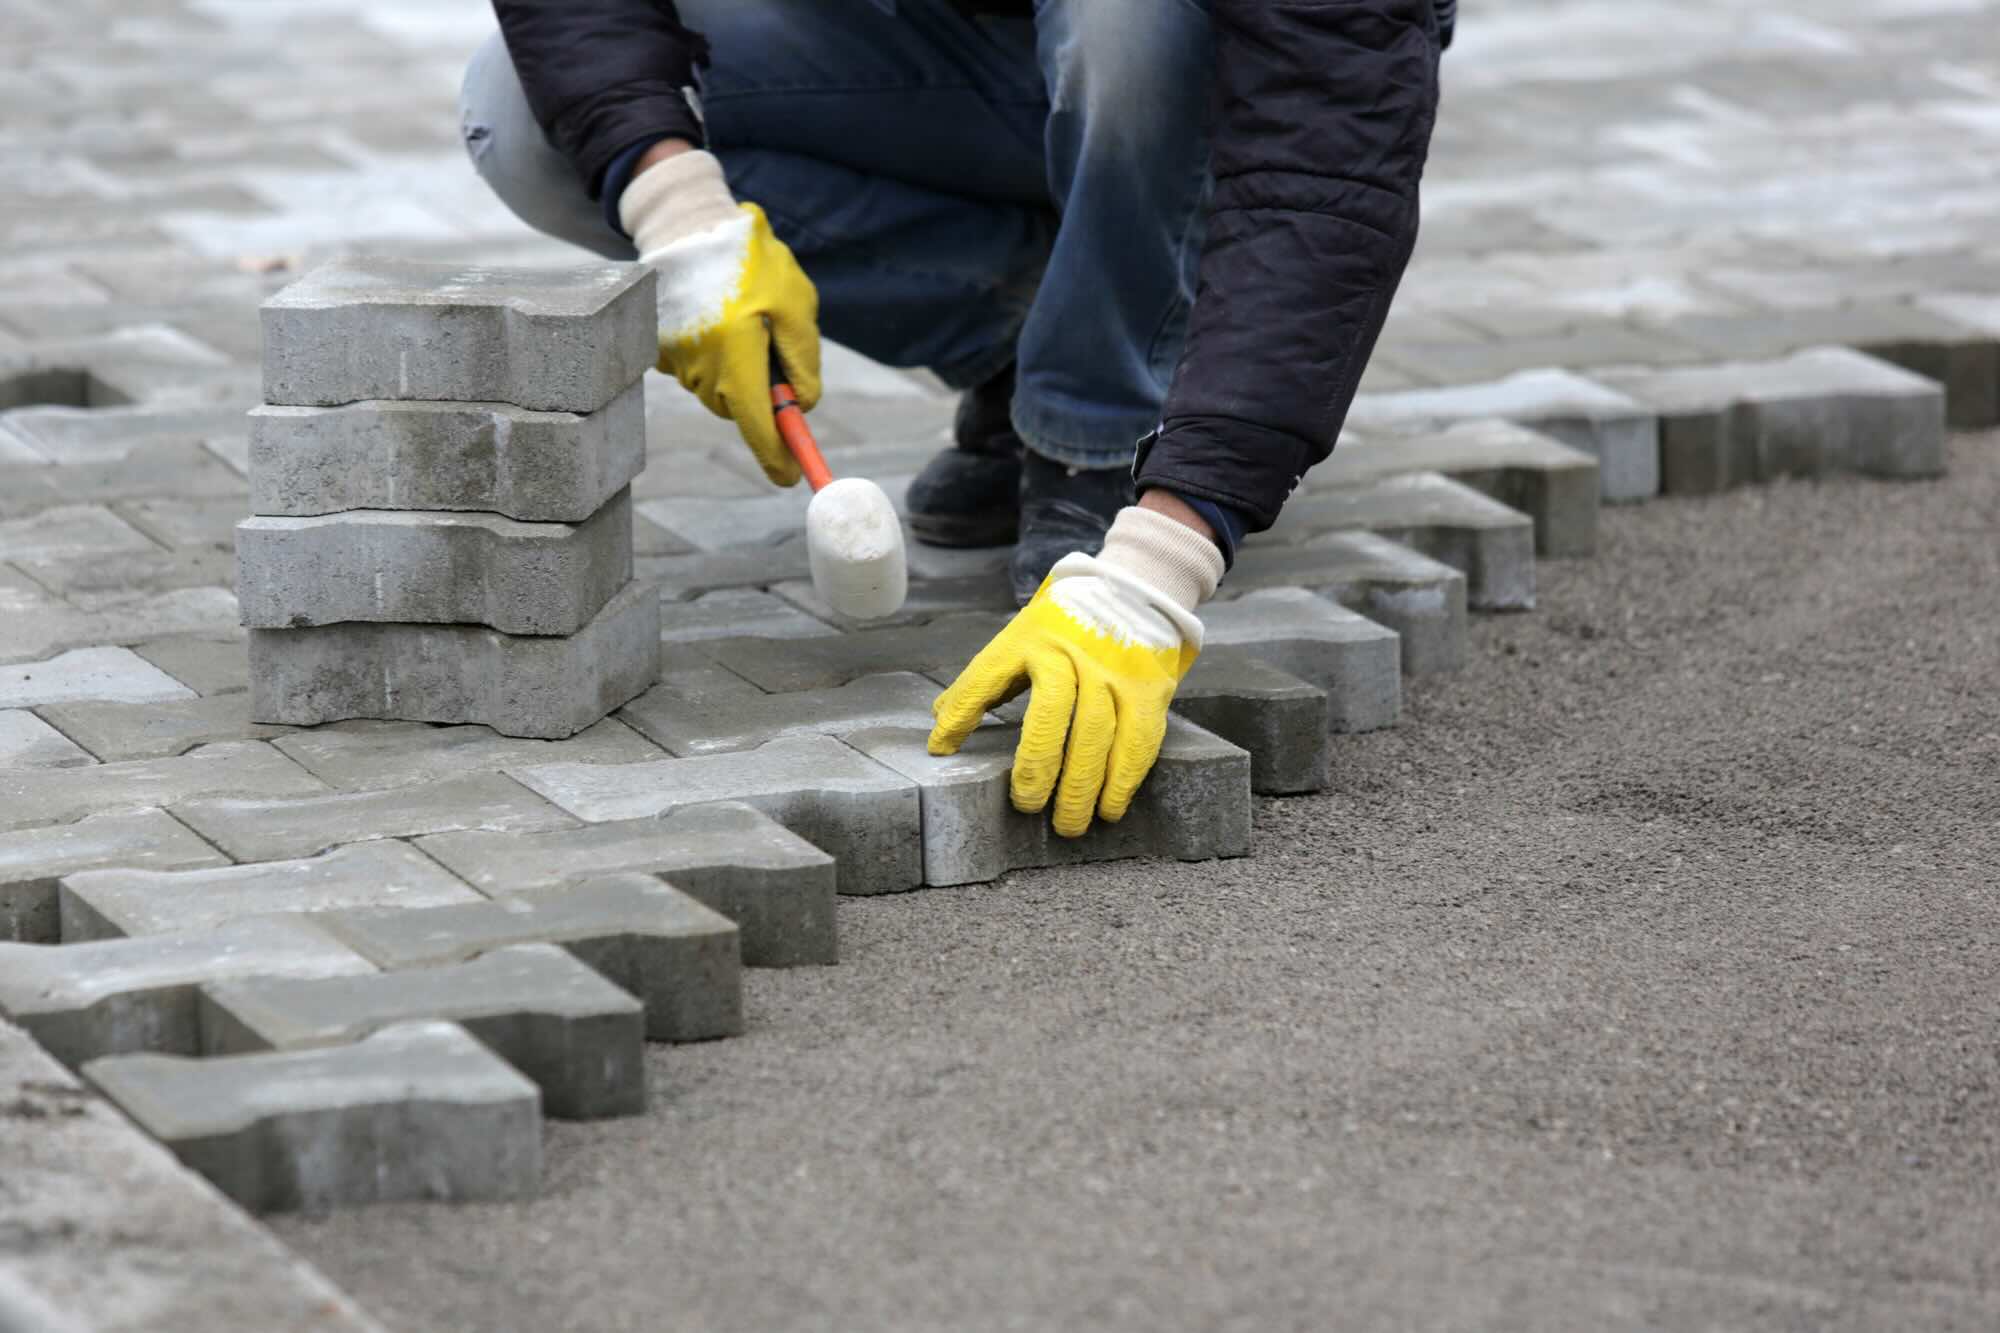
- Inspect the patio for any loose or damaged pavers. If you notice any, make a note of them for repair or replacement after the cleaning process.
By taking these preparatory steps, you’ll create a clear and clutter-free space to work on. It will also help you identify any issues with your patio that may need attention.
Now that your patio is prepped and ready, let’s move on to the next step: removing debris and loose dirt.
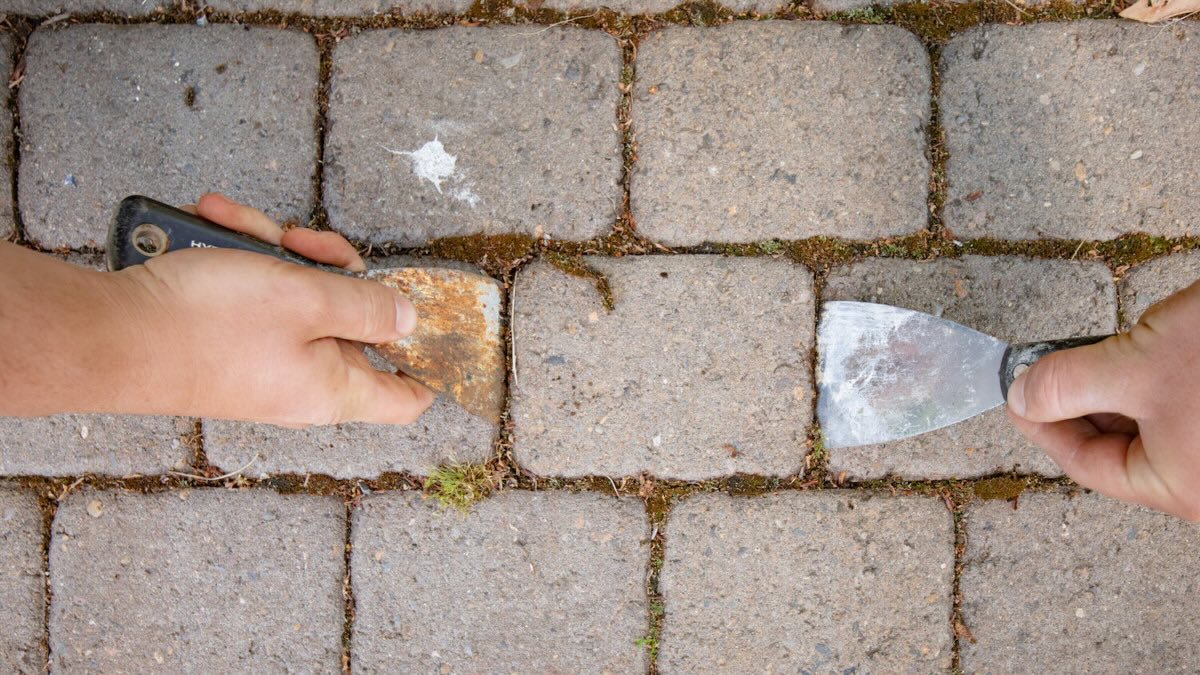
Removing Debris and Loose Dirt
Once your patio is prepared, it’s time to tackle the first step in the cleaning process: removing debris and loose dirt. This step is essential to ensure a clean surface before moving on to the deeper cleaning.
Here are the steps to effectively remove debris and loose dirt from your patio:
- Start by using a broom or leaf blower to sweep away any loose debris, such as leaves, twigs, and dirt. Work from one end of the patio to the other, ensuring you cover the entire area.
- If there are any stubborn dirt or mud stains, use a garden hose to spray them off. Start from the top of the stain and work your way down, using a back-and-forth motion to dislodge the dirt.
- If there are any visible dirt or grease spots, you can create a mild cleaning solution using water and a few drops of mild detergent or soap. Dip a sponge or soft-bristle brush into the solution and gently scrub the affected areas.
- Rinse the patio thoroughly with a garden hose to remove any remaining dirt or soap residue. Make sure to cover the entire surface, including the corners and edges.
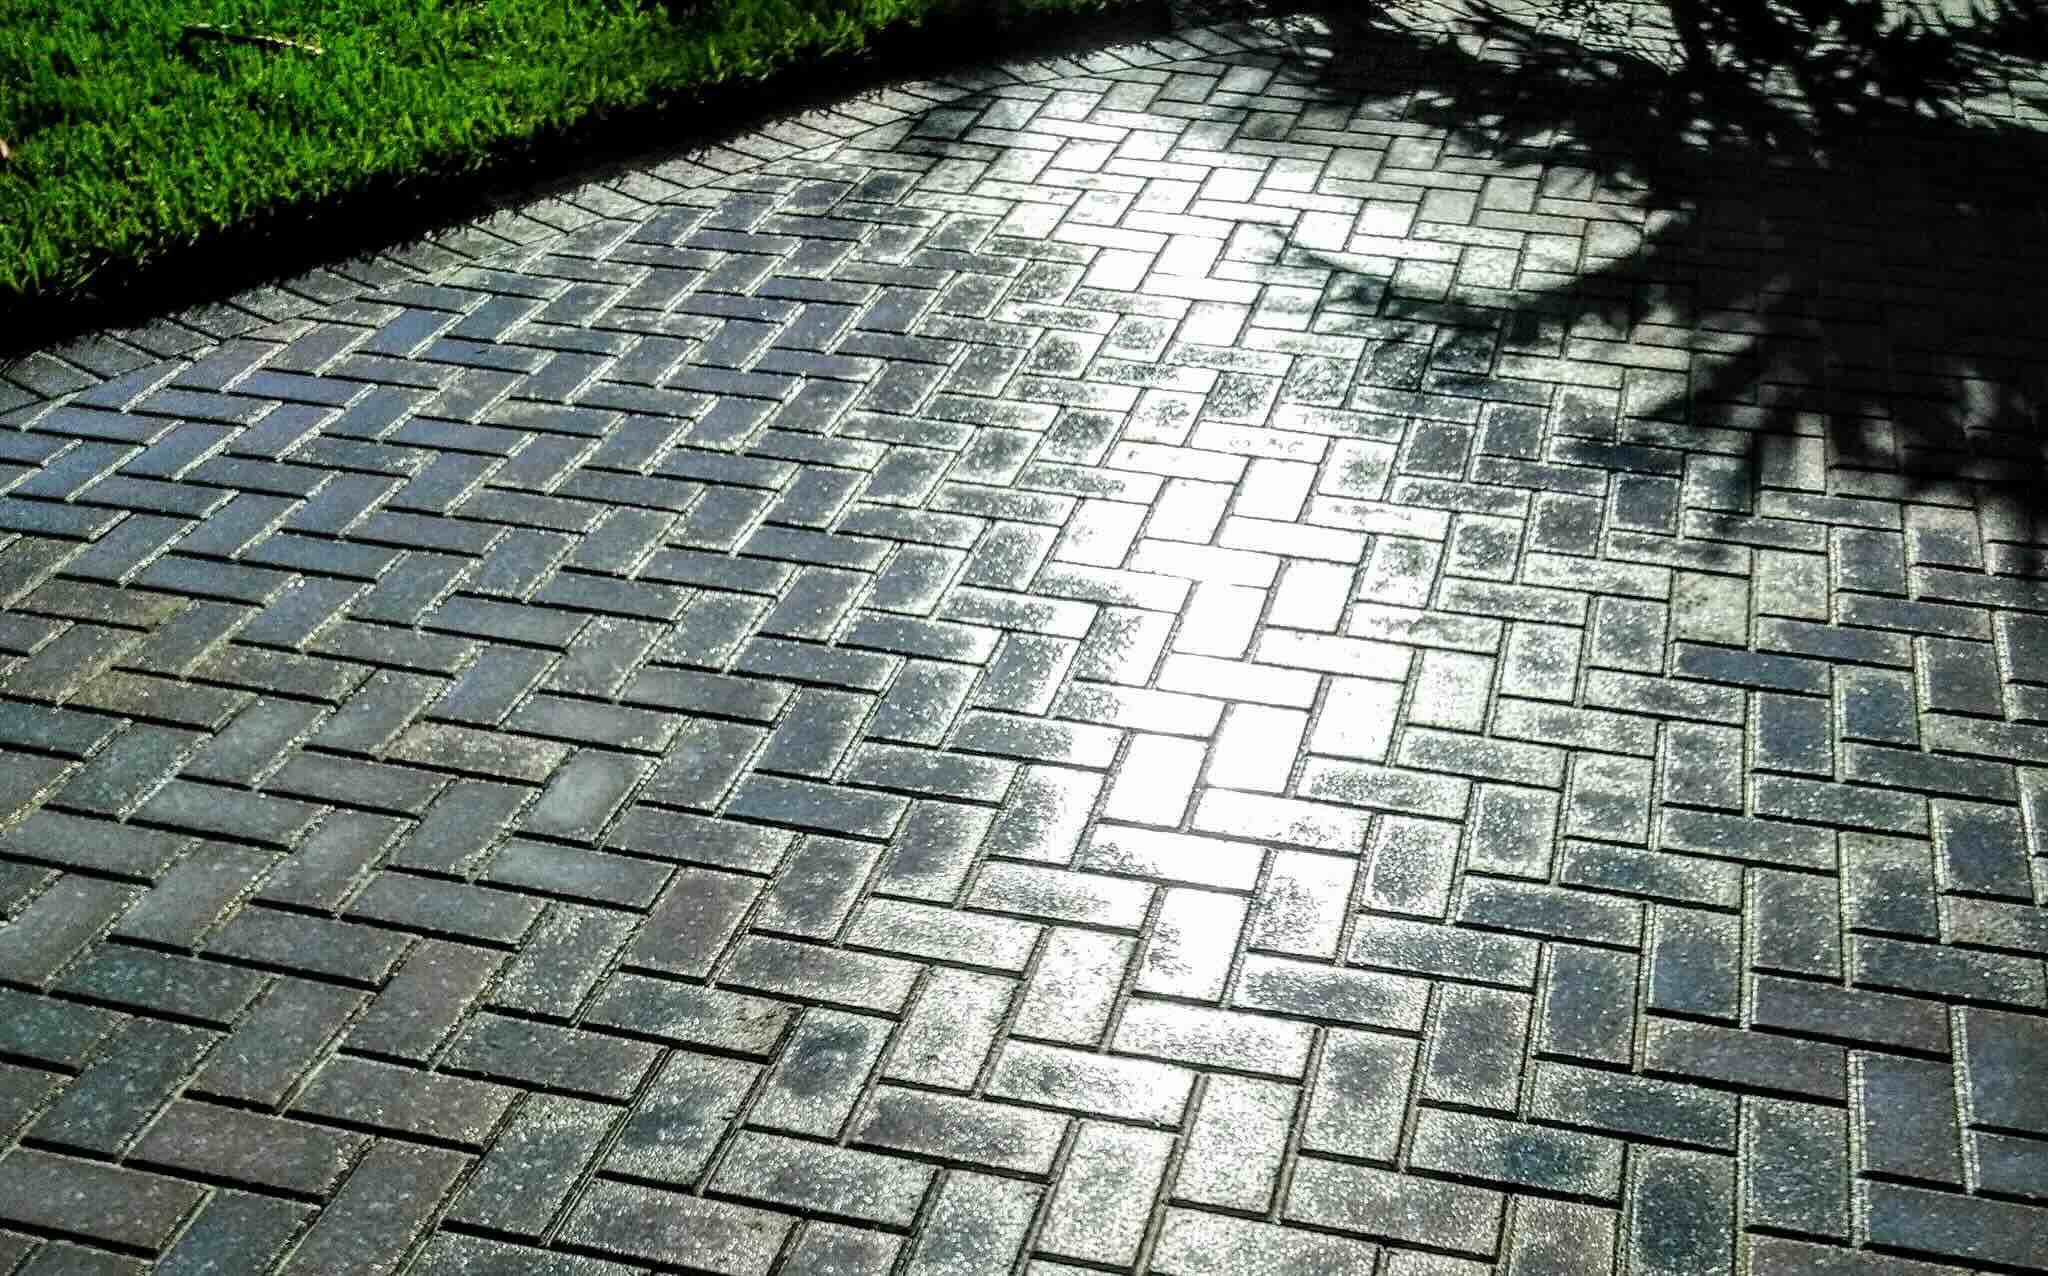
It’s important to note that different patio materials may require specific cleaning techniques. For example, if you have a brick paver patio, you can use a pressure washer on a low setting to remove stubborn dirt and stains. However, be cautious when using a pressure washer, as it can damage certain materials like natural stone or wood.
By following these steps, you’ll be able to effectively remove debris and loose dirt from your patio, leaving a clean surface ready for the next phase: treating stains.
Treating Stains
Stains on your patio can be unsightly and can detract from the overall appearance of your outdoor space. Fortunately, there are effective techniques for treating stains and restoring the beauty of your patio. Follow these steps to tackle common types of stains:
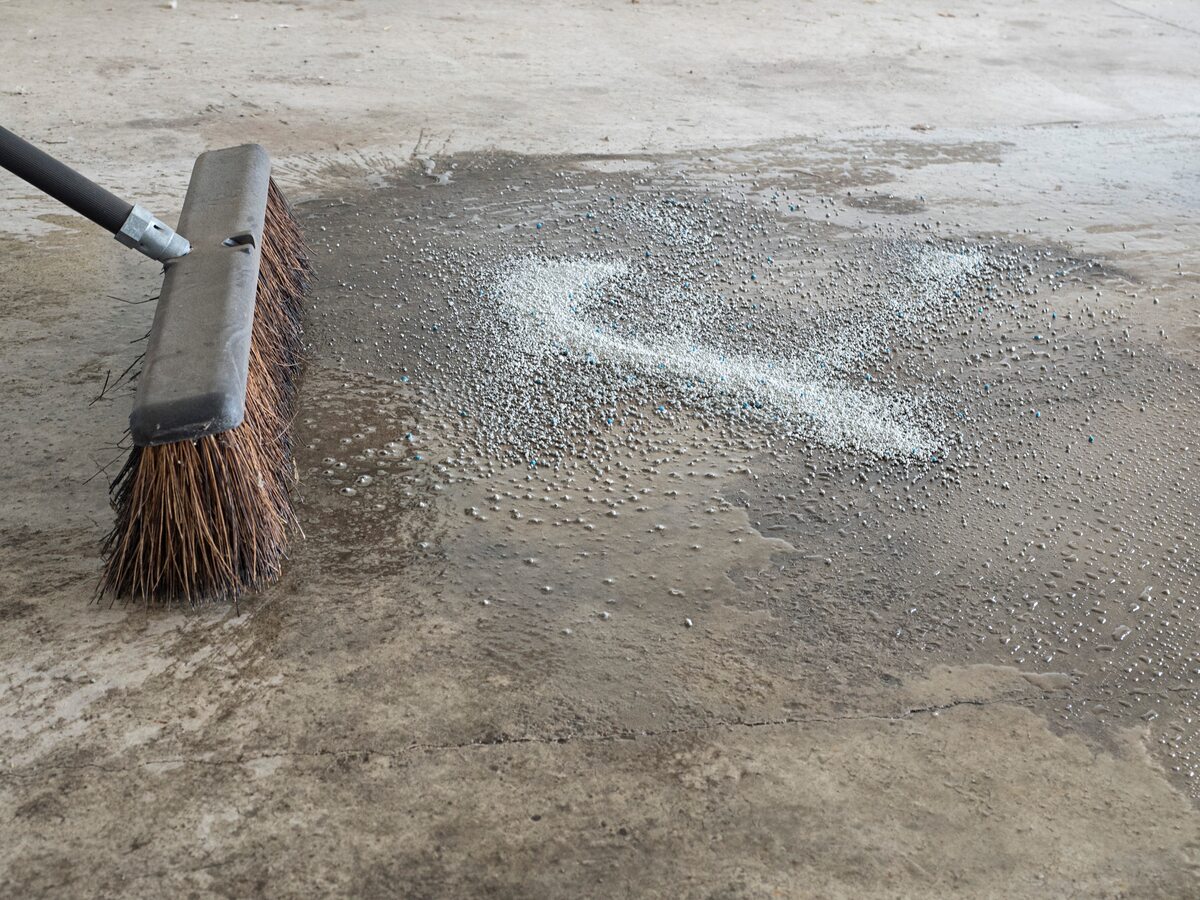
- Grease and oil stains: If you have grease or oil stains on your patio, start by sprinkling a generous amount of cat litter or baking soda on the affected area. Let it sit for a few hours or overnight to absorb the grease. Then, sweep away the litter or baking soda and rinse the area with water. If the stain persists, you can create a paste using vinegar or lemon juice and baking soda, and gently scrub the stain before rinsing.
- Mold and mildew stains: To remove mold and mildew stains, create a mixture of equal parts water and vinegar or bleach. Apply the solution to the affected area and let it sit for a few minutes. Then, scrub the stain with a soft brush or sponge. Rinse the area thoroughly with water to remove any remaining residue.
- Rust stains: For rust stains on your patio, you can use a commercial rust remover or create a paste using lemon juice and salt or baking soda. Apply the paste to the stain, let it sit for a few minutes, and then scrub the area gently. Rinse with water to remove the residue.
- Food and beverage stains: If you have food or beverage stains on your patio, create a mild cleaning solution using water and dish soap. Apply the solution to the stain and gently scrub the area. Rinse with water to remove any remaining residue.
It’s important to note that different stains may require different treatment methods. Always check the manufacturer’s recommendations for your specific patio material before using any cleaning solutions or chemicals.
By following these steps, you can effectively treat stains and restore the cleanliness of your patio. Once the stains are treated, it’s time to move on to the next step: cleaning the pavers.
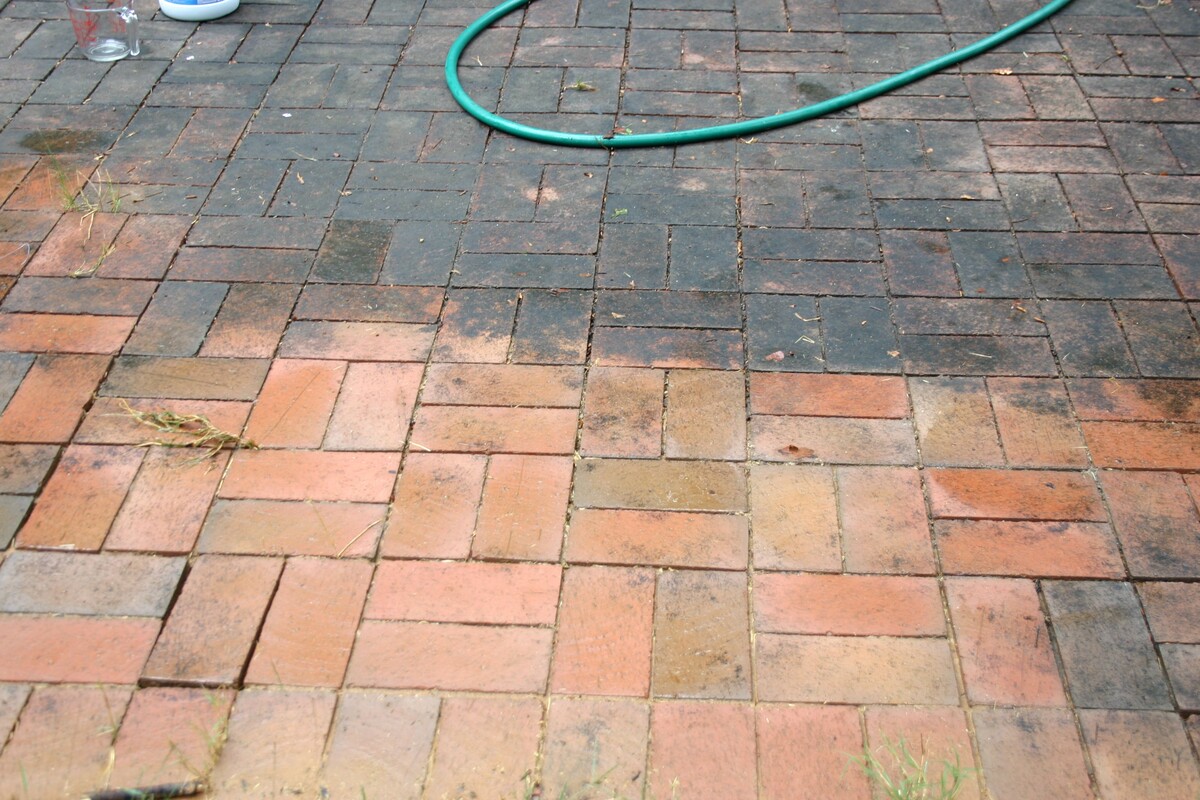
Use a mixture of water and dish soap to scrub the brick pavers, then rinse with a hose. For tough stains, use a solution of water and vinegar. Apply a sealer to protect the pavers from future stains.
Read more: How To Clean Brick Pavers Outside
Cleaning the Pavers
Now that you have removed debris, dirt, and treated any stains on your patio, it’s time to focus on cleaning the pavers themselves. This step will help to restore the vibrancy and beauty of your outdoor space. Follow these steps to clean your pavers:
- Fill a bucket or large container with warm water. Add a few drops of mild detergent or soap and mix well to create a cleaning solution.
- Dip a sponge or soft-bristle brush into the cleaning solution and start scrubbing the pavers. Use gentle circular motions to cover the entire surface of each paver. Pay extra attention to any areas with stubborn dirt or stains.
- If you have a large patio, it may be helpful to work in smaller sections to ensure that you thoroughly clean each area. Once you finish scrubbing a section, rinse it with a garden hose to remove any residue.
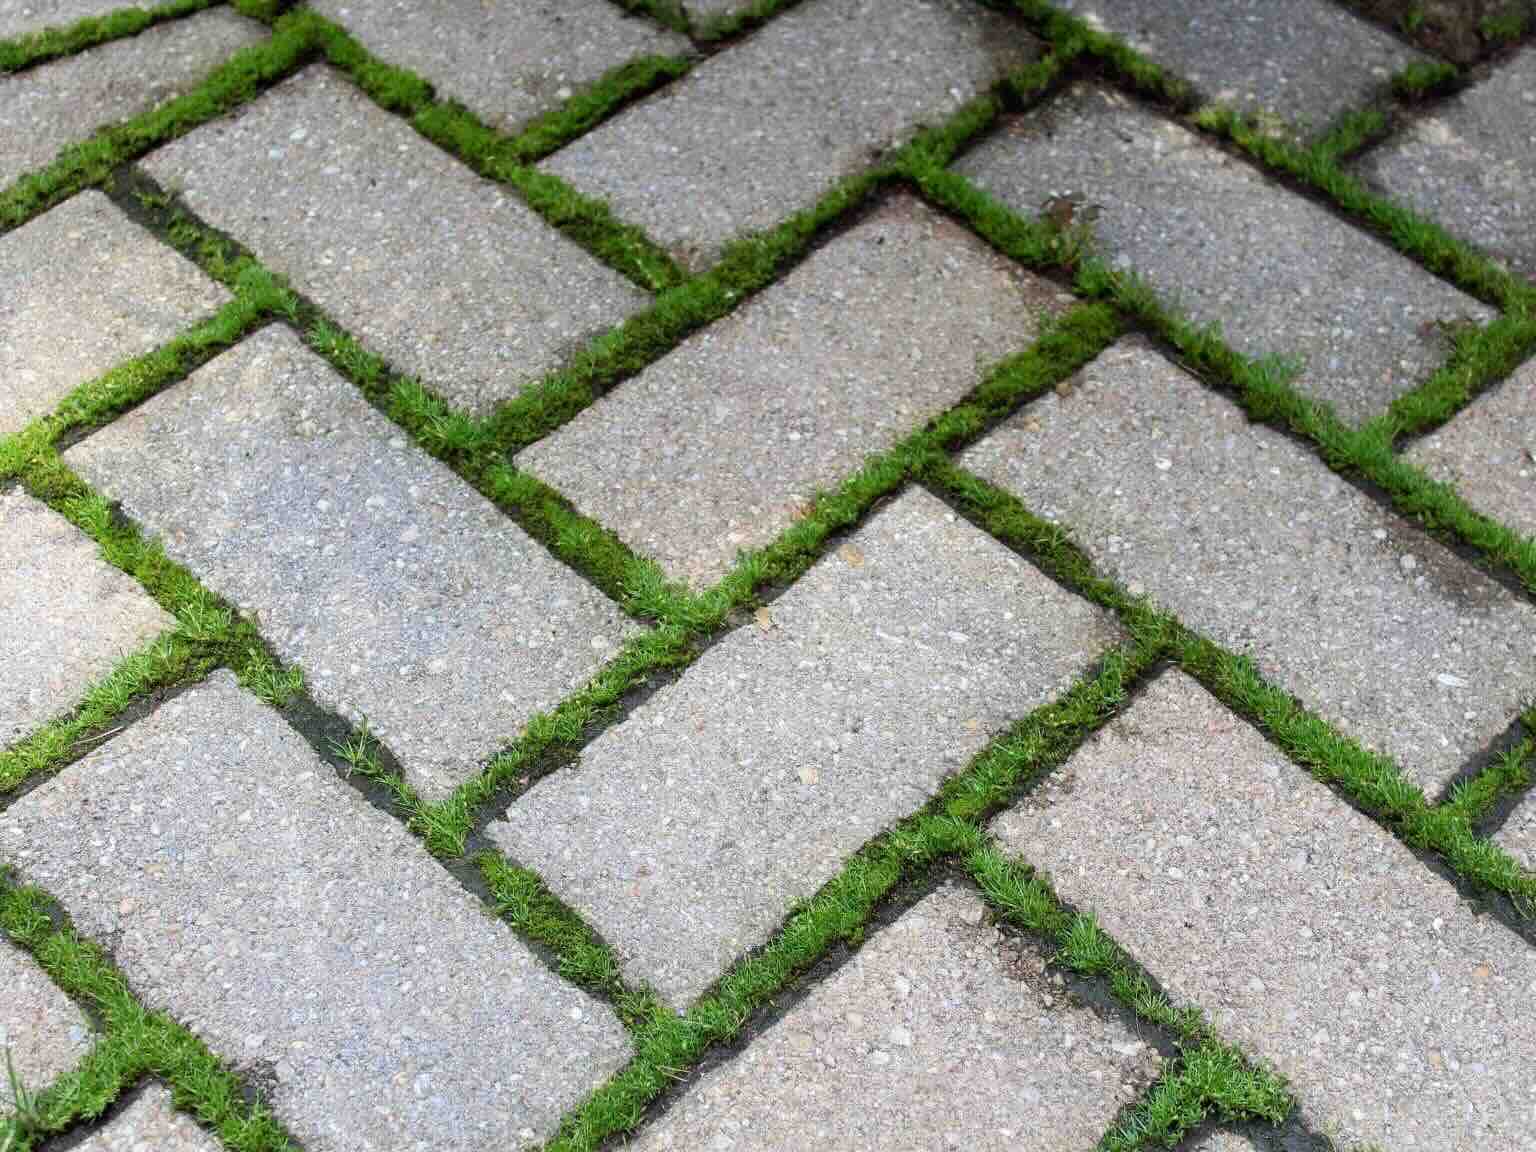
- If there are any areas with moss or weeds growing between the pavers, you can use a weed killer or a mixture of vinegar and water to eliminate them. Apply the solution directly to the affected areas and let it sit for a few minutes before rinsing.
- Once you have cleaned all the pavers, give the entire patio a final rinse with a garden hose to remove any remaining soap or cleaning solution.
It’s important to avoid using harsh chemicals or abrasive cleaners, as they can damage the pavers or discolor them. Always choose gentle cleaning solutions and tools to protect the integrity of your outdoor furniture and pavers.
After cleaning the pavers, allow them to dry completely before moving on to the next step: sealing the patio.
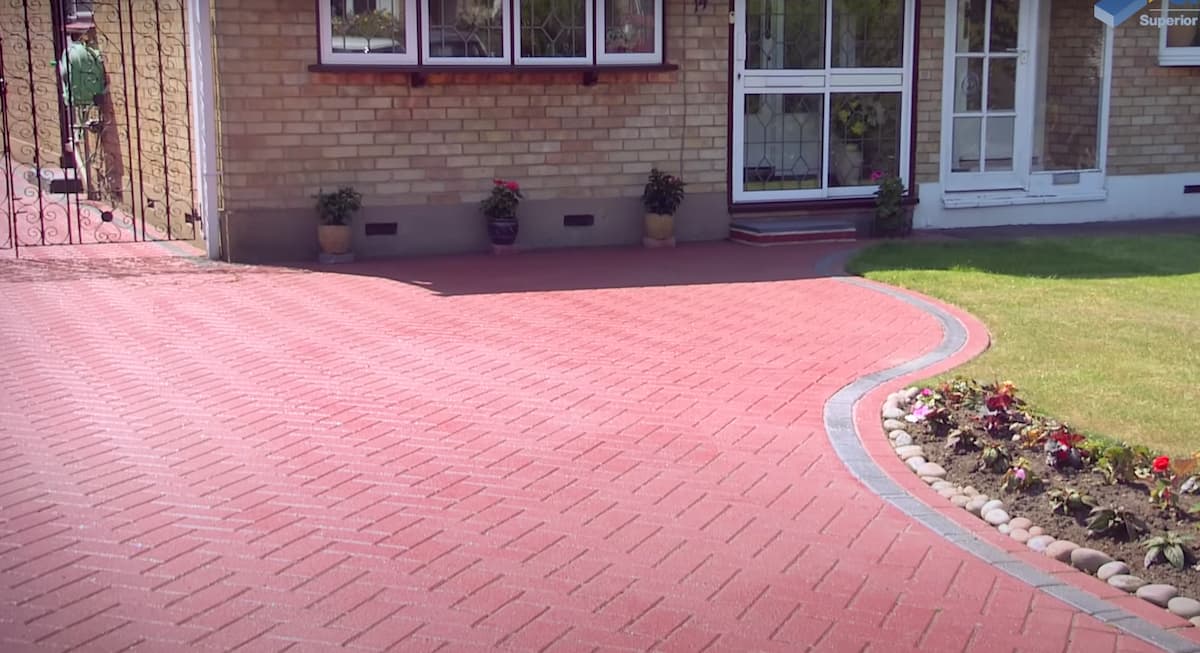
Sealing the Patio
Sealing your patio is an important step in maintaining its appearance and protecting it from the elements. The sealant acts as a barrier, preventing dirt, stains, and moisture from penetrating the surface of the pavers, thus extending their lifespan. Follow these steps to seal your patio:
- Choose a suitable sealant for your patio material. There are various types of sealants available, such as acrylic-based or solvent-based sealants. Read the manufacturer’s instructions and select the one that is recommended for your specific patio material.
- Ensure that the patio is clean and completely dry before applying the sealant. This will ensure proper adhesion and penetration of the sealant into the pavers.
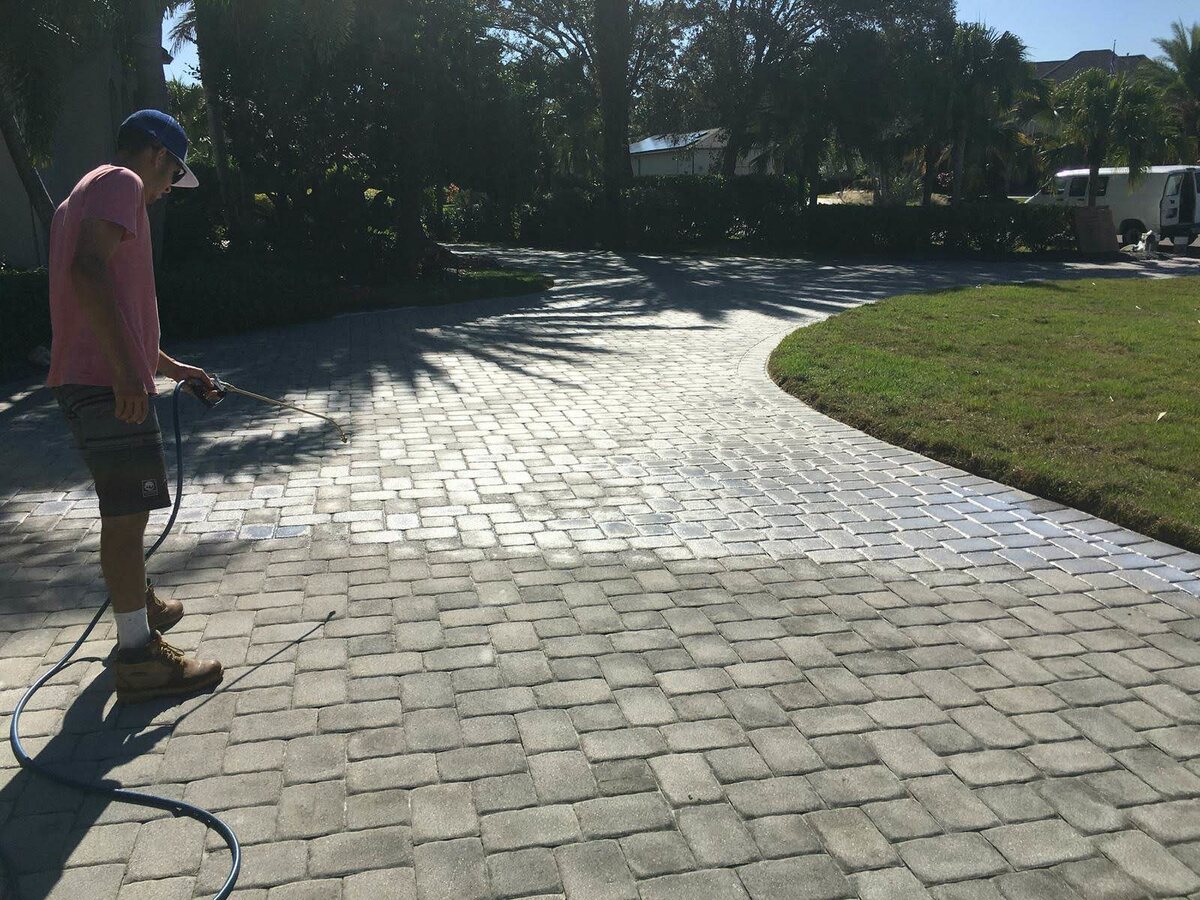
- Using a paint roller or a sprayer, apply a thin and even coat of the sealant to the surface of the pavers. Work in small sections and be careful not to apply too much sealant, as it may lead to a sticky or uneven finish.
- Allow the sealant to dry according to the manufacturer’s instructions. This typically takes a few hours or overnight, depending on the brand and weather conditions.
- If desired, apply a second coat of sealant for extra protection. Again, follow the manufacturer’s instructions regarding drying time between coats.
Sealing your patio is not a one-time task. It is recommended to reapply the sealant every 1-2 years, or as directed by the manufacturer, to maintain its effectiveness.
By sealing your patio, you will help to prevent stains, fading, and weathering, ultimately keeping your outdoor space looking its best and increasing its longevity.
Now that you have sealed your patio, let’s move on to some important maintenance tips to ensure your outdoor furniture stays in top shape.
Maintenance Tips
To keep your outdoor furniture in optimal condition, regular maintenance is key. Here are some essential maintenance tips to follow:
- Regularly clean your outdoor furniture to remove dirt and debris. This can be done with a mild detergent or soap and water. Simply wipe down the surfaces with a sponge or soft cloth and rinse with a hose.
- For wooden furniture, apply a protective sealant or wood oil once a year to enhance its durability and prevent cracking or fading. Follow the manufacturer’s instructions for the specific product you are using.
- Protect your furniture from extreme weather conditions. If possible, store or cover your furniture during severe weather such as heavy rain, snow, or strong UV rays. This will help to prevent damage and extend the lifespan of your furniture.
- Inspect your furniture regularly for any signs of damage, such as loose screws or splintered wood. Repair or replace any damaged parts promptly to avoid further deterioration.
- When not in use, consider using furniture covers to protect your outdoor furniture from dust, pollen, and other debris. This will make the cleaning process easier and maintain the overall cleanliness of your furniture.
- Take precautions to prevent rust on metal furniture by applying a rust-resistant spray or wax. Regularly inspect metal furniture for any signs of rust and address it promptly to prevent spreading.
- Protect cushions and upholstery from sun exposure and moisture by using covers or storing them indoors when not in use. This will help to prevent fading, mildew, and mold growth.
- When arranging your furniture, consider the layout and weight distribution to avoid any uneven impact that may cause damage or imbalance.
- For outdoor fabric cushions and pillows, check the care instructions provided by the manufacturer. Some may be machine washable, while others may require spot cleaning or professional cleaning.
Following these maintenance tips will help to preserve the beauty and functionality of your outdoor furniture, ensuring many years of enjoyment.
Now that you’re armed with the knowledge to maintain and care for your outdoor furniture, it’s time to put it into practice and transform your outdoor space into a haven of comfort and style!
Conclusion
Cleaning and maintaining your outdoor furniture is an essential part of ensuring its longevity and keeping your outdoor space looking beautiful. By following the tips and techniques outlined in this article, you can effectively clean, treat stains, and protect your patio and furniture.
Remember to gather the necessary tools and materials before you begin and take the time to properly prepare your patio for cleaning. Removing debris and loose dirt is the first step, followed by treating any stains that may be present. Cleaning the pavers and sealing the patio will help restore the vibrancy and protect the surface from future damage.
Regular maintenance and proper care are crucial in prolonging the life of your outdoor furniture. Cleaning it regularly, protecting it from harsh weather conditions, and addressing any damage or issues promptly will ensure that your furniture remains in top shape for years to come.
Whether you have a cozy balcony, a sprawling backyard, or a charming patio, taking care of your outdoor furniture will enhance your outdoor living experience and create a welcoming environment for relaxation and entertainment.
So, roll up your sleeves, get your cleaning supplies ready, and enjoy transforming your outdoor space into a haven of comfort and style. Happy cleaning!
Frequently Asked Questions about How To Clean Brick Pavers Patio
Was this page helpful?
At Storables.com, we guarantee accurate and reliable information. Our content, validated by Expert Board Contributors, is crafted following stringent Editorial Policies. We're committed to providing you with well-researched, expert-backed insights for all your informational needs.
0 thoughts on “How To Clean Brick Pavers Patio”