Home>Construction & Tools>Building Materials>How To Seal Brick Pavers
Building Materials
How To Seal Brick Pavers
Modified: February 17, 2024
Learn how to seal brick pavers for long-lasting protection and enhanced appearance. Find the best building materials and techniques for sealing brick pavers.
(Many of the links in this article redirect to a specific reviewed product. Your purchase of these products through affiliate links helps to generate commission for Storables.com, at no extra cost. Learn more)
Introduction
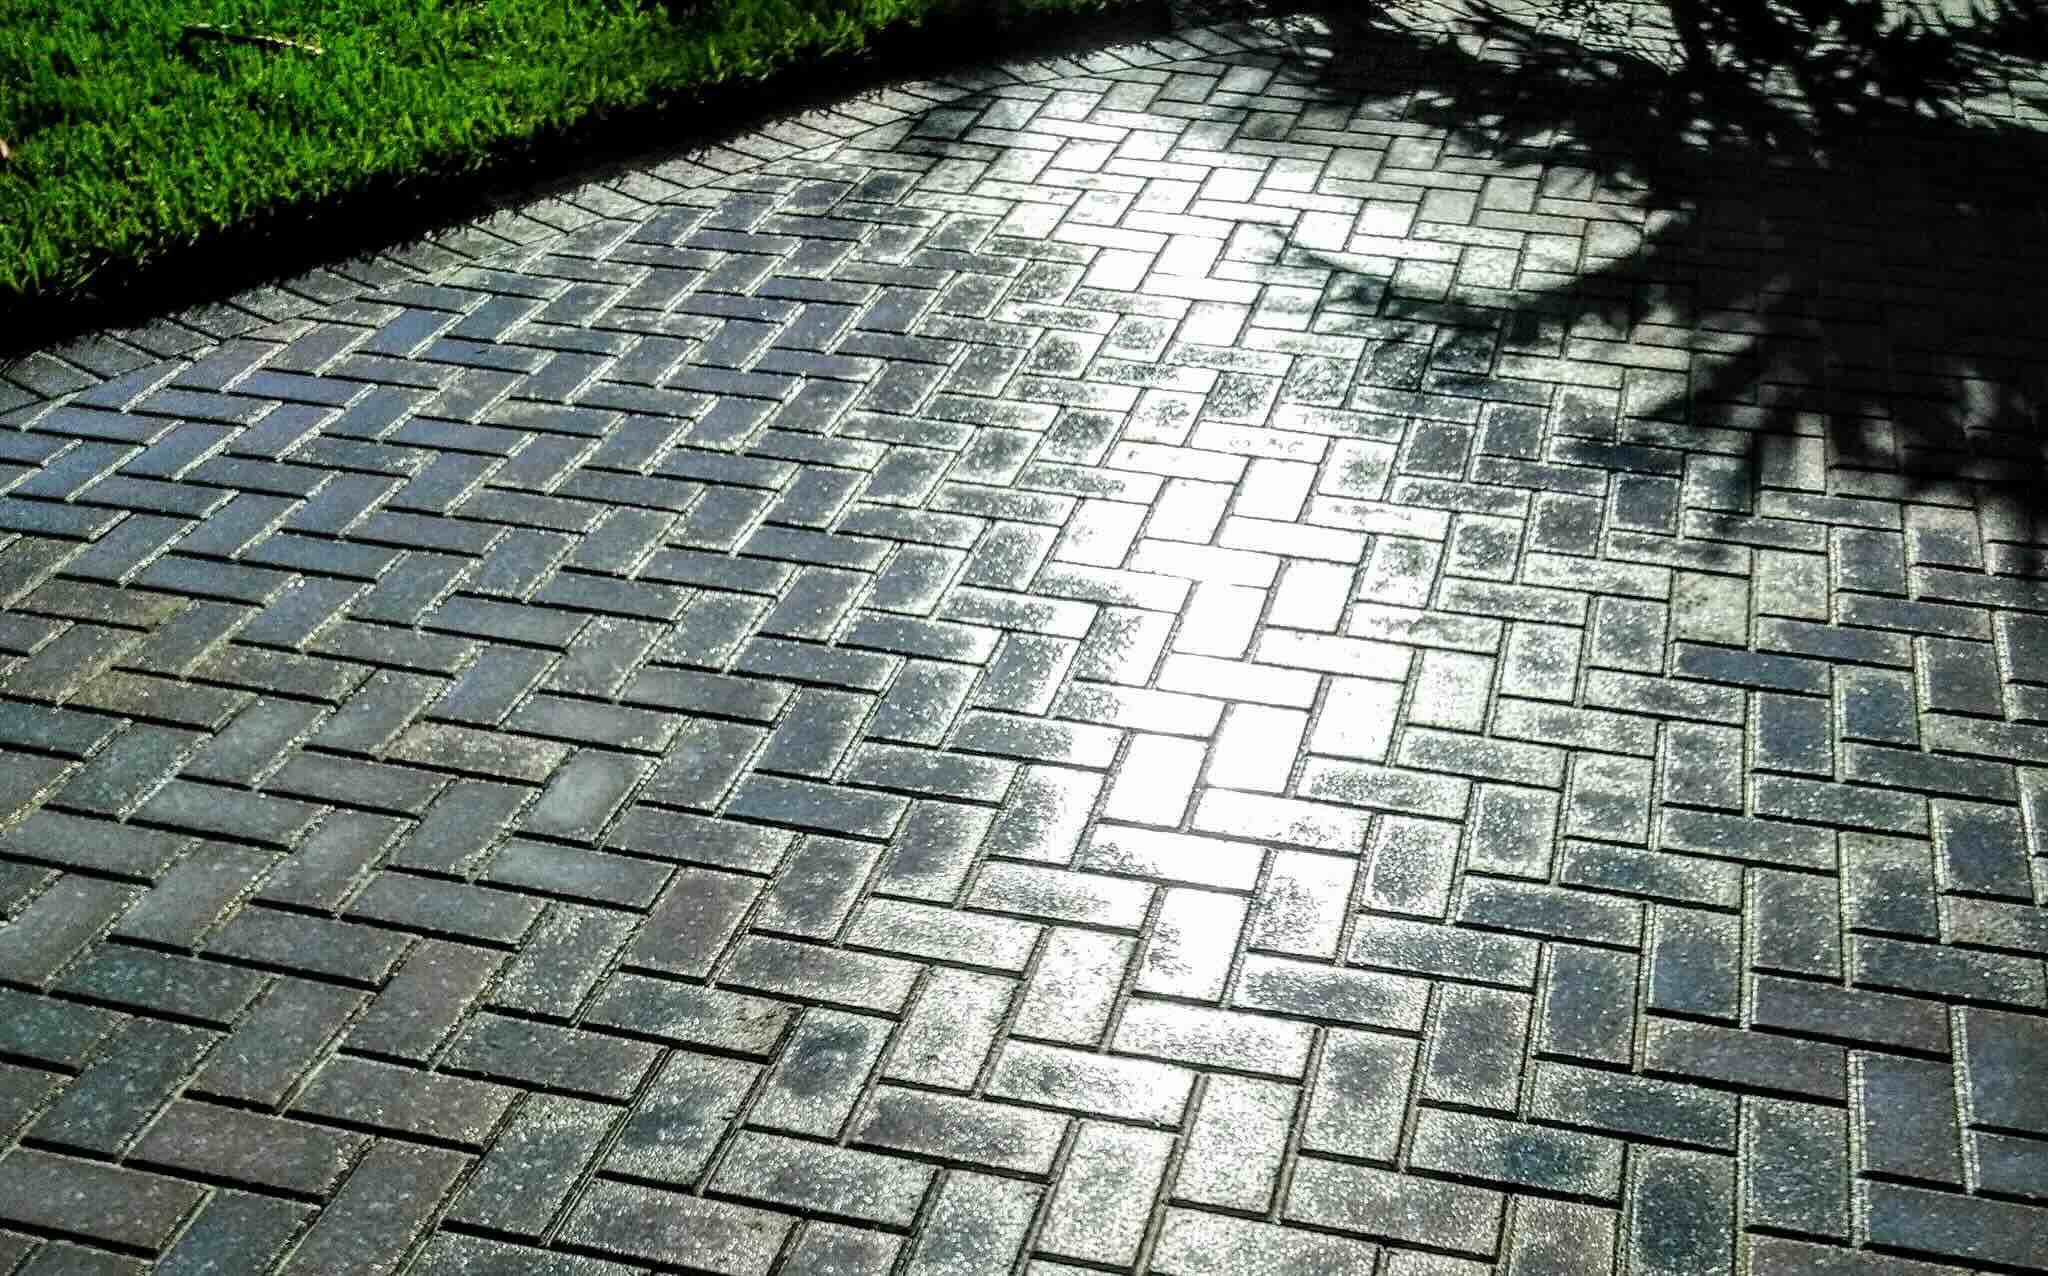
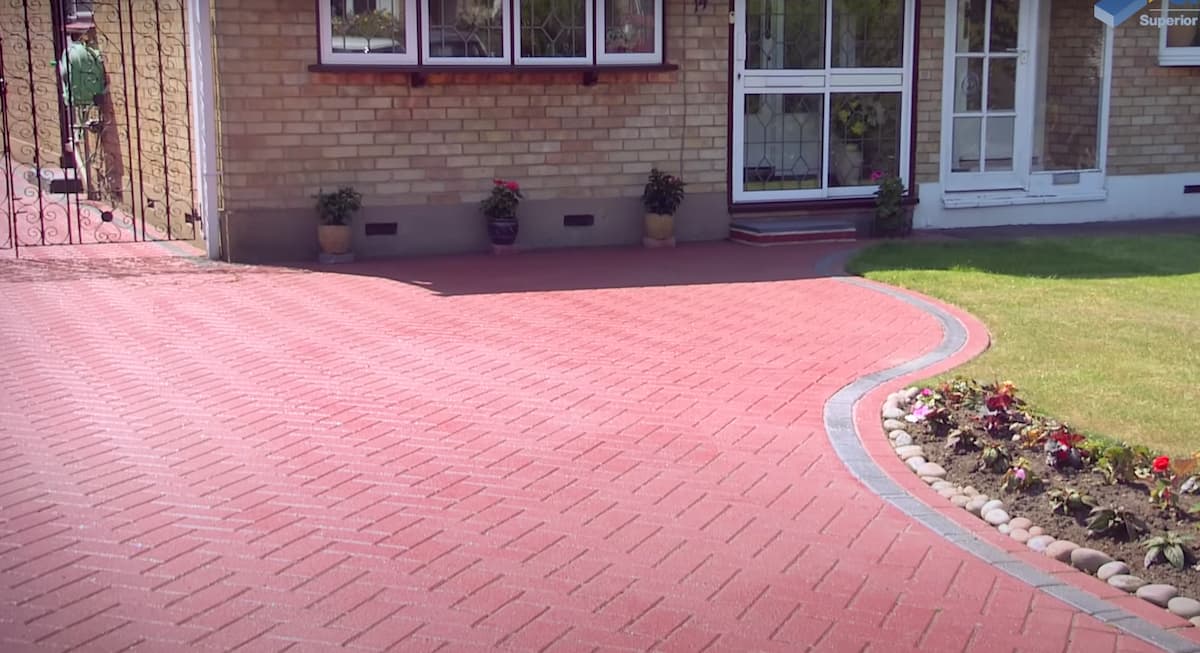
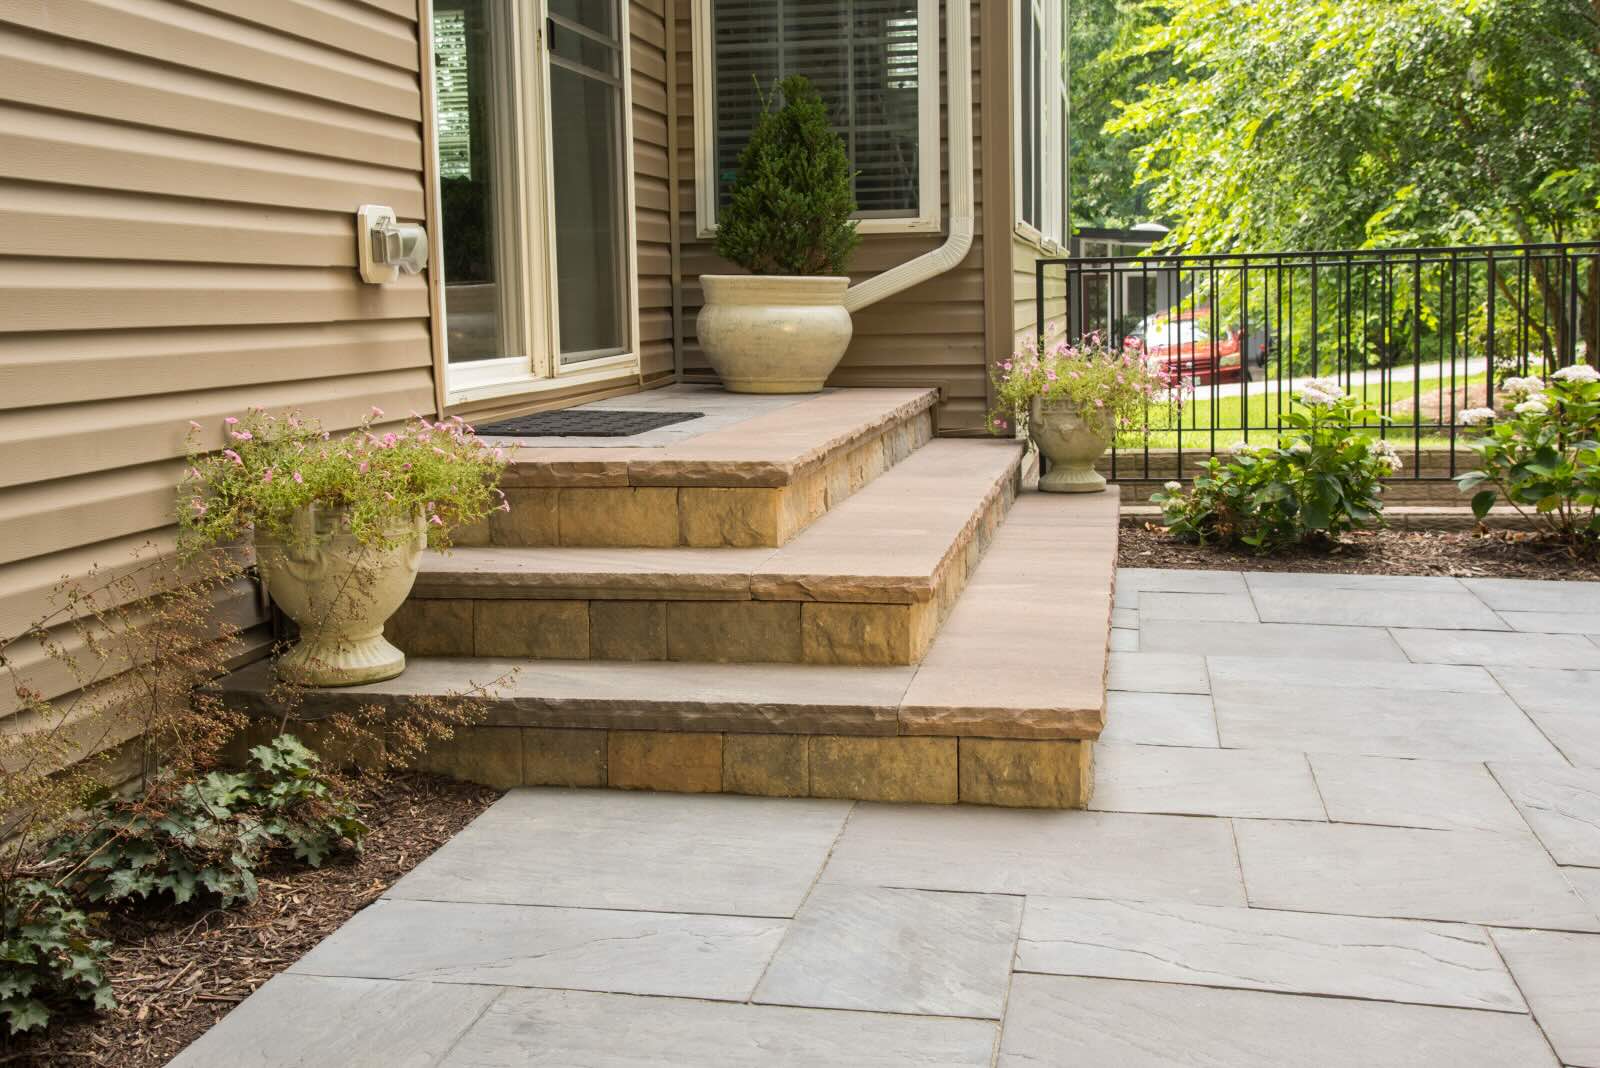
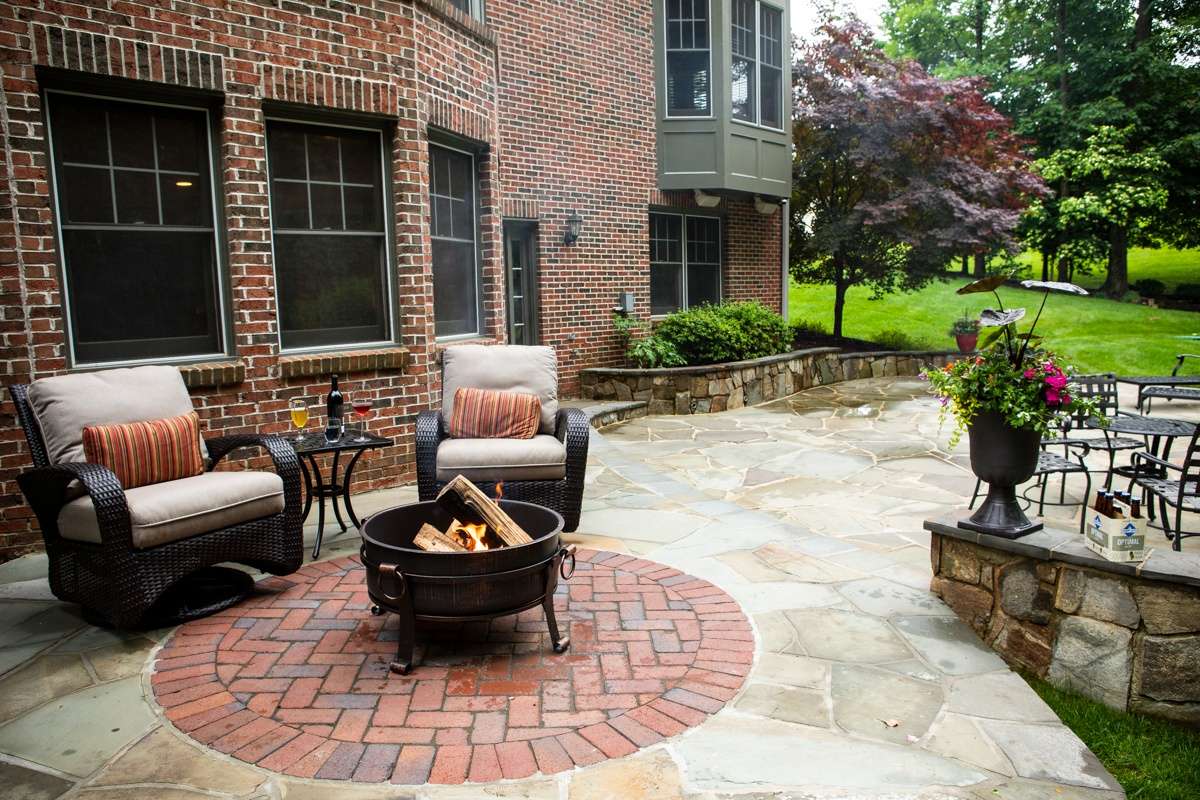
When it comes to enhancing the longevity and visual appeal of your brick pavers, sealing them is a crucial step. Whether you have a stunning brick patio, a charming walkway, or a durable driveway constructed with brick pavers, sealing them can protect against wear and tear while enriching their natural beauty. This comprehensive guide will walk you through the process of sealing your brick pavers, ensuring that you achieve professional results and enjoy the benefits for years to come.
Sealing your brick pavers offers a myriad of advantages, including protection from harsh weather conditions, resistance to stains and spills, and the prevention of weed growth and insect infestation. By following the steps outlined in this guide, you will not only safeguard your investment but also elevate the overall aesthetic of your outdoor spaces.
In the following sections, we will delve into the essential steps for sealing brick pavers, from thorough cleaning and repair to the application of the sealer and the subsequent drying process. Additionally, we will explore the option of applying a second coat for an added layer of protection and durability. By the end of this guide, you will be equipped with the knowledge and confidence to effectively seal your brick pavers, ensuring their resilience and enhancing their allure for years to come.
Key Takeaways:
- Sealing brick pavers protects them from damage and enhances their natural beauty. By following the steps in this guide, you can ensure long-lasting resilience and a captivating outdoor space.
- Meticulous cleaning, repairing, and applying a high-quality sealer are essential for achieving a durable and visually appealing seal. With patience and precision, you can fortify your brick pavers for years to come.
Read more: What Is A Brick Paver
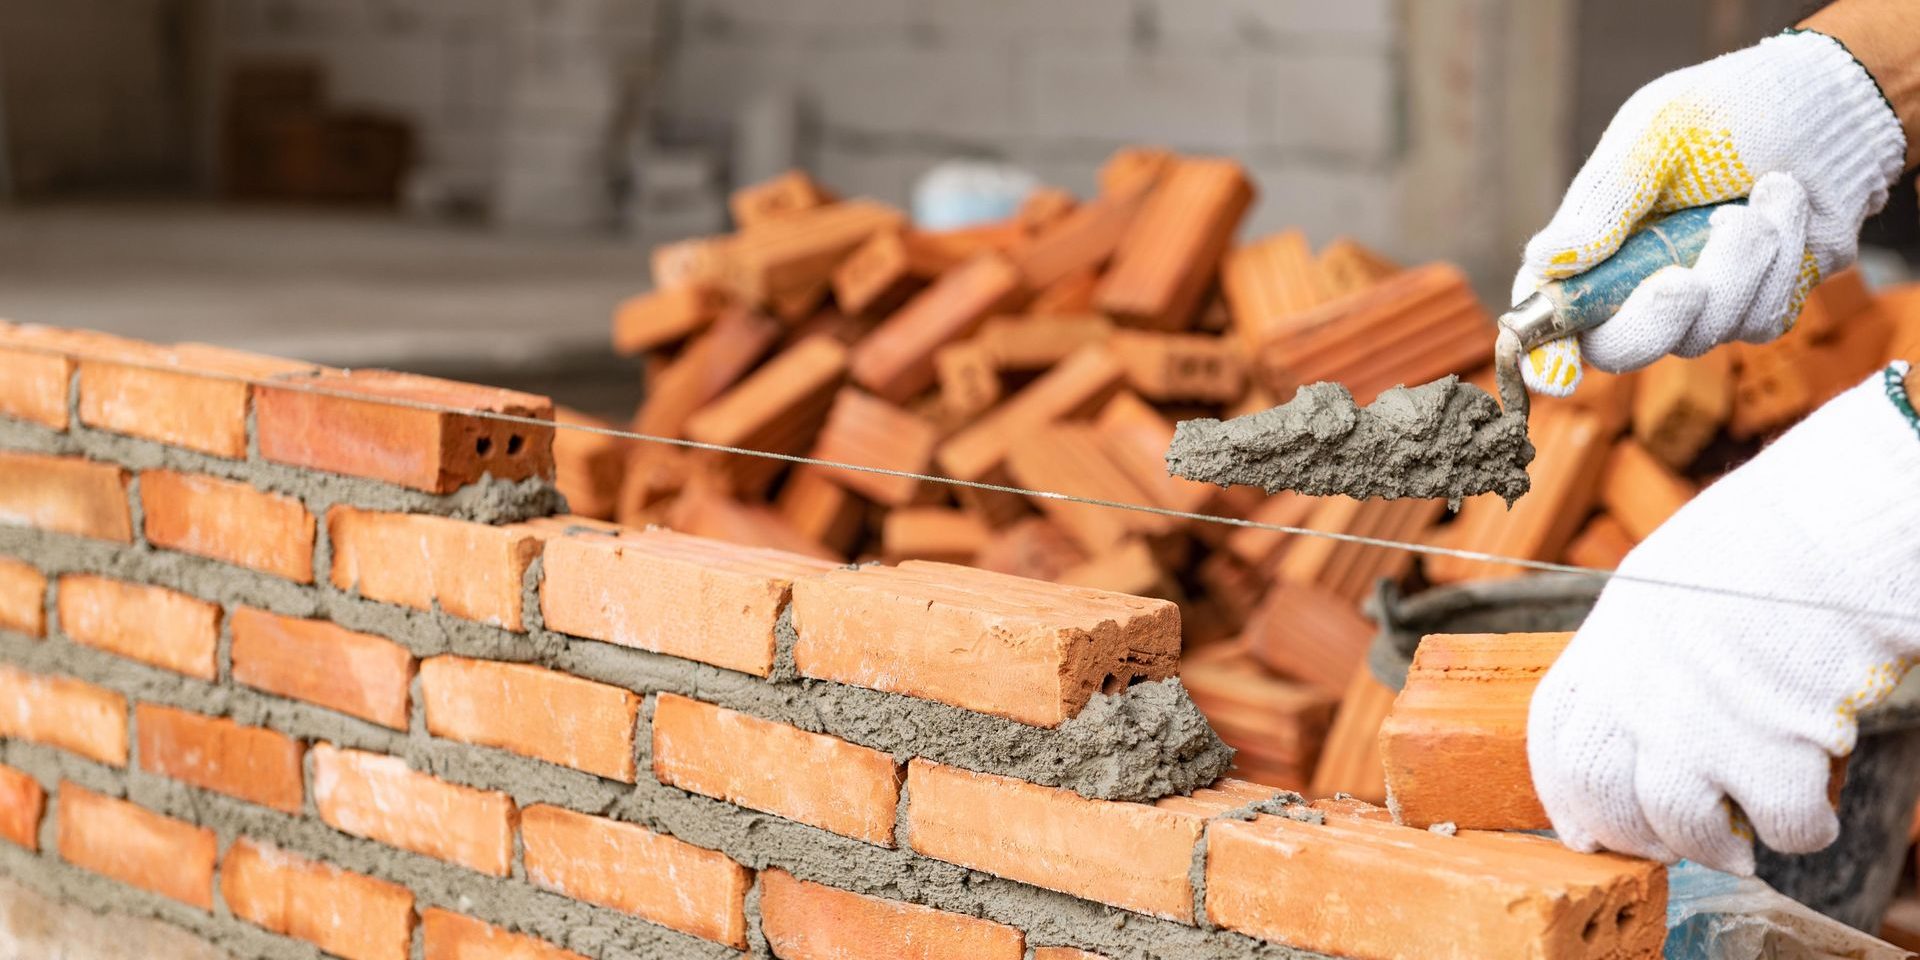
Step 1: Clean the Pavers
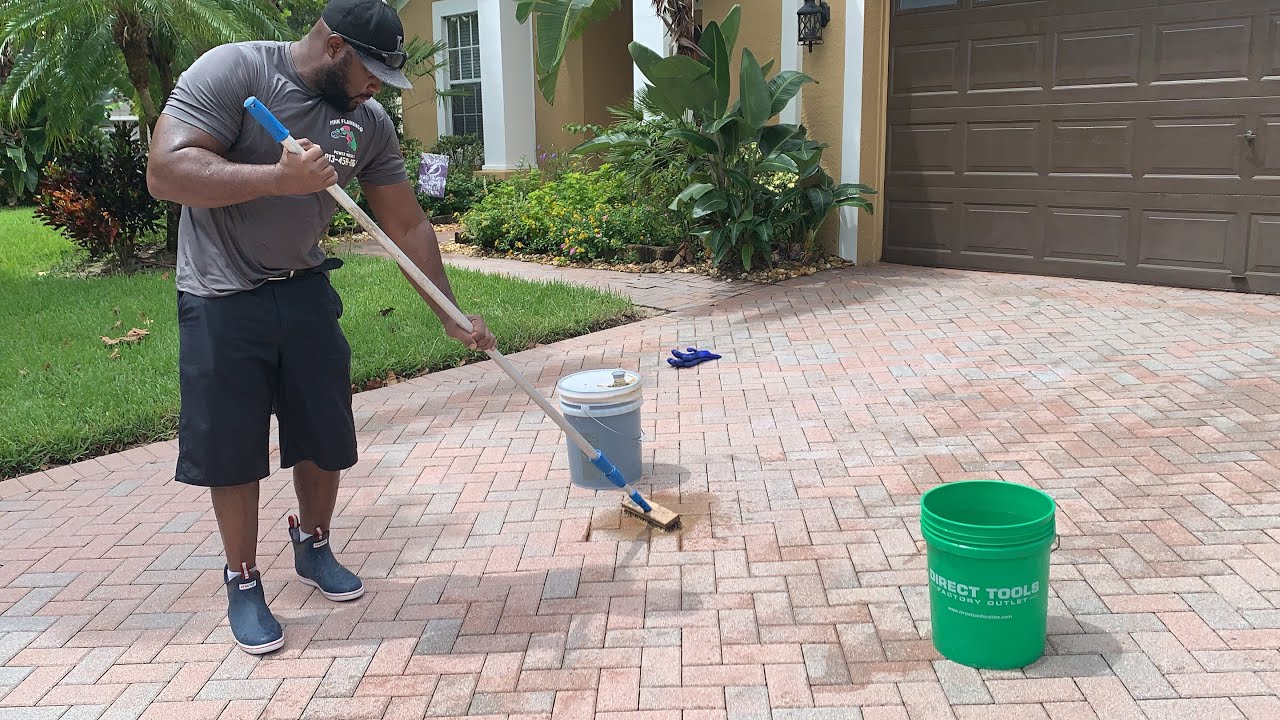
Before sealing your brick pavers, it is essential to start with a clean surface. Over time, dirt, grime, and organic matter can accumulate on the pavers, diminishing their appearance and hindering the effectiveness of the sealer. To begin the cleaning process, sweep the pavers thoroughly to remove loose debris and dirt. Next, utilize a high-pressure washer to eliminate embedded dirt, stains, and any residual sealer from previous applications. Ensure that the water pressure is suitable for pavers to prevent damage.
If stubborn stains persist, you can apply a paver cleaner specifically designed to dissolve tough grime and stains. Follow the manufacturer’s instructions for the appropriate dwell time and dilution ratio. Using a stiff-bristled brush, scrub the cleaner into the affected areas to loosen the stains effectively. Once the cleaning solution has had ample time to work, thoroughly rinse the pavers with clean water, ensuring that all traces of the cleaner are removed.
After the pavers have been cleaned and rinsed, allow them to dry completely before proceeding to the next step. This may involve waiting for a day or two, depending on the weather conditions. It is crucial to commence the sealing process only when the pavers are entirely dry to ensure optimal adhesion and penetration of the sealer.
By meticulously cleaning your brick pavers, you pave the way for a successful sealing process. Not only does this promote the longevity of the sealer, but it also revitalizes the appearance of the pavers, allowing their natural colors and textures to shine through. With the pavers now primed and devoid of any contaminants, you are ready to move on to the subsequent steps in the sealing process.
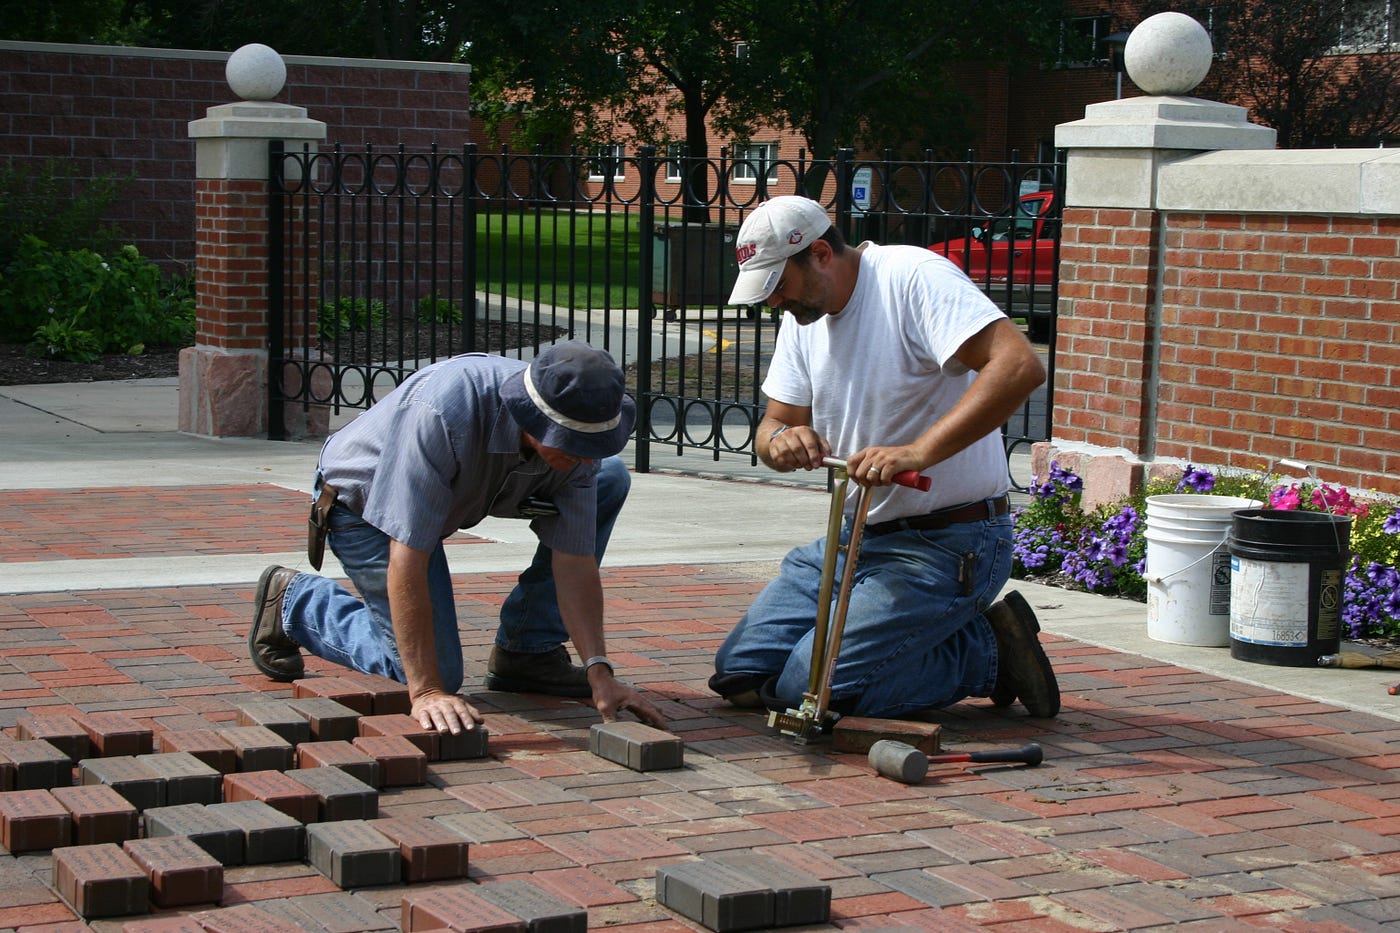
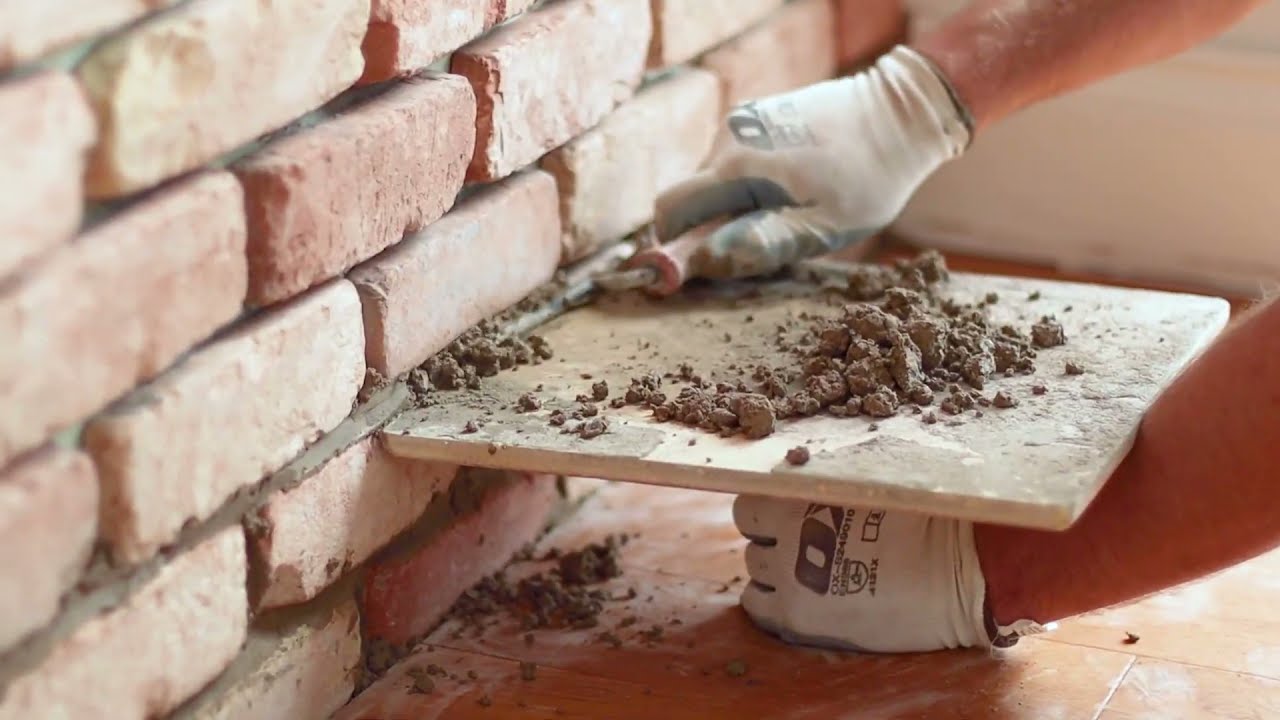
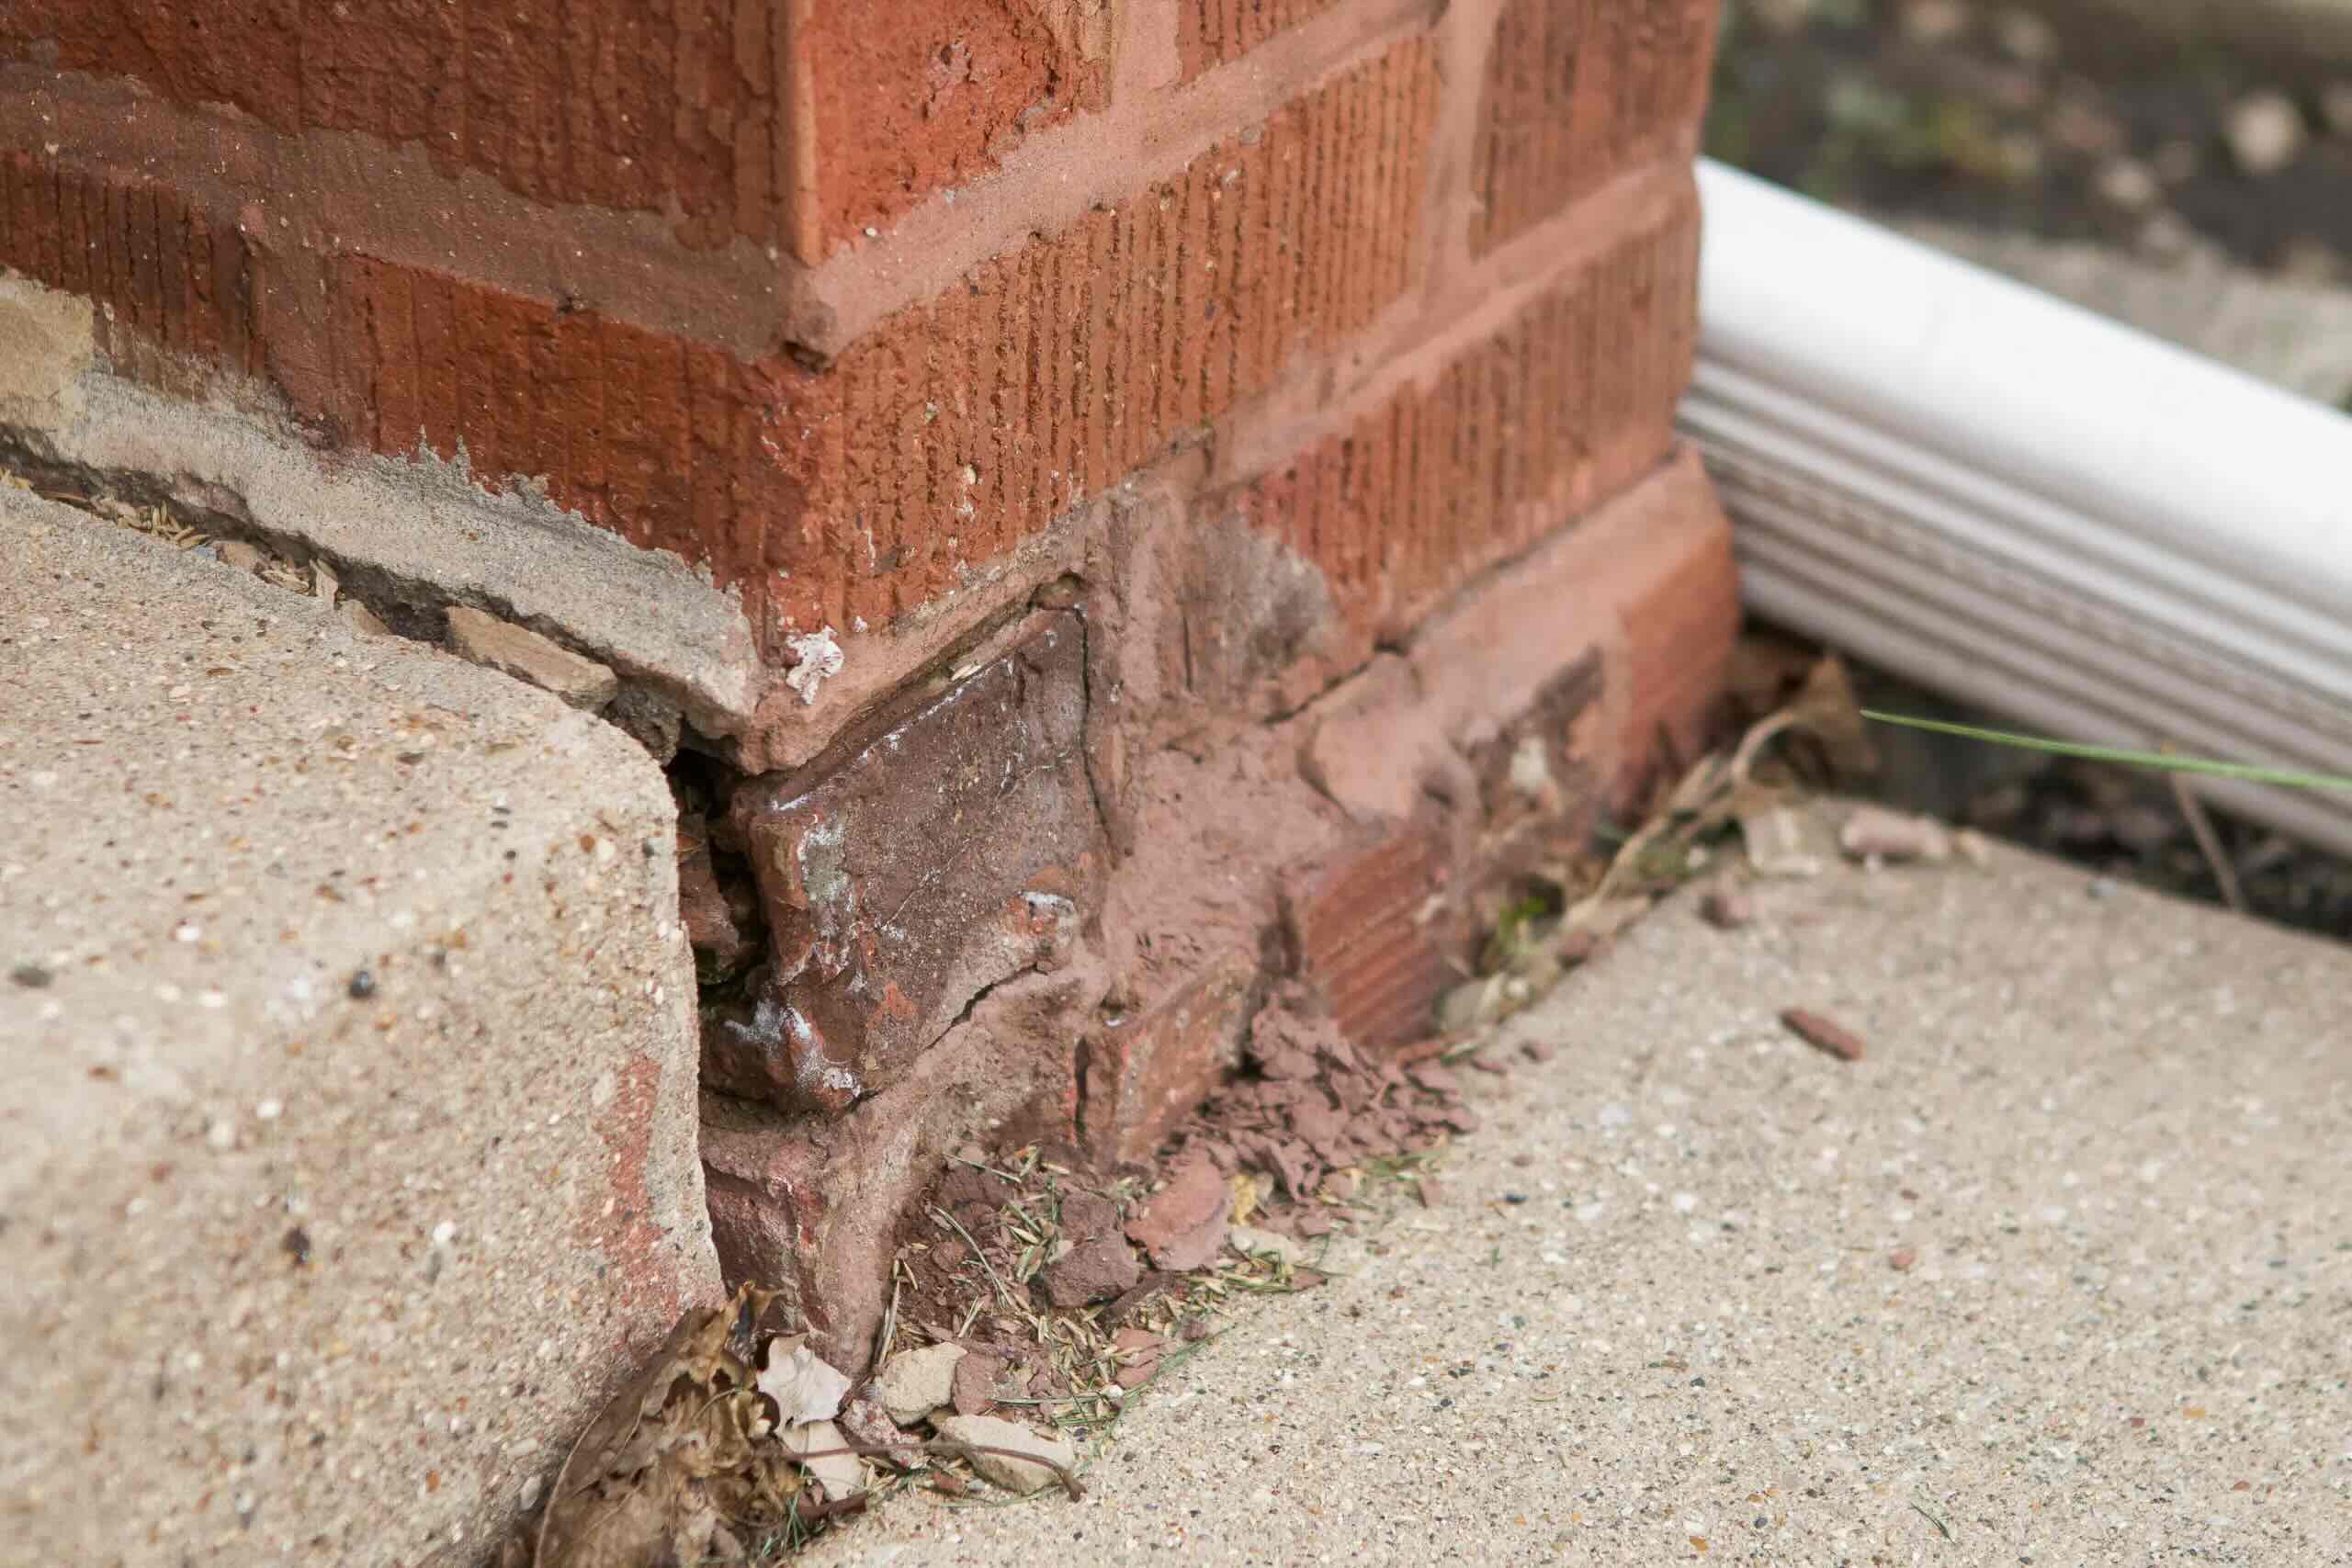
Step 2: Repair Any Damaged Pavers
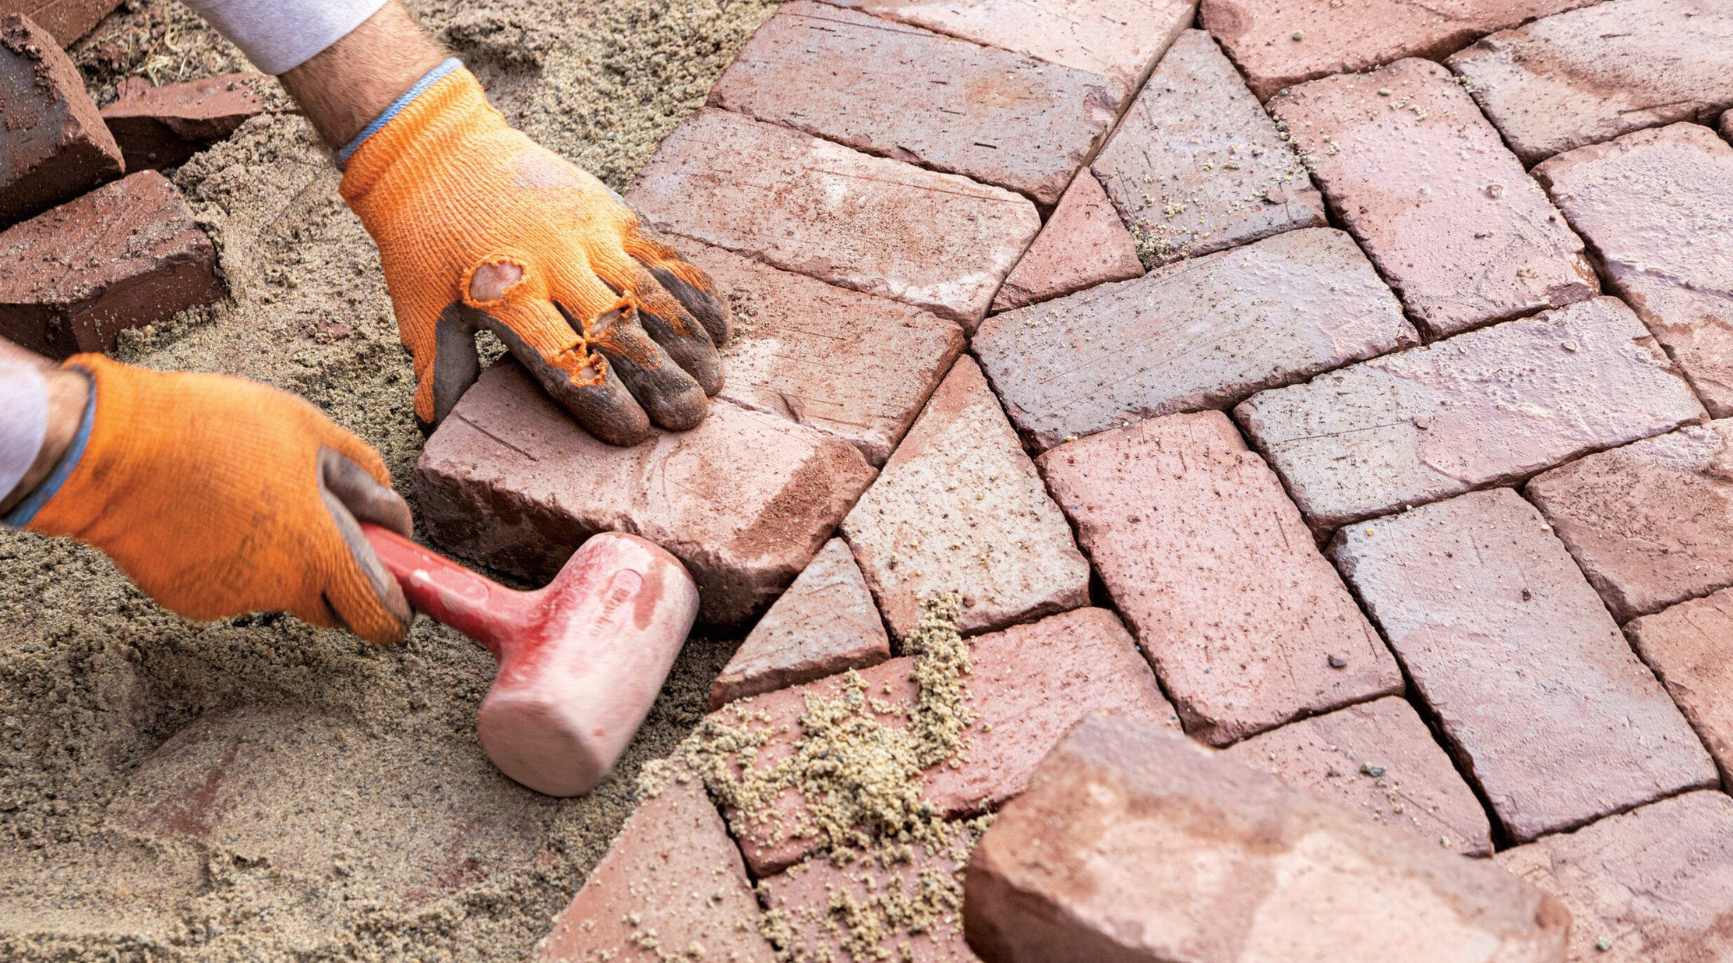
Inspecting and addressing any damaged or uneven pavers is a crucial preparatory step before sealing. Over time, pavers may become chipped, cracked, or displaced, detracting from both the visual appeal and structural integrity of the surface. Begin by carefully examining the entire area, identifying any pavers that require attention.
If you encounter chipped or cracked pavers, it is advisable to replace them with new ones to ensure a seamless and uniform appearance. Utilize a chisel and hammer to carefully remove the damaged pavers, taking care not to disturb the surrounding ones. Once the damaged pavers have been removed, clean the area thoroughly to eliminate any debris or residual mortar.
When installing the new pavers, ensure that they are level with the existing ones, using a rubber mallet to gently tap them into place. To secure the pavers, apply a layer of polymeric sand over the entire surface, ensuring that it fills the joints completely. Compact the sand by using a vibrating plate compactor, which will effectively stabilize the pavers and prevent movement over time.
In the case of uneven pavers, where certain areas may have settled or heaved, it is essential to address the underlying cause before proceeding with the sealing process. By lifting the affected pavers and adjusting the base material as necessary, you can restore a level and stable foundation for the pavers. This meticulous approach ensures that the pavers are structurally sound and aesthetically pleasing, setting the stage for a successful sealing application.
By meticulously repairing any damaged or uneven pavers, you not only enhance the overall appearance of the surface but also lay the groundwork for a durable and long-lasting seal. This proactive approach contributes to the structural integrity of the pavers, ensuring that they withstand the test of time while exuding a flawless and inviting allure.
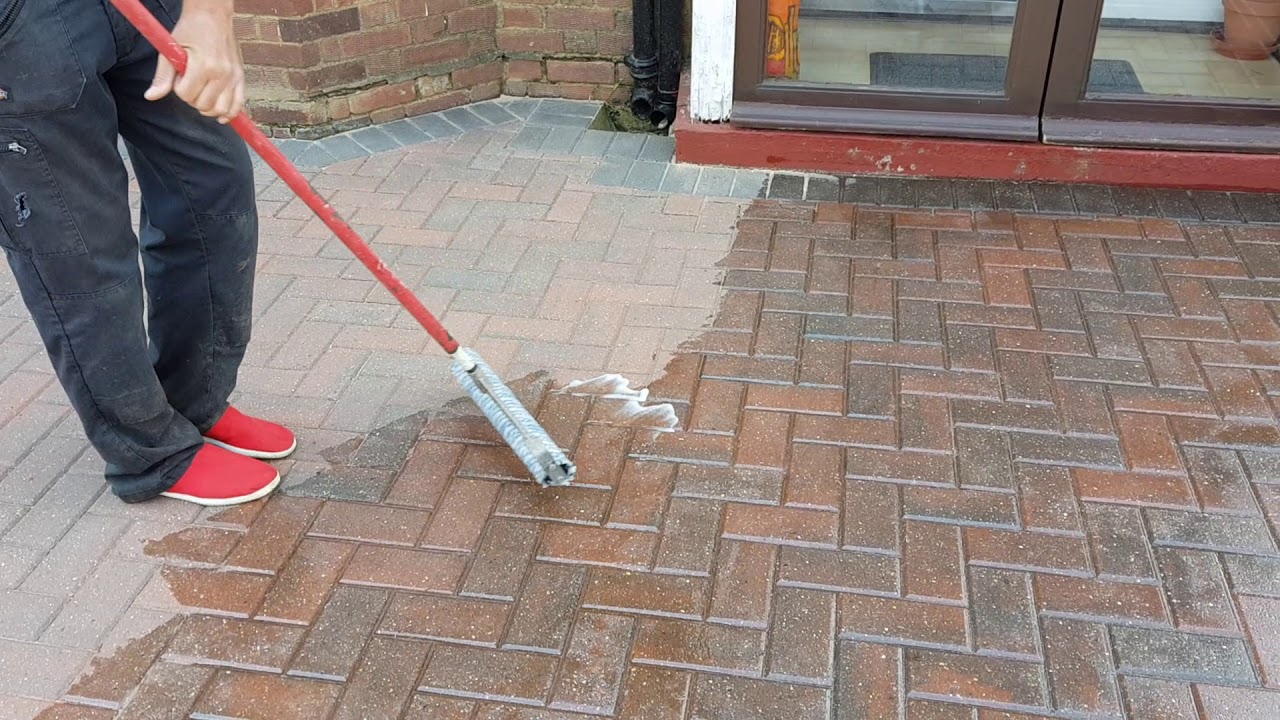
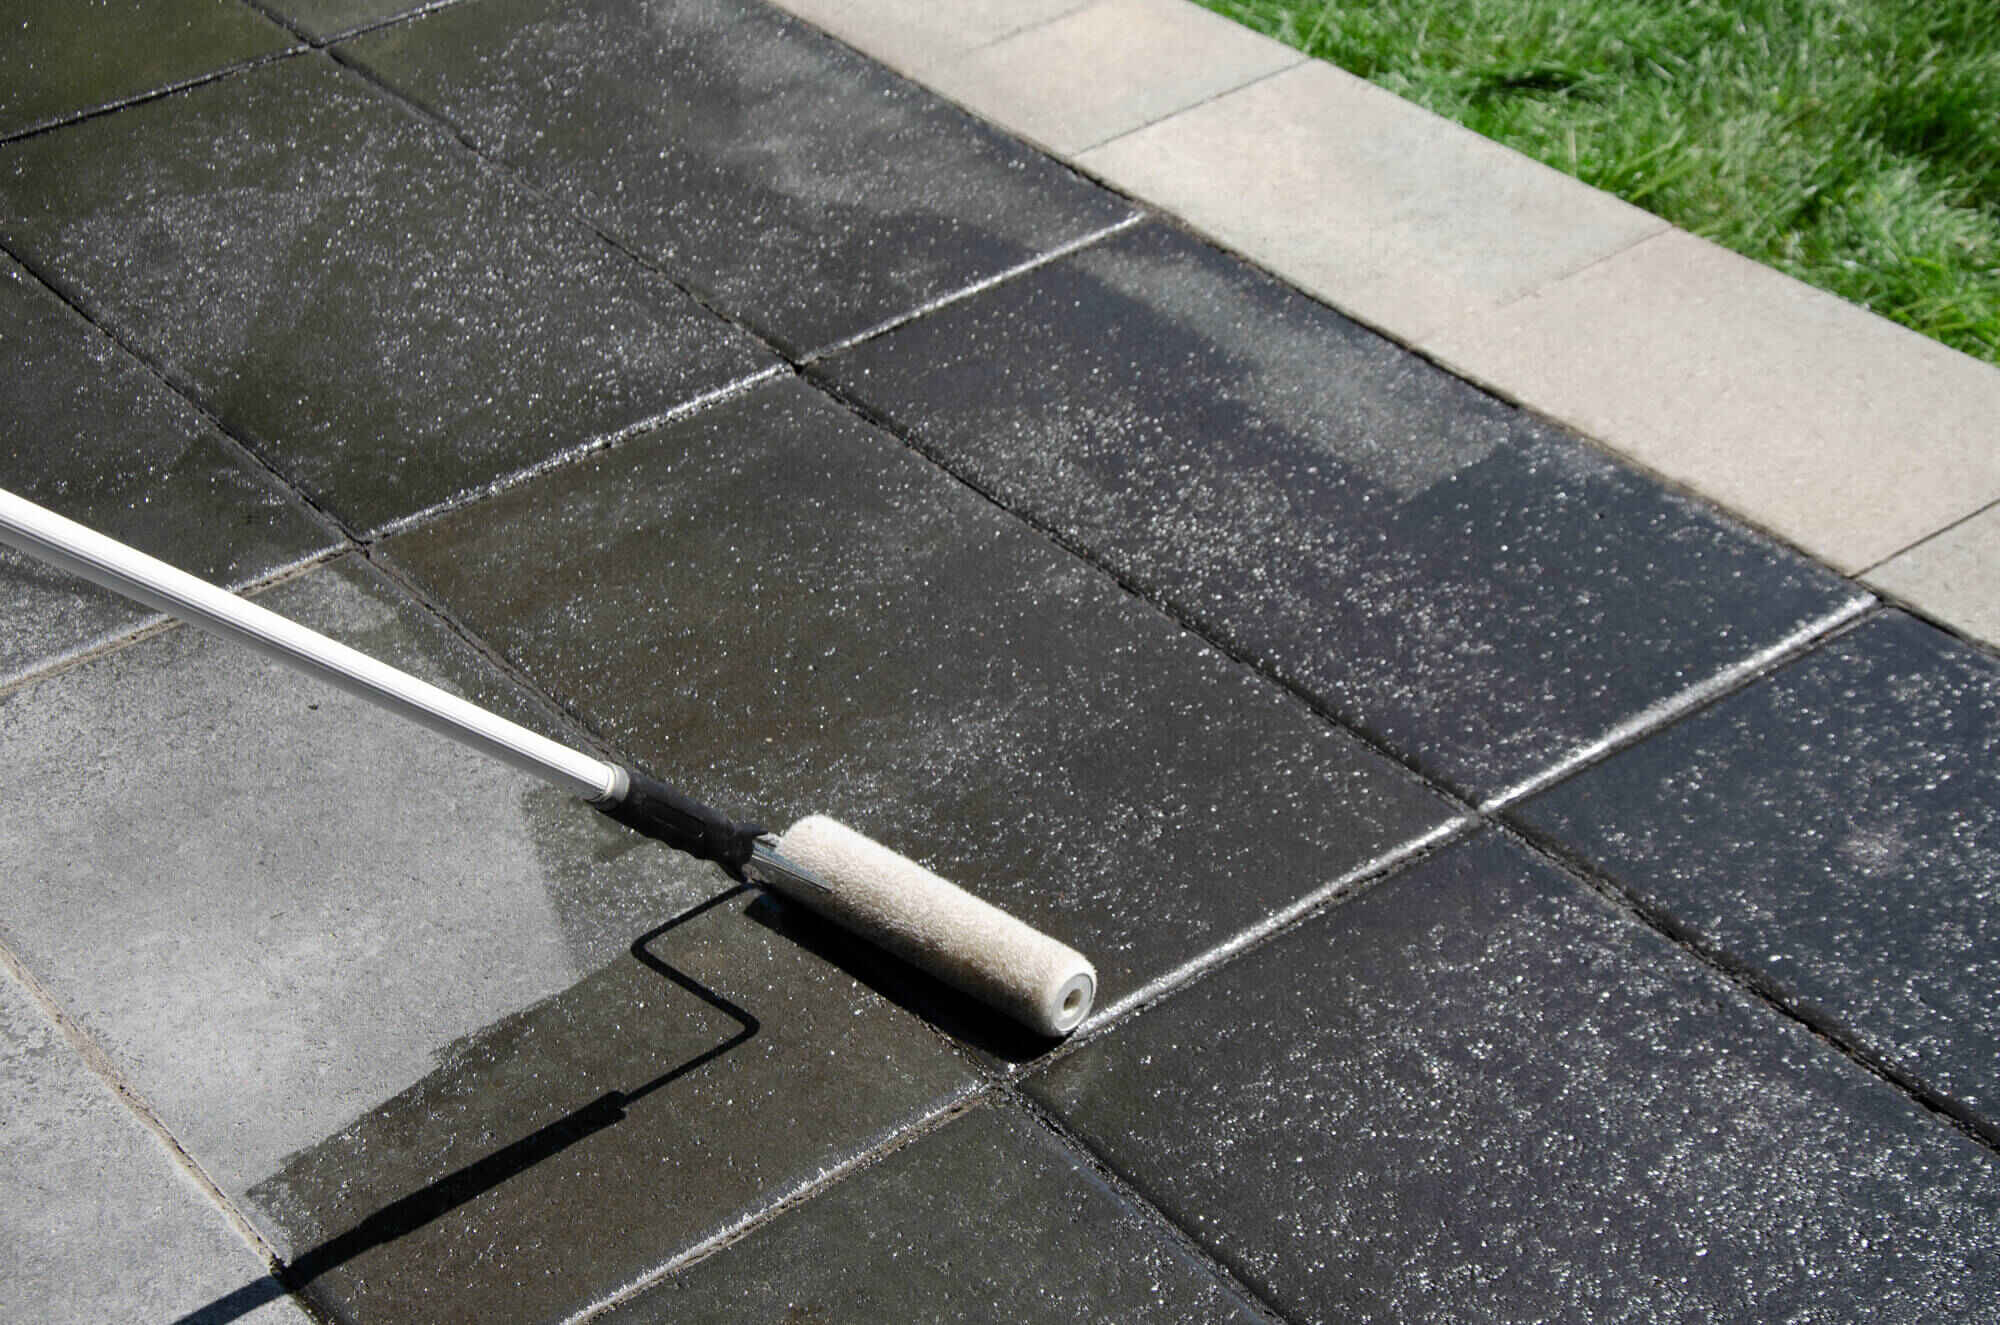
Step 3: Apply the Sealer
Once the cleaning and repair processes are complete, the next pivotal step in sealing brick pavers is the application of the sealer. Before proceeding, it is essential to choose a high-quality sealer that is specifically formulated for brick pavers. Opt for a sealer that offers protection against UV rays, stains, and the natural weathering of the pavers, ensuring long-term resilience and aesthetic appeal.
Prior to applying the sealer, it is advisable to conduct a small test area to assess the compatibility and desired outcome. This allows you to gauge the sealer’s effect on the pavers and adjust the application technique if necessary. Once you are satisfied with the test results, proceed to apply the sealer to the entire surface.
Begin by pouring the sealer into a paint tray, ensuring that it is thoroughly mixed and free of any sediment. Using a long-handled paint roller with a medium nap, evenly apply the sealer to the pavers, working in manageable sections to maintain a consistent and uniform coverage. As you roll the sealer onto the pavers, be mindful of any pooling or excess sealer, which should be promptly distributed to prevent uneven drying and potential discoloration.
For areas that are difficult to reach with a roller, such as along the edges and corners, utilize a paintbrush to ensure comprehensive coverage. Take care to blend the brushed areas seamlessly with the rolled sections to achieve a cohesive finish. It is crucial to apply the sealer evenly, avoiding overlapping roller strokes to prevent streaks and uneven sheen.
As you progress through the application process, pay attention to any missed spots or uneven coverage, promptly addressing them to ensure that the entire surface is uniformly sealed. Once the sealer has been applied, allow it to dry according to the manufacturer’s instructions, typically ranging from a few hours to a full day, depending on the specific product and environmental conditions.
By meticulously applying the sealer to your brick pavers, you not only fortify their resilience but also accentuate their natural beauty, enhancing their colors and textures. This transformative process not only safeguards the pavers from external elements but also imbues them with a lustrous sheen, elevating the visual appeal of your outdoor spaces.
When sealing brick pavers, make sure to clean the surface thoroughly before applying the sealant. This will help the sealant adhere better and provide longer-lasting protection for your pavers.
Step 4: Let the Sealer Dry
After the meticulous application of the sealer, allowing ample time for it to dry is crucial to ensure optimal performance and longevity. The drying process of the sealer is influenced by various factors, including the type of sealer used, environmental conditions, and the porosity of the pavers. As a general rule, it is advisable to refrain from foot traffic and vehicular activity on the sealed surface during the drying period to prevent any disturbances or blemishes.
During the drying phase, it is essential to monitor the weather conditions, particularly the temperature and humidity levels. Ideally, the drying process should occur in moderate temperatures, typically ranging from 50 to 80 degrees Fahrenheit, with low humidity to facilitate efficient evaporation and curing of the sealer. Additionally, direct exposure to intense sunlight should be minimized to prevent premature drying and potential unevenness.
As the sealer dries, observe the surface for any signs of uneven sheen or pooling, which may indicate an excess application of the sealer. If such issues are detected, gently redistribute the sealer using a dry roller or brush to achieve a uniform finish. It is essential to address any irregularities promptly to ensure a flawless and durable seal.
The duration of the drying process varies depending on the specific sealer used, with solvent-based sealers typically requiring a longer drying period compared to water-based alternatives. It is imperative to adhere to the manufacturer’s guidelines regarding the recommended drying time to achieve optimal results. In most cases, the initial drying phase ranges from a few hours to a full day, after which the sealed surface may still be sensitive to heavy use or exposure to moisture.
By allowing the sealer to dry thoroughly, you facilitate the formation of a robust protective barrier on the pavers, shielding them from the detrimental effects of moisture, UV rays, and everyday wear. This patient approach ensures that the sealer achieves its full potential, fortifying the pavers and preserving their pristine appearance for years to come.
Read more: How To Remove A Paver Brick
Step 5: Apply a Second Coat (Optional)
While applying a single coat of sealer can provide effective protection and enhancement for your brick pavers, the option of applying a second coat can further bolster their resilience and visual appeal. The decision to apply a second coat hinges on various factors, including the porosity of the pavers, the type of sealer used, and the desired level of protection.
Prior to considering a second coat, it is essential to assess the absorption rate of the initial application. If the sealer is readily absorbed into the pavers, leaving the surface visibly dry, this indicates a high level of porosity, which may warrant an additional coat. Conversely, if the sealer forms a uniform and glossy film on the surface, a second coat may be unnecessary.
When contemplating a second coat, it is paramount to wait until the initial application has dried completely according to the manufacturer’s recommendations. This ensures that the subsequent coat adheres effectively and contributes to a durable and uniform seal. It is important to note that applying a second coat too soon can result in uneven drying and compromised performance.
The application process for the second coat mirrors that of the initial application, with careful attention to achieving consistent coverage and avoiding pooling or streaking. Utilize the same tools and techniques employed for the first coat, ensuring that the sealer is distributed evenly across the entire surface. By maintaining a methodical approach, you can achieve a seamless and robust seal that enhances the pavers’ natural colors and textures.
After applying the second coat, allow the sealer to dry thoroughly, following the recommended drying time provided by the manufacturer. This phase is crucial for the formation of a resilient and enduring barrier that safeguards the pavers from environmental elements and wear. Once the second coat has dried, the pavers will exude a captivating sheen, accentuating their inherent beauty and fortifying them against the rigors of daily use.
Opting to apply a second coat of sealer exemplifies a proactive commitment to preserving and enhancing your brick pavers, ensuring that they remain vibrant and resilient over time. This additional layer of protection not only augments the pavers’ durability but also bestows upon them a captivating allure that enriches your outdoor environment.
Conclusion
Sealing your brick pavers is a transformative process that not only fortifies their resilience but also accentuates their natural beauty, elevating the allure of your outdoor spaces. By following the comprehensive steps outlined in this guide, you have embarked on a journey to safeguard your investment and enhance the visual appeal of your brick pavers for years to come.
Commencing with the meticulous cleaning of the pavers, you laid the foundation for a successful sealing process, ensuring that the surface was devoid of any contaminants and primed for optimal adhesion of the sealer. The subsequent step of repairing any damaged pavers underscored your commitment to preserving the structural integrity and uniformity of the surface, setting the stage for a flawless seal.
The application of the sealer itself represented a pivotal phase, wherein you not only shielded the pavers from the detrimental effects of the elements but also imbued them with a lustrous sheen that accentuated their natural colors and textures. The patience and precision exhibited during the application process contributed to a resilient and enduring seal that will withstand the test of time.
Allowing the sealer to dry thoroughly exemplified your dedication to achieving optimal results, ensuring that the protective barrier formed seamlessly and effectively. The option of applying a second coat further demonstrated your proactive approach to fortifying the pavers, enhancing their resilience, and enriching their aesthetic appeal.
As you conclude this sealing journey, take pride in the knowledge that your brick pavers are now fortified against the elements, resistant to stains and spills, and exuding a captivating allure that enhances your outdoor environment. The proactive measures undertaken in this process not only safeguard your investment but also imbue your outdoor spaces with enduring beauty and charm.
Armed with the insights and expertise garnered from this guide, you are well-equipped to embark on the sealing journey with confidence, ensuring that your brick pavers remain a source of pride and admiration for years to come.
Frequently Asked Questions about How To Seal Brick Pavers
Was this page helpful?
At Storables.com, we guarantee accurate and reliable information. Our content, validated by Expert Board Contributors, is crafted following stringent Editorial Policies. We're committed to providing you with well-researched, expert-backed insights for all your informational needs.

0 thoughts on “How To Seal Brick Pavers”