Home>Construction & Tools>Building Materials>How To Lay Brick Pavers

Building Materials
How To Lay Brick Pavers
Modified: January 23, 2024
Learn how to lay brick pavers with our comprehensive guide. Find the best building materials and step-by-step instructions for a successful project.
(Many of the links in this article redirect to a specific reviewed product. Your purchase of these products through affiliate links helps to generate commission for Storables.com, at no extra cost. Learn more)
Introduction
Welcome to the world of brick pavers, where timeless elegance meets durable functionality. Whether you're aiming to create a charming patio, a captivating walkway, or a sturdy driveway, brick pavers offer a versatile and visually appealing solution. In this comprehensive guide, we'll delve into the art of laying brick pavers, exploring the meticulous planning, precise execution, and transformative results that come with this rewarding endeavor.
As we embark on this journey, envision the endless possibilities that brick pavers bring to outdoor spaces. With their rich hues, varied textures, and classic appeal, brick pavers have become a cornerstone of landscape design, offering a timeless allure that seamlessly blends with any architectural style. Beyond their aesthetic charm, these pavers boast remarkable durability, making them a reliable choice for high-traffic areas and outdoor environments that endure the elements.
The process of laying brick pavers is a craft that harmonizes artistry and engineering. It involves meticulous planning, thoughtful preparation, and skilled execution to ensure a lasting, visually stunning outcome. Whether you're a seasoned DIY enthusiast or a newcomer to the world of hardscaping, this guide will equip you with the knowledge and confidence to tackle your brick paver project with finesse.
Throughout this journey, we'll uncover the essential steps, from planning and site preparation to the installation and finishing touches. We'll explore the intricacies of laying the base, fitting the pavers, and adding those final flourishes that elevate the entire space. By the end of this guide, you'll not only possess a deep understanding of the technical aspects of laying brick pavers but also a newfound appreciation for the artistry and craftsmanship involved in creating enduring outdoor spaces.
So, roll up your sleeves, unleash your creativity, and get ready to transform your outdoor environment with the timeless allure of brick pavers. Let's dive into the planning and preparation phase, where the foundation of your project begins to take shape.
Key Takeaways:
- Planning and preparation are crucial for laying brick pavers. Consider the purpose, design, and materials needed, and obtain necessary permits before starting the project.
- Meticulous site preparation, precise base laying, and careful paver installation are essential for creating visually stunning and enduring outdoor spaces with brick pavers.
Read more: How To Lay Brick Pavers On Dirt
Planning and Preparation
Before diving into the physical labor of laying brick pavers, it’s crucial to lay a solid foundation of planning and preparation. This phase sets the stage for a successful and visually appealing outcome, ensuring that every detail is meticulously considered before the first paver is laid.
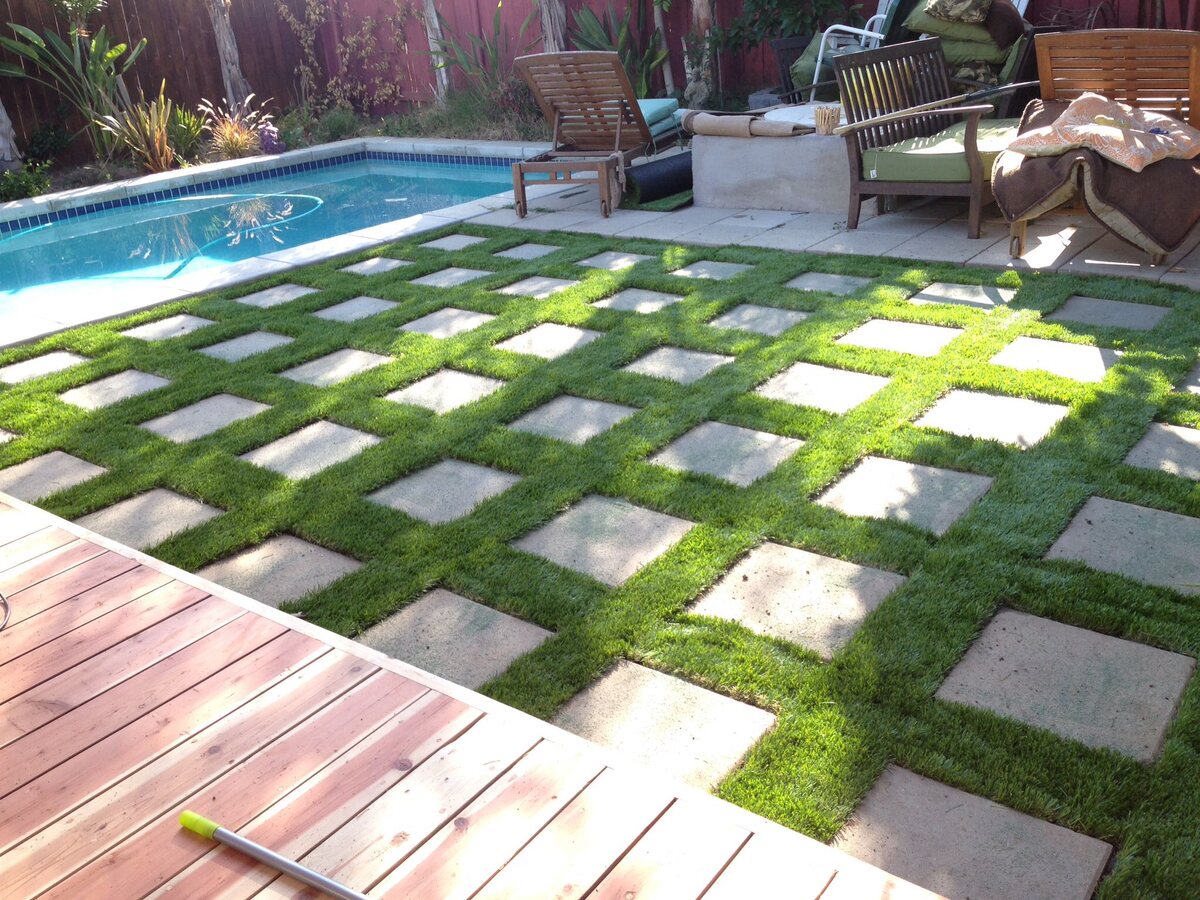
Begin by envisioning the purpose and design of the space where the brick pavers will be installed. Whether it’s a welcoming patio, a meandering walkway, or a functional driveway, understanding the intended use of the area will guide the layout and overall design. Consider factors such as traffic flow, furniture placement, and the integration of the pavers with existing landscaping features.
Once the purpose and design are clear, take precise measurements of the area to determine the quantity of pavers, base materials, and edging restraints needed. This step is crucial for accurate material estimation and cost calculation. It’s advisable to add a 5-10% overage to account for cuts, breakage, and future replacements.
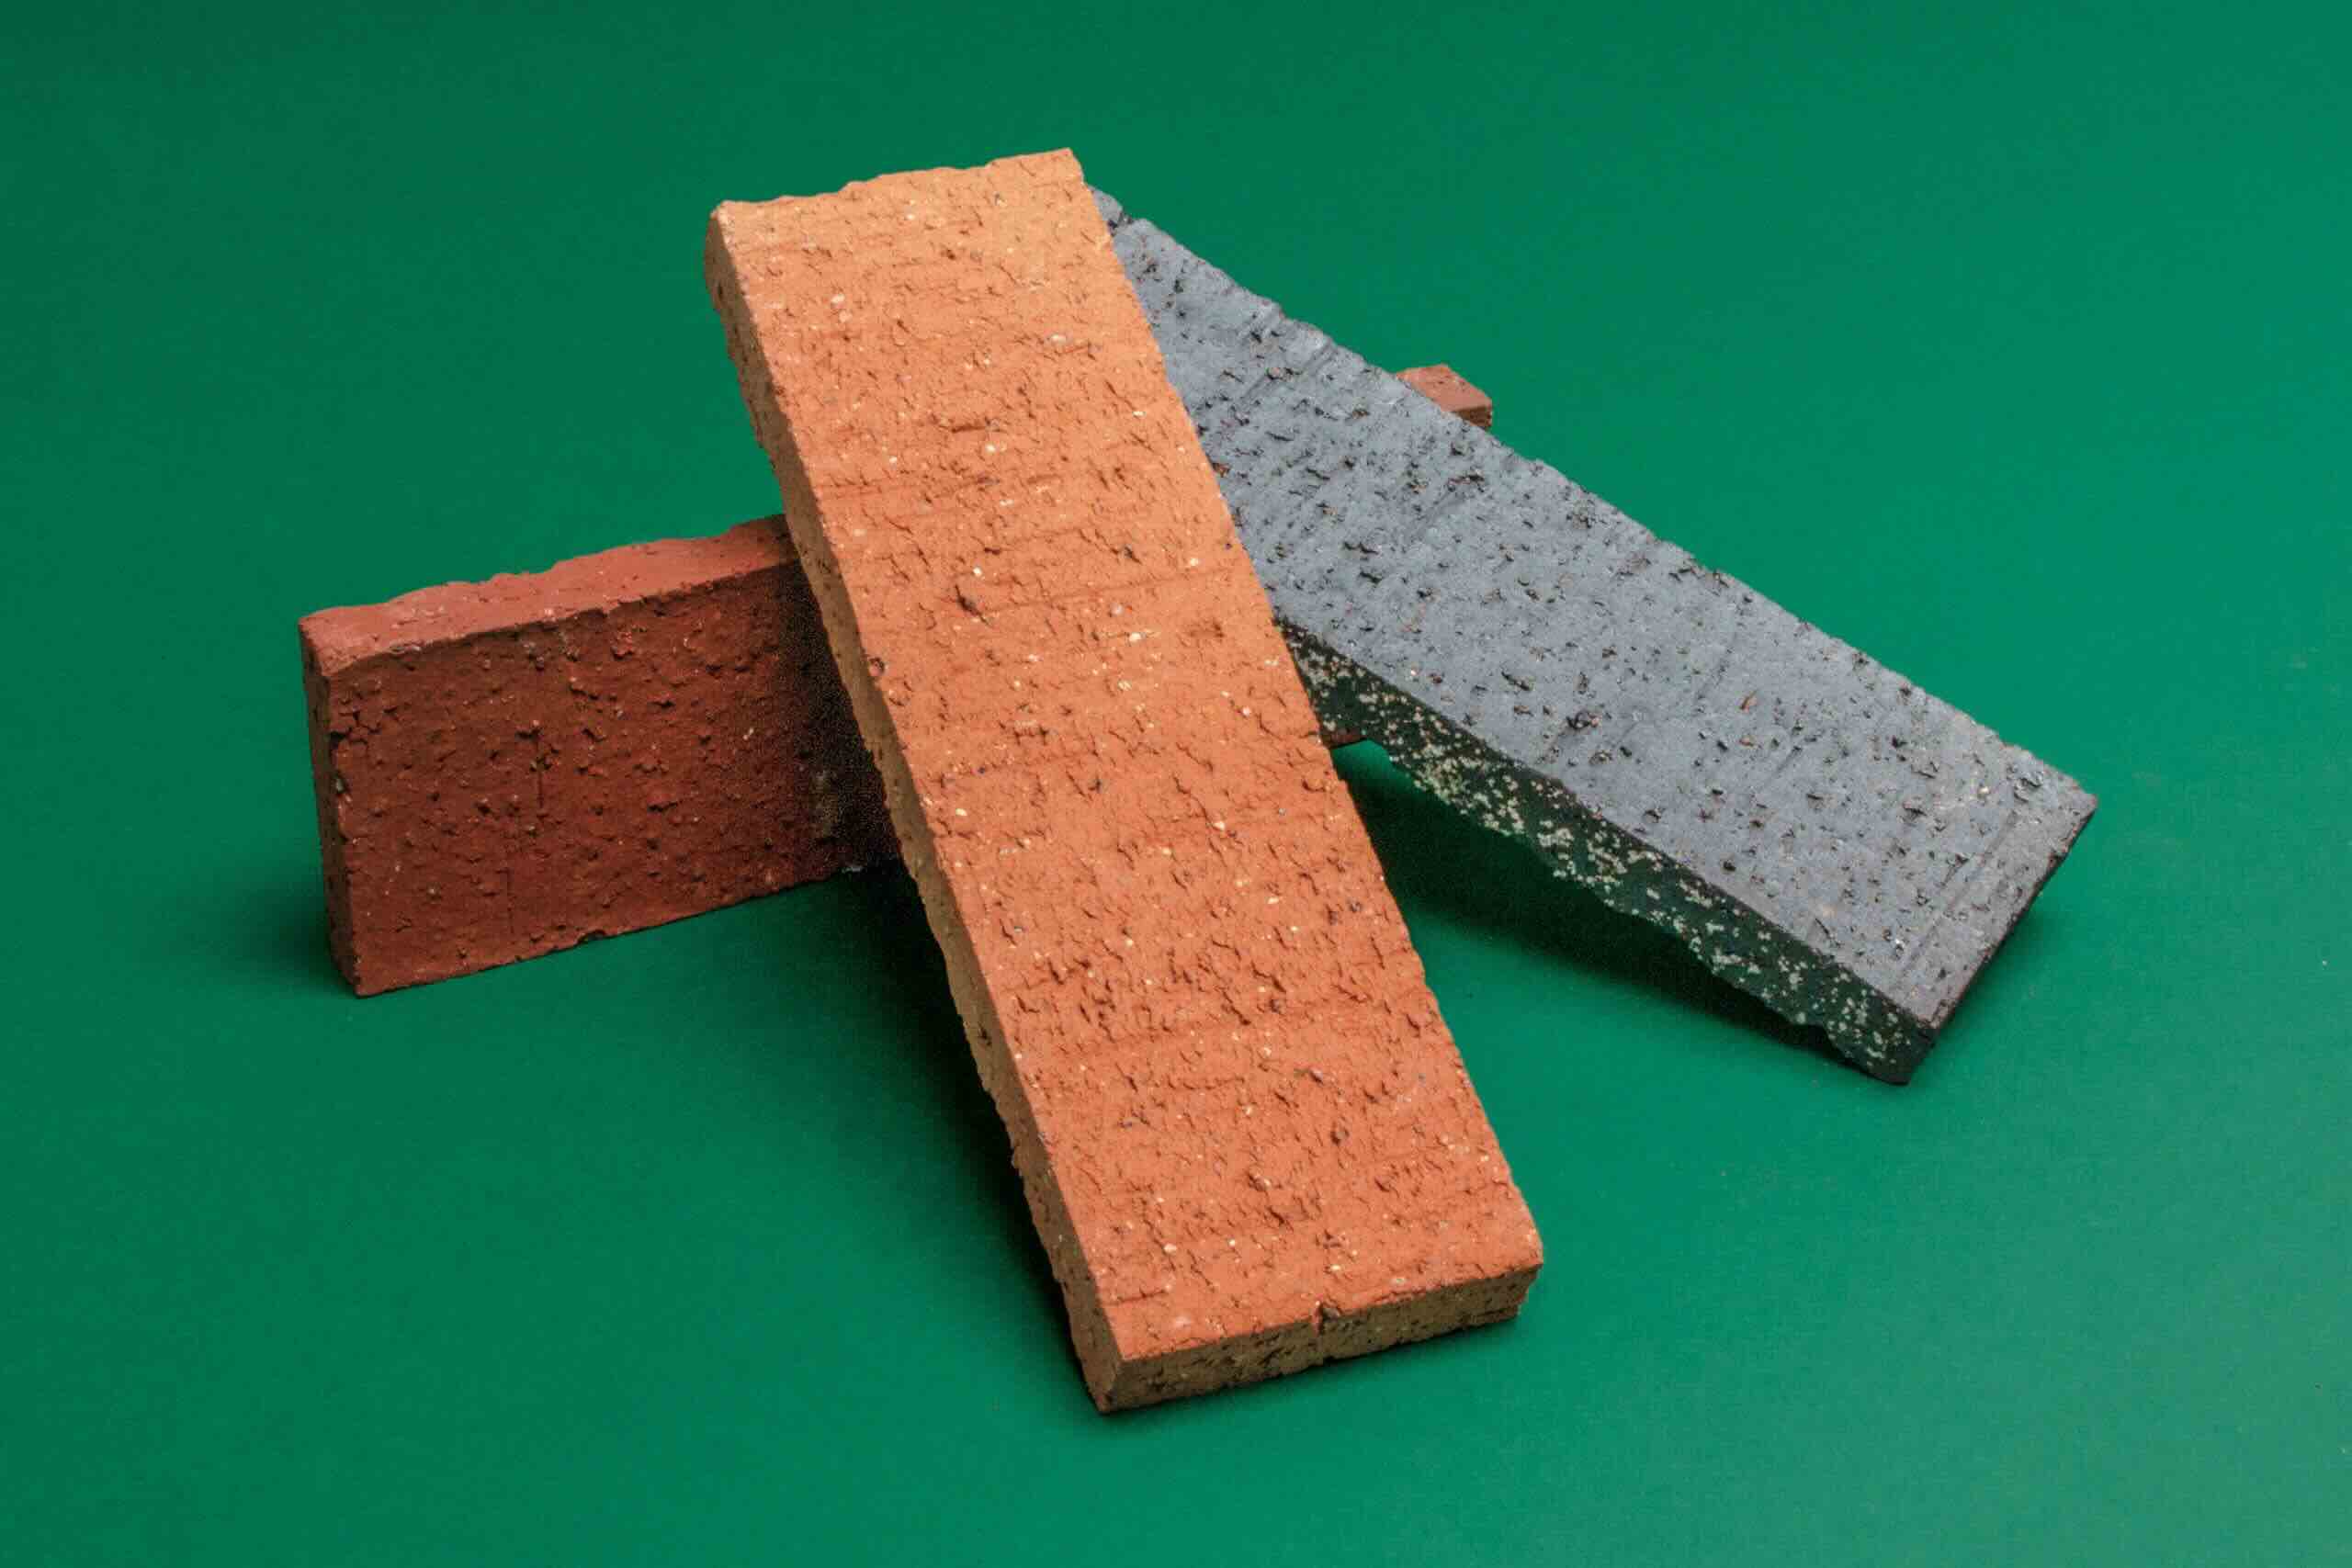
Next, consider the type of brick pavers that best suit your project. Whether it’s classic clay bricks with their warm, earthy tones, or durable concrete pavers available in a wide range of colors and textures, the choice of material will significantly influence the overall aesthetic and longevity of the installation.
With the design, measurements, and materials decided, it’s time to address any necessary permits or local regulations. Some areas may require permits for hardscaping projects, especially for driveways and extensive patio installations. Checking with local authorities and obtaining the necessary permits will ensure a smooth and compliant construction process.
Finally, create a detailed plan for the installation process, including a timeline, labor requirements, and any specialized tools or equipment needed. This plan will serve as a roadmap for the physical execution of the project, ensuring that each step is carried out efficiently and accurately.
By meticulously planning and preparing for the installation of brick pavers, you set the stage for a seamless and visually stunning outcome. With the groundwork laid, it’s time to gather the essential materials and tools needed to bring your project to life.
Gathering Materials and Tools
With the planning phase complete, it’s time to gather the essential materials and tools that will bring your brick paver project to fruition. From the pavers themselves to the specialized equipment required for installation, each component plays a crucial role in creating a durable and visually appealing outdoor space.
First and foremost, the selection of brick pavers is a pivotal decision. Whether you opt for traditional clay bricks with their rustic charm or modern concrete pavers with a range of colors and textures, ensure that the chosen pavers align with the design and functional requirements of the project. Consider factors such as durability, slip resistance, and overall aesthetic appeal when making this important selection.
Alongside the pavers, gather the necessary base materials, including gravel, sand, and landscaping fabric. These materials form the foundation of the paver installation, providing stability, drainage, and weed prevention. The specific quantities required will depend on the size and scope of the project, as determined during the planning phase.
Edging restraints, such as plastic or metal paver restraints, are essential for maintaining the structural integrity of the installation. These restraints prevent the pavers from shifting or spreading over time, ensuring a cohesive and long-lasting surface. Additionally, consider any drainage requirements and gather the appropriate materials, such as perforated pipe and aggregate, to manage water runoff effectively.
As for tools, a sturdy shovel, a wheelbarrow for transporting materials, and a rake are indispensable for site preparation and base material distribution. A plate compactor or tamper is essential for compacting the base materials, providing a stable and level surface for the pavers. For cutting and fitting pavers, a masonry saw or a chisel and hammer will be required, depending on the intricacy of the cuts.
Other essential tools include a tape measure, a level, and a string line for ensuring precise layout and alignment. Gloves and safety goggles are crucial for personal protection during the installation process. If the project involves significant excavation or grading, a mini excavator or grading equipment may be necessary, depending on the scale of the project.
By gathering the right materials and tools, you set the stage for a smooth and efficient installation process. With these essentials in hand, it’s time to prepare the site for the transformation that awaits. In the next section, we’ll delve into the crucial step of site preparation, laying the groundwork for the installation of your brick pavers.
Site Preparation
Site preparation is a foundational step in the brick paver installation process, laying the groundwork for a stable, level, and long-lasting surface. This phase involves meticulous excavation, grading, and the strategic placement of base materials to create an ideal foundation for the pavers.
Begin by marking the area where the pavers will be installed, using stakes and string lines to outline the boundaries. If the project involves curves or intricate designs, flexible landscape edging can be used to define the shape with precision. Once the area is marked, excavate the site to a depth that accommodates the base materials and the thickness of the pavers, typically 6-8 inches for pedestrian areas and 10-12 inches for driveways.
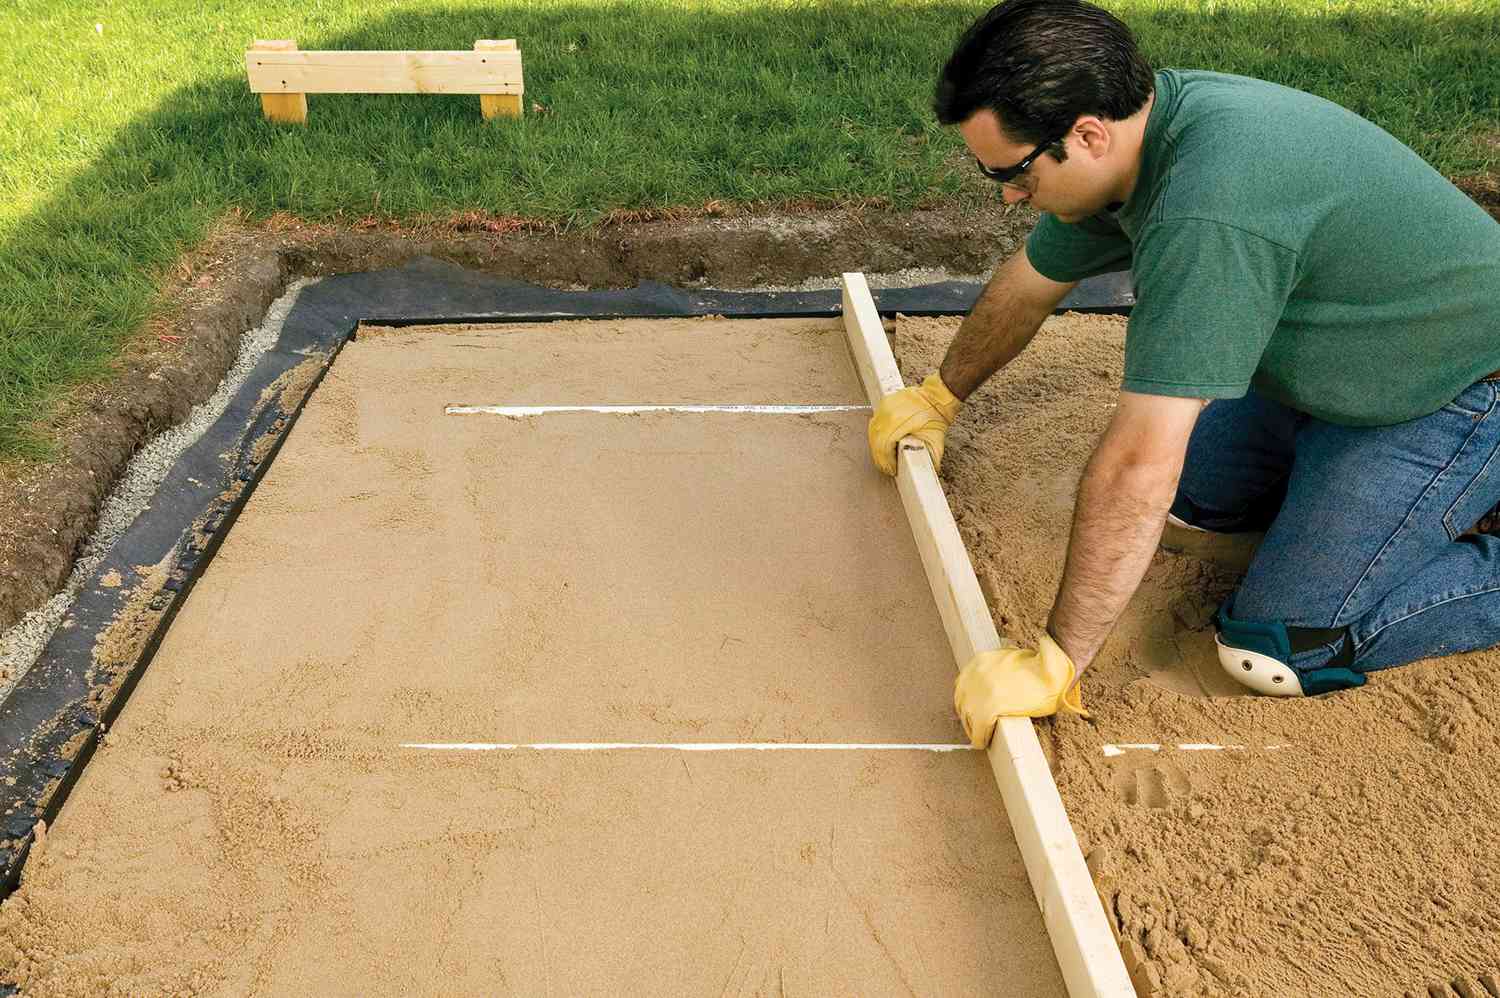
After excavation, the site must be graded to ensure proper drainage and a level surface for the pavers. Use a long, straight board or a screed to level the excavated area, filling any low spots with additional base materials and compacting high spots to achieve a uniform grade. Proper grading is essential for preventing water accumulation and ensuring the structural integrity of the installation.
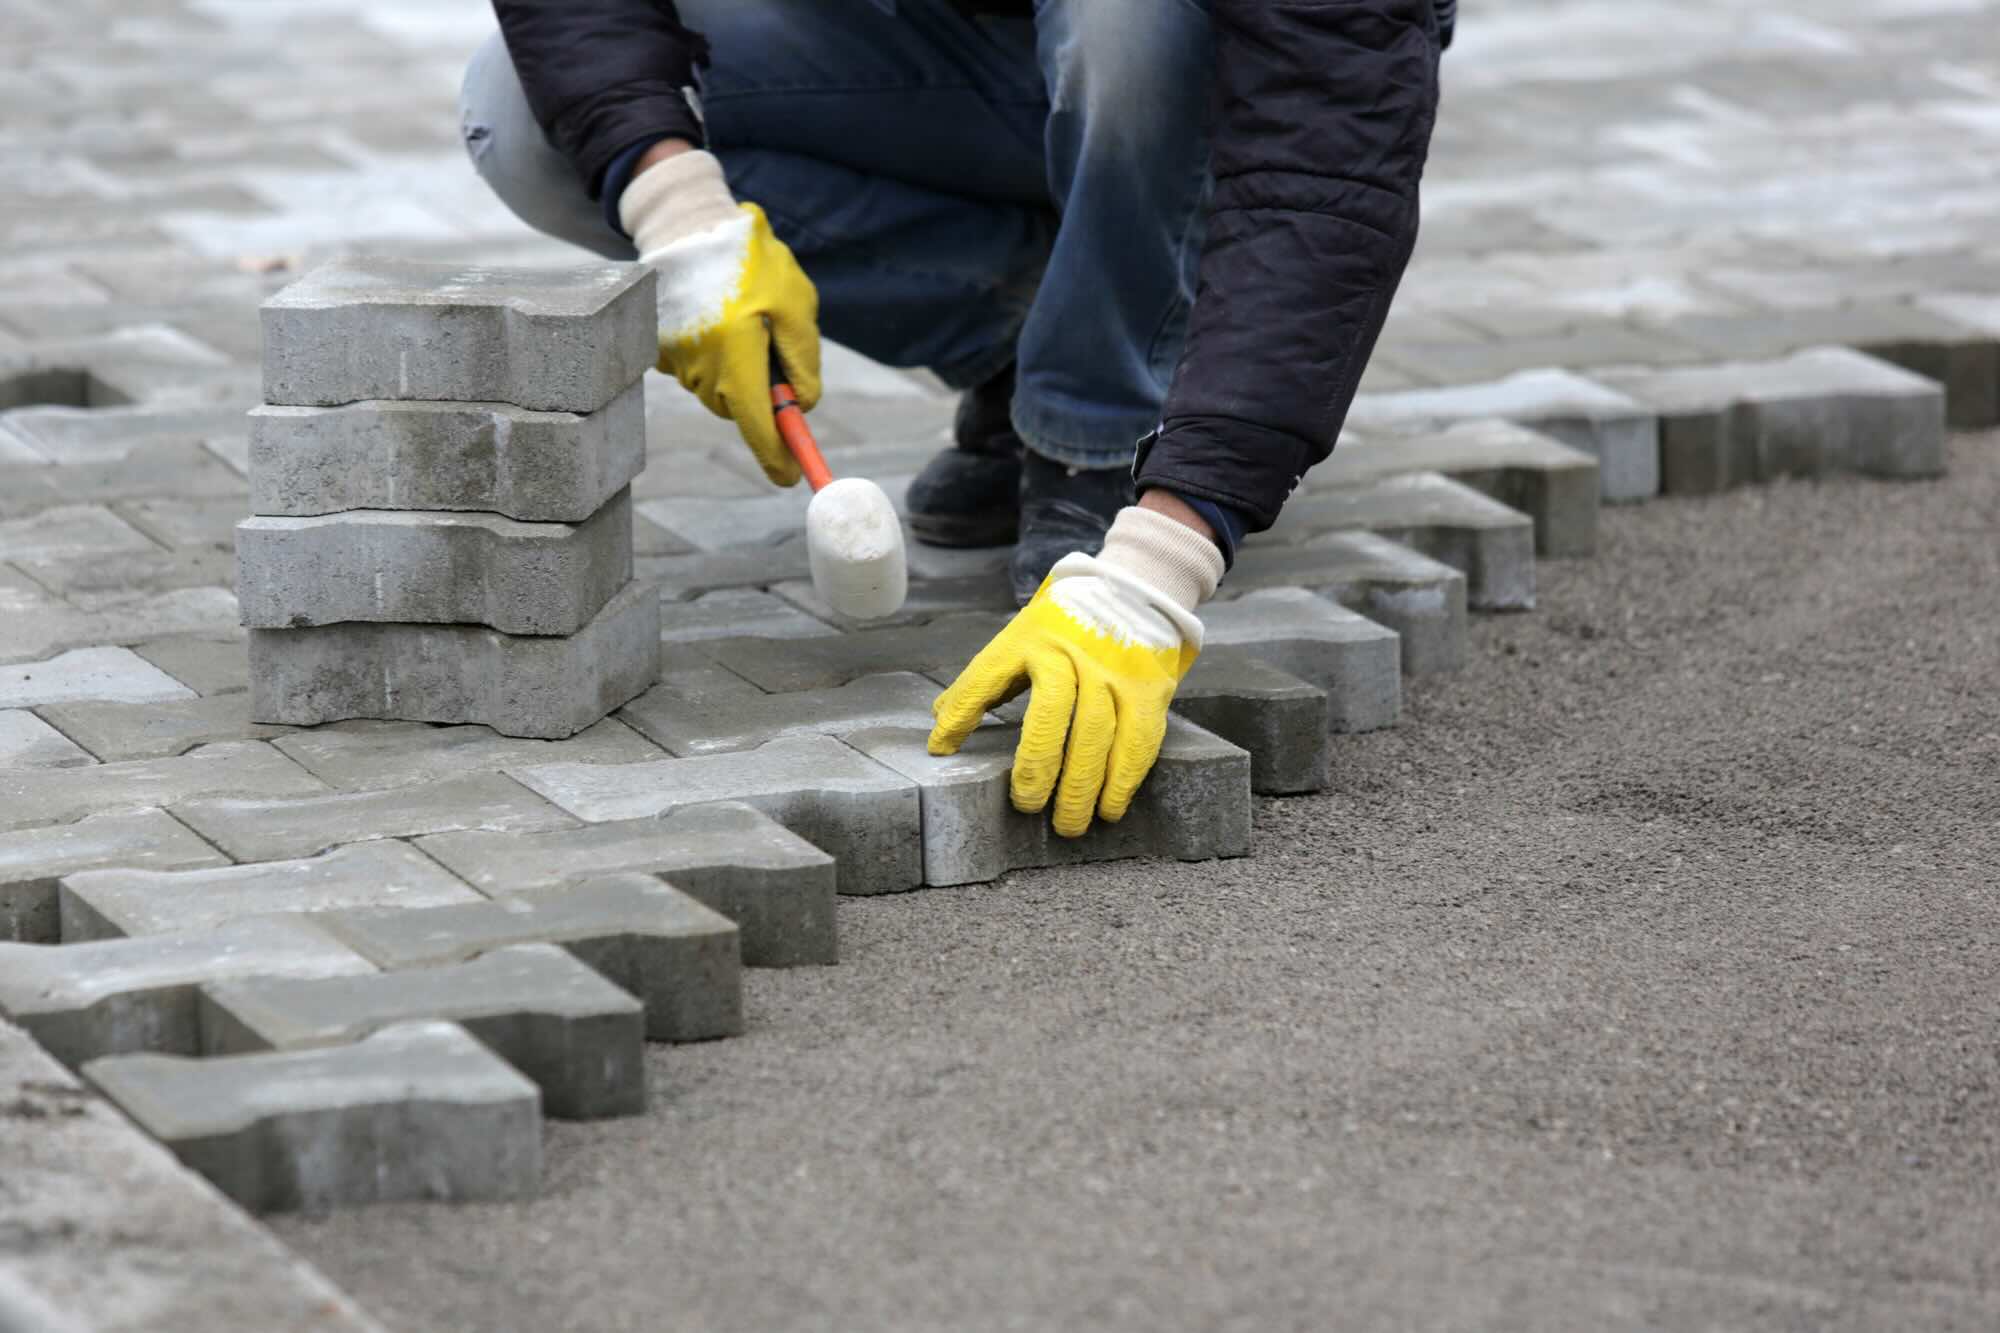
With the site excavated and graded, the next step is to lay the base materials. Begin by spreading a layer of gravel, typically 4-6 inches thick, and compact it thoroughly using a plate compactor or tamper. The compacted gravel serves as the primary foundation, providing stability and drainage for the pavers. On top of the gravel, add a layer of coarse sand, approximately 1 inch thick, and screed it to create a smooth and even surface for the pavers.
As the final step of site preparation, install edging restraints along the perimeter of the excavated area. These restraints are secured in place with stakes and prevent the pavers from shifting or spreading over time. Additionally, if the project requires drainage management, install perforated pipe along the edges and cover it with aggregate to facilitate proper water runoff.
Site preparation sets the stage for the transformative installation of brick pavers, providing a stable and well-drained foundation for the hardscape. With the base meticulously laid, it’s time to delve into the intricacies of laying the base materials, setting the stage for the precise placement of the pavers in the next phase.
Laying the Base
The process of laying the base for brick pavers is a critical step that sets the stage for the precise installation of the pavers themselves. This phase involves the strategic placement of base materials, ensuring proper compaction and a level surface that forms the foundation for the pavers to rest upon.
With the site excavated, graded, and the edging restraints in place, it’s time to begin the meticulous process of laying the base materials. Start by spreading a layer of coarse gravel, typically 4-6 inches thick, across the excavated area. Use a rake to distribute the gravel evenly, creating a uniform layer that provides stability and facilitates drainage for the pavers.
Once the gravel layer is in place, it’s crucial to compact it thoroughly using a plate compactor or tamper. This compaction process ensures that the gravel is firmly packed, creating a solid and stable foundation for the pavers. Pay close attention to achieving uniform compaction across the entire surface, as this will prevent settling and unevenness in the finished installation.
Following the compaction of the gravel, the next step is to add a layer of coarse sand on top of the compacted gravel. This sand layer, approximately 1 inch thick, serves as a bedding material for the pavers, allowing for minor adjustments in their placement and providing a level surface for the installation. Use a screed or a long, straight board to level the sand, ensuring a consistent depth across the entire area.
Throughout the process of laying the base, it’s essential to maintain a keen eye for detail and precision. The level and uniformity of the base materials directly impact the final outcome of the paver installation, influencing the overall stability, drainage, and aesthetic appeal of the hardscape. Take the time to ensure that the base is meticulously prepared before proceeding to the next phase.
With the base materials meticulously laid and compacted, the stage is set for the transformative installation of the brick pavers themselves. In the next section, we’ll explore the intricate process of placing and arranging the pavers, bringing the design to life and setting the stage for a visually stunning outdoor space.
When laying brick pavers, make sure to properly prepare the base by compacting the soil and adding a layer of sand. This will help ensure a stable and level surface for the pavers.
Read more: How To Lay Brick Pavers On Concrete
Installing the Brick Pavers
As the base is meticulously prepared, it’s time to embark on the transformative process of installing the brick pavers, bringing the design to life and creating a visually stunning outdoor space. This phase involves precision, attention to detail, and a keen eye for layout and alignment, ensuring a seamless and enduring installation.
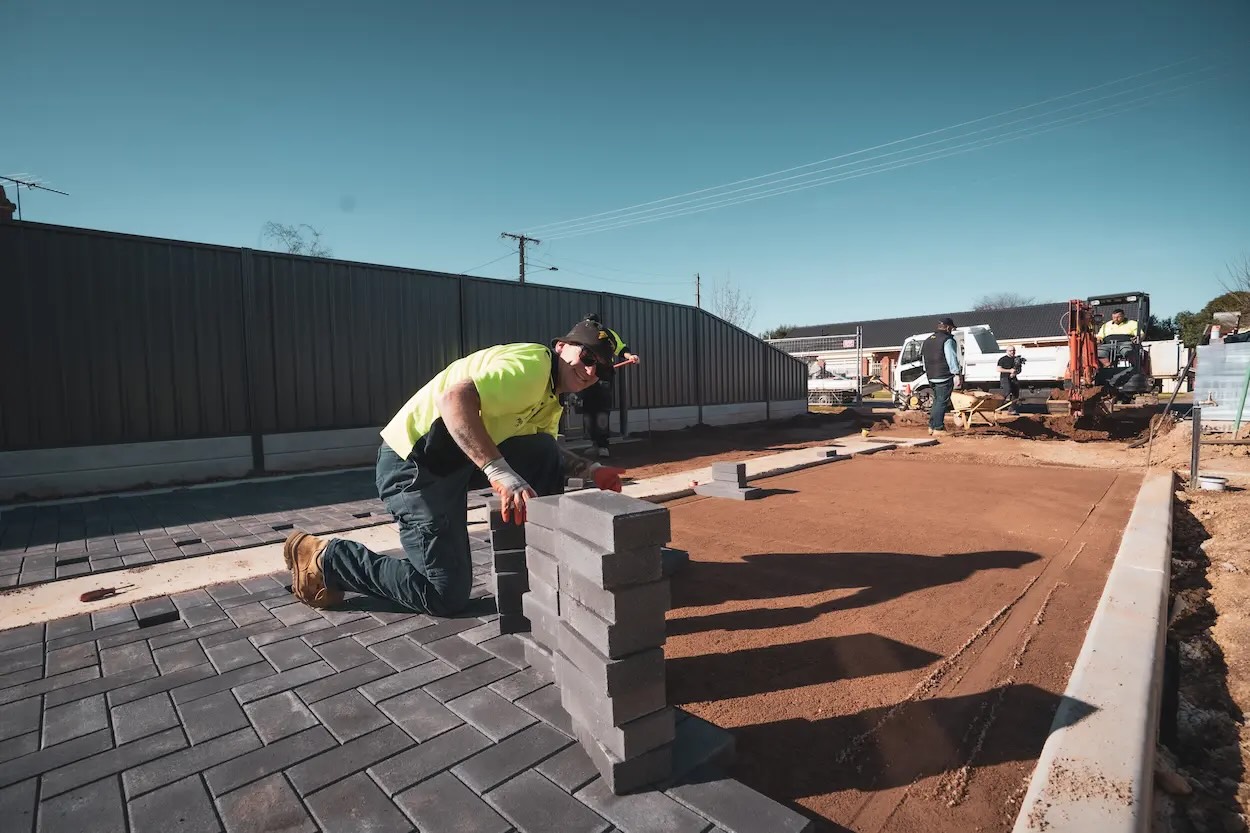
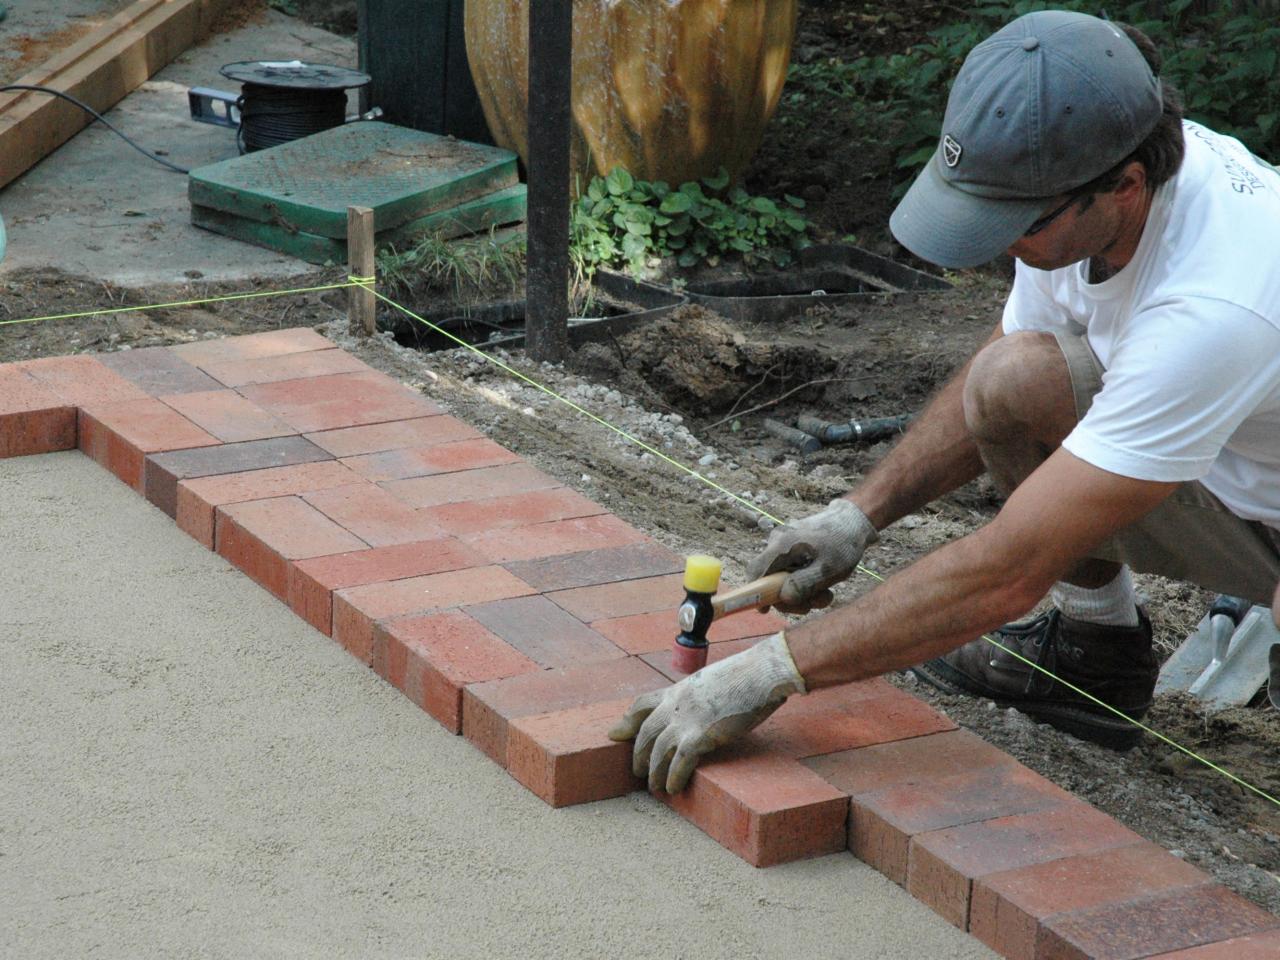
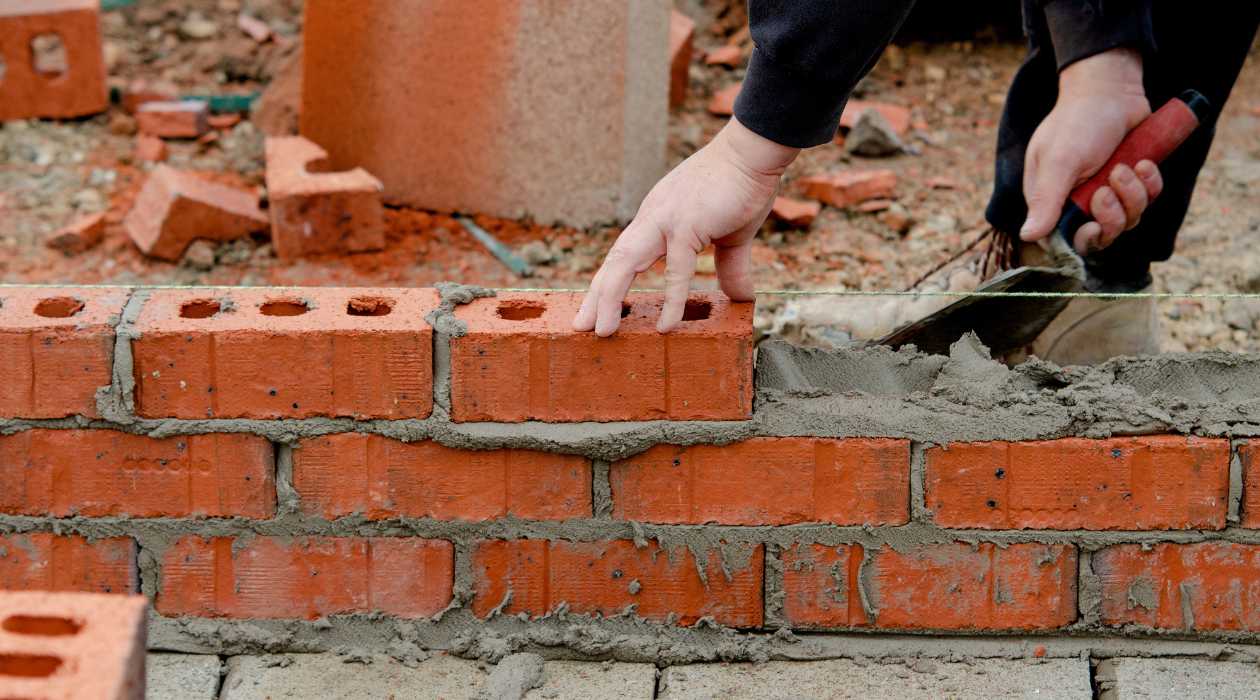
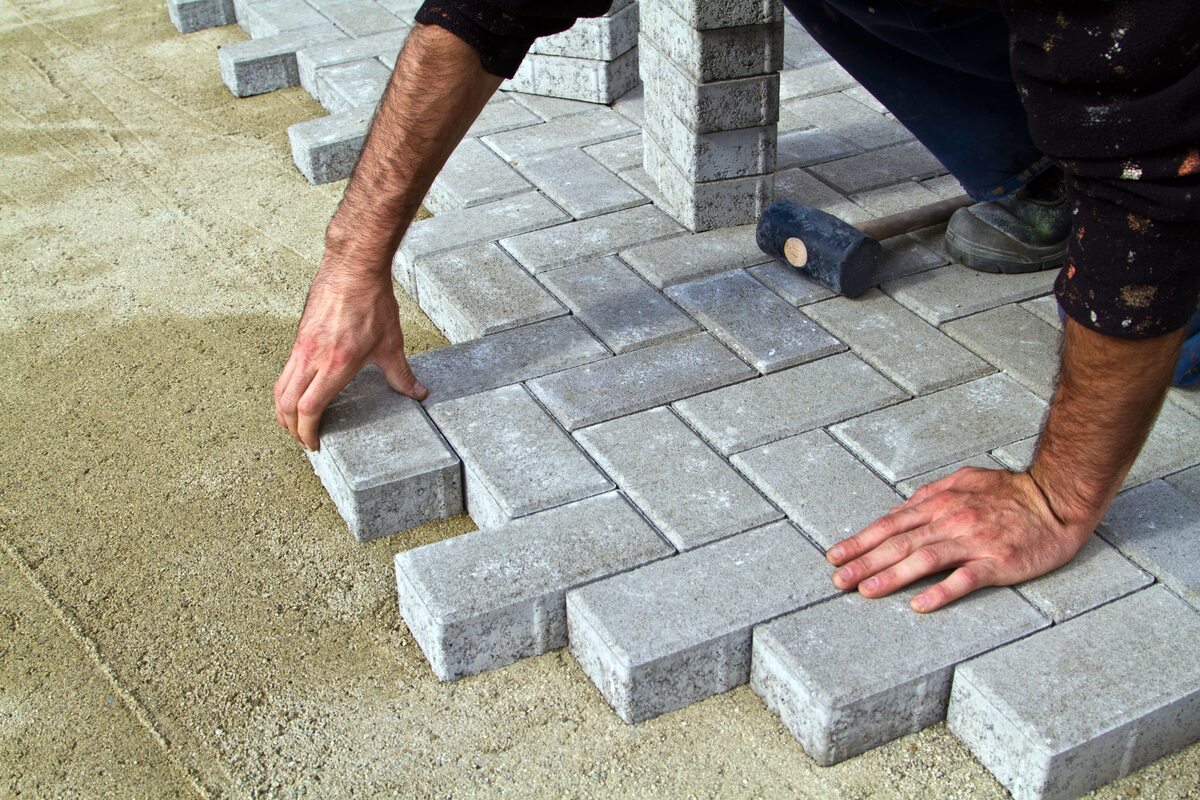
Begin by laying the first row of pavers along one edge of the prepared area, taking care to maintain consistent spacing between each paver. Use a string line or straight edge to ensure that the initial row is straight and aligned with the design layout. As you progress, continue laying subsequent rows of pavers, maintaining the desired pattern and ensuring uniform spacing throughout the installation.
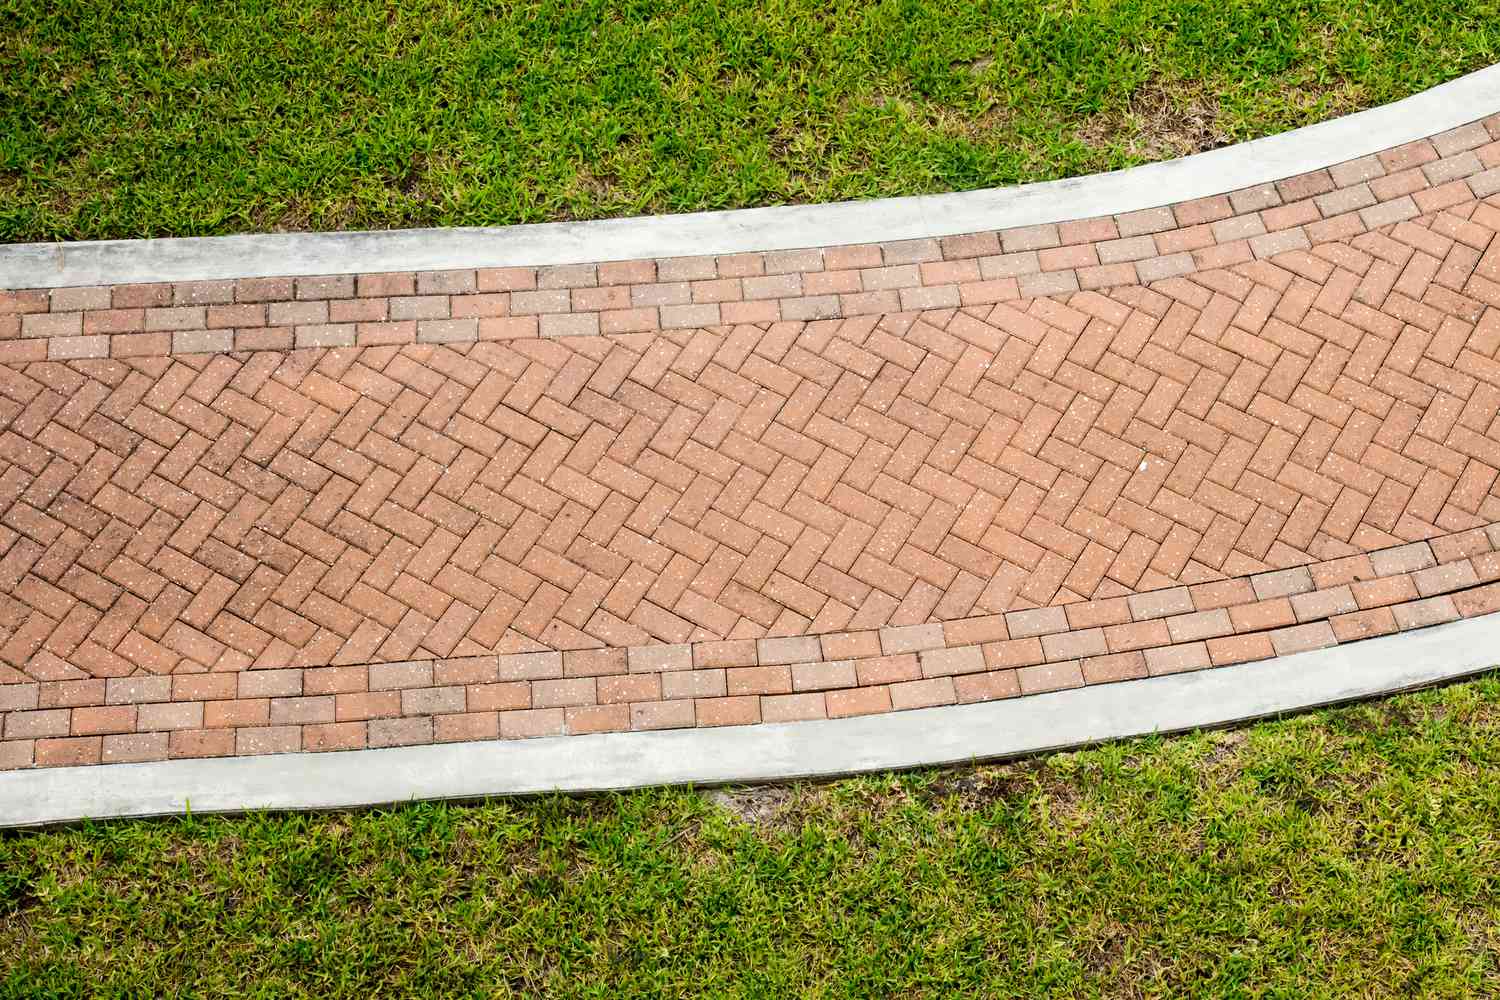
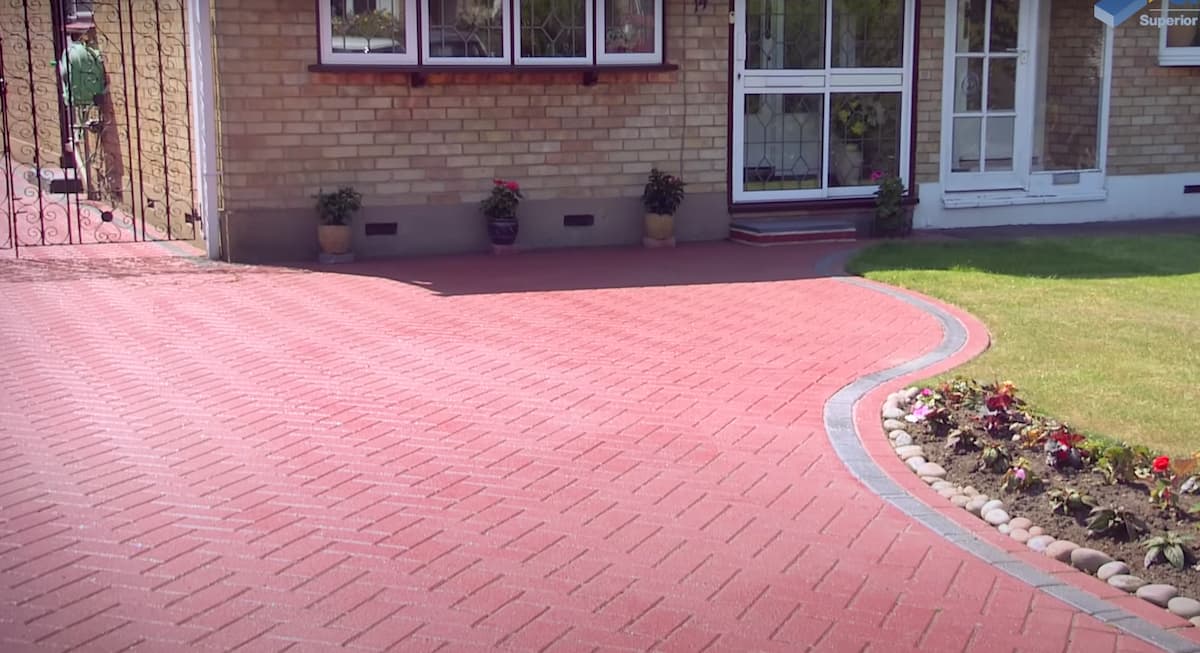
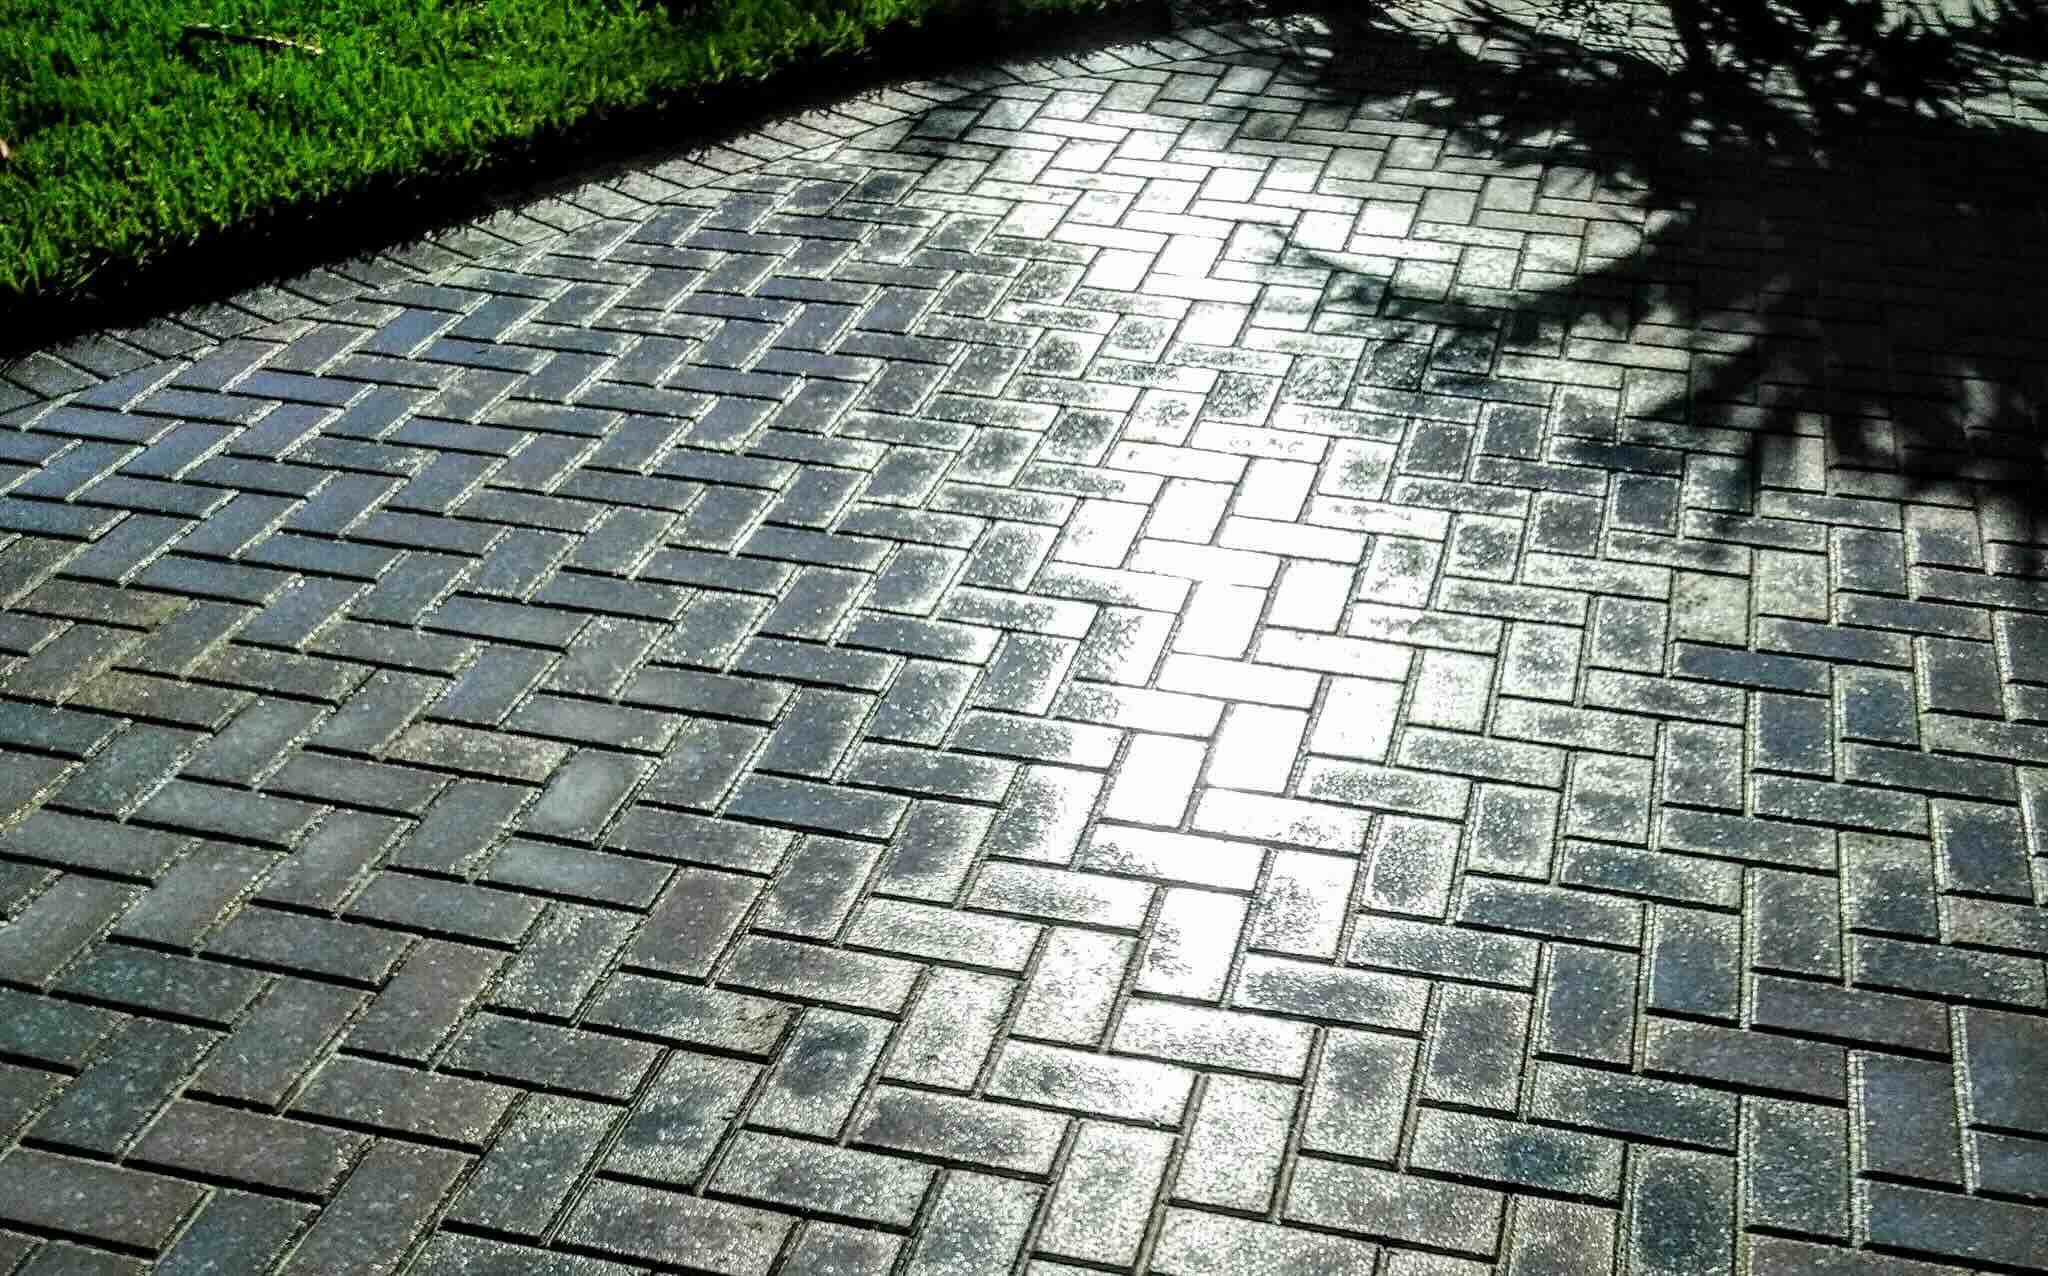
For pedestrian areas, such as patios and walkways, a herringbone pattern is a popular choice due to its interlocking design, which provides structural stability and aesthetic appeal. Alternatively, running bond and basket weave patterns offer timeless charm and versatility. For driveways and high-traffic areas, a basket weave or running bond pattern can provide the necessary strength and durability.
As the pavers are laid, periodically check the alignment, level, and overall uniformity of the surface. Use a level to ensure that the pavers are consistently flat and even, making any necessary adjustments to maintain a seamless installation. Pay particular attention to the edges and transitions, ensuring that the pavers are neatly cut and fitted to create clean lines and a polished finish.
Throughout the installation process, it’s essential to take a meticulous approach, ensuring that each paver is snugly fitted against its neighbors and that the overall layout is cohesive and visually appealing. As the installation nears completion, fill the joints between the pavers with fine sand, sweeping it across the surface and using a compactor to settle the sand into the joints, providing stability and preventing shifting.
With the brick pavers meticulously installed and the joints filled, the transformation of the outdoor space is well underway. In the next section, we’ll explore the intricate process of cutting and fitting pavers, addressing any unique design considerations and ensuring a flawless and personalized finish to the installation.
Cutting and Fitting Pavers
As the installation of the brick pavers progresses, the need for cutting and fitting pavers to accommodate curves, edges, and unique design elements arises. This phase requires precision, attention to detail, and the use of specialized tools to ensure a seamless and polished finish to the installation.
When encountering edges or boundaries that require partial pavers, it’s essential to measure and mark the pavers accurately before making any cuts. A masonry saw equipped with a diamond blade is the ideal tool for cutting brick pavers with precision, allowing for straight, clean cuts that seamlessly integrate with the overall design. Additionally, a chisel and hammer can be used for smaller cuts and adjustments, providing flexibility in fitting the pavers to the desired layout.
For curves and intricate designs, a wet saw with a diamond blade can be used to create precise and smooth cuts that follow the contours of the layout. This allows for the seamless integration of curved or irregularly shaped areas, maintaining the visual flow and structural integrity of the installation.
As the pavers are cut and fitted to accommodate the unique layout of the installation, pay close attention to the alignment and spacing of the pavers. Ensure that the fitted pavers snugly integrate with the surrounding layout, maintaining consistent spacing and alignment to create a cohesive and visually appealing surface.
Throughout the process of cutting and fitting pavers, take a meticulous approach to ensure that each cut is precise and that the fitted pavers seamlessly blend with the overall design. Pay particular attention to any intricate patterns or transitions, ensuring that the cuts and fittings create clean lines and a polished finish that enhances the visual appeal of the installation.
With the pavers meticulously cut and fitted to accommodate the unique layout of the installation, the outdoor space begins to take shape with a personalized and flawless finish. In the next section, we’ll explore the finishing touches that elevate the entire installation, adding those final flourishes that enhance the durability and visual charm of the brick paver surface.
Finishing Touches
As the brick pavers are meticulously installed and fitted to create a visually stunning outdoor space, attention turns to the finishing touches that elevate the entire installation, enhancing its durability and visual charm. This phase involves the application of jointing sand, the addition of edge restraints, and the final steps that ensure a polished and enduring surface.
One of the crucial finishing touches is the application of jointing sand, which serves to stabilize the pavers, prevent weed growth, and enhance the overall cohesion of the surface. After the pavers are installed and fitted, spread fine sand across the surface and use a compactor to settle the sand into the joints. This process ensures that the pavers are firmly locked in place, providing stability and preventing shifting over time.
Additionally, the installation of edge restraints is essential for maintaining the structural integrity of the paver surface. Secure plastic or metal restraints along the perimeter of the installation, anchoring them firmly in place to prevent the pavers from spreading or shifting. This step ensures that the entire surface remains cohesive and visually appealing, with clean lines and defined boundaries.
For areas that require drainage management, the addition of a permeable jointing material can facilitate proper water runoff while maintaining the stability of the paver surface. This material allows water to flow through the joints, preventing water accumulation and ensuring that the surface remains intact and free from erosion caused by excess moisture.
Finally, take the time to inspect the entire installation, addressing any minor adjustments or touch-ups that may be needed. Ensure that the surface is level and uniform, with consistent spacing and alignment throughout. This meticulous attention to detail will result in a visually stunning and enduring outdoor space that enhances the overall aesthetic of the surrounding environment.
With the finishing touches complete, the installation of brick pavers culminates in a visually stunning and enduring outdoor space that seamlessly blends timeless charm with remarkable durability. In the next section, we’ll conclude our journey, reflecting on the transformative process of laying brick pavers and the enduring allure they bring to outdoor environments.
Conclusion
Congratulations on completing the transformative journey of laying brick pavers, where meticulous planning, skilled execution, and a creative vision culminate in visually stunning and enduring outdoor spaces. Throughout this comprehensive guide, we’ve explored the artistry and craftsmanship involved in creating captivating patios, walkways, and driveways using brick pavers, uncovering the timeless allure and remarkable durability they bring to outdoor environments.
From the meticulous planning and preparation to the precise installation and finishing touches, the process of laying brick pavers is a harmonious blend of artistry and engineering. It involves envisioning the purpose and design of the space, gathering essential materials and tools, and meticulously preparing the site to create a stable and level foundation for the pavers.
The installation of the pavers itself is a transformative process, where precision, attention to detail, and a keen eye for layout and alignment bring the design to life. Cutting and fitting the pavers to accommodate unique layouts and curves requires skill and creativity, ensuring that each paver seamlessly integrates with the overall design, creating a polished and personalized finish.
The finishing touches, including the application of jointing sand, the installation of edge restraints, and the meticulous attention to drainage management, elevate the entire installation, enhancing its durability and visual charm. The result is a visually stunning and enduring outdoor space that seamlessly blends timeless charm with remarkable durability, enriching the surrounding environment with its timeless appeal.
As you reflect on the journey of laying brick pavers, envision the countless possibilities they bring to outdoor spaces. Whether it’s a welcoming patio for gatherings, a meandering walkway that beckons exploration, or a durable driveway that makes a lasting impression, brick pavers offer a versatile and visually appealing solution that stands the test of time.
So, as you embark on your own brick paver project, armed with the knowledge and confidence gained from this guide, unleash your creativity and envision the outdoor space of your dreams. With the enduring allure and remarkable durability of brick pavers, the transformation of your outdoor environment awaits, ready to captivate and endure for years to come.
Frequently Asked Questions about How To Lay Brick Pavers
Was this page helpful?
At Storables.com, we guarantee accurate and reliable information. Our content, validated by Expert Board Contributors, is crafted following stringent Editorial Policies. We're committed to providing you with well-researched, expert-backed insights for all your informational needs.


0 thoughts on “How To Lay Brick Pavers”