Articles
How To Clean Dual Fuel Camping Stove Burners
Modified: October 19, 2024
Looking for articles on how to clean dual fuel camping stove burners? Check out our comprehensive guide for step-by-step instructions and expert tips.
(Many of the links in this article redirect to a specific reviewed product. Your purchase of these products through affiliate links helps to generate commission for Storables.com, at no extra cost. Learn more)
Introduction
Welcome to our guide on how to clean dual fuel camping stove burners! Whether you’re a seasoned camper or a beginner, keeping your camping stove in top shape is essential for a successful outdoor adventure. Dual fuel camping stoves are popular choices for campers because they offer the flexibility of using both propane and liquid fuel. However, over time, burners can become dirty and clogged, affecting their performance and efficiency.
Cleaning your dual fuel camping stove burners is a simple yet important maintenance task that should be done regularly. Not only does it help to maintain the stove’s efficiency, but it also ensures safe operation by preventing any potential gas leaks or flare-ups. By following our step-by-step guide, you’ll be able to clean your camping stove burners effectively and have them ready for your next outdoor cooking adventure.
Before we dive into the cleaning process, let’s take a look at the necessary supplies you’ll need:
Key Takeaways:
- Regularly cleaning dual fuel camping stove burners ensures safe operation, efficient heat distribution, and reliable performance during outdoor cooking adventures.
- Proper maintenance, including cleaning burner components and reassembly, extends the lifespan of camping stoves and enhances the overall outdoor cooking experience.
Read more: How To Clean Kitchen Stove Burners
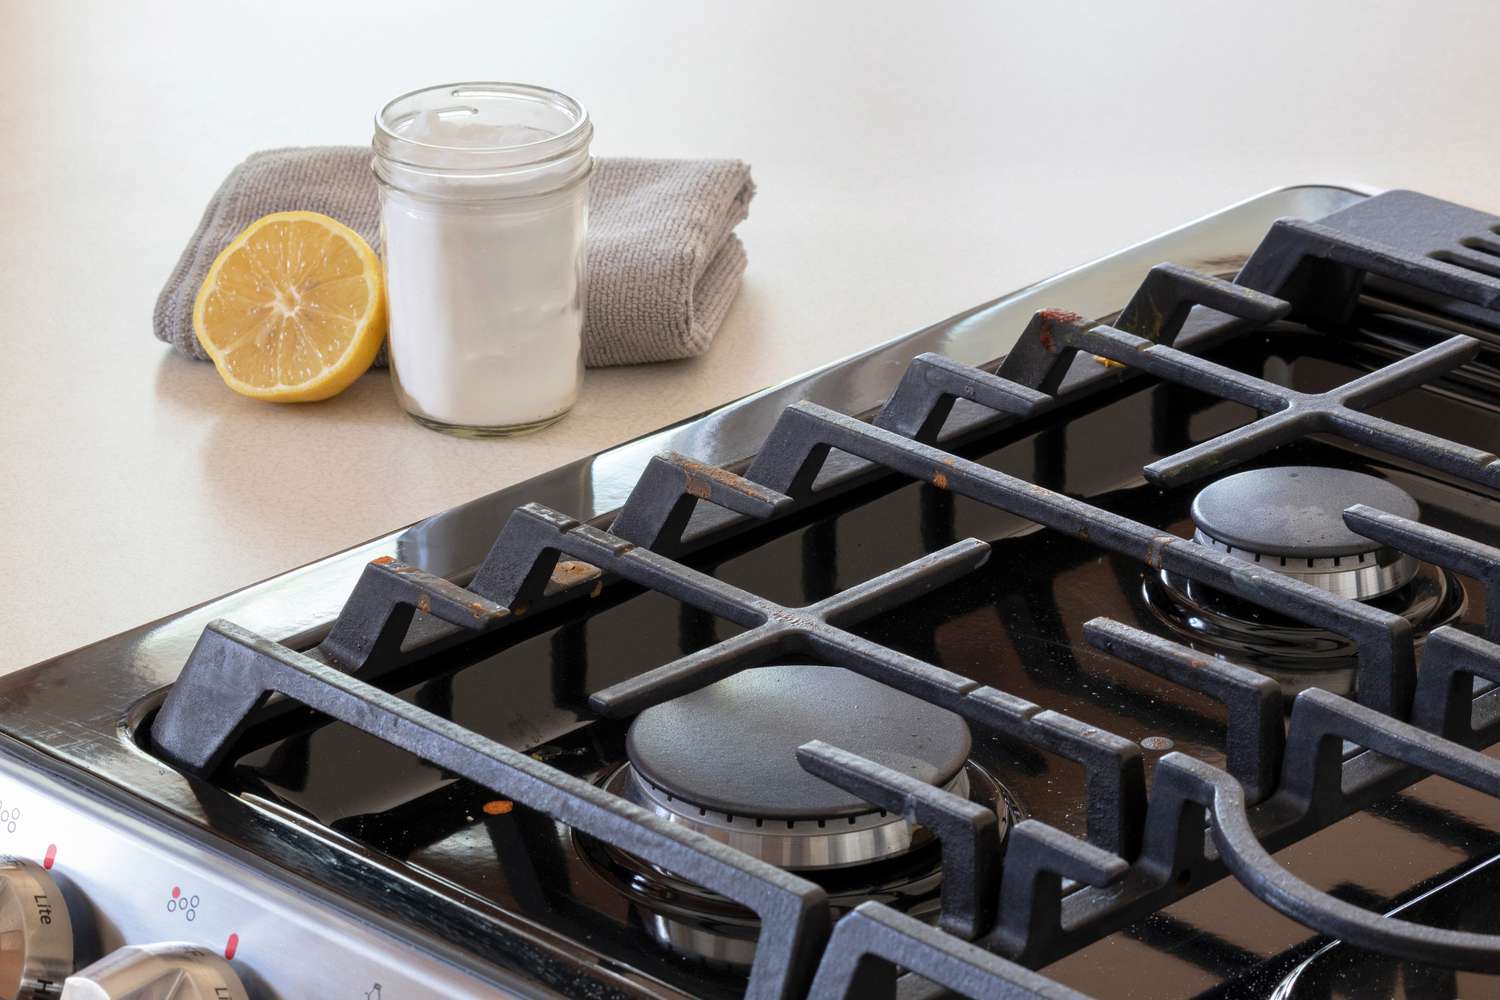
Necessary Supplies
- Mild dish soap
- Warm water
- Bristle brush or toothbrush
- Paper towels or clean cloth
- Small pin or needle
Now that you’ve gathered all the required supplies, let’s get started with the cleaning process!
Key Takeaways:
- Regularly cleaning dual fuel camping stove burners ensures safe operation, efficient heat distribution, and reliable performance during outdoor cooking adventures.
- Proper maintenance, including cleaning burner components and reassembly, extends the lifespan of camping stoves and enhances the overall outdoor cooking experience.
Read more: How To Clean Kitchen Stove Burners
Necessary Supplies
Before you begin cleaning your dual fuel camping stove burners, it’s important to gather all the necessary supplies. Having these items on hand will ensure a smooth and effective cleaning process. Here’s a list of what you’ll need:
- Mild dish soap: Choose a gentle dish soap that is suitable for cleaning cookware. Avoid using harsh or abrasive cleaners, as they can damage the burners.
- Warm water: You’ll need warm water to create a cleaning solution and rinse off the burners thoroughly.
- Bristle brush or toothbrush: A small bristle brush or toothbrush will come in handy for scrubbing away dirt, grime, and debris from the burners.
- Paper towels or clean cloth: These will be used to wipe down the burners after cleaning and ensure they are dry before reassembly.
- Small pin or needle: This will be used to unclog any blocked gas jets or burner holes.
Having these supplies readily available will make the cleaning process much more efficient and convenient. Before you start, make sure you have a clean and spacious working area to prevent any loss of small parts or dropping them onto dirty surfaces. Once you have everything ready, you can move on to the step-by-step cleaning process.
Step 1: Remove the Burner Covers
The first step in cleaning your dual fuel camping stove burners is to remove the burner covers. These covers are typically made of metal and serve as a protective layer for the burners. Here’s how you can remove them:
- Turn off the stove: Before handling any components, make sure your camping stove is turned off and disconnected from any fuel sources.
- Allow the stove to cool down: Give your stove some time to cool down completely. This will prevent any accidental burns or injuries during the cleaning process.
- Locate the burner covers: The burner covers are usually placed on top of the burners, providing a flat surface for cooking. Carefully lift them off and set them aside.
Once you have successfully removed the burner covers, you can proceed to the next step of cleaning the burner grates.
It’s worth noting that some camping stoves may have different mechanisms for removing the burner covers. Refer to your stove’s user manual for specific instructions if you’re unsure about the removal process.
Removing the burner covers allows you better access to clean the burner grates thoroughly. This step also helps in maintaining the overall cleanliness and performance of your camping stove burners.
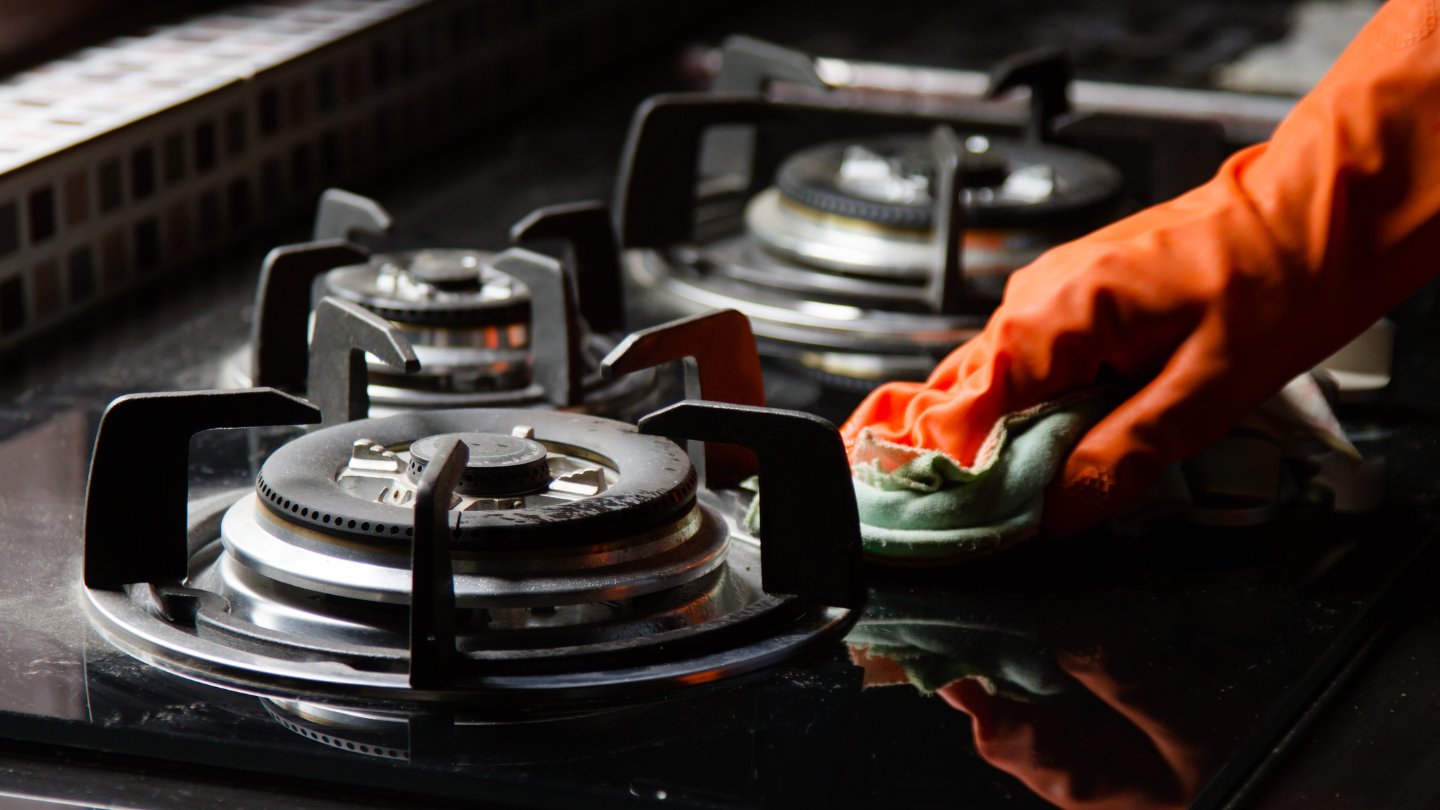
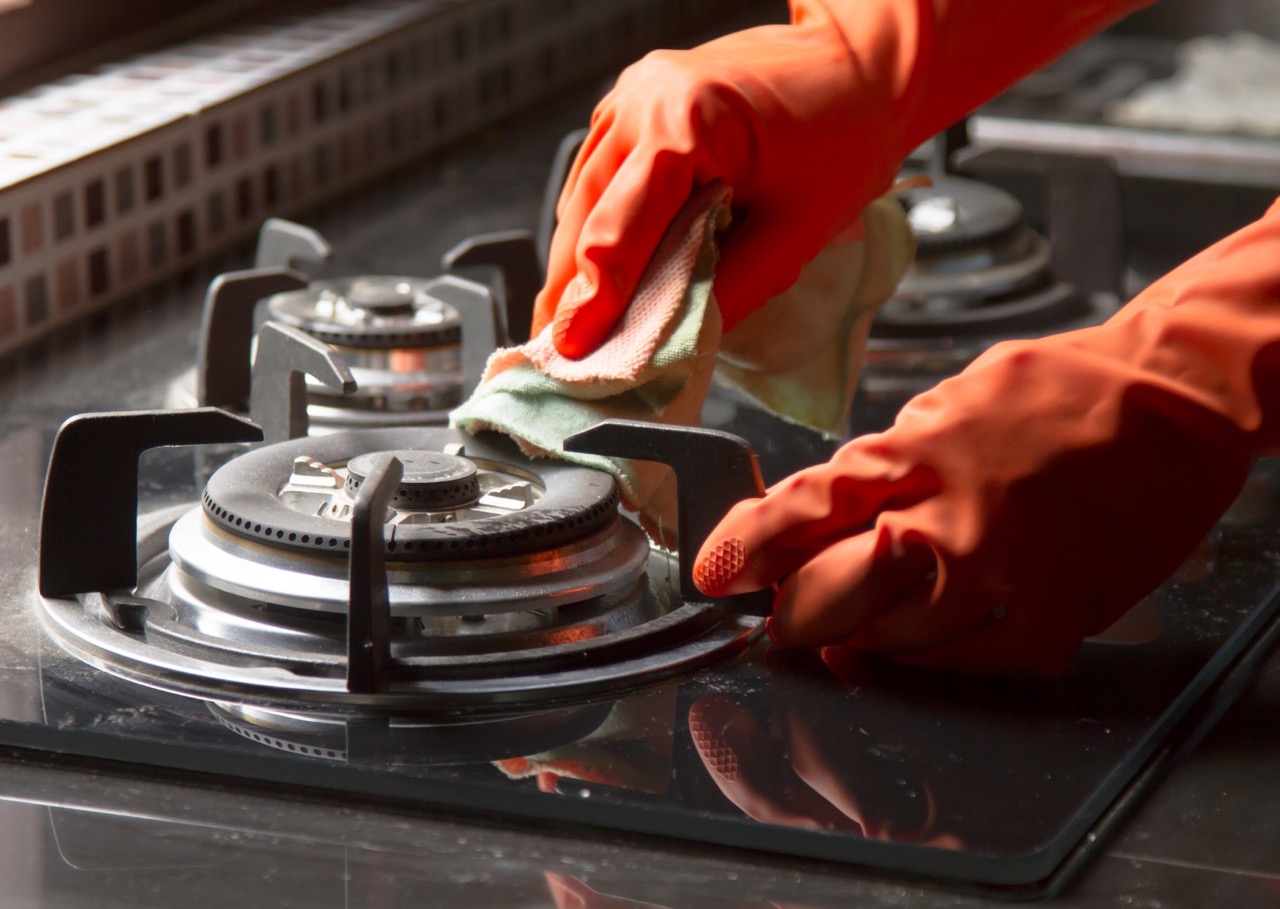
Step 2: Clean the Burner Grates
After removing the burner covers, it’s time to move on to cleaning the burner grates. The burner grates are the metal grids that sit directly on top of the burners and support your cooking pots and pans. Over time, these grates can accumulate grease, food residues, and other stubborn stains. Follow these steps to effectively clean them:
- Prepare a cleaning solution: Fill a basin or sink with warm water and add a small amount of mild dish soap. Mix it gently to create a soapy solution.
- Submerge the burner grates: Place the burner grates into the soapy water and let them soak for about 15-20 minutes. This will help loosen any grease or stuck-on debris.
- Scrub the grates: Take a bristle brush or toothbrush and scrub the burner grates vigorously. Focus on the areas with stubborn stains or buildup. Pay special attention to the gaps and crevices between the metal grids to ensure thorough cleaning.
- Rinse the grates: Once you’ve removed most of the dirt and grime, rinse the burner grates under running water to remove any remaining soap residue.
- Dry the grates: Use a clean cloth or paper towels to dry the burner grates thoroughly before reassembling them. Make sure they are completely dry to prevent any rusting.
Cleaning the burner grates regularly ensures that they remain free from grease and food residues, allowing for efficient heat distribution during cooking. It also helps extend the lifespan of your camping stove burners.
With clean burner grates, you’re now ready to move on to the next step – removing and cleaning the flame spreader.
Read more: How To Clean Brass Stove Burners
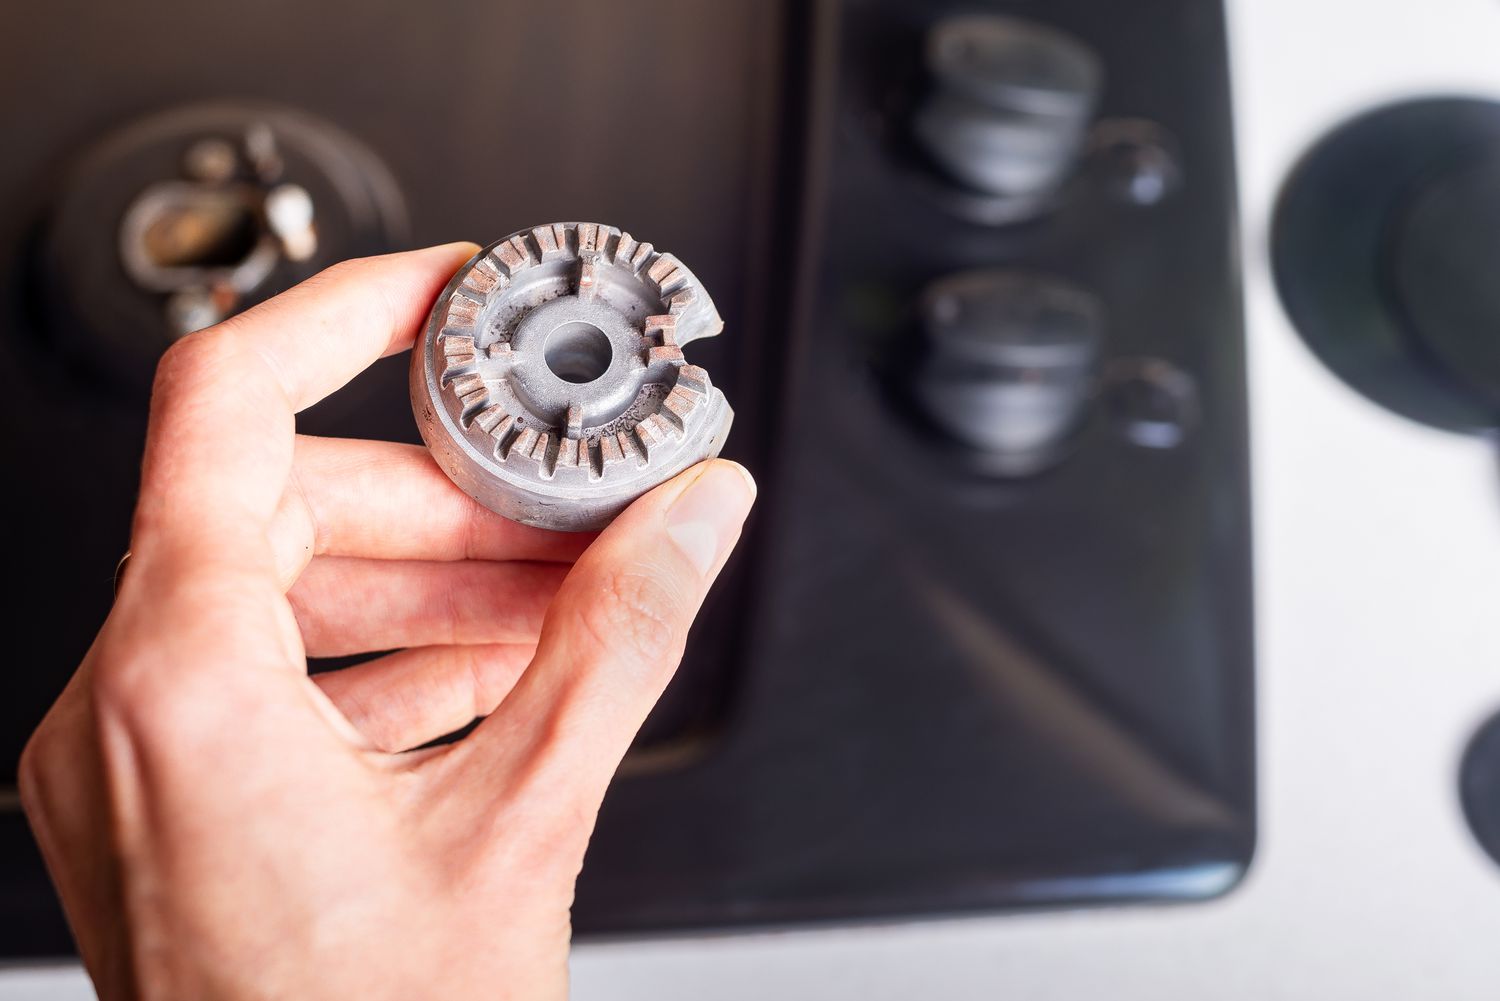
Step 3: Remove and Clean the Flame Spreader
Next in the cleaning process is removing and cleaning the flame spreader. The flame spreader is a metal disc or plate that sits on top of the burner and helps distribute the heat evenly across the cooking surface. Here’s how you can remove and clean it:
- Ensure the stove is turned off: Before handling any components, double-check that your camping stove is turned off and disconnected from any fuel sources.
- Allow the stove to cool down (if necessary): If your stove was recently in use, give it enough time to cool down before proceeding with the cleaning process.
- Locate the flame spreader: The flame spreader is usually located directly below the burner grate. It may be secured in place by clips or screws. Carefully remove any fasteners holding it in place.
- Remove the flame spreader: Once the fasteners are removed, gently lift the flame spreader away from the burner. Be cautious as it might still be hot or have sharp edges.
- Clean the flame spreader: Using warm soapy water and a bristle brush or sponge, clean the flame spreader by scrubbing away any grease, debris, or carbon buildup. Pay attention to both sides of the spreader to ensure a thorough cleaning.
- Rinse and dry the flame spreader: Rinse the flame spreader under running water to remove any remaining soap residue. Dry it completely using a clean cloth or paper towels.
By regularly cleaning the flame spreader, you’ll prevent any blockages or obstructions that can hinder the proper flow of heat. This will help maintain the efficiency and performance of your camping stove burners.
With the flame spreader cleaned, it’s time to move on to the next step – cleaning the burner rings.
After each use, remove the burners and soak them in warm, soapy water. Use a soft brush to scrub off any residue, then rinse and dry thoroughly before reassembling.
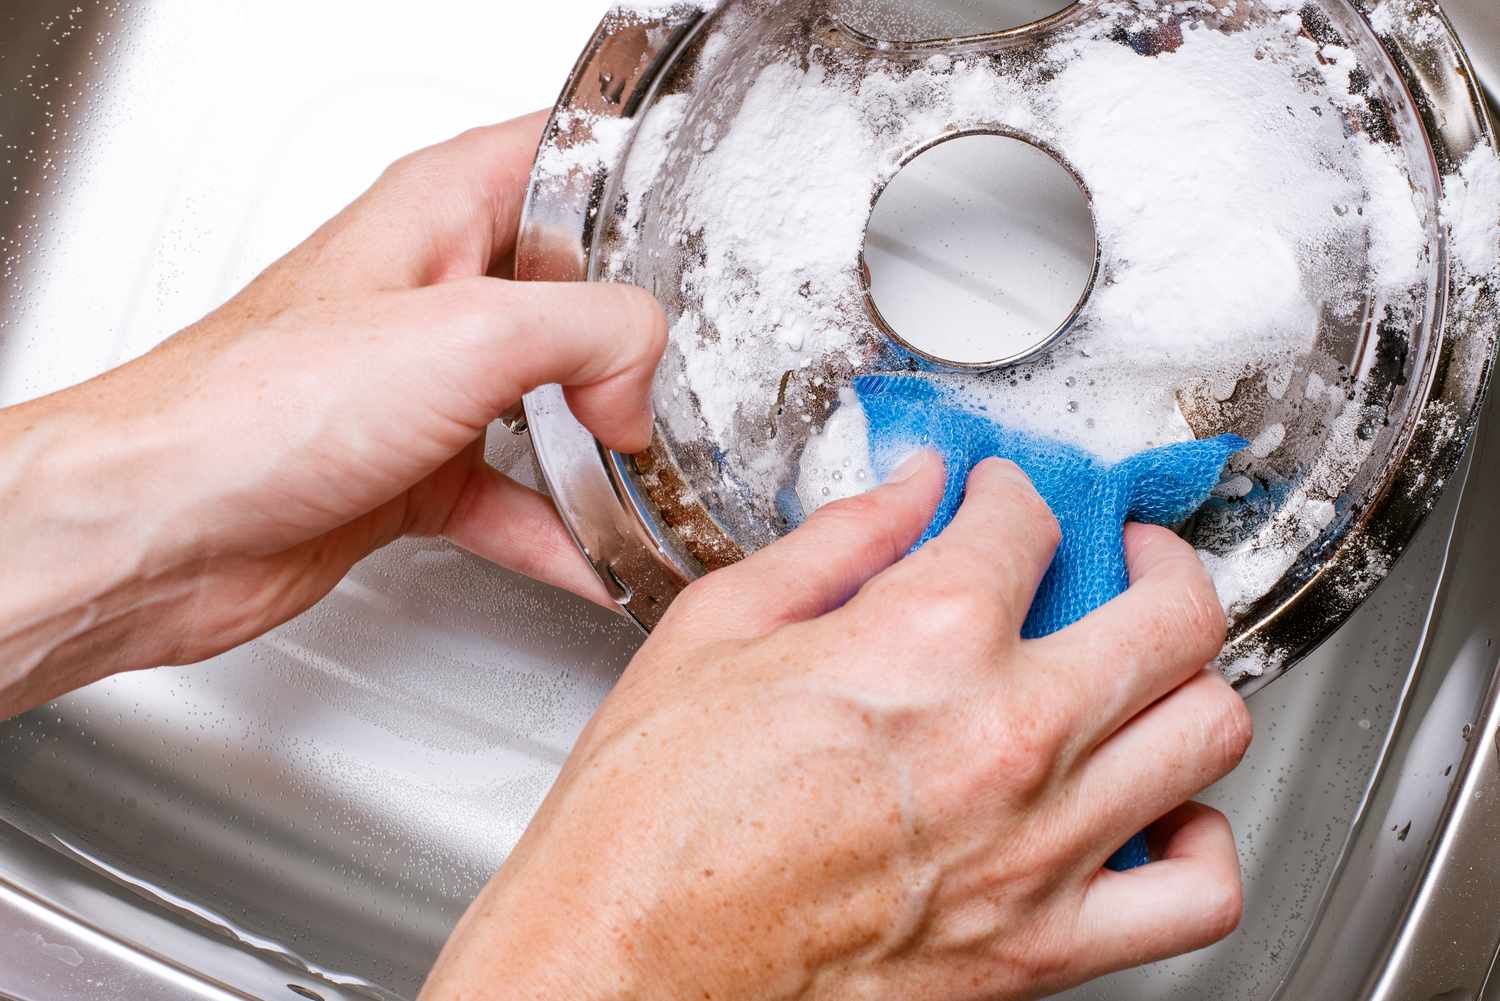
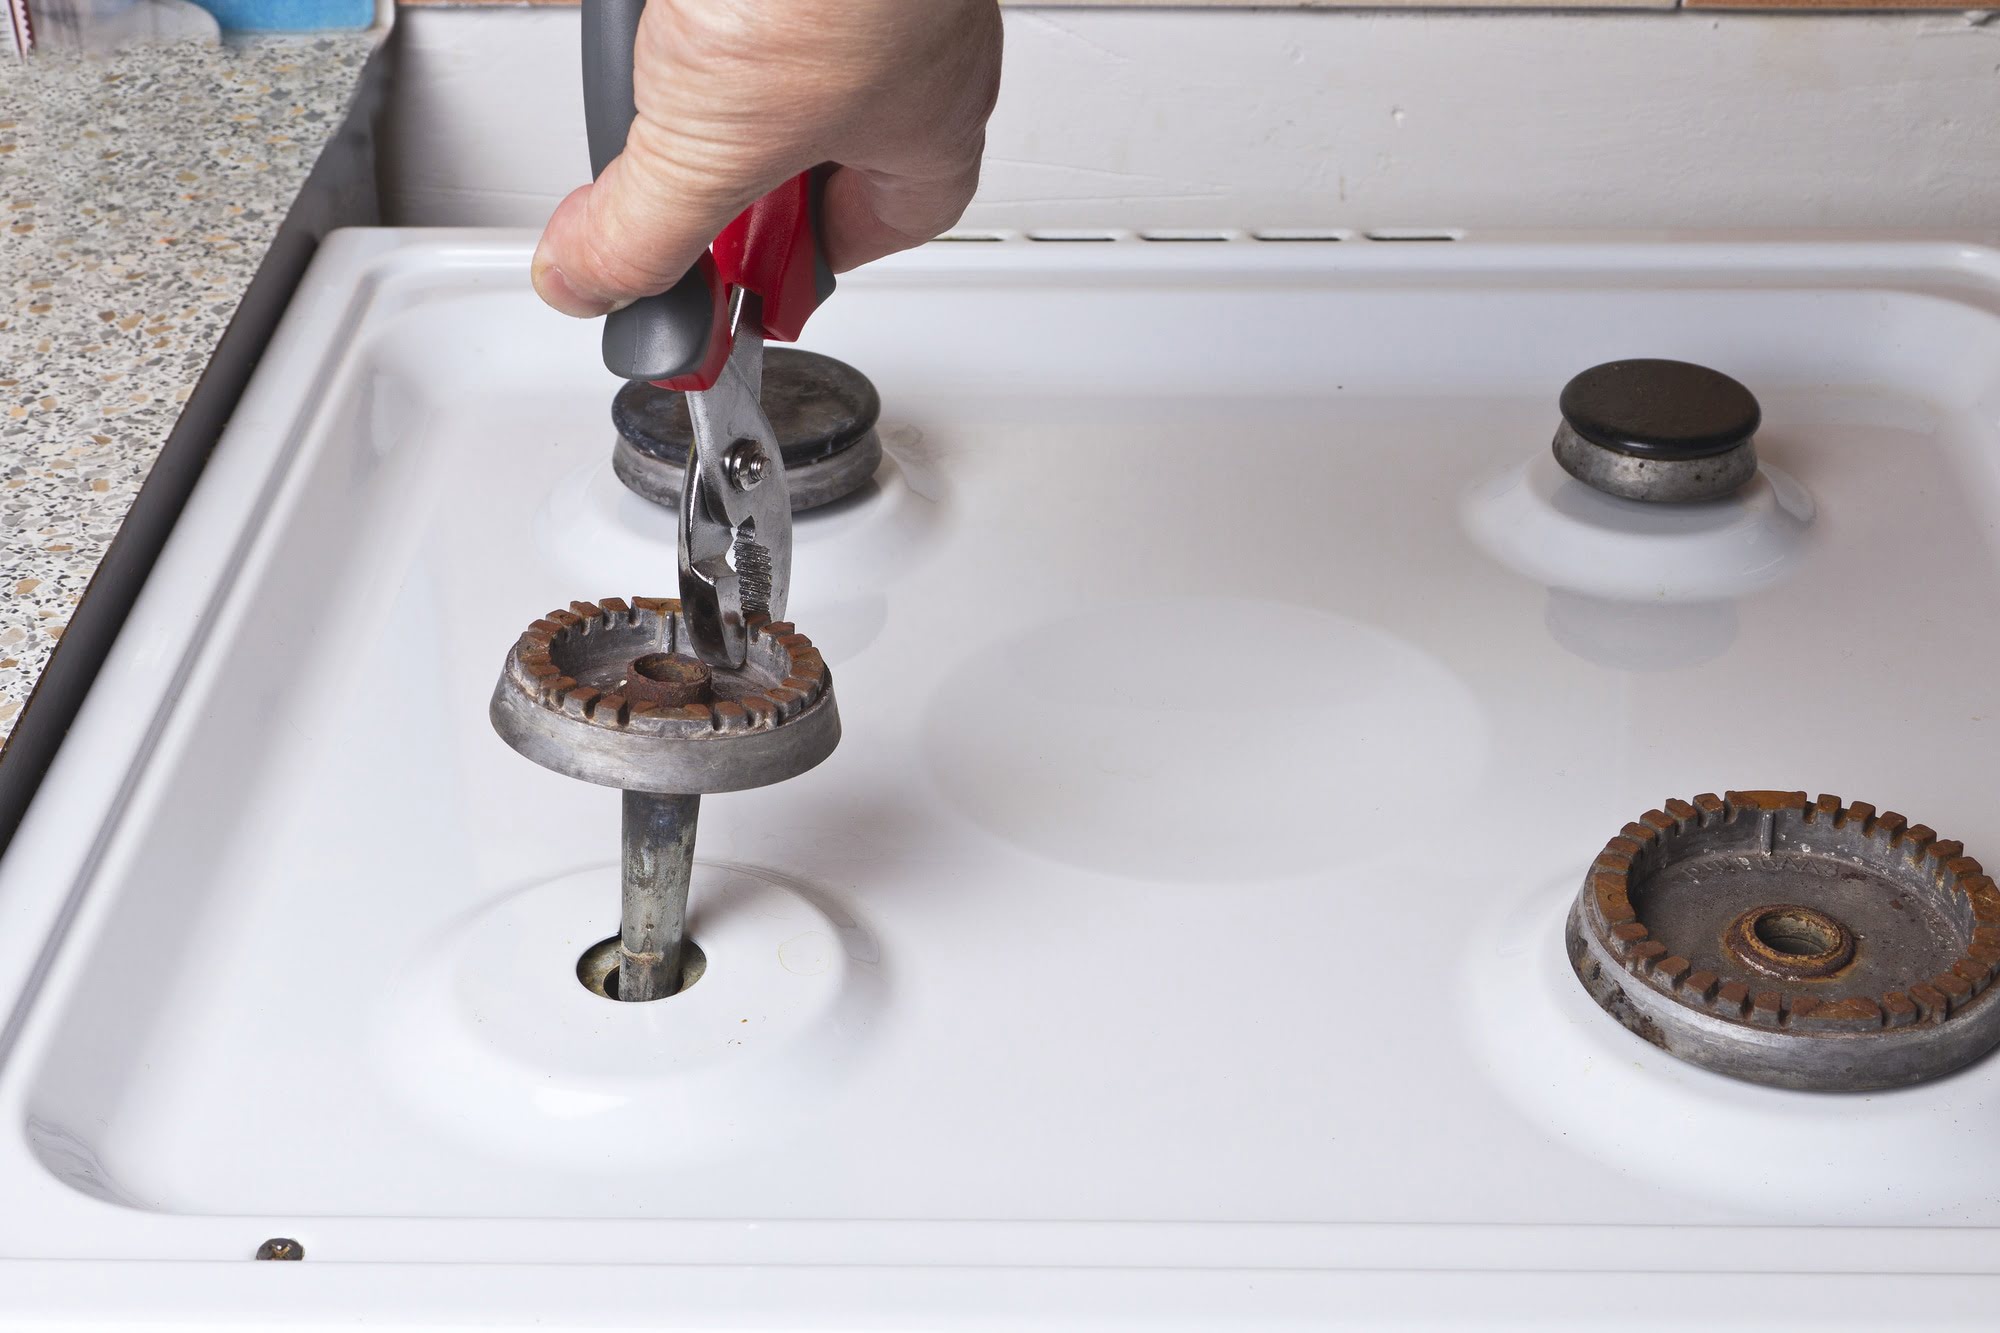
Step 4: Clean the Burner Rings
Now it’s time to clean the burner rings, which are the circular metal components that surround the flame spreader and supply the fuel for the burners. Over time, these rings can accumulate dirt, grease, and debris, affecting the efficiency of your camping stove. Follow these steps to clean the burner rings:
- Ensure the stove is turned off and cool: Before starting, make sure your camping stove is turned off and has had enough time to cool down.
- Remove the burner rings: Depending on your stove model, the burner rings may be easily detached or connected to the fuel supply. Carefully remove the burner rings, taking note of their placement.
- Inspect the burner rings: Examine the burner rings for any debris, clogs, or carbon buildup. If you notice any significant blockages, use a small pin or needle to carefully unclog the tiny holes.
- Clean the burner rings: Create a cleaning solution using warm water and mild dish soap. Soak the burner rings in this solution for a few minutes to loosen any dirt or grease. Then, use a brush or sponge to scrub the rings, paying extra attention to any stubborn stains or buildup. Rinse thoroughly with clean water.
- Dry the burner rings: After cleaning, ensure the burner rings are completely dry before reassembling them onto the camping stove. Use a clean cloth or paper towels to remove any moisture.
Cleaning the burner rings is essential for maintaining optimal fuel flow and efficient heat distribution. By keeping them clean, you’ll ensure that your camping stove operates at its best, providing you with reliable cooking performance during your outdoor adventures.
Now that the burner rings are clean, let’s move on to the next step – cleaning the gas jets.
Step 5: Clean the Gas Jets
The gas jets are crucial components of your dual fuel camping stove, as they regulate the flow of fuel and ignite the burners. Over time, these jets can become clogged with dirt, debris, or residue, affecting the efficiency and performance of your stove. Follow these steps to clean the gas jets:
- Ensure the stove is turned off and cool: Before you begin, make sure your camping stove is turned off and has had enough time to cool down.
- Locate the gas jets: The gas jets are small openings located around the burners, usually located near where the fuel supply connects. Identify and inspect each jet to identify any blockages.
- Remove blockages: Use a small pin or needle to carefully unclog any debris or residue that may be obstructing the gas jets. Gently insert the pin or needle into each jet, loosening the blockage and allowing the fuel to flow freely.
- Clean the jets with warm soapy water: Create a mixture of warm water and mild dish soap. Dip a small brush or toothbrush into the soapy water and gently scrub around each gas jet to remove any remaining buildup.
- Rinse and dry the gas jets: Once you’ve cleaned the gas jets, thoroughly rinse them with clean water to remove any soap residue. Make sure the jets are completely dry before proceeding.
Cleaning the gas jets regularly is essential to ensure an even and reliable flame from your camping stove. Unclogged jets allow for efficient fuel combustion and consistent heat distribution, enhancing the overall performance of your stove.
Now that you’ve cleaned the gas jets, it’s time to move on to the final step of cleaning the dual fuel camping stove burners – cleaning the burner housing.
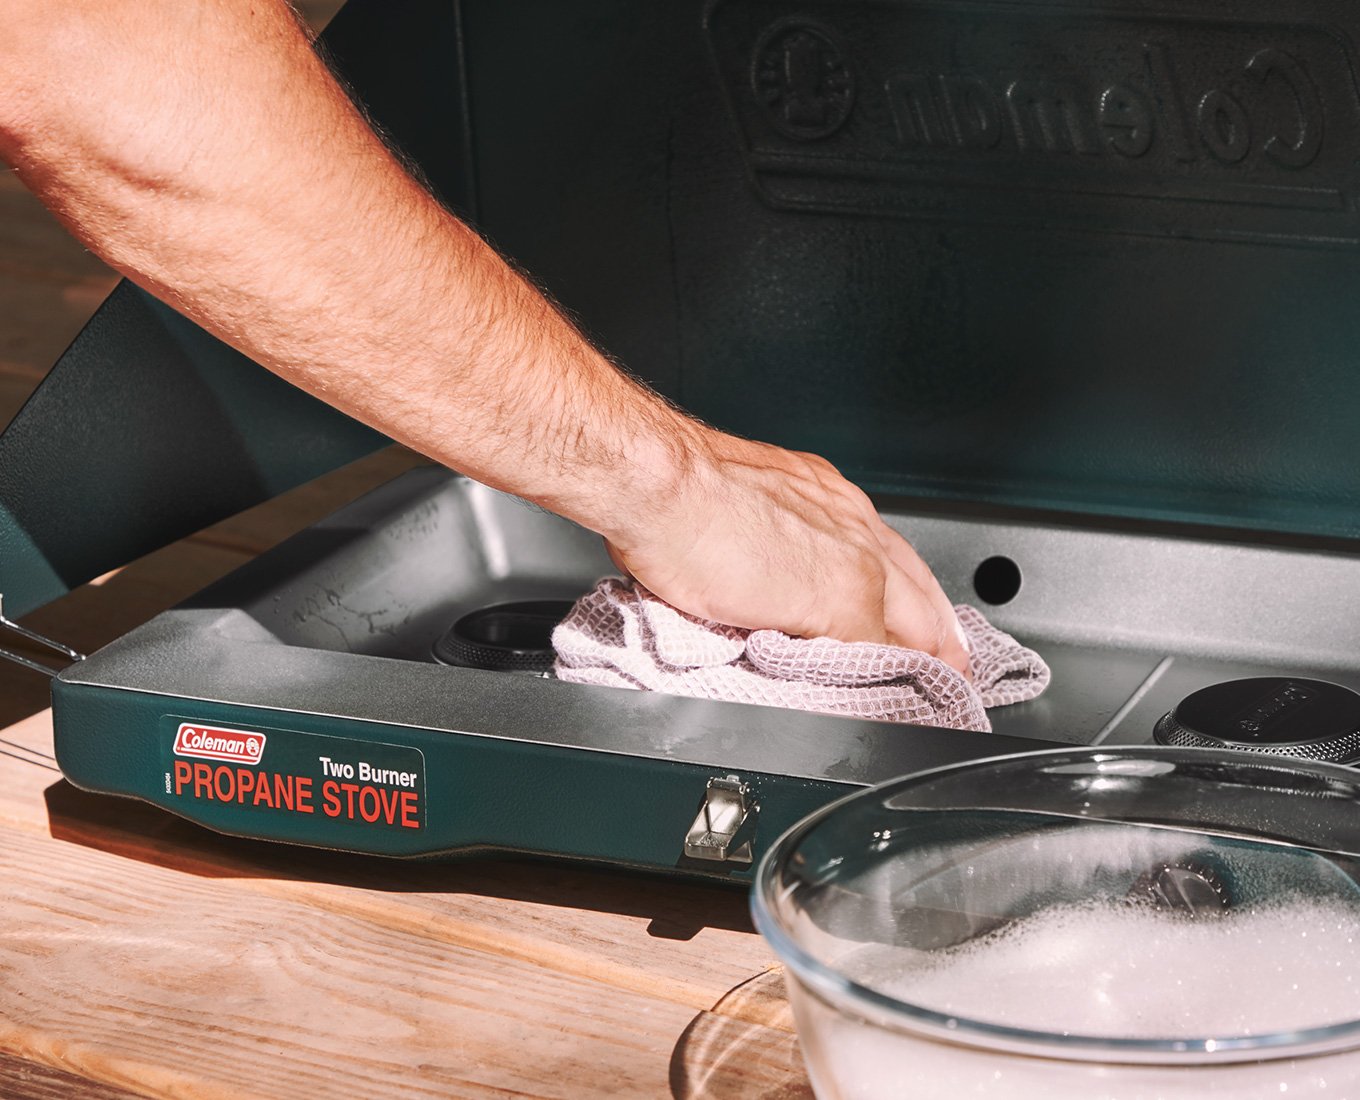
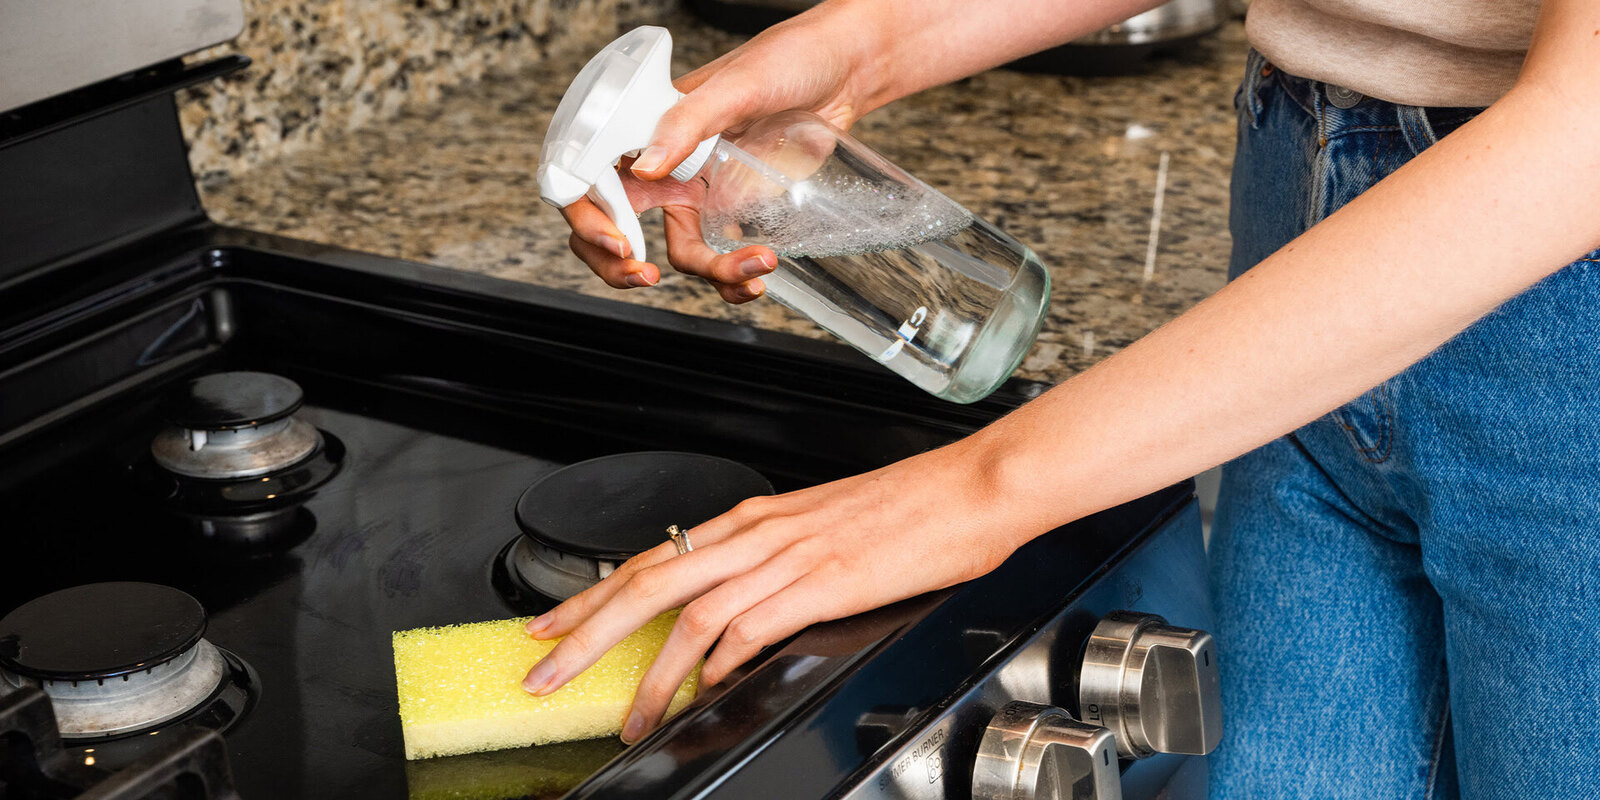
Step 6: Clean the Burner Housing
The burner housing is the area surrounding the burners that can accumulate dirt, grease, and debris over time. Cleaning the burner housing is important for maintaining the overall cleanliness and performance of your dual fuel camping stove. Follow these steps to clean the burner housing:
- Ensure the stove is turned off and cool: Before beginning the cleaning process, ensure that your camping stove is turned off and has had enough time to cool down.
- Prepare a cleaning solution: Mix warm water with mild dish soap to create a soapy solution.
- Dampen a cloth or sponge: Dip a soft cloth or sponge into the soapy solution and squeeze out any excess liquid. You want the cloth or sponge to be slightly damp, not dripping wet.
- Wipe down the burner housing: Gently wipe down the burner housing, removing any dirt, grease, or stains. Pay special attention to areas around the burners and along the edges where debris tends to accumulate.
- Use a toothbrush for stubborn stains: For stubborn stains or hard-to-reach areas, you can use a toothbrush dipped in the soapy solution to scrub away the grime.
- Rinse and dry: Once you’ve thoroughly cleaned the burner housing, rinse the cloth or sponge with clean water and go over the housing again to remove any soap residue. Lastly, dry the burner housing with a clean cloth or paper towel.
By cleaning the burner housing, you not only improve the appearance of your camping stove but also prevent the buildup of grease and debris that can affect the performance of the burners. A clean burner housing ensures efficient heat distribution and helps extend the lifespan of your camping stove.
With the burner housing cleaned, you’re now ready to move on to the final step – reassembling the burners.
Read more: How To Clean Whirlpool Stove Burners
Step 7: Reassemble the Burners
After thoroughly cleaning each component of your dual fuel camping stove burners, it’s time to reassemble them so that your stove is ready for your next outdoor adventure. Follow these steps to properly reassemble the burners:
- Ensure all components are dry: Before reassembly, make sure that all the parts, including burner grates, flame spreader, burner rings, and gas jets, are completely dry. This will help prevent any rust or corrosion.
- Place the burner rings back: Carefully position the burner rings back onto the stove, ensuring they align properly with the gas jets.
- Reattach the flame spreader: Position the flame spreader back onto the burner rings. If there were clips or screws holding it in place, secure the flame spreader accordingly.
- Put the burner grates in place: Set the burner grates back onto the flame spreader, ensuring they sit securely and evenly.
- Test the burners: Before you start cooking, it’s a good idea to perform a quick test of the burners. Connect your stove to the fuel source and turn it on briefly to check if the burners ignite properly and the flames are even.
Reassembling the burners correctly is crucial for the safe and efficient operation of your camping stove. By following these steps, you’ll ensure that all the components are properly aligned and securely in place.
With your dual fuel camping stove burners cleaned and reassembled, you’re now ready to enjoy outdoor cooking with confidence. Remember to continue regular maintenance and cleaning to keep your camping stove in optimal condition for your future outdoor adventures.
Stay safe and have a fantastic time exploring the great outdoors!
Conclusion
Cleaning your dual fuel camping stove burners is an essential maintenance task that ensures the efficiency, performance, and safety of your outdoor cooking equipment. By following the step-by-step guide we provided, you can effectively clean each component of your camping stove burners and have them ready for your next camping trip.
Starting with removing the burner covers and cleaning the burner grates, you remove dirt, grease, and debris that can affect heat distribution. Then, by removing and cleaning the flame spreader, you ensure even flame distribution. Cleaning the burner rings and gas jets helps maintain optimal fuel flow and combustion. Additionally, cleaning the burner housing ensures the overall cleanliness and longevity of your camping stove.
Reassembling the burners correctly is crucial to the safe and efficient operation of your camping stove. By following the reassembly process, you can ensure all components are properly aligned and securely in place.
Remember to regularly clean your dual fuel camping stove burners to maintain their performance and efficiency. This will extend the lifespan of your stove and provide you with an enjoyable outdoor cooking experience every time.
Now that you have the knowledge and guidance to clean your dual fuel camping stove burners, it’s time to get out there and enjoy wonderful meals in the great outdoors. Happy camping and happy cooking!
Frequently Asked Questions about How To Clean Dual Fuel Camping Stove Burners
Was this page helpful?
At Storables.com, we guarantee accurate and reliable information. Our content, validated by Expert Board Contributors, is crafted following stringent Editorial Policies. We're committed to providing you with well-researched, expert-backed insights for all your informational needs.


0 thoughts on “How To Clean Dual Fuel Camping Stove Burners”