Articles
How To Clean Rv AC Coils
Modified: August 16, 2024
Learn how to effectively clean RV AC coils with this comprehensive guide. Find step-by-step instructions and expert tips to keep your RV's air conditioning system running smoothly.
(Many of the links in this article redirect to a specific reviewed product. Your purchase of these products through affiliate links helps to generate commission for Storables.com, at no extra cost. Learn more)
Introduction
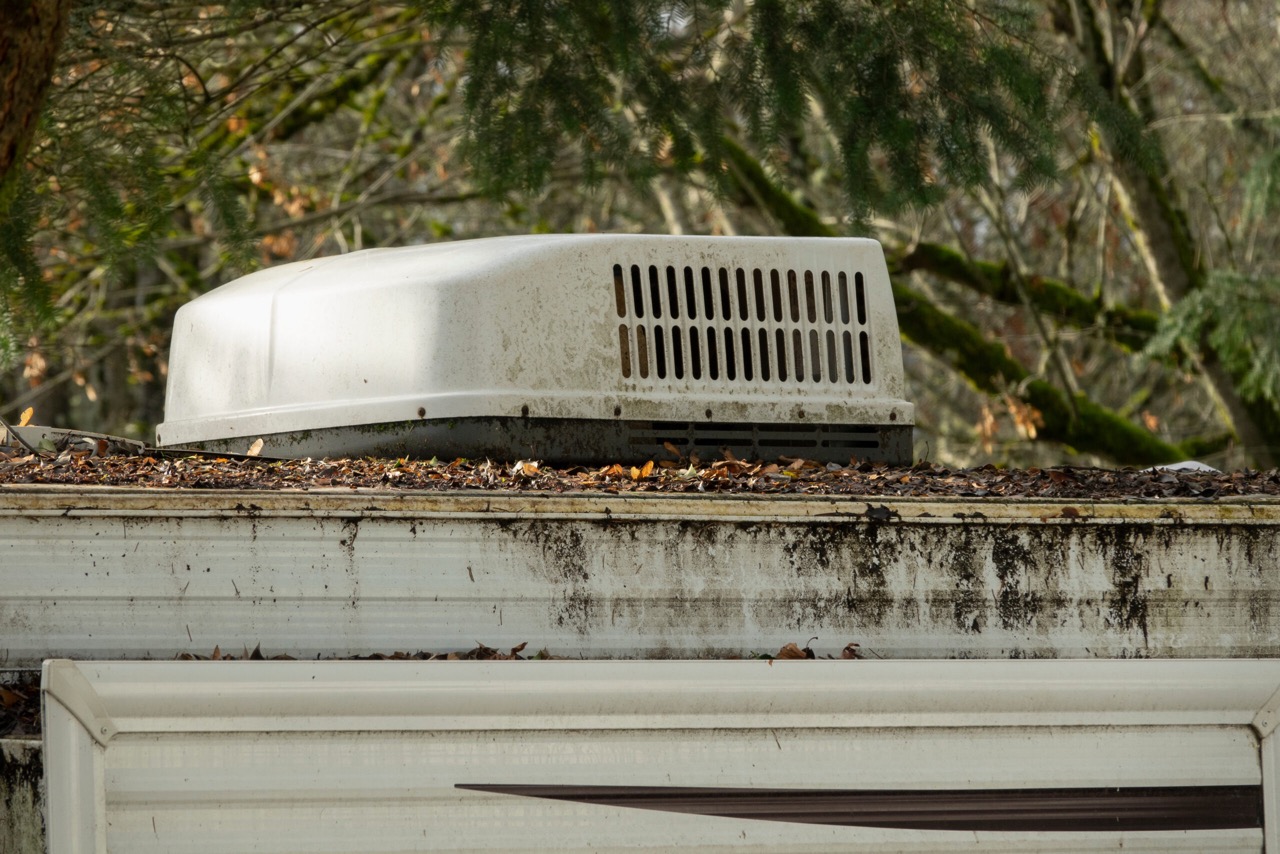
Welcome to our comprehensive guide on how to clean RV AC coils. If you’re an RV owner, you know the importance of keeping your vehicle in top-notch condition. Maintaining the air conditioning system is crucial to ensuring comfortable and enjoyable trips. One vital aspect of AC system maintenance is cleaning the coils regularly. In this article, we will explain why cleaning RV AC coils is essential, provide a step-by-step guide on how to do it properly, and offer some valuable tips for proper maintenance.
RV AC coils play a critical role in the cooling process. Over time, these coils can accumulate dust, dirt, and debris, which reduces their efficiency and hampers the overall performance of the AC system. If left unattended, clogged coils can lead to a decrease in cooling efficiency, higher energy consumption, and even system damage. Regularly cleaning the AC coils not only ensures optimal cooling but also helps prolong the lifespan of the AC unit.
To get started, let’s take a look at the tools and materials you’ll need for cleaning RV AC coils:
Key Takeaways:
- Regularly cleaning RV AC coils is crucial for improved cooling efficiency, increased energy efficiency, extended AC unit lifespan, better indoor air quality, and prevention of costly repairs.
- Avoid common mistakes such as using harsh cleaning agents, excessive water pressure, neglecting protective gear, and overlooking professional maintenance to ensure a successful and safe cleaning process.
Read more: How Much To Clean AC Coils
Importance of Cleaning RV AC Coils
Cleaning RV AC coils is a crucial maintenance task that should not be overlooked. Here are a few reasons why it is important to regularly clean your RV AC coils:
- Improved Cooling Efficiency: Over time, dirt, dust, and debris accumulate on the AC coils, forming a layer that prevents efficient heat transfer. When the coils are clogged, the AC unit has to work harder to cool your RV, leading to a decrease in cooling efficiency. Cleaning the coils removes the build-up, allowing for better heat exchange and improved cooling performance.
- Increased Energy Efficiency: When the AC coils are dirty, your AC unit consumes more energy to achieve the desired cooling temperature. This leads to higher energy bills and unnecessary strain on your RV’s electrical system. By cleaning the coils, you can ensure that your AC unit operates at its optimum efficiency, saving you money and reducing your carbon footprint.
- Extended Lifespan of the AC Unit: Clogged AC coils not only reduce cooling efficiency but can also lead to system malfunctions and damage. When the coils are dirty, the AC unit has to work harder, putting more strain on the compressor and other components. Over time, this can result in premature wear and tear, reducing the lifespan of your AC unit. Regularly cleaning the coils helps prevent such issues and ensures the longevity of your AC system.
- Better Indoor Air Quality: A dirty AC unit can circulate dust, allergens, and other pollutants throughout your RV, impacting the indoor air quality. By keeping the coils clean, you can minimize the circulation of these particles, creating a healthier and more comfortable environment for you and your travel companions.
- Prevention of Costly Repairs: Neglecting to clean your RV AC coils can lead to more serious AC system issues in the long run. Clogged coils can cause the compressor to overheat, leading to expensive repairs or even complete AC unit failure. By performing regular maintenance, including cleaning the coils, you can avoid costly repairs and ensure that your AC system remains in good working condition.
Now that we understand the importance of cleaning RV AC coils, let’s move on to the tools and materials you’ll need for this task.
Tools and Materials Needed
Before you start cleaning your RV AC coils, make sure you have the following tools and materials on hand:
- Gloves: It’s always a good idea to wear gloves to protect your hands while working with cleaning agents and handling dirt and debris.
- Safety Glasses: Safety glasses are recommended to protect your eyes from any debris that may dislodge during the cleaning process.
- Coil Cleaning Solution: Invest in a quality coil cleaning solution that is specifically designed for RV AC systems. These solutions are typically available at RV supply stores or online.
- Water Source: You’ll need access to a water source, whether it’s a hose or a bucket of water, to rinse off the cleaning solution from the AC coils.
- Soft-Bristled Brush: A soft-bristled brush will help you remove stubborn dirt and debris from the coils without damaging them. Make sure the brush is clean and in good condition.
- Fin Comb: A fin comb is a handy tool that allows you to straighten and align the AC coil fins. Over time, these fins can become bent or misaligned, hindering the performance of the AC system. A fin comb helps restore the fins to their original shape.
- Shop Vacuum or Air Compressor: A shop vacuum or an air compressor can be used to remove loose debris and dust from the coils before cleaning them. Make sure you have one of these tools available for a thorough cleaning.
- Towels or Rags: Have some towels or rags ready to wipe away excess moisture after cleaning the coils.
- Ladder or Step Stool: Depending on the location of your RV’s AC unit, you may need a ladder or step stool to reach the coils safely. Ensure that you have a stable surface to work from.
With these tools and materials assembled, you’re ready to proceed with cleaning your RV AC coils. In the next section, we will provide you with a step-by-step guide to help you through the process.
Step-by-Step Guide to Cleaning RV AC Coils
Follow these step-by-step instructions to properly clean your RV AC coils:
- Turn Off the Power: Before starting any maintenance on your RV’s AC unit, ensure that the power to the unit is turned off. This will prevent any accidental electrical shocks during the cleaning process.
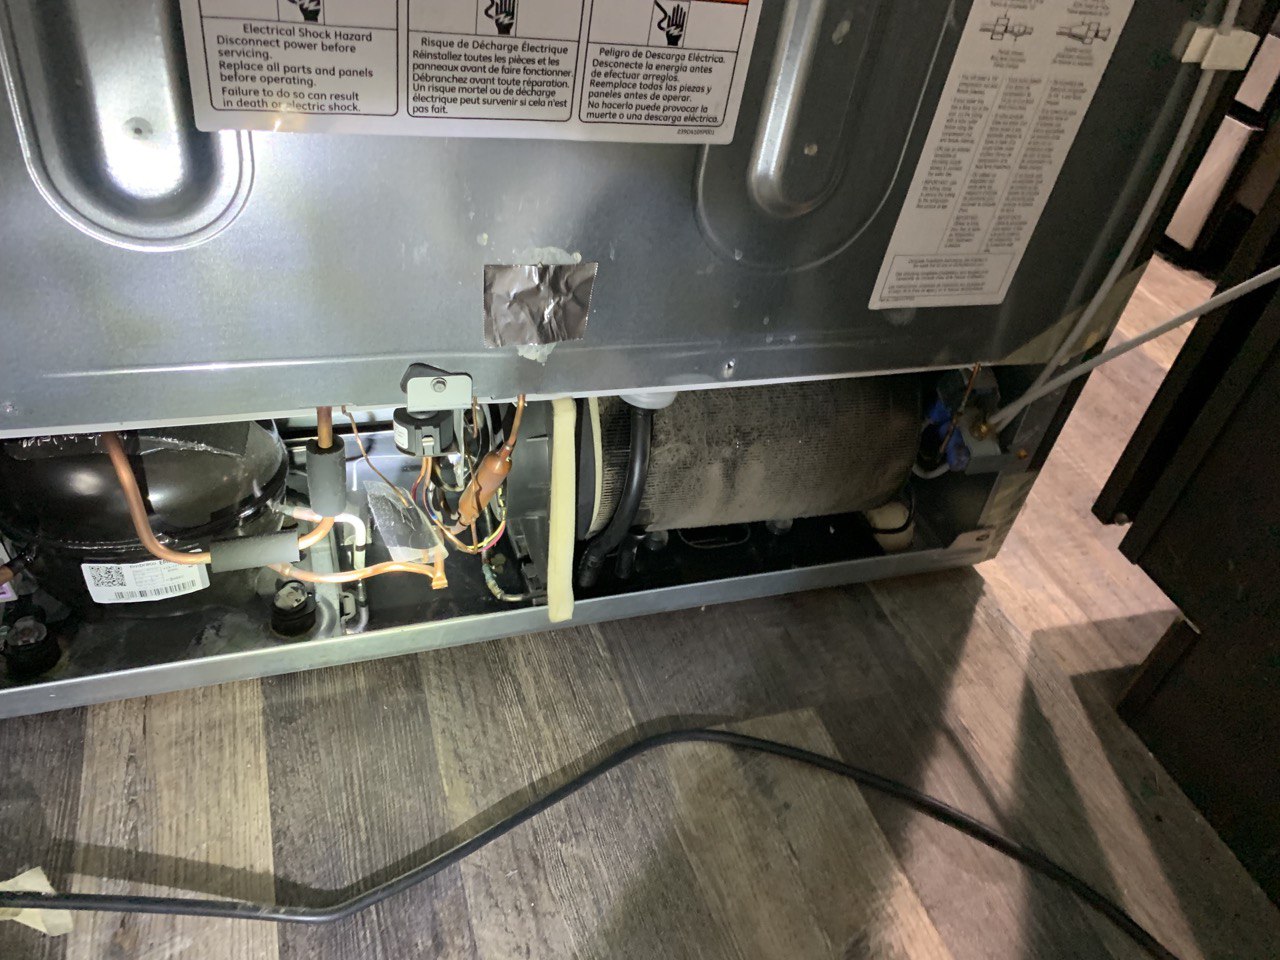
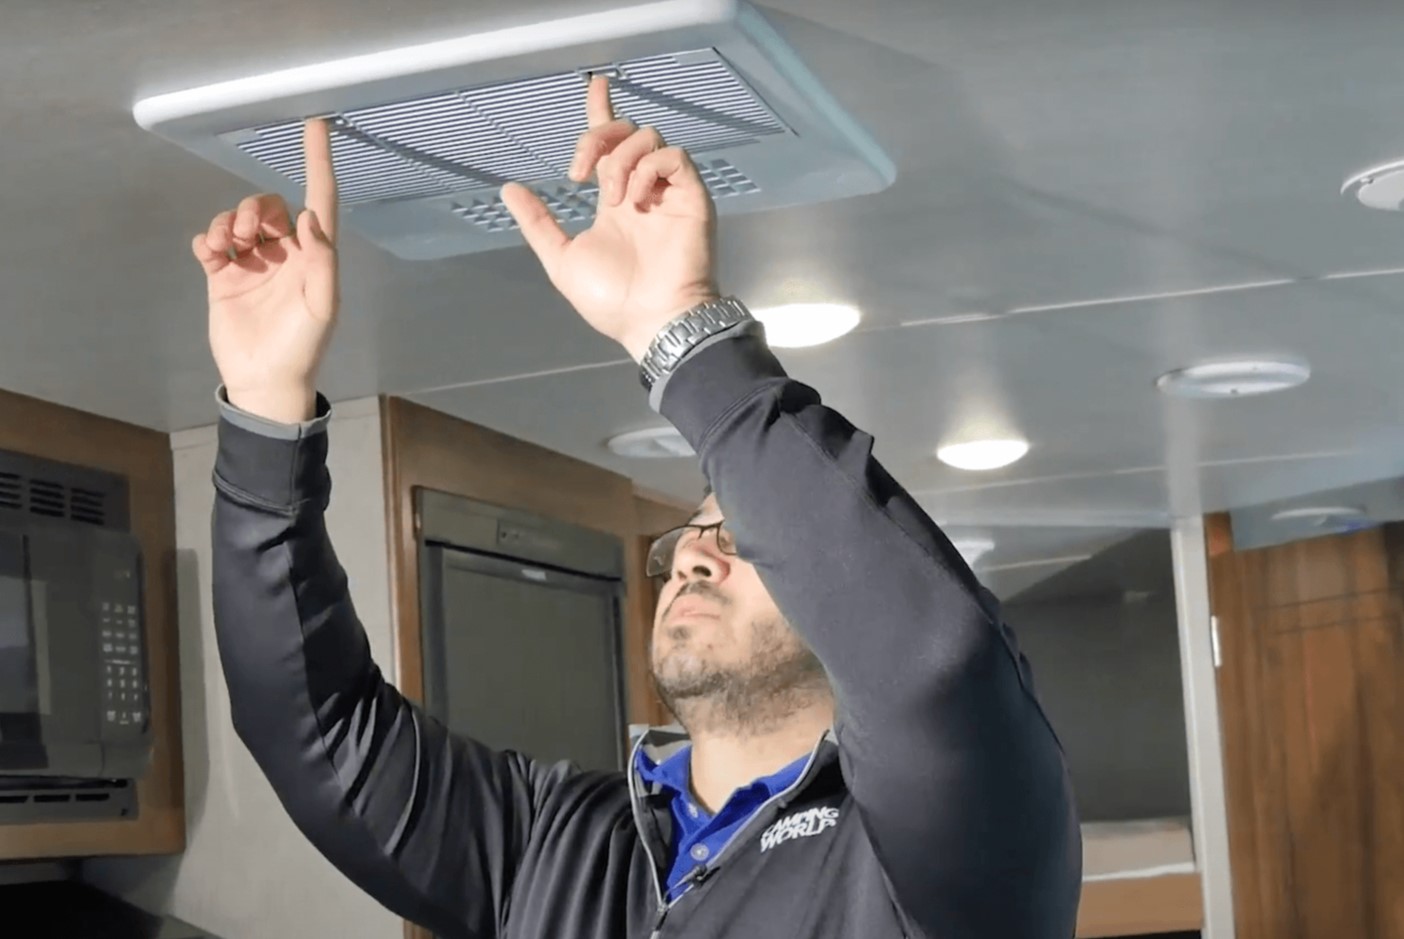
- Access the AC Unit: Depending on the design of your RV, you may need to remove a cover or access panel to reach the AC coils. Carefully remove any screws or clips and set them aside for reassembly later.
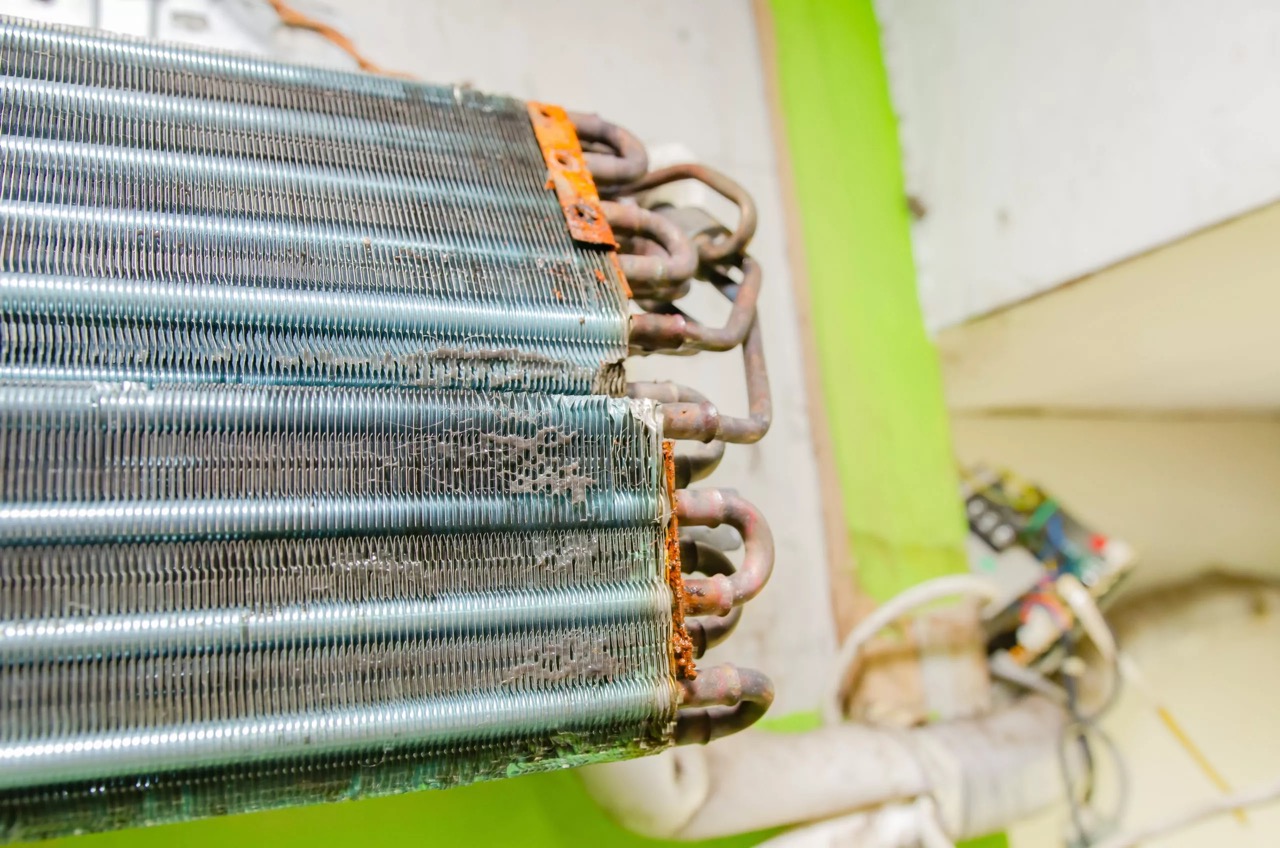
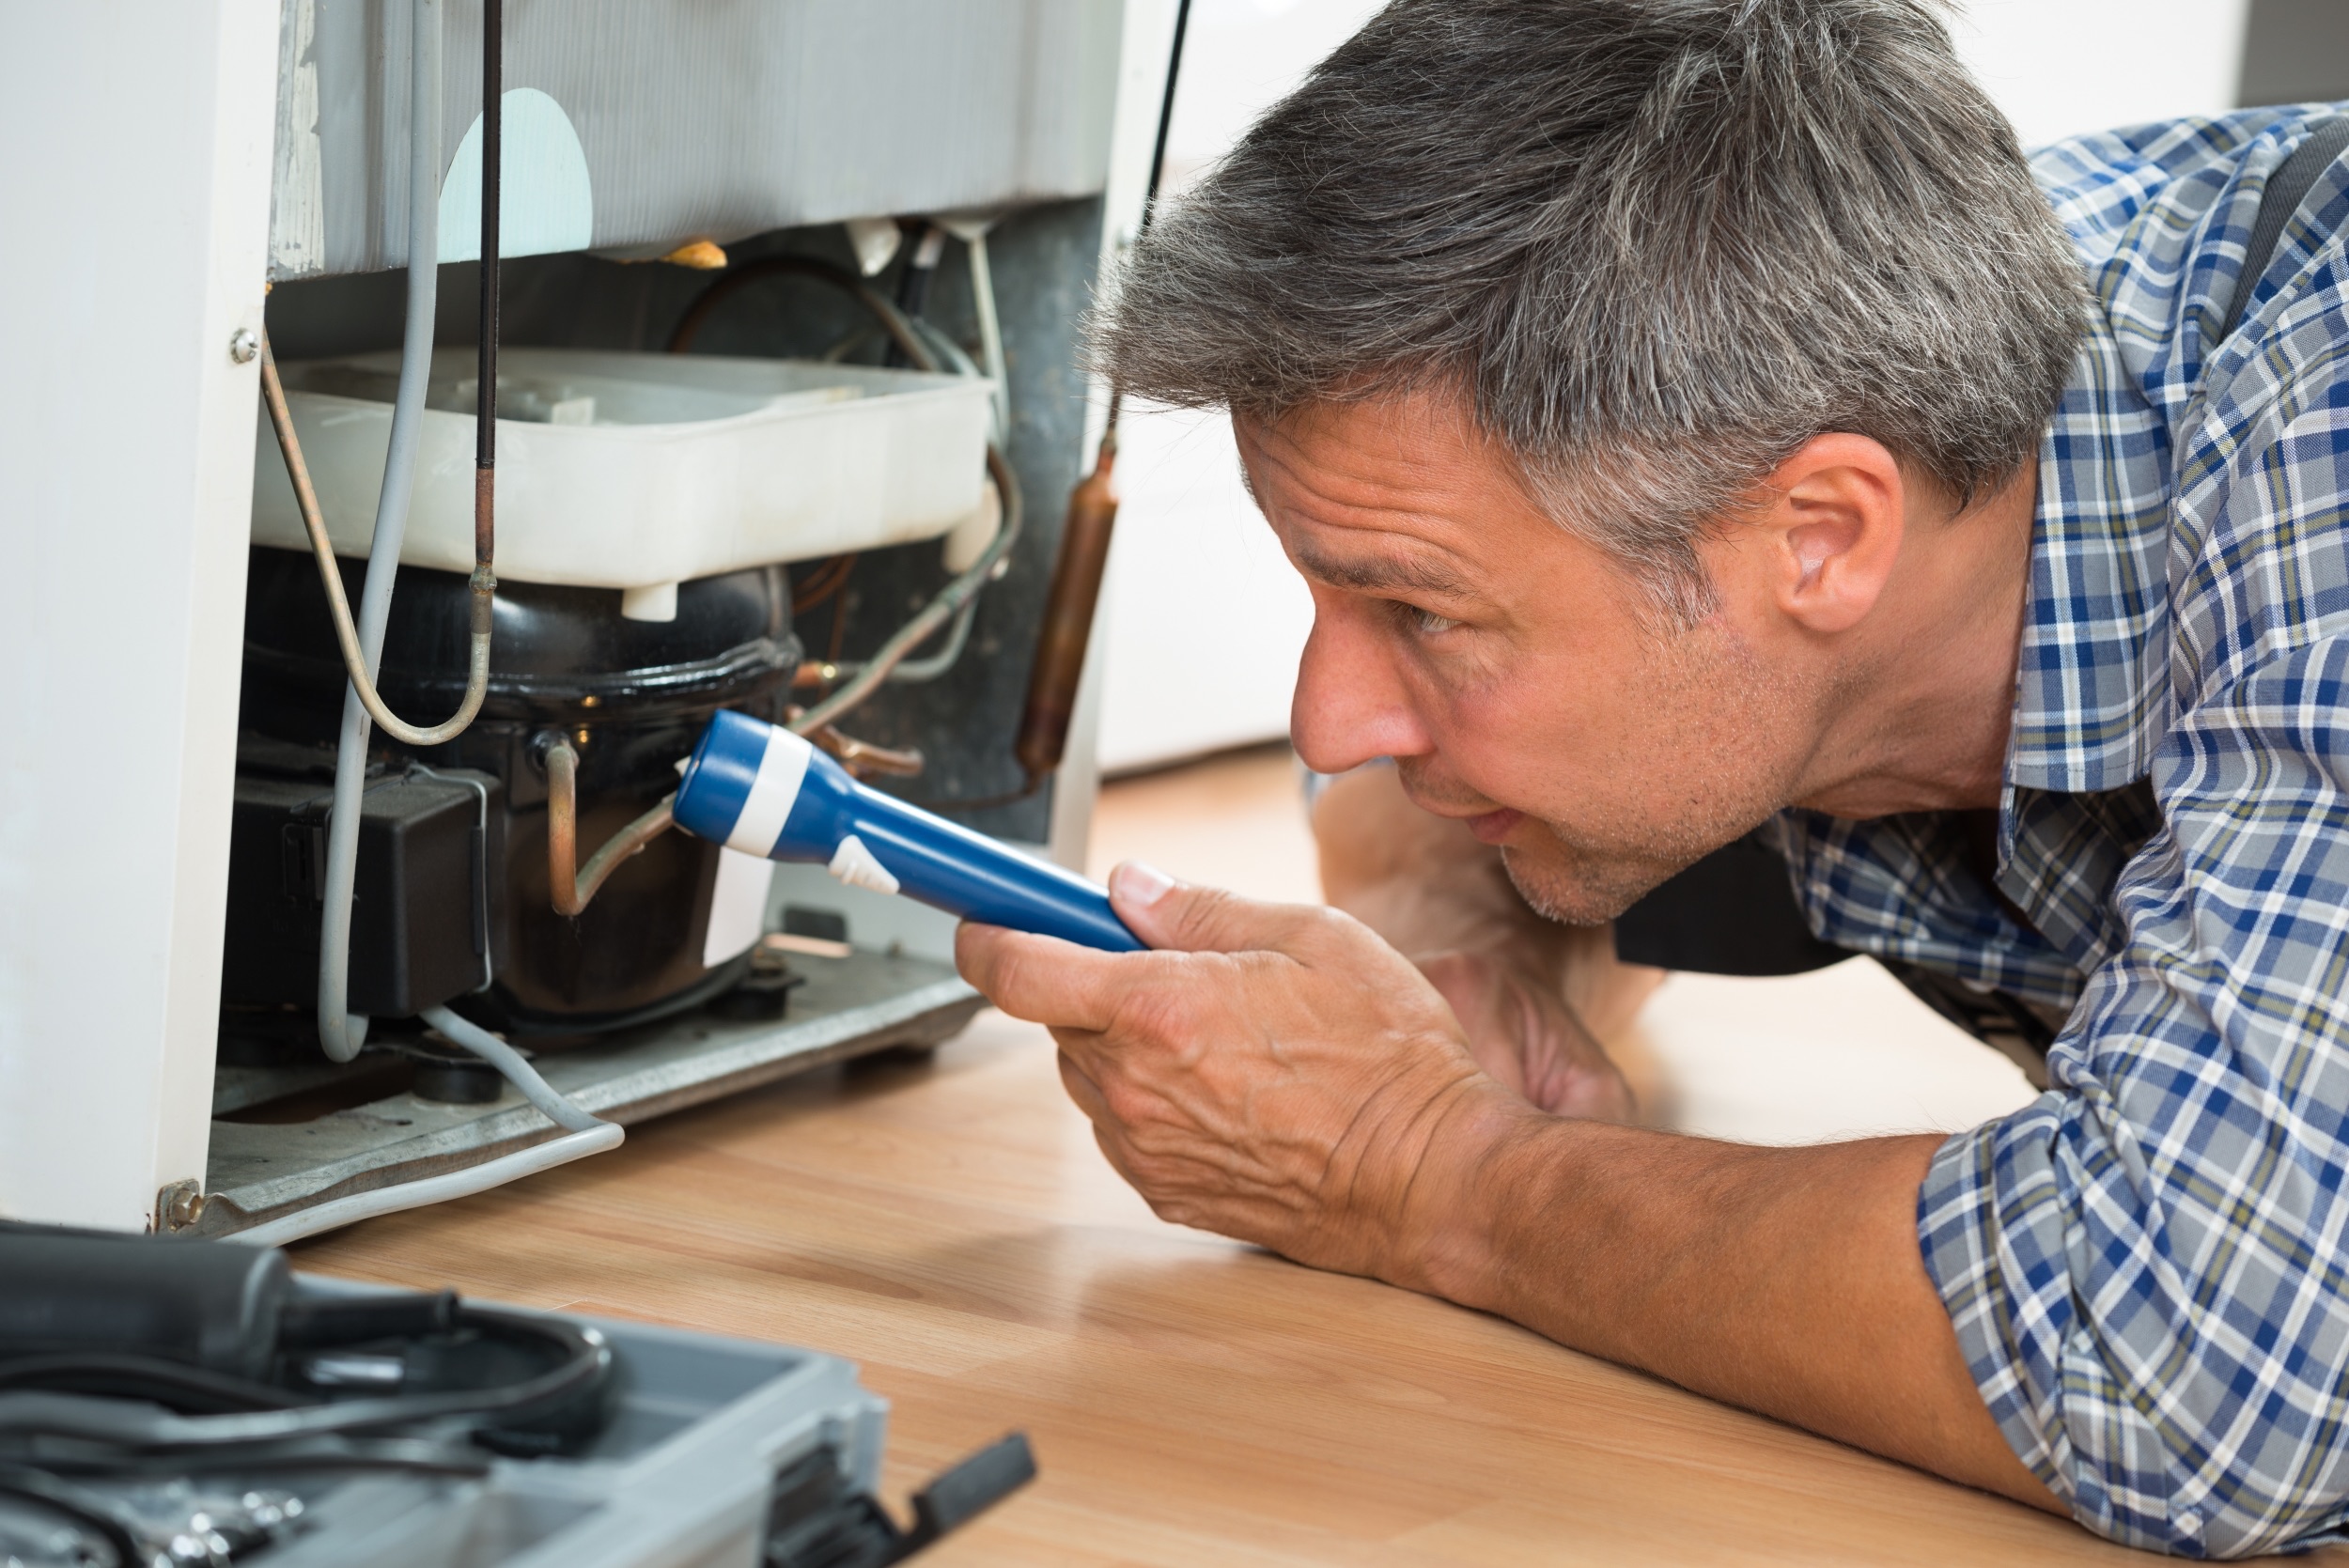
- Inspect the Coils: Take a moment to visually inspect the AC coils. Look for any signs of heavy dirt or debris build-up, bent fins, or other damage. This will help you identify any specific areas that require extra attention during cleaning.
- Remove Loose Debris: Use a shop vacuum or an air compressor to remove any loose debris, leaves, or dust from the coils. This step will make the cleaning process more effective and prevent these particles from further clogging the coils.
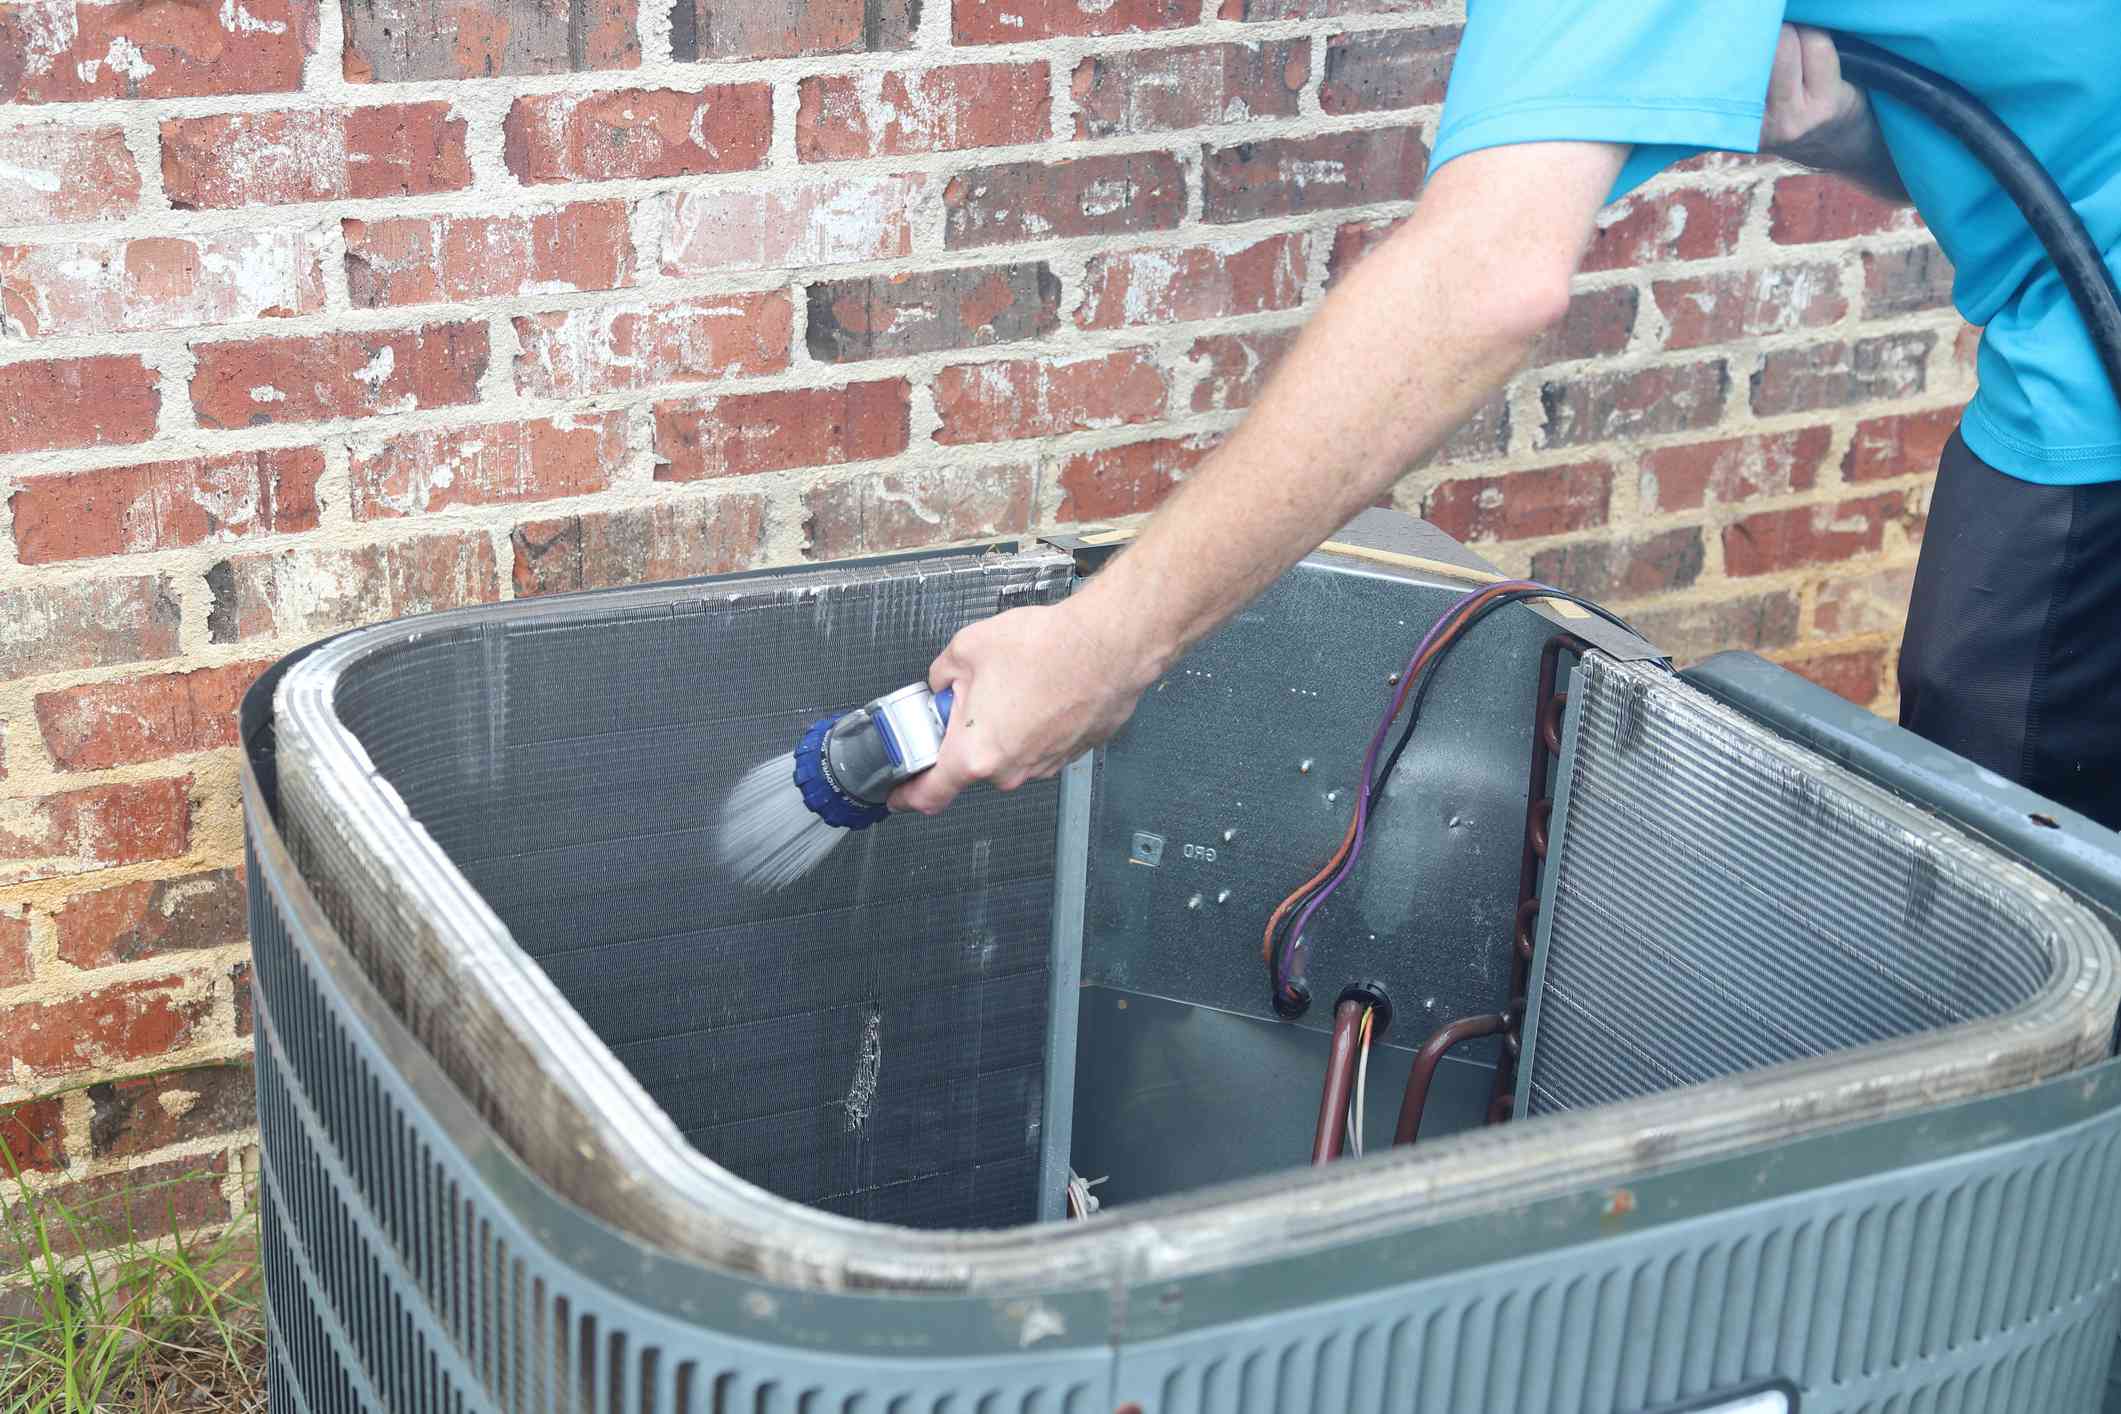
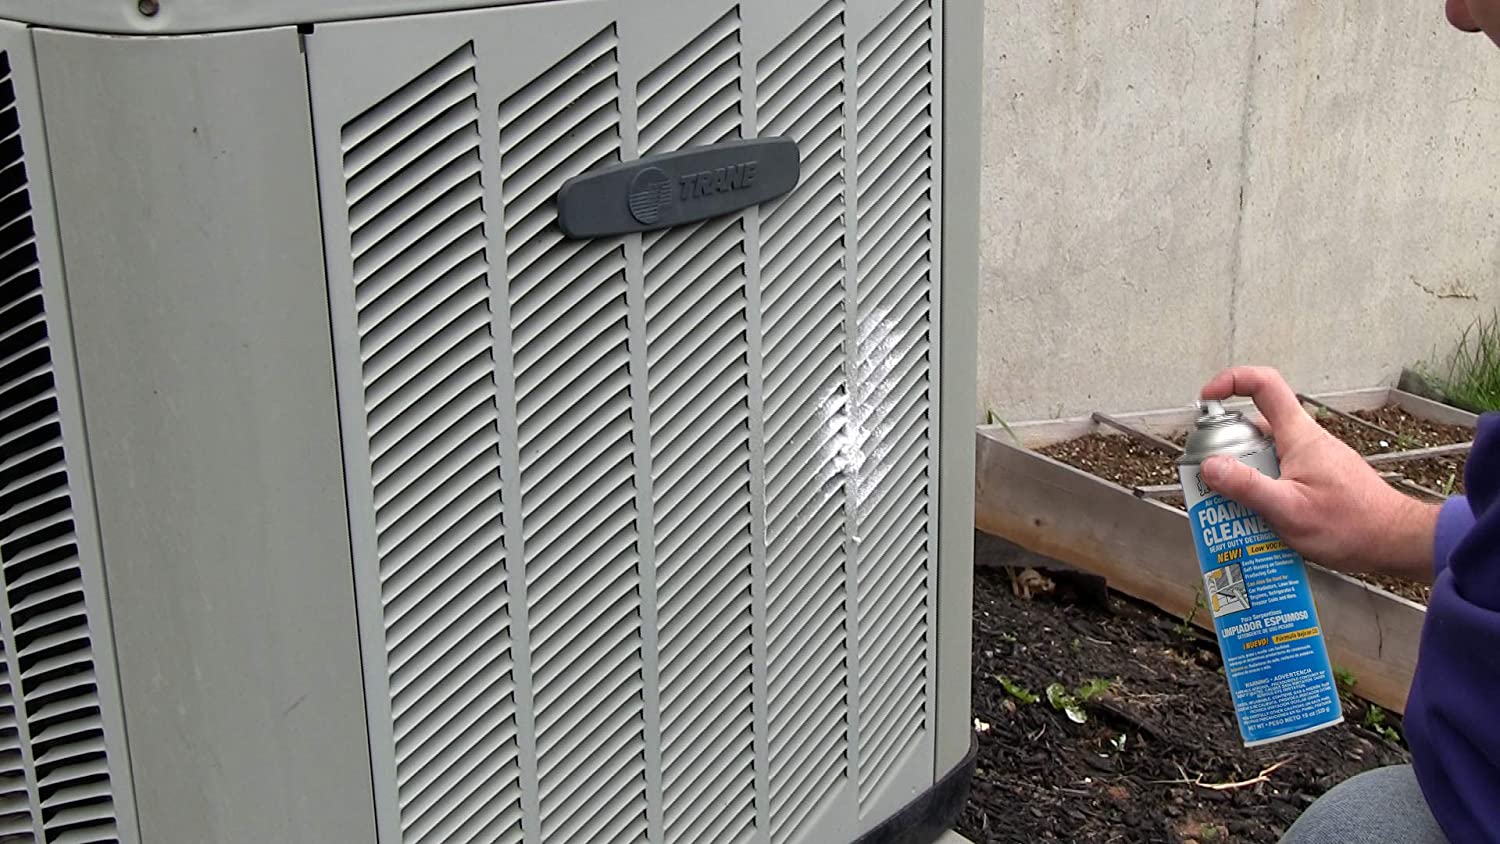
- Apply Coil Cleaning Solution: Following the manufacturer’s instructions, apply the coil cleaning solution to the coils. Make sure to cover the entire surface, including the fins. Allow the solution to sit for the recommended time to break down any dirt or grime.
- Gently Brush the Coils: Using a soft-bristled brush, gently scrub the coils, paying extra attention to heavily soiled areas. Be cautious not to apply excessive pressure or use abrasive tools, as this could damage the delicate fins.
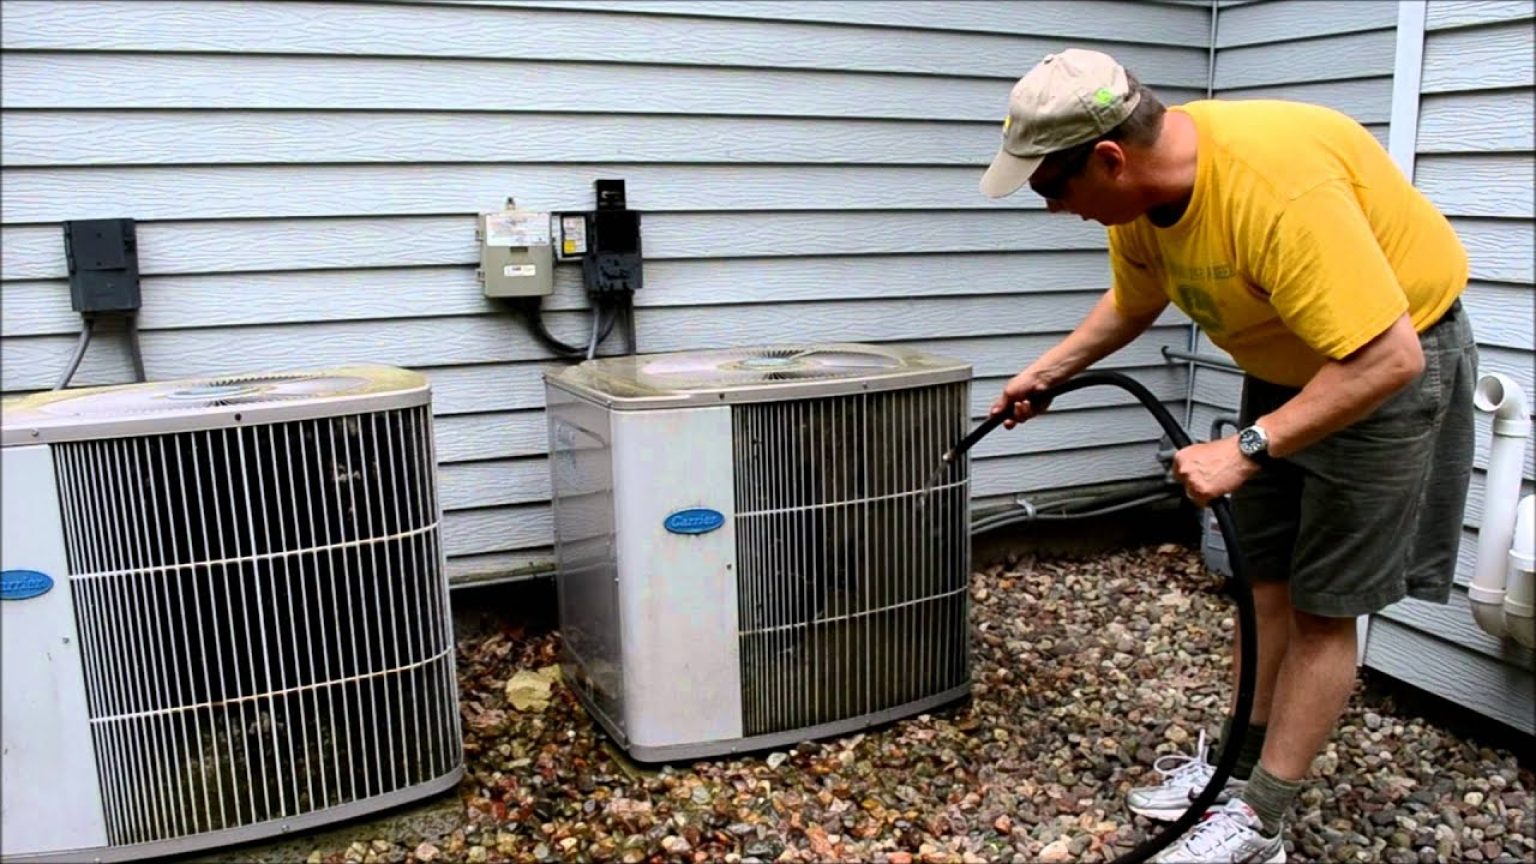
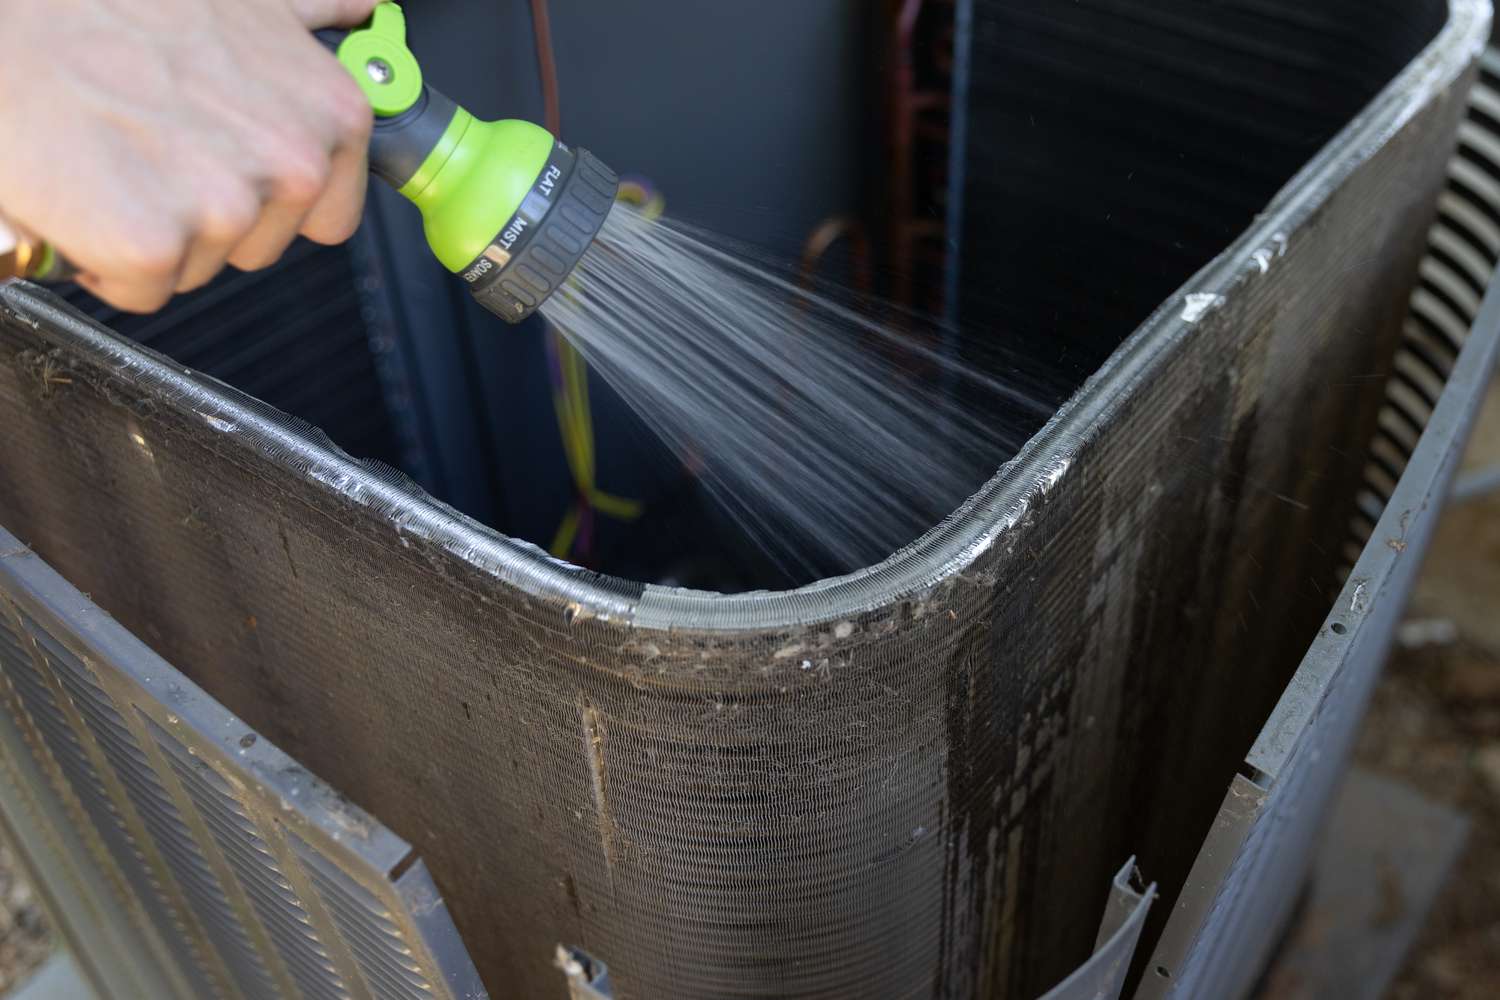
- Rinse Off the Cleaning Solution: Thoroughly rinse off the cleaning solution from the coils using a hose or a bucket of water. Make sure to remove all traces of the cleaning solution to avoid any residue remaining on the coils.
- Straighten the Fins: Inspect the fins and use a fin comb to straighten any bent or misaligned fins. Gently run the fin comb through the fins, ensuring they are aligned and not obstructing the airflow.
- Dry and Reassemble: Use towels or rags to wipe away excess moisture from the coils. Once the coils are dry, reassemble any covers or access panels that were removed earlier. Make sure they are secure and properly attached.
- Power On and Test: After completing the cleaning process and reassembling the AC unit, turn the power back on and test the system to ensure it is running smoothly and cooling your RV effectively.
Following these steps will help you maintain clean and efficient RV AC coils. However, proper maintenance doesn’t end with cleaning. Let’s explore some additional tips for maintaining your RV AC system in the next section.
Regularly clean your RV AC coils with a soft brush or vacuum to remove dirt and debris. This will help maintain the efficiency of your AC unit and prolong its lifespan.
Tips for Proper Maintenance
In addition to cleaning the RV AC coils regularly, here are some tips to ensure proper maintenance of your RV’s AC system:
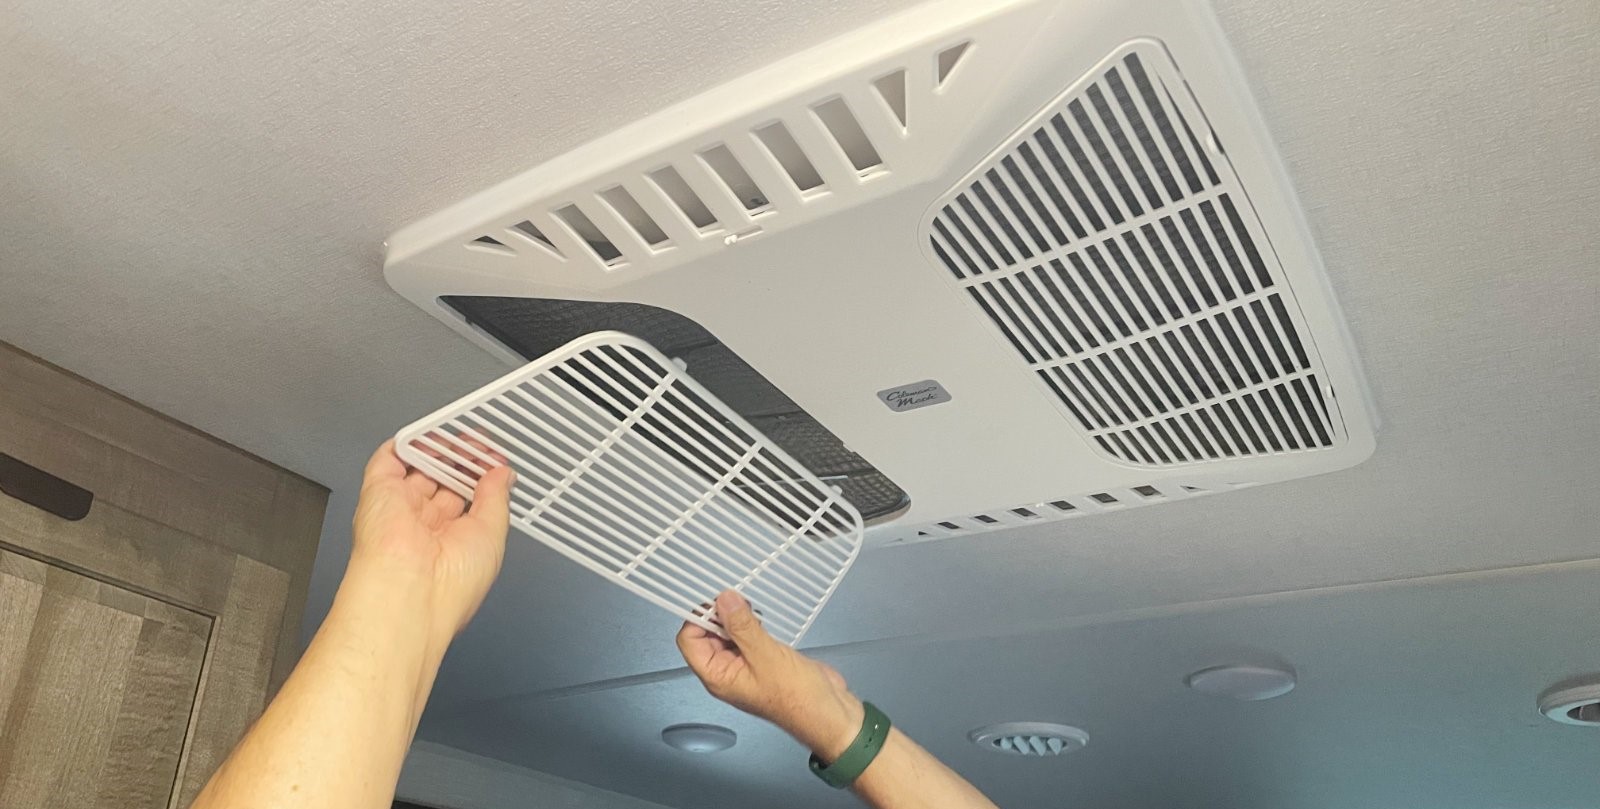
- Change the Air Filter: The air filter plays a crucial role in trapping dust, debris, and allergens in the air before it reaches the AC coils. Regularly check the air filter and replace it as needed, generally every three to six months or according to the manufacturer’s recommendations.
- Keep the Area around the AC Unit Clean: Clear any obstructions such as leaves, branches, or other debris from around the AC unit. This will promote proper airflow and prevent potential damage to the unit.
- Inspect and Clean the Condensate Drain Line: The condensate drain line is responsible for removing excess moisture from the AC unit. Inspect the drain line regularly for any clogs or blockages and clean it if necessary. This will prevent water accumulation and potential leaks inside your RV.
- Monitor AC Performance: Keep an eye on the cooling performance of your RV’s AC system. If you notice a decrease in cooling efficiency, strange noises, or any other abnormalities, it may indicate an issue that requires professional attention.
- Consider Professional Maintenance: While regular cleaning and maintenance can go a long way, it’s also recommended to have your RV’s AC system professionally serviced on a periodic basis. A professional technician can perform a thorough inspection, identify any potential issues, and ensure that your AC system is functioning optimally.
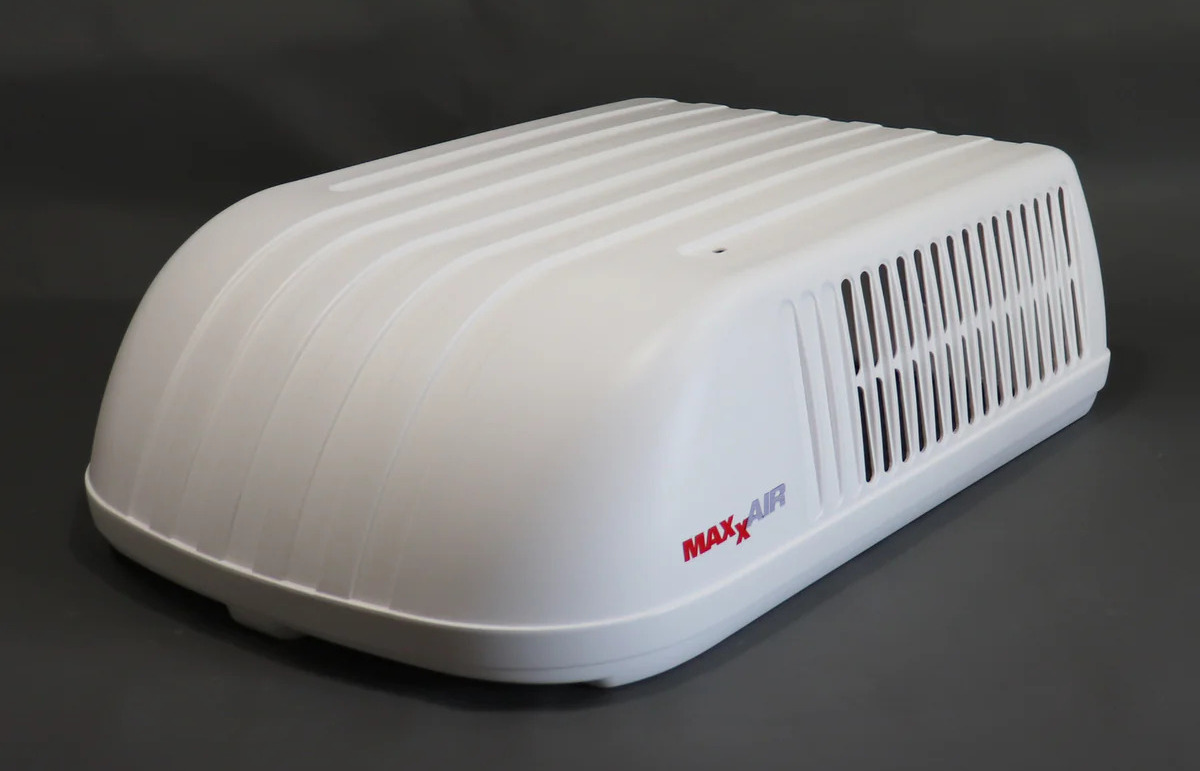
- Protect the AC Unit during Storage: If you plan to store your RV for an extended period, take steps to protect the AC unit. Covering it with a breathable RV cover can help shield it from dust, debris, and the elements.
- Monitor Usage in Extreme Temperatures: When camping in extreme temperatures, it’s important to be mindful of the strain placed on the AC system. Excessive usage or subjecting the AC unit to extreme conditions for prolonged periods can shorten its lifespan. Consider using additional insulation or shade to reduce the workload on the AC unit.
By following these maintenance tips, you can ensure that your RV’s AC system operates efficiently and provides you with reliable cooling during your adventures.
However, it’s essential to be aware of some common mistakes that should be avoided while cleaning RV AC coils. Let’s discuss them in the next section.
Read more: How To Clean AC Unit Coils
Common Mistakes to Avoid
While cleaning RV AC coils, it’s important to be cautious and avoid these common mistakes to ensure a successful and safe maintenance process:
- Using Harsh Cleaning Agents: Avoid using harsh chemicals or abrasive cleaners when cleaning the AC coils. These can damage the delicate fins and other components of the AC unit. Stick to mild coil cleaning solutions specifically designed for RV AC systems.
- Using Excessive Water Pressure: While rinsing off the cleaning solution, use moderate water pressure. Avoid using high-pressure hoses or sprayers directly on the coils, as this can bend or damage the fins. Aim for a gentle, even flow of water to rinse off the solution.
- Skipping Protective Gear: Remember to wear gloves and safety glasses while working with the cleaning solution and handling dirt and debris. This will protect your hands and eyes from any potential harm.
- Forgetting to Turn Off the Power: Always disconnect the power to the AC unit before starting any maintenance. This reduces the risk of electrical shocks or damage to the system.
- Using Excessive Force: Be gentle when brushing the coils and straightening the fins. Applying excessive force can cause damage to the fins or even puncture the coils, resulting in costly repairs.
- Working on Wet Surfaces: Ensure that the AC coils are dry before reassembling the unit and turning the power back on. Working on wet or damp surfaces can increase the risk of electrical shocks and damage to the system.
- Neglecting Other Maintenance Tasks: While cleaning the AC coils is vital, don’t forget about other routine maintenance tasks. Changing the air filter, inspecting the condensate drain line, and monitoring the overall performance of the AC system are equally important for optimal functionality.
- Overlooking Professional Maintenance: While regular maintenance is essential, don’t underestimate the value of professional servicing. A certified technician can perform a thorough inspection, identify potential issues, and provide expert care for your RV’s AC system.
By avoiding these common mistakes, you can ensure a smooth and effective cleaning process while maintaining the longevity of your RV’s AC system.
Now that you’re equipped with the knowledge and tips for cleaning and maintaining RV AC coils, you can enjoy cool and comfortable travels in your RV. Remember to incorporate these maintenance tasks into your regular RV care routine to keep your AC system running at its best!
Conclusion
Properly cleaning and maintaining your RV AC coils is essential for optimal cooling efficiency, energy savings, and prolonging the lifespan of your AC unit. By following the step-by-step guide provided in this article, you can effectively clean your RV AC coils and ensure a comfortable and enjoyable RV experience.
Regular cleaning of the AC coils helps improve cooling performance, increase energy efficiency, and prevent costly repairs. It also promotes better indoor air quality and extends the lifespan of your AC unit. Remember to gather the necessary tools and materials before starting the cleaning process, and always prioritize safety by wearing gloves and safety glasses.
In addition to cleaning, proper maintenance involves changing the air filter regularly, keeping the area around the AC unit clean, inspecting and cleaning the condensate drain line, and monitoring the AC system’s overall performance. Considering professional maintenance on a periodic basis is also highly recommended.
Avoid common mistakes such as using harsh cleaning agents, applying excessive force, working on wet surfaces, and neglecting other maintenance tasks. Take the necessary precautions to ensure a successful and safe cleaning process.
By incorporating these cleaning and maintenance practices into your routine, you can enjoy efficient cooling, lower energy consumption, and a prolonged lifespan for your RV’s AC system. So, keep your RV cool and comfortable on your adventures by giving proper care and attention to your AC coils.
Remember, a well-maintained AC system is a key ingredient to an enjoyable and relaxing journey on the open road!
Frequently Asked Questions about How To Clean Rv AC Coils
Was this page helpful?
At Storables.com, we guarantee accurate and reliable information. Our content, validated by Expert Board Contributors, is crafted following stringent Editorial Policies. We're committed to providing you with well-researched, expert-backed insights for all your informational needs.


0 thoughts on “How To Clean Rv AC Coils”