Home>Storage Ideas>Kitchen Storage>How To Clean Stove Burners And Make Them Pristine And Hygienic
Kitchen Storage
How To Clean Stove Burners And Make Them Pristine And Hygienic
Modified: February 29, 2024
Learn the best kitchen-storage-ideas to clean stove burners effortlessly and maintain their pristine condition for a hygienic cooking environment.
(Many of the links in this article redirect to a specific reviewed product. Your purchase of these products through affiliate links helps to generate commission for Storables.com, at no extra cost. Learn more)
Introduction
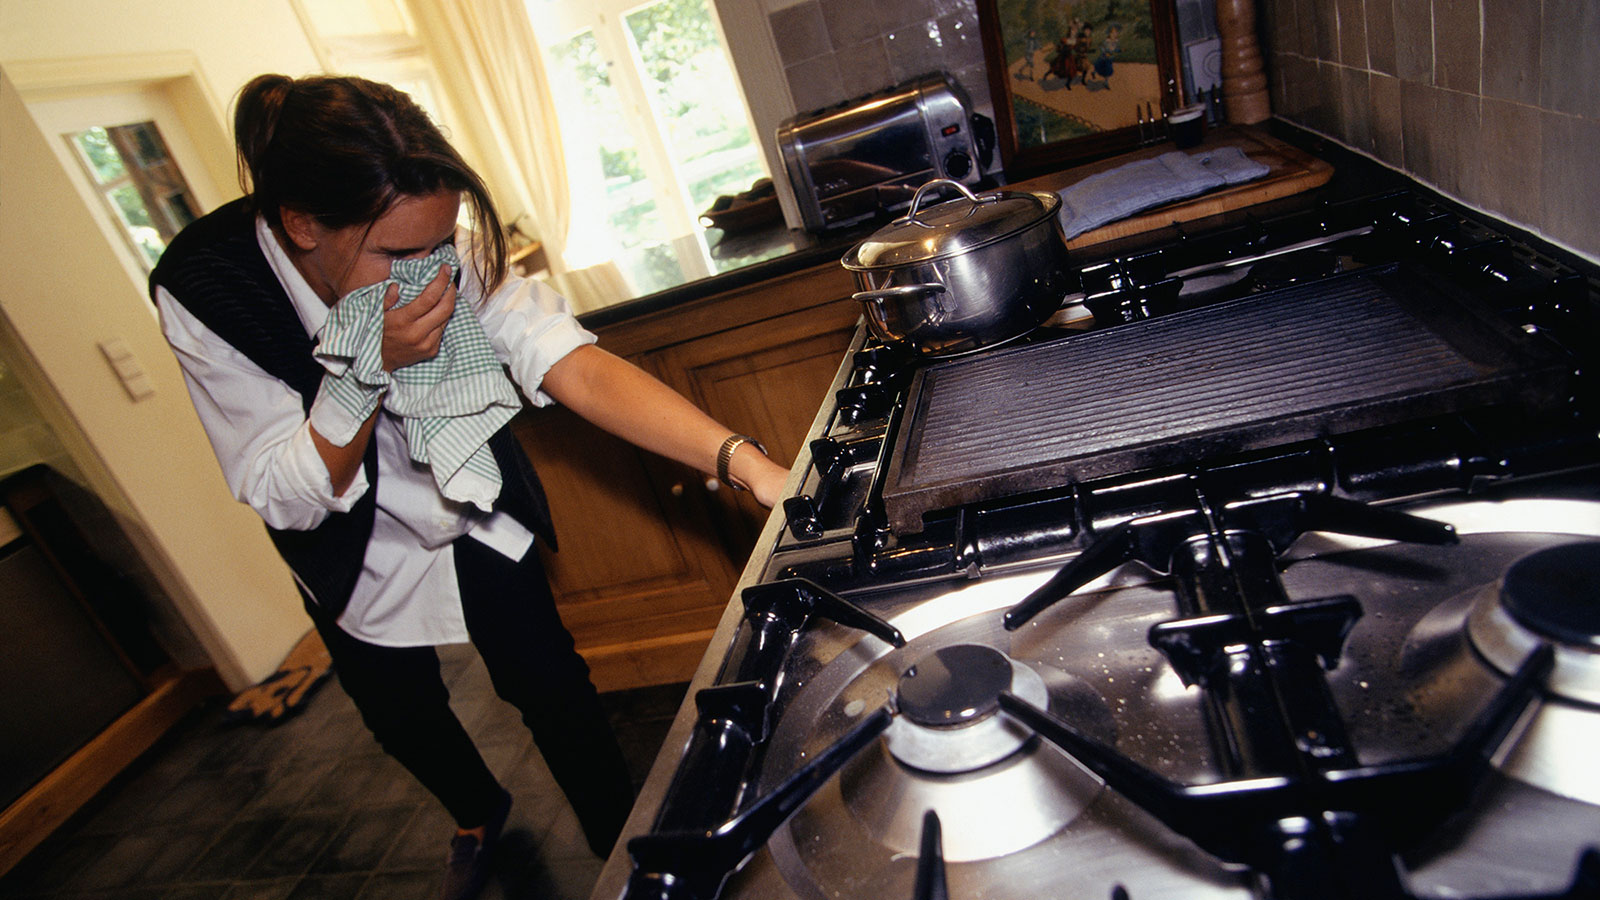
When it comes to maintaining a clean and organized kitchen, one area that often gets overlooked is the stove burners. However, keeping your stove burners clean is essential not only for aesthetic purposes but also for maintaining a hygienic cooking environment. Over time, food particles, grease, and spills can accumulate on the burners, affecting their efficiency and even causing unpleasant odors.
Regularly cleaning your stove burners not only helps to keep your kitchen looking its best but also ensures that your appliances function at their optimal level. Additionally, a clean stove is essential for food safety, as any residue on the burners can contaminate the food you cook. By following a few simple steps and using the right materials, you can easily clean your stove burners and make them pristine and hygienic.
In this article, we will guide you through the process of cleaning stove burners, providing you with useful tips and tricks along the way. Whether you have gas or electric burners, these cleaning methods will help you restore the shine and efficiency of your stove.
Key Takeaways:
- Regularly cleaning stove burners is crucial for maintaining efficiency, hygiene, aesthetics, and odor control. It also prolongs the lifespan of your appliance, ensuring a clean and functional kitchen.
- Gather materials like dish soap, baking soda, vinegar, and scrub brushes to effectively clean stove burners. Follow the step-by-step process to remove, soak, scrub, and reassemble the components for pristine results.
Read more: How To Clean Kitchen Stove Burners
Why is it important to clean stove burners?
Cleaning your stove burners may seem like a tedious task, but it is actually quite important for several reasons. Let’s explore why it is crucial to keep your stove burners clean:
- Efficiency: Over time, food particles, grease, and debris can accumulate on the burners, causing them to become less efficient. This build-up can hinder the flow of gas or electricity to the burners, leading to uneven heating and longer cooking times. By keeping your burners clean, you can ensure that they function optimally, leading to faster and more even cooking.
- Hygiene: Stove burners can be a breeding ground for bacteria and germs, especially if there are food spills or residue left behind. These microorganisms can contaminate your food, posing health risks. Regular cleaning of stove burners helps maintain a hygienic cooking environment, reducing the chances of foodborne illnesses and ensuring the safety of your meals.
- Aesthetics: A clean stove not only improves the overall look of your kitchen but also gives the impression of cleanliness and orderliness. Burners covered in grease and grime can make your kitchen look dirty, no matter how clean the other areas may be. Aesthetics play a significant role in creating a pleasant cooking experience, so it’s worth taking the time to keep your stove burners clean.
- Odor control: Food spills and grease on the burners can emit unpleasant odors when you cook. These odors can persist and affect the aroma of your dishes, making them less appetizing. By regularly cleaning your stove burners, you can prevent the buildup of residue that can cause these unpleasant smells, ensuring that your kitchen smells fresh and inviting.
- Prolong the lifespan: Proper maintenance and cleaning can help extend the lifespan of your stove burners. When burners are clogged or coated with debris, they have to work harder to produce heat, which can lead to premature wear and tear. By cleaning your burners regularly, you can reduce the strain on them and ensure they last longer.
Overall, cleaning your stove burners is essential for maintaining efficiency, hygiene, aesthetics, odor control, and the longevity of your appliance. With the right cleaning methods and regular maintenance, you can enjoy a clean and functional stove for many years to come.
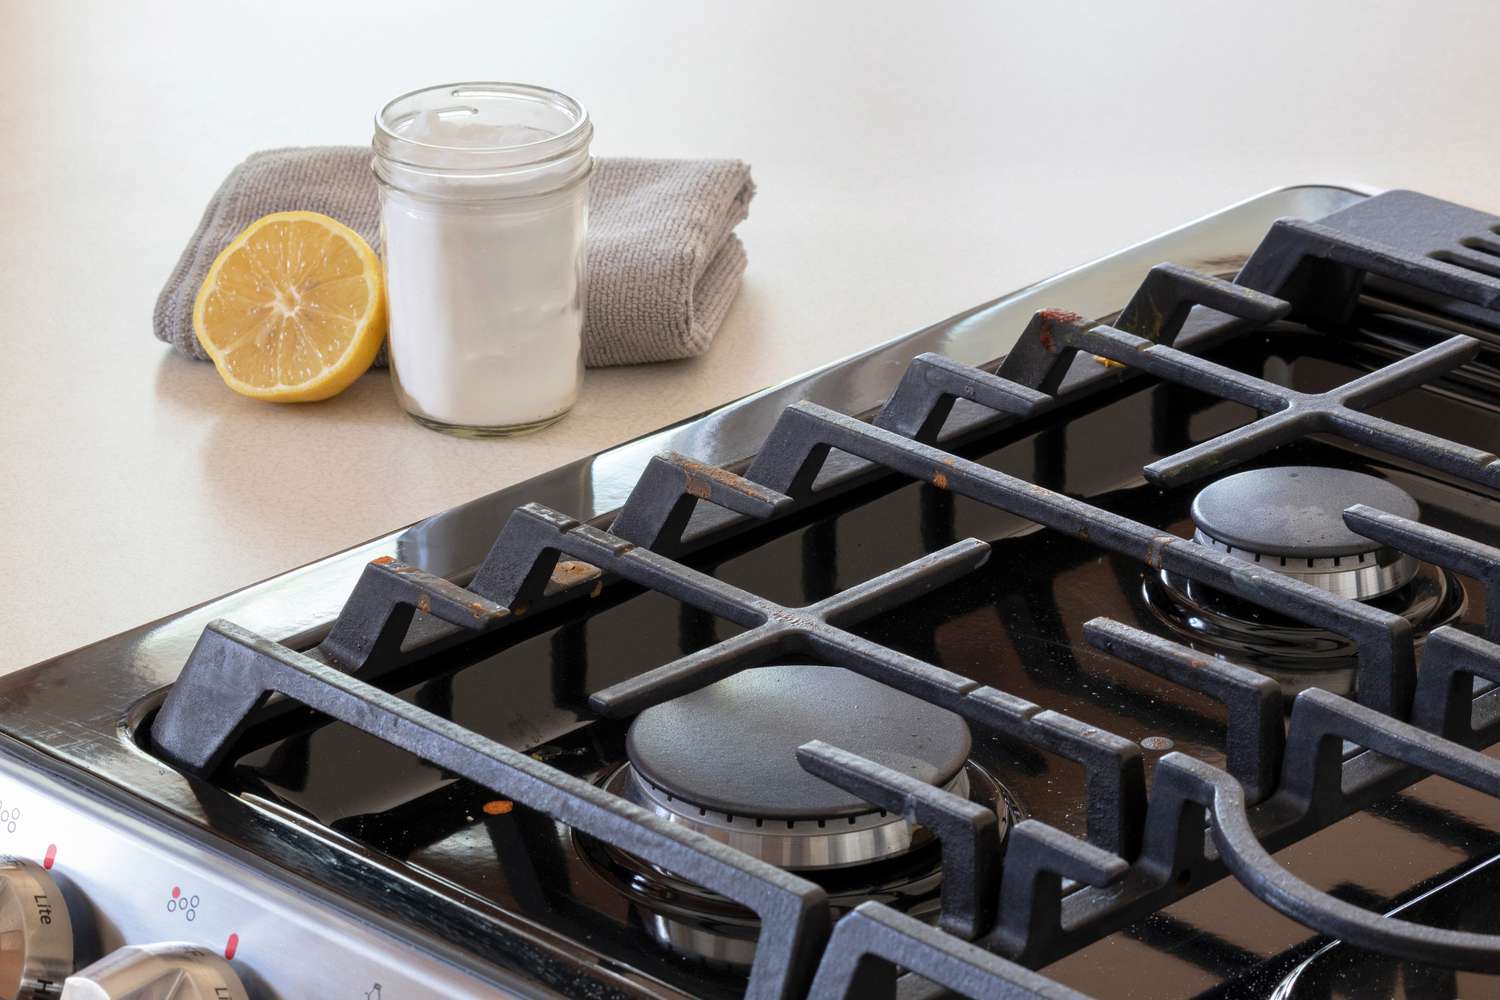
Materials needed for cleaning stove burners
Before you begin the process of cleaning your stove burners, it’s important to gather the necessary materials. Having the right tools and cleaning agents will make the task easier and more effective. Here are the materials you will need:
- Dish soap: A gentle dish soap is a versatile and effective cleaning agent for removing grease and food residue from stove burners.
- Baking soda: Baking soda is a natural and non-abrasive cleaner that can help remove stubborn stains and grease from the burners. It also has deodorizing properties, which can eliminate any unpleasant odors.
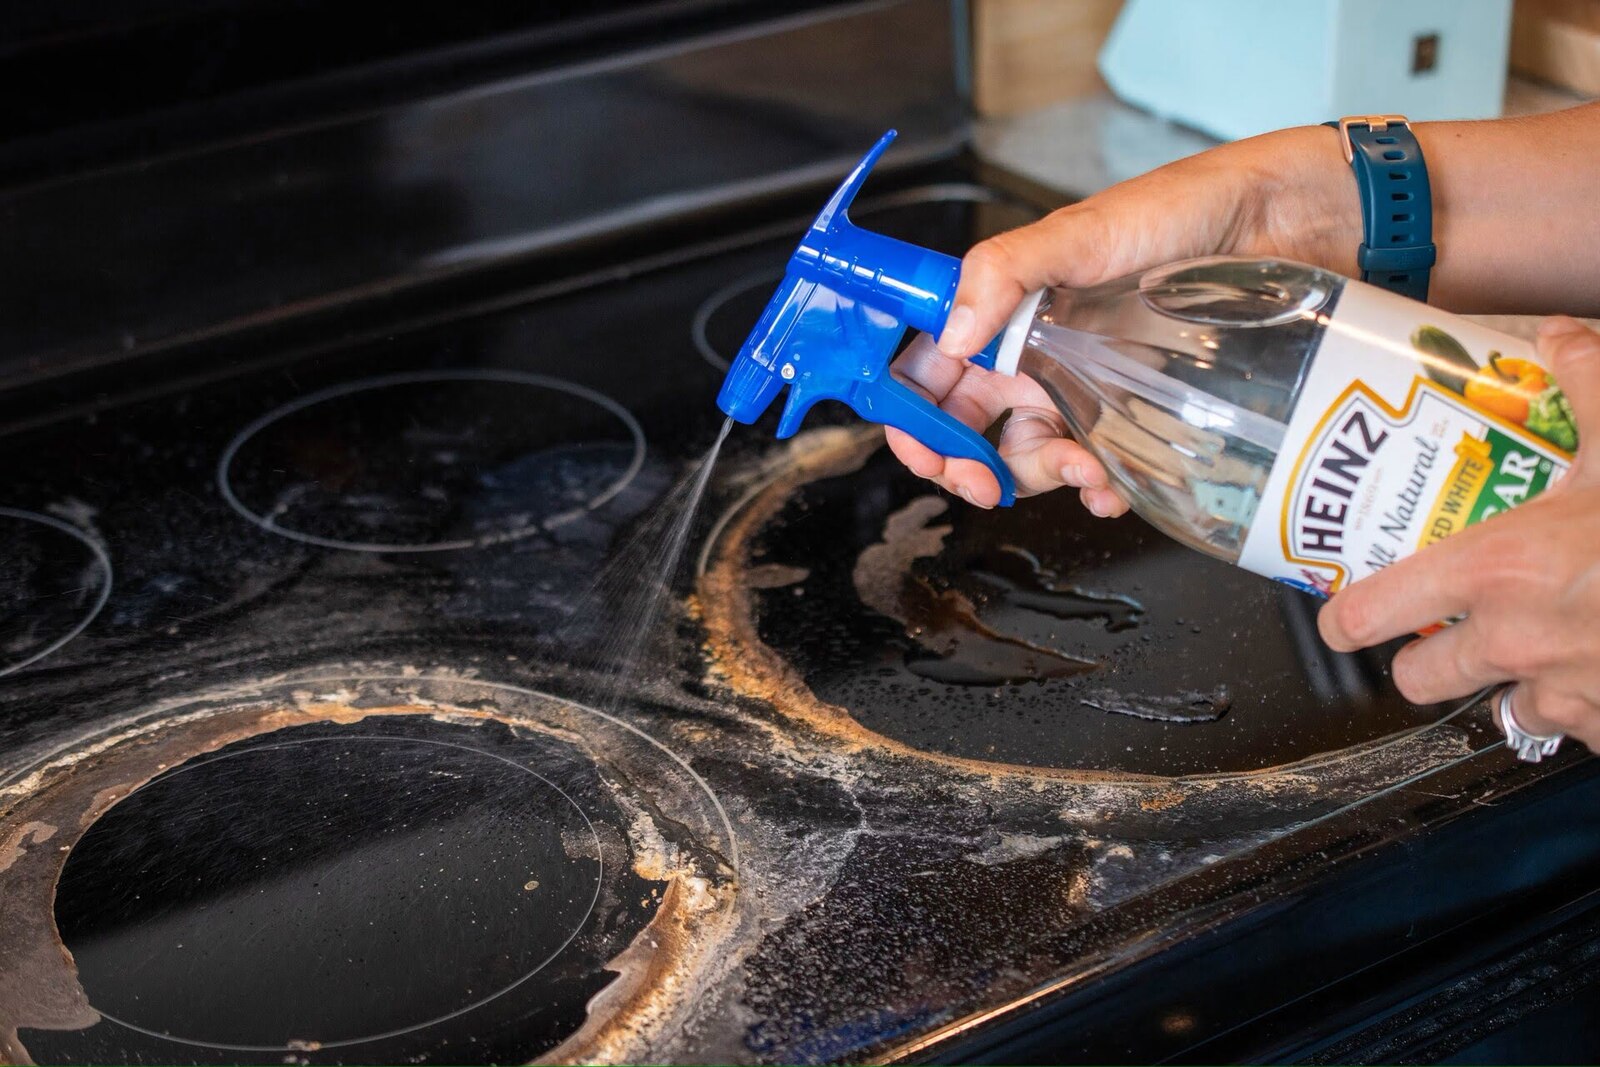
- White vinegar: White vinegar is a powerful and eco-friendly cleaner that can dissolve grease, mineral deposits, and burn stains on stove burners. It is particularly useful for tackling tough stains and buildup.
- Scrub brush: A sturdy scrub brush with bristles or a sponge with an abrasive side will be needed to scrub away grime and residue from the burners.
- Cloth or sponge: A soft cloth or sponge will be used for wiping down the burners after cleaning.
- Plastic bag or container: You will need a sealable plastic bag or container large enough to fit the burner grates. This will be used for soaking the grates in a cleaning solution.
- Old toothbrush: An old toothbrush is handy for reaching into crevices and corners of the burners, especially around the burner heads.
- Gloves: Wearing gloves will protect your hands from any harsh chemicals or hot water used during the cleaning process.
- Lint-free cloth or paper towel: You will need a lint-free cloth or paper towel to dry the burners thoroughly after cleaning.
- Optional: Degreaser or stove cleaner: If you have particularly stubborn stains or heavy grease buildup on your burners, you may consider using a specialized degreaser or stove cleaner for extra cleaning power.
By gathering these materials in advance, you’ll have everything you need to effectively clean your stove burners. Now that you’re prepared let’s move on to the step-by-step process of cleaning the burners.
Step 1: Removing the burner grates
Before you can start cleaning your stove burners, you need to remove the burner grates from the stovetop. Follow these steps to safely remove the grates:
- Ensure that the stove burners are completely cool before attempting to remove the grates. If you have been using the stove recently, allow it to cool down for at least 30 minutes.
- Locate the burner grates on your stovetop. These are the individual pieces that sit on top of each burner and support your pots and pans during cooking.
- Gently lift the burner grates away from the stovetop. Depending on your stove model, they may lift straight up or slide to the side for easy removal.
- Place the removed burner grates on a clean surface, such as a countertop or sink, lined with a towel or paper towels to catch any dirt or debris.
- Take a moment to inspect the burner grates for any significant buildup of dirt, grease, or food particles. This will give you an idea of how much cleaning is required.
Removing the burner grates allows you easier access to clean the individual components. It also prevents any cleaning solution or water from dripping onto the stovetop, reducing potential damage to the electrical or gas components. With the grates removed, you are now ready to proceed to the next step of cleaning the grates themselves.
Step 2: Soaking the grates
Once you have removed the burner grates, the next step is to soak them to loosen any stubborn grime and grease. Soaking the grates will make the cleaning process much easier. Follow these steps:
- Fill a sink or a large plastic bag with warm water. Make sure there is enough water to completely submerge the grates.
- Add a few drops of dish soap or a tablespoon of baking soda to the water. Both options work well to break down grease and food residue.
- Give the water a gentle stir to dissolve the soap or baking soda and create a cleaning solution.
- Place the burner grates in the sink or plastic bag, ensuring that they are fully submerged in the cleaning solution.
- Allow the grates to soak for at least 30 minutes or longer for heavily soiled grates. The warm water and cleaning solution will work to loosen the dirt and grease, making it easier to scrub them clean.
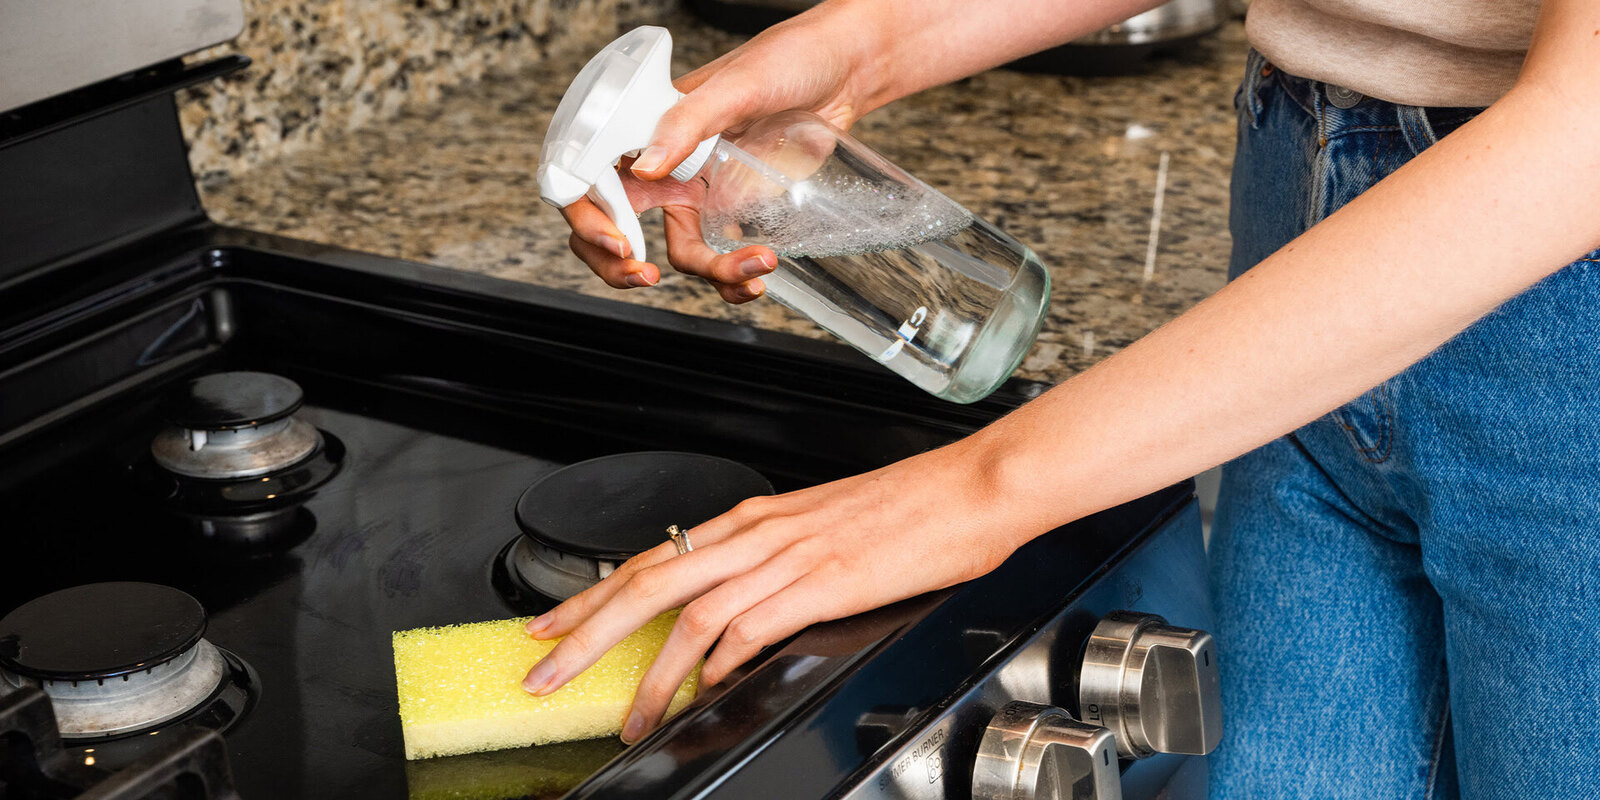
- While the grates are soaking, take this opportunity to clean the stovetop surface. Wipe away any loose debris and use a mild cleaner suitable for your stovetop material.
Soaking the grates helps to soften and loosen the dirt and grease, making it easier to remove during the cleaning process. While they are soaking, you can tackle other cleaning tasks, saving time and maximizing efficiency. Once the grates have finished soaking, you are ready to move on to the next step: scrubbing them clean.
Read more: How To Clean Brass Stove Burners
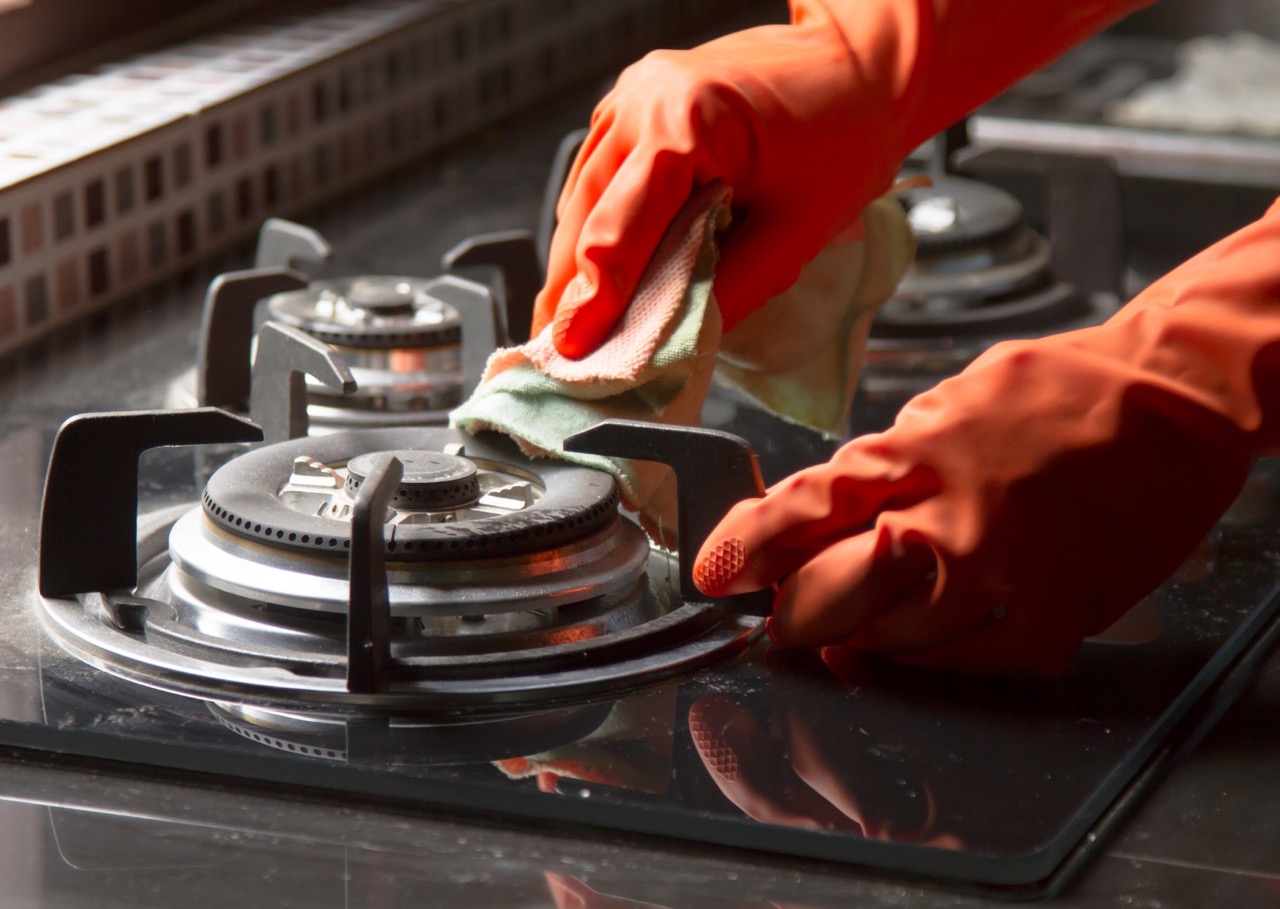
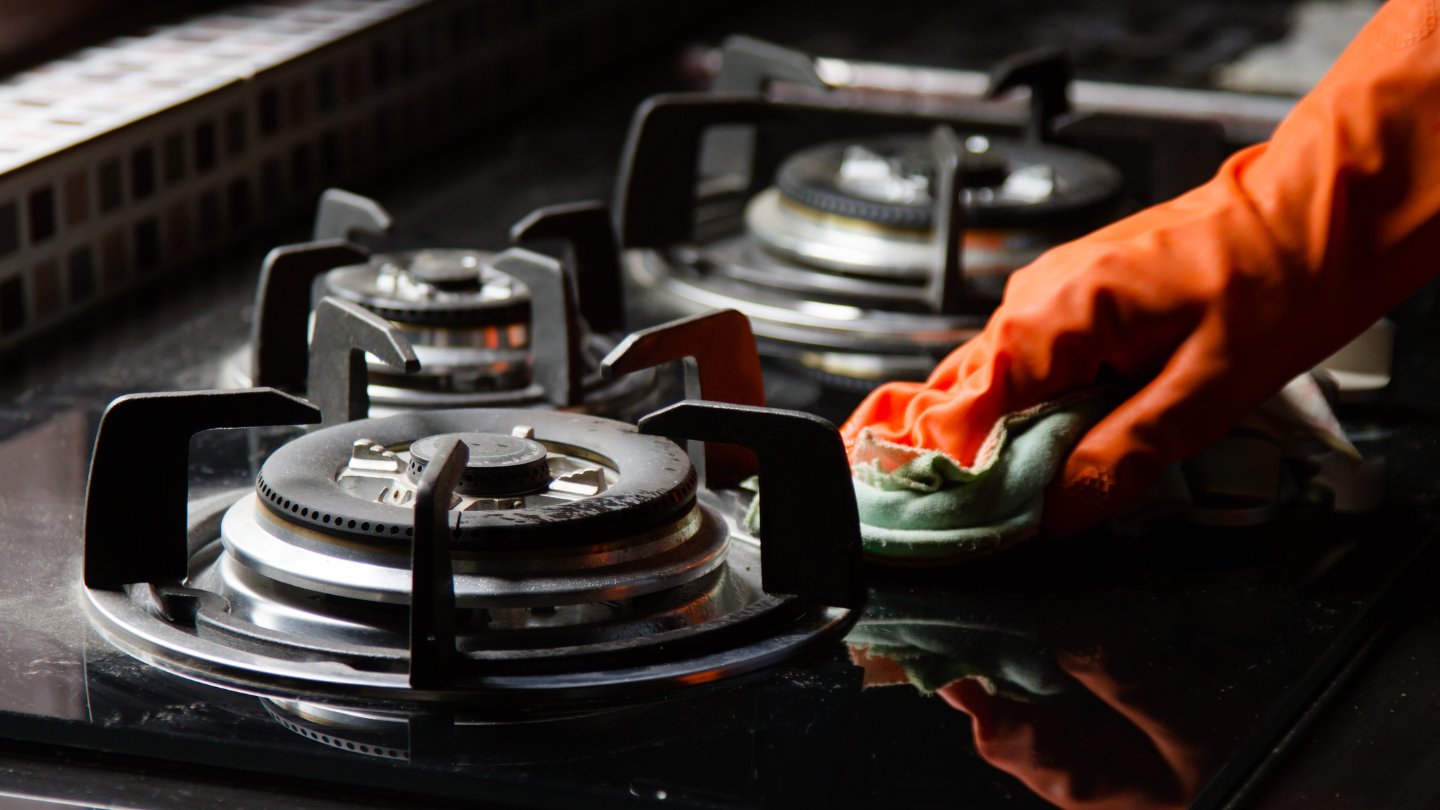
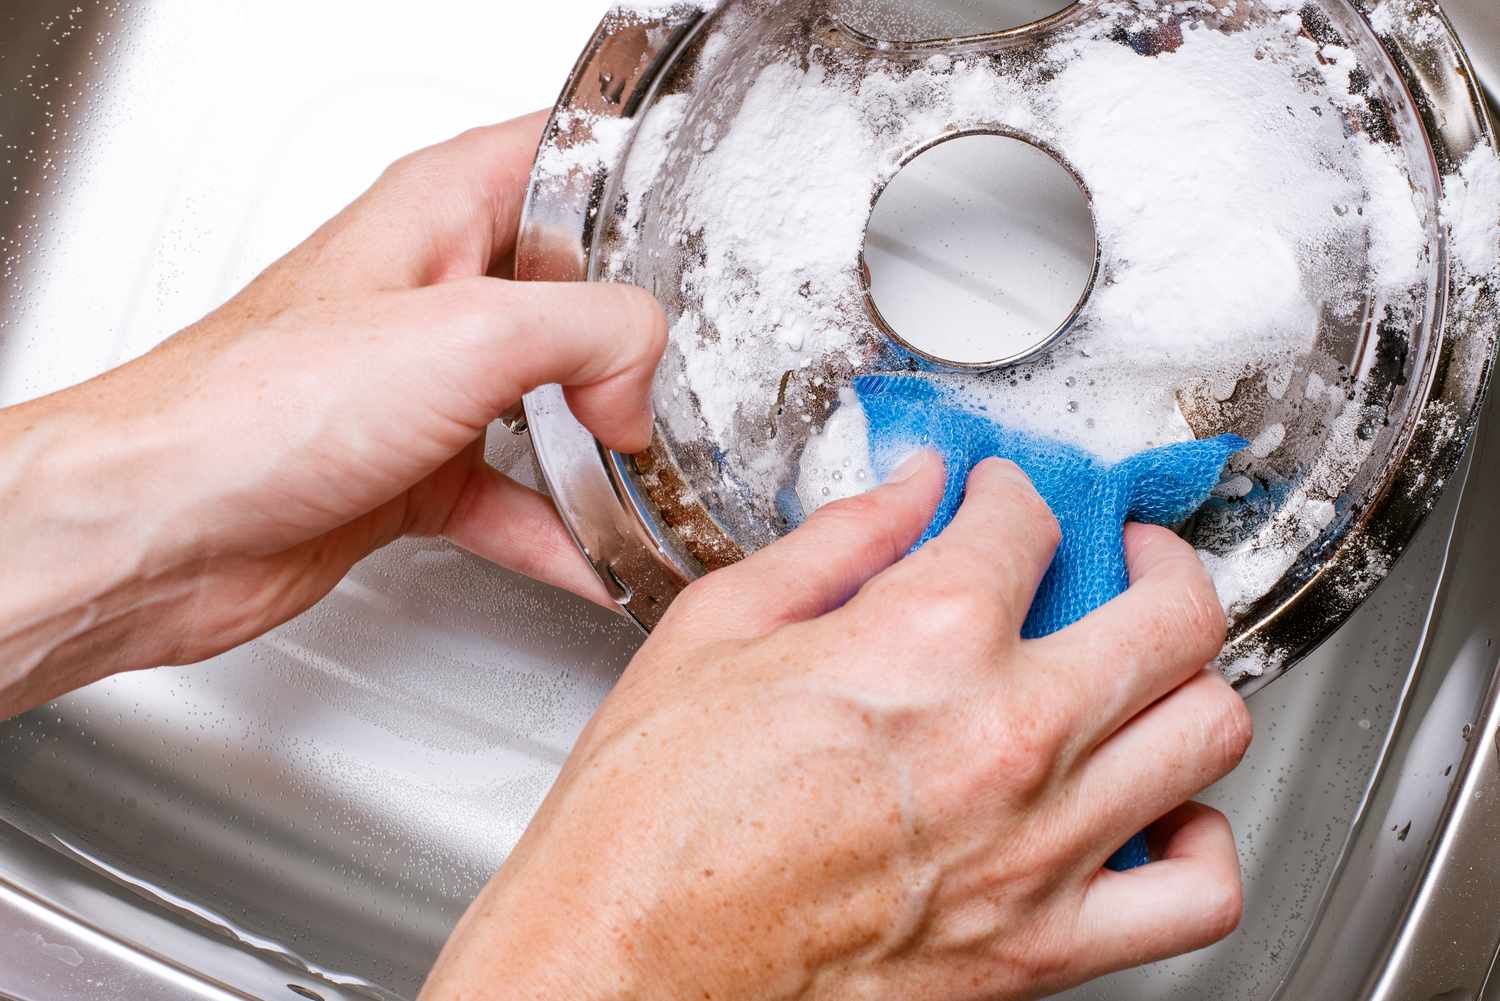
Step 3: Scrubbing the grates
After the burner grates have soaked, it’s time to give them a thorough scrubbing to remove any remaining grease, dirt, and food particles. Follow these steps to clean the grates effectively:
- Take one of the soaked grates out of the water or plastic bag and place it on a clean surface.
- Dampen a scrub brush or sponge with warm water and apply a small amount of dish soap or baking soda to the bristles or abrasive side.
- Start scrubbing the grate using circular motions, paying special attention to any areas with stubborn stains or buildup.
- If necessary, use an old toothbrush to reach into crevices and corners of the grates.
- Continue scrubbing until the entire surface of the grate is clean and free of residue. Rinse the grate with warm water to remove any remaining soap or baking soda.
- Set the cleaned grate aside and repeat the process with the remaining grates, one at a time.
Scrubbing the grates allows you to remove tough stains and stubborn dirt, restoring their original shine. The dish soap or baking soda acts as a gentle abrasive, helping to break down grease and grime. Remember to rinse the grates thoroughly to remove any soap or residue. Once you have scrubbed all the grates, it’s time to move on to the next step: cleaning the burner heads.
Soak the stove burners in a mixture of hot water and dish soap for at least 30 minutes. Scrub with a brush or sponge to remove any built-up grime, then rinse and dry thoroughly before reassembling.
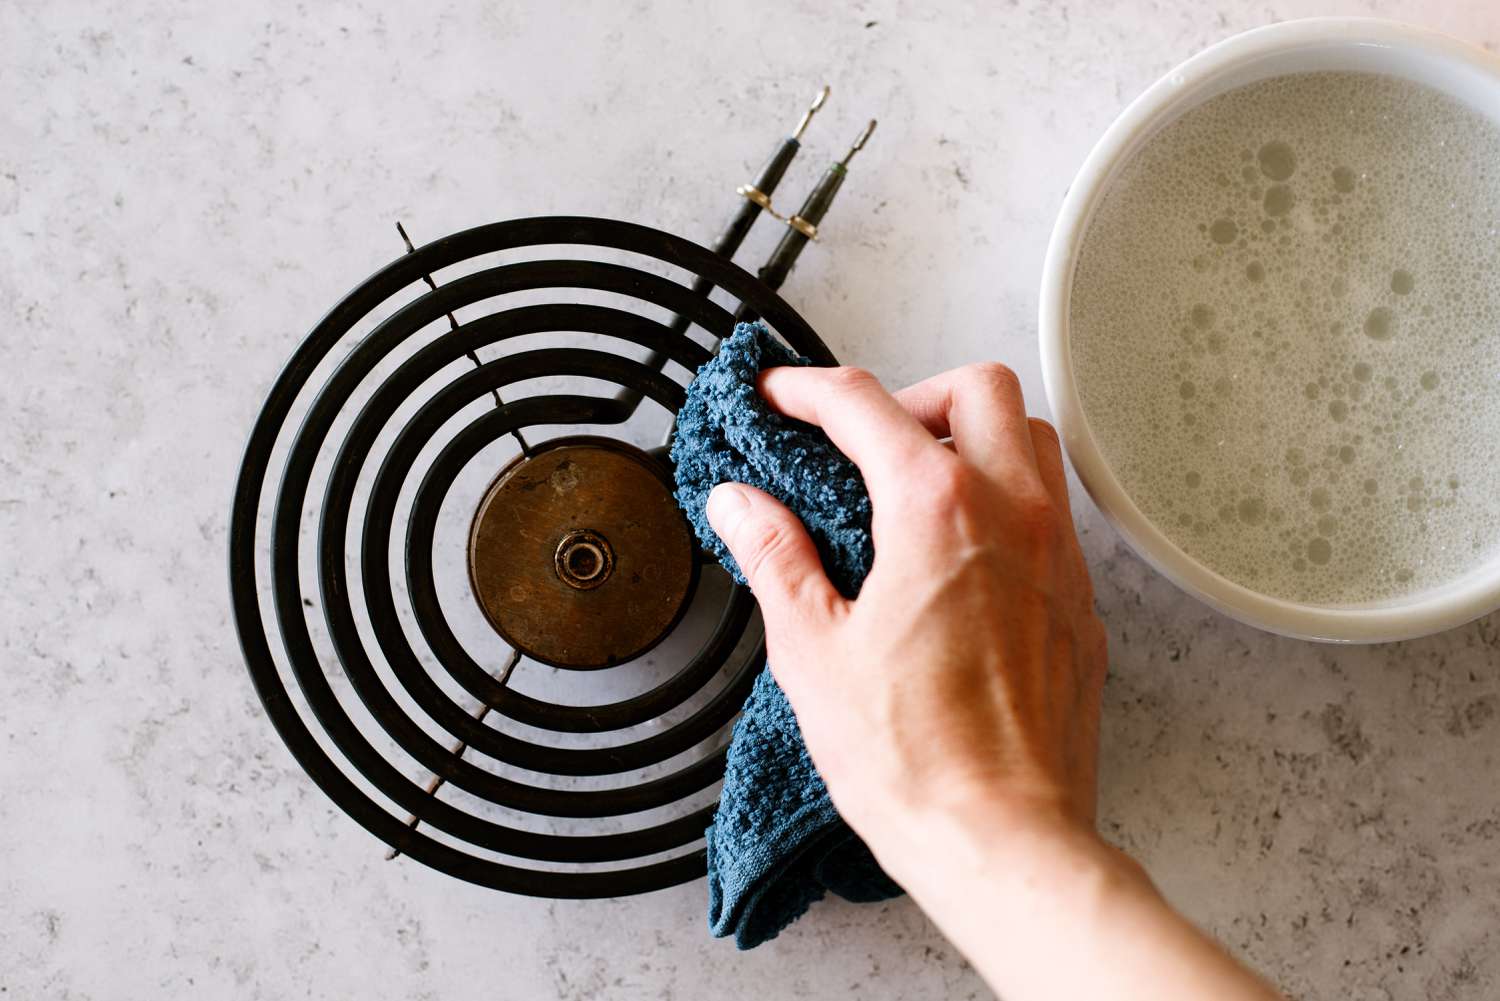
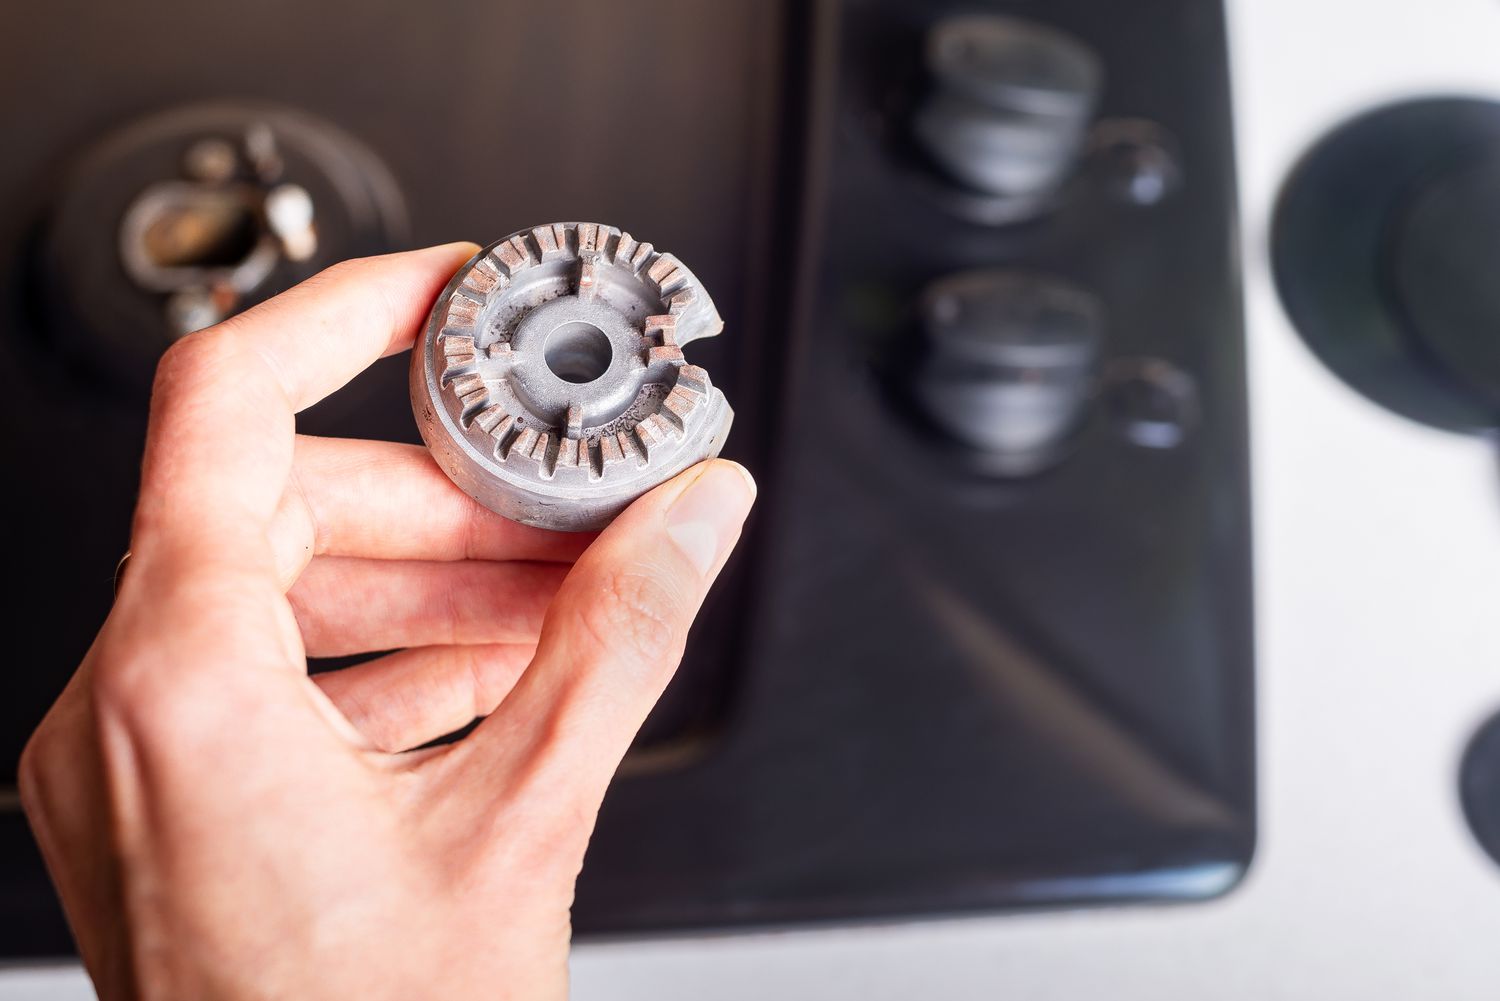
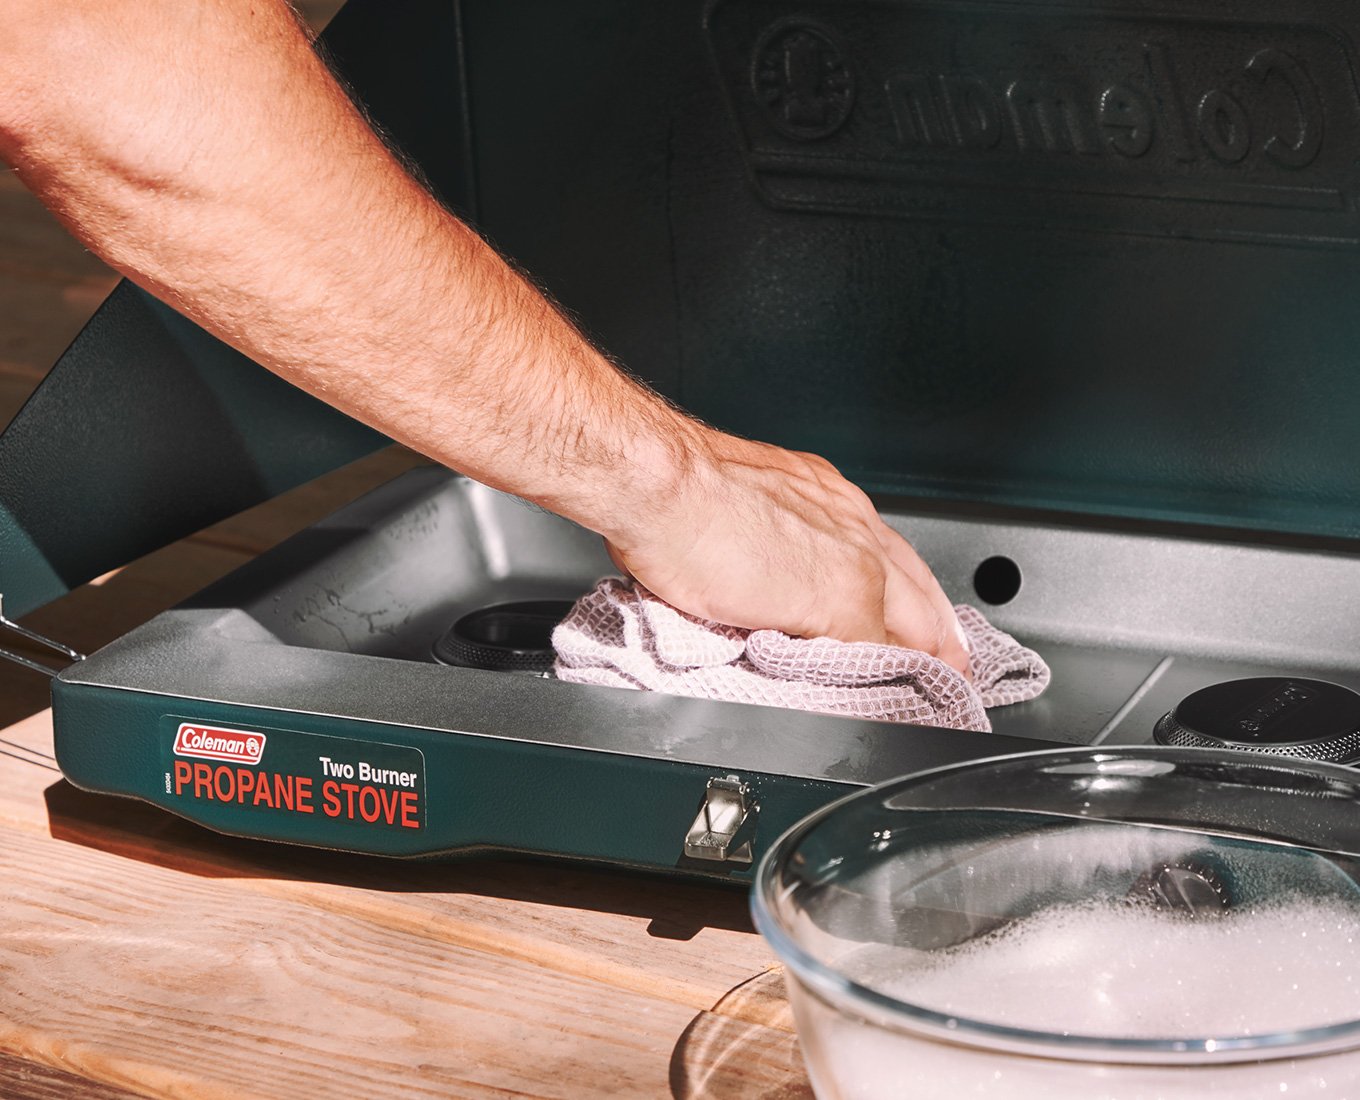
Step 4: Cleaning the burner heads
The burner heads are an integral part of your stove burners and can accumulate grease and debris over time. Cleaning them regularly is essential for maintaining proper gas flow or even heat distribution. Follow these steps to clean the burner heads:
- Locate the burner heads on your stove. These are the circular or oval-shaped components that sit on top of the burner bases.
- Remove the burner heads by gently lifting them up or twisting them counterclockwise, depending on your stove model. Be careful not to force anything or damage the burner heads in the process.
- Inspect the burner heads for any visible dirt or grime. Use a soft brush or an old toothbrush to gently scrub away the debris.
- If there is stubborn buildup or residue, you can soak the burner heads in warm water mixed with a small amount of dish soap or vinegar for about 20 minutes. This will help soften the dirt for easier removal.
- Rinse the burner heads thoroughly with warm water to remove any cleaning solution or loosened residue.
- Use a lint-free cloth or paper towel to dry the burner heads completely before reassembling them.
Cleaning the burner heads ensures that gas flows freely and heat is distributed evenly. By removing any buildup, you can prevent potential burner malfunction or inefficient cooking. Regularly inspecting and cleaning the burner heads will help maintain the performance and longevity of your stove burners. With the burner heads cleaned and dried, you can move on to the next step: cleaning the burner bases.
Step 5: Cleaning the burner bases
The burner bases, located beneath the burner heads, can accumulate grease and residue over time. Cleaning the burner bases is important for ensuring efficient gas flow and even heat distribution. Follow these steps to clean the burner bases:
- Gently remove the burner heads that you previously cleaned and set them aside.
- Inspect the burner bases for any visible dirt, food particles, or grease. Use a soft brush or an old toothbrush to loosen and remove the debris.
- If necessary, you can dampen the brush or toothbrush with warm water and a small amount of dish soap to aid in the cleaning process.
- Pay attention to any crevices or gaps on the burner bases and ensure they are thoroughly cleaned.
- Rinse the burner bases with warm water to remove any remaining residue or soapy solution.
- Use a lint-free cloth or paper towel to dry the burner bases completely.
Cleaning the burner bases is crucial for maintaining optimal performance and efficiency of your stove burners. By removing any built-up grease and debris, you can ensure that the gas flows smoothly and the burners distribute heat evenly. Regular cleaning of the burner bases will also help prevent potential clogs and prolong the lifespan of your stove. With the burner bases now clean and dry, you are ready for the final step: reassembling the burner grates.
Step 6: Reassembling the burner grates
After thoroughly cleaning the burner grates, burner heads, and burner bases, it’s time to reassemble everything for your stove burners to be fully functional again. Follow these steps to reassemble the burner grates:
- Ensure that all the components are completely dry before proceeding to reassemble them. Any moisture left behind could affect the burner’s performance.
- Position each cleaned burner head back onto its respective burner base. Align the pins or keyholes on the burner heads with their corresponding slots on the burner bases.
- Press down gently but firmly to secure the burner heads onto the bases. You should feel them snap or lock into place.
- Once all the burner heads are in place, pick up the burner grates that you set aside earlier.
- Position the burner grates back onto the stovetop, ensuring that they fit snugly over the burner heads and align with any grooves or supports.
- Give the burner grates a gentle press or wiggle to ensure they are properly seated and secure on the stovetop.
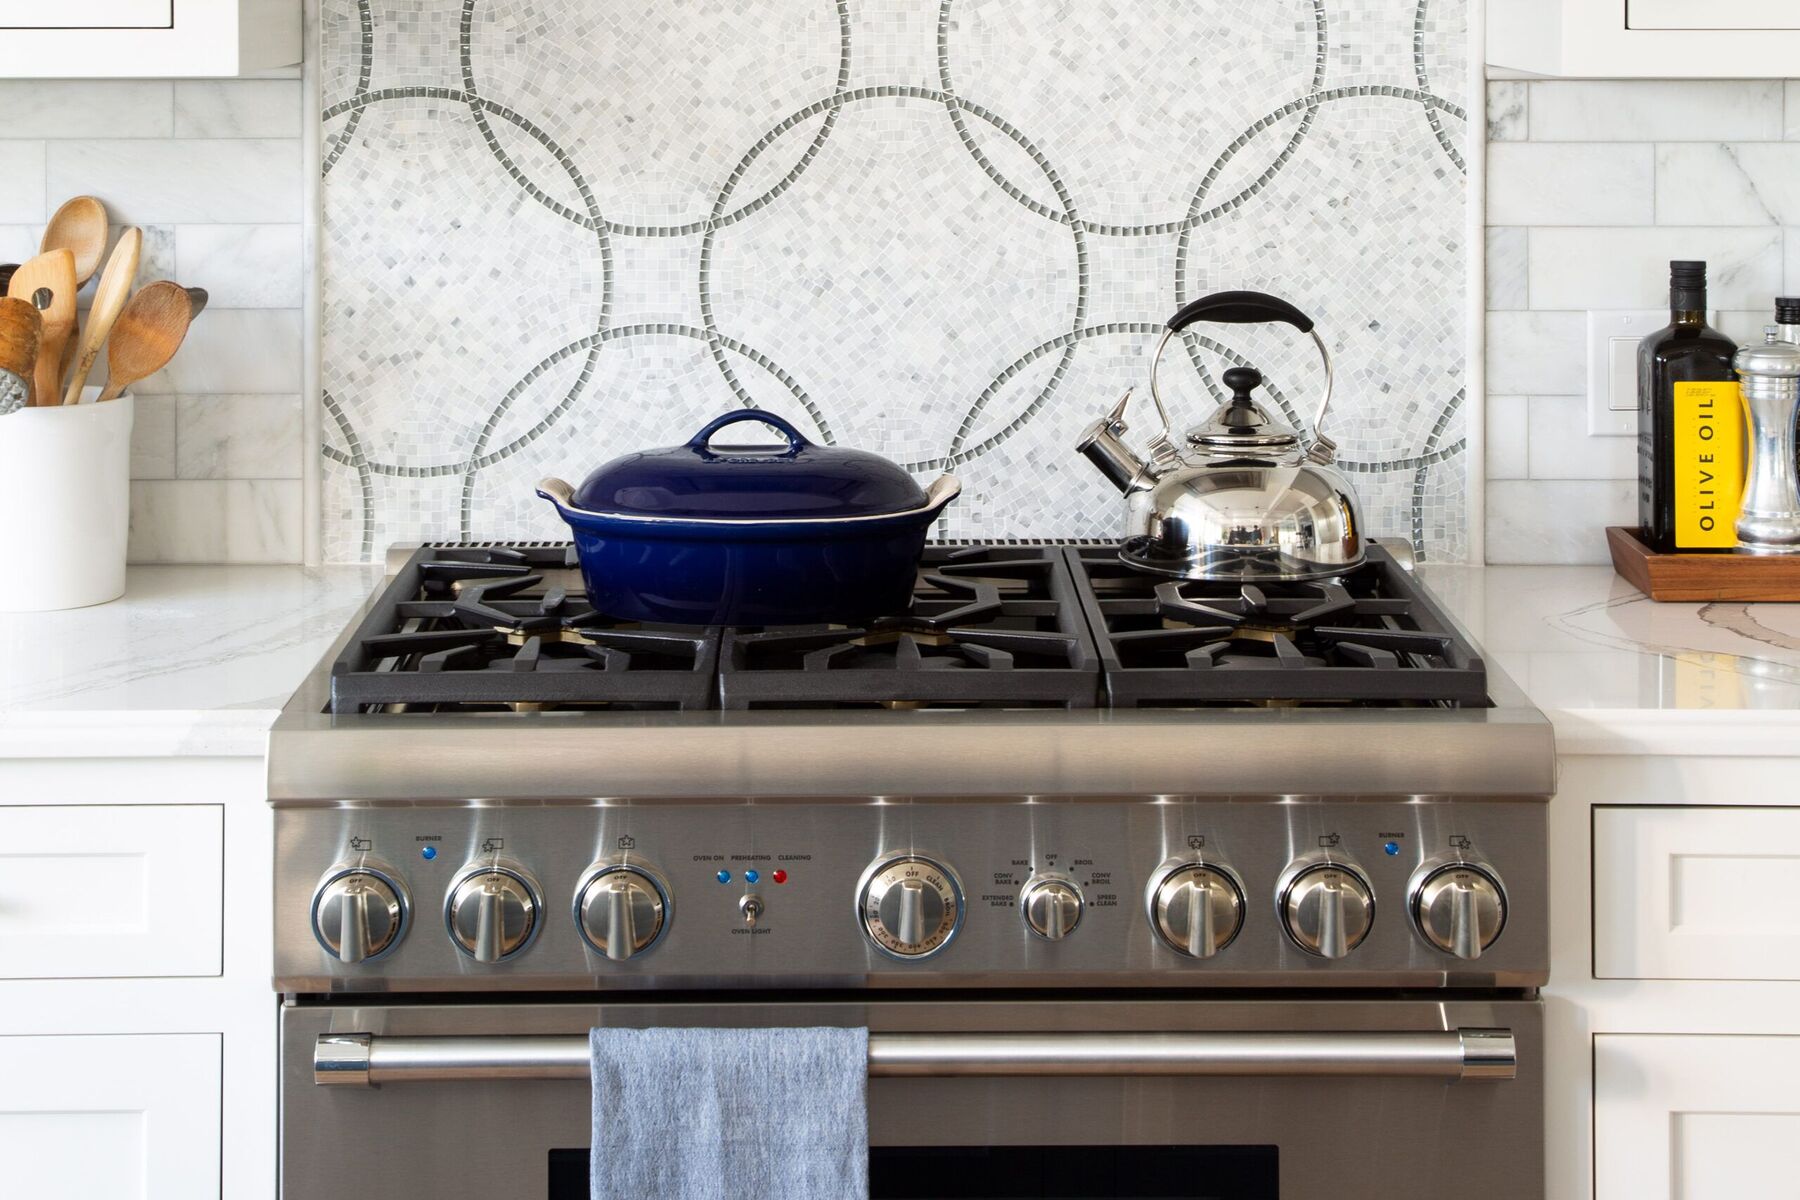
Reassembling the burner grates completes the cleaning process, allowing you to use your stove burners again. Take a moment to admire the sparkling clean burners and appreciate your efforts in maintaining a hygienic and efficient cooking environment.
Remember, regular cleaning and maintenance of your stove burners will ensure their longevity and performance. It’s a good idea to establish a cleaning routine and repeat these steps periodically, depending on your cooking habits and the level of dirt and grease buildup. By incorporating this simple cleaning process into your kitchen maintenance routine, you can enjoy clean and efficient stove burners for years to come.
Read more: How To Clean Whirlpool Stove Burners
Tips for maintaining clean stove burners
Keeping your stove burners clean and well-maintained doesn’t have to be a daunting task. By following these tips, you can ensure that your stove burners stay clean and efficient:
- Wipe up spills promptly: Whenever there is a spill or food residue on the burners, wipe it up as soon as possible. This prevents the buildup of stubborn stains and makes cleaning easier in the long run.
- Use burner liners: Consider using burner liners or mats to catch spills and prevent them from directly contacting the burner grates. These liners can be easily removed and cleaned, saving you time and effort.
- Regularly clean burner heads and bases: In addition to cleaning the burner grates, make it a habit to clean the burner heads and bases periodically. This helps maintain proper gas flow and even heat distribution.
- Avoid harsh chemicals: Stick to gentle cleaning agents like dish soap, baking soda, and vinegar when cleaning your stove burners. Harsh chemicals can damage the surface of the burners or leave behind residue that can affect your food.
- Clean after cooking: Take a few minutes to wipe down the burners after each cooking session. This prevents any leftover grease or food from hardening and becoming more difficult to clean later on.
- Inspect and maintain igniters: If you have a gas stove, inspect the igniters periodically for any dirt or debris. Clean them gently with a soft brush to ensure proper ignition.
- Regularly clean the stovetop: Make it a habit to clean the entire stovetop, including the areas surrounding the burners. This prevents any spills or debris from transferring to the burners and affecting their performance.
- Consider using degreasers: If you have stubborn grease or heavily soiled burners, you may consider using a specialized degreaser or stove cleaner. Follow the manufacturer’s instructions and take appropriate safety precautions.
- Practice regular maintenance: Keep an eye out for any signs of wear or damage on the burners, such as rust or loose parts. Address these issues promptly to prevent further damage and maintain the efficiency of your stove.
- Follow manufacturer’s guidelines: Always refer to your stove’s instruction manual or the manufacturer’s guidelines for specific cleaning and maintenance instructions. Different stoves may have unique requirements that you need to follow for optimal performance.
By incorporating these simple tips into your kitchen routine, you can easily maintain clean and efficient stove burners. With a little effort and regular maintenance, your burners will continue to shine and provide you with a reliable cooking experience.
Conclusion
Keeping your stove burners clean and well-maintained is essential for a hygienic and efficient cooking experience. By following the steps outlined in this guide and implementing the tips for maintenance, you can easily clean your stove burners and ensure their optimal performance. Regular cleaning not only removes grease, dirt, and food residue but also prevents potential clogs, uneven heating, and unpleasant odors.
Remember to gather the necessary materials, such as dish soap, baking soda, vinegar, scrub brushes, and clean cloths, before starting the cleaning process. It is important to remove the burner grates, soak them, scrub them, clean the burner heads and bases, and reassemble the grates. Each step plays a vital role in maintaining the cleanliness and efficiency of your stove burners.
Additionally, incorporating the tips for maintaining clean stove burners into your routine will help you stay on top of the cleaning process. Wiping up spills promptly, using burner liners, and regularly inspecting and maintaining the igniters are just a few examples of ways to ensure the longevity and performance of your stove burners.
Cleaning your stove burners should not be seen as a daunting task, but rather as a necessary part of kitchen maintenance. By developing a regular cleaning routine and following the guidelines in this article, you can enjoy a clean and hygienic cooking environment, efficient heat distribution, and a sparkling stove for years to come.
So, roll up your sleeves, gather your cleaning materials, and give your stove burners the attention they deserve. Your kitchen will look pristine, your meals will be prepared in a clean and safe environment, and your stove burners will continue to function at their best.
Frequently Asked Questions about How To Clean Stove Burners And Make Them Pristine And Hygienic
Was this page helpful?
At Storables.com, we guarantee accurate and reliable information. Our content, validated by Expert Board Contributors, is crafted following stringent Editorial Policies. We're committed to providing you with well-researched, expert-backed insights for all your informational needs.


0 thoughts on “How To Clean Stove Burners And Make Them Pristine And Hygienic”