Articles
Why Would A Kitchenaid Mixer Leak Oil
Modified: October 27, 2024
Learn about the common reasons why a Kitchenaid mixer may leak oil. Read our informative articles to find troubleshooting tips and solutions.
(Many of the links in this article redirect to a specific reviewed product. Your purchase of these products through affiliate links helps to generate commission for Storables.com, at no extra cost. Learn more)
Introduction
Welcome to our comprehensive guide on why a KitchenAid mixer might leak oil. KitchenAid mixers have long been hailed as a staple in kitchens around the world for their durability, versatility, and performance. However, like any machinery, they can develop issues over time that require troubleshooting and maintenance.
One common issue that KitchenAid mixer owners may encounter is the leakage of oil. While it may be concerning at first, it is essential to understand that there can be various reasons behind this problem, and most of them can be addressed and resolved with some simple steps.
In this article, we will delve into the possible causes of oil leakage in a KitchenAid mixer, as well as explore effective troubleshooting tips and solutions. By understanding the root causes and implementing the appropriate measures, you can keep your mixer in excellent working condition and enjoy its benefits for years to come.
So, if you’ve ever wondered why your KitchenAid mixer is leaking oil and how to fix it, read on as we provide you with valuable insights and practical solutions.
Key Takeaways:
- Prevent oil leakage in your KitchenAid mixer by adjusting mixing bowl capacity, using the correct type of oil, and handling with care. Regular cleaning and maintenance are essential to ensure optimal performance and longevity.
- Avoid oil leakage in your KitchenAid mixer by being mindful of extreme temperatures, checking gaskets and seals, and following manufacturer’s guidelines. Proper storage, handling, and ventilation are crucial for preventing leaks.
Read more: Why Kitchenaid Mixer So Expensive
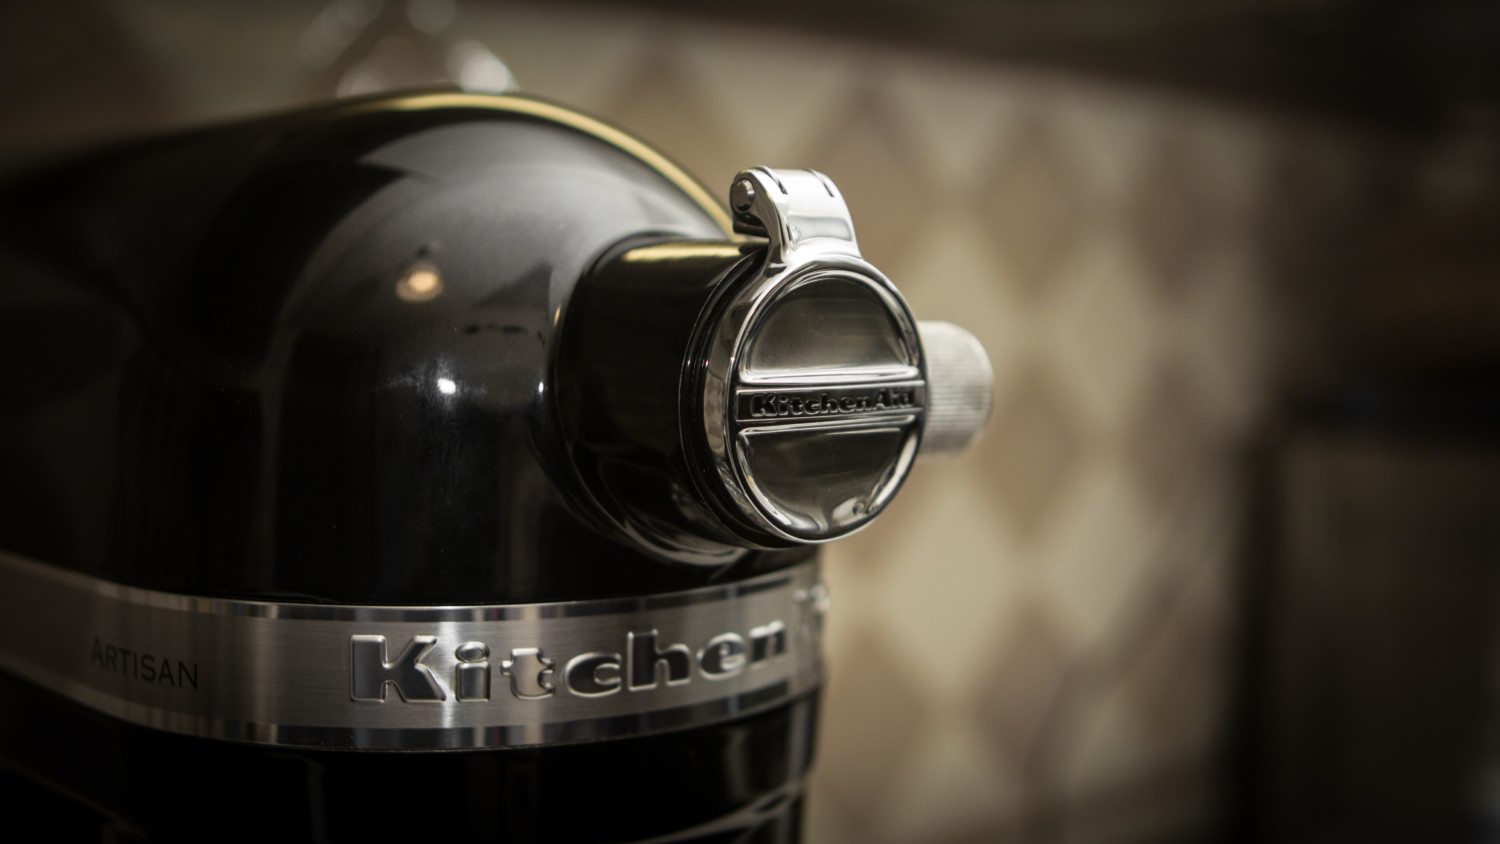
Understanding the KitchenAid Mixer
Before delving into the potential causes of oil leakage in a KitchenAid mixer, let’s first understand the basic components and functions of this popular kitchen appliance.
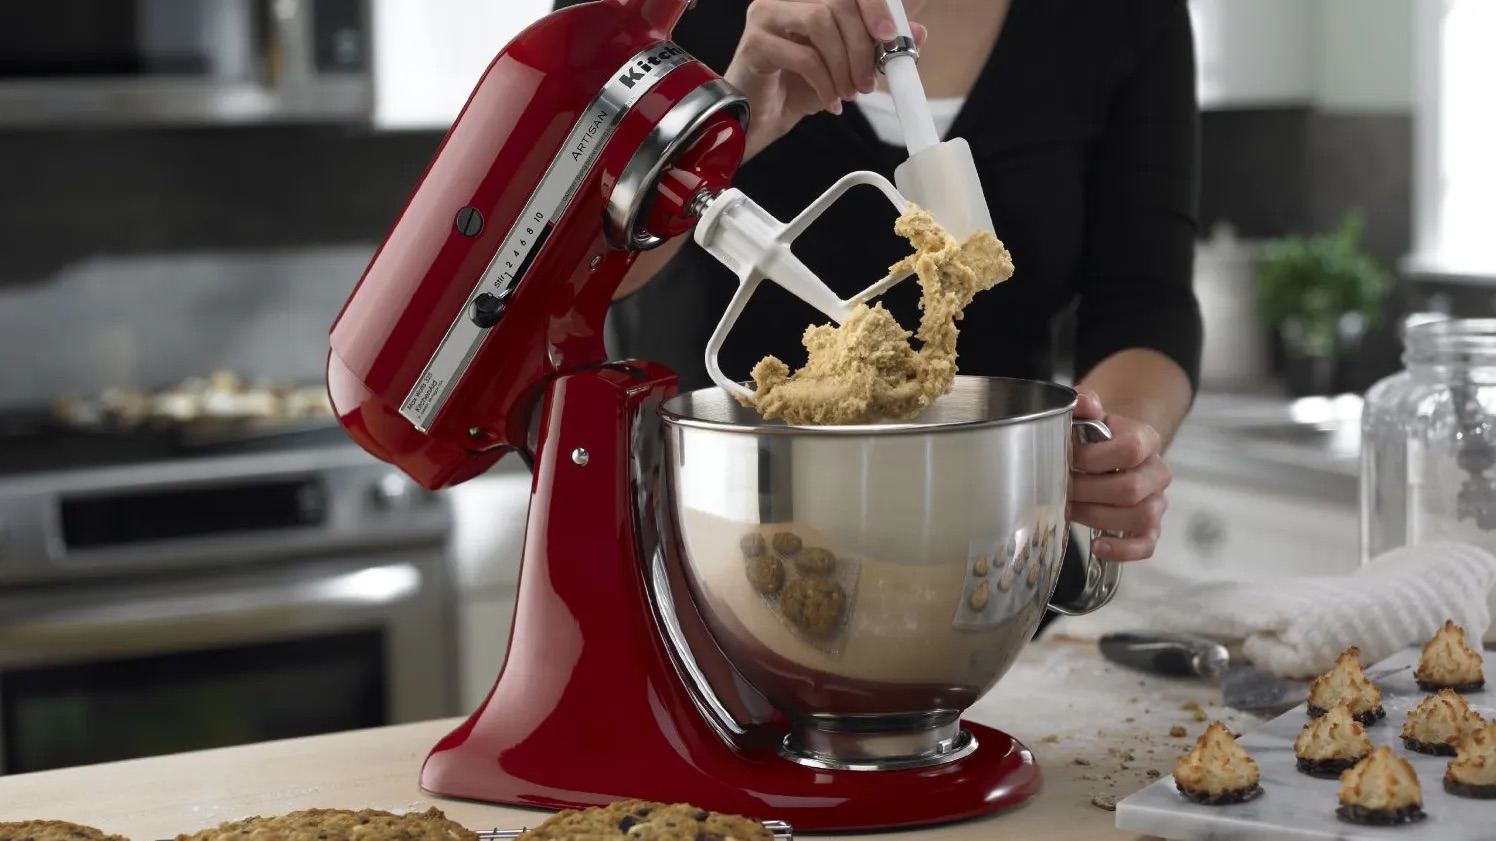
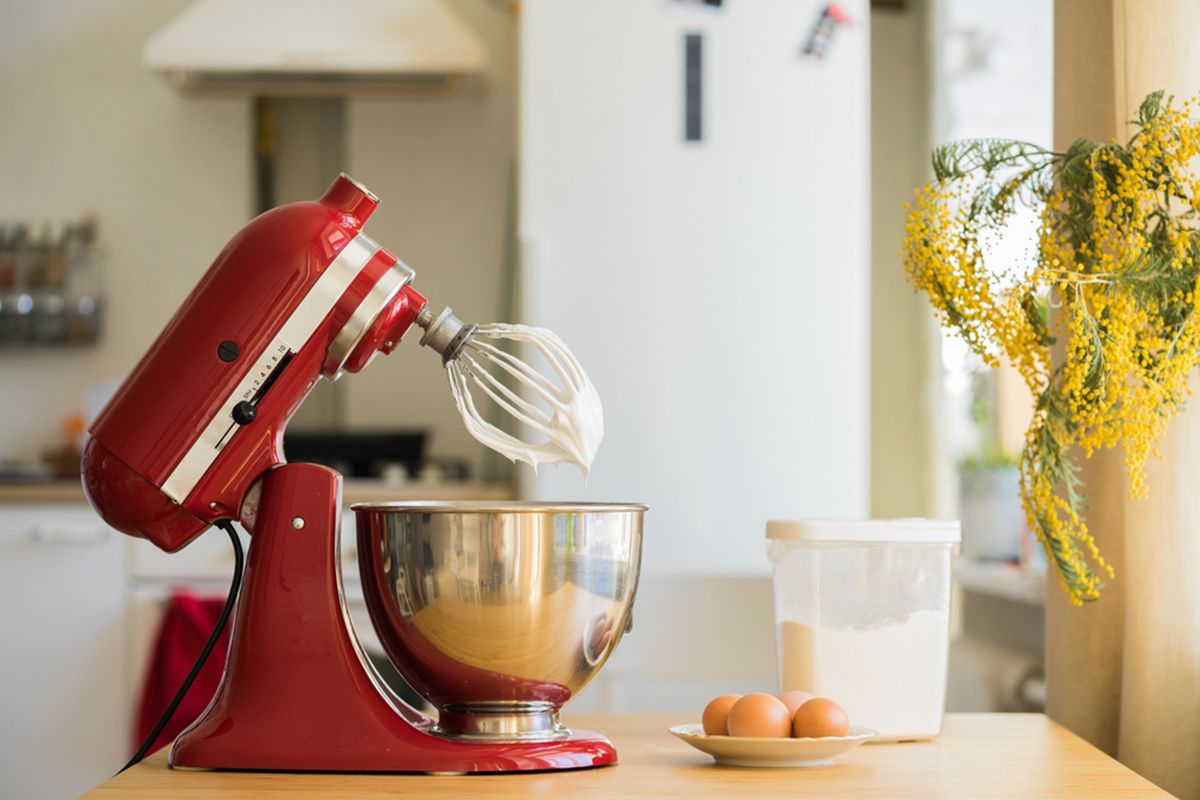
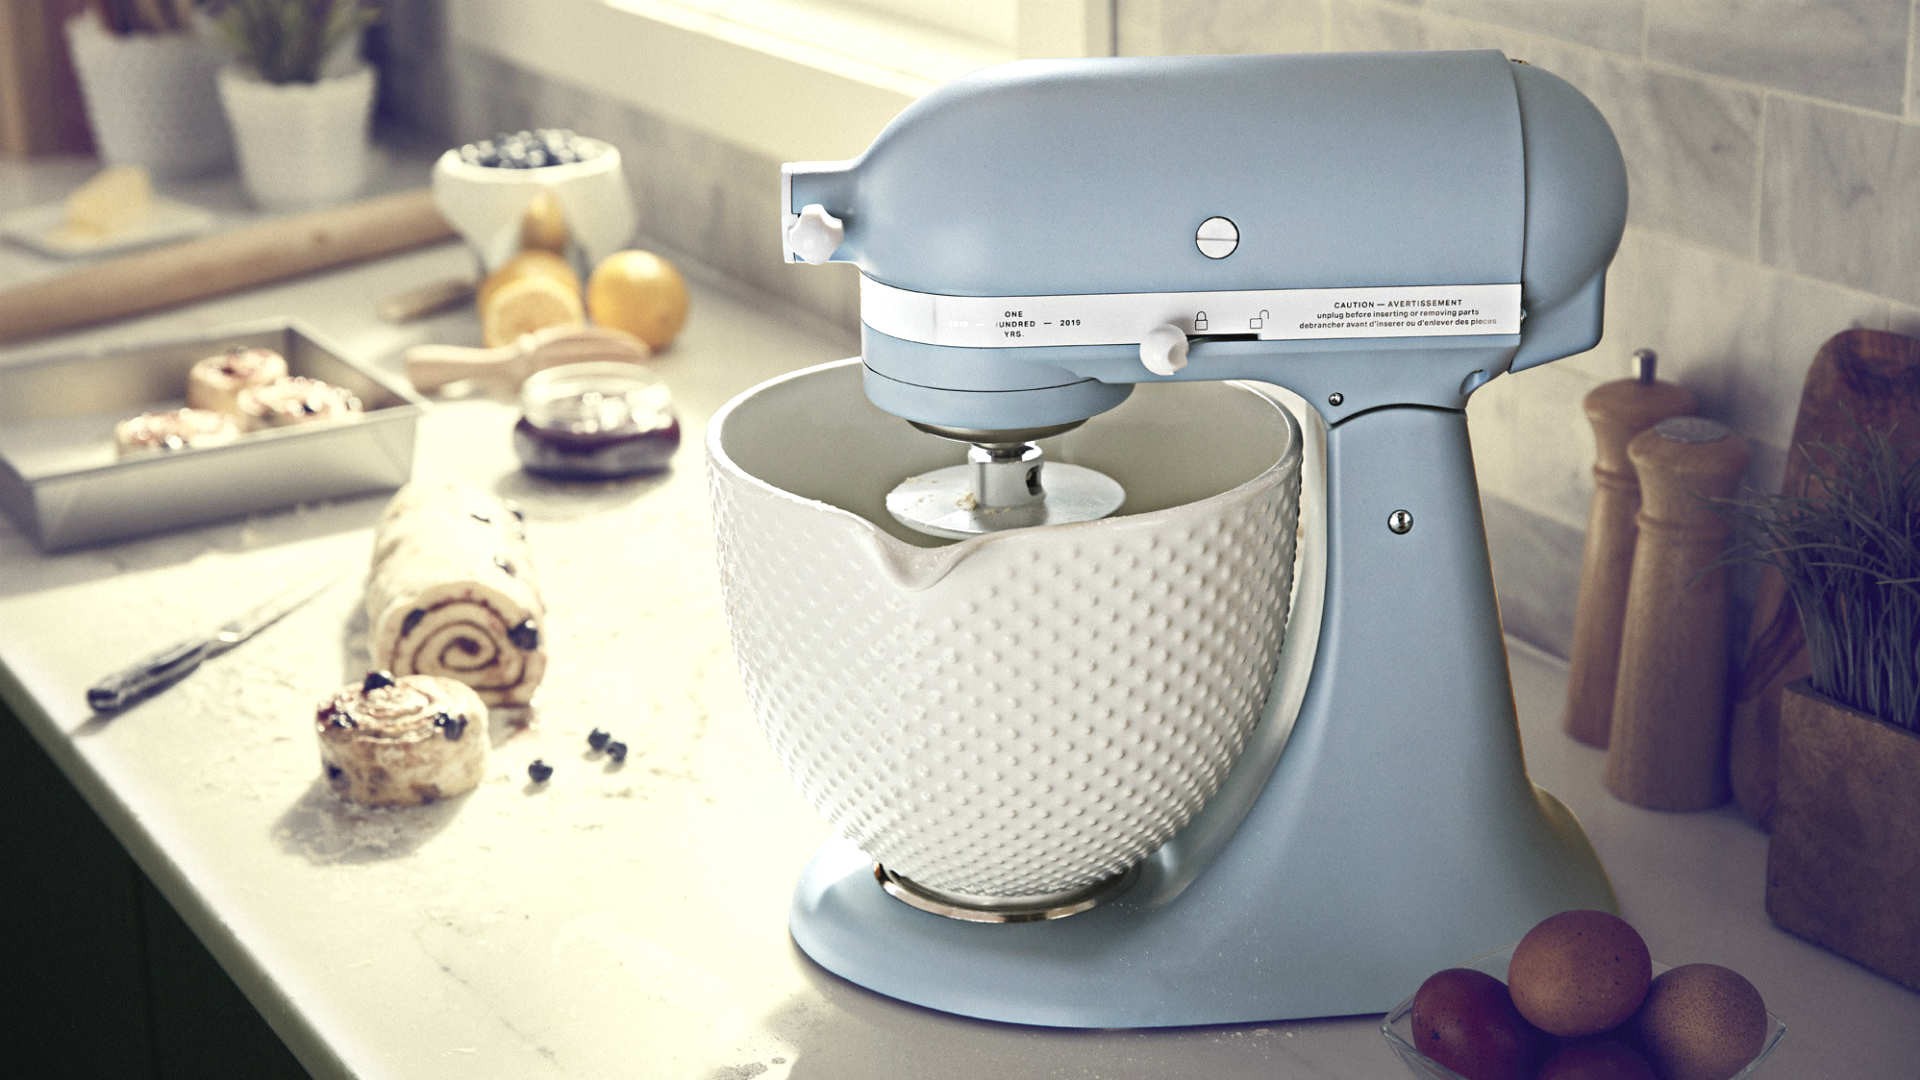
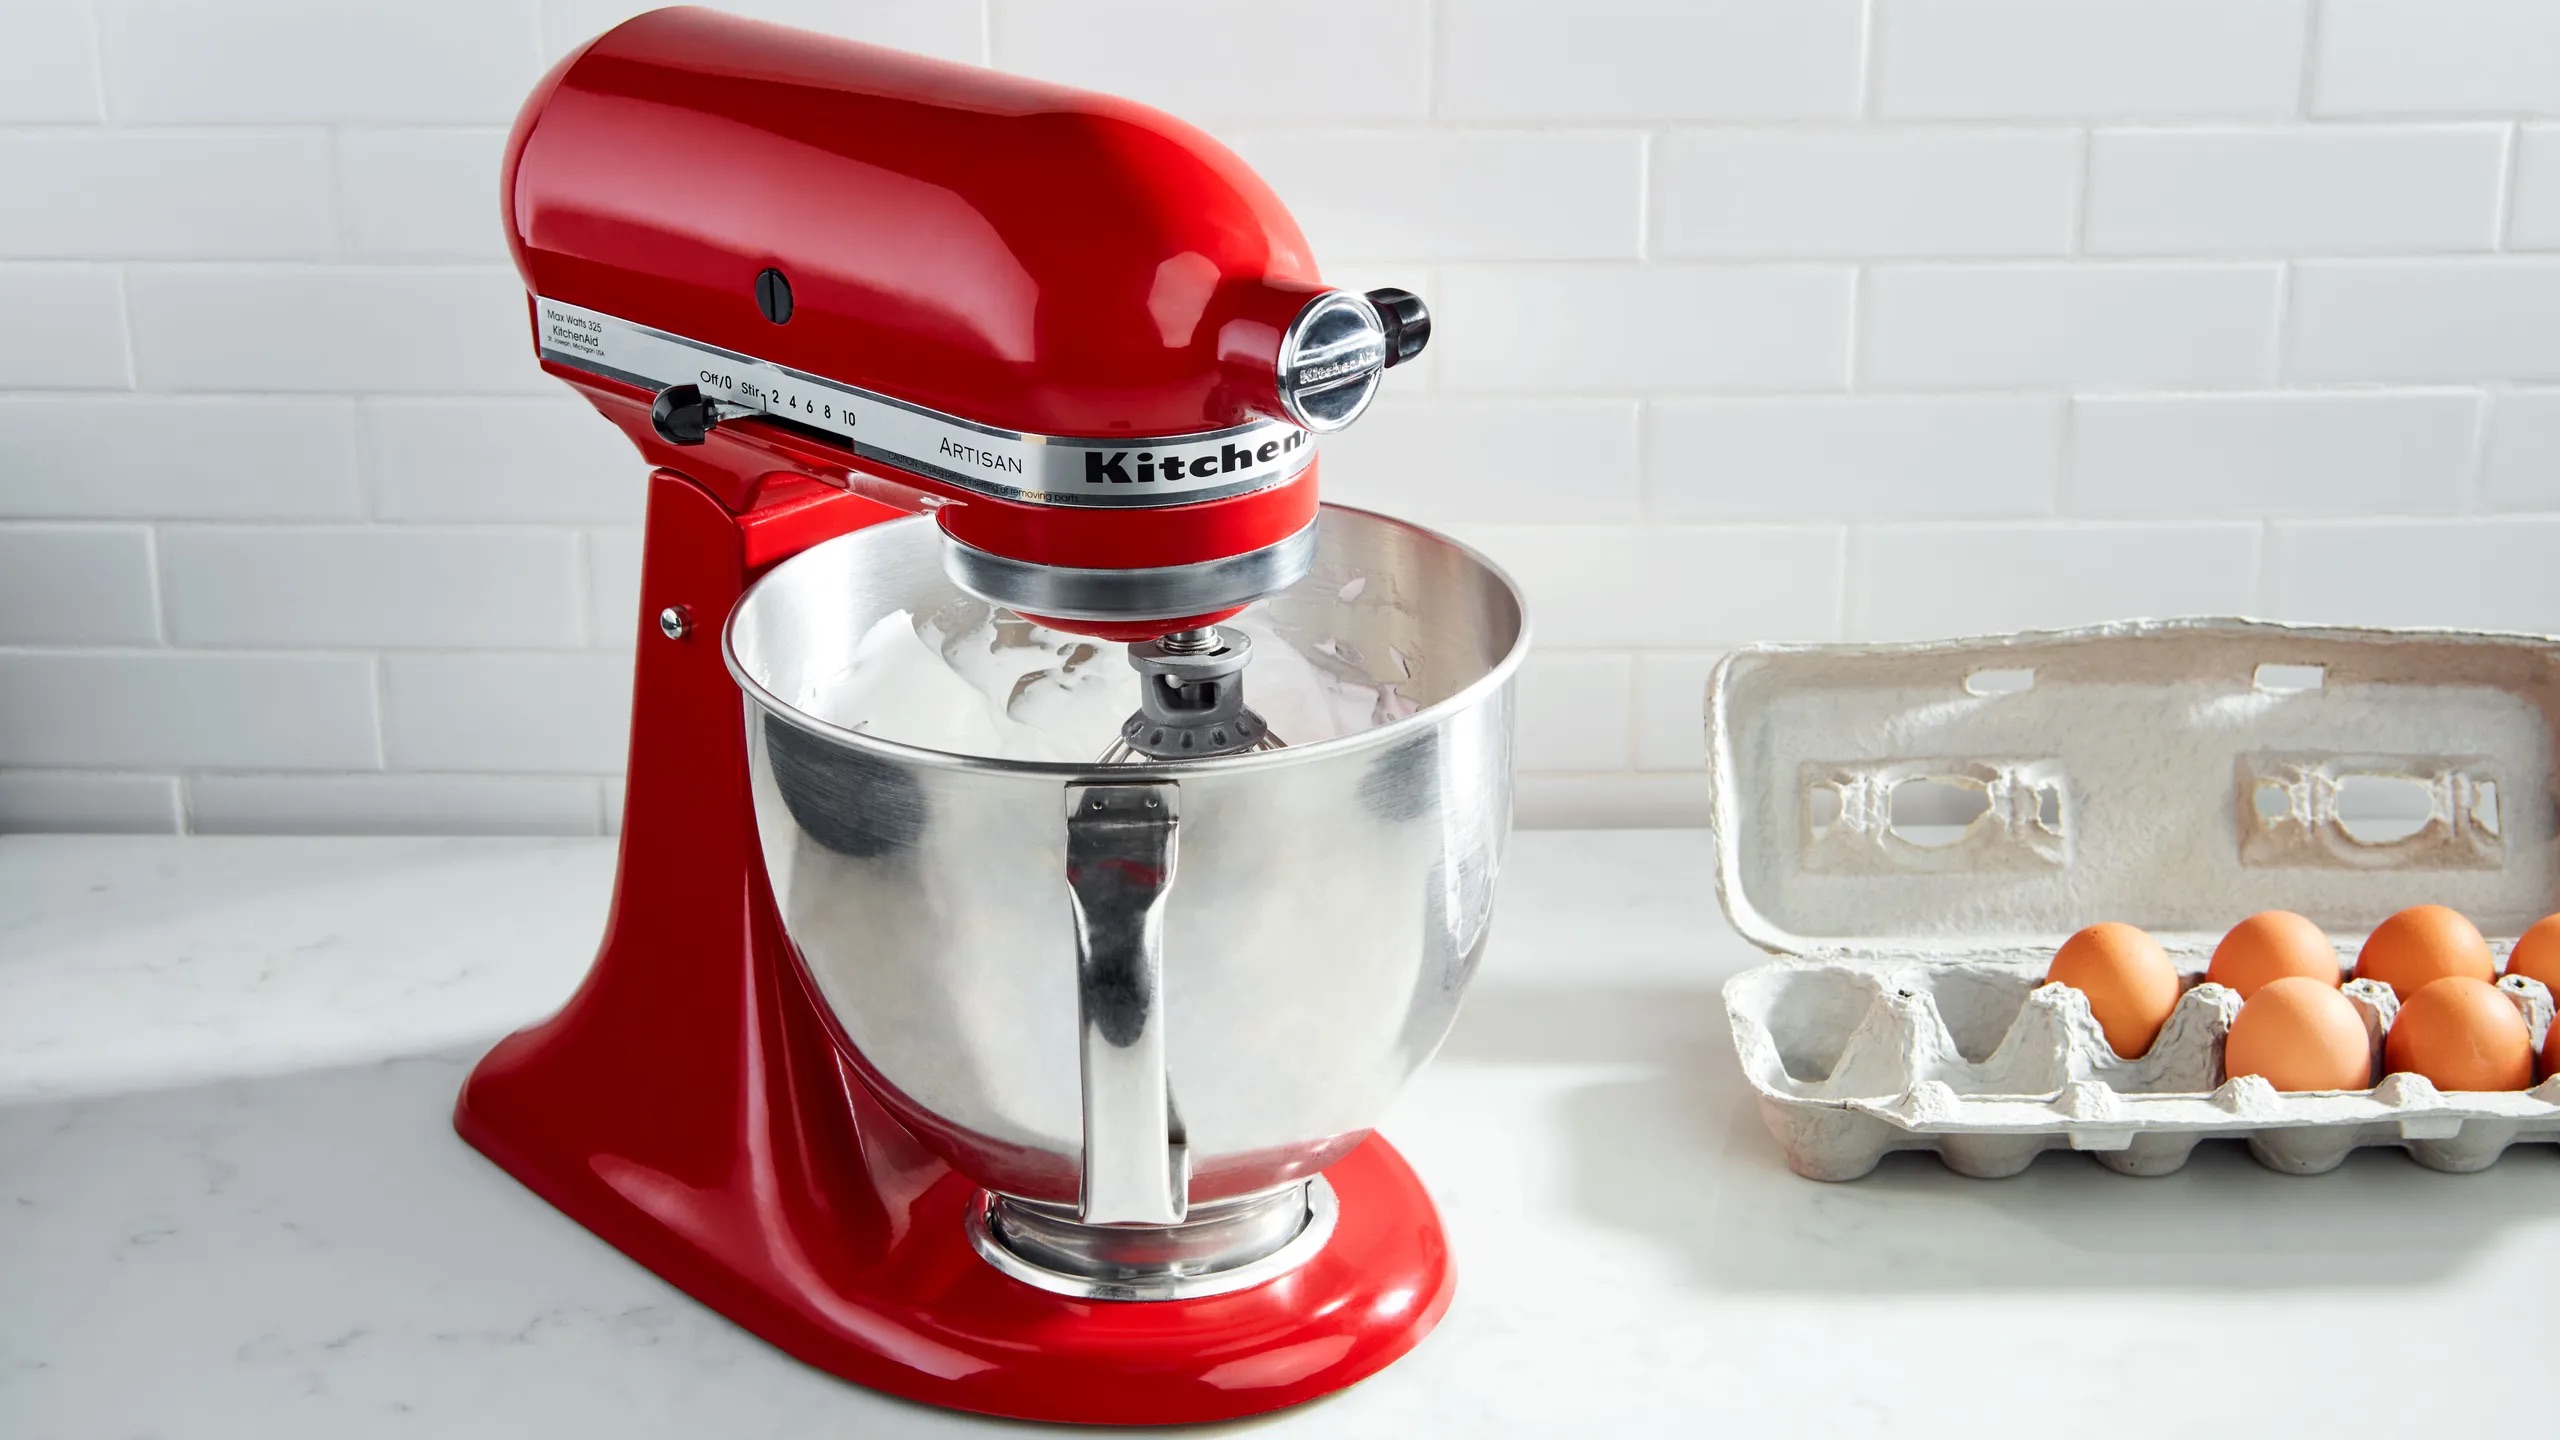
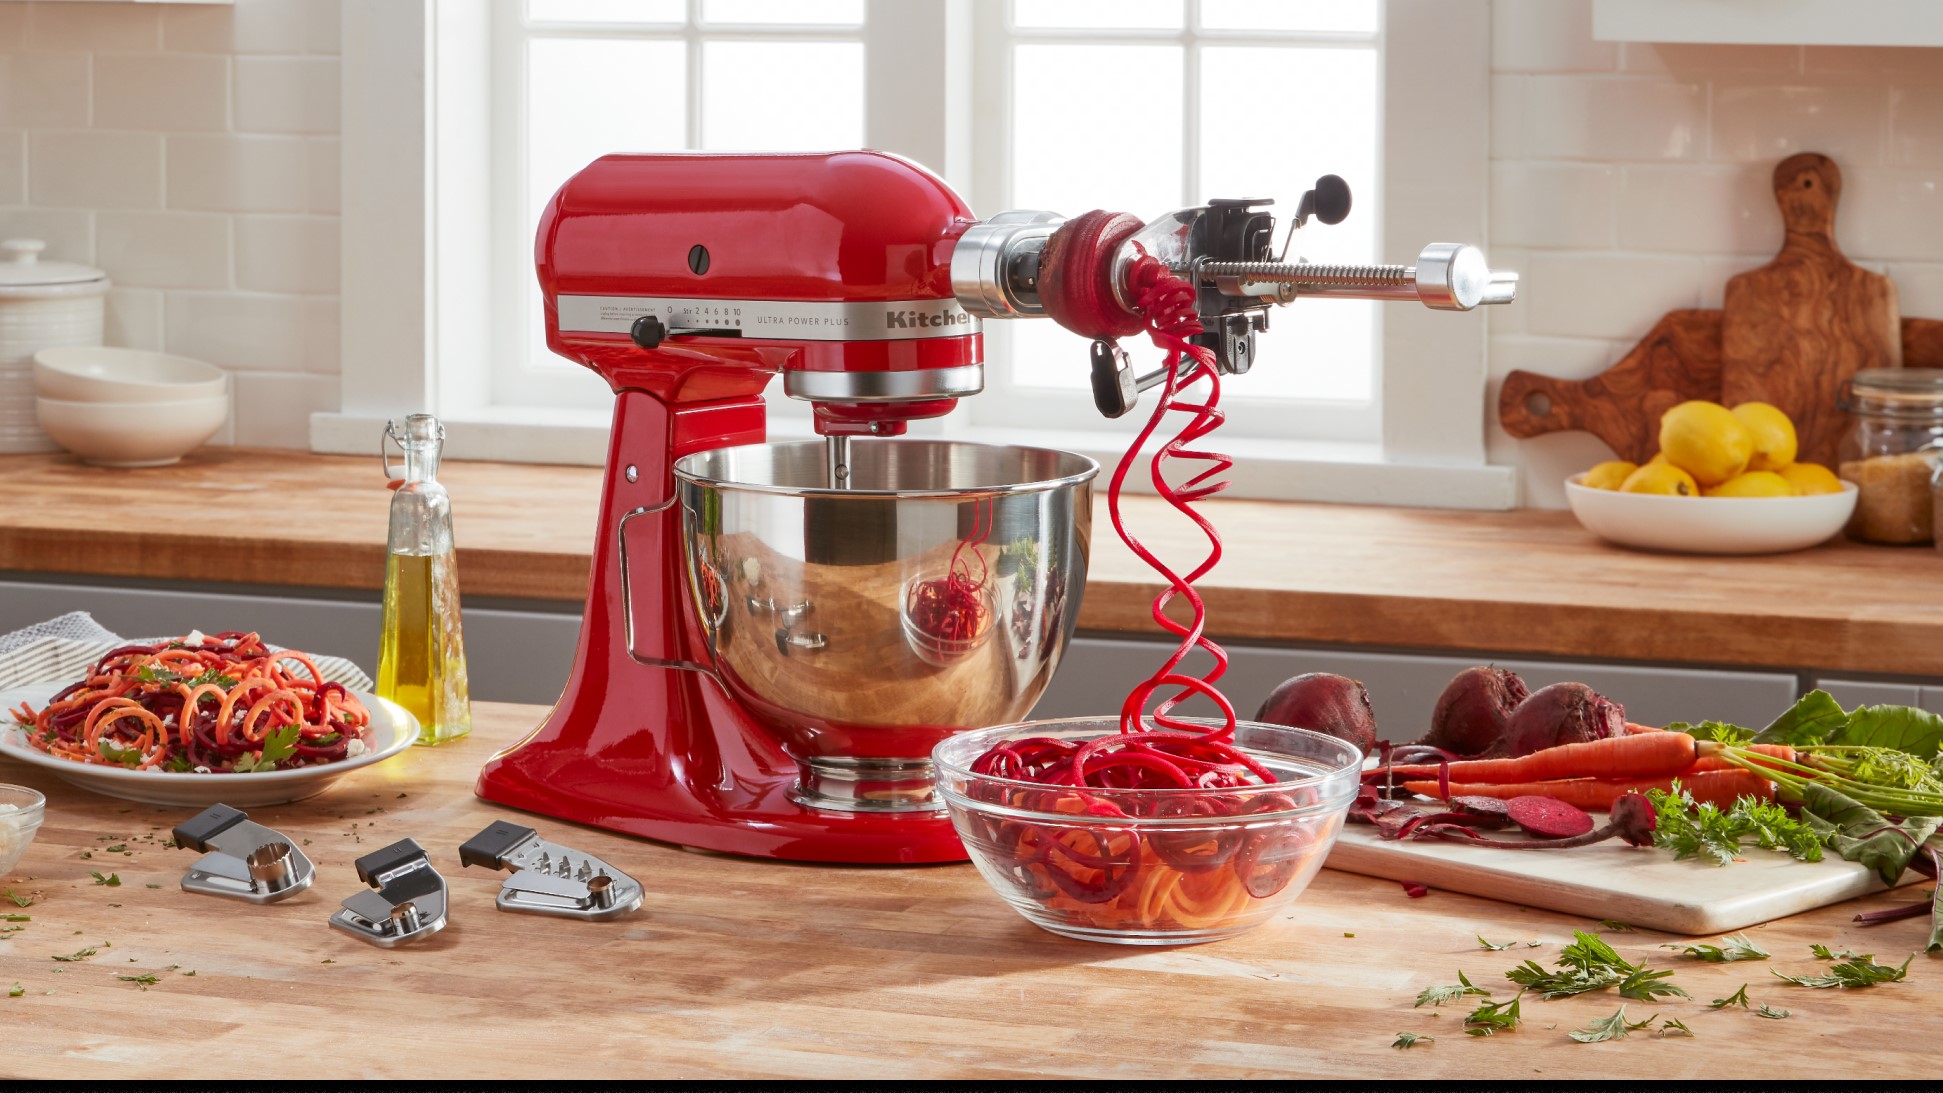
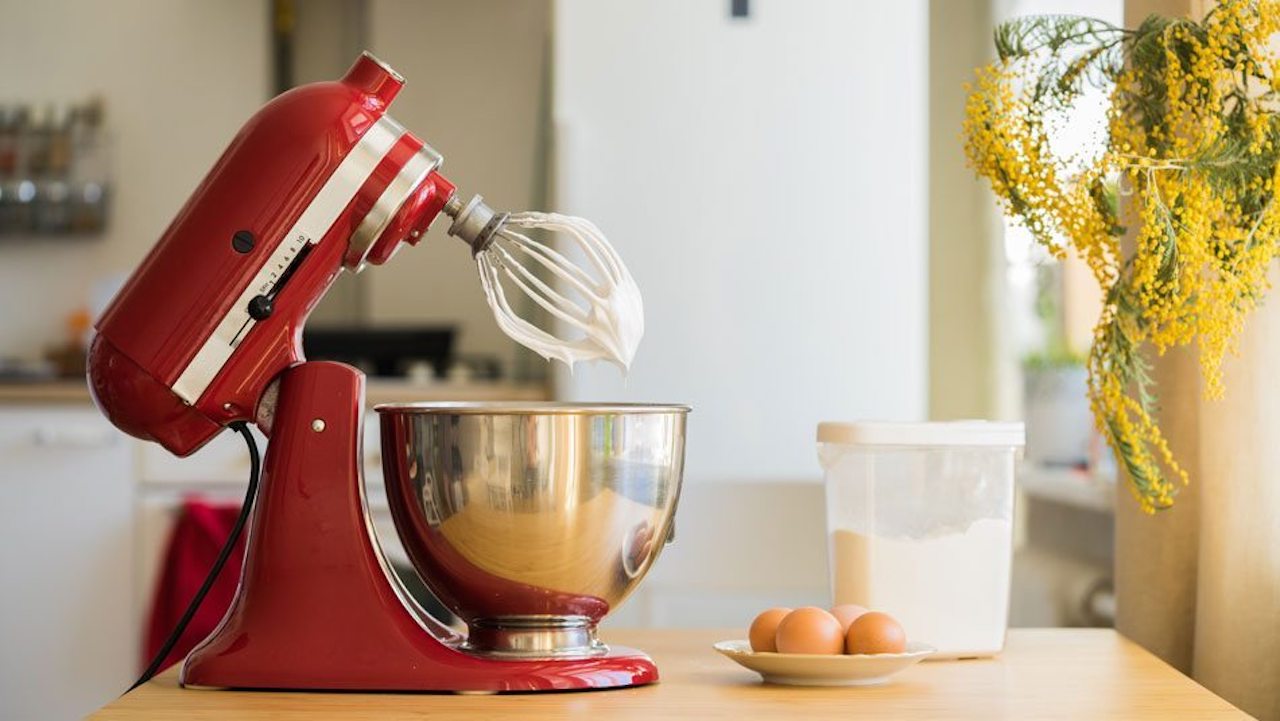
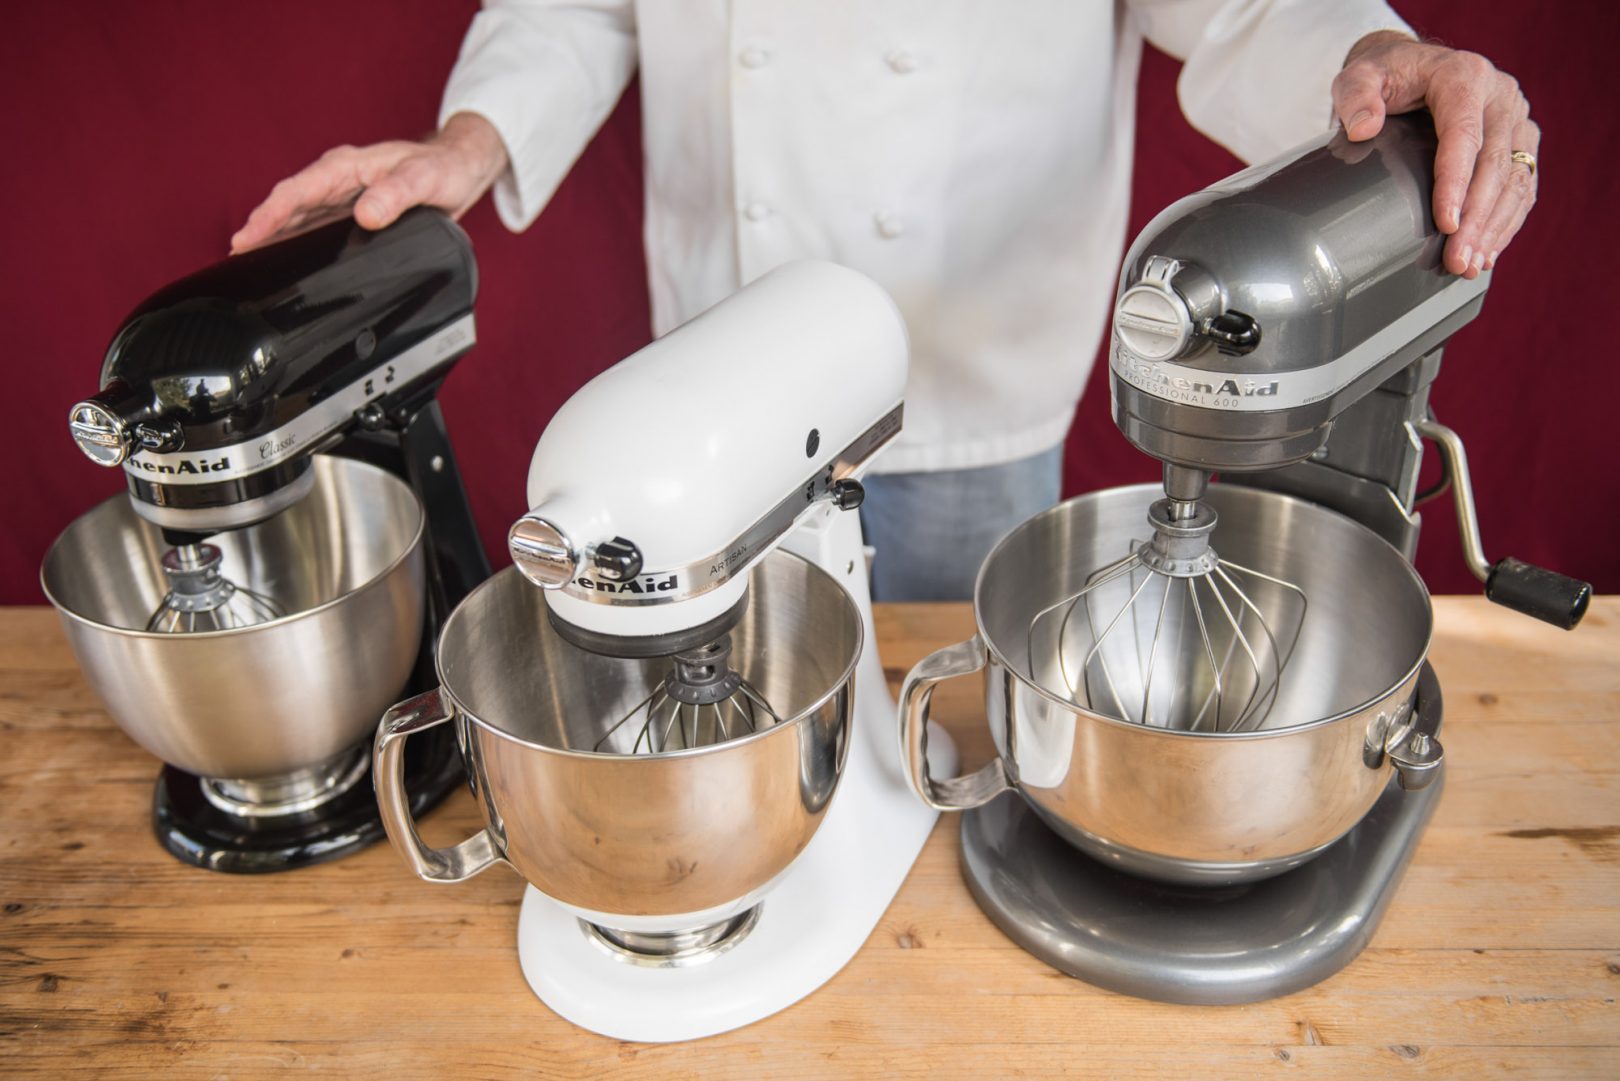
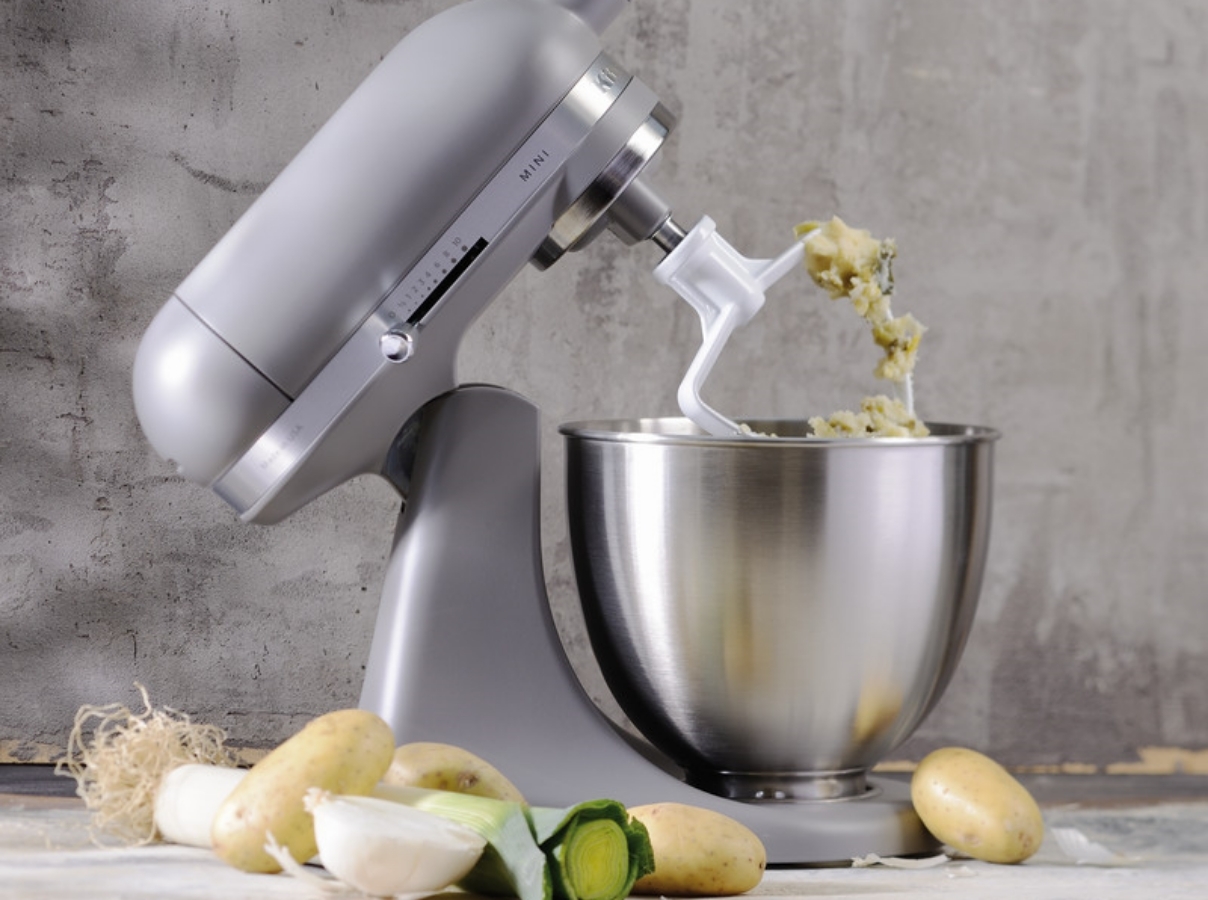
The KitchenAid mixer is a stand mixer renowned for its robust construction, powerful motor, and wide array of attachments that make it a versatile tool for various culinary tasks. It consists of a motorized base housing the motor, a tilting or lift-up mixing head, and a mixing bowl that locks into place.
With its various speed settings and interchangeable attachments such as dough hooks, wire whisk, and flat beater, the KitchenAid mixer can effortlessly tackle tasks like kneading dough, whisking egg whites, and mixing batter, among others.
It’s important to note that KitchenAid mixers are designed to be reliable and low-maintenance. Under normal circumstances, they should not leak oil. However, certain factors can contribute to oil leakage, which we will explore in the following sections.
Now that you have a basic understanding of the KitchenAid mixer’s components and functionality, let’s dive into some of the potential causes of oil leakage and how to address them effectively.
Potential Causes of Oil Leakage
Oil leakage in a KitchenAid mixer can be attributed to several factors. Understanding these causes can help you identify the root of the problem and determine the appropriate solution. Here are some potential reasons why your KitchenAid mixer might be leaking oil:
- Overfilling the Mixing Bowl: One common cause of oil leakage is overfilling the mixing bowl. If you add ingredients above the recommended capacity, it can put excessive strain on the motor, leading to oil leakage.
- Use of Incorrect Type of Oil: Another factor to consider is using the wrong type of oil. KitchenAid mixers require food-grade grease or oil specifically formulated for appliances. Using the wrong oil can cause a breakdown in the lubrication system and result in leakage.
- Worn or Damaged Gasket: The gasket, also known as the oil seal, is a crucial component that prevents oil from leaking out. Over time, the gasket may become worn, cracked, or damaged, compromising its sealing ability and leading to oil leakage.
- Improper Storage or Handling: Mishandling or improper storage of the KitchenAid mixer can contribute to oil leakage. If the mixer is frequently tipped over or stored in an awkward position, it can cause the oil to leak out of the designated compartments.
- Excessive Heat: Exposing the mixer to excessive heat can also be a factor in oil leakage. High temperatures can cause the oil to expand and lead to leaks. It is important to avoid placing the mixer near hot stovetops or ovens.
It’s worth noting that while these are the common causes of oil leakage, it is essential to assess your specific situation to pinpoint the exact reason behind the issue. once you understand the source of the problem, you can proceed with the appropriate troubleshooting steps and solutions we will discuss in the following sections to resolve the oil leakage in your KitchenAid mixer.
Overfilling the Mixing Bowl
Overfilling the mixing bowl of your KitchenAid mixer is a common cause of oil leakage. When you add ingredients beyond the recommended capacity, it puts excessive strain on the motor, causing it to work harder and generate more heat. This increased heat can lead to the expansion and leakage of the lubricating oil.
To prevent overfilling the mixing bowl and subsequent oil leakage, it is important to familiarize yourself with the mixer’s capacity guidelines. Each model of the KitchenAid mixer has a specific recommended capacity, which can usually be found in the user manual or on the manufacturer’s website.
When adding ingredients to the mixing bowl, it’s best to start with smaller quantities and gradually increase if necessary, ensuring you stay within the recommended capacity. This will not only prevent oil leakage but also optimize the mixer’s performance and prolong its lifespan.
In addition to monitoring the quantity of ingredients, it’s essential to pay attention to the consistency of the mixture. Some recipes, such as dough or thick batters, may require additional mixing time, which can generate more heat. In such cases, it’s advisable to pause periodically to allow the mixer to cool down and prevent the excess heat from causing oil leakage.
By being mindful of the mixing bowl capacity and the consistency of your mixtures, you can avoid overfilling and minimize the risk of oil leakage in your KitchenAid mixer.
Use of Incorrect Type of Oil
Using the wrong type of oil in your KitchenAid mixer can also contribute to oil leakage. KitchenAid mixers require food-grade grease or oil specifically formulated for use in appliances. Using oils that are not suitable for the mixer’s lubrication system can cause breakdown, increasing the risk of leaks.
To ensure you are using the correct type of oil, refer to the user manual or contact the manufacturer for specific recommendations. They can provide you with information on the recommended brand or type of food-grade grease or oil that is compatible with your mixer model.
It’s important to note that regular cooking oils or household lubricants are not suitable for use in your KitchenAid mixer. These oils may have different compositions or additives that are not designed for the mixer’s internal components, potentially leading to oil leakage or even damage to the motor over time.
When applying oil to your mixer, it’s crucial to follow the manufacturer’s instructions. Some mixers may require periodic lubrication of specific parts, such as the planetary gear or the beater shaft. Applying the recommended oil to these designated areas will ensure proper lubrication and minimize the risk of oil leakage.
Remember to use the recommended amount of oil as specified in the instructions. Applying too much oil can also lead to leakage, as the excess lubricant may seep out during operation. On the flip side, insufficient oiling can cause friction and wear on the internal components, potentially leading to oil leakage in the long run.
By using the correct type of oil and following the manufacturer’s instructions for lubrication, you can effectively prevent oil leakage and optimize the performance and longevity of your KitchenAid mixer.
Read more: Why Is My Kitchenaid Mixer Bouncing
Worn or Damaged Gasket
A worn or damaged gasket, also known as the oil seal, is another potential cause of oil leakage in a KitchenAid mixer. The gasket is a crucial component that creates a tight seal between the moving parts of the mixer, preventing oil from escaping. Over time, the gasket can become worn, cracked, or damaged, compromising its sealing ability and resulting in oil leakage.
If you notice oil leakage from your KitchenAid mixer, inspect the gasket for any visible signs of wear or damage. Look for cracks, tears, or deformities that could compromise the effectiveness of the seal. If you identify any issues with the gasket, it’s important to replace it promptly to prevent further leakage.
Replacement gaskets can typically be obtained from the manufacturer or authorized service centers. Refer to the user manual or contact customer support for guidance on obtaining the correct gasket for your specific mixer model.
Replacing the gasket requires careful disassembly and reassembly of the mixer. Before starting the replacement process, ensure you have the necessary tools, follow the provided instructions, and exercise caution to avoid damaging other components or voiding any warranties.
If you are not comfortable with performing the replacement yourself, it’s advisable to seek assistance from a qualified technician or authorized service center. They have the expertise to replace the gasket effectively and ensure that your mixer returns to optimal performance.
By regularly inspecting the gasket for wear and promptly replacing it when necessary, you can prevent oil leakage caused by a compromised sealing mechanism and keep your KitchenAid mixer functioning smoothly.
Improper Storage or Handling
Mishandling or improper storage of your KitchenAid mixer can contribute to oil leakage. If the mixer is frequently tipped over, jostled, or stored in an awkward position, it can cause the oil to leak out of the designated compartments.
When it comes to storage, it’s important to choose a location that provides stability and protects the mixer from potential accidents. Avoid placing it in areas where it could easily be bumped or knocked over, such as near the edge of countertops or in high-traffic areas of the kitchen.
When handling the mixer, always use both hands and hold it securely. This will help prevent accidental tip-overs or drops that could damage internal components or lead to oil leakage.
Furthermore, it’s important to engage any locking mechanisms or tilt-head features when the mixer is not in use. These safety features help secure the mixing head and prevent it from moving around during storage or transportation.
If you frequently move your KitchenAid mixer, whether for cleaning or relocation, take care to do so gently and avoid any sudden jerks or impacts. This will help minimize the risk of oil leakage caused by rough handling or improper transportation.
By storing your mixer in a secure and stable location, handling it with care, and implementing proper safety measures, you can reduce the chances of oil leakage due to mishandling or improper storage.
Excessive Heat
Excessive heat can be a contributing factor to oil leakage in your KitchenAid mixer. When the mixer is exposed to high temperatures, it can cause the lubricating oil to expand and potentially leak out of the designated compartments.
It’s important to avoid placing your mixer near hot stovetops or ovens, as the heat from these appliances can transfer to the mixer and affect its internal components. Additionally, direct sunlight or proximity to other heat sources like radiators should be avoided.
If you notice that your kitchen gets particularly hot during cooking or baking sessions, consider relocating your mixer to a cooler area of the kitchen to minimize the exposure to excessive heat. This can help prevent the oil from expanding and leaking out during use.
While it is normal for the mixer to generate some heat during operation, especially when working with dense dough or heavy mixtures, excessive heat can be detrimental to its performance and increase the likelihood of oil leakage. To mitigate this, you can adopt a few practices:
- Take breaks during extended mixing sessions to allow the machine to cool down. This will help prevent the buildup of excessive heat that can potentially cause oil leakage.
- If you notice your mixer becoming excessively hot during use, pause the operation and let it rest for a few minutes. This will allow the internal temperature to stabilize and minimize the risk of oil leakage.
- Consider using the mixer on lower speed settings for tasks that do not require high speed. Slower speeds generate less heat and reduce the strain on the motor, which can help prevent oil leakage.
- Regularly clean the vents and motor housing of your mixer to ensure optimal airflow. Adequate ventilation can help dissipate heat and prevent overheating that could lead to oil leakage.
By being mindful of excessive heat and taking appropriate measures to minimize its impact on your KitchenAid mixer, you can help prevent oil leakage and ensure the longevity and performance of your appliance.
Troubleshooting and Solutions
Now that we have explored the potential causes of oil leakage in a KitchenAid mixer, let’s discuss some troubleshooting tips and solutions to address this issue effectively.
Read more: Why Does My Kitchenaid Mixer Wobble
1. Cleaning and Maintenance Tips
Regular cleaning and maintenance of your KitchenAid mixer can go a long way in preventing oil leakage. Here are some tips to keep in mind:
- After each use, wipe down the exterior of the mixer with a damp cloth to remove any spills, residue, or oil splatters.
- Regularly clean the mixing bowl, attachments, and other removable parts according to the manufacturer’s instructions.
- Inspect and clean the vents and motor housing periodically to ensure proper airflow. Clogged vents can lead to overheating and oil leakage.
2. Checking the Gasket and Seals
As mentioned earlier, a worn or damaged gasket can contribute to oil leakage. If you suspect that the gasket is the source of the problem, follow these steps:
- Inspect the gasket for any visible signs of wear, cracks, or damage.
- If necessary, replace the gasket with a new one, following the manufacturer’s instructions.
3. Adjusting Mixing Bowl Capacity
If you have been consistently overfilling the mixing bowl, it’s time to adjust your mixing practices:
- Familiarize yourself with the recommended capacity guidelines provided by the manufacturer.
- Start with smaller quantities of ingredients and gradually increase if necessary, staying within the recommended capacity.
- Monitor the mixture’s consistency and consider pausing periodically to allow the mixer to cool down during prolonged mixing of thick or heavy mixtures.
4. Store and Handle with Care
Improper storage and handling can contribute to oil leakage, so take these precautions:
- Choose a stable location for storing your mixer, away from areas prone to bumps or accidents.
- Always use both hands and hold the mixer securely when moving or handling it.
- Engage any locking mechanisms or tilt-head features when the mixer is not in use to secure the mixing head.
Read more: Why Is My Kitchenaid Mixer Making Noise
5. Avoiding Extreme Temperatures
To prevent oil leakage due to excessive heat, implement these measures:
- Avoid placing the mixer near hot stovetops, ovens, direct sunlight, or other heat sources.
- If your kitchen gets particularly hot during use, consider moving the mixer to a cooler area.
- Take breaks during extended mixing sessions to allow the mixer to cool down.
- Consider using lower speed settings for tasks that do not require high speed to minimize heat generation.
By following these troubleshooting tips and solutions, you can address oil leakage in your KitchenAid mixer and optimize its performance for many years of culinary enjoyment.
Cleaning and Maintenance Tips
Regular cleaning and maintenance of your KitchenAid mixer are essential to prevent oil leakage and keep it in optimal condition. Here are some cleaning and maintenance tips to help you maintain your mixer:
- Exterior Cleaning: After each use, wipe down the exterior of the mixer with a damp cloth to remove any spills, residue, or oil splatters. This will prevent any build-up that could potentially lead to leaks or damage.
- Mixing Bowl and Attachments: Regularly clean the mixing bowl, beater, whisk, and other removable attachments according to the manufacturer’s instructions. Use mild dish soap and warm water to wash them thoroughly. Ensure that all parts are dried completely before reassembling and storing.
- Vents and Motor Housing: Periodically inspect and clean the vents and motor housing to ensure proper airflow. Dust or debris accumulation can restrict ventilation, resulting in overheating and potential oil leakage. Use a soft brush or compressed air to remove any dirt or debris from the vents and wipe the motor housing with a soft cloth.
- Oil Lubrication: Some KitchenAid mixer models require periodic lubrication of specific parts. Refer to the user manual or contact the manufacturer for guidance on the recommended frequency and type of oil to use. Apply the oil as instructed to keep the internal components properly lubricated and prevent friction that may lead to leaks.
- Storage: When storing your mixer, remember to choose a stable and secure location. Avoid areas that are prone to vibrations or accidental bumps. If possible, store your mixer in a designated cabinet or on a sturdy countertop away from the edges. Covering the mixer with a clean cloth or using a mixer cover can provide an additional protective layer.
- Regular Inspections: Perform regular inspections of your KitchenAid mixer to identify any signs of wear, damage, or deterioration. Check the power cord for any frays or exposed wires and ensure that all switches and controls are functioning properly. Address any issues promptly to prevent further damage and potential leaks.
By incorporating these cleaning and maintenance practices into your routine, you can keep your KitchenAid mixer clean, well-maintained, and minimize the risk of oil leakage. Regular upkeep will not only prolong the life of your mixer but also ensure consistent performance for all your culinary endeavors.
Check the mixer’s age and usage frequency. Over time, the grease inside can break down and leak. Also, overfilling the mixer can cause oil leakage.
Checking the Gasket and Seals
The gasket, also known as the oil seal, plays a crucial role in preventing oil leakage in your KitchenAid mixer. Regularly checking the gasket and seals can help identify any wear or damage and address it promptly. Here are the steps to do so:
- Inspect the Gasket: Carefully examine the gasket for any visible signs of wear, cracks, or damage. Pay close attention to the areas where the gasket comes into contact with the moving parts.
- Remove and Clean the Gasket: If you notice any build-up or residue on the gasket, gently remove it using a soft cloth or kitchen brush. Make sure to clean both sides of the gasket thoroughly.
- Check for Proper Fit: Once cleaned, reattach the gasket to the appropriate location on the mixer. Ensure that it fits securely and forms a tight seal. If the gasket appears loose or does not sit properly, it may need to be replaced.
- Replace the Gasket if Necessary: If you observe any signs of wear, cracks, or damage on the gasket, or if it no longer forms a tight seal, it is advisable to replace it. Contact the manufacturer or an authorized service center to obtain the correct replacement gasket for your specific mixer model.
- Follow Manufacturer’s Instructions: When replacing the gasket, carefully follow the manufacturer’s instructions provided in the user manual. This will ensure that you install the new gasket correctly and maintain the integrity of the mixer’s sealing mechanism.
Regularly checking the gasket and ensuring its proper fit and condition is crucial for preventing oil leakage. By identifying and addressing any issues with the gasket early on, you can maintain the effectiveness of the seal and keep your KitchenAid mixer running smoothly without any oil leakage concerns.
Adjusting Mixing Bowl Capacity
Properly managing the capacity of the mixing bowl in your KitchenAid mixer is essential to prevent oil leakage. Here are some steps to adjust the mixing bowl capacity and ensure optimal performance:
- Refer to the Manufacturer’s Guidelines: Familiarize yourself with the recommended capacity guidelines provided by the manufacturer. These guidelines can usually be found in the user manual or on the manufacturer’s website.
- Start with Smaller Quantities: When adding ingredients to the mixing bowl, start with smaller quantities and gradually increase as needed. This will help prevent overfilling the bowl, which can strain the motor and lead to oil leakage.
- Monitor the Mixture’s Consistency: Pay attention to the consistency of the mixture as you add ingredients. Some recipes may require additional mixing time, which can generate more heat. If needed, pause periodically during mixing to allow the mixer to cool down and prevent excessive heat buildup that could result in oil leakage.
- Consider Using the Mixer in Batches: For larger recipes or mixtures that exceed the recommended capacity of your mixer, consider dividing it into batches. Mixing smaller quantities at a time will reduce the strain on the motor, minimize heat generation, and prevent oil leakage.
- Follow Recipe Instructions: Always follow the instructions provided in your recipe. Pay attention to recommended mixing times and speeds to ensure proper incorporation of ingredients without overtaxing the mixer.
By adjusting the mixing bowl capacity and following these guidelines, you can prevent overfilling the bowl and minimize the risk of oil leakage in your KitchenAid mixer. Taking care to maintain the recommended capacity will help keep the motor running smoothly and ensure efficient and consistent mixing results.
Read more: Why Did My Kitchenaid Mixer Stop Working
Store and Handle with Care
Proper storage and careful handling of your KitchenAid mixer are crucial to prevent oil leakage and maintain its longevity. Here are some tips to store and handle your mixer with care:
- Choose a Stable Location: Select a stable and secure location for storing your mixer. Avoid placing it near the edges of countertops or in areas where it could easily be bumped or knocked over. Choosing a dedicated storage spot can prevent accidental tip-overs that may cause oil leakage or damage.
- Secure the Mixing Head: If your mixer has a tilt-head feature, make sure to lock it into place when storing or not in use. This will prevent the mixing head from dislodging or moving inadvertently, reducing the risk of oil leakage during storage.
- Handle with Both Hands: When lifting or moving your KitchenAid mixer, always use both hands and hold it securely. This will ensure better balance and minimize the chances of accidental drops or damage to internal components that could cause oil leakage.
- Avoid Rough Handling: Handle your mixer with care and avoid rough or aggressive movements. Refrain from forcefully pushing or pulling the mixing attachments and avoid slamming down the mixing bowl or attachments, as these actions can potentially damage the mixer’s internal parts and lead to oil leakage.
- Store in a Dry and Clean Environment: Keep your mixer in a clean and dry environment to prevent moisture or dirt from getting inside the machine. Moisture can lead to corrosion and damage, while dirt can affect the performance of moving parts and potentially cause oil leakage.
- Use a Mixer Cover: Consider using a mixer cover to provide an extra layer of protection when your mixer is not in use. A cover can help shield the mixer from dust, spills, and potential scratches, ensuring its longevity and minimizing the risk of oil leakage.
By following these storage and handling tips, you can minimize the risk of oil leakage and keep your KitchenAid mixer in excellent condition. Proper care and gentle handling will not only extend the life of your appliance but also ensure consistent performance for your culinary endeavors.
Avoiding Extreme Temperatures
Extreme temperatures can have an impact on the performance of your KitchenAid mixer and potentially lead to oil leakage. Here are some tips to help you avoid exposing your mixer to extreme temperatures:
- Avoid Placing Near Heat Sources: Position your mixer away from direct heat sources such as stovetops, ovens, or hot appliances. The intense heat from these sources can transfer to the mixer and cause the oil to expand, increasing the risk of oil leakage. Keep a safe distance to maintain the optimal operating temperature of your mixer.
- Avoid Direct Sunlight: Direct sunlight can also contribute to an increase in temperature. Keep your mixer away from sunny windows or areas exposed to prolonged sunlight as it can heat up quickly. Sunlight can affect the mixer’s performance and may lead to oil leakage.
- Do Not Store in Extreme Cold: While extreme heat can be a concern, extreme cold can also adversely affect your mixer. Avoid storing the mixer in freezing environments such as unheated garages or basements during cold winter months. Extreme cold can cause the lubricating oil to thicken, affecting the mixer’s performance and potentially causing oil leakage when it is used.
- Allow for Ventilation: Adequate ventilation is essential to prevent excessive heat buildup within the mixer. Ensure that the vents on your mixer are not obstructed by objects or materials. Proper airflow will help dissipate heat and maintain a stable temperature, reducing the risk of oil leakage.
- Pause During Prolonged Mixing: If you’re engaged in prolonged mixing sessions, especially with thicker mixtures, consider taking breaks. Pausing periodically allows the mixer to cool down and prevents the motor from overheating, reducing the chances of oil leakage.
- Follow Manufacturer’s Temperature Recommendations: Familiarize yourself with the manufacturer’s temperature recommendations for your specific KitchenAid mixer model. Check the user manual or contact customer support if necessary. Following these guidelines will help ensure that your mixer operates within its optimal temperature range to avoid problems such as oil leakage.
By being mindful of extreme temperatures and taking precautions to avoid exposure, you can protect your KitchenAid mixer from potential damage and prevent oil leakage. Strive to maintain a stable and moderate environment for your mixer to ensure its longevity and optimal performance.
Conclusion
Oil leakage in a KitchenAid mixer can be a concerning issue, but with the right knowledge and proactive measures, it can be effectively addressed and prevented. By understanding the potential causes of oil leakage and implementing the appropriate solutions, you can keep your mixer in excellent working condition and avoid any messy leaks.
In this comprehensive guide, we explored various factors that can contribute to oil leakage in a KitchenAid mixer. We discussed common causes such as overfilling the mixing bowl, using the incorrect type of oil, having a worn or damaged gasket, improper storage or handling, and exposure to excessive heat. Understanding these causes empowers you to troubleshoot and resolve the issue effectively.
We also provided a range of troubleshooting tips and solutions to help you prevent oil leakage. From cleaning and maintenance tips to checking the gasket and seals, adjusting the mixing bowl capacity, storing and handling the mixer with care, and avoiding extreme temperatures, these steps will keep your KitchenAid mixer functioning optimally while minimizing the risk of oil leakage.
Remember to follow the manufacturer’s guidelines and recommendations provided in the user manual. Regular cleaning, maintenance, and inspections are essential to identify and address any potential issues before they escalate into major problems.
By implementing these tips and solutions, you can maintain the reliability and performance of your KitchenAid mixer for years to come. Enjoy the convenience, versatility, and joy of using your mixer without the worry of oil leakage interfering with your culinary adventures.
Should you encounter persistent oil leakage despite troubleshooting efforts, it is advisable to seek assistance from the manufacturer’s customer support or authorized service centers. They have the expertise to diagnose and address complex issues to ensure the longevity and proper functioning of your KitchenAid mixer.
With proper care, maintenance, and knowledge, you can keep your KitchenAid mixer running smoothly, allowing you to effortlessly whip up delicious recipes and enjoy the benefits of this versatile kitchen appliance for many years.
Frequently Asked Questions about Why Would A Kitchenaid Mixer Leak Oil
Was this page helpful?
At Storables.com, we guarantee accurate and reliable information. Our content, validated by Expert Board Contributors, is crafted following stringent Editorial Policies. We're committed to providing you with well-researched, expert-backed insights for all your informational needs.


0 thoughts on “Why Would A Kitchenaid Mixer Leak Oil”