
Articles
How To Build A Rainfall Showerhead
Modified: October 20, 2024
Discover the best articles on how to build a luxurious rainfall showerhead and transform your bathroom into a spa-like oasis. From installation tips to DIY techniques, explore our expert guides now.
(Many of the links in this article redirect to a specific reviewed product. Your purchase of these products through affiliate links helps to generate commission for Storables.com, at no extra cost. Learn more)
Introduction
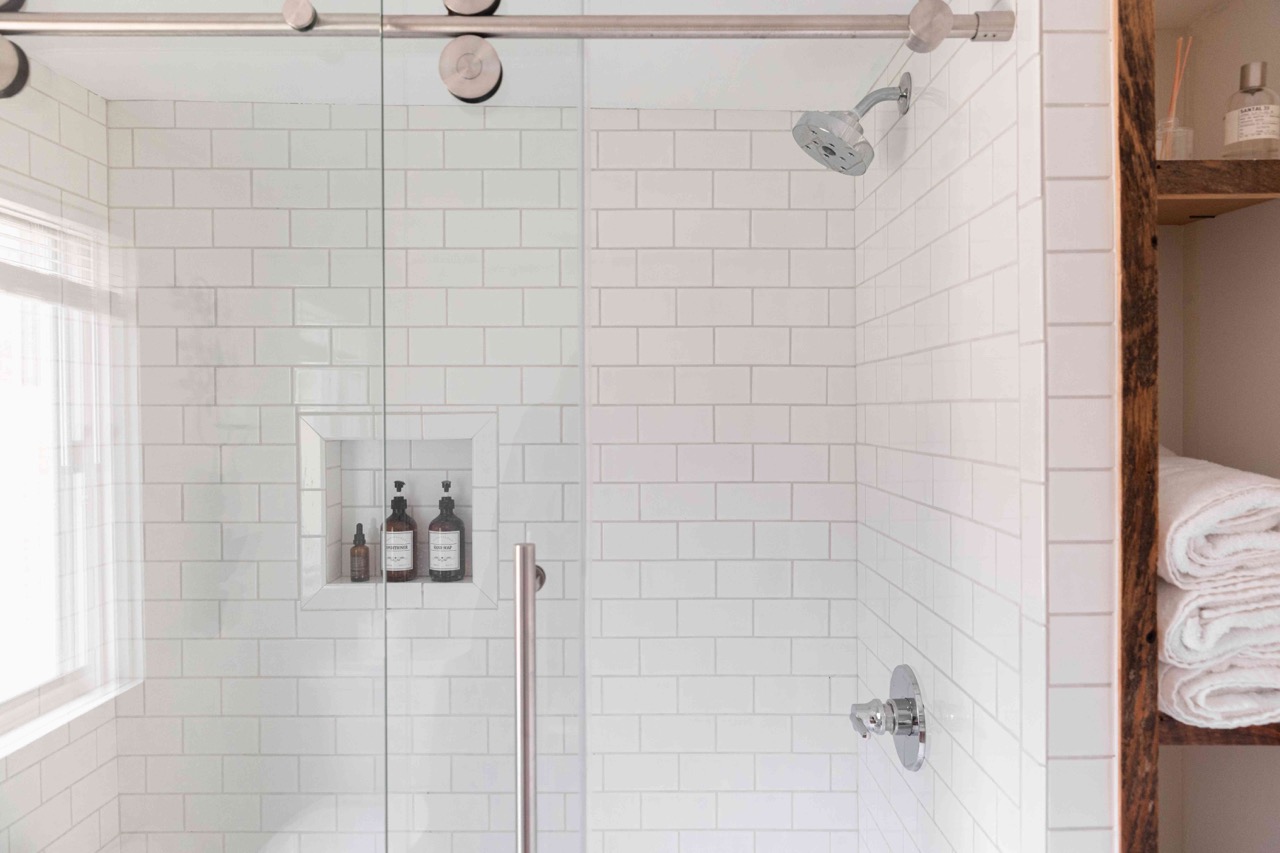
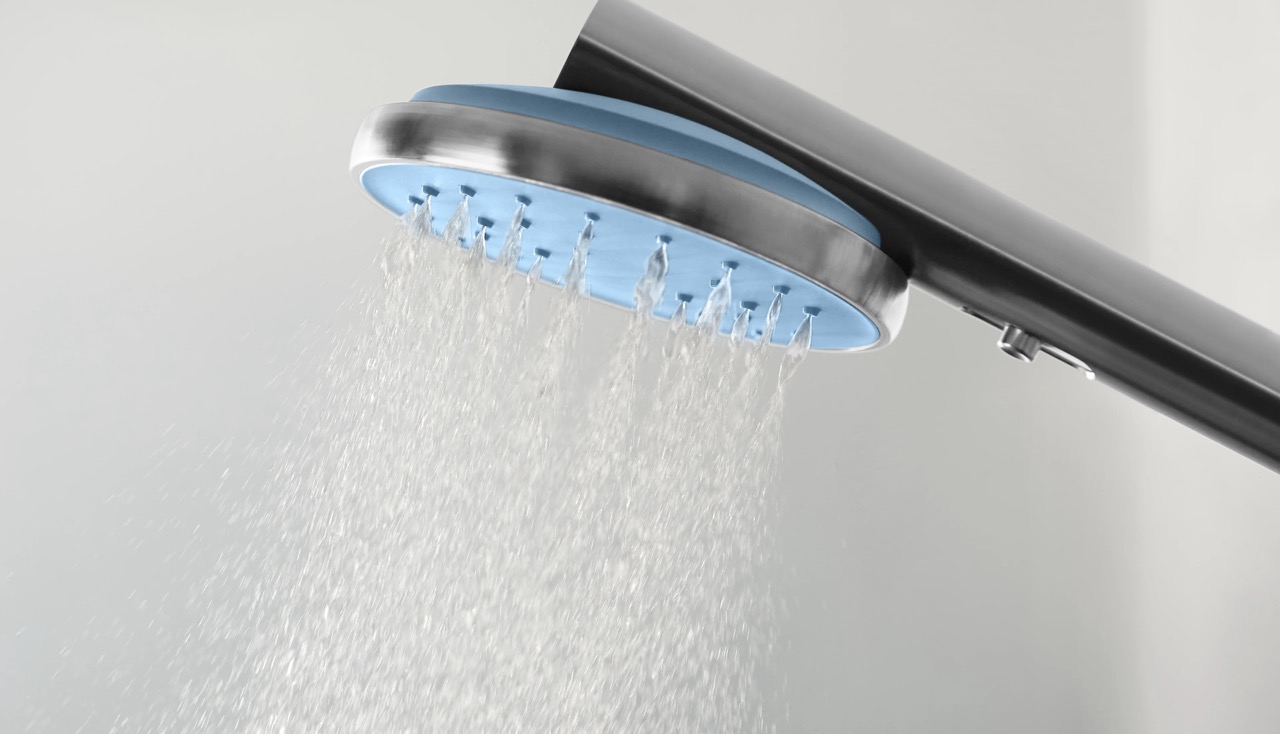
Are you tired of your mundane shower experience and yearn for a luxurious and spa-like bathing sensation? Look no further than a rainfall showerhead for the ultimate upgrade to your bathroom. With its gentle cascading water flow, a rainfall showerhead can transform your daily shower routine into a soothing and revitalizing escape.
In this comprehensive guide, we will walk you through the step-by-step process of how to build a rainfall showerhead. Whether you are a DIY enthusiast or a beginner, with a little planning and the right tools, you can easily install a rainfall showerhead and elevate your shower experience.
Key Takeaways:
- Transform your shower experience with a DIY rainfall showerhead, elevating daily routines to spa-like indulgence. Follow step-by-step instructions for a luxurious and rejuvenating bathing sensation.
- Attention to detail and proper installation techniques are crucial for a successful outcome when building a rainfall showerhead. Enjoy a soothing and revitalizing shower experience with careful planning and execution.
Read also: 12 Best Rainfall Showerhead for 2025
Step 1: Gather the necessary tools and materials
Before you embark on the journey of building your own rainfall showerhead, it is essential to gather all the tools and materials you will need. By having everything on hand, you can streamline the installation process and avoid any unnecessary delays. Here are the tools and materials you will need:
- Adjustable wrench
- Teflon tape
- Plumber’s tape
- Plumber’s putty
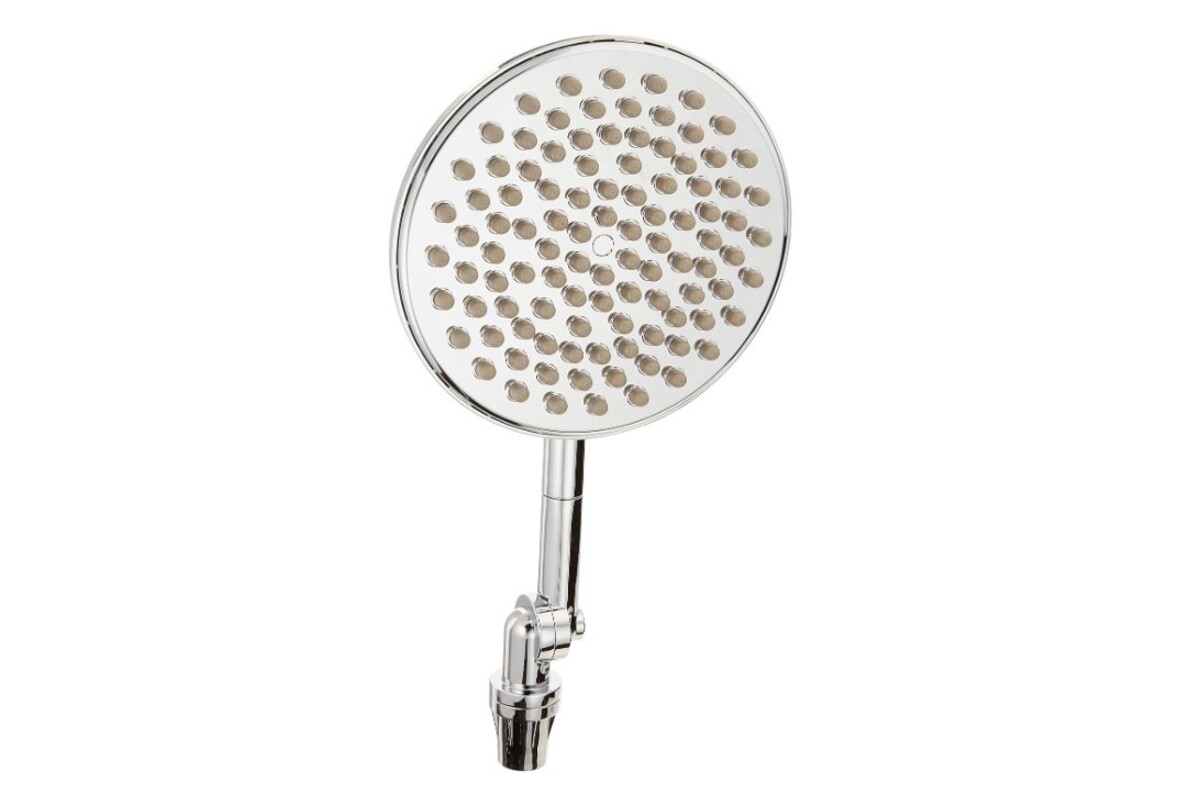
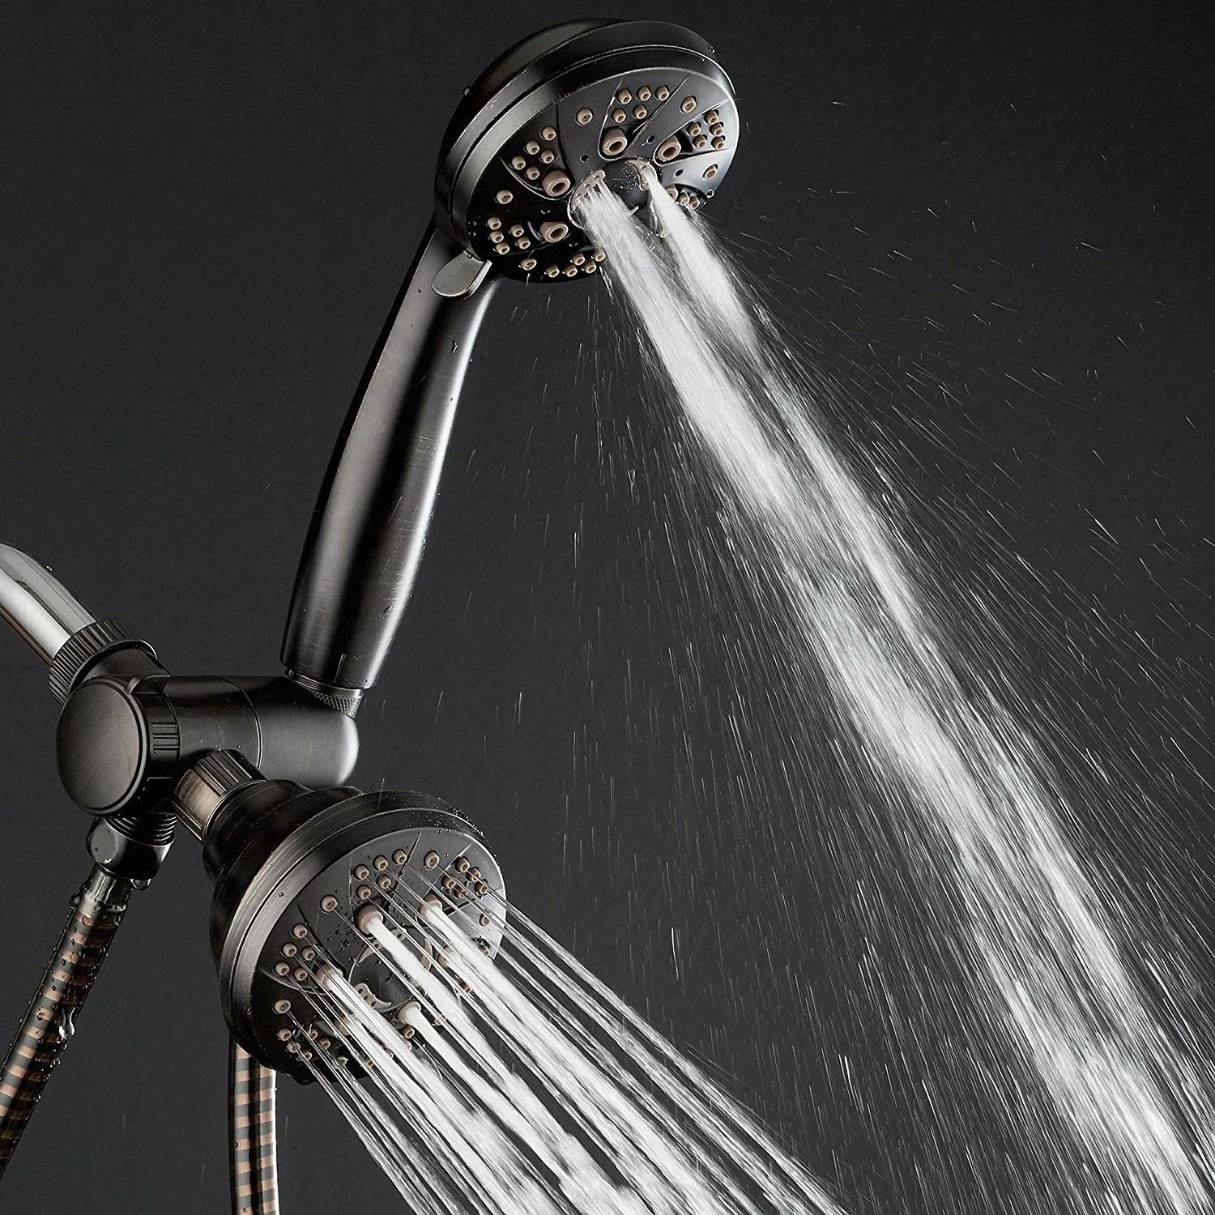
- Rainfall showerhead kit
- Shower arm
- Bucket or towel
The adjustable wrench will be used to loosen and tighten the necessary connections, while the teflon tape and plumber’s tape will help create a watertight seal. The plumber’s putty will come in handy when sealing any gaps or leaks.
When it comes to the rainfall showerhead kit, make sure to choose one that suits your preferences in terms of size, style, and finish. Consider factors such as water pressure, spray patterns, and ease of installation. Additionally, you will need a shower arm to connect the showerhead to the water supply.
Lastly, it is important to have a bucket or towel nearby to catch any water that may drip during the installation process. This will help keep your bathroom clean and prevent any potential damage to your floors.
Once you have gathered all the tools and materials, you are ready to move on to the next step of the installation process.
Step 2: Remove the existing showerhead
Now that you have gathered all the necessary tools and materials, it’s time to remove the existing showerhead. Follow these steps to remove the old showerhead:
- Start by turning off the water supply to the shower. You can do this by locating the shut-off valve in your bathroom or turning off the main water supply to your home.
- Next, cover the shower arm with a cloth or towel to protect it from any scratches or damage.
- With the adjustable wrench, grip the showerhead firmly and twist it counterclockwise to loosen it. Depending on the type of showerhead, you may need to apply some force to break the seal.
- Continue turning the showerhead until it is completely removed from the shower arm.
- Inspect the shower arm to ensure that no debris or old plumber’s tape is left behind. Use a brush or cloth to clean the threads if necessary.
Once you have successfully removed the old showerhead and cleaned the shower arm, you are ready to proceed to the next step. Keep in mind that if the showerhead is stubborn and does not come off easily, you may need to use additional tools or seek professional assistance to avoid damaging the shower arm.
Step 3: Prepare the shower arm for installation
With the old showerhead removed, it’s time to prepare the shower arm for the installation of your new rainfall showerhead. Follow these steps to ensure the shower arm is ready for the next phase:
- Inspect the shower arm for any signs of damage or corrosion. If you notice any issues, it’s best to replace the shower arm before proceeding.
- Apply plumber’s tape to the threads of the shower arm. This will create a watertight seal and prevent any potential leaks.
- Wrap the plumber’s tape around the threads in a clockwise direction, ensuring that it is evenly distributed and covers the entire thread surface.
- Gently press and smooth the plumber’s tape to ensure it adheres properly.
By applying plumber’s tape, you are creating a barrier that prevents water from seeping through the connection points and causing leaks. This simple step is crucial for the successful installation of your rainfall showerhead.
Once you have prepared the shower arm, it’s time to move on to the next step of installing the rainfall showerhead. Continue reading to learn how to install the showerhead securely and efficiently.
When building a rainfall showerhead, make sure to use a large enough shower arm to support the weight of the showerhead and ensure proper water flow.
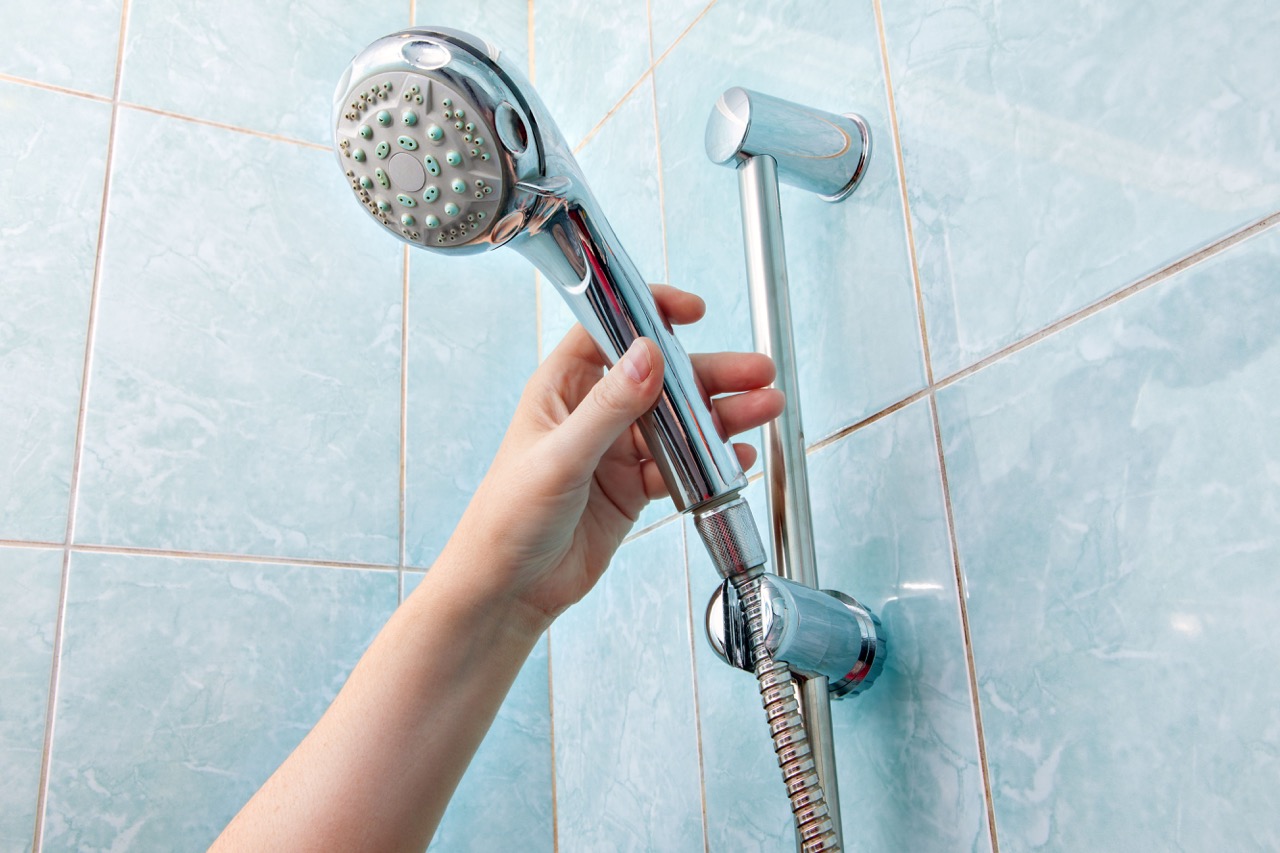
Step 4: Install the rainfall showerhead
Now that the shower arm is prepared, it’s time to install your new rainfall showerhead. Follow these step-by-step instructions to ensure a successful installation:
- Take your rainfall showerhead and check for any manufacturer’s instructions or specific guidelines. Familiarize yourself with the different components and how they fit together.
- Attach the showerhead to the shower arm by threading it onto the prepared threads in a clockwise direction. Begin by turning it by hand until it is snug, and then use the adjustable wrench to tighten it just a little further. Be careful not to overtighten, as this can cause damage.
- Ensure that the showerhead is level and properly aligned. Adjust it according to your desired angle and position.
- If your rainfall showerhead comes with a handheld option or additional features, such as pressure or spray settings, follow the manufacturer’s instructions to attach and install these components.
- Double-check all connections to ensure they are secure. Tighten any loose connections with the adjustable wrench, if necessary.
It is important to note that some rainfall showerheads may require specific tools or techniques for installation. Always refer to the manufacturer’s instructions for the most accurate and specific guidance.
Once your rainfall showerhead is securely installed, you are now ready to move on to the next step and test for any leaks or issues. Keep reading to learn how to ensure a properly functioning showerhead.
Step 5: Test the showerhead for leaks
After installing the rainfall showerhead, it is crucial to test it for any leaks to ensure proper functioning. Here are the steps to test your newly installed showerhead:
- Turn on the water supply to the shower.
- Check all the connections, including the shower arm and any additional components, for any signs of leakage. Look for dripping water or visible water stains.
- If you notice any leaks, use an adjustable wrench to tighten the affected connection until the leaking stops. Be careful not to overtighten, as this can damage the components.
- If the leaks persist, you may need to disassemble the showerhead and inspect the threads for any damage or debris. Clean or replace the affected parts as necessary and reassemble the showerhead.
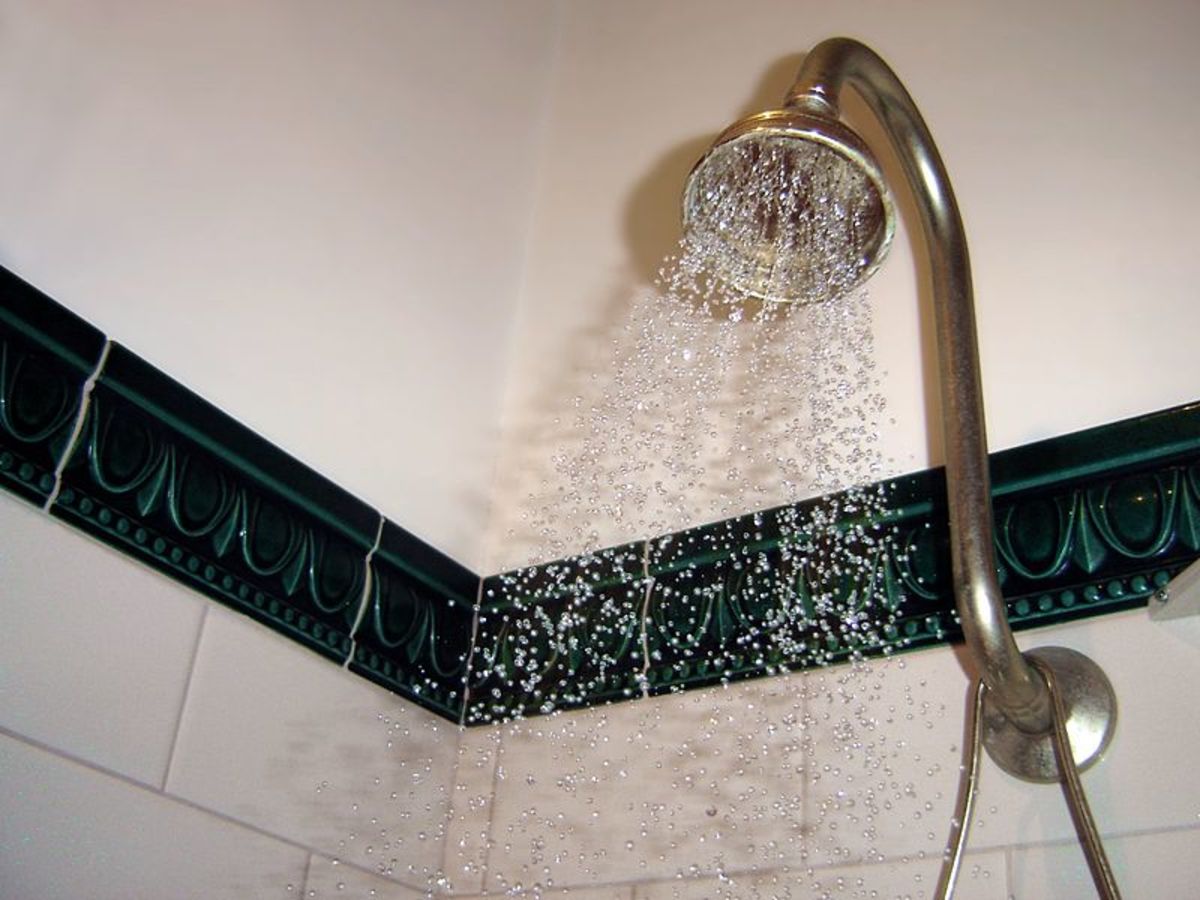
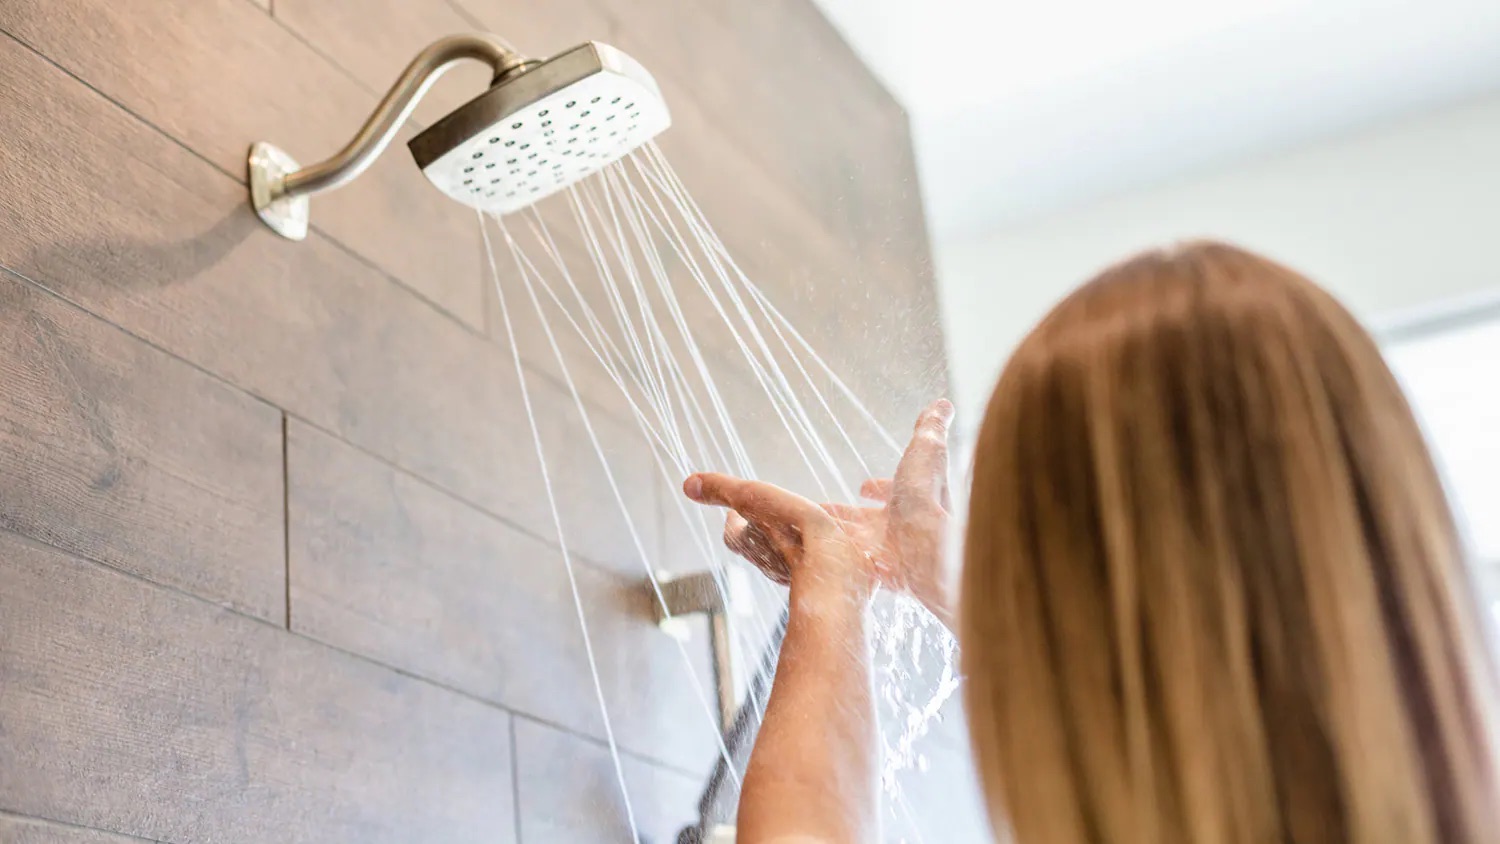
- Once all connections are tight and there are no visible leaks, turn on the shower and let the water flow for a few minutes. Observe the water flow and pressure to ensure they meet your expectations.
Testing your rainfall showerhead for leaks is essential to avoid any potential water damage and ensure a satisfying shower experience. Addressing any leaks promptly will help maintain the longevity of your showerhead and prevent further issues down the line.
If you have successfully tested your showerhead and are satisfied with the results, you are ready to move on to the final step of optimizing the water pressure and flow.
Step 6: Adjust the water pressure and flow
Once you have installed and tested your rainfall showerhead, it’s time to fine-tune the water pressure and flow to your liking. Here’s how you can adjust these settings:
- Locate the water valve or water pressure regulator in your bathroom or home. This valve controls the overall water pressure coming into your shower.
- Gently turn the valve clockwise to decrease the water pressure, or counterclockwise to increase it. Make small adjustments and test the shower to see the effect on the water flow.
- Ensure that the pressure is strong enough to provide a satisfying shower experience, but not too strong that it feels uncomfortable or wasteful.
- Next, if your rainfall showerhead has adjustable settings for different spray patterns or intensities, experiment with these options to find the one that suits your preferences.
- Take the time to adjust the showerhead angles as well, allowing the water to cascade evenly over your body for the most effective rainfall experience.
Remember that personal preferences for water pressure and flow may vary, so it’s important to find the settings that offer the optimal balance for you.
Once you are satisfied with the water pressure, flow, and spray patterns, congratulations! You have successfully built and customized your own rainfall showerhead. Enjoy the luxurious and rejuvenating shower experience that it brings.
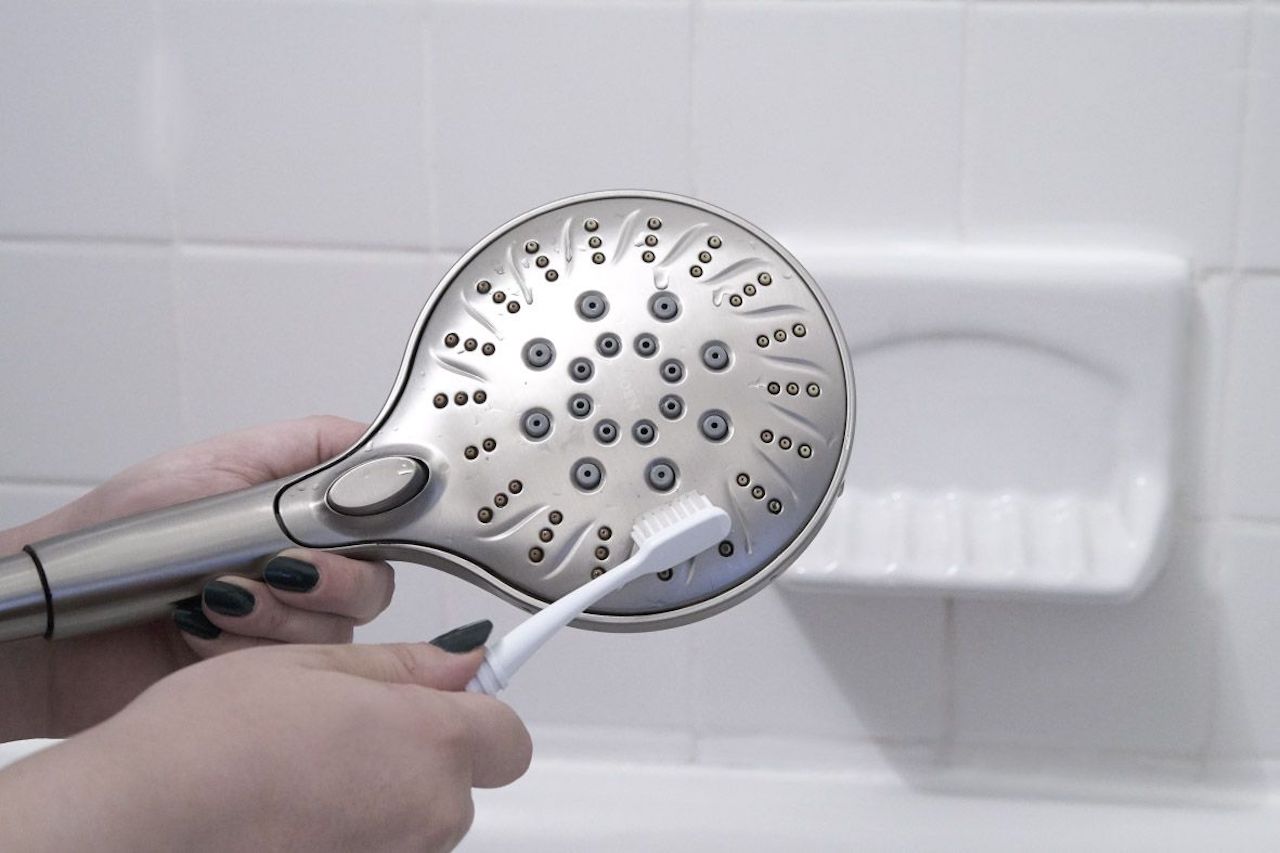
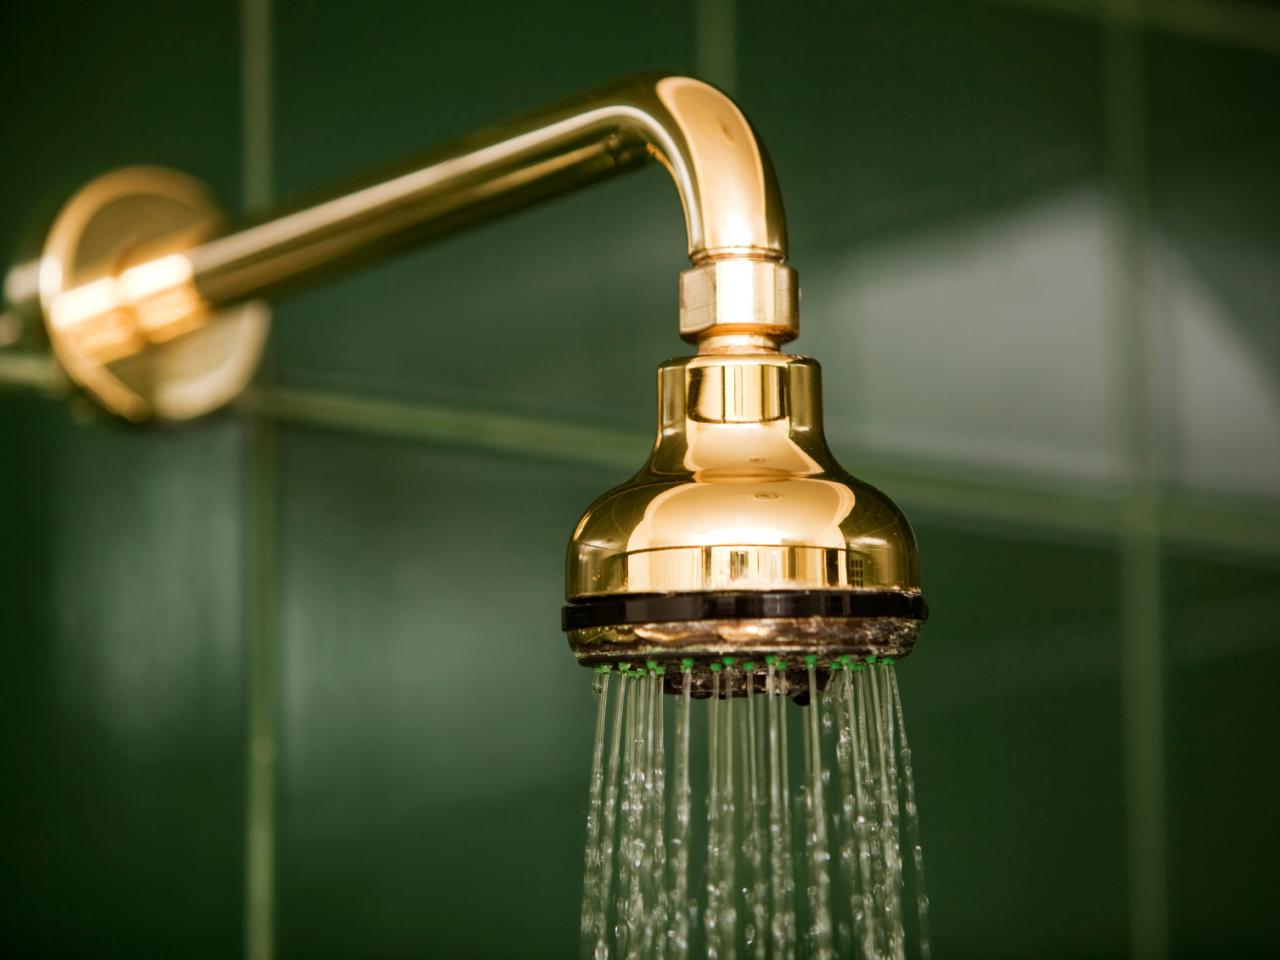
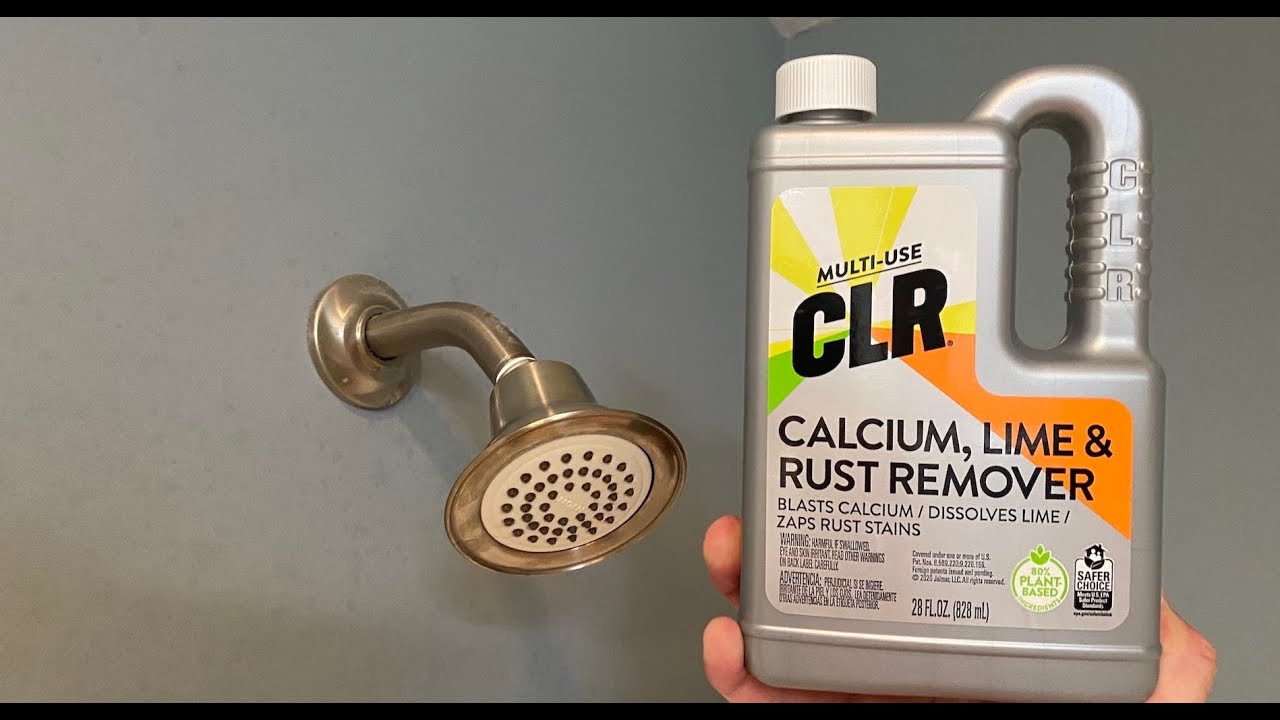
It’s worth mentioning that regular maintenance and cleaning of your rainfall showerhead will help ensure its longevity and optimal performance. Remove any mineral deposits or debris that may accumulate over time to maintain a consistent flow of water.
And there you have it! By following these step-by-step instructions, you have transformed your ordinary shower into a spa-like retreat with a beautiful and functional rainfall showerhead.
Conclusion
Building a rainfall showerhead can be a rewarding and relatively simple DIY project that elevates your shower experience to new heights. By following the step-by-step guide outlined in this article, you have learned how to gather the necessary tools and materials, remove the existing showerhead, prepare the shower arm, install the rainfall showerhead, test for leaks, and adjust the water pressure and flow.
Remember, attention to detail and proper installation techniques are essential for a successful outcome. Take your time during each step to ensure that everything is done carefully and securely. This will help prevent any leaks, damage, or other issues that could arise from a hasty installation.
Once your new rainfall showerhead is installed and functioning smoothly, you can look forward to a luxurious bathing experience. The gentle and cascading water flow will transform your daily showers into moments of relaxation and rejuvenation.
Don’t forget to regularly clean and maintain your rainfall showerhead to keep it in optimal condition. This will ensure a long lifespan and consistent performance for years to come.
So, go ahead and enjoy the indulgence of a rainfall showerhead in the comfort of your own home. Bask in the soothing sensation of water enveloping you, creating a serene and spa-like atmosphere. Say goodbye to mundane showers and hello to a truly revitalizing experience every time you step into your bathroom.
Frequently Asked Questions about How To Build A Rainfall Showerhead
Was this page helpful?
At Storables.com, we guarantee accurate and reliable information. Our content, validated by Expert Board Contributors, is crafted following stringent Editorial Policies. We're committed to providing you with well-researched, expert-backed insights for all your informational needs.


0 thoughts on “How To Build A Rainfall Showerhead”