
Articles
How To Fix Leaking Showerhead
Modified: August 27, 2024
Discover articles with helpful tips on how to fix a leaking showerhead and stop wasting water. Learn efficient DIY techniques to save money and avoid calling a professional plumber.
(Many of the links in this article redirect to a specific reviewed product. Your purchase of these products through affiliate links helps to generate commission for Storables.com, at no extra cost. Learn more)
Introduction
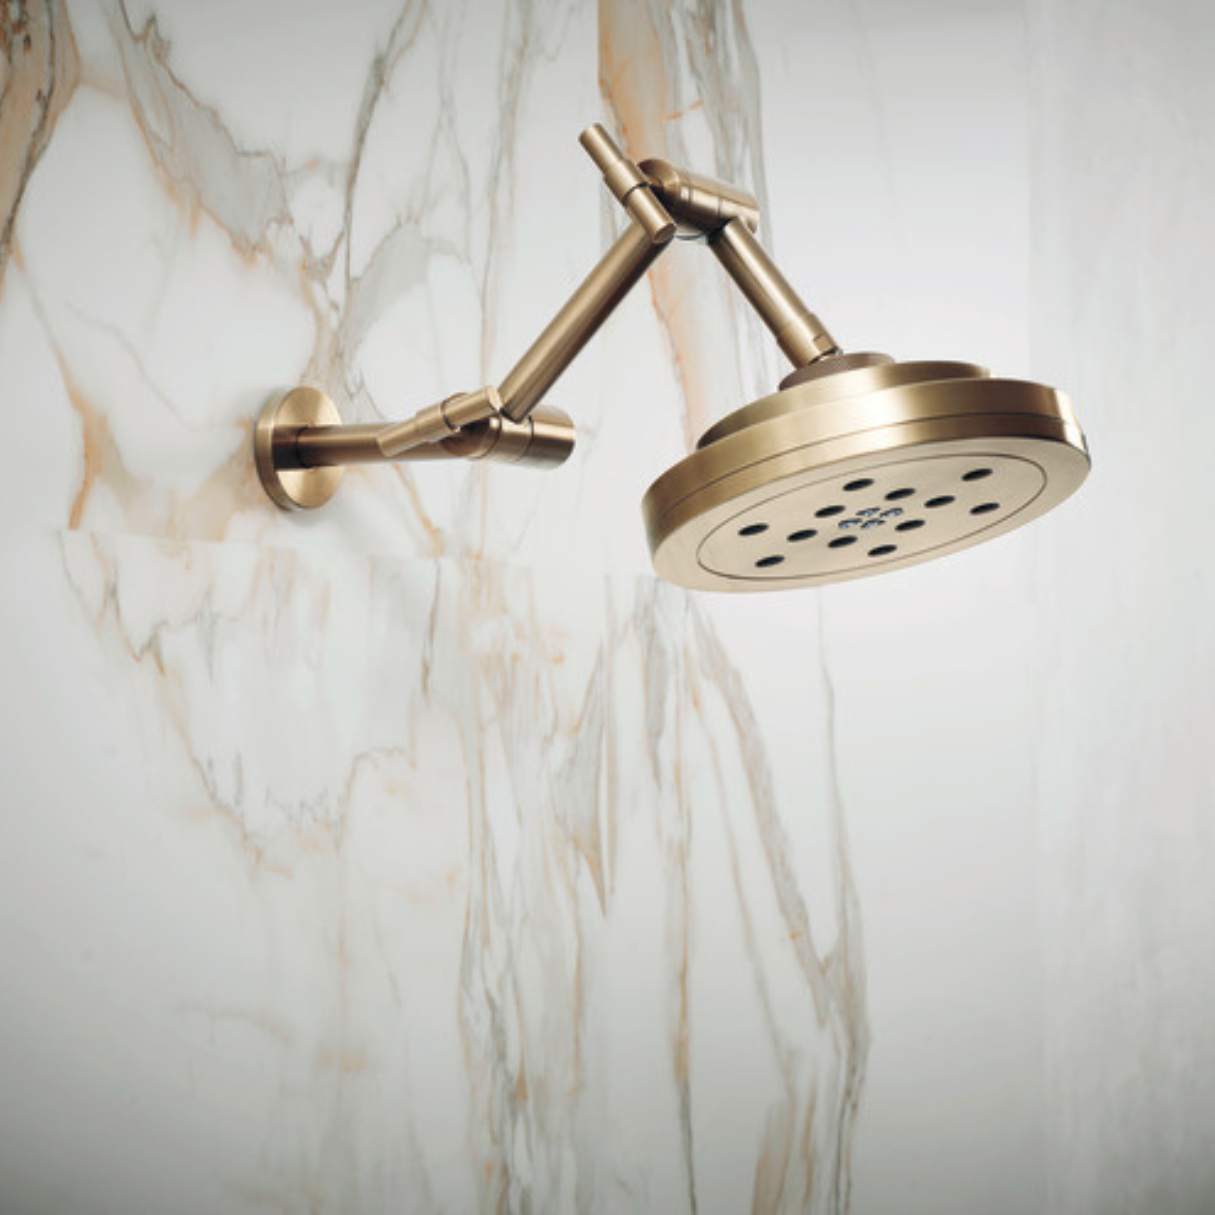
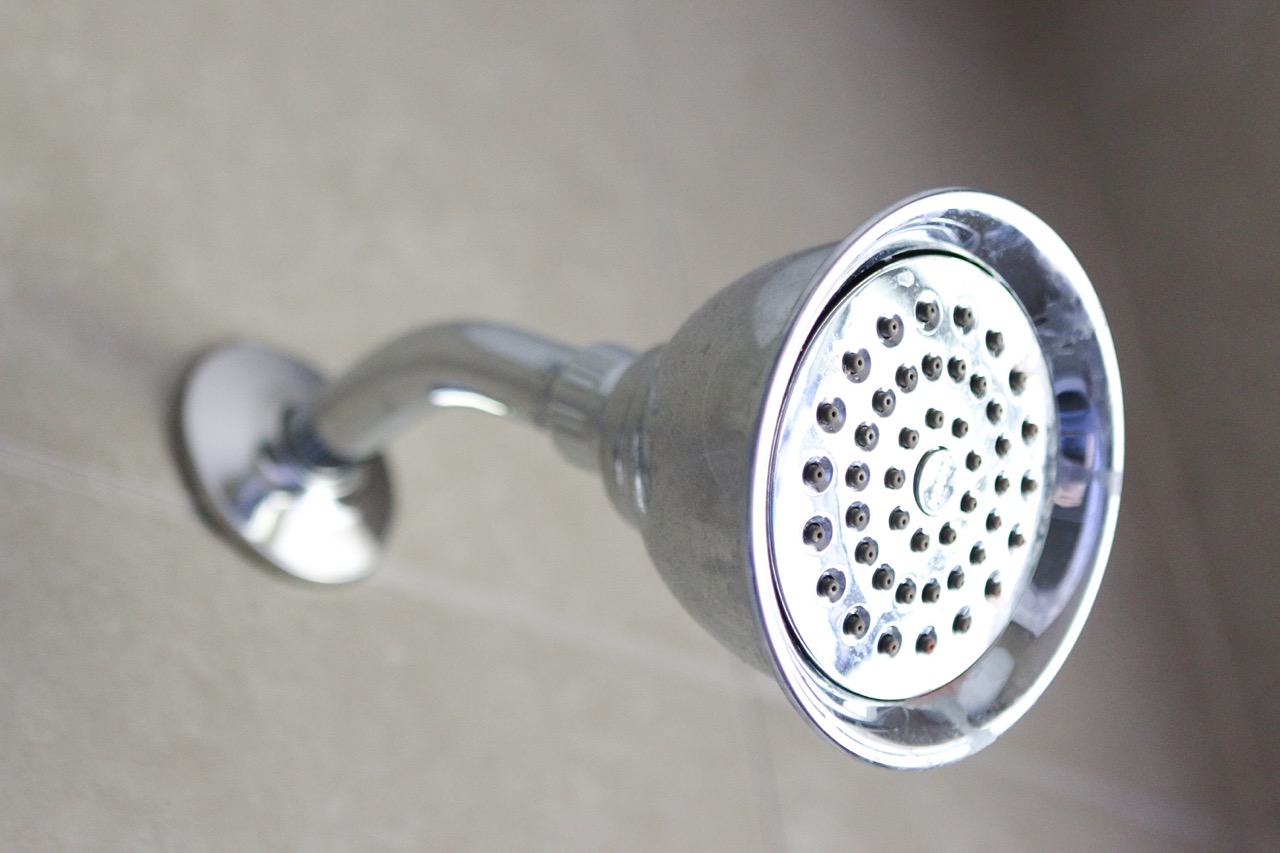
A leaking showerhead is not only frustrating, but it can also lead to water wastage and an increase in your water bills. If you’ve noticed water dripping from your showerhead even when it’s turned off, it’s time to take action and fix the issue. Fortunately, most showerhead leaks can be easily resolved with a few simple steps.
In this article, we will guide you through the process of fixing a leaking showerhead. We will discuss the common causes of leaks and provide a step-by-step tutorial on how to repair them. Whether you’re a DIY enthusiast or have never attempted a plumbing project before, you’ll be able to tackle this task with confidence by following our instructions.
Before we dive into the repair process, it’s important to understand the causes of a leaking showerhead. By identifying the root cause, you can effectively address the problem and prevent future leaks.
Key Takeaways:
- Don’t let a leaking showerhead drain your patience or your wallet. By following simple steps to address worn-out washers, loose connections, and mineral deposits, you can fix the issue and save on water bills.
- Taking the DIY approach to fix a leaking showerhead is not only cost-effective but also empowering. With careful inspection, cleaning, and testing, you can enjoy a refreshing, leak-free shower experience in no time.
Read more: How To Fix A Leaking Washer
Common Causes of a Leaking Showerhead
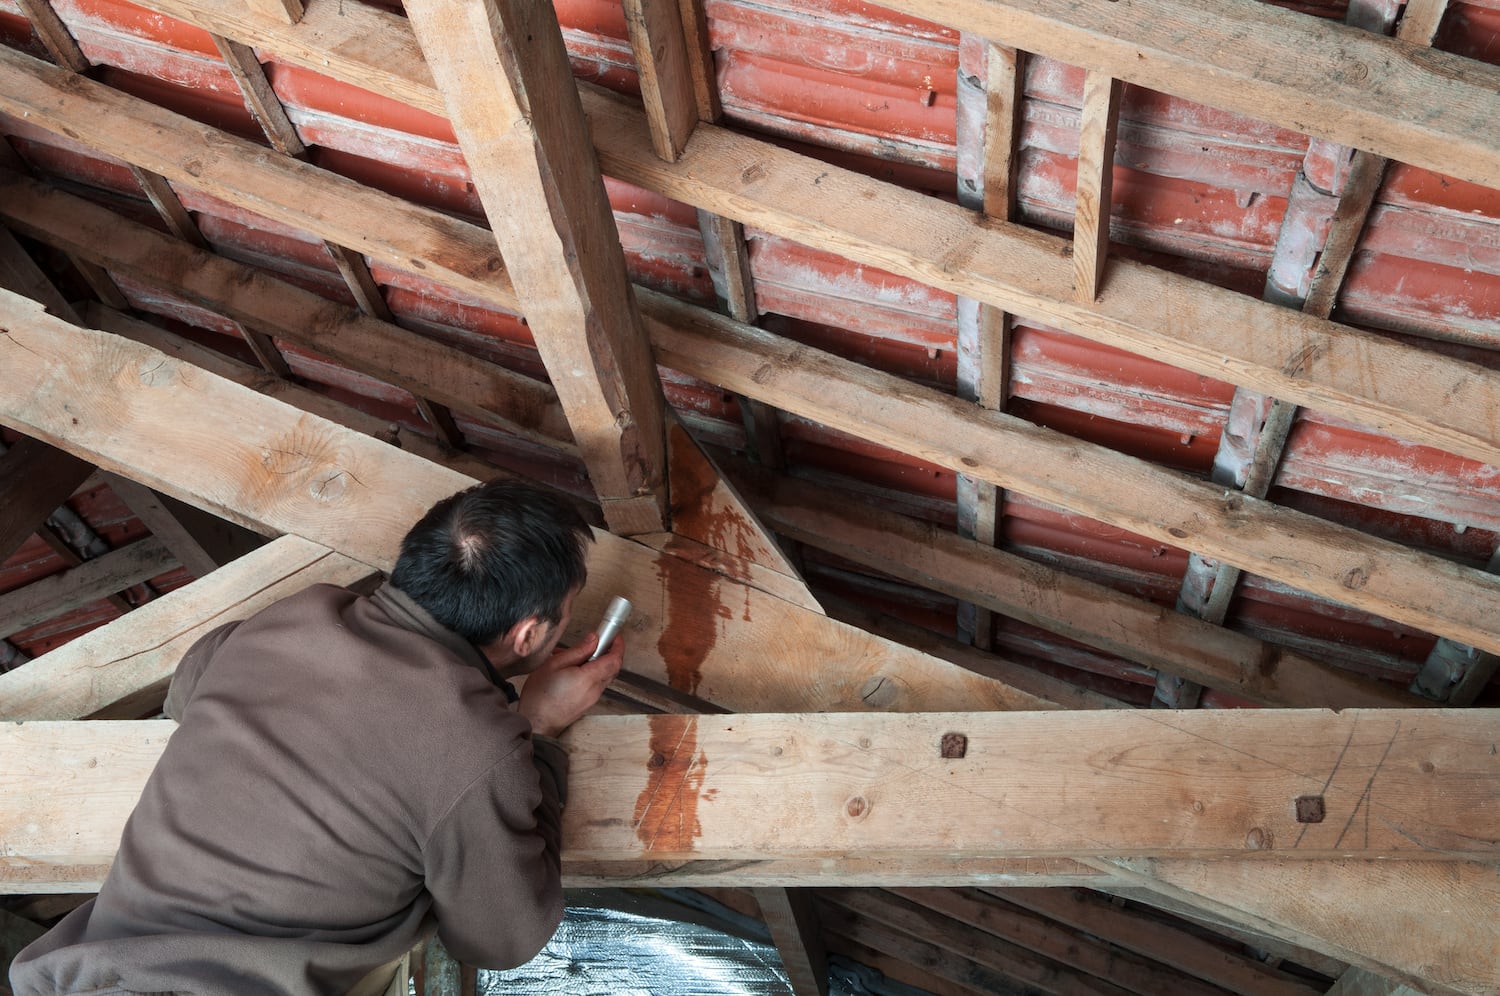
A leaking showerhead can stem from various reasons. Understanding the common causes will help you pinpoint the issue and fix it effectively. Here are some of the most common culprits behind a leaking showerhead:
- Worn-out washer: The washer inside the showerhead can wear out over time, leading to leaks. This usually happens due to constant water pressure and regular usage. If the washer becomes damaged or dislodged, it can cause water to seep through the showerhead even when the faucet is turned off.
- Loose connections: Sometimes, the connections between the showerhead and the pipe can become loose, causing water to leak out. This can happen due to vibrations or improper installation. Inspecting the connections is crucial before moving forward with the repair process.
- Mineral deposits: Over time, mineral deposits from hard water can build up inside the showerhead. These deposits can clog the openings, affecting the water flow and causing leaks. Regular cleaning and maintenance can help prevent this issue.
- Cracked or damaged showerhead: If your showerhead is cracked or has any visible damage, it can result in leaks. This can occur due to physical impact or aging of the showerhead. In such cases, replacing the showerhead might be necessary.
Identifying the cause of the leak is crucial to finding the right solution. Now that you have a better understanding of the common causes, let’s move on to the step-by-step process of fixing a leaking showerhead.
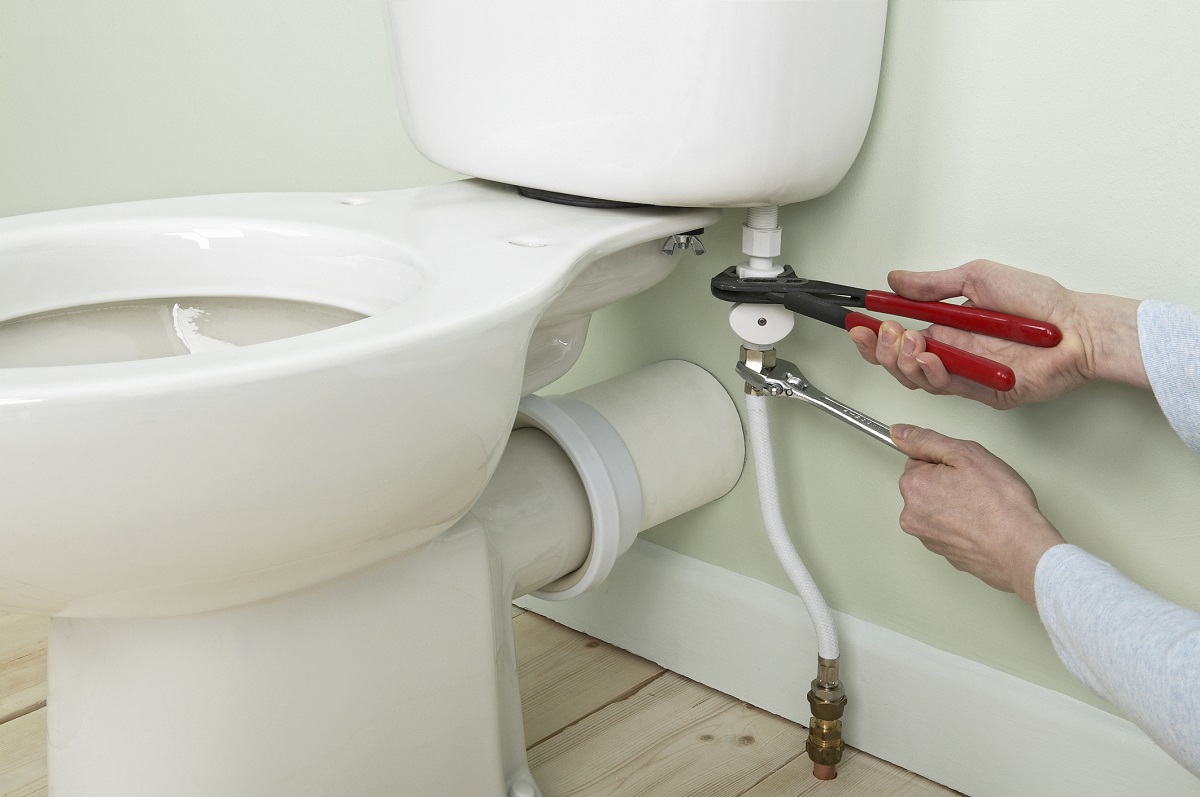
Step 1: Turn off the Water Supply
Before you start repairing the leaking showerhead, it is important to turn off the water supply to avoid any accidents or further water wastage. Here’s how you can do it:
- Locate the water shutoff valve for your shower. This is typically found near the shower faucet or in the bathroom.
- If there is no individual shutoff valve for your shower, you may need to turn off the main water supply to your home.
- Once you’ve identified the appropriate valve, turn it clockwise to shut off the water flow.
- Ensure that the water has stopped flowing by turning on the shower faucet. If no water comes out, you have successfully turned off the water supply.
Turning off the water supply is essential to prevent any unwanted leaks or water damage during the repair process. Now that you’ve taken this important step, you can proceed to the next step of fixing your leaking showerhead.
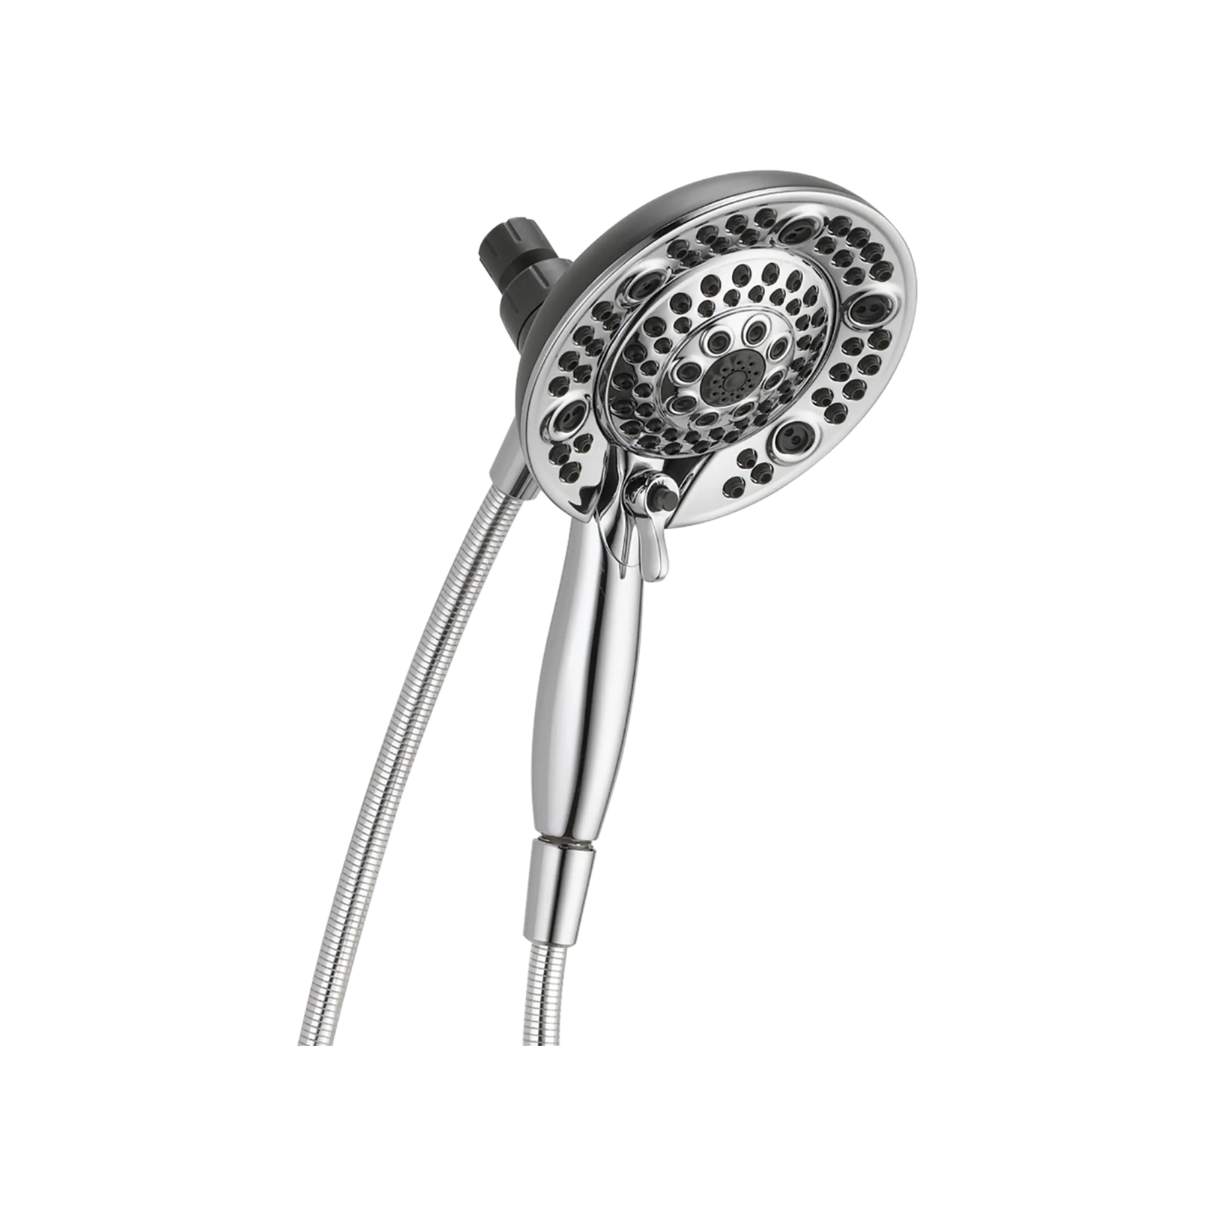
Step 2: Remove the Showerhead
Once you have turned off the water supply, the next step is to remove the showerhead. This will allow you to access the internal components and properly inspect and repair any issues. Here’s how you can remove the showerhead:
- Wrap a cloth or towel around the showerhead to protect the surface from scratches.
- Using a wrench, grip the showerhead firmly and turn it counterclockwise to loosen it.
- Continue unscrewing the showerhead until it comes off the shower arm. If it is tightly stuck, you can use a pair of pliers to provide extra leverage while unscrewing.
- Once the showerhead is removed, set it aside in a safe place.
It’s important to handle the showerhead with care to avoid any damage. If the showerhead is still stuck or proves difficult to remove, you may need to use a penetrating oil to loosen it. Apply the oil to the threads, let it sit for a few minutes, and try again.
With the showerhead successfully removed, you can now proceed to the next step of repairing your leaking showerhead.
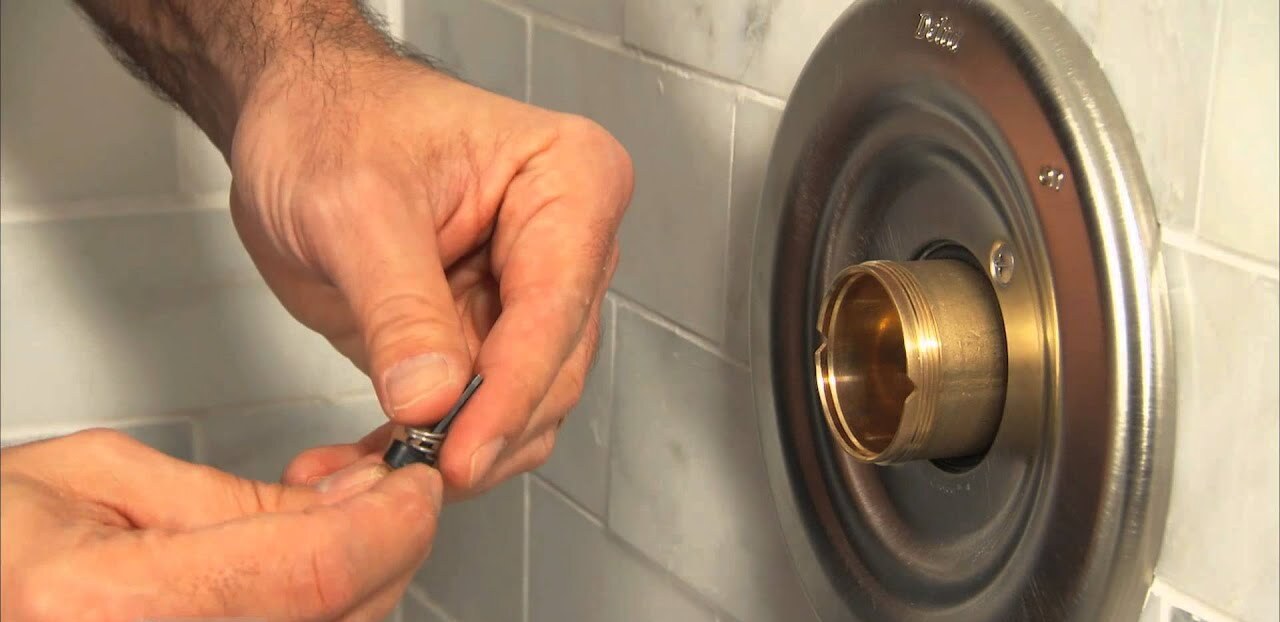
Step 3: Clean or Replace the Washer
Once you have removed the showerhead, the next step is to inspect and clean or replace the washer. The washer is a small rubber or plastic disc located inside the showerhead that helps create a tight seal and prevent leaks. Here’s how you can clean or replace the washer:
- Inspect the washer for any signs of wear, damage, or debris accumulation. If the washer looks worn out, cracked, or dislodged, it’s best to replace it with a new one.
- If the washer appears to be in good condition but is dirty or clogged, you can clean it by gently scrubbing it with a soft brush or toothbrush. Make sure to remove any mineral deposits or debris that may be causing the leak.
- If you need to replace the washer, take the old washer to a hardware store or home improvement center to ensure you get the correct size and type for your showerhead.
- Insert the new washer into its designated spot inside the showerhead.
- Make sure the washer is properly seated and positioned for a snug fit.
By cleaning or replacing the washer, you can restore the proper sealing and prevent leaks in your showerhead. Once you have completed this step, you can proceed to the next step of the repair process.
Check the showerhead connection for any loose or damaged parts. Use plumber’s tape to seal any leaks in the connection. If the showerhead is still leaking, consider replacing the rubber washer inside the showerhead.
Read more: How To Fix An AC Leak
Step 4: Check and Repair the Threads
After cleaning or replacing the washer, it’s important to check the threads on both the showerhead and the shower arm. Damaged or worn threads can be a common cause of leaks. Here’s how you can check and repair the threads:
- Inspect the threads on both the showerhead and the shower arm for any signs of damage, corrosion, or buildup.
- If you notice any damaged threads, gently clean them using a soft brush or toothbrush to remove any debris or mineral deposits.
- If the threads are severely damaged or stripped, you may need to use a thread seal tape or thread sealant to create a tight seal.
- Apply a layer of thread seal tape clockwise onto the shower arm threads. Make sure to wrap it tightly and evenly.
- Insert the showerhead back onto the shower arm and twist it clockwise to tighten it. Use a wrench or pliers if necessary, but be careful not to overtighten and cause damage.
By checking and repairing the threads, you ensure a secure and leak-free connection between the showerhead and the shower arm. Once you have completed this step, you can move on to the next step of reattaching the showerhead.
Step 5: Reattach the Showerhead
Now that you have addressed the issues with the washer and threads, it’s time to reattach the showerhead to the shower arm. Follow these steps to properly reattach the showerhead:
- Take the showerhead and align it with the shower arm.
- Thread the showerhead onto the shower arm by twisting it clockwise. Start by hand to ensure it goes on smoothly.
- Continue twisting the showerhead until it is securely tightened. Use a wrench or pliers if needed, but be cautious not to overtighten and damage the showerhead or the shower arm.
- Make sure the showerhead is positioned straight and aligned with the wall or ceiling.
By reattaching the showerhead properly, you ensure a secure and leak-free connection. Take your time to ensure it is tightened adequately but without excessive force.
With the showerhead successfully reattached, you’re almost done fixing your leaking showerhead. The final step involves testing for leaks to ensure that your repair work was successful.
Step 6: Test for Leaks
After reattaching the showerhead, it’s crucial to test for any remaining leaks. Testing for leaks will ensure that your repair work has been effective and that your showerhead is now functioning properly. Here’s how you can test for leaks:
- Turn on the water supply by turning the shutoff valve counterclockwise.
- Allow the water to flow through the showerhead at its normal pressure.
- Observe the showerhead closely for any signs of dripping or leaks.
- If you notice any water dripping from the showerhead, there may still be an issue with the washer, threads, or another component. In this case, you may need to repeat the previous steps and double-check your work.
- If there are no leaks and the showerhead is dry, congratulations! You have successfully fixed your leaking showerhead.
It’s important to ensure that there are no leaks before considering the repair complete. If you encounter persistent leaks or if the issue seems more complex, it may be best to consult a professional plumber.
By testing for leaks, you can be confident that your showerhead will now provide a refreshing and leak-free shower experience.
Conclusion
A leaking showerhead is a common household issue that can be easily fixed with a little know-how and some basic tools. By following the step-by-step process outlined in this article, you can successfully repair a leaking showerhead and eliminate those frustrating drips.
Throughout this guide, we have discussed the common causes of a leaking showerhead, such as a worn-out washer, loose connections, mineral deposits, or a cracked showerhead. We have also provided detailed instructions on how to fix each of these issues.
Remember, before attempting any repairs, it’s crucial to turn off the water supply to avoid any accidents or further water damage. Take your time to inspect and clean or replace the washer. Additionally, check and repair the threads to ensure a secure connection. Once you’ve completed these steps, reattach the showerhead and test for any remaining leaks.
If you encounter persistent leaks or more complex issues, it is advisable to consult a professional plumber who can assist you further.
By addressing a leaking showerhead promptly, you can conserve water, reduce your water bills, and maintain a functioning and efficient bathroom. So don’t let that leaky showerhead dampen your mood any longer—take action and fix it with confidence using the steps provided in this article.
Remember, with a little DIY spirit, you can enjoy a refreshing and leak-free shower experience in no time!
Frequently Asked Questions about How To Fix Leaking Showerhead
Was this page helpful?
At Storables.com, we guarantee accurate and reliable information. Our content, validated by Expert Board Contributors, is crafted following stringent Editorial Policies. We're committed to providing you with well-researched, expert-backed insights for all your informational needs.


0 thoughts on “How To Fix Leaking Showerhead”