Articles
How To Install A Hascon Showerhead
Modified: August 27, 2024
Learn how to install the Hascon Showerhead with our detailed articles. Upgrade your bathroom experience today with our step-by-step installation guide.
(Many of the links in this article redirect to a specific reviewed product. Your purchase of these products through affiliate links helps to generate commission for Storables.com, at no extra cost. Learn more)
Introduction
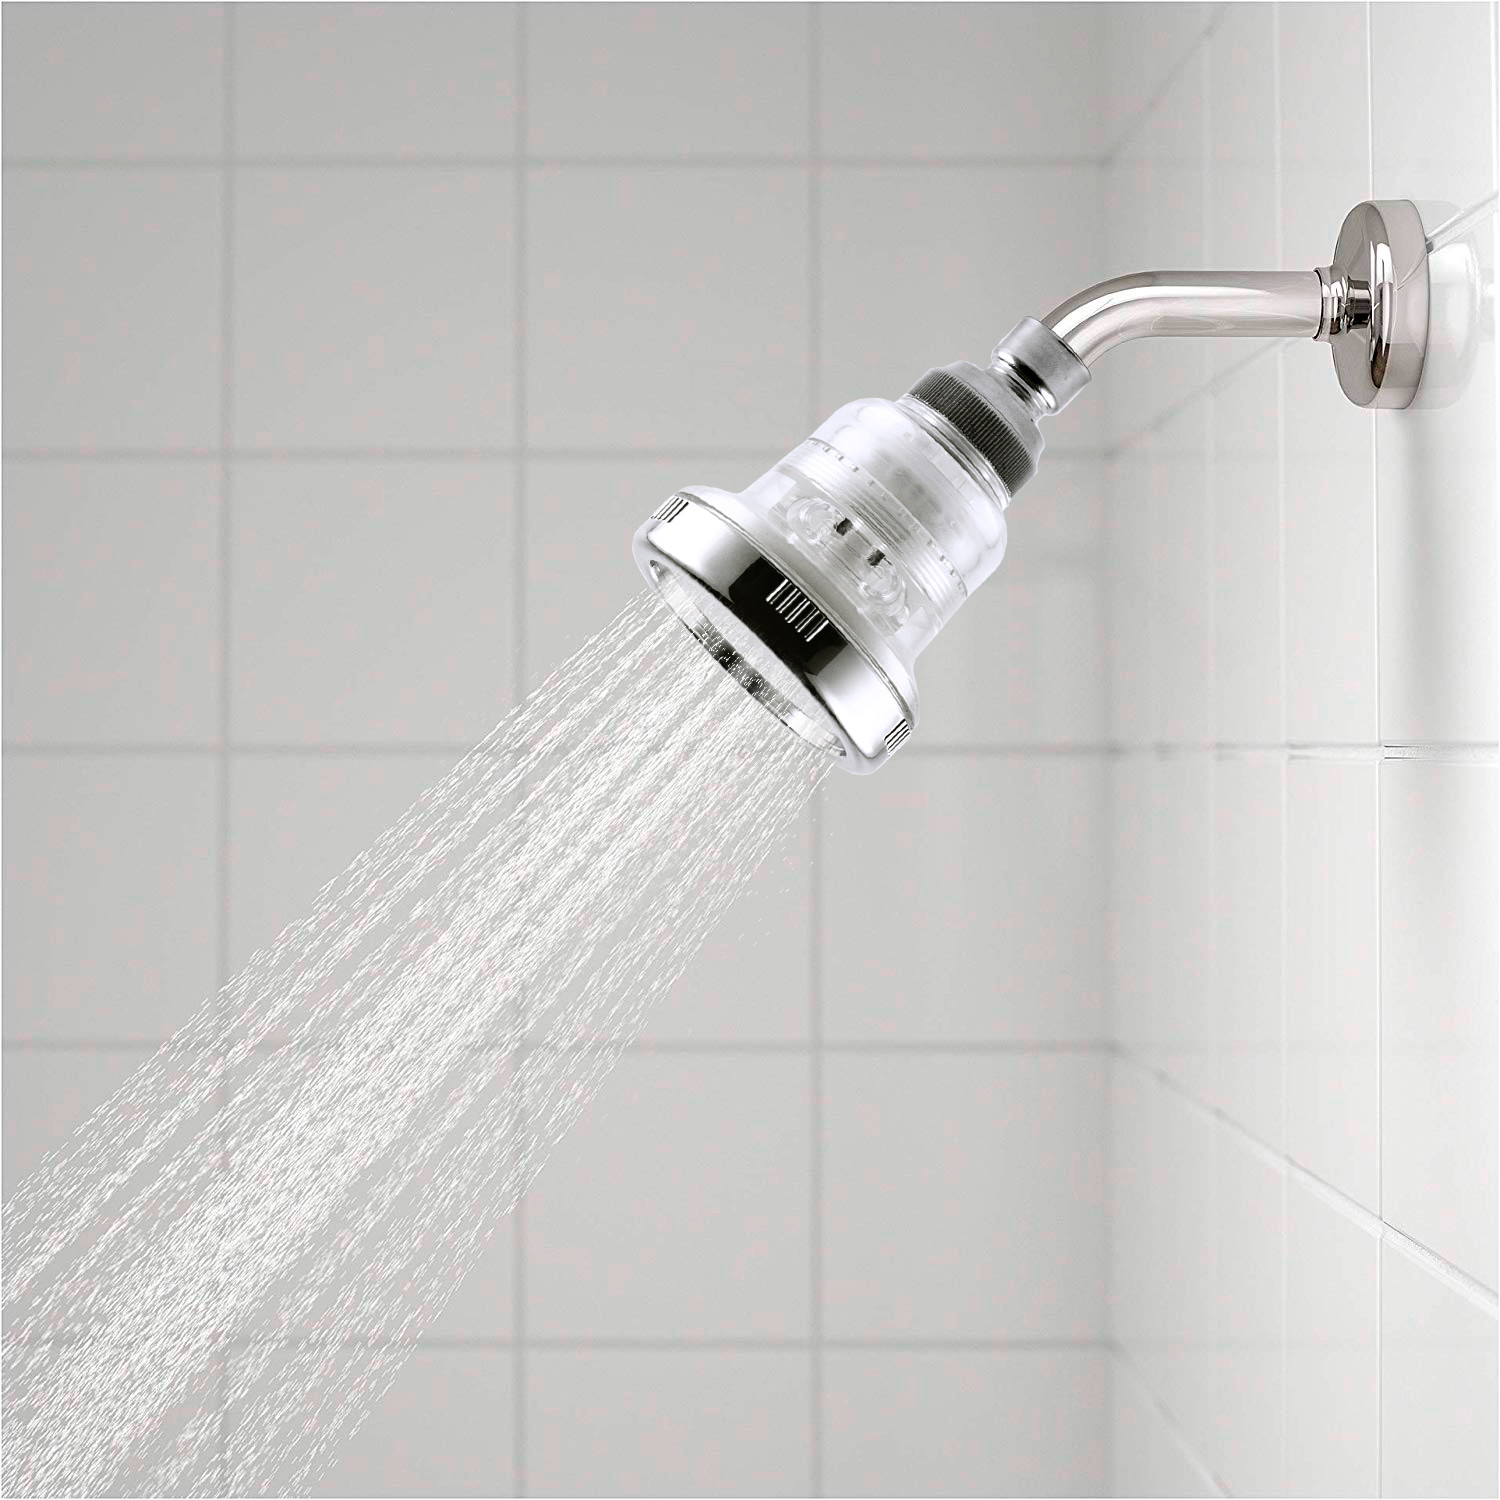
Installing a new showerhead can be a simple and rewarding DIY project that can transform your showering experience. If you’re looking to upgrade your bathroom or simply replace a worn-out showerhead, the Hascon showerhead is an excellent choice. With its innovative design and customizable spray settings, the Hascon showerhead offers a luxurious and invigorating shower experience.
In this article, we will guide you through the step-by-step process of installing a Hascon showerhead. Whether you’re a seasoned DIY enthusiast or a novice at home improvement projects, you’ll find this guide easy to follow and implement.
Before we dive into the installation process, let’s quickly go over the tools and materials you’ll need to complete the project:
- Hascon showerhead
- Adjustable wrench
- Plumber’s tape
- Clean cloth or sponge
Make sure you have all these items on hand before you begin the installation process. Now let’s move on to the first step: turning off the water supply.
Key Takeaways:
- Upgrade your shower experience with the easy DIY installation of the Hascon showerhead, offering customizable spray settings and a luxurious feel for a spa-like experience at home.
- Follow the step-by-step guide to confidently install the Hascon showerhead, from gathering tools to adjusting spray settings, and enjoy refreshing, invigorating showers with its versatile features.
Read more: How To Install A New Showerhead
Step 1: Gather the necessary tools and materials
Before you start the installation process, it’s important to gather all the tools and materials you’ll need. This will ensure that you have everything on hand and can complete the installation smoothly. Here is a list of the tools and materials you’ll need:
- Hascon showerhead
- Adjustable wrench
- Plumber’s tape
- Clean cloth or sponge
The Hascon showerhead typically comes with all the necessary components for installation, including any adapters or fittings required. However, it’s a good idea to double-check and ensure that you have all the parts before you begin.
The adjustable wrench is needed to remove the old showerhead and tighten the new one. Make sure you have a wrench that fits the size of your showerhead and shower arm.
Plumber’s tape, also known as Teflon tape, is a crucial component for creating a watertight seal. It is used to wrap around the threads of the shower arm to prevent leaks. Make sure you have a roll of plumber’s tape ready.
A clean cloth or sponge will come in handy during the installation process to clean the shower arm and remove any debris or residue that may be present.
Now that you have gathered all the necessary tools and materials, you’re ready to move on to the next step: turning off the water supply.
Step 2: Turn off the water supply
Before you begin removing the old showerhead, it’s important to turn off the water supply to avoid any leaks or water damage. Here’s how you can do it:
- Locate the main water shut-off valve in your home. This is usually located near the water meter or in the basement.
- Turn the valve clockwise to shut off the water supply. You may need to use a wrench or pliers to help you with this step.
- Once the water supply is turned off, relieve any remaining pressure in the pipes by turning on a faucet or shower valve in another part of your home.
It’s important to ensure that the water supply is completely turned off before you proceed with the installation. This will prevent any water leakage while you work on removing the old showerhead and installing the new Hascon showerhead.
Now that you have successfully turned off the water supply, you’re ready to move on to the next step: removing the old showerhead.
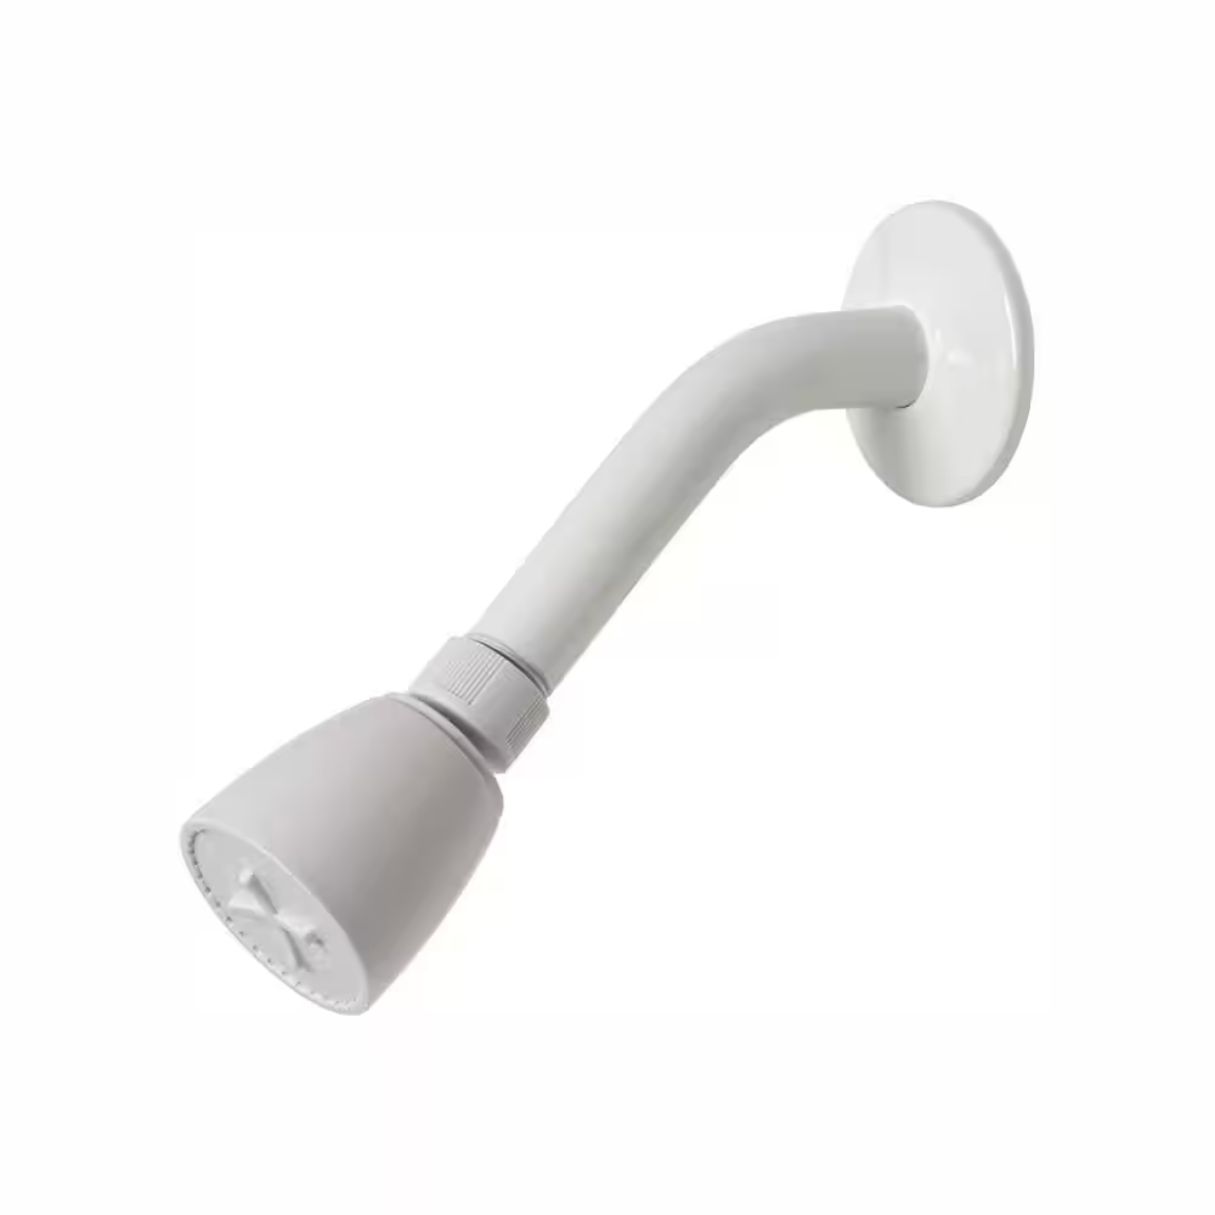
Step 3: Remove the old showerhead
Now that the water supply is turned off, it’s time to remove the old showerhead. Follow these steps to successfully remove it:
- Grab the old showerhead firmly with your hand and twist it counterclockwise to loosen it. If it doesn’t budge easily, you can use an adjustable wrench to help you with the process.
- Continue twisting until the old showerhead is completely removed from the shower arm. Set it aside.
- Inspect the shower arm for any debris or mineral buildup. Use a clean cloth or sponge to wipe away any dirt or residue that may be present.
Removing the old showerhead may require a bit of force, especially if it has been in place for a long time. Using an adjustable wrench can provide extra leverage and help you loosen it. However, be careful not to apply too much pressure to avoid damaging the shower arm.
Once the old showerhead is removed, take a moment to clean the shower arm thoroughly. This will ensure a clean surface for attaching the new Hascon showerhead.
With the old showerhead successfully removed, it’s time to move on to the next step: cleaning the shower arm.
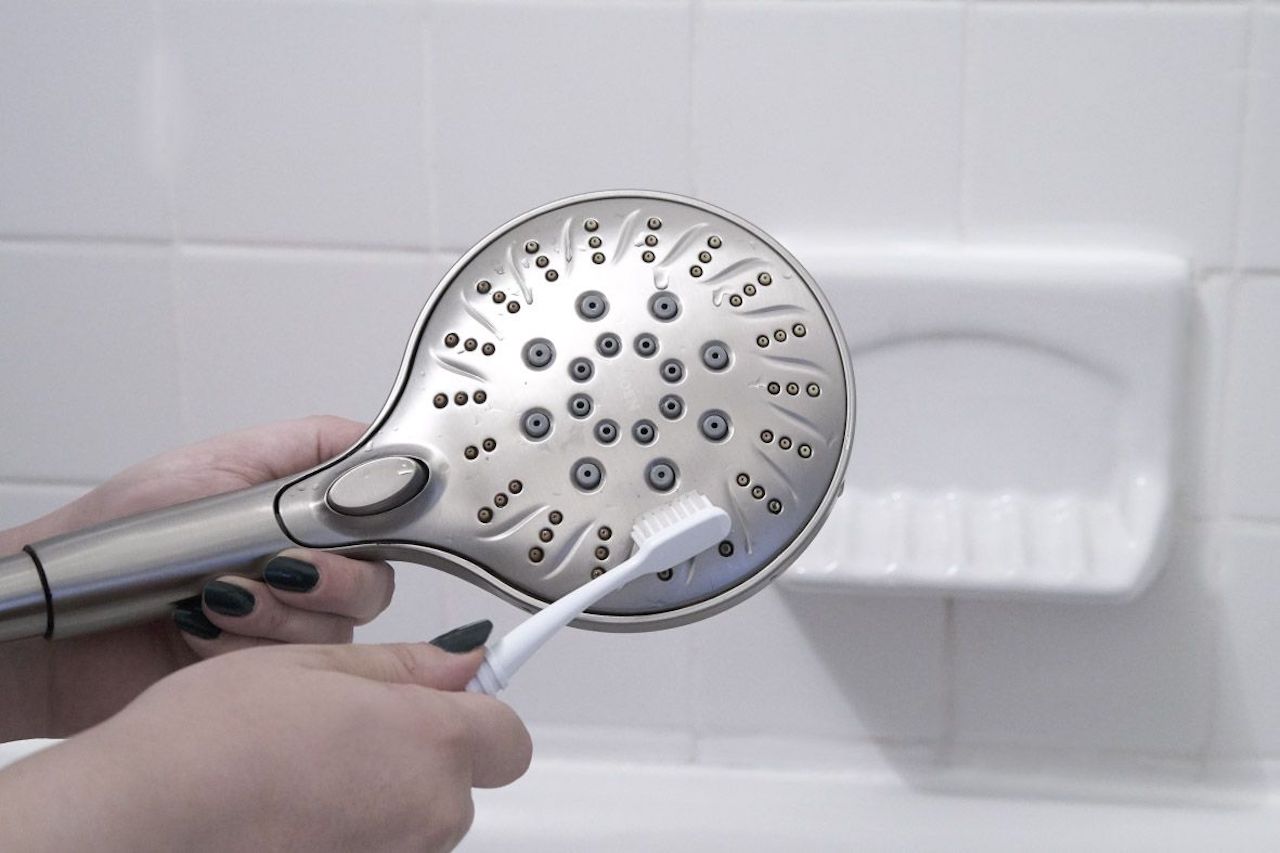
Step 4: Clean the shower arm
Before you can install the new Hascon showerhead, it’s important to clean the shower arm to ensure a proper and secure fit. Follow these steps to clean the shower arm:
- Take a clean cloth or sponge and dampen it with water.
- Gently scrub the surface of the shower arm to remove any dirt, debris, or mineral buildup. Pay attention to the threads of the shower arm, as these need to be clean and smooth for a proper installation.
- Rinse the shower arm with water to remove any residue from the cleaning process.
- Inspect the shower arm to make sure it is clean and free from any obstructions or blockages.
- Use a dry cloth to thoroughly dry the shower arm before proceeding to the next step.
Cleaning the shower arm is important as it ensures that the new Hascon showerhead will have a secure and watertight connection. Removing any dirt or mineral buildup will also prevent clogs and maintain the optimal performance of the showerhead.
Once the shower arm is clean and dry, you’re ready to move on to the next step: applying plumber’s tape.
When installing a Hascon showerhead, make sure to use plumber’s tape on the threads to prevent leaks. Tighten the showerhead securely, but be careful not to over-tighten and damage the threads.
Read more: How Do You Install A Showerhead
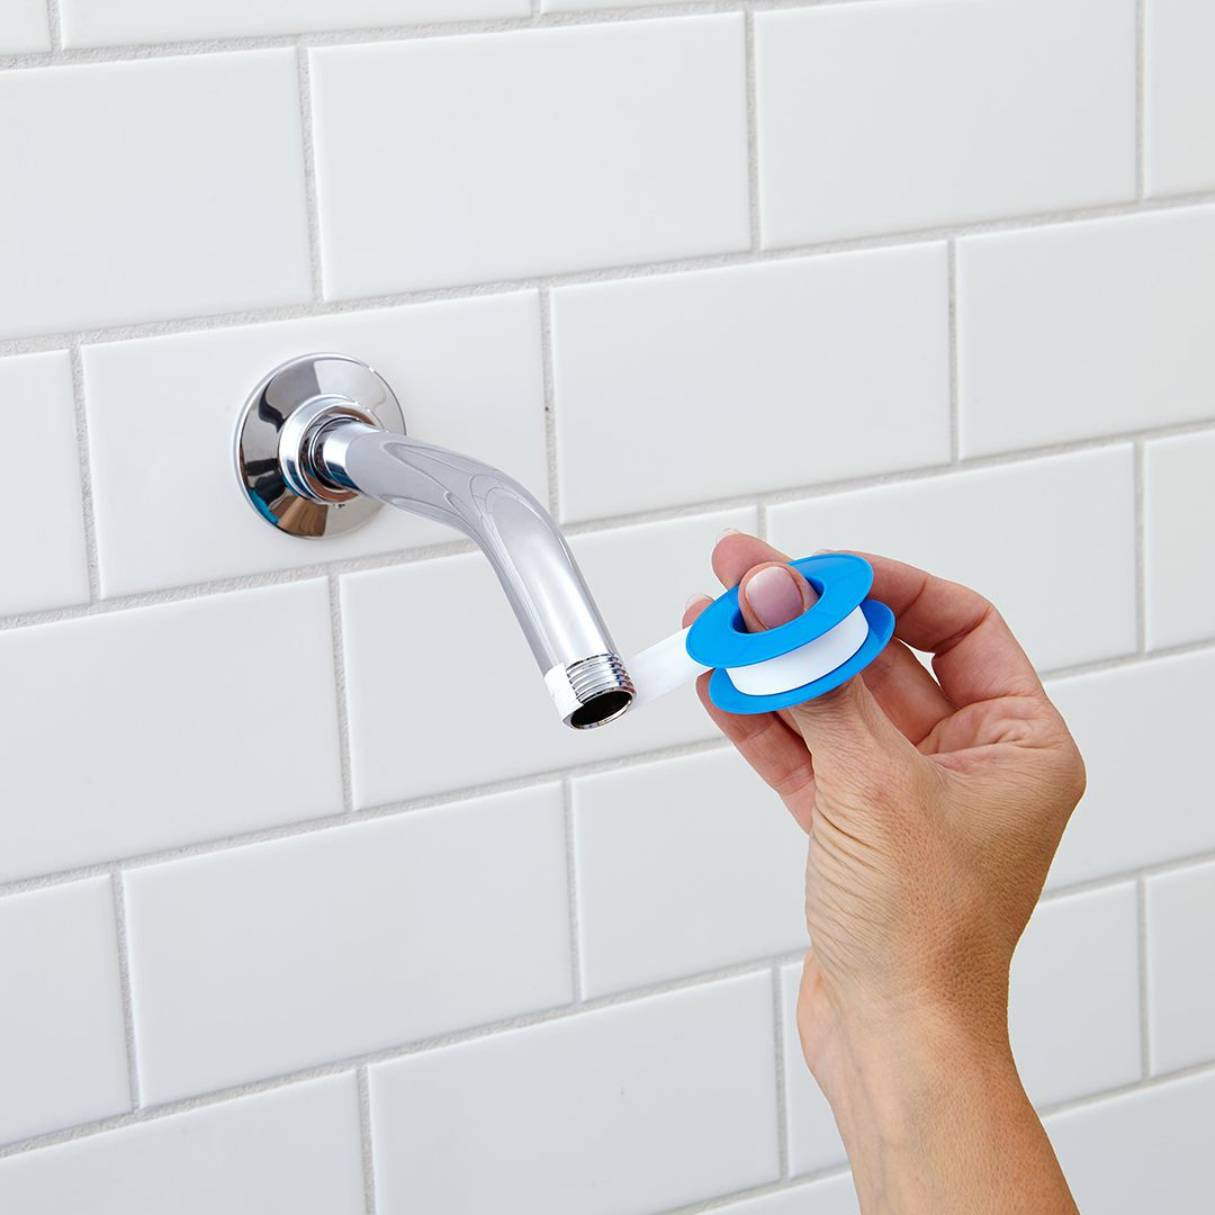
Step 5: Wrap plumber’s tape around the shower arm
To create a tight seal and prevent any potential leaks, it’s important to wrap plumber’s tape around the threads of the shower arm. Plumber’s tape, also known as Teflon tape, is a thin white tape that is highly effective in sealing pipe threads. Follow these steps to wrap plumber’s tape around the shower arm:
- Take the roll of plumber’s tape and locate the end of the tape.
- Hold the end of the tape firmly against the threads of the shower arm.
- Begin wrapping the tape around the threads in a clockwise direction. Make sure the tape is overlapping slightly as you wrap.
- Continue wrapping the tape 2-3 times around the threads, ensuring that it is snugly applied.
- Tear the tape from the roll once you have reached the end.
Wrapping plumber’s tape around the shower arm creates a watertight seal and helps prevent any water from leaking out. It also makes it easier to tighten the new Hascon showerhead securely.
Once you have wrapped the plumber’s tape, you’re now ready to move on to the next step: attaching the new Hascon showerhead.
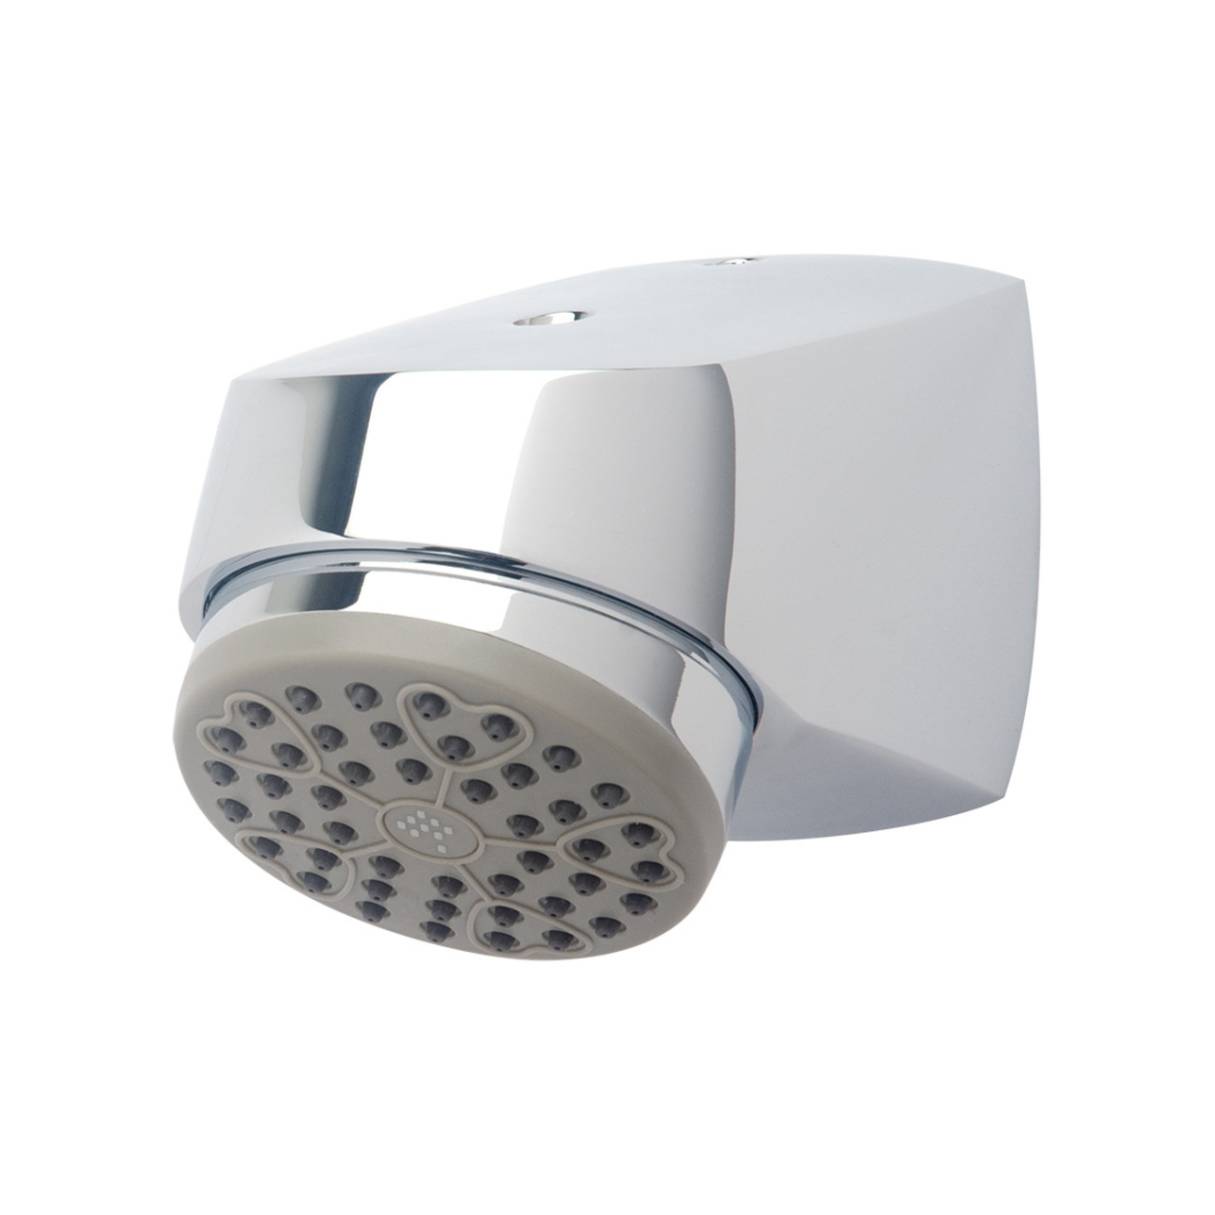
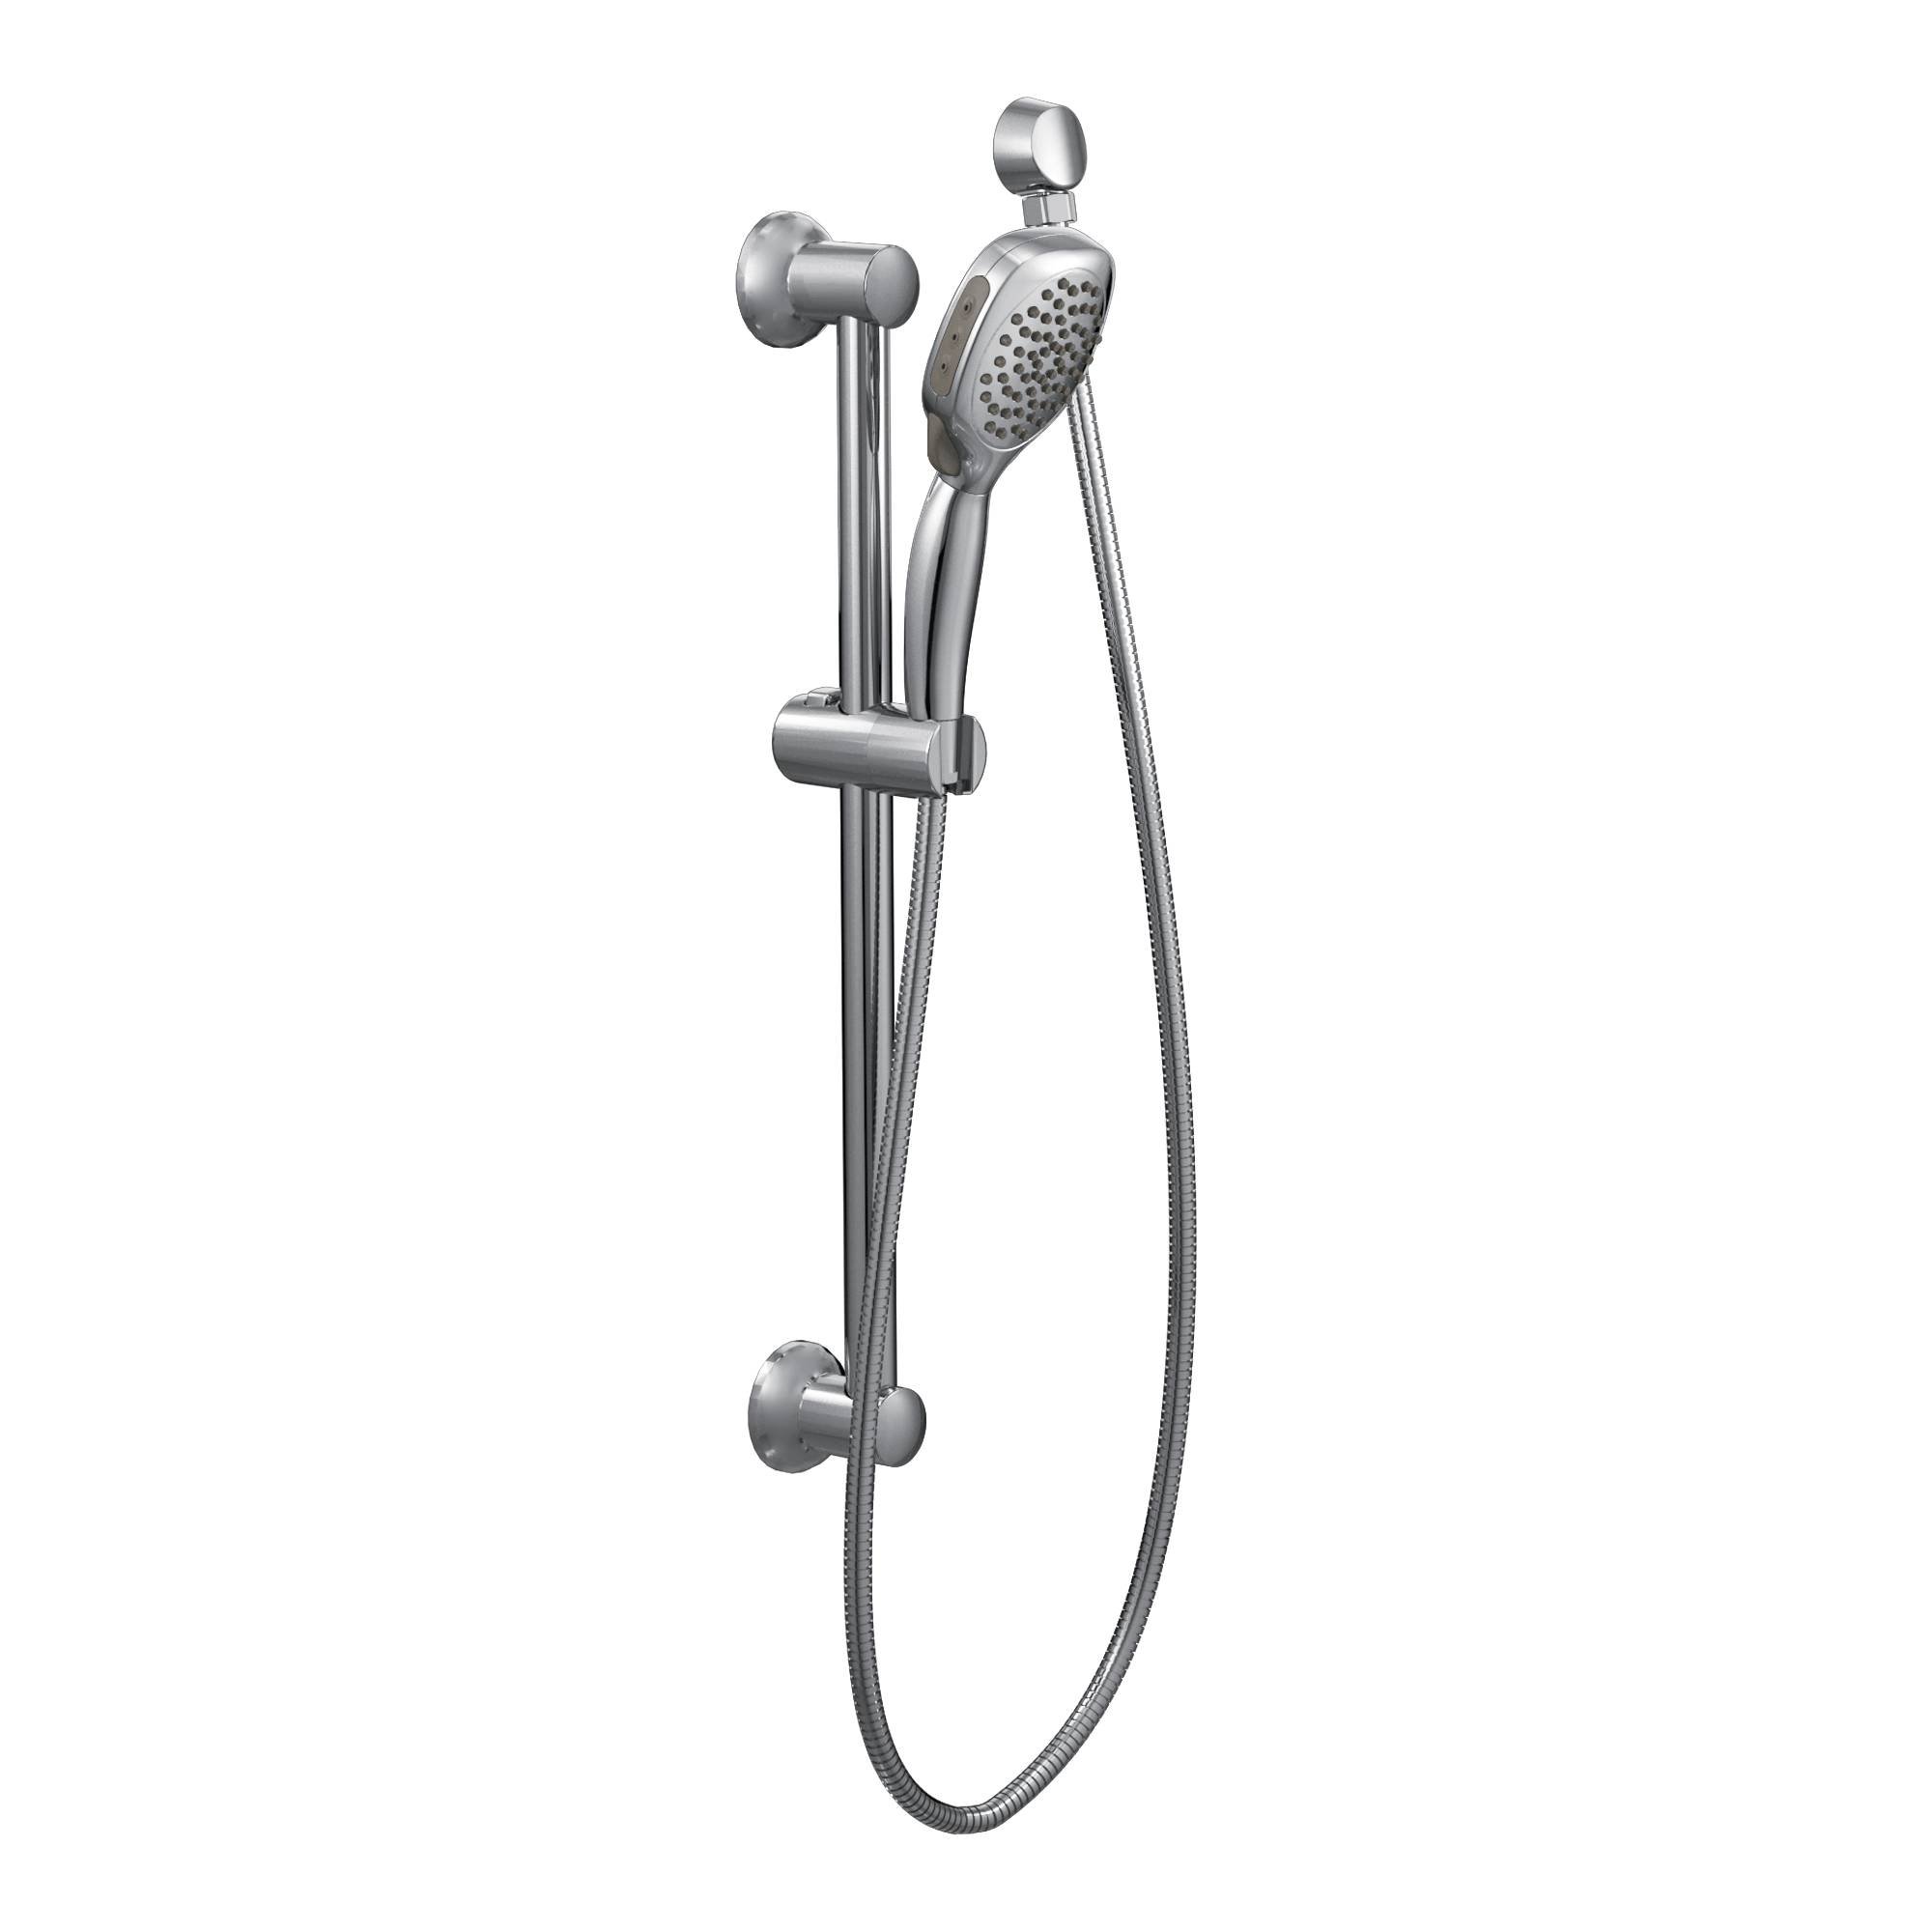
Step 6: Attach the new Hascon showerhead
Now that the shower arm is prepped with plumber’s tape, it’s time to attach the new Hascon showerhead. Follow these steps to ensure a successful installation:
- Take the new Hascon showerhead and locate the threaded end.
- Hold the showerhead firmly and align the threaded end with the shower arm.
- Begin twisting the showerhead clockwise onto the shower arm.
- Continue twisting until the showerhead is securely tightened onto the shower arm. Use an adjustable wrench if needed, but be careful not to overtighten and damage the showerhead or the shower arm.
Attaching the new Hascon showerhead is a straightforward process. Make sure to position the showerhead properly and ensure that it is straight and aligned with the shower arm before tightening.
Once the showerhead is securely attached, give it a gentle tug to make sure it is stable and firmly in place. If it wobbles or feels loose, use the adjustable wrench to tighten it a bit more.
With the new Hascon showerhead successfully attached, you’re almost done! The next step is to turn on the water supply and test the showerhead.
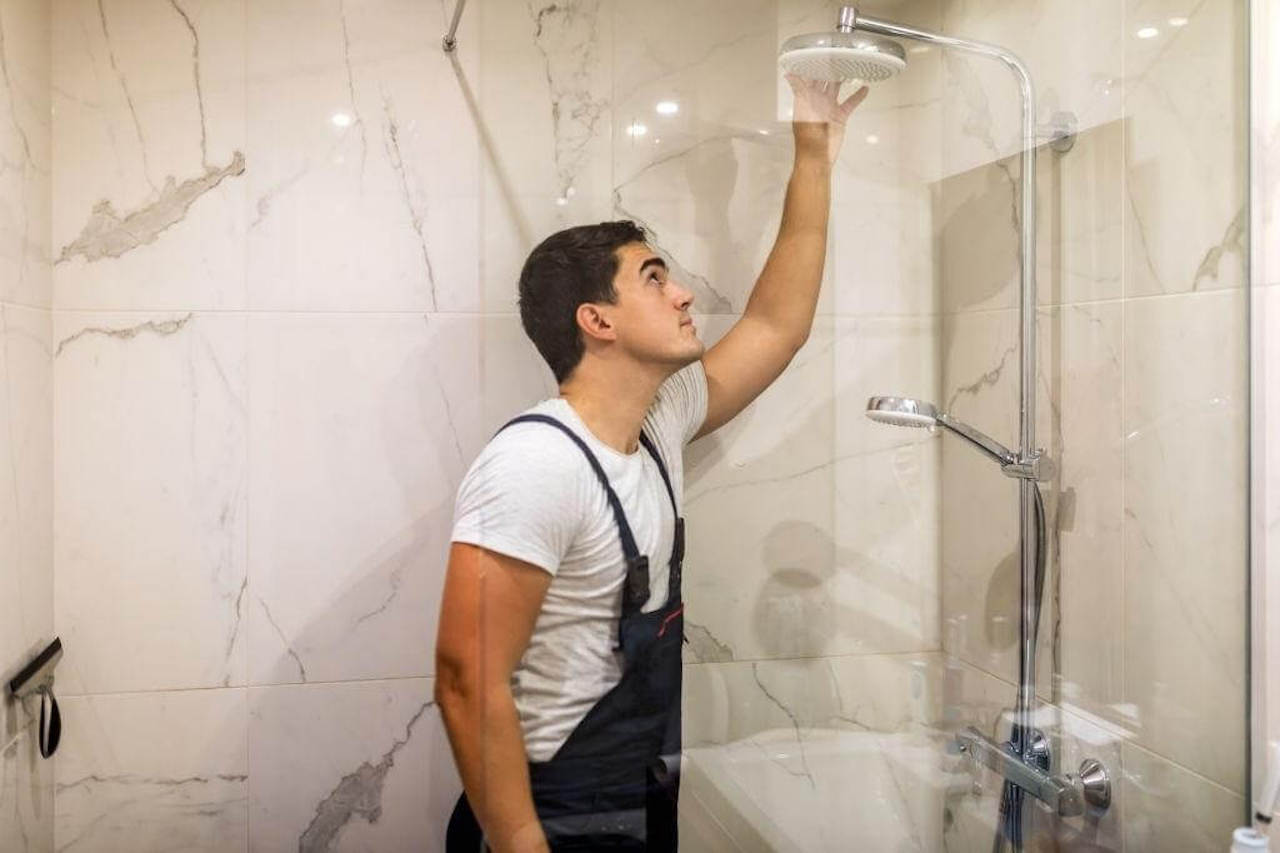
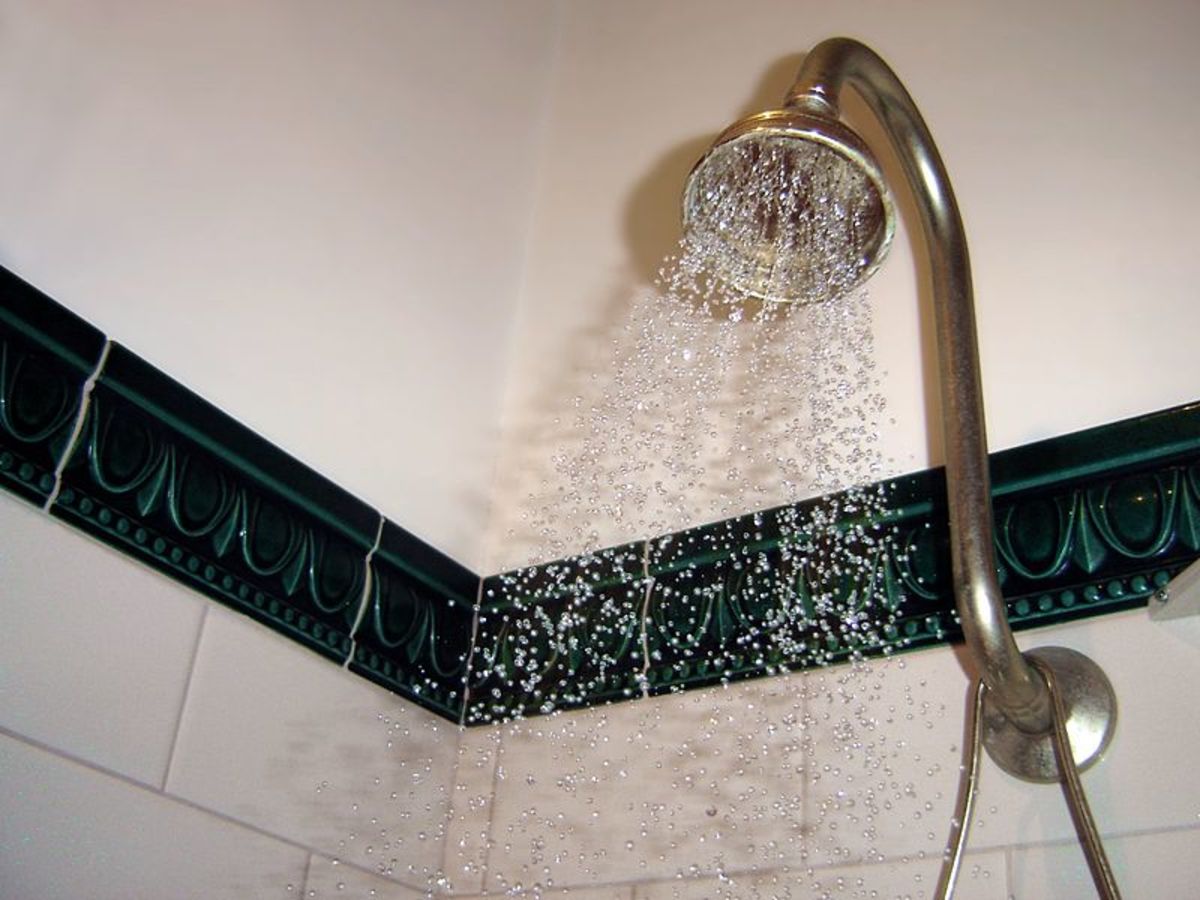
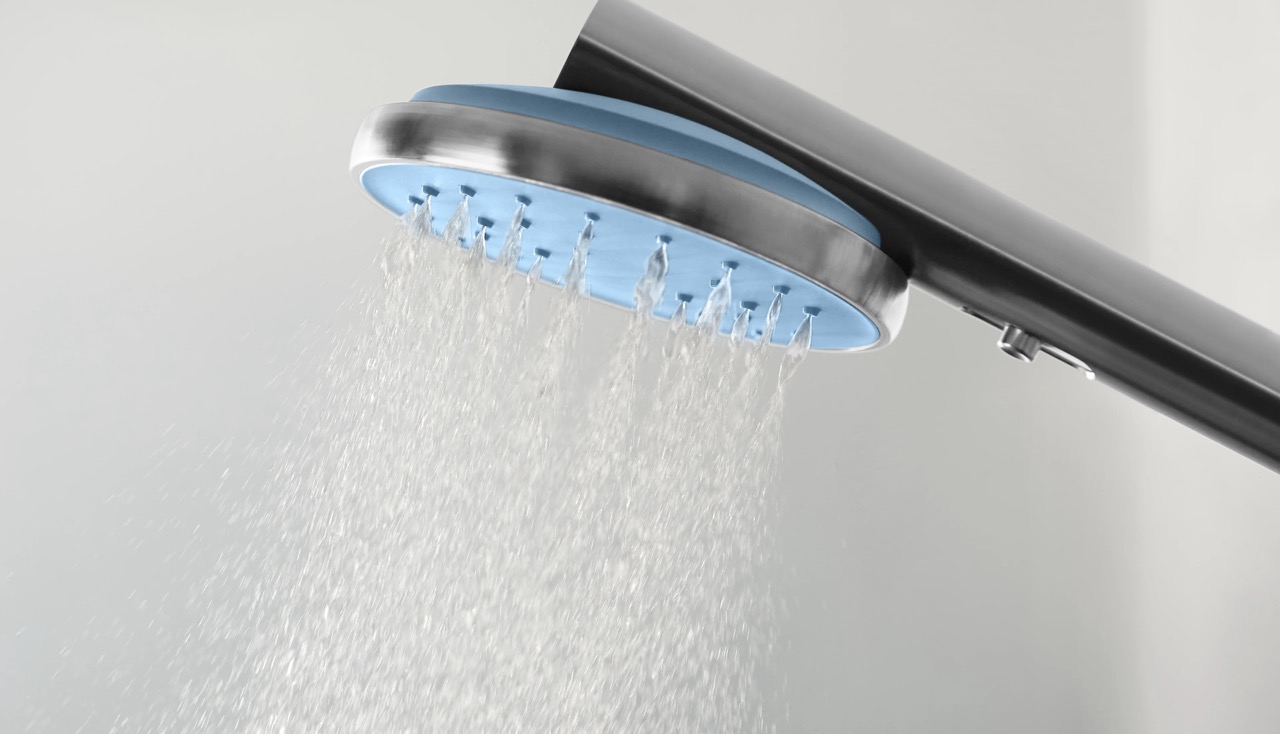
Step 7: Turn on the water supply and test the showerhead
Now that the new Hascon showerhead is securely attached to the shower arm, it’s time to turn on the water supply and test the functionality of the showerhead. Follow these steps to complete this final check:
- Locate the main water shut-off valve that you previously turned off.
- Gently turn the valve counterclockwise to gradually restore the water supply. Take care not to open it too quickly to avoid any sudden pressure surges.
- Once the water supply is fully restored, turn on the shower valves and let the water run through the Hascon showerhead.
- Check for any leaks around the connection between the showerhead and the shower arm. If you notice any leaks, turn off the water supply and double-check the tightness of the connection. You may need to reposition the showerhead and tighten it further.
- Take a moment to test the different spray settings and functions of the Hascon showerhead. Adjust the settings according to your preferences, whether it’s a focused stream or a wider spray pattern.
Testing the showerhead ensures that it is functioning properly and there are no leaks or malfunctions. Pay close attention to the connection between the showerhead and the shower arm, as this is a common area for potential leaks.
If you notice any leaks or issues during the testing process, don’t hesitate to make the necessary adjustments or seek professional help if needed. It’s important to address any problems before regular use to avoid water damage and potential issues down the line.
With the new Hascon showerhead successfully tested and functioning, you’ve completed the installation process. The final step is to adjust the spray settings, if applicable.
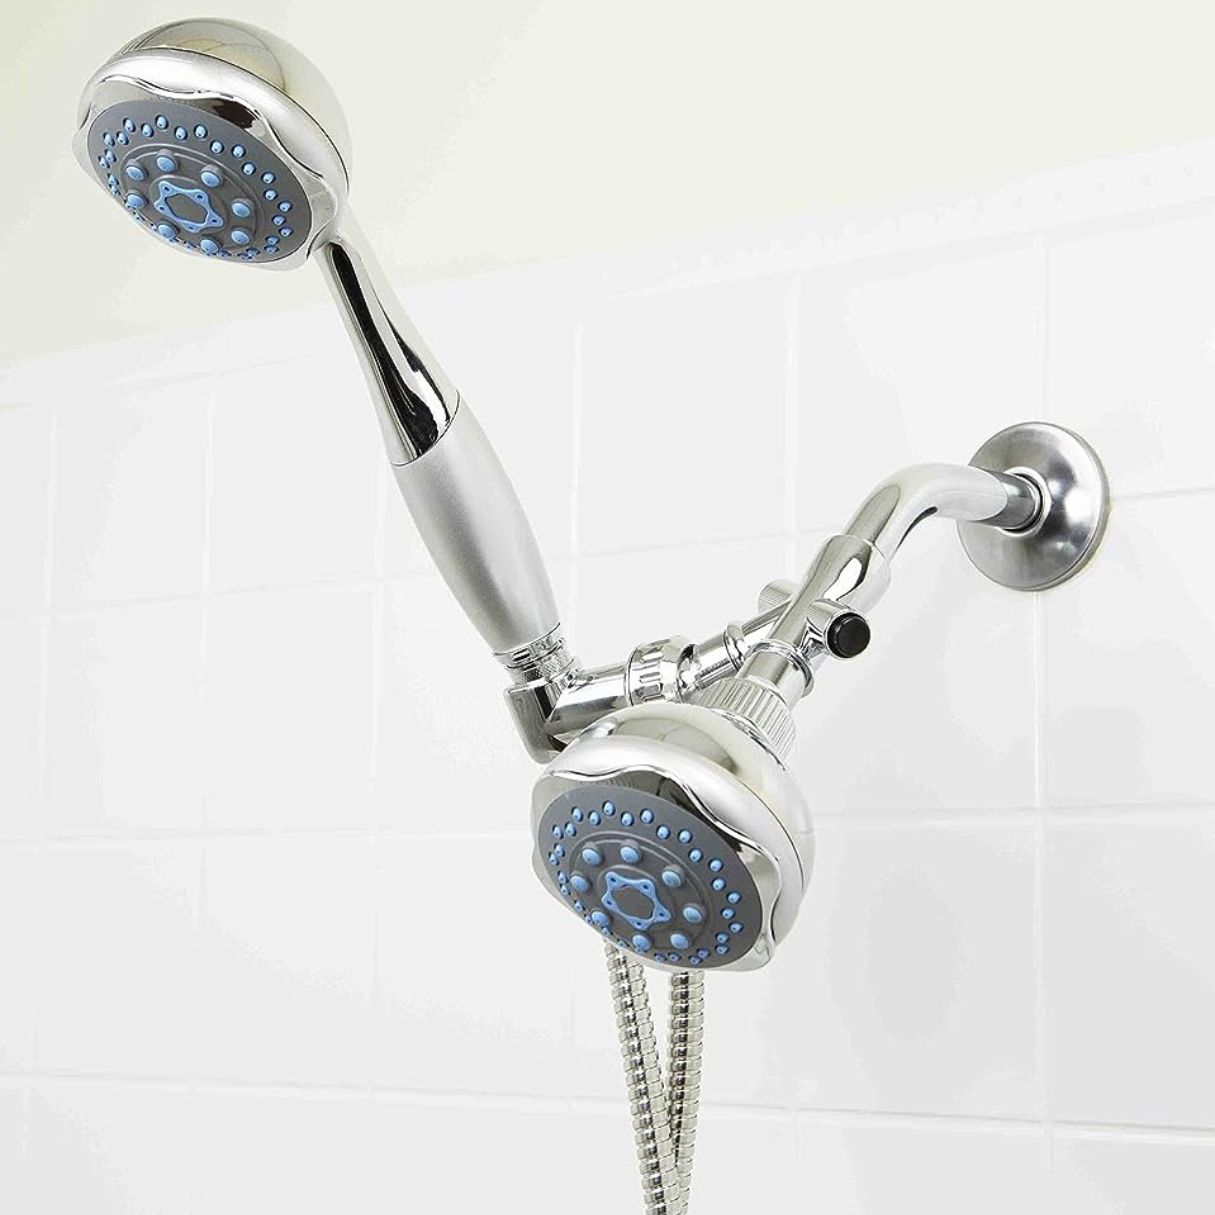
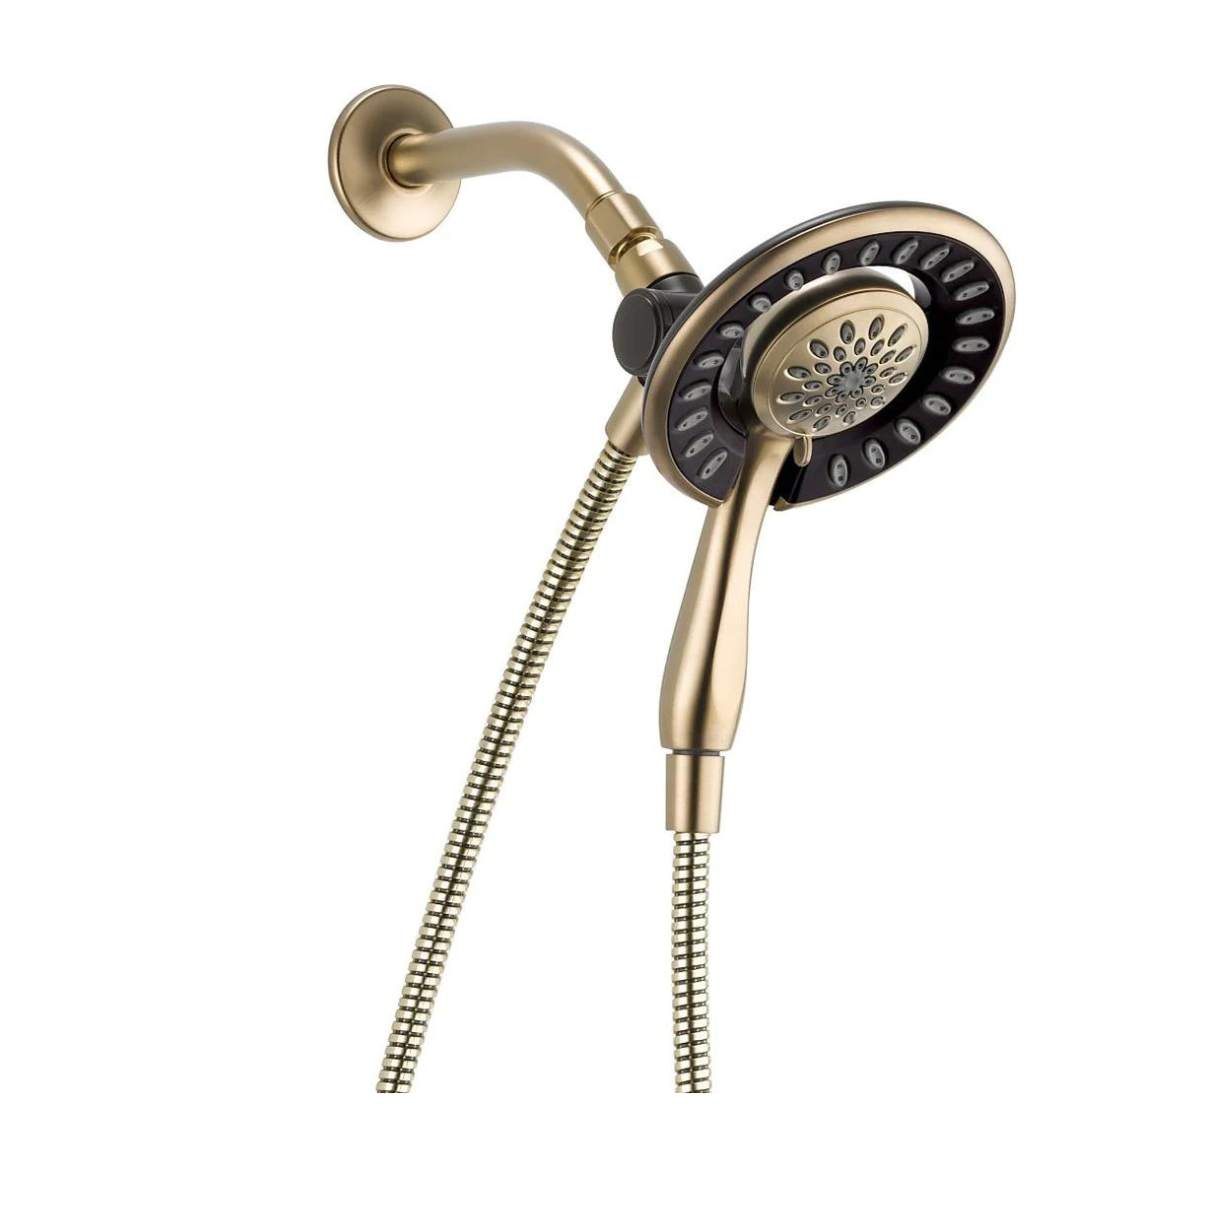
Step 8: Adjust the spray settings (if applicable)
The Hascon showerhead is designed to provide a customizable shower experience with different spray settings. If your Hascon showerhead offers adjustable spray settings, follow these steps to personalize your shower experience:
- Look for any dials, switches, or buttons on the showerhead that allow you to adjust the spray settings.
- Depending on the model, you may have options such as a rainfall shower, pulsating massage, or a combination of different spray patterns.
- Experiment with the different settings and find the one that suits your preferences. Adjust the dials or switches accordingly to achieve the desired spray pattern and intensity.
- Pay attention to any instructions or documentation provided with the showerhead to fully understand the available spray settings and how to adjust them.
Adjusting the spray settings allows you to customize your shower experience to your liking. Whether you prefer a gentle rainfall-like spray or a powerful massage-like spray, the Hascon showerhead offers versatility to cater to your needs.
Take the time to explore the different spray settings and find the one that provides the most enjoyable and relaxing shower experience for you.
Congratulations! With the spray settings adjusted, you have successfully completed the installation process of your new Hascon showerhead. Enjoy the enhanced shower experience that the Hascon showerhead provides!
Remember, regular maintenance and cleaning will help ensure the longevity and optimal functioning of your Hascon showerhead. Now sit back, relax, and indulge in a refreshing shower with your newly installed Hascon showerhead.
Conclusion
Installing a new showerhead can be a gratifying DIY project that can significantly improve your showering experience. With the Hascon showerhead, you can enjoy a luxurious and customizable shower experience right in your own bathroom.
In this article, we walked you through the step-by-step process of installing the Hascon showerhead. From gathering the necessary tools and materials to adjusting the spray settings, we covered everything you need to know to successfully install your new showerhead.
By following the steps outlined in this guide, you can confidently replace your old showerhead with the Hascon showerhead and enjoy its numerous features and benefits. From its easy installation process to its adjustable spray settings, the Hascon showerhead offers versatility, style, and functionality.
Remember to turn off the water supply before removing the old showerhead, clean the shower arm, wrap plumber’s tape to ensure a watertight seal, and securely attach the new Hascon showerhead. Once everything is in place, turn on the water supply, test for any leaks, and adjust the spray settings to suit your preferences.
With your new Hascon showerhead installed, get ready to indulge in refreshing and invigorating showers. The customizable spray options and high-quality design of the Hascon showerhead will enhance your daily routine and provide a spa-like experience.
As you enjoy your new showerhead, don’t forget to regularly clean and maintain it to ensure its longevity and optimal performance. Follow the manufacturer’s instructions for care and cleaning to keep your Hascon showerhead in excellent condition.
Thank you for choosing the Hascon showerhead and trusting us to guide you through the installation process. We hope this article has been helpful, and we wish you many enjoyable and rejuvenating showers with your new Hascon showerhead!
Frequently Asked Questions about How To Install A Hascon Showerhead
Was this page helpful?
At Storables.com, we guarantee accurate and reliable information. Our content, validated by Expert Board Contributors, is crafted following stringent Editorial Policies. We're committed to providing you with well-researched, expert-backed insights for all your informational needs.


0 thoughts on “How To Install A Hascon Showerhead”