Articles
How To Clean Vicks Humidifier
Modified: January 7, 2024
Learn how to clean your Vicks humidifier effectively with our informative articles. Keep your humidifier working like new!
(Many of the links in this article redirect to a specific reviewed product. Your purchase of these products through affiliate links helps to generate commission for Storables.com, at no extra cost. Learn more)
Introduction
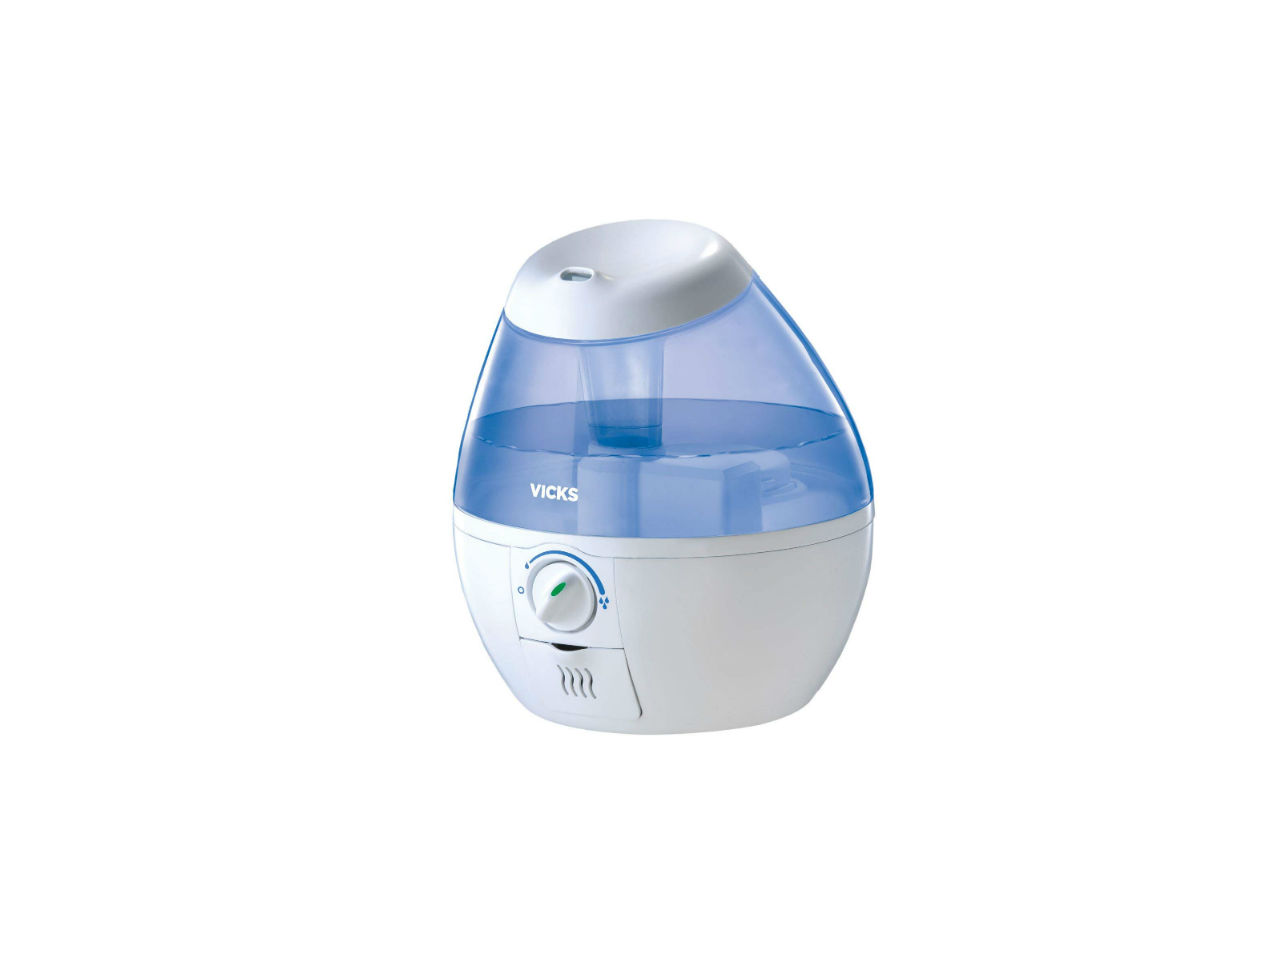
Vicks humidifiers are popular devices used to add moisture to the air in your home, helping to alleviate dry skin, congestion, and other respiratory issues. However, like any other household appliance, regular cleaning of your Vicks humidifier is essential to ensure optimal performance and prevent the growth of bacteria and mold.
In this article, we will guide you through the step-by-step process of cleaning your Vicks humidifier, including the water tank, base, mist nozzle, and filter. We will also provide you with some tips on how to remove mineral deposits, which can build up over time and affect the efficiency of your humidifier.
Before we dive into the cleaning process, it’s important to keep a few safety precautions in mind. Always refer to the manufacturer’s instructions for your specific Vicks humidifier model and make sure to unplug the device before cleaning. Additionally, be cautious when handling hot water or cleaning agents to avoid burns or skin irritation.
Now that we’ve covered the necessary precautions, let’s get started with disassembling the humidifier for a thorough cleaning.
Key Takeaways:
- Regularly cleaning your Vicks humidifier with mild solutions like vinegar or soapy water, and removing mineral deposits, ensures optimal performance and clean, moisturized air for a healthy home environment.
- Prioritize safety by following manufacturer’s instructions, wearing protective gloves, and allowing components to dry completely when disassembling and reassembling your Vicks humidifier for effective cleaning.
Read more: How To Use Vicks Humidifier
Safety Precautions
Before cleaning your Vicks humidifier, it’s important to take some safety precautions to ensure your well-being and the longevity of the device. Here are some essential safety measures to keep in mind:
- Read the Manufacturer’s Instructions: Familiarize yourself with the specific cleaning guidelines provided by Vicks for your humidifier model. Each humidifier may have slightly different instructions, so it’s important to follow the recommendations outlined by the manufacturer.
- Unplug the Humidifier: Always unplug the device before starting the cleaning process. This helps to prevent accidental electrical shocks and ensures your safety while handling water and cleaning solutions.
- Wear Protective Gloves: When cleaning your Vicks humidifier, consider wearing protective gloves to protect your hands from hot water, cleaning agents, and any potential contaminants that may be present in the device.
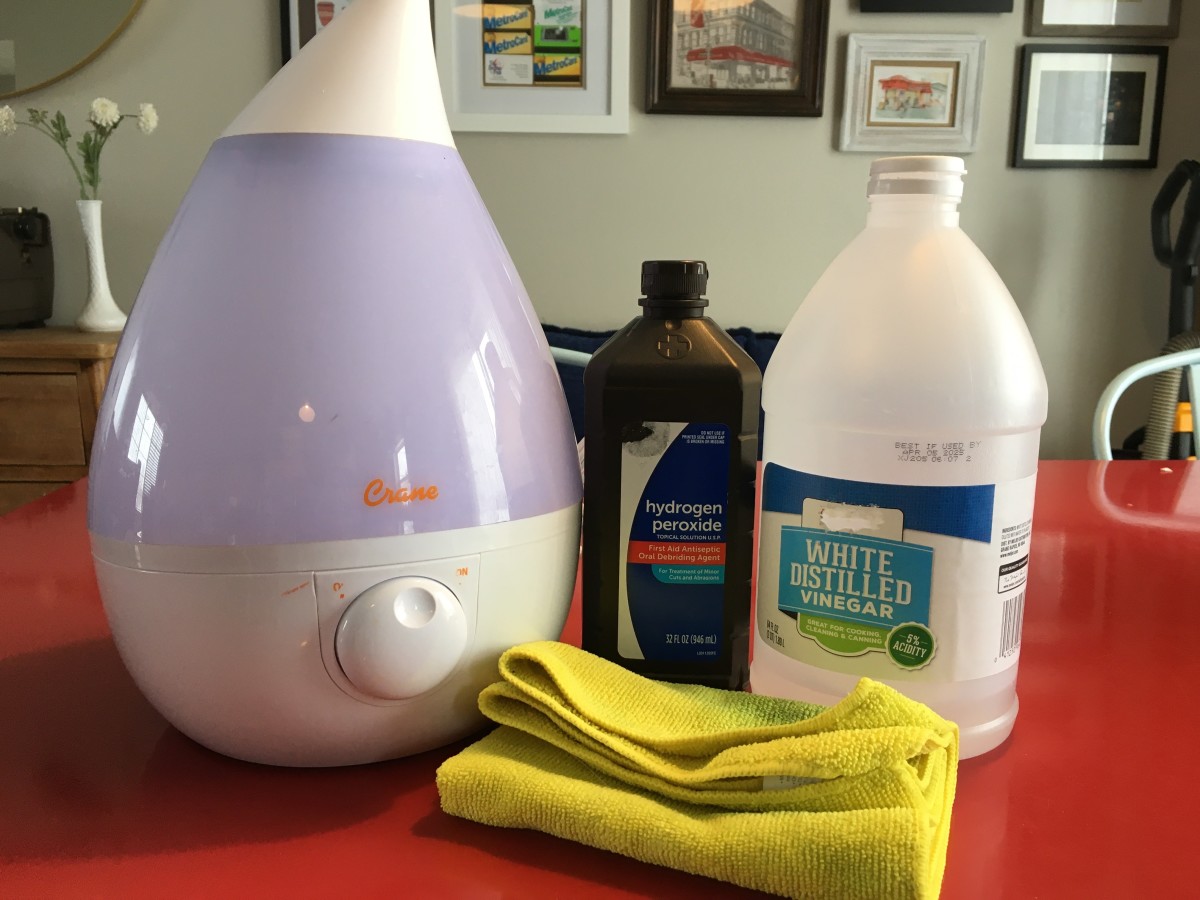
- Use Mild Cleaning Solutions: Avoid using harsh or abrasive cleaning agents that may damage the materials of the humidifier. Opt for mild soapy water or vinegar solutions recommended by the manufacturer for effectively removing dirt and buildup without causing harm.
- Be Cautious with Electrical Components: Take extra care when cleaning electrical components of the humidifier. Avoid submerging them in water and only use a damp cloth or sponge to wipe them down.
- Allow Sufficient Drying Time: After cleaning and rinsing the humidifier, ensure that all parts are completely dry before reassembling and plugging in the device. Moisture left behind can promote the growth of mold and bacteria.
- Regular Maintenance: To prevent excessive dirt and mineral buildup, it’s recommended to clean your Vicks humidifier regularly. Follow the manufacturer’s guidelines for cleaning frequency to ensure optimal performance and reduce the risk of contamination.
By following these safety precautions, you can clean your Vicks humidifier effectively and ensure a safe and healthy environment in your home. Now, let’s move on to the step-by-step process of disassembling the humidifier for thorough cleaning.
Disassembling the Humidifier
Before you can start cleaning your Vicks humidifier, you’ll need to disassemble it to access all the removable parts. Here’s a step-by-step guide on how to disassemble your humidifier:
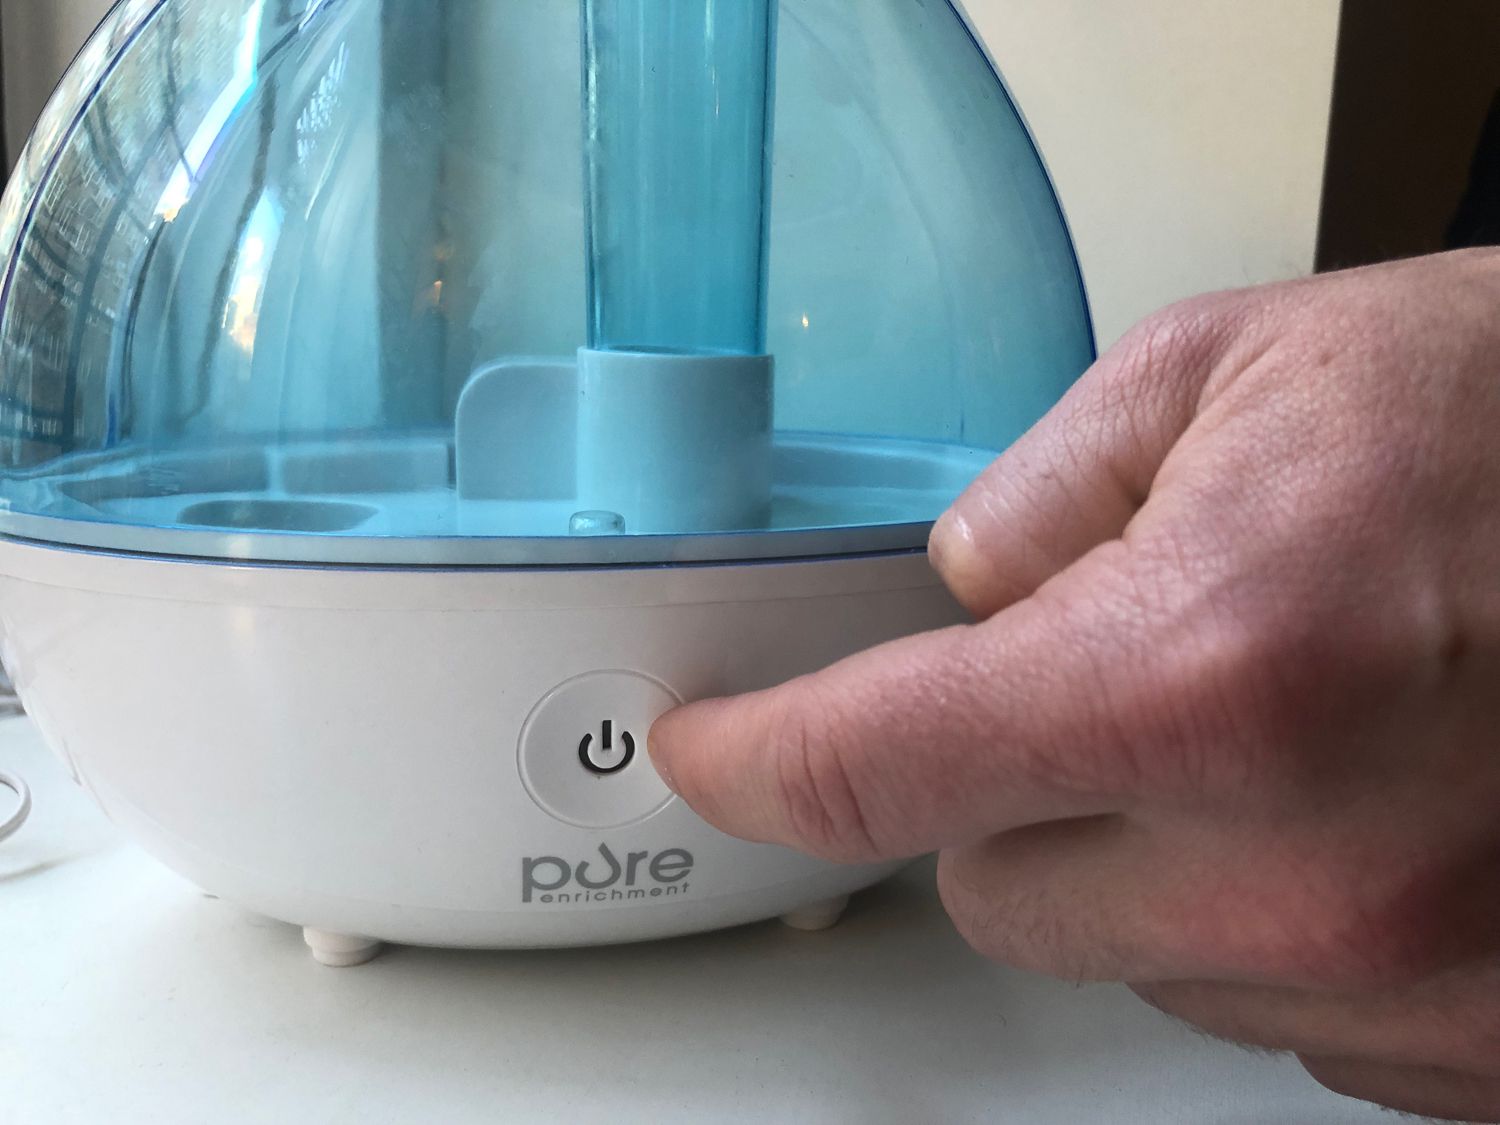
- Turn Off and Unplug the Humidifier: Ensure that your Vicks humidifier is turned off and unplugged from the power source before beginning the disassembly process. This will prevent any accidents or electrical shocks.
- Remove the Water Tank: Carefully lift the water tank from the base of the humidifier. Depending on the model, the tank may be located on the top or the bottom of the device. Set the tank aside for cleaning.
- Detach the Base: Some Vicks humidifiers have a separate base that houses the water tank and the mist nozzle. Detach the base from the main unit by gently pressing on the release buttons or following the instructions outlined in the user manual.
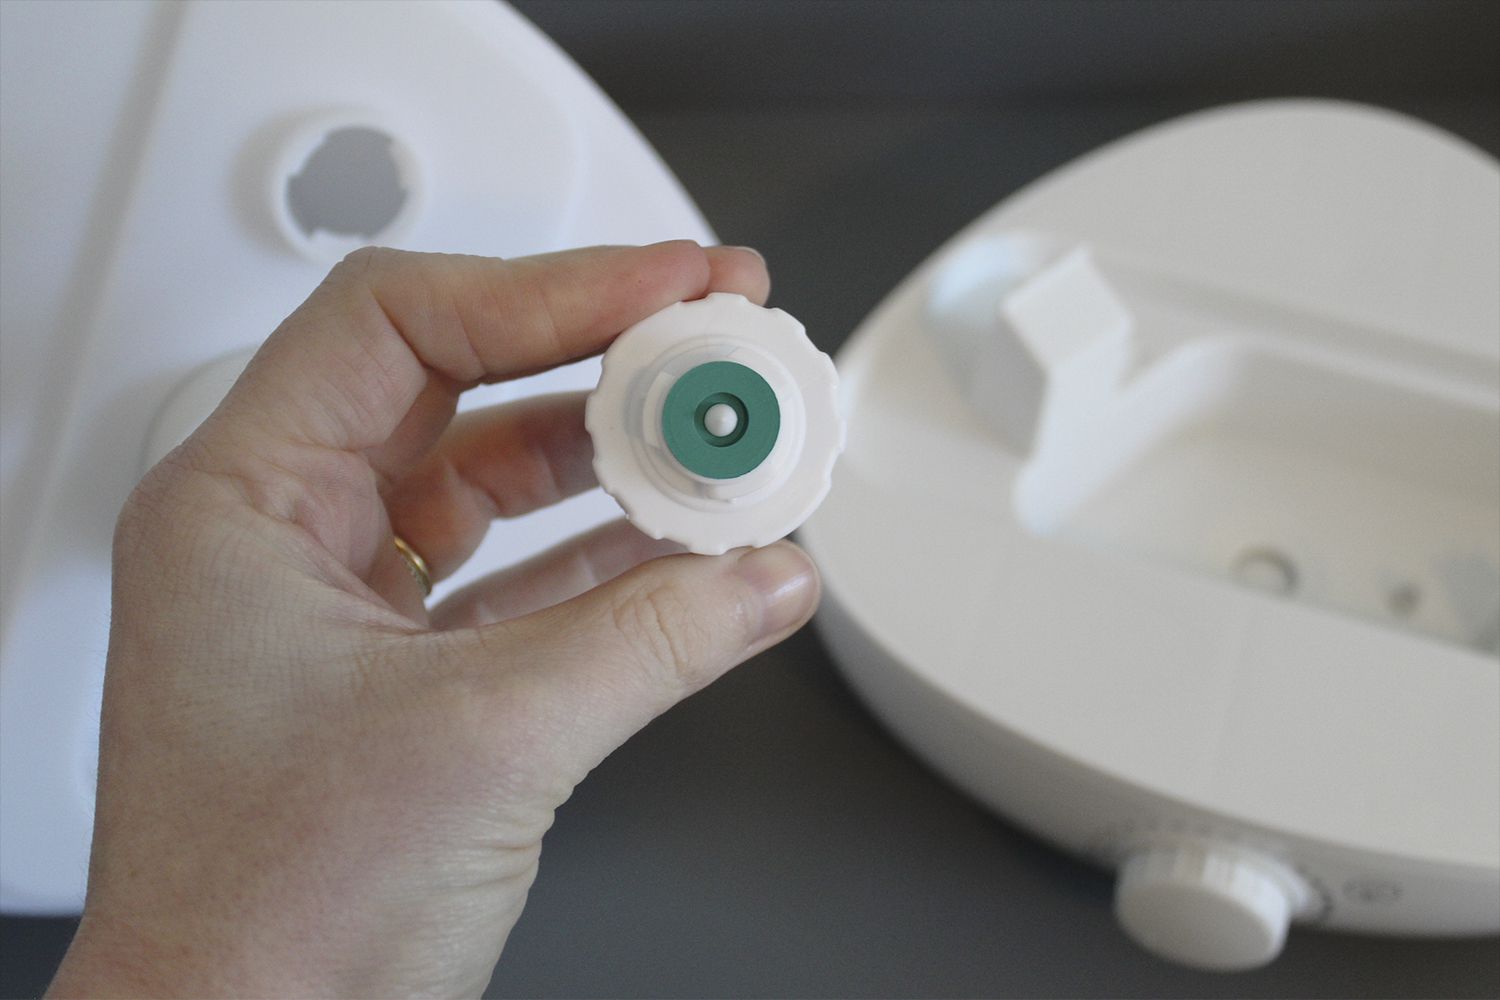
- Separate the Mist Nozzle: If your Vicks humidifier has a removable mist nozzle, carefully unscrew or unclip it from the base. This will make it easier to clean and remove any mineral deposits that may have accumulated.
- Remove the Filter: Not all Vicks humidifier models have a filter, but if yours does, locate it within the base or near the mist nozzle. Follow the manufacturer’s instructions to remove the filter for cleaning or replacement.
Once you have successfully disassembled your Vicks humidifier, you’re ready to proceed with cleaning the individual components. In the following sections, we’ll guide you through the step-by-step process of cleaning the water tank, base, mist nozzle, and filter to ensure your humidifier remains clean and efficient.
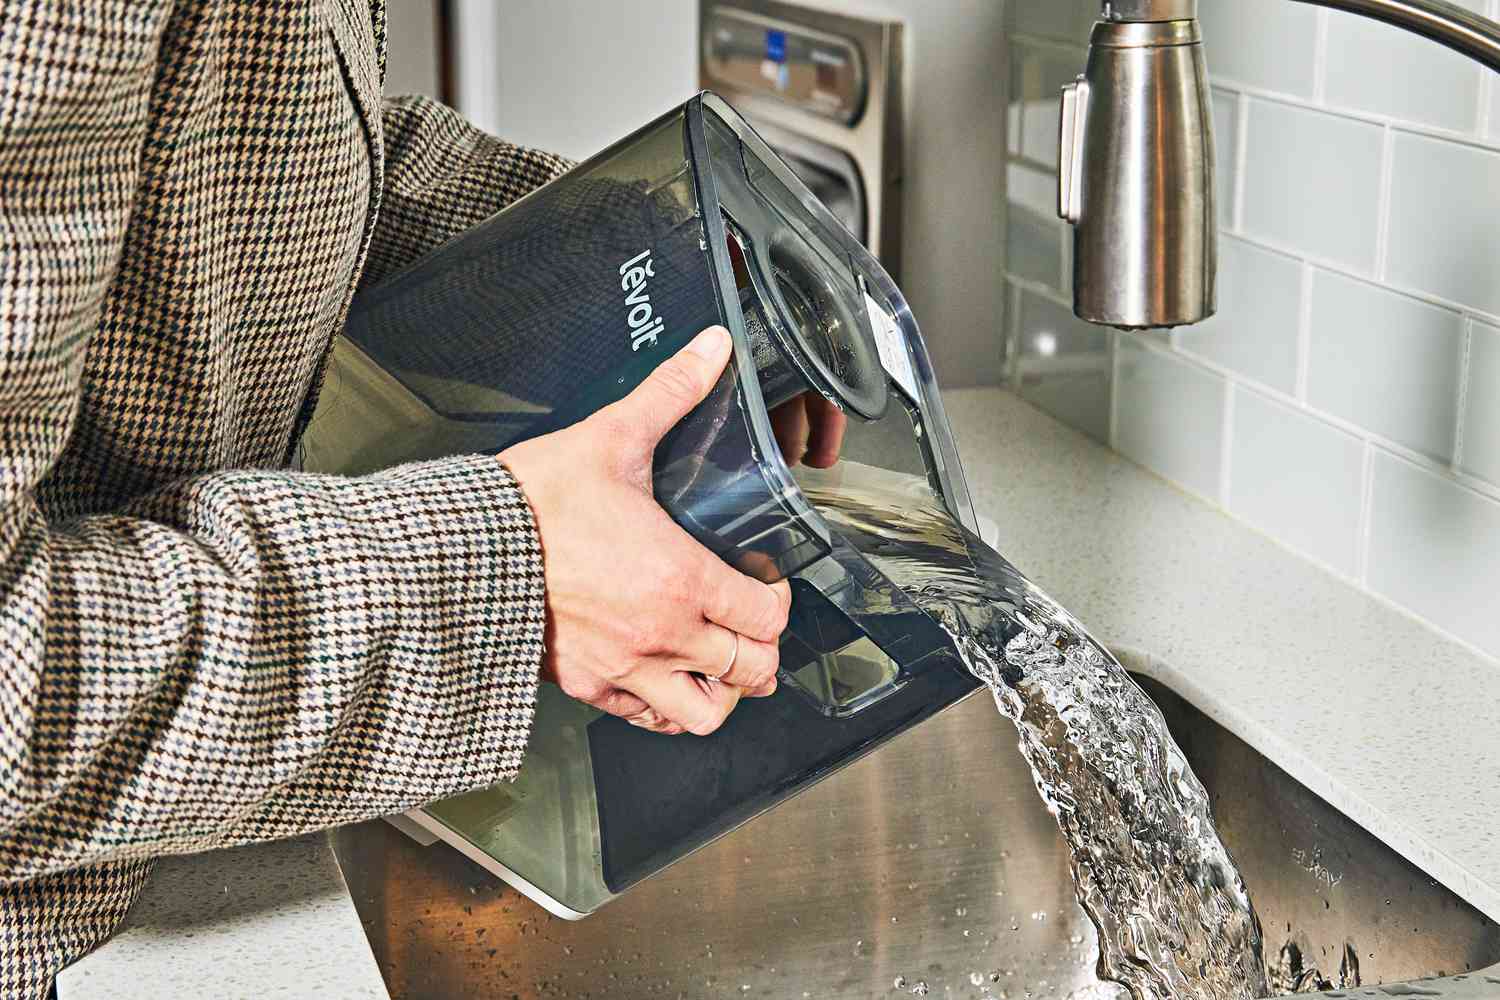
Cleaning the Water Tank
The water tank of your Vicks humidifier requires regular cleaning to prevent the growth of bacteria and mold. Here’s how you can effectively clean the water tank:
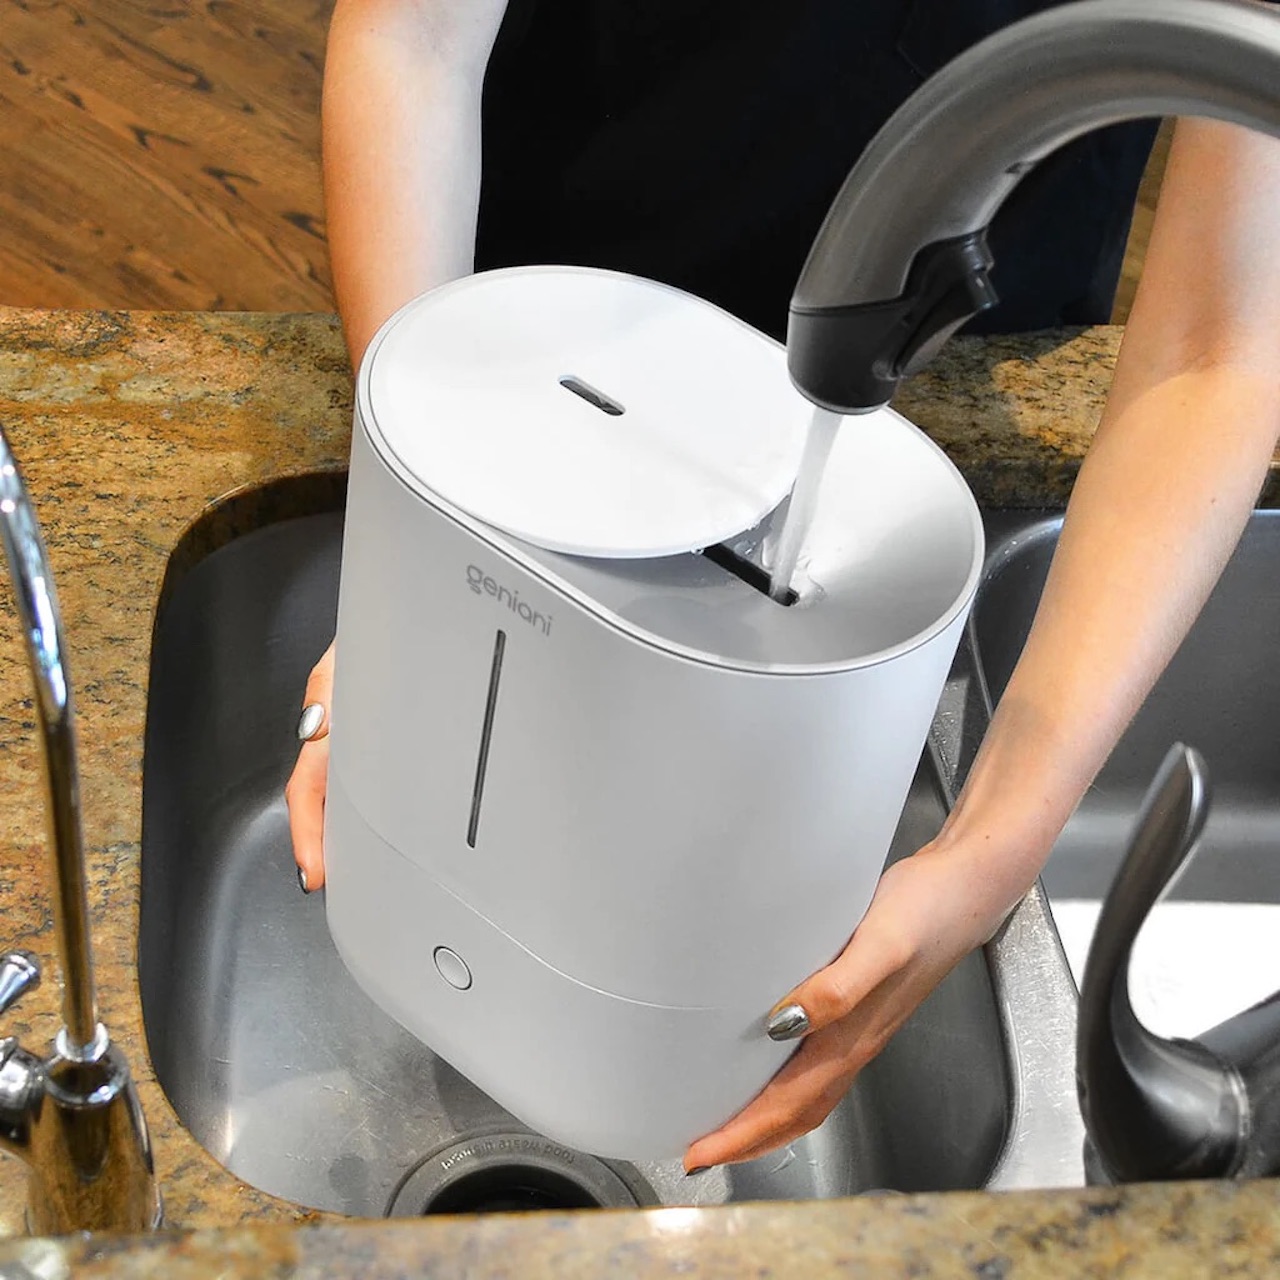
- Empty the Water: Before cleaning the water tank, make sure to empty any remaining water. You can either pour it out or use the drain valve, if your humidifier has one. Discard any leftover water.
- Disassemble the Tank: If your Vicks humidifier allows for it, disassemble the water tank by separating the different parts. This will make cleaning more thorough and efficient.
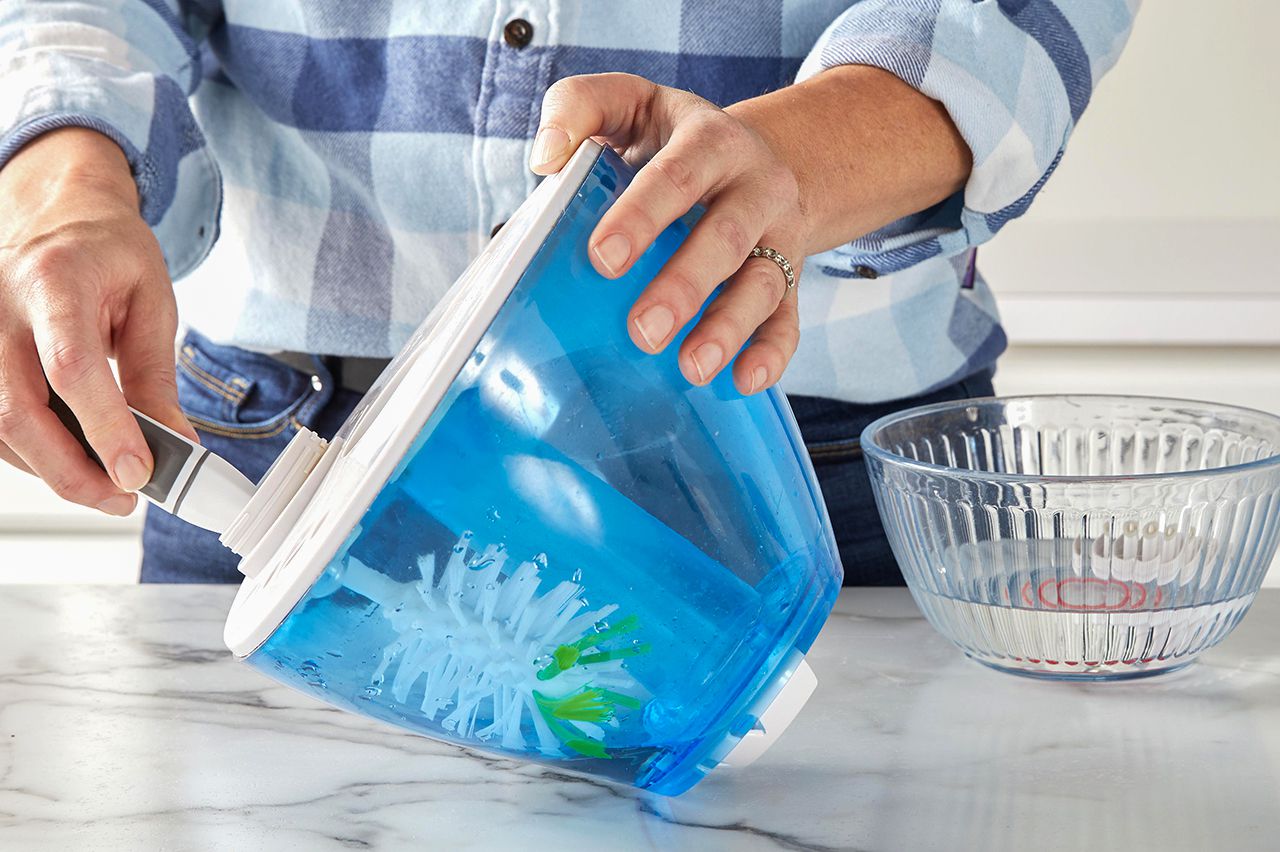
- Wash with Soapy Water: Fill a basin or sink with warm water and add a mild, non-abrasive dish soap. Submerge the water tank and its components into the soapy water and use a sponge or cloth to clean them.
- Remove Mineral Deposits: If there are mineral deposits or hard water stains inside the water tank, you can use a mixture of equal parts white vinegar and water. Let the solution sit in the tank for about 30 minutes to loosen the deposits, then scrub with a soft brush or sponge to remove them.
- Rinse Thoroughly: After cleaning, rinse all the components of the water tank with clean water to remove any soap residue or vinegar solution. Make sure there are no soapy or acidic traces left behind.
- Dry and Reassemble: Allow the water tank and its components to air dry completely before reassembling them. Ensure that there is no moisture left, as it can promote the growth of mold and bacteria. Once dry, carefully put the water tank back together.
By following these steps, you can effectively clean the water tank of your Vicks humidifier and maintain its hygiene. Now, let’s move on to cleaning the base of the humidifier.
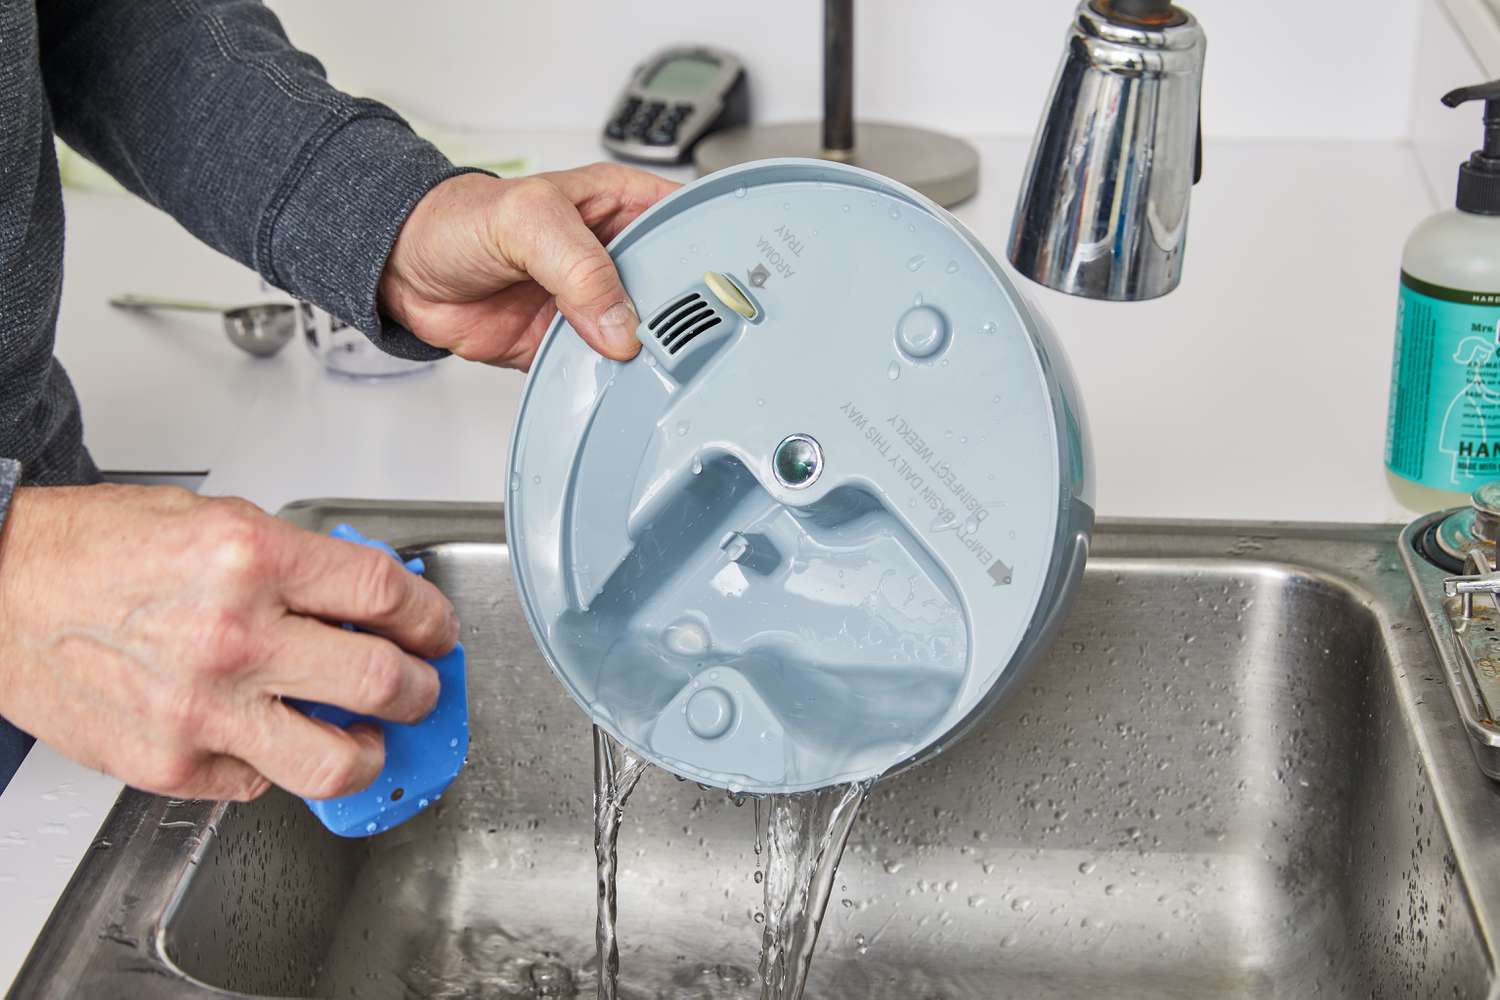
Cleaning the Base
The base of your Vicks humidifier plays a crucial role in distributing the mist and should be cleaned regularly to ensure optimal performance. Here’s a step-by-step guide on how to clean the base:
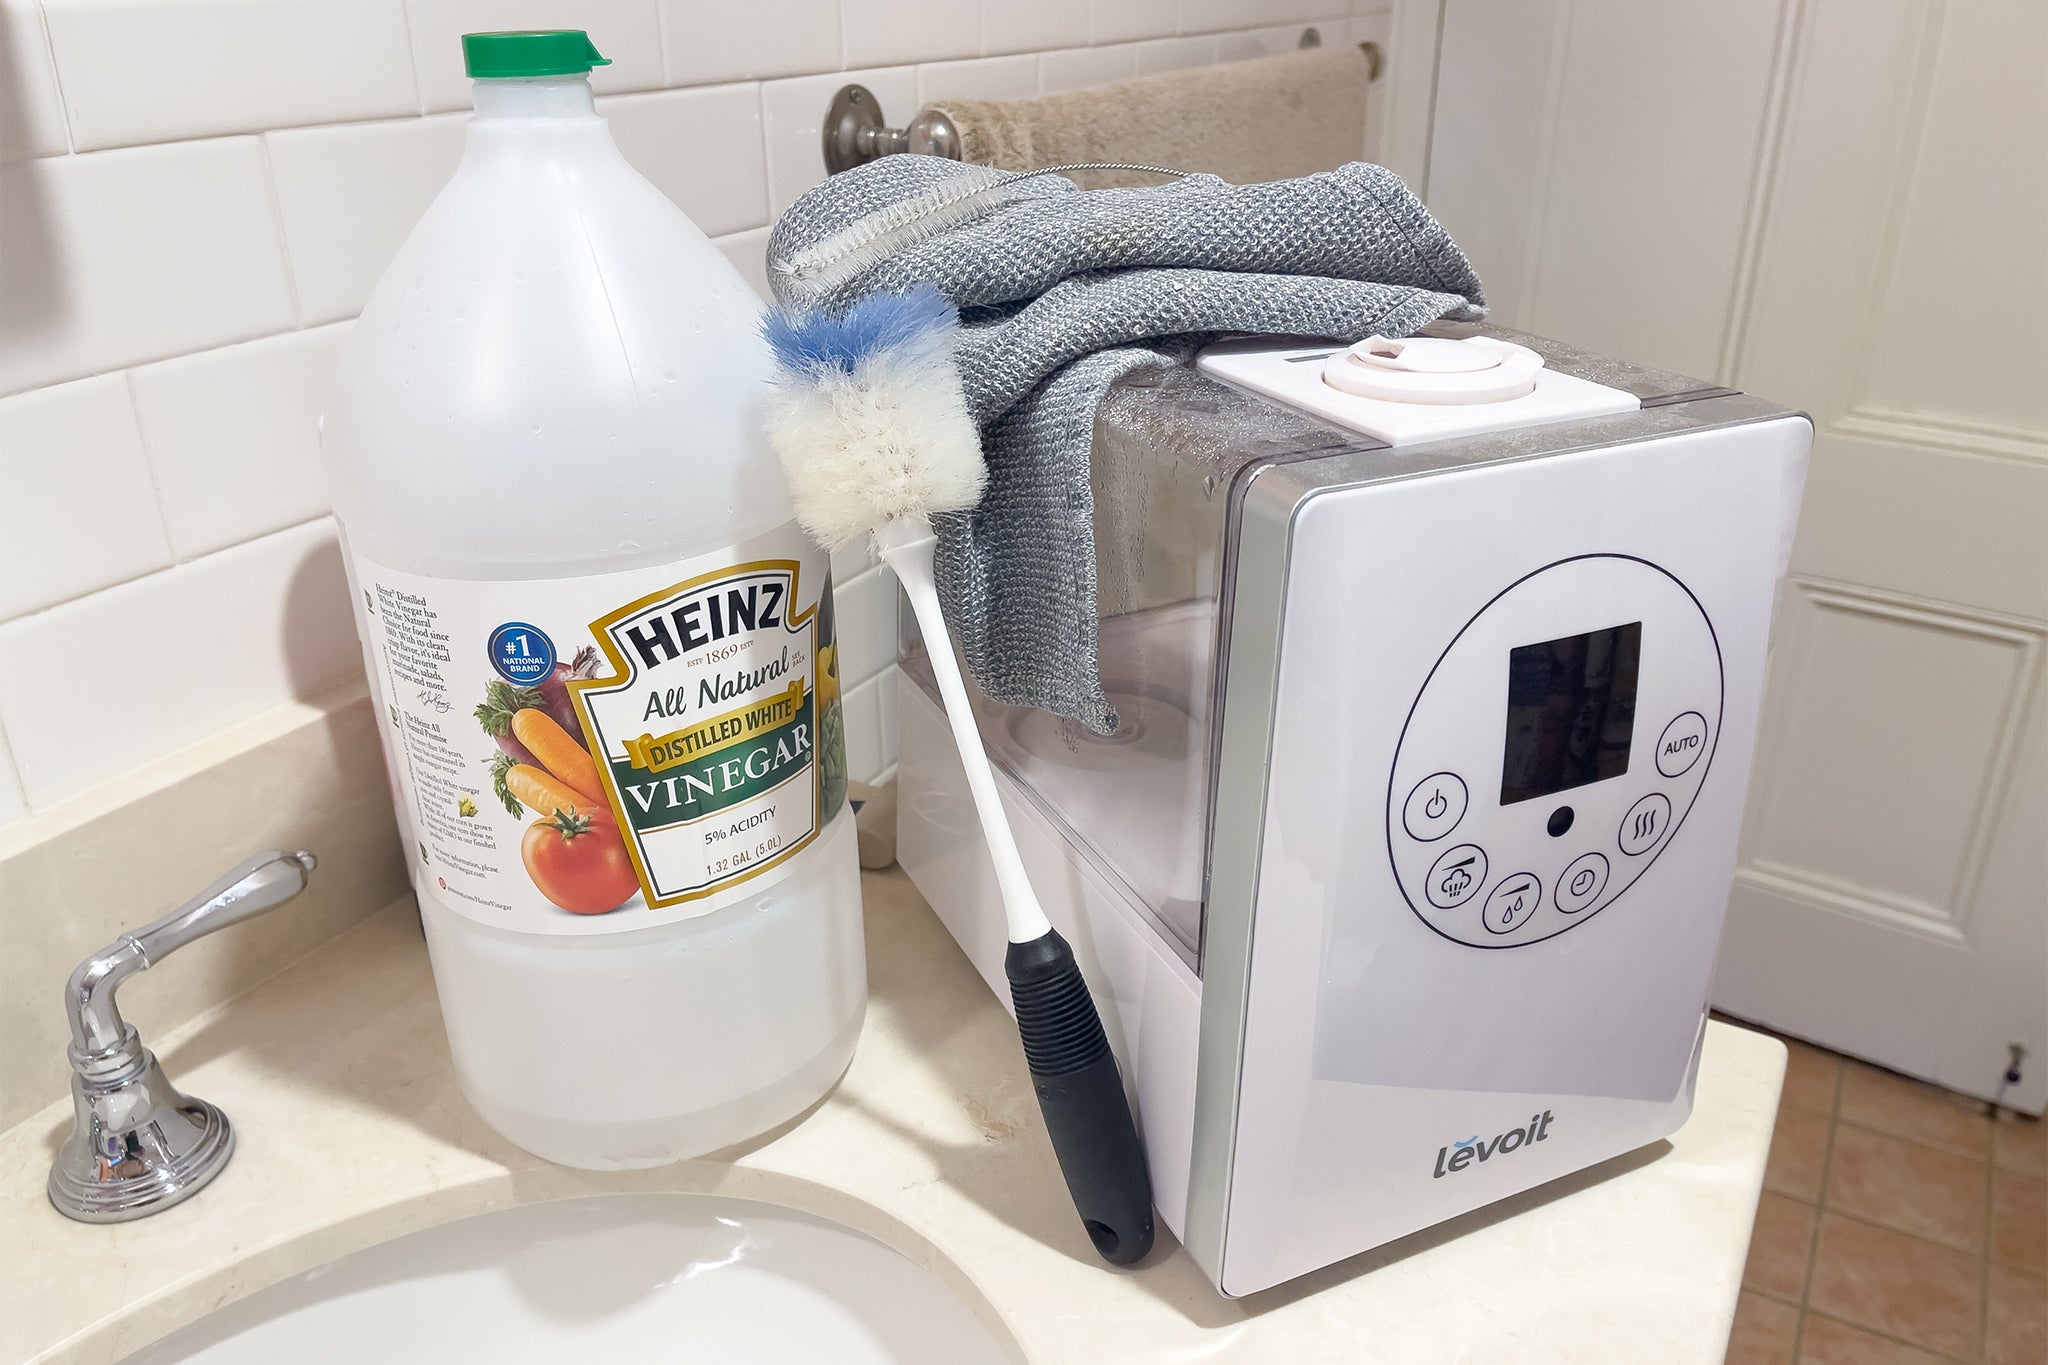
- Prepare a Cleaning Solution: Fill a basin or sink with warm water and add a mild, non-abrasive dish soap. You can also use a vinegar solution by mixing equal parts white vinegar and water.
- Detach Removable Parts: If your Vicks humidifier has any removable parts in the base, such as the mist nozzle or filter, separate them according to the manufacturer’s instructions.
- Wipe Down the Exterior: Use a soft cloth or sponge dampened with the cleaning solution to wipe down the exterior surfaces of the base. Pay attention to any areas that may have accumulated dirt or residue.
- Scrub the Interior: Dip a cleaning brush or sponge into the cleaning solution and scrub the interior of the base. Focus on removing any mineral deposits, bacteria, or mold that may have accumulated over time.
- Clean the Mist Nozzle: If your Vicks humidifier has a removable mist nozzle, clean it separately. Soak it in the cleaning solution for a few minutes, then scrub it thoroughly to remove any deposits or clogs.
- Rinse Thoroughly: After cleaning, make sure to rinse all the parts of the base, including the mist nozzle, with clean water to remove any soap residue or vinegar solution.
- Dry and Reassemble: Allow all the components of the base to air dry completely before reassembling them. Ensure that there is no moisture left, as it can lead to mold or bacterial growth. Once dry, carefully put the base back together.
By following these steps, you can effectively clean the base of your Vicks humidifier and ensure that it continues to function properly. In the next section, we will guide you through cleaning the mist nozzle and filter, if applicable.
To clean a Vicks humidifier, mix equal parts of white vinegar and water, then fill the tank and let it sit for 30 minutes. Afterward, rinse thoroughly with water and wipe dry. Clean the base with a soft brush and vinegar solution, then rinse and dry.
Read also: 11 Best Vicks Humidifier for 2024
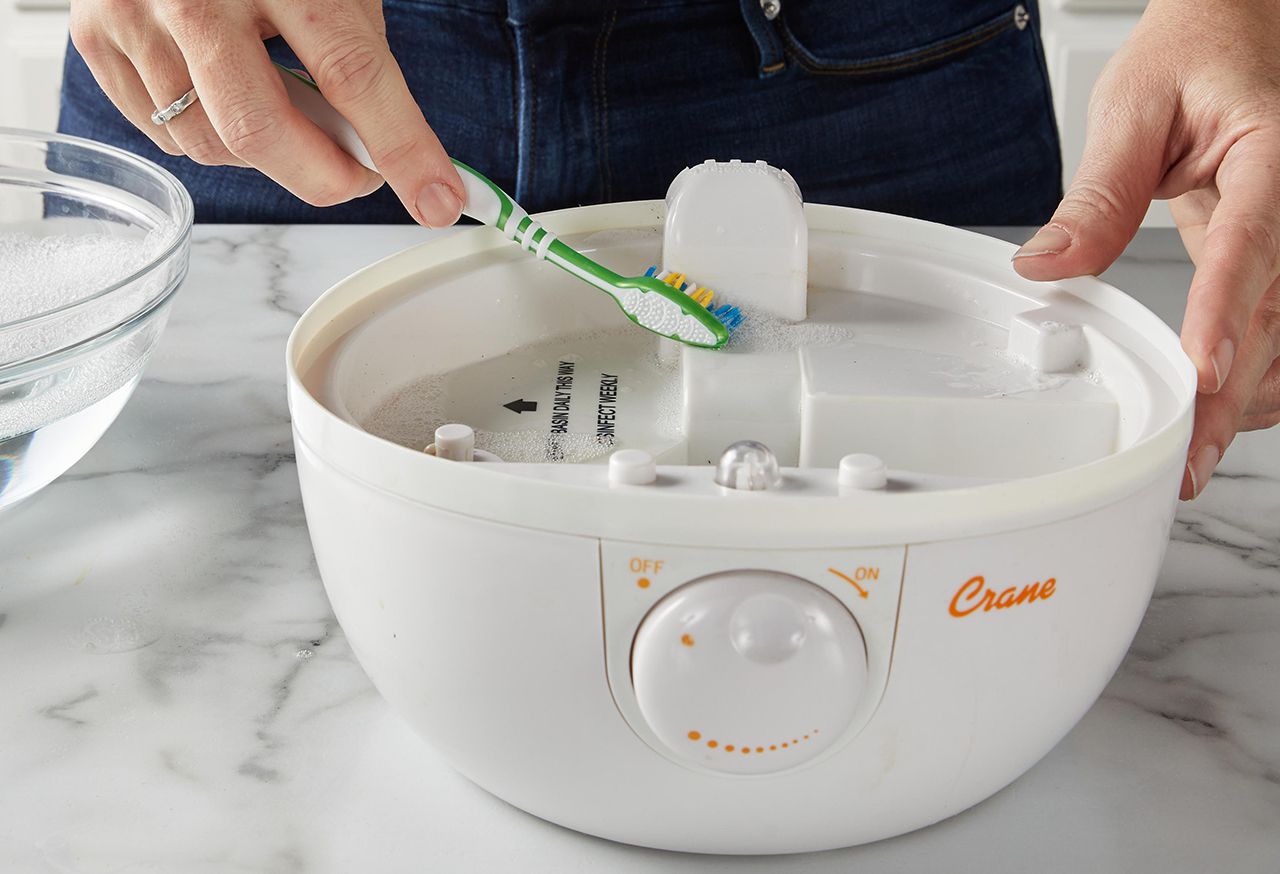
Cleaning the Mist Nozzle
The mist nozzle of your Vicks humidifier is responsible for dispersing the moisture into the air. It’s important to clean it regularly to avoid clogs and ensure optimal performance. Here’s how you can clean the mist nozzle:
- Remove the Nozzle: If your Vicks humidifier has a removable mist nozzle, gently take it off from the base or wherever it’s attached. Refer to the manufacturer’s instructions for proper removal.
- Inspect for Clogs: Check the mist nozzle for any visible clogs or buildup. If you notice any blockages, use a soft brush or toothbrush to gently remove the debris. Avoid using sharp objects that may damage the nozzle.
- Soak in Cleaning Solution: Fill a basin or sink with warm water and add a mild, non-abrasive dish soap or vinegar solution. Place the mist nozzle in the solution and let it soak for several minutes to loosen any residue or mineral deposits.
- Scrub and Rinse: After soaking, use a brush or sponge to scrub the mist nozzle gently. Pay close attention to the tiny openings and ensure they are thoroughly cleaned. Rinse the nozzle with clean water to remove any soap or vinegar residue.
- Dry Completely: Allow the mist nozzle to air dry completely before reattaching it to the base. Ensure that there is no moisture remaining, as it can lead to bacterial growth. Check for any remaining debris or clogs before reassembling.
- Reattach and Test: Once the mist nozzle is completely dry, carefully reattach it to the base or the designated spot as instructed by the manufacturer. Plug in your Vicks humidifier and run a test cycle to ensure the mist is dispersing properly.
By following these steps, you can effectively clean the mist nozzle of your Vicks humidifier and maintain its proper functioning. In the next section, we will guide you through cleaning the filter, if applicable.
Cleaning the Filter
Not all Vicks humidifiers have filters, but if your model does, it’s important to clean or replace the filter regularly to maintain the efficiency of your device. Here’s how you can clean the filter:
- Check the Filter Type: Determine the type of filter in your Vicks humidifier, as there are different cleaning methods for different filter materials. Some common filter types include foam, mesh, or wick filters.
- Check the Manufacturer’s Instructions: Refer to the manufacturer’s instructions for specific cleaning guidelines for your filter type. Some filters are reusable and can be cleaned, while others are disposable and need to be replaced. Follow the recommended cleaning or replacement schedule.
- Remove the Filter: If your Vicks humidifier has a removable filter, carefully remove it from the designated slot. Pay attention to any latches or clips that hold the filter in place.
- Clean or Replace the Filter: Depending on the filter type, follow the appropriate cleaning method. For reusable foam or mesh filters, rinse them under running water to remove dirt and debris. For wick filters, soak them in water for a few minutes and gently rinse to remove any buildup. If the filter is disposable, discard it and replace it with a new one.
- Dry Completely: After cleaning, allow the filter to air dry completely before reinserting it into the humidifier. Make sure there is no moisture remaining, as it can lead to mold or bacterial growth.
- Reinsert the Filter: Once the filter is dry, carefully insert it back into its designated slot in the Vicks humidifier. Ensure it is fitted securely and correctly according to the manufacturer’s instructions.
- Test the Humidifier: Plug in your Vicks humidifier and run a test cycle to ensure that the filter is properly installed and the device is functioning as expected.
Regularly cleaning or replacing the filter in your Vicks humidifier will help maintain its efficiency and ensure clean and breathable air. In the next section, we’ll provide some tips on how to remove mineral deposits that can accumulate in your humidifier over time.
Removing Mineral Deposits
Over time, mineral deposits can accumulate in your Vicks humidifier, especially if you live in an area with hard water. These deposits can affect the efficiency of your device and lead to less effective humidification. Here are some tips to help you remove mineral deposits:
- White Vinegar Solution: One of the most effective ways to remove mineral deposits is by using a mixture of equal parts white vinegar and water. Fill the water tank with the vinegar solution and let it sit for about 30 minutes. The vinegar will help dissolve the mineral buildup.
- Scrubbing and Soaking: Once the vinegar solution has had time to work, use a soft brush or cloth to scrub the areas with mineral deposits, such as the water tank or the mist nozzle. For stubborn deposits, you can soak the affected parts in the vinegar solution for a longer period before scrubbing.
- Rinse Thoroughly: After scrubbing, rinse the parts with clean water to remove any remaining vinegar or loosened mineral deposits. Be sure to rinse multiple times to ensure that no vinegar residue is left behind.
- Citric Acid Solution: In addition to vinegar, you can also use a citric acid solution to remove mineral deposits. Follow the instructions provided by the manufacturer for the appropriate dilution and soak the affected parts in the solution for the recommended time.
- Commercial Descaling Products: If vinegar or citric acid solutions are not effective, you can try using commercial descaling products specifically designed for humidifiers. Follow the instructions on the product and use it to remove the mineral deposits.
- Regular Maintenance: To prevent excessive mineral buildup, it’s recommended to perform regular maintenance on your Vicks humidifier. This includes emptying and cleaning the water tank, as well as using distilled or filtered water instead of tap water, which has higher mineral content.
Remember to always follow the manufacturer’s instructions and safety guidelines when using any cleaning agents or descaling products. By regularly removing mineral deposits, you can keep your Vicks humidifier running efficiently and ensure that it continues to provide clean and moisturized air in your home.
Now that we’ve covered how to remove mineral deposits, let’s move on to reassembling your Vicks humidifier.
Reassembling the Humidifier
After cleaning all the individual components of your Vicks humidifier, it’s time to reassemble them to ensure proper functioning. Here’s how you can reassemble your humidifier:
- Dry All Components: Before reassembling, make sure that all the cleaned components, such as the water tank, base, mist nozzle, and filter, are completely dry. Any residual moisture can promote the growth of mold or bacteria.
- Attach the Filter (if applicable): If your Vicks humidifier has a filter, carefully insert it back into its designated slot in the base. Ensure that it is properly aligned and fitted according to the manufacturer’s instructions.
- Reattach the Mist Nozzle: If you previously detached the mist nozzle, now is the time to reattach it to the base. Gently screw or clip it back into place, making sure it is secure.
- Place the Water Tank: Take the dry water tank and position it in its designated spot on the base of the humidifier. Ensure that it is properly aligned and securely placed, following the instructions provided by the manufacturer.
- Double-check the Connections: Once all the components are in place, double-check all the connections to ensure that everything is properly aligned and fitted. This includes the mist nozzle, filter, and water tank.
- Plug In and Test: Finally, plug in your Vicks humidifier and run a test cycle to confirm that it is functioning correctly. Check for any leaks, unusual sounds, or malfunctions. If everything is working as expected, you have successfully reassembled your Vicks humidifier.
By following these steps, you can confidently reassemble your Vicks humidifier after a thorough cleaning. Regular cleaning and proper maintenance will help prolong the lifespan of your device and ensure that it continues to provide the desired moisture and comfort in your home.
Now that you are fully equipped with the knowledge of how to clean and reassemble your Vicks humidifier, you can enjoy clean and moisturized air all year round!
Read also: 9 Best Vicks Cool Mist Humidifier for 2024
Conclusion
Regular cleaning of your Vicks humidifier is essential to maintain its performance, safeguard your health, and ensure clean and moisturized air in your home. By following the step-by-step cleaning process outlined in this article, you can effectively clean the water tank, base, mist nozzle, and filter of your humidifier.
Remember to always prioritize safety by unplugging the device before cleaning, wearing protective gloves when necessary, and following the manufacturer’s instructions. Use mild cleaning solutions, such as soapy water or vinegar, to remove dirt, mineral deposits, bacteria, and mold.
Additionally, be mindful of removing mineral deposits, which can accumulate over time and affect the efficiency of your humidifier. Using white vinegar, citric acid solutions, or commercial descaling products can help eliminate these deposits and keep your humidifier running smoothly.
Finally, reassembling your Vicks humidifier is just as important as the cleaning process itself. Ensure that all components are properly dried before reattaching them, double-check that connections are secure, and run a test cycle to confirm that everything is working as expected.
By incorporating regular cleaning and maintenance into your humidifier care routine, you can enjoy the benefits of clean and moisturized air, alleviating dry skin, congestion, and other respiratory issues. Remember to consult the manufacturer’s instructions for your specific Vicks humidifier model for any additional guidance or recommendations.
With these guidelines in mind, you’re now equipped to keep your Vicks humidifier clean and running smoothly for years to come. Breathe easy and enjoy the comfort of a well-maintained humidifier in your home!
Frequently Asked Questions about How To Clean Vicks Humidifier
Was this page helpful?
At Storables.com, we guarantee accurate and reliable information. Our content, validated by Expert Board Contributors, is crafted following stringent Editorial Policies. We're committed to providing you with well-researched, expert-backed insights for all your informational needs.


0 thoughts on “How To Clean Vicks Humidifier”