Articles
How To Clean Frida Humidifier
Modified: October 18, 2024
Learn effective methods and tips for cleaning a Frida humidifier in this informative article. Keep your humidifier functioning at its best with our expert advice.
(Many of the links in this article redirect to a specific reviewed product. Your purchase of these products through affiliate links helps to generate commission for Storables.com, at no extra cost. Learn more)
Introduction
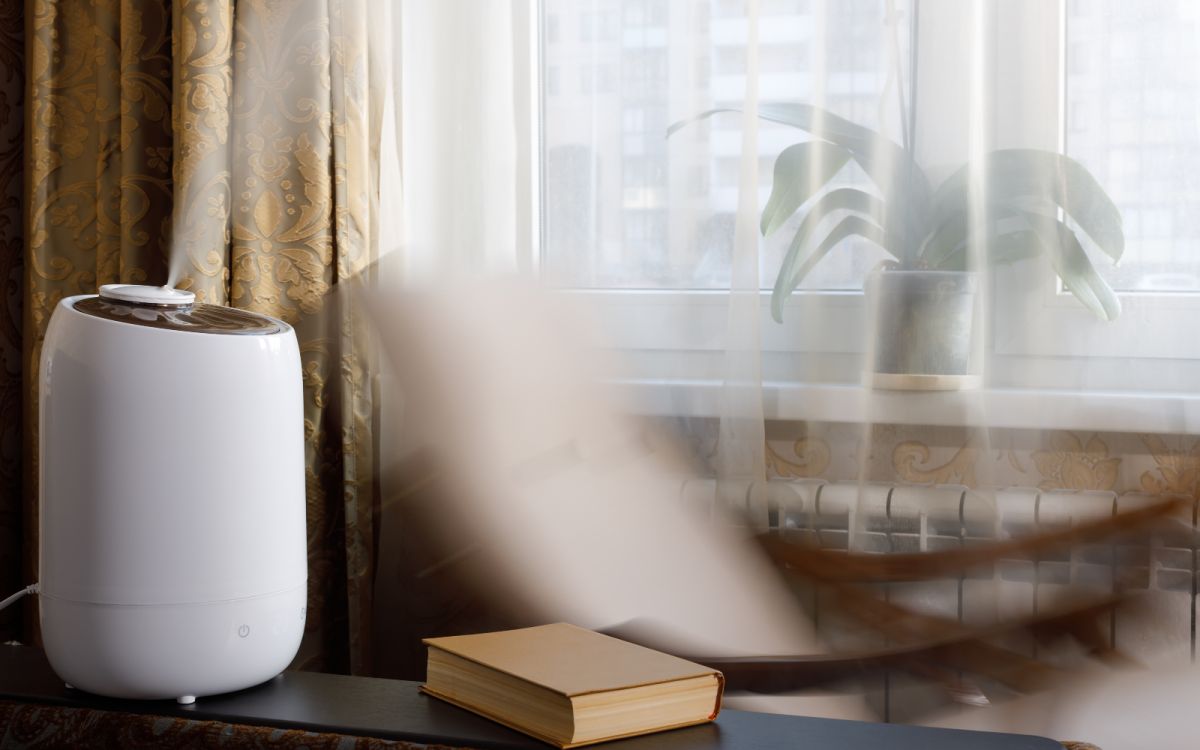
Having a humidifier in your home can provide numerous benefits, such as relieving dry skin, soothing respiratory issues, and creating a more comfortable indoor environment. However, to keep your humidifier running efficiently and effectively, it’s essential to clean it regularly. Cleaning your humidifier not only prevents the growth of mold and bacteria but also ensures that it continues to operate optimally.
In this article, we will guide you through the step-by-step process of cleaning your Frida humidifier. By following these instructions, you can maintain your humidifier’s performance and extend its lifespan, while also promoting a healthier living space for you and your family.
Before we begin, it’s important to gather the necessary supplies. Here’s what you’ll need:
- A soft-bristle brush or toothbrush
- Mild dish soap or vinegar
- Clean, lint-free cloth or sponge
- Water
Now that we have everything ready, let’s dive into the cleaning process.
Key Takeaways:
- Regular cleaning and maintenance of your Frida humidifier is crucial for optimal performance, preventing mold and bacteria growth, and promoting a healthier indoor environment for you and your family.
- Gather the necessary supplies, follow the step-by-step cleaning process, and consider optional disinfection to ensure your Frida humidifier operates efficiently and provides clean, comfortable air in your home.
Read more: How To Clean A Crane Humidifier
Necessary Supplies
Before you start cleaning your Frida humidifier, it’s important to gather all the necessary supplies. Here’s what you’ll need:
- Soft-bristle brush or toothbrush: This will be used to scrub away any stubborn residue or mineral deposits.
- Mild dish soap or vinegar: These are effective cleaning agents for removing buildup and disinfecting the humidifier.
- Clean, lint-free cloth or sponge: Use this to wipe down the various components of the humidifier.
- Water: You’ll need water for rinsing and reassembling the humidifier.
Make sure that all the supplies are readily available before you begin the cleaning process to ensure a smooth and hassle-free experience.
Remember, it’s important to use mild cleaning agents such as dish soap or vinegar. Harsher chemicals can be damaging to the humidifier and may leave behind strong odors that can affect the air quality in your home.
By having these supplies on hand, you’ll be fully prepared to tackle the cleaning process and ensure your Frida humidifier is maintained in the best possible condition.
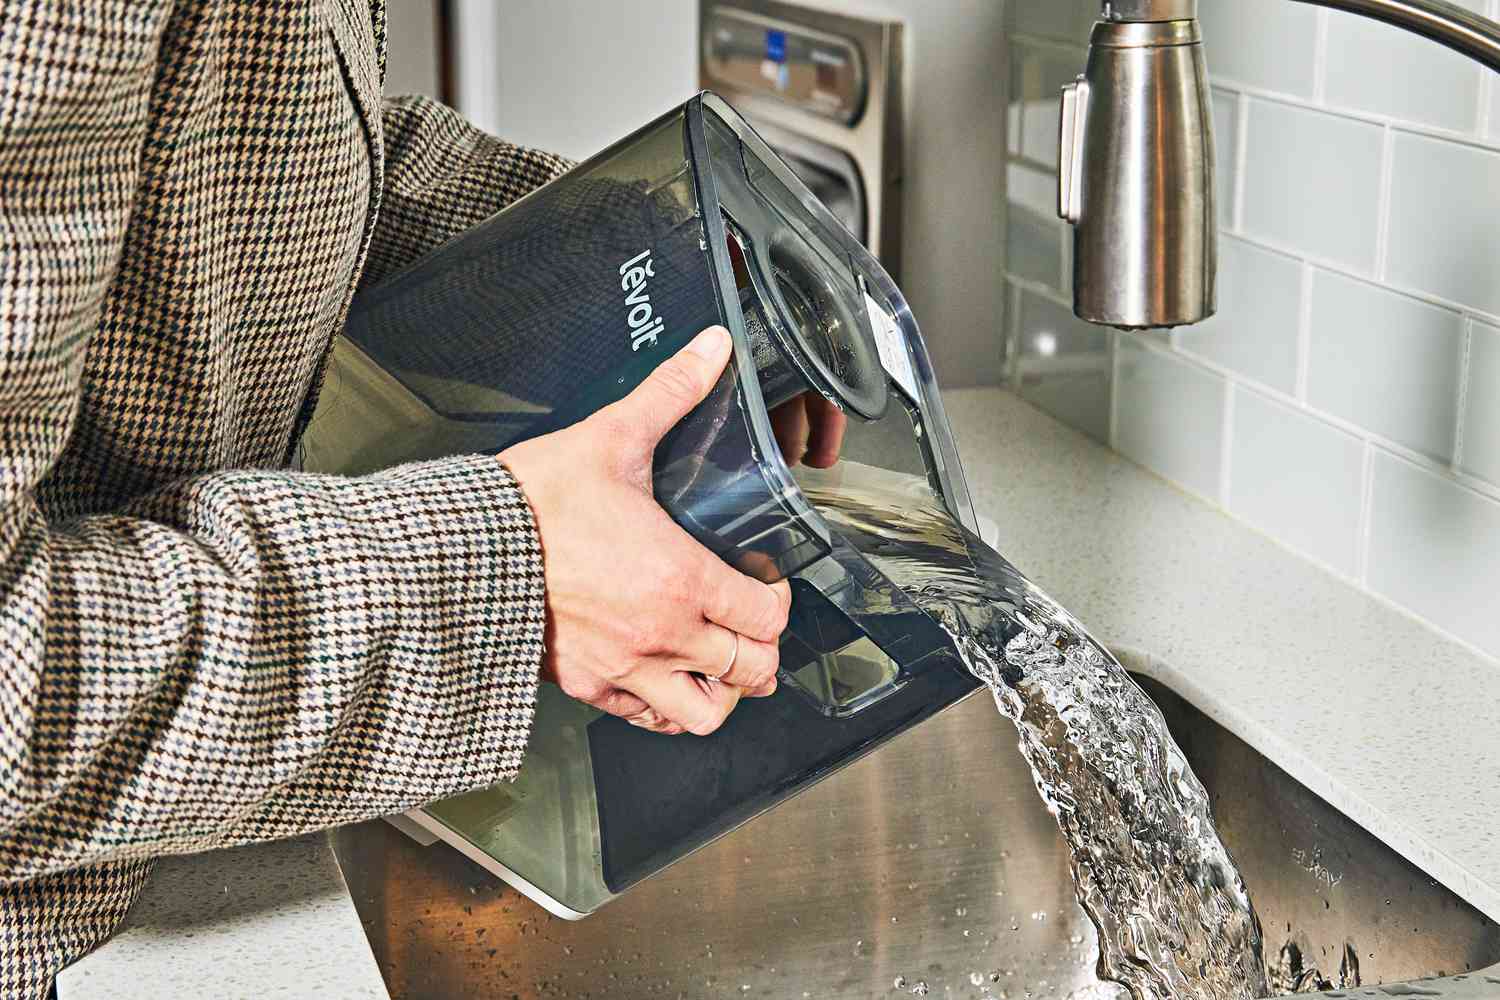
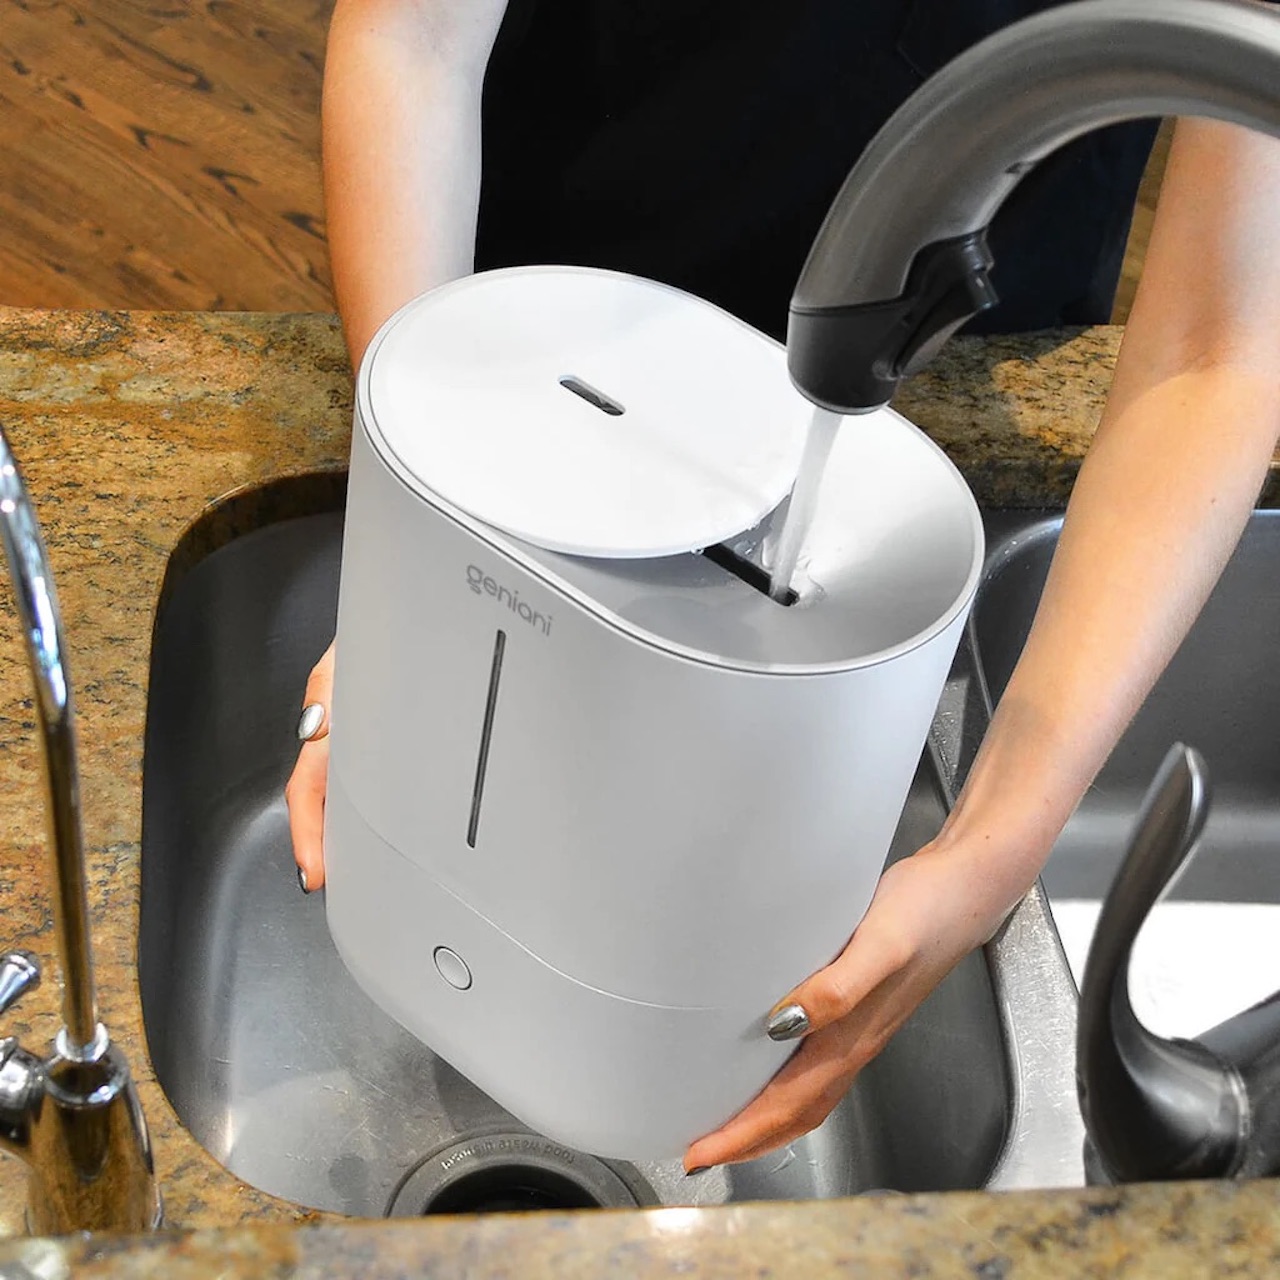
Step 1: Disconnect and Empty the Humidifier
The first step in cleaning your Frida humidifier is to disconnect it from the power source and empty any remaining water. This ensures your safety and allows for easier cleaning.
Follow these simple steps:
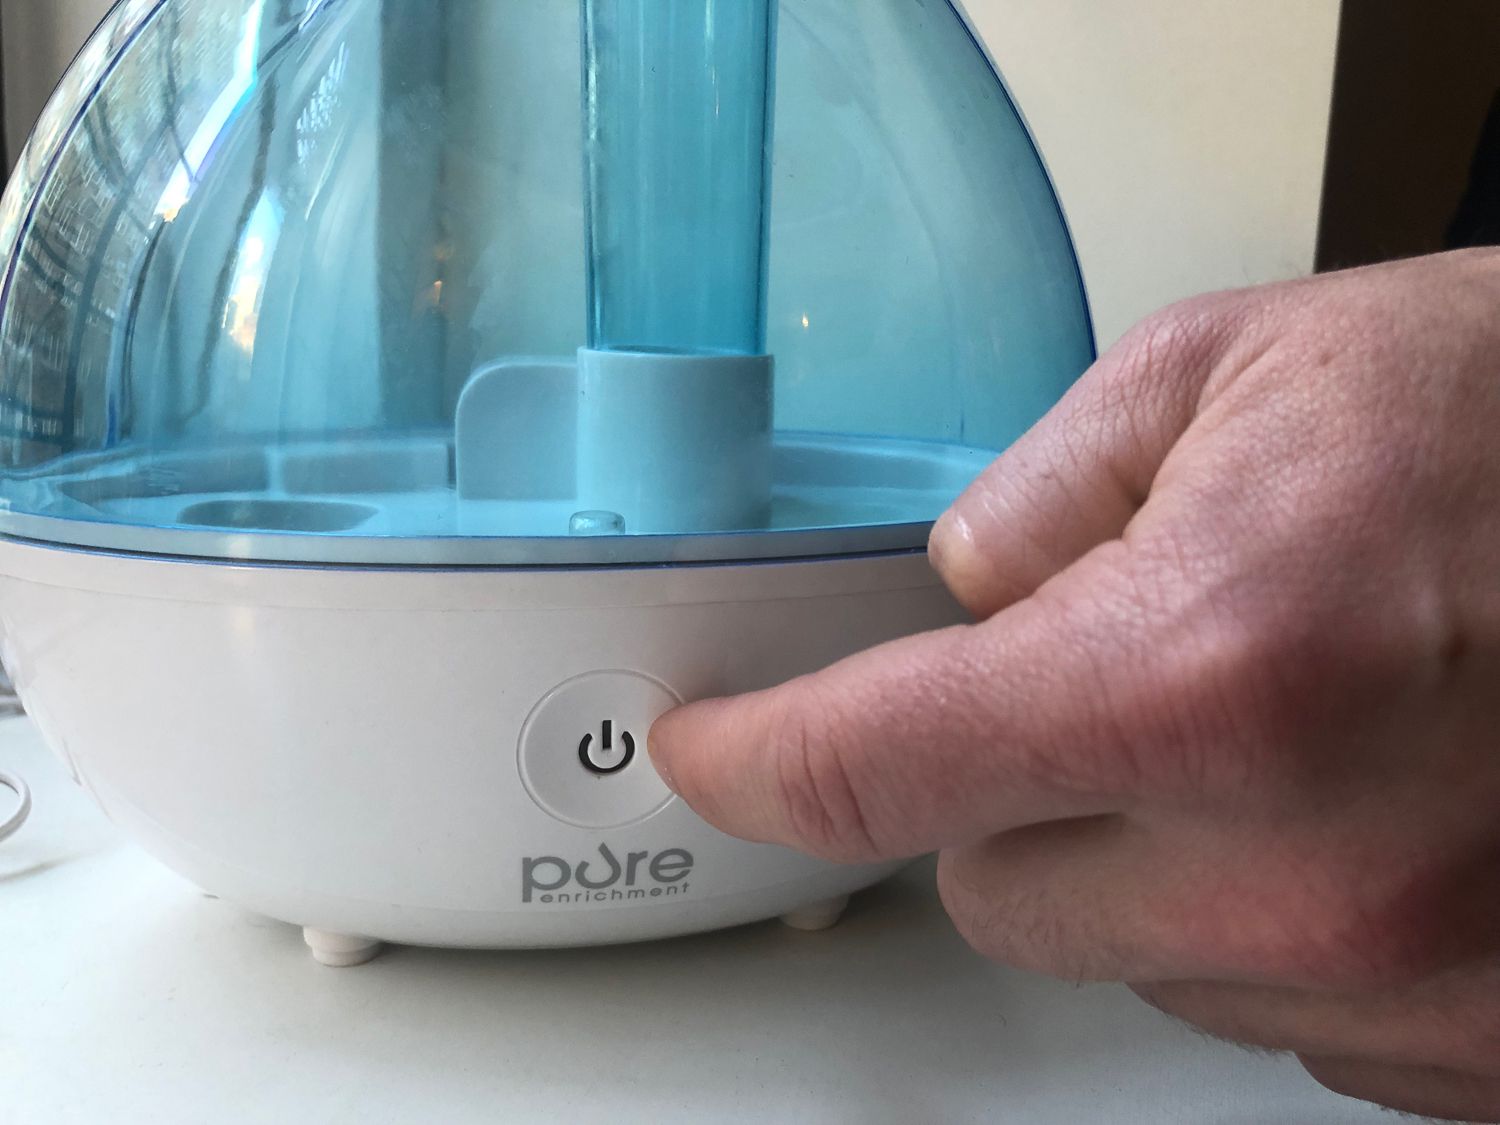
- Unplug the humidifier from the electrical outlet or turn it off if it’s battery-operated.
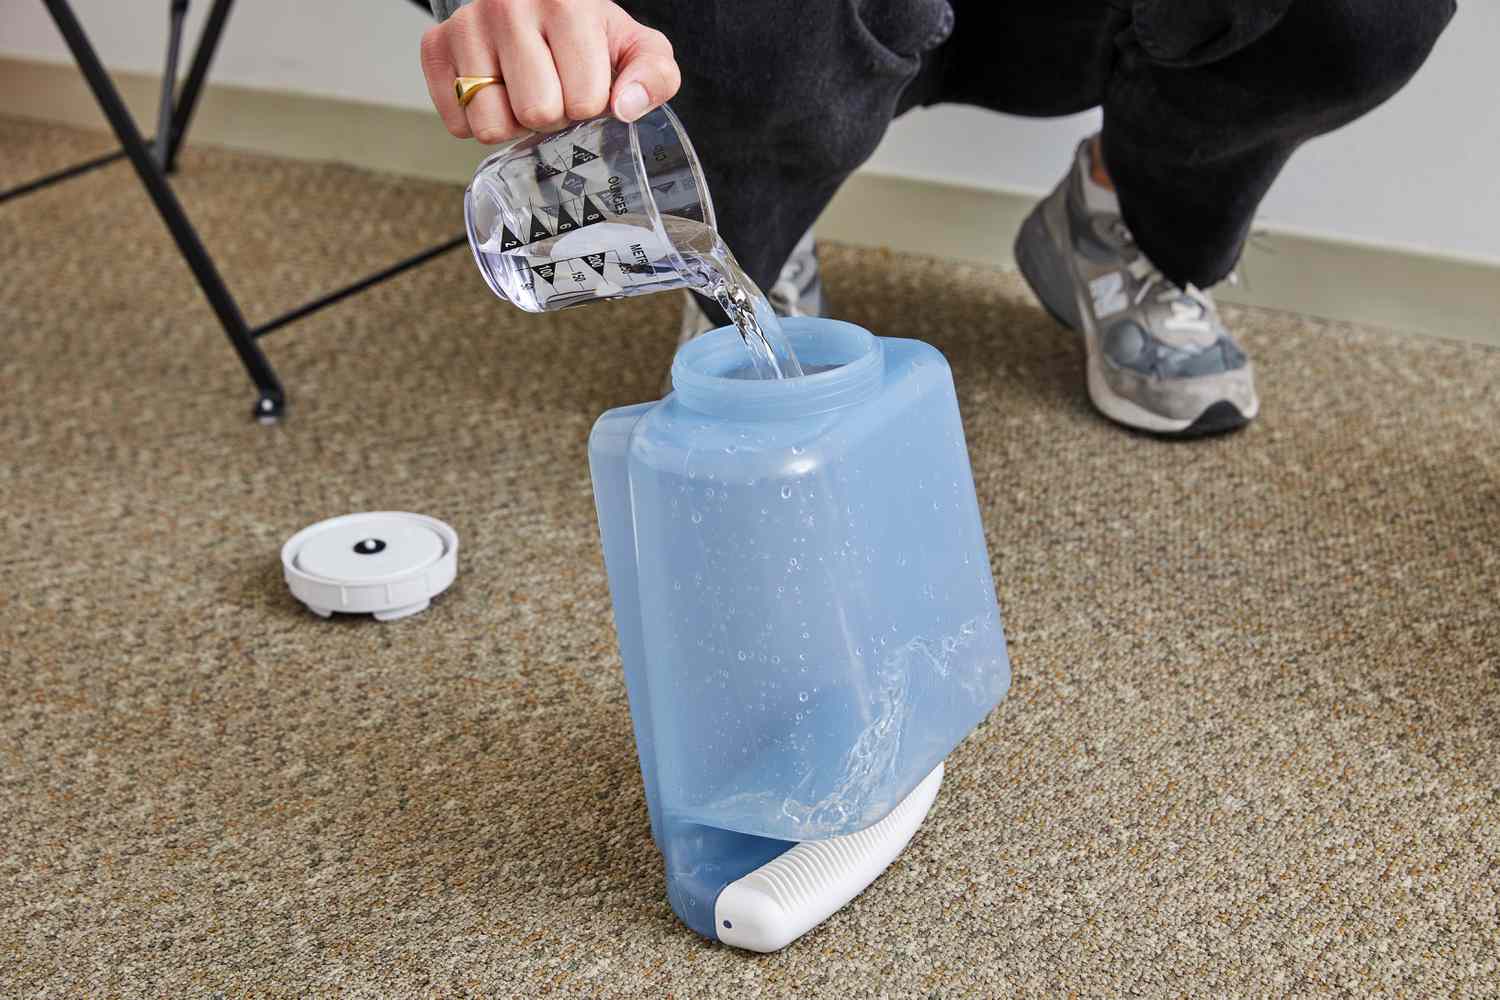
- Carefully remove the water tank from the humidifier base.
- Empty any remaining water from the tank and base into a sink or drain.
- For added efficiency, a tip is to use a cloth or sponge to soak up any excess moisture.
By disconnecting and emptying the humidifier, you prevent any accidental spills and make the cleaning process more manageable. It’s crucial to ensure that there is no residual water inside the unit, as this can lead to the growth of mold and bacteria.
Now that you have disconnected and emptied the humidifier, it’s time to move on to the next step: removing and cleaning the water tank.
Step 2: Remove and Clean the Water Tank
The water tank of your Frida humidifier is where the water is stored before being turned into a fine mist. Regular cleaning of the water tank is crucial to prevent the buildup of mineral deposits and ensure optimal performance of your humidifier.
Follow these steps to remove and clean the water tank:
- Remove the water tank from the humidifier base, as you did in Step 1.
- Separate the tank’s cap or lid from the main body.
- Empty any remaining water from the tank.
- Fill the sink or a basin with warm water and add a few drops of mild dish soap or vinegar.
- Place the tank and its components into the soapy water and let them soak for about 15-20 minutes.
- Using a soft-bristle brush or toothbrush, gently scrub the interior and exterior of the tank, including the cap or lid, to remove any residue or mineral deposits.
- Rinse the tank thoroughly with clean water to remove any soap or vinegar residue.
- After rinsing, use a clean, lint-free cloth or sponge to dry the tank and its components completely.
It’s important to note that some Frida humidifiers have dishwasher-safe water tanks. If your model is dishwasher-safe, you can safely place the tank and its components in the top rack of your dishwasher for a thorough cleaning, following the manufacturer’s instructions.
Once the water tank is clean and dry, you can proceed to the next step: cleaning the humidifier base.
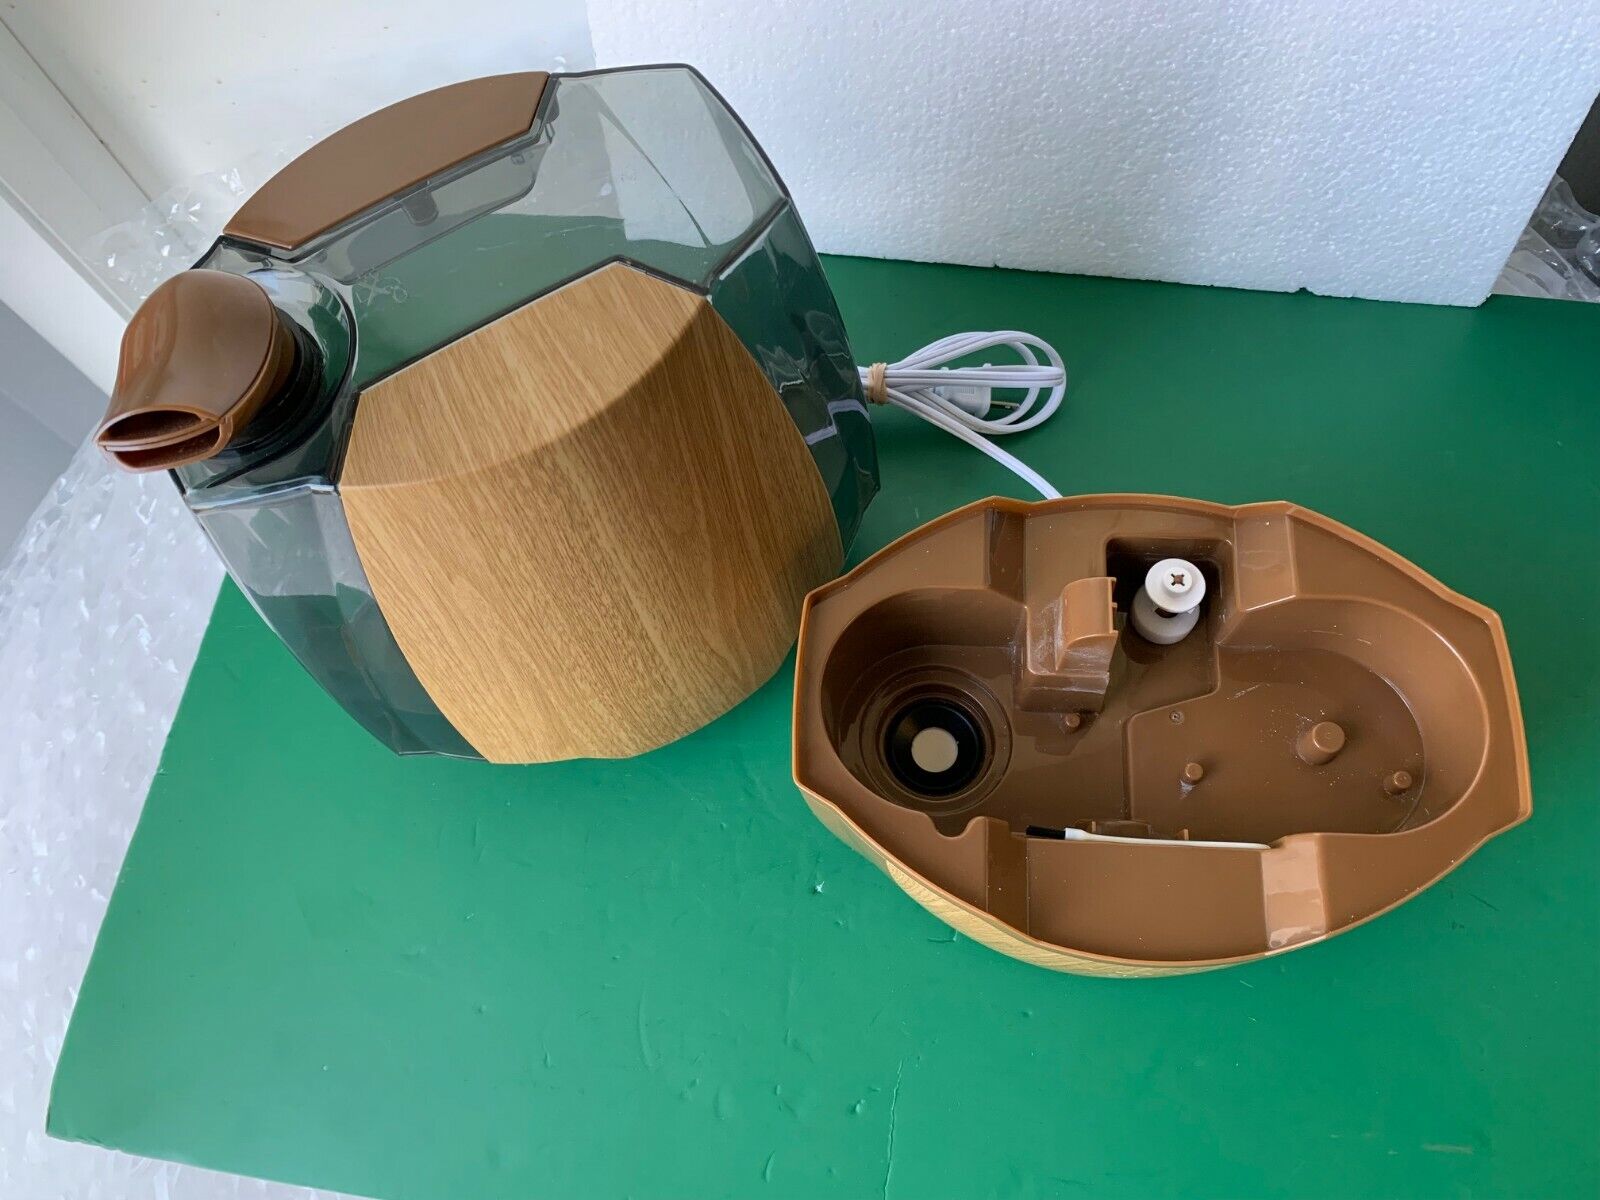
Step 3: Clean the Humidifier Base
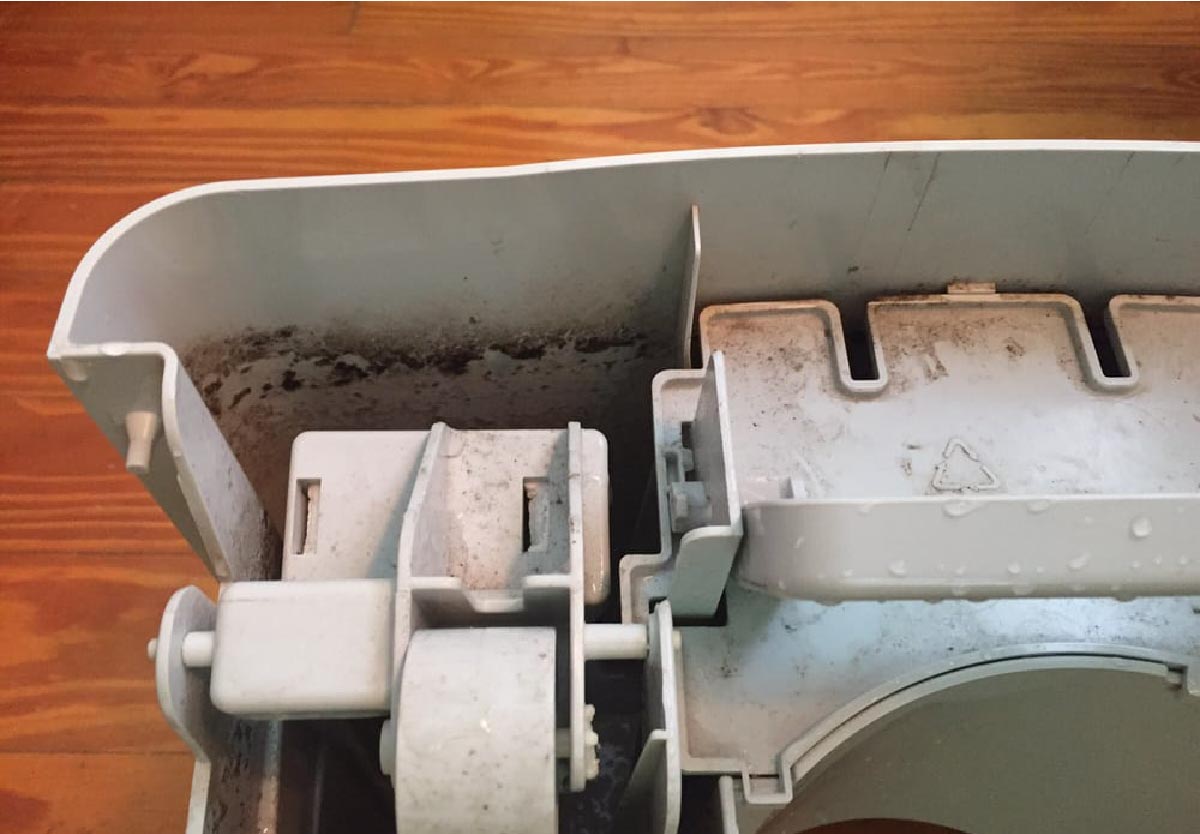
The humidifier base of your Frida humidifier plays a crucial role in distributing the mist and ensuring proper functioning. Regular cleaning of the base helps remove any mineral deposits, dust, or other debris that may accumulate over time.
Follow these steps to clean the humidifier base:
- With the water tank removed, locate the opening where the mist nozzle sits in the base.
- Using a soft-bristle brush or toothbrush, gently scrub the interior of the base around the mist nozzle opening to remove any mineral deposits or residue.
- If there are any stubborn deposits, you can also soak the base in a mixture of warm water and vinegar for about 20-30 minutes to help loosen them.
- Rinse the base thoroughly with clean water to remove any loosened deposits or vinegar residue.
- Using a clean, lint-free cloth or sponge, wipe down the entire base to remove any dust or remaining residue.
- Allow the base to air dry completely before reassembling the humidifier.
It’s important to note that you should never submerge the entire base or electrical components of the humidifier in water. Only clean the exterior and areas that come in direct contact with water as mentioned above.
Once the humidifier base is clean and dry, you can move on to the next step: cleaning the mist nozzle.
To clean a Frida humidifier, mix equal parts water and white vinegar, then use a soft brush to scrub the inside of the tank. Rinse thoroughly before using again.
Read more: How To Clean A Homedics Humidifier
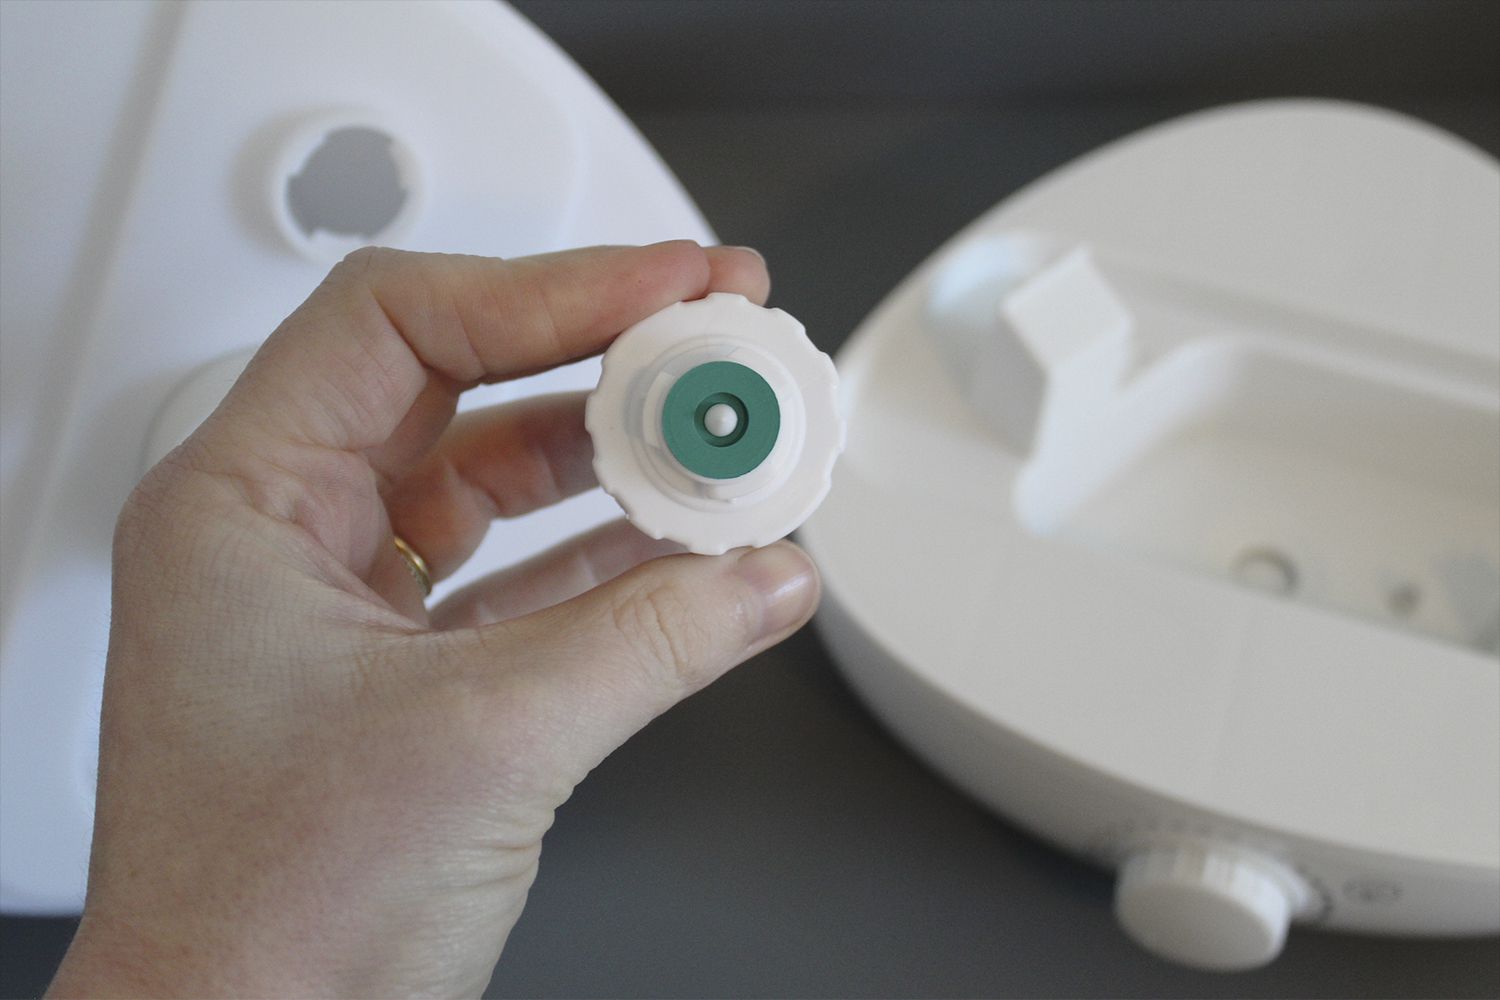
Step 4: Clean the Mist Nozzle
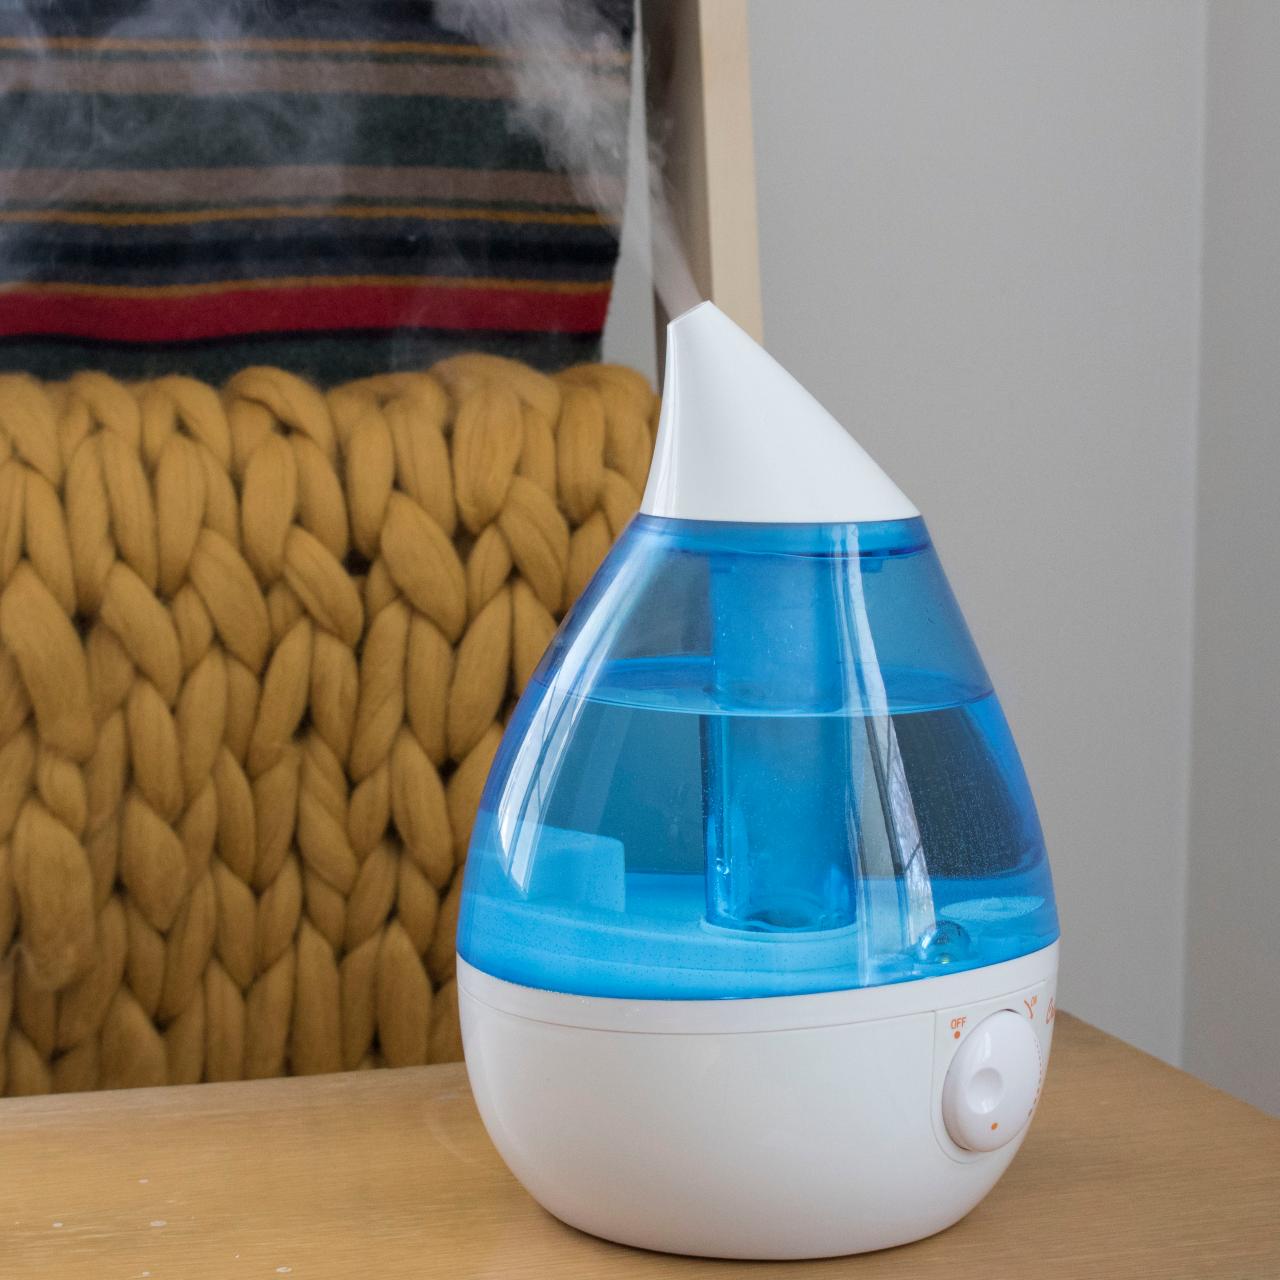
The mist nozzle of your Frida humidifier is responsible for dispersing the fine mist into the air. Over time, mineral deposits and other impurities can clog the nozzle, affecting the quality and efficiency of the mist. Regular cleaning of the mist nozzle ensures optimal performance of your humidifier.
Follow these steps to clean the mist nozzle:
- Locate the mist nozzle, which is usually located near the top of the humidifier base.
- Remove the mist nozzle from the base. Refer to the user manual or manufacturer’s instructions if you are unsure how to detach it.
- Inspect the nozzle for any visible buildup or blockage. If you notice any mineral deposits or debris, proceed with the cleaning.
- Fill a small container or bowl with equal parts water and vinegar.
- Submerge the mist nozzle in the vinegar solution and let it soak for approximately 30 minutes. This will help dissolve any mineral deposits and disinfect the nozzle.
- After soaking, use a soft-bristle brush or toothbrush to gently scrub the nozzle, removing any remaining residue or buildup.
- Rinse the mist nozzle thoroughly with clean water to remove any vinegar residue.
- Allow the mist nozzle to dry completely before reattaching it to the base.
It’s important to handle the mist nozzle with care to avoid damaging it. Avoid using any sharp objects or abrasive cleaners that could cause scratches or other harm.
Once the mist nozzle is clean and dry, you can proceed to the next step: rinsing and reassembling the humidifier.
Step 5: Rinse and Reassemble the Humidifier
Now that you have cleaned the individual components of your Frida humidifier, it’s time to rinse and reassemble them. This step ensures that any remaining cleaning agents or residue are removed and that your humidifier is ready to function optimally.
Follow these steps to rinse and reassemble the humidifier:
- Rinse all the cleaned components, including the water tank, humidifier base, and mist nozzle, with clean water.
- Ensure that all soap, vinegar, or cleaning solution residue is thoroughly rinsed off.
- Use a clean, lint-free cloth or sponge to dry each component thoroughly. Make sure there is no moisture left before reassembling.
- Reattach the mist nozzle onto the base, ensuring it is securely in place.
- Place the cleaned water tank back onto the base with care. Ensure it is properly aligned and securely fastened.
- Double-check that all connections and seals are tight to prevent any leaks.
Once you have rinsed and reassembled the humidifier, it’s a good idea to run a test cycle before using it regularly. This allows you to check for any leaks or functionality issues and ensures that everything is working as expected.
Congratulations! You have successfully cleaned and reassembled your Frida humidifier. Now, you can enjoy the benefits of a clean and properly functioning humidifier in your home.
Step 6: Disinfect the Humidifier (Optional)
While regular cleaning helps remove dirt, mineral deposits, and other impurities from your Frida humidifier, you may also want to consider periodically disinfecting it to eliminate any lingering bacteria, mold, or mildew.
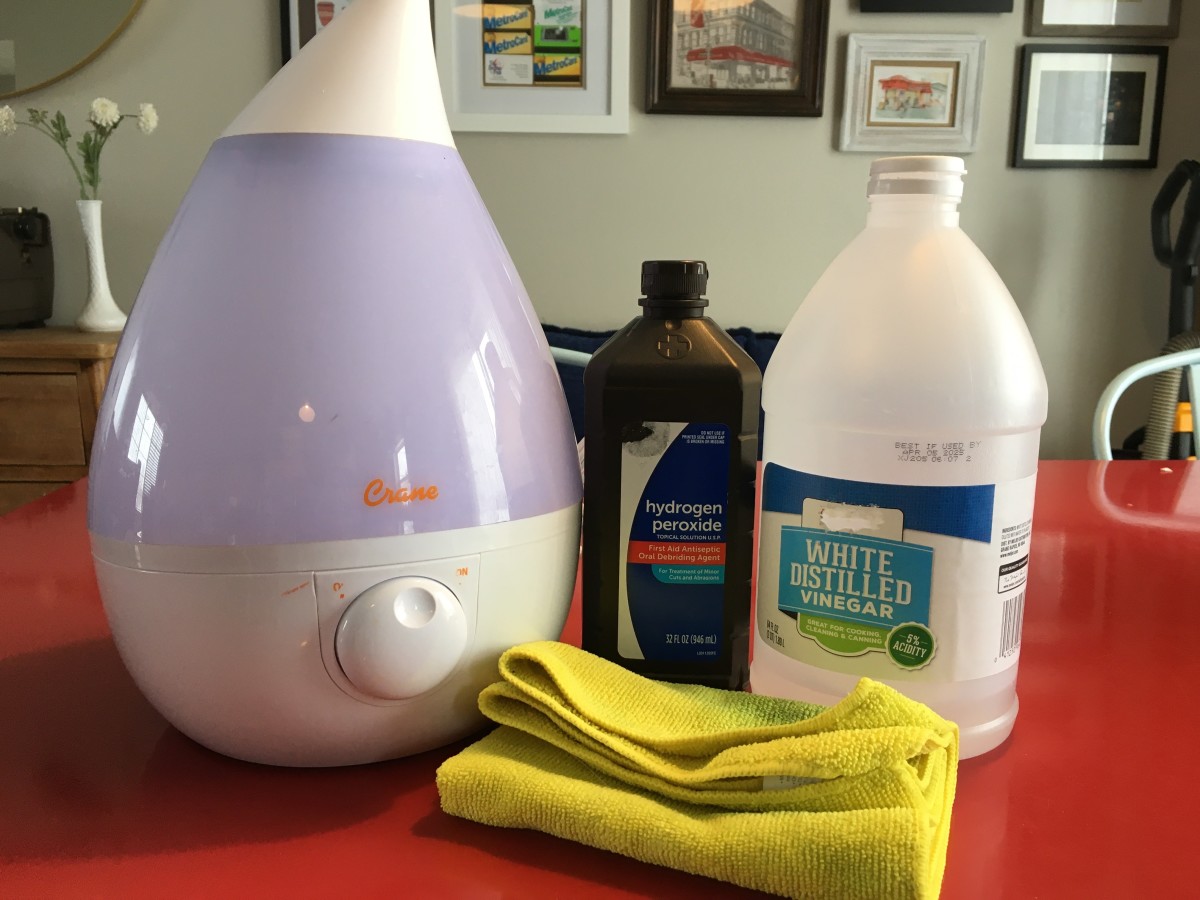
Follow these steps to disinfect your humidifier:
- Prepare a solution of one part white vinegar to five parts water. You can also use hydrogen peroxide diluted with water.
- Fill the water tank with the vinegar or hydrogen peroxide solution and replace the cap or lid.
- Allow the solution to sit in the tank for approximately 30 minutes to an hour.
- Shake the tank gently to ensure the solution reaches all areas, including the mist nozzle.
- Empty the disinfecting solution from the tank and rinse it thoroughly with clean water.
- Use a clean cloth or sponge to wipe down the entire humidifier base, including the mist nozzle, with the disinfecting solution.
- Rinse the base thoroughly with clean water to remove any residue.
- Allow all the components to air dry completely before reassembling the humidifier.
Disinfecting your humidifier helps eliminate harmful microorganisms and ensures that the air produced by the unit is clean and free from potential contaminants.
It’s important to note that disinfection is an optional step and may not be necessary for regular maintenance. However, if you notice any signs of mold or mildew, such as a musty odor or visible growth, it’s strongly recommended to disinfect your humidifier to prevent further contamination.
Now that your Frida humidifier is clean and, if desired, disinfected, you can enjoy its benefits with peace of mind.
Conclusion
Cleaning your Frida humidifier is essential to maintain its performance, promote a healthy indoor environment, and prolong its lifespan. By following the steps outlined in this guide, you can easily and effectively clean your humidifier, ensuring it operates optimally and provides the desired benefits for you and your family.
Remember to gather the necessary supplies before starting the cleaning process, including a soft-bristle brush or toothbrush, mild dish soap or vinegar, a clean cloth or sponge, and water.
To clean your humidifier, begin by disconnecting and emptying the unit, then remove and clean the water tank, humidifier base, and mist nozzle. Rinse and dry all components thoroughly before reassembling the humidifier.
Optionally, you can also choose to disinfect your humidifier periodically by using vinegar or hydrogen peroxide solutions, followed by thorough rinsing.
Regular maintenance and cleaning of your Frida humidifier not only ensure its optimal performance but also prevent the growth of mold, bacteria, and other harmful contaminants. This helps to create a healthier and more comfortable environment in your home.
By incorporating these cleaning practices into your routine, you can enjoy the benefits of a clean and efficient humidifier that provides the proper humidity levels and promotes better respiratory health.
So, take the time to clean your Frida humidifier regularly and enjoy the enhanced air quality and comfort it brings to your living space.
Now that you've mastered cleaning your Frida humidifier, why not tackle another key appliance in your home? Refreshing your fridge not only keeps it hygienic but also enhances its efficiency. Dive into our guide, where we reveal practical cleaning tips for keeping your refrigerator spotless inside and out. You'll find simple, straightforward advice to ensure every nook and cranny shines, boosting both appearance and performance. Don't miss out on these essential insights for a cleaner, fresher kitchen!
Frequently Asked Questions about How To Clean Frida Humidifier
Was this page helpful?
At Storables.com, we guarantee accurate and reliable information. Our content, validated by Expert Board Contributors, is crafted following stringent Editorial Policies. We're committed to providing you with well-researched, expert-backed insights for all your informational needs.


0 thoughts on “How To Clean Frida Humidifier”