Articles
How To Clean A Homedics Humidifier
Modified: August 25, 2024
Learn the best techniques for cleaning your Homedics humidifier in this informative article. Discover how to maintain a healthy indoor environment with proper maintenance.
(Many of the links in this article redirect to a specific reviewed product. Your purchase of these products through affiliate links helps to generate commission for Storables.com, at no extra cost. Learn more)
Introduction
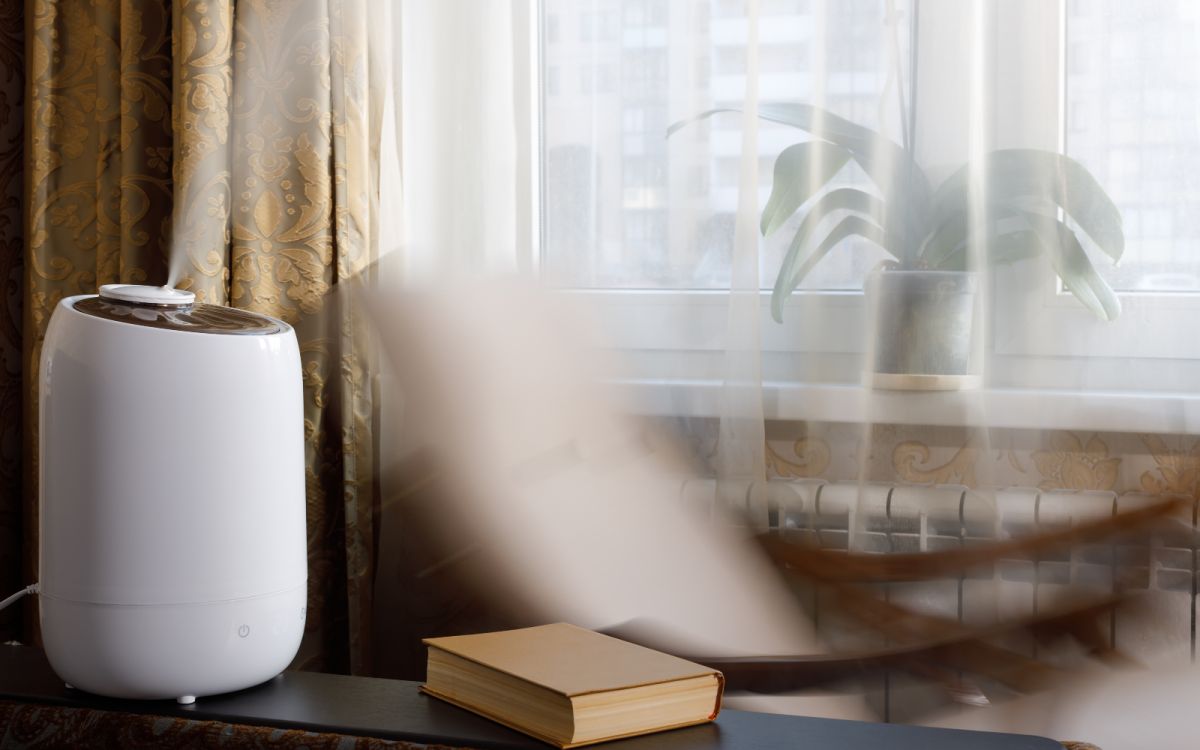
Humidifiers are essential devices for maintaining optimal humidity levels in your home. They improve air quality, alleviate dry skin, and help relieve respiratory ailments. The Homedics humidifier is a popular choice due to its efficiency and user-friendly features. To ensure its effectiveness and longevity, regular cleaning is necessary. In this article, we will guide you on how to properly clean your Homedics humidifier, ensuring it operates at its best.
Regular cleaning of your humidifier is crucial to prevent the buildup of bacteria, mold, and mineral deposits. Neglecting cleaning can lead to reduced performance and even potential health issues. By following the steps outlined in this article, you can maintain a clean and hygienic environment inside your home.
Key Takeaways:
- Regularly cleaning your Homedics humidifier is crucial for maintaining optimal performance, preventing health issues, and creating a hygienic home environment.
- Prioritize safety, gather the necessary materials, and follow the step-by-step cleaning process to ensure your Homedics humidifier operates at its best.
Read also: 14 Amazing Homedics Humidifier for 2025
Safety Precautions
Before starting the cleaning process, it is important to take certain safety precautions to ensure your well-being and avoid any potential accidents. Follow these safety measures before proceeding with the cleaning:
- Turn off and unplug the humidifier: Make sure the humidifier is switched off and unplugged from the power source.
- Wait for the humidifier to cool down: Give the humidifier some time to cool down completely before disassembling it.
- Read the manufacturer’s instructions: Familiarize yourself with the specific cleaning instructions provided by the Homedics manufacturer. Following their recommendations will ensure you clean the humidifier correctly.
- Use protective gear: Wear rubber gloves and protective goggles when working with cleaning agents to prevent any skin irritation or eye injuries.
- Work in a well-ventilated area: Cleaning agents may emit fumes, so it’s important to work in a well-ventilated area to avoid inhaling any toxic substances.
- Avoid submerging electrical components: Do not submerge the electric components of the humidifier in water. This can damage the device and pose a safety risk. Instead, wipe them with a damp cloth.
- Keep children and pets away: Ensure that children and pets are kept at a safe distance during the cleaning process to prevent accidents.
By following these safety precautions, you can safeguard yourself and others while cleaning your Homedics humidifier. It is essential to prioritize safety to make the cleaning process hassle-free and efficient.
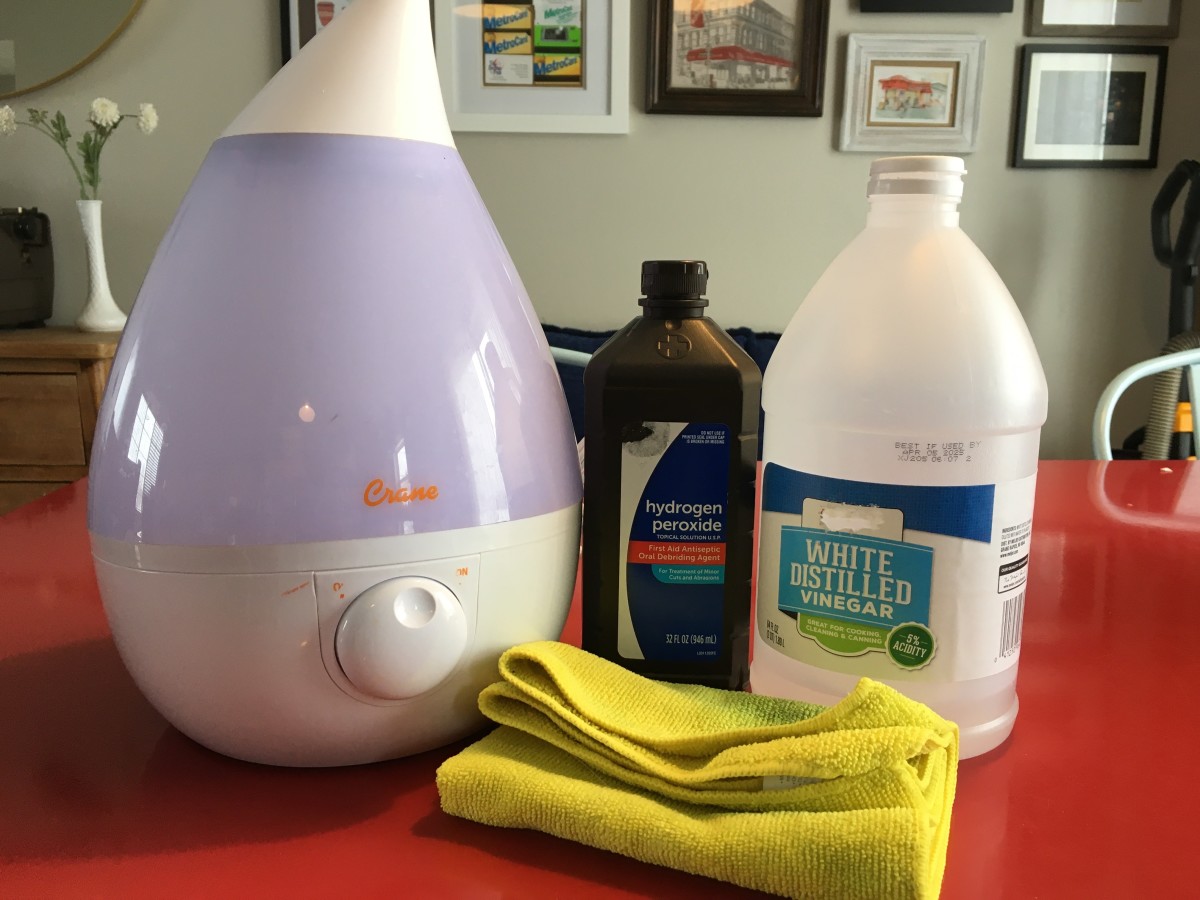
Materials Needed
Before you begin the cleaning process, gather the necessary materials to ensure you have everything you need. Here is a list of materials you will require to clean your Homedics humidifier:
- Dish soap: Choose a mild dish soap that is safe for cleaning and doesn’t contain any harsh chemicals.
- Vinegar: White vinegar is a natural cleaning agent that helps remove mineral deposits and disinfects the humidifier.
- Water: You will need water for rinsing and diluting cleaning agents.
- A soft-bristle brush: Use a soft-bristle brush, such as a toothbrush or a dedicated humidifier cleaning brush, to scrub away dirt and deposits.
- A microfiber cloth or sponge: These will help you wipe down the surfaces of the humidifier.
- A clean towel: Use a clean towel for drying the components after cleaning.
Ensure that all the materials you gather are clean and free from any residues or contaminants. Using clean materials will help maintain the hygiene of your humidifier throughout the cleaning process.
By having these materials ready, you will be fully equipped to clean your Homedics humidifier efficiently and effectively. Now that you have everything you need, let’s move on to the step-by-step cleaning process.
Step 1: Turn off and Unplug the Humidifier
Before you begin disassembling and cleaning your Homedics humidifier, ensure that it is turned off and unplugged from the power source. This step is essential for your safety and to prevent any potential damage to the device.
Turning off the humidifier will prevent it from operating while you clean it, minimizing the risk of electrical shock or injury. Unplugging the device ensures that there is no power supply, eliminating any possibility of accidents.
Take a moment to locate the power switch or control panel and turn off the humidifier. Once the device is fully turned off, unplug it from the wall socket or power outlet. This will ensure that there is no power flow to the humidifier during the cleaning process.
Always wait for the humidifier to cool down completely before proceeding to the next steps. This will help protect you from burns or injuries caused by hot surfaces.
By following this crucial first step, you have ensured your safety and prepared the humidifier for the cleaning process. Now, let’s move on to the next step of disassembling the humidifier.
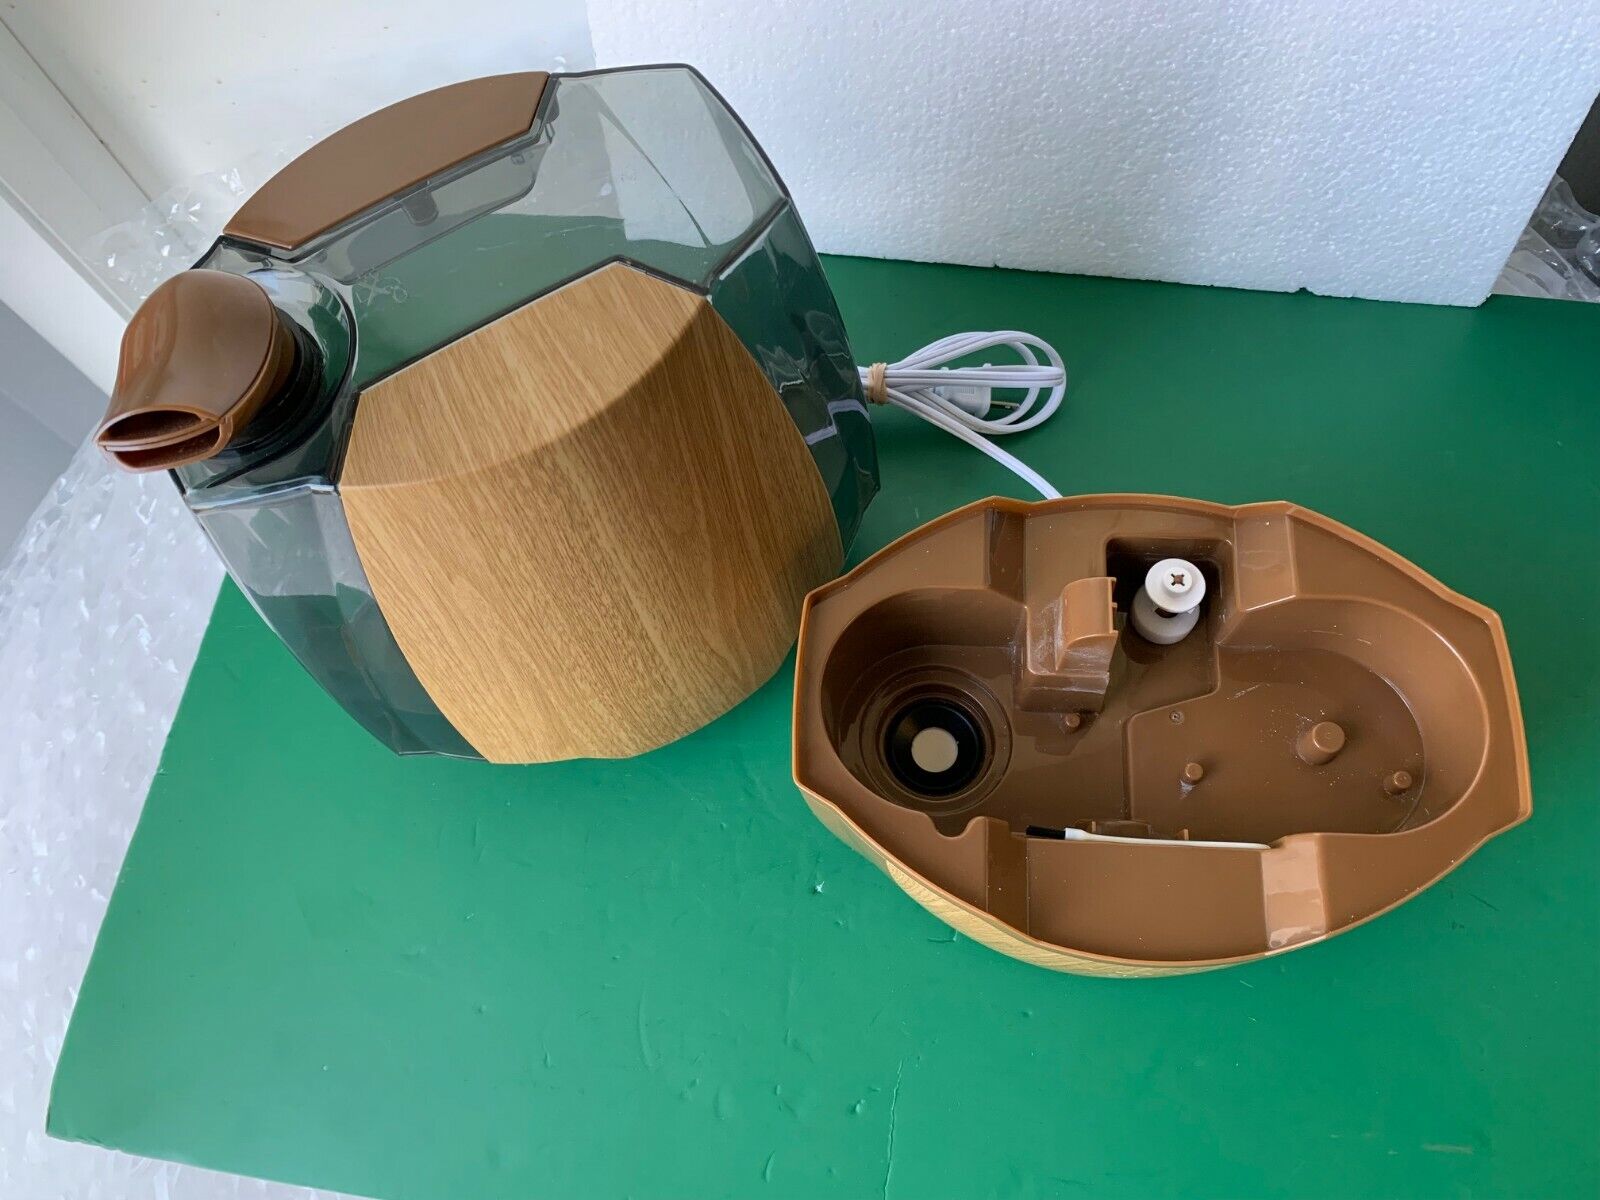
Step 2: Disassemble the Humidifier
Once the Homedics humidifier is turned off, unplugged, and cooled down, it’s time to disassemble the device. Disassembling the humidifier allows for easier access to its components for thorough cleaning. Follow these steps to disassemble the humidifier:
- Remove the water tank: Lift the water tank from the humidifier base. Depending on the model, you may need to press a release button or unlock a latch to remove it.
- Separate the nebulizer/tank cap: If your humidifier has a removable nebulizer or tank cap, twist it counterclockwise to detach it from the water tank.
- Detach any additional parts: Some humidifier models may have other removable parts, such as an intake grille or mist director. If applicable, remove these parts as per the manufacturer’s instructions.
As you disassemble the humidifier, handle each component with care to avoid damaging them. Place the assembled parts on a clean and dry surface for further cleaning.
By disassembling the humidifier, you have created easy access to each component that requires cleaning. In the next step, we will focus on cleaning the water tank to remove any built-up impurities.
Read more: How To Clean Homedics Air Purifier Filter
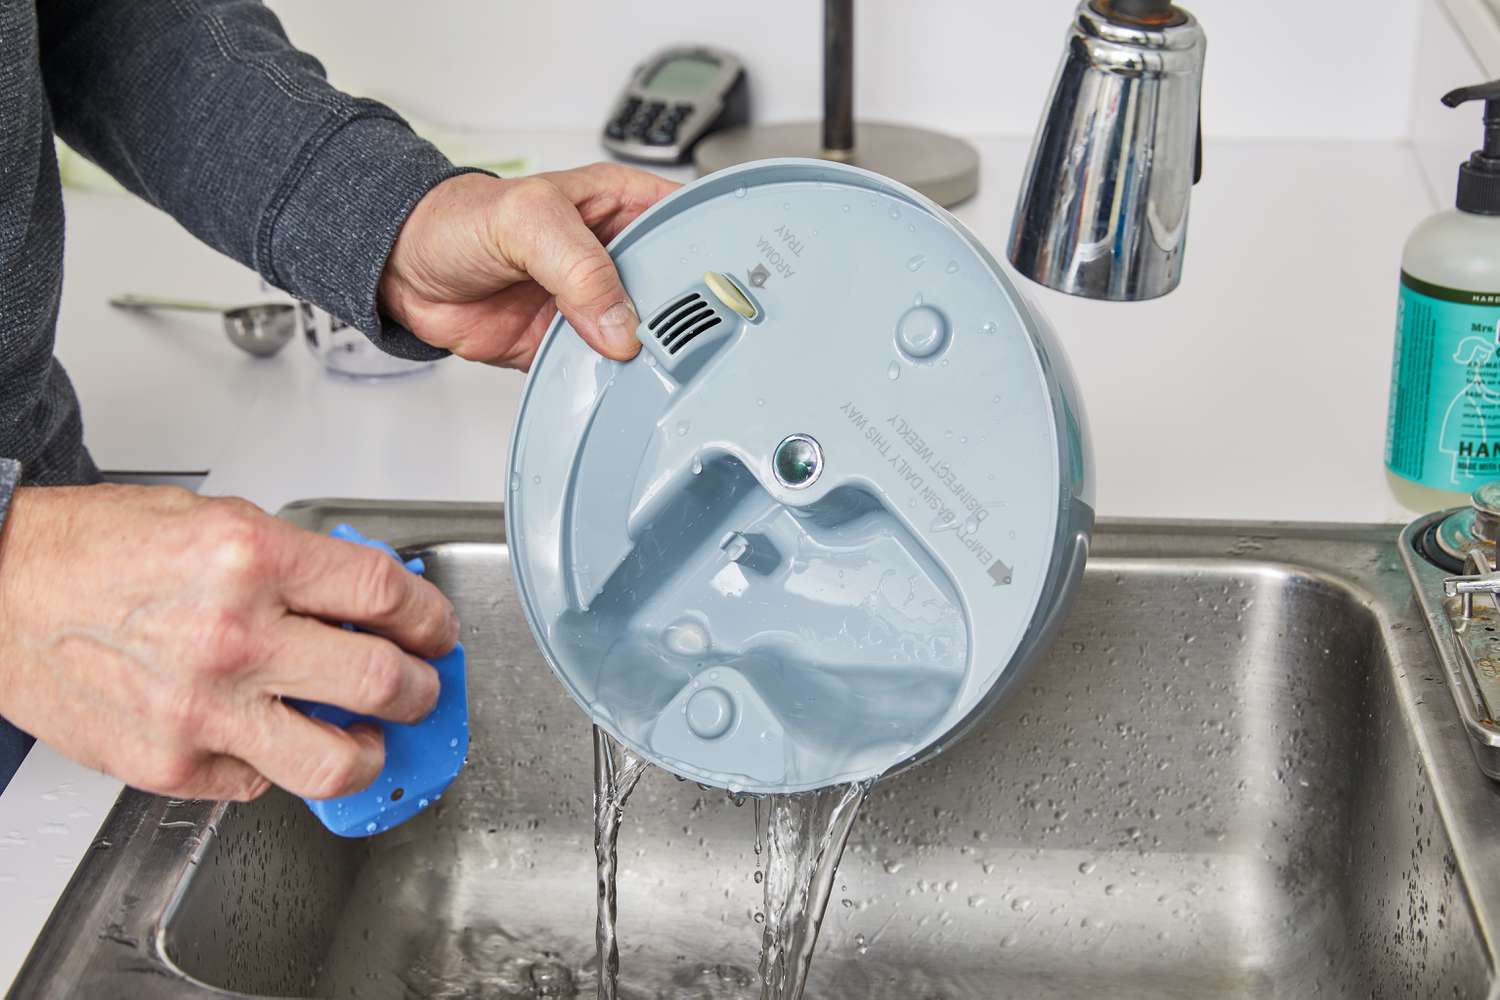
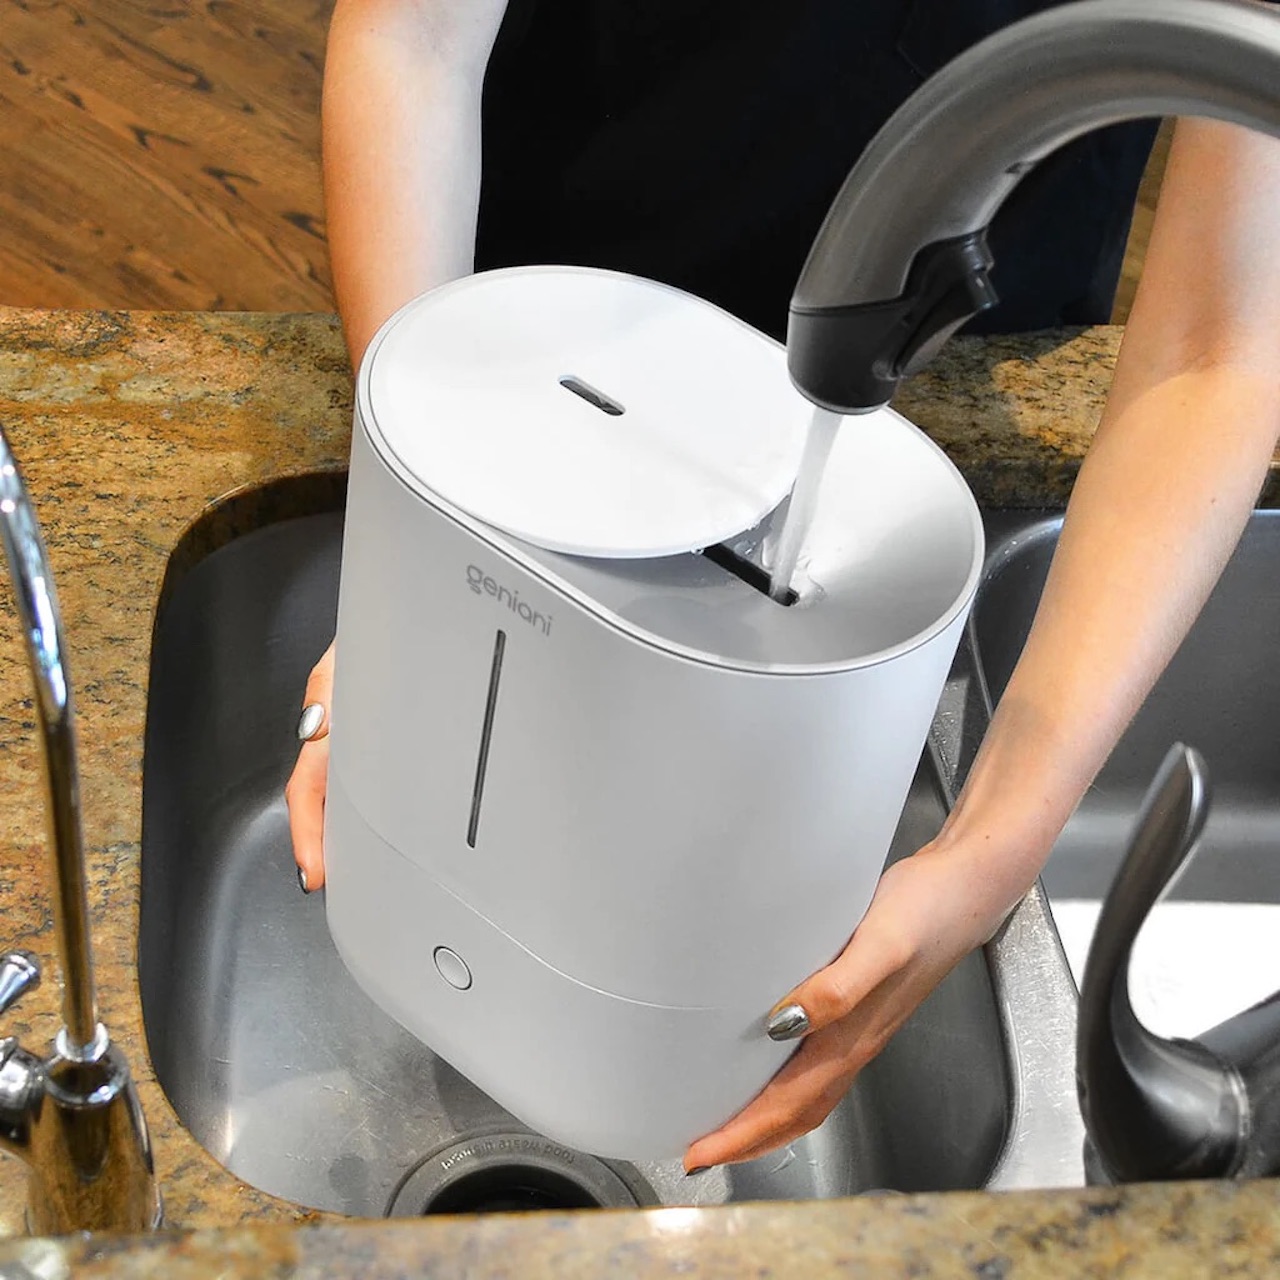
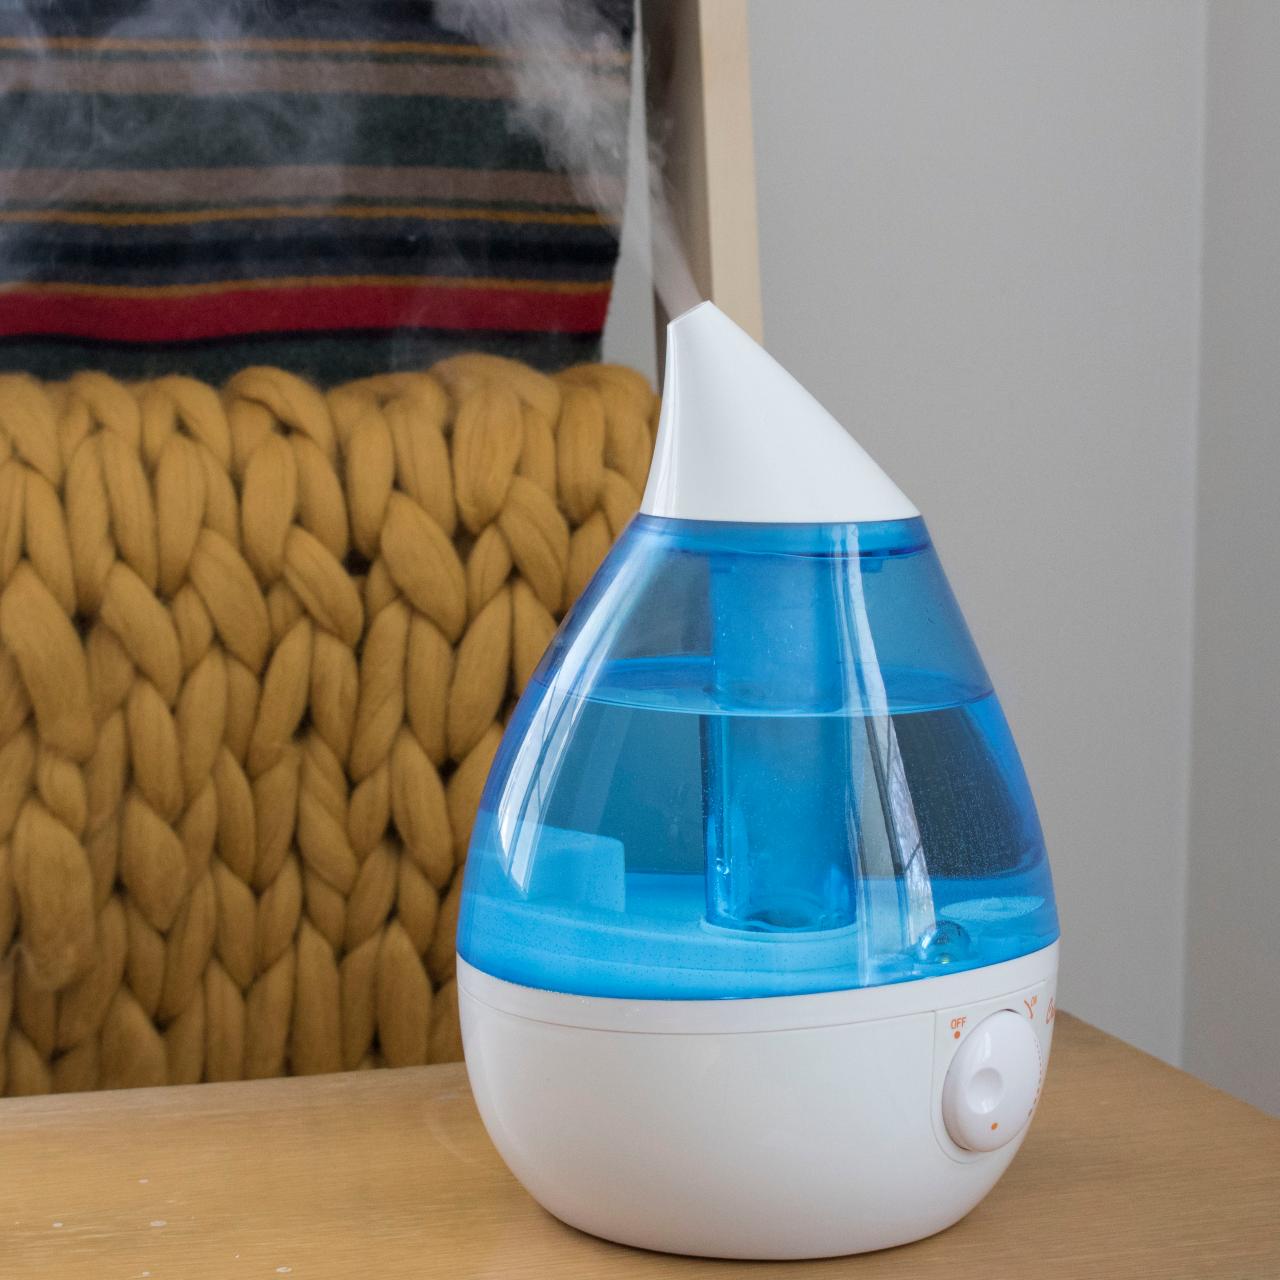
Step 3: Clean the Water Tank
The water tank of your Homedics humidifier is a crucial component that requires regular cleaning to ensure optimal performance and prevent the growth of bacteria and mold. Follow these steps to clean the water tank:
- Empty the water tank: Carefully pour out any remaining water from the tank into the sink or drain.
- Add cleaning solution: Fill the tank with a mixture of warm water and mild dish soap. Use approximately one teaspoon of dish soap per gallon of water.
- Swirl the solution: Gently swirl the tank to ensure that the cleaning solution reaches all areas. This will help loosen any debris or mineral deposits inside the tank.
- Scrub the tank: Use a soft-bristle brush or sponge to scrub the interior of the tank, paying extra attention to areas with visible residue. Pay attention to the corners, edges, and any hard-to-reach spots.
- Rinse thoroughly: Once you have scrubbed the tank, rinse it thoroughly with clean water to remove any soap residue. Ensure that all traces of the cleaning solution are rinsed away.
- Dry the tank: Use a clean towel or allow the tank to air dry completely before moving on to the next step.
It is important to note that you should not submerge the electrical components of the humidifier, such as the motor or control panel, in water. Only the water tank can be safely cleaned with water and mild dish soap.
By following these steps, you have thoroughly cleaned and rinsed the water tank of your Homedics humidifier. The next step focuses on cleaning the base of the humidifier.
To clean a Homedics humidifier, mix equal parts white vinegar and water, then fill the tank and let it sit for 30 minutes. Rinse thoroughly and wipe dry before using again.
Step 4: Clean the Base
The base of your Homedics humidifier is another important component that requires regular cleaning. The base houses the motor, fan, and other essential parts of the humidifier. Follow these steps to clean the base:
- Prepare a cleaning solution: In a bowl or sink, prepare a mixture of warm water and mild dish soap.
- Dampen a microfiber cloth or sponge: Dip a microfiber cloth or sponge into the cleaning solution and wring out any excess liquid.
- Wipe down the base: Use the damp cloth or sponge to wipe down the exterior and interior surfaces of the base. Pay close attention to areas with visible dirt or residue.
- Pay attention to crevices and corners: Use a soft-bristle brush or a cotton swab to clean hard-to-reach areas, such as crevices and corners of the base.
- Dry the base: After cleaning, use a dry microfiber cloth or towel to thoroughly dry the base. Ensure that there is no moisture left before reassembling the humidifier.
It is important to note that water should not be poured directly onto the base or submerged in water. Cleaning the base with a damp cloth or sponge is sufficient to remove any dirt or residue.
By following these steps, you have effectively cleaned the base of your Homedics humidifier. The next step focuses on cleaning the nebulizer or tank cap, if applicable.
Step 5: Clean the Nebulizer/Tank Cap
If your Homedics humidifier has a removable nebulizer or tank cap, it is essential to clean these components to ensure optimal performance. Follow these steps to clean the nebulizer or tank cap:
- Remove the nebulizer or tank cap: Twist the nebulizer or tank cap counterclockwise to detach it from the water tank, if applicable. Some humidifiers may have a removable nebulizer or tank cap, while others may not.
- Prepare a cleaning solution: In a bowl or sink, mix equal parts of white vinegar and water. This cleaning solution will help remove any mineral deposits and disinfect the nebulizer or tank cap.
- Soak the nebulizer or tank cap: Place the nebulizer or tank cap in the cleaning solution and let it soak for approximately 20-30 minutes. This will help loosen any deposits or build-up.
- Scrub the nebulizer or tank cap: After soaking, use a soft-bristle brush or a toothbrush to gently scrub the nebulizer or tank cap, focusing on areas with visible residue.
- Rinse thoroughly: Once you have scrubbed the nebulizer or tank cap, rinse it thoroughly with clean water to remove any vinegar residue.
- Dry the nebulizer or tank cap: Use a clean towel or allow the nebulizer or tank cap to air dry completely before reassembling the humidifier.
It is important to note that not all humidifier models have a removable nebulizer or tank cap. If your humidifier does not have these components, you can skip this step.
By following these steps, you have effectively cleaned and disinfected the nebulizer or tank cap of your Homedics humidifier. Now, let’s move on to the next step of rinsing and drying all the components.
Step 6: Rinse and Dry all Components
After cleaning each individual component of your Homedics humidifier, it is important to rinse them thoroughly and allow them to dry completely before reassembly. Follow these steps to rinse and dry all the components:
- Rinse with clean water: Use clean water to thoroughly rinse each component, including the water tank, base, nebulizer, and tank cap. This will ensure that all traces of cleaning solutions or residues are removed.
- Inspect for cleanliness: While rinsing, inspect each component to ensure that there are no visible dirt, residue, or mineral deposits remaining. If necessary, use a soft-bristle brush or sponge to gently scrub any stubborn spots.
- Dry with a clean towel: Use a clean, dry towel to pat or wipe each component until they are completely dry. Make sure there is no moisture left on any surface to avoid mold or bacterial growth.
It is important to note that air drying is also an effective method for drying the components, especially for parts like the nebulizer or tank cap. Simply place them in a well-ventilated area and allow them to air dry completely.
By thoroughly rinsing and drying each component, you are ensuring that they are clean, free from residues, and ready for reassembly. The next step focuses on reassembling the humidifier.
Read more: How To Clean Frida Humidifier
Step 7: Reassemble the Humidifier
Now that all the components of your Homedics humidifier are cleaned and dried, it’s time to reassemble the device. Follow these steps to correctly reassemble the humidifier:
- Attach the nebulizer or tank cap: If you removed the nebulizer or tank cap during the cleaning process, carefully attach it back to the water tank. Twist it clockwise until it is securely in place.
- Place the water tank on the base: Align the water tank with the base of the humidifier and carefully place it back in position. Ensure that it is properly seated and sitting flush with the base.
- Secure any additional parts: If there are any other removable parts, such as an intake grille or mist director, attach them as per the manufacturer’s instructions.
- Ensure proper alignment: Double-check that all components are properly aligned and securely attached to avoid any leaks or performance issues.
Take your time during the reassembly process to ensure that each component is correctly positioned and locked in place. This will help maintain the efficiency and functionality of your Homedics humidifier.
By following these steps, you have successfully reassembled your Homedics humidifier. The final step involves refilling the water tank and restarting the humidifier, which we’ll cover next.
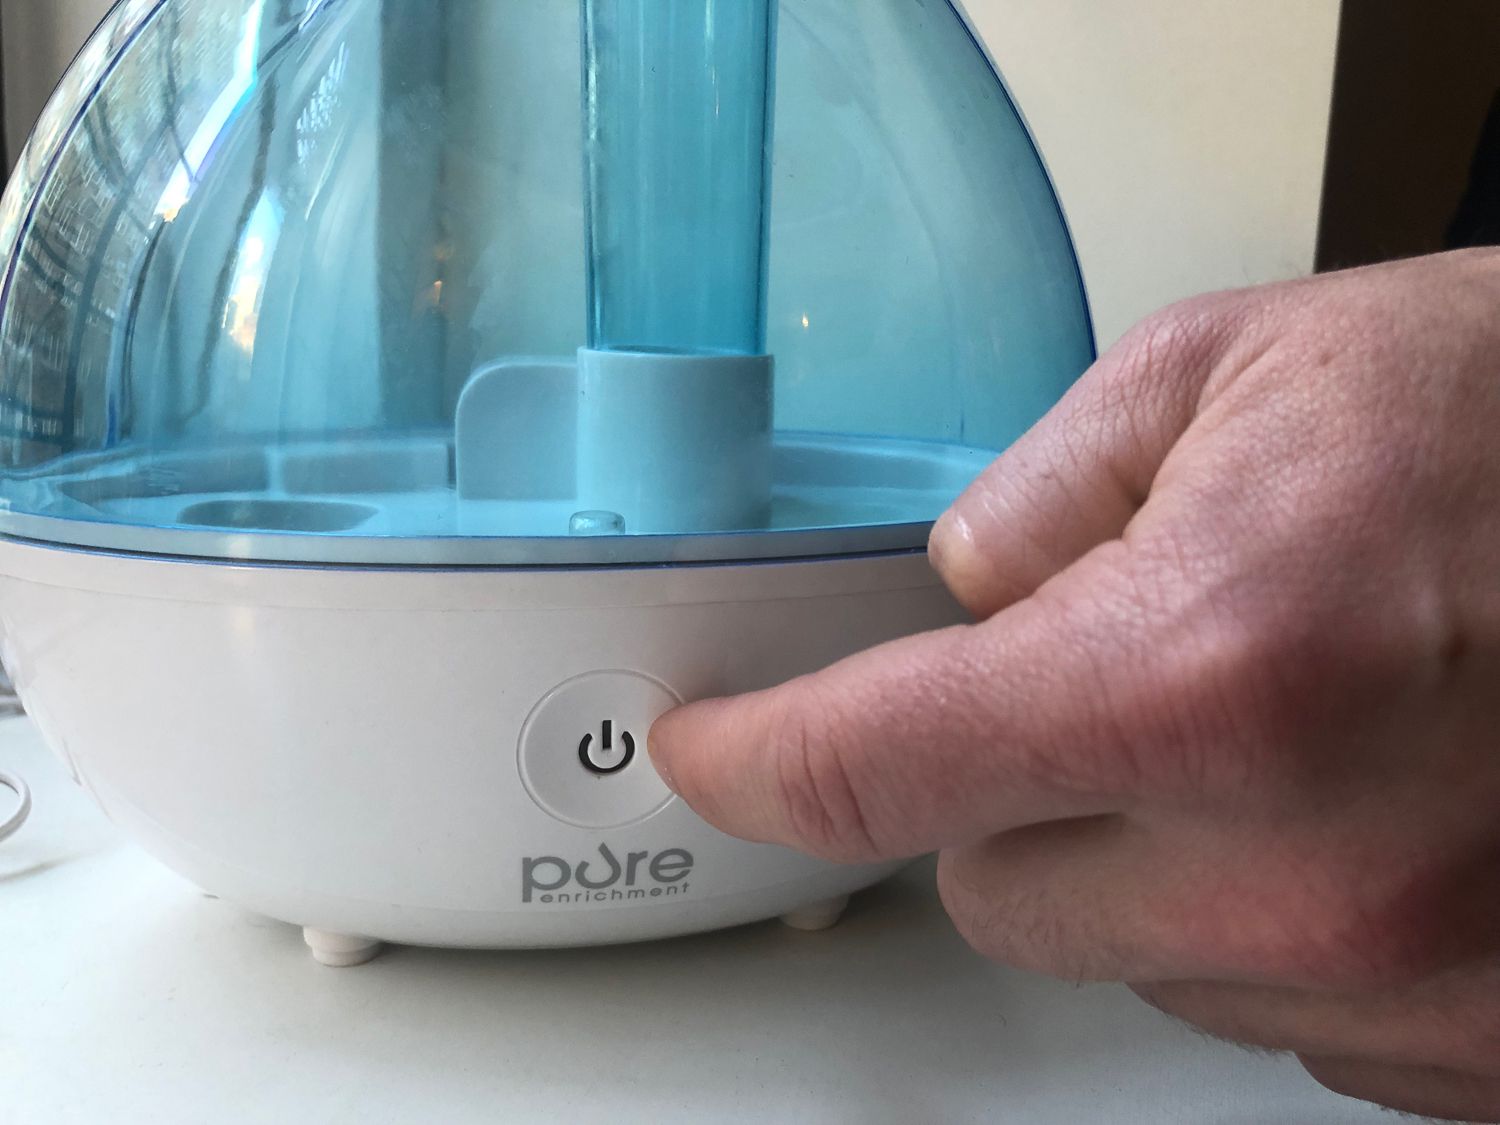
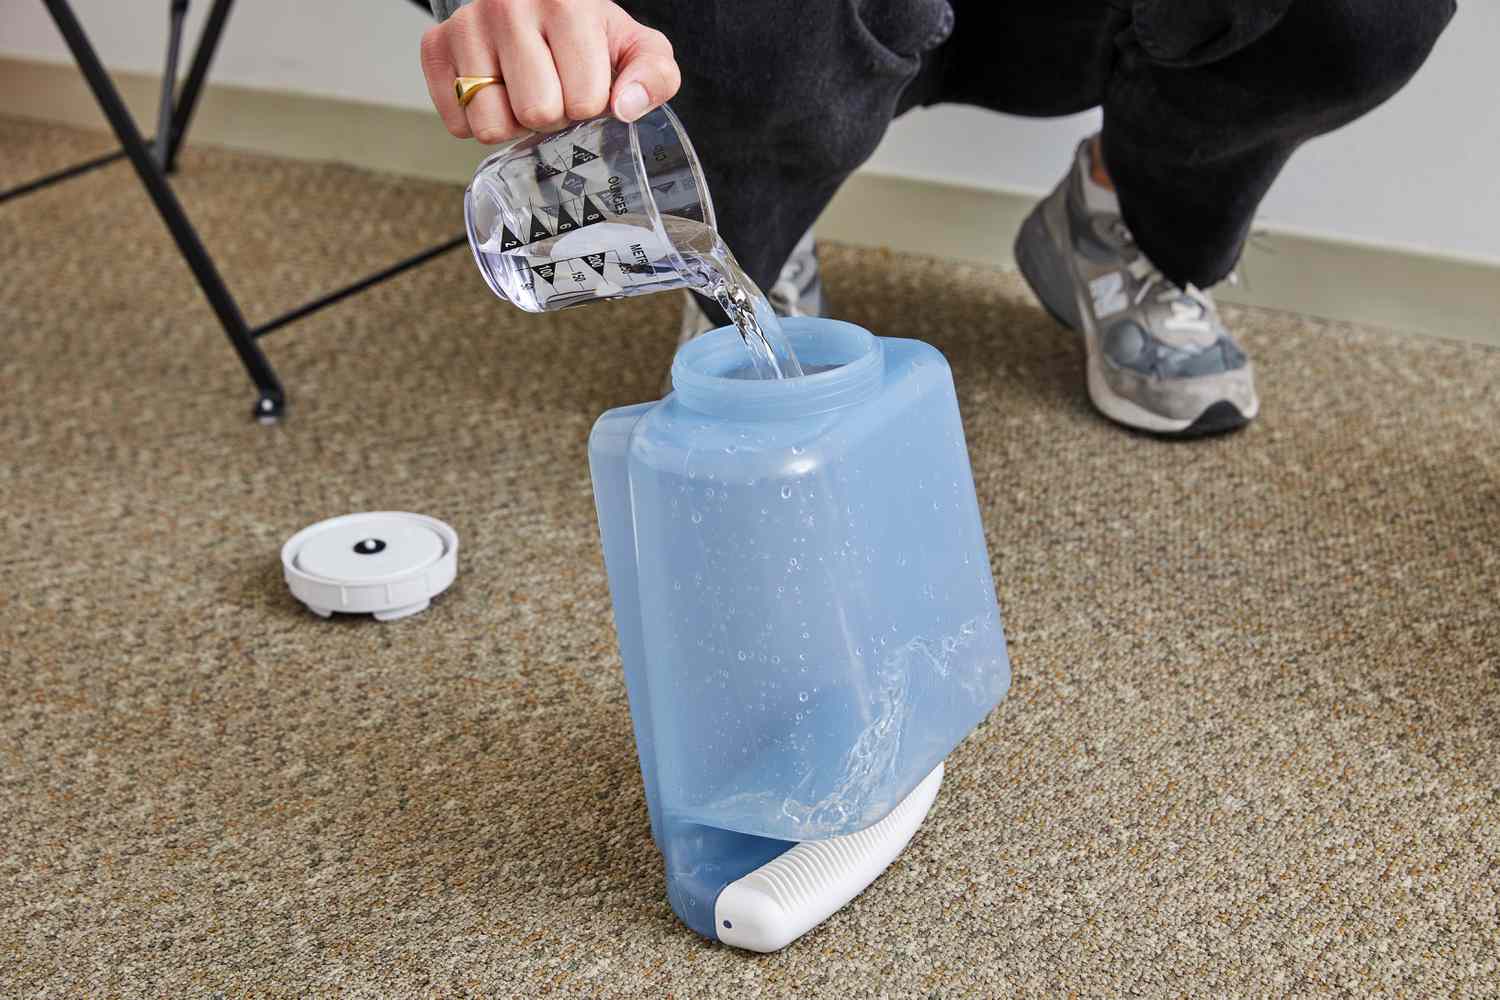
Step 8: Refill and Restart the Humidifier
Now that you have reassembled your Homedics humidifier, it’s time to refill the water tank and restart the device. Follow these steps to ensure a smooth and effective restart:
- Fill the water tank: Remove the water tank from the humidifier base and fill it with clean, cool water. Be sure to fill it up to the recommended maximum fill line, as exceeding this limit can result in water leakage or reduced performance.
- Reattach the water tank: Carefully place the filled water tank back onto the humidifier base. Ensure that it is properly aligned and securely positioned.
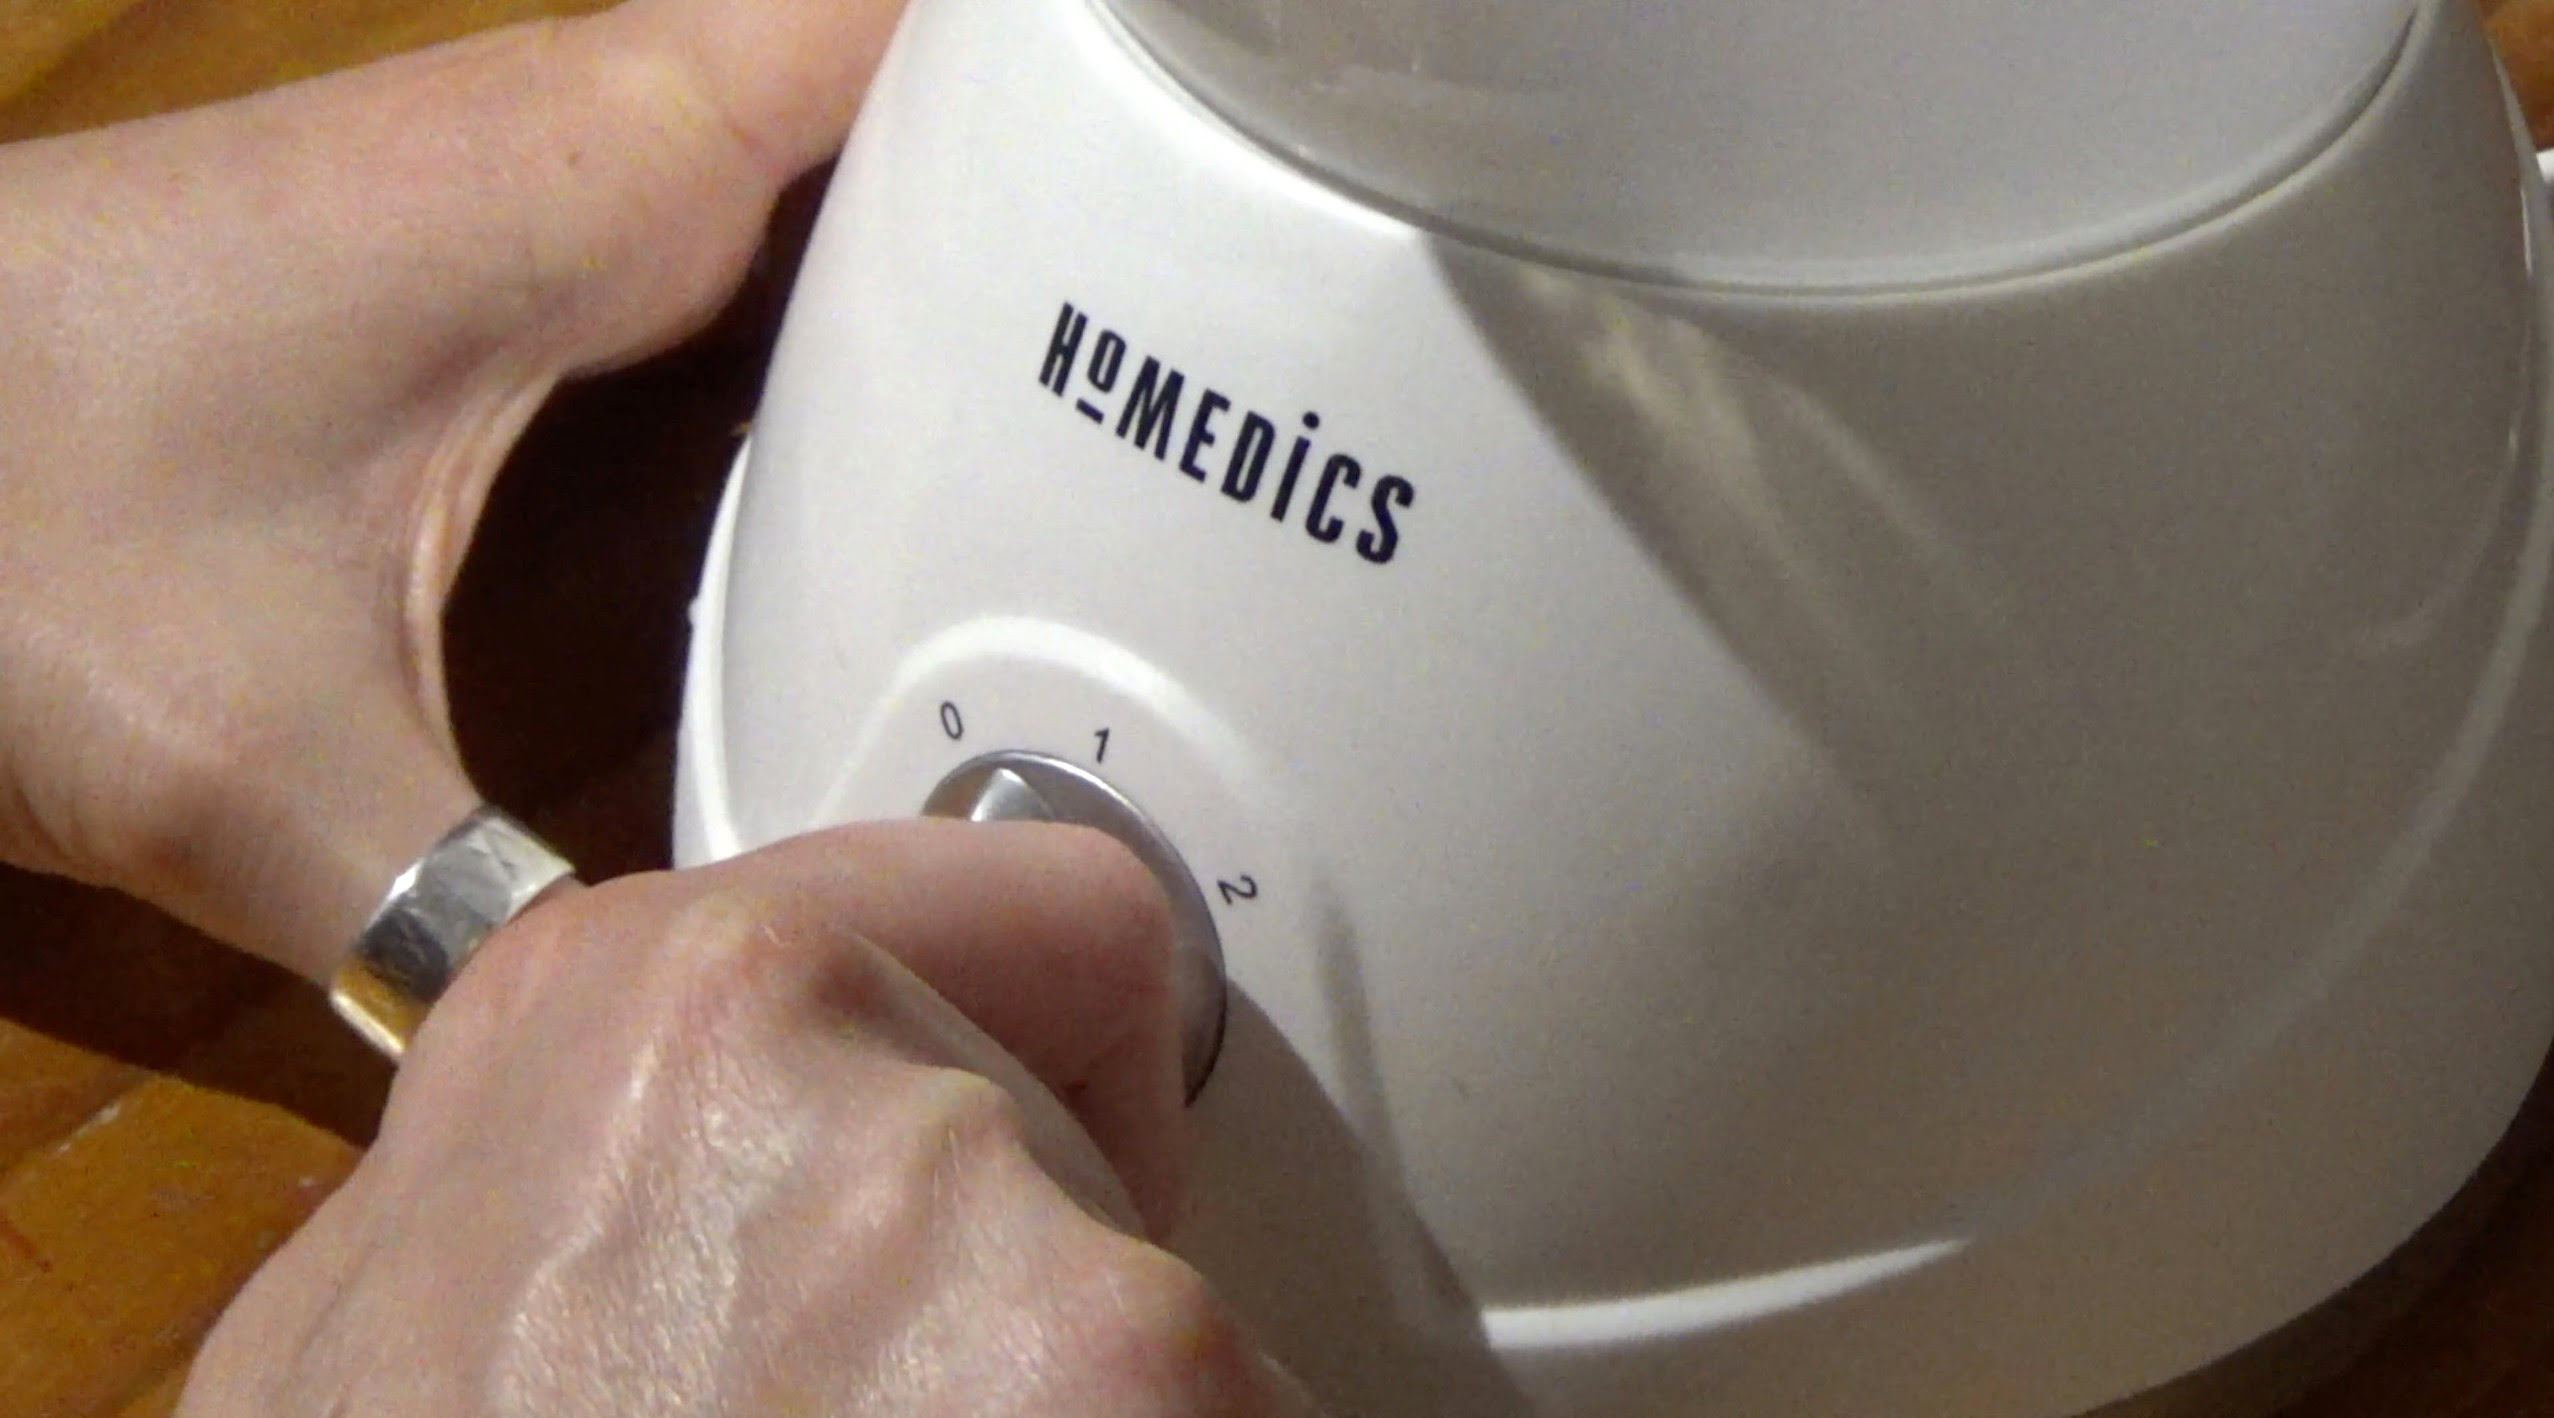
- Plug in and turn on the humidifier: Plug the humidifier back into the power source and press the power or start button to turn it on. Refer to the manufacturer’s instructions for any specific settings or adjustments.
- Adjust the humidity level: Depending on your preferences and the current humidity levels in your home, adjust the humidity settings to achieve the desired level of comfort. It is recommended to start with a lower setting and gradually increase if needed.
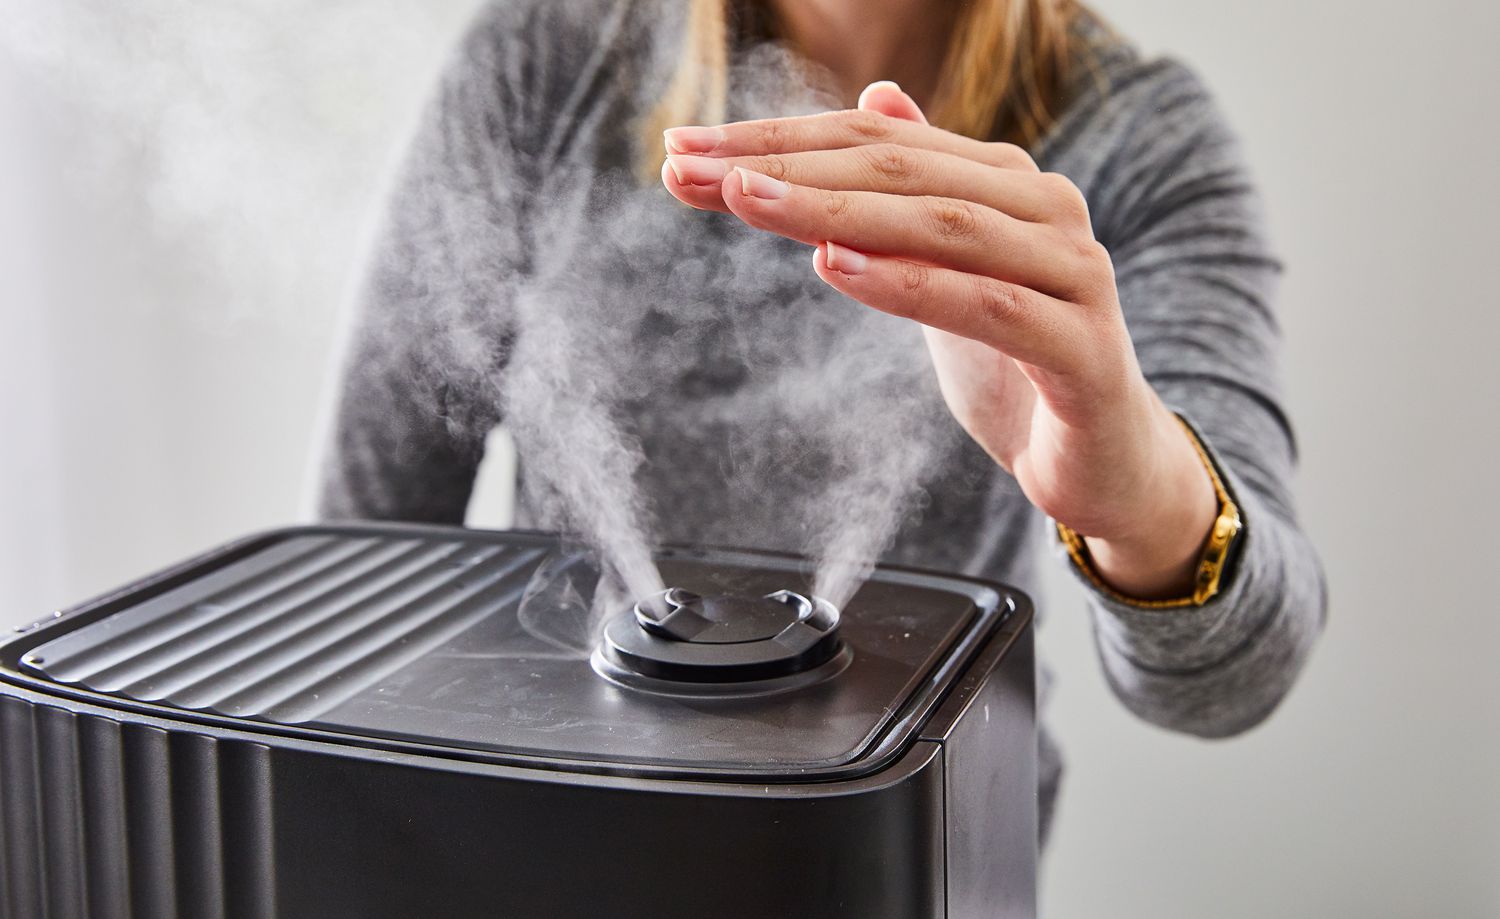
Once the humidifier is restarted, you should notice a steady mist being emitted, indicating that it is working correctly. Monitor the humidity levels and adjust the settings as necessary to maintain a comfortable environment in your home.
Remember to regularly check the water level in the tank and refill it as needed to ensure continuous operation and optimal humidification.
By following these steps, you have successfully refilled and restarted your Homedics humidifier. Congratulations! Your clean and well-functioning humidifier is now ready to improve the air quality and enhance your indoor comfort.
Conclusion
Maintaining a clean and properly functioning Homedics humidifier is essential for improving air quality and creating a comfortable environment in your home. By following the step-by-step guide outlined in this article, you can effectively clean and maintain your humidifier, ensuring its optimal performance and longevity.
We started by emphasizing the importance of safety precautions, such as turning off and unplugging the humidifier, wearing protective gear, and working in a well-ventilated area. These precautions ensure your well-being and prevent any potential accidents during the cleaning process.
We then discussed the materials needed for cleaning, including mild dish soap, vinegar, water, soft-bristle brushes, microfiber cloths, and towels. Having these materials ready ensures that you can clean each component effectively.
The step-by-step cleaning process covered important tasks such as turning off and unplugging the humidifier, disassembling the unit, cleaning the water tank and base, and cleaning the nebulizer or tank cap if applicable. We emphasized the importance of thorough rinsing and complete drying of all components before reassembling the humidifier.
Finally, we outlined the process of refilling and restarting the humidifier, ensuring that it operates at its best. By following these steps, you can maintain a clean and hygienic environment in your home, free from the buildup of bacteria, mold, and mineral deposits.
Regular cleaning and maintenance of your Homedics humidifier will not only improve its performance but also contribute to your overall well-being. Breathing clean and properly humidified air can alleviate dry skin, reduce respiratory issues, and enhance the overall comfort of your living space.
Remember to consult the manufacturer’s instructions specific to your Homedics humidifier model for any additional recommendations or guidelines. Regular cleaning, along with routine maintenance, will help prolong the lifespan of your humidifier, ensuring its effectiveness for years to come.
So, take the time to clean your Homedics humidifier regularly and enjoy the benefits of a clean and well-maintained device. Breathe easier and create a healthier living space with the help of your clean Homedics humidifier.
Frequently Asked Questions about How To Clean A Homedics Humidifier
Was this page helpful?
At Storables.com, we guarantee accurate and reliable information. Our content, validated by Expert Board Contributors, is crafted following stringent Editorial Policies. We're committed to providing you with well-researched, expert-backed insights for all your informational needs.

0 thoughts on “How To Clean A Homedics Humidifier”