Articles
How To Clean A Crane Humidifier
Modified: August 16, 2024
Looking for articles on how to clean a Crane humidifier? Discover expert tips and step-by-step guides to keep your humidifier clean and functioning efficiently.
(Many of the links in this article redirect to a specific reviewed product. Your purchase of these products through affiliate links helps to generate commission for Storables.com, at no extra cost. Learn more)
Introduction
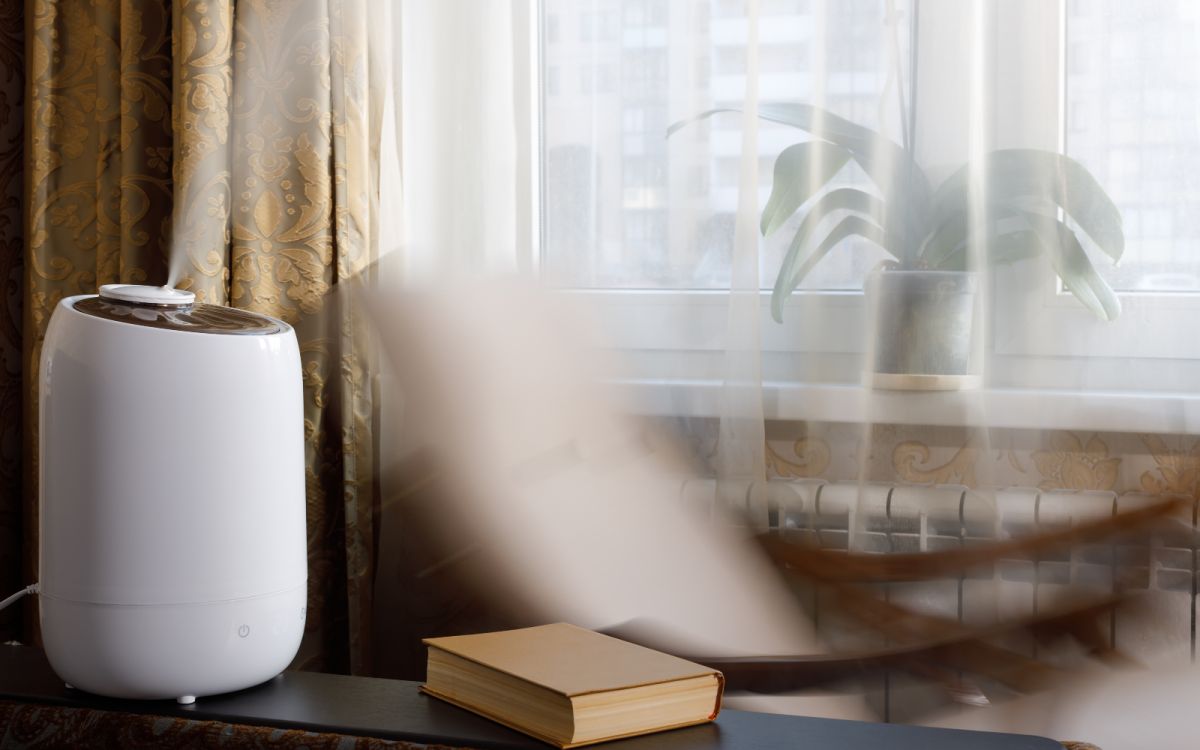
Having a Crane humidifier in your home can help improve the air quality and create a more comfortable living environment. However, it’s critical to keep your humidifier clean to ensure optimal performance and prevent the growth of bacteria and mold.
In this article, we will guide you through the step-by-step process of cleaning a Crane humidifier. By following these instructions, you can maintain the hygiene of your humidifier and extend its lifespan.
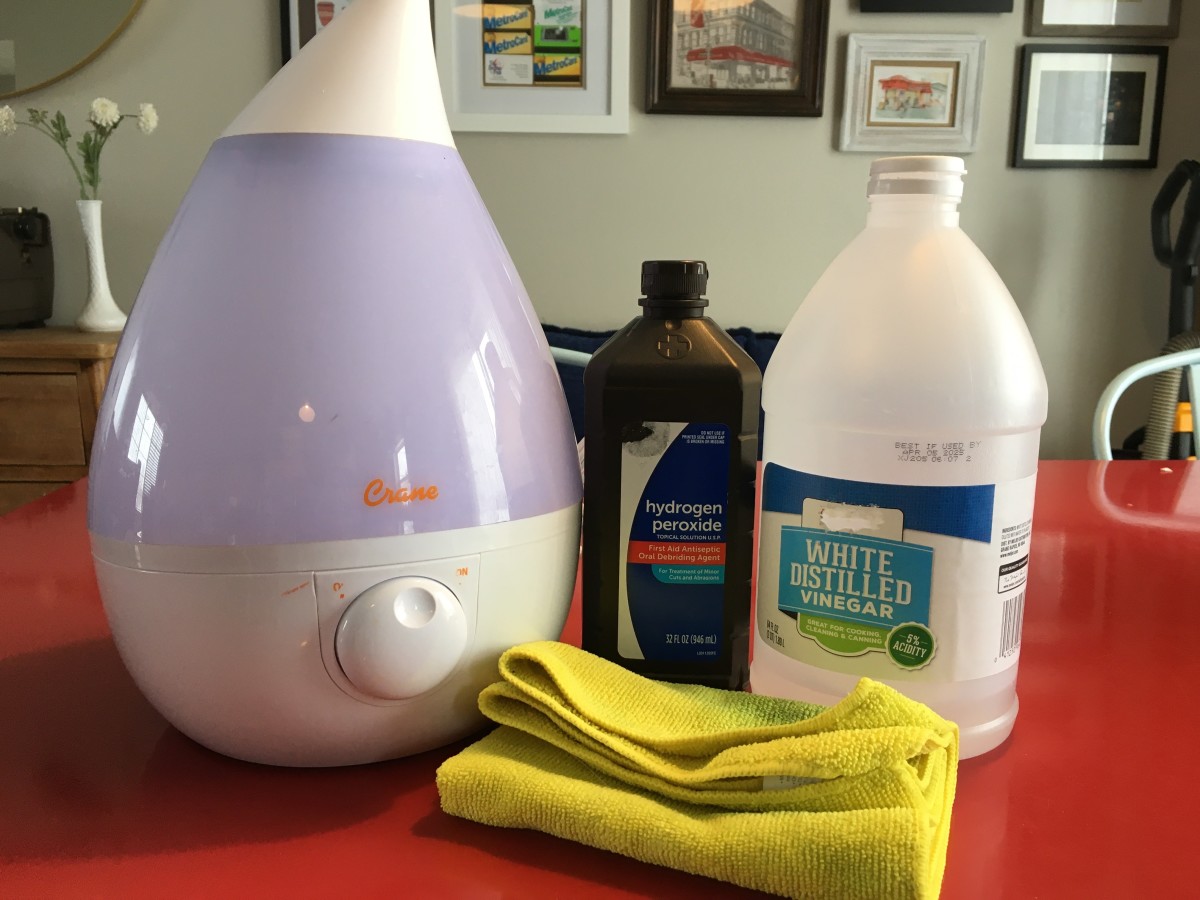
Before we dive into the cleaning process, let’s first gather the materials you will need.
Key Takeaways:
- Regularly cleaning your Crane humidifier with white vinegar or mild detergent, warm water, and a soft-bristle brush can prevent bacteria and mold growth, ensuring optimal performance and a healthier living environment.
- Disassembling, cleaning, and thoroughly drying the water tank, base, and filter of your Crane humidifier is essential for maintaining its efficiency and extending its lifespan. Follow the step-by-step guide for a clean and comfortable living space.
Read also: 10 Amazing Crane Humidifier for 2025
Materials Needed
Before you start cleaning your Crane humidifier, make sure you have the following materials ready:
- White vinegar or a mild detergent
- Clean, lint-free cloth or sponge
- Soft-bristle brush
- Warm water
These items will help you remove dirt, mineral deposits, and other impurities from your humidifier effectively.
Step 1: Unplug the Humidifier
Before you begin cleaning, it is important to ensure that the Crane humidifier is unplugged from the electrical outlet. This step is crucial for your safety and to avoid any potential damage to the unit.
Unplugging the humidifier will not only protect you from electric shock, but it will also prevent any interference with the cleaning process. Make sure to double-check that the unit is completely disconnected before proceeding to the next steps.
Once you have unplugged the humidifier, you can proceed with disassembling the parts for thorough cleaning.
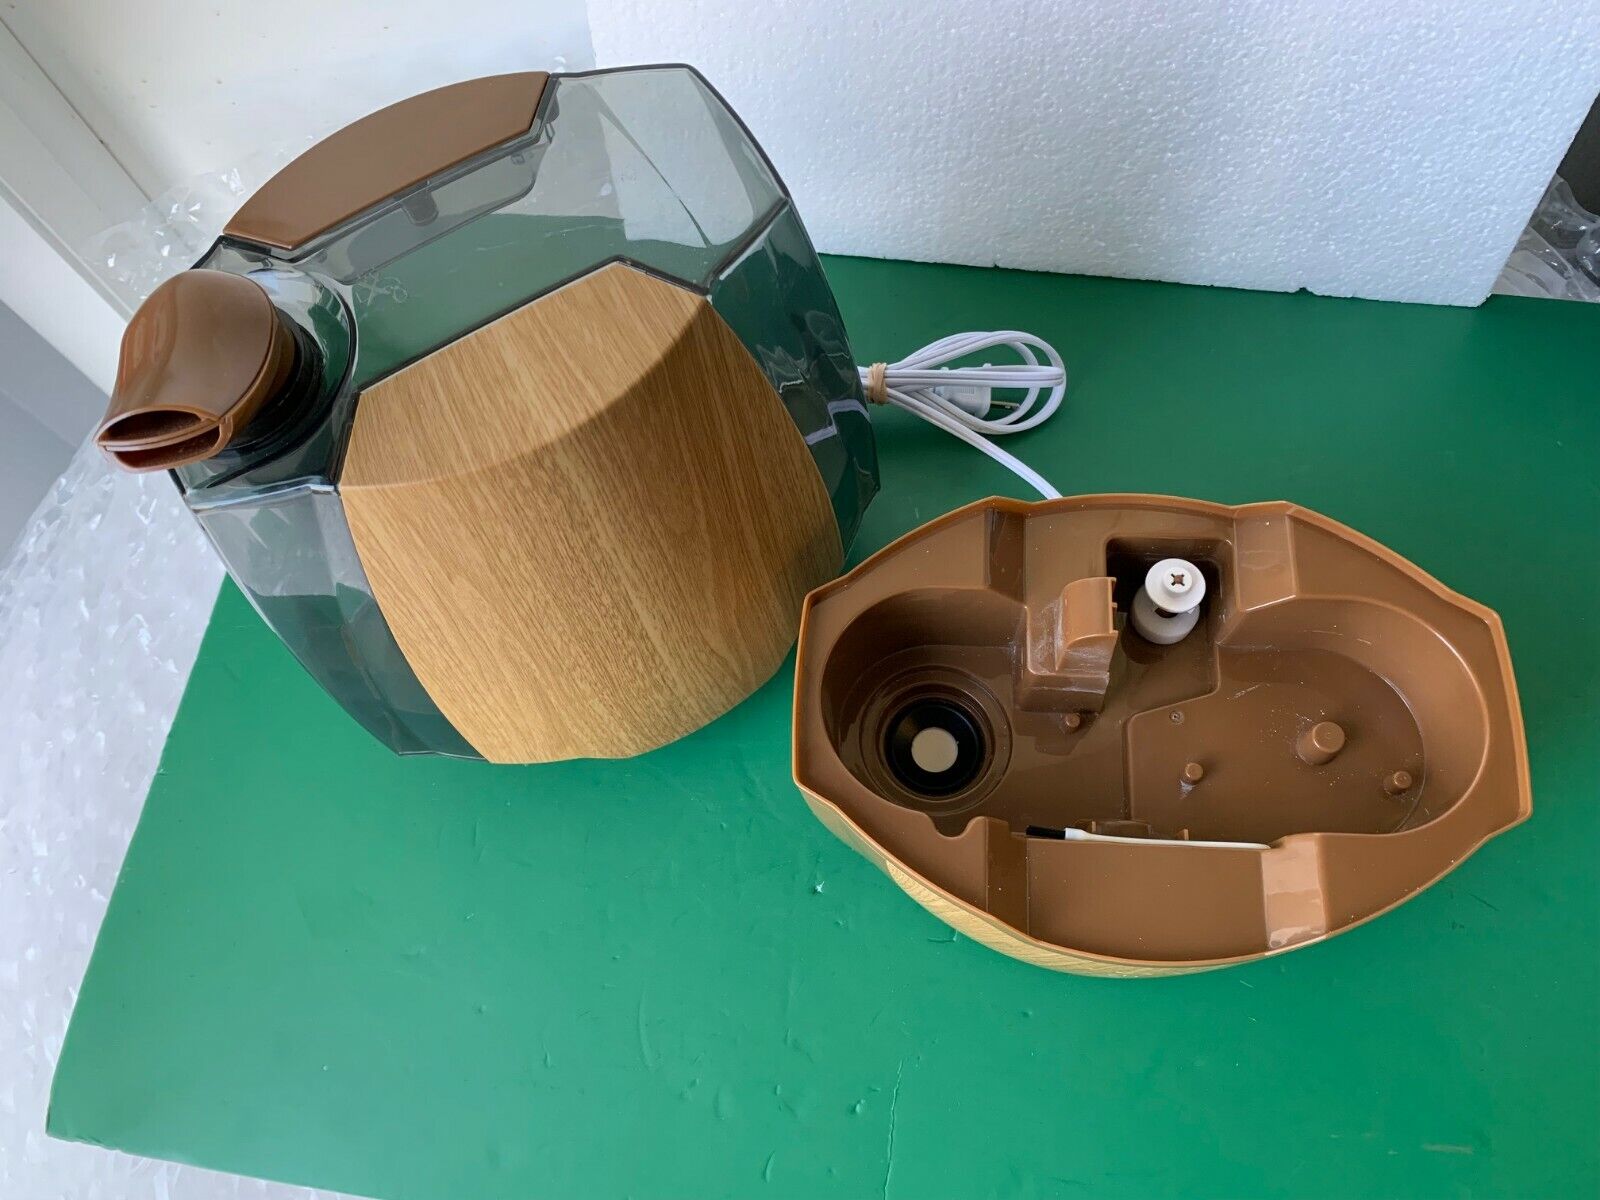
Step 2: Disassemble the Humidifier
Now that the Crane humidifier is unplugged, it’s time to disassemble its components for a more effective cleaning process. Follow these steps to disassemble the humidifier:
- Remove the water tank: Lift the water tank from the base of the humidifier and set it aside.
- Separate the base: Gently detach the base from the top part of the humidifier. Be cautious not to force it to prevent any damage.
- Take out the filter: Depending on the model of your Crane humidifier, you may need to remove the filter. Refer to the manufacturer’s instructions for the specific steps to take.
By disassembling the humidifier, you will have better access to each component, allowing you to clean every part thoroughly. This step also helps prevent any residual moisture from causing damage to the electrical components when cleaning.
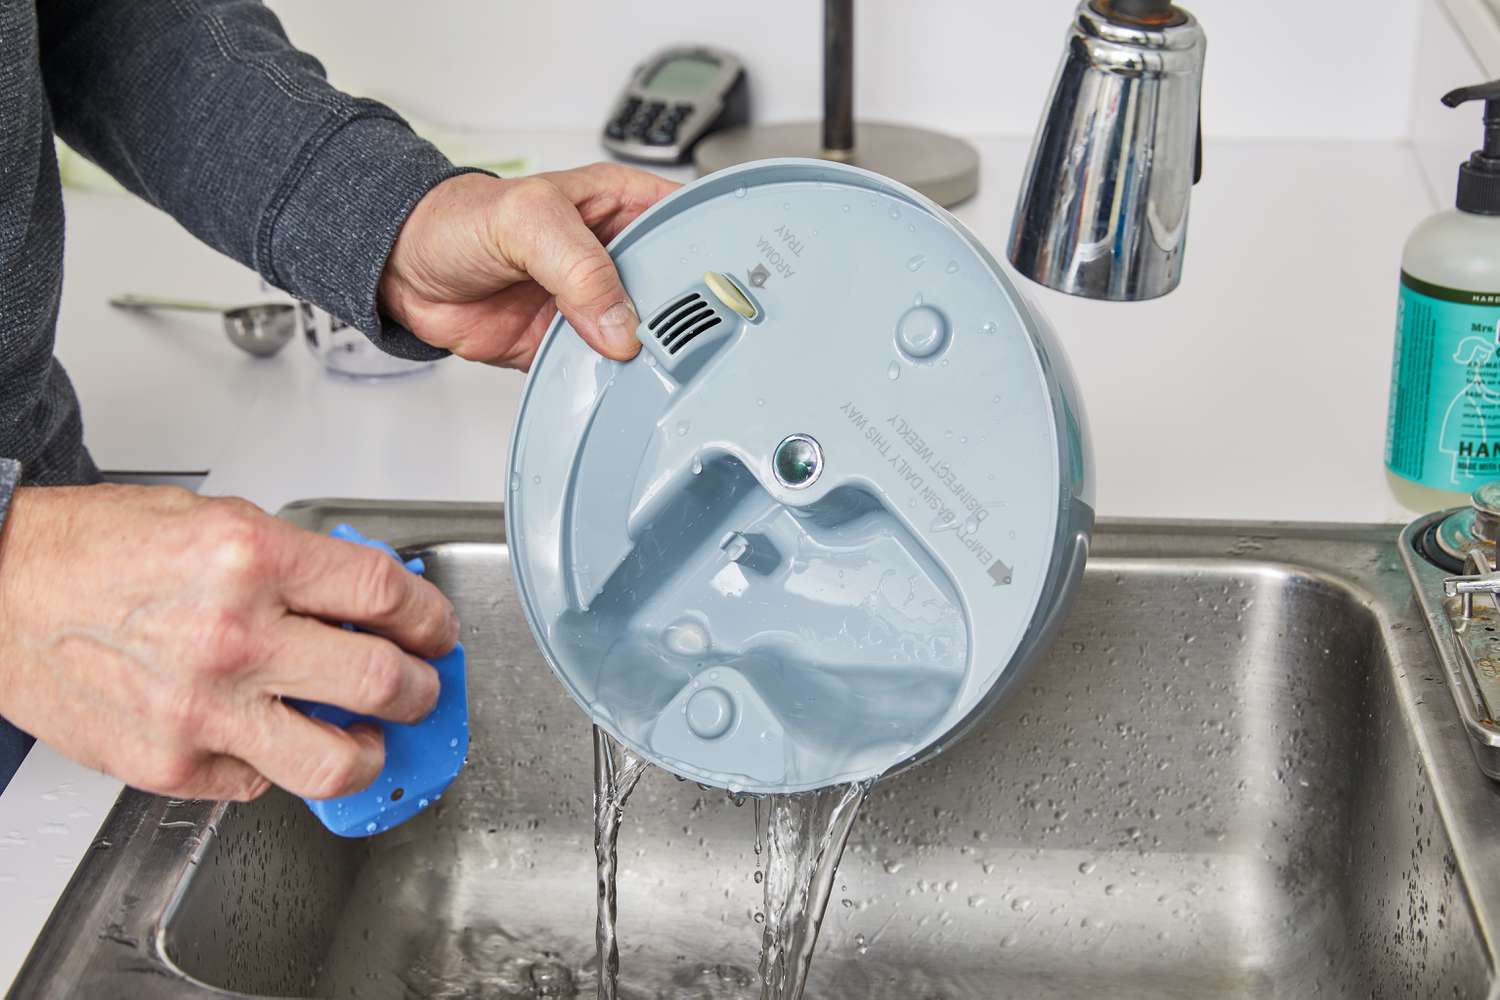
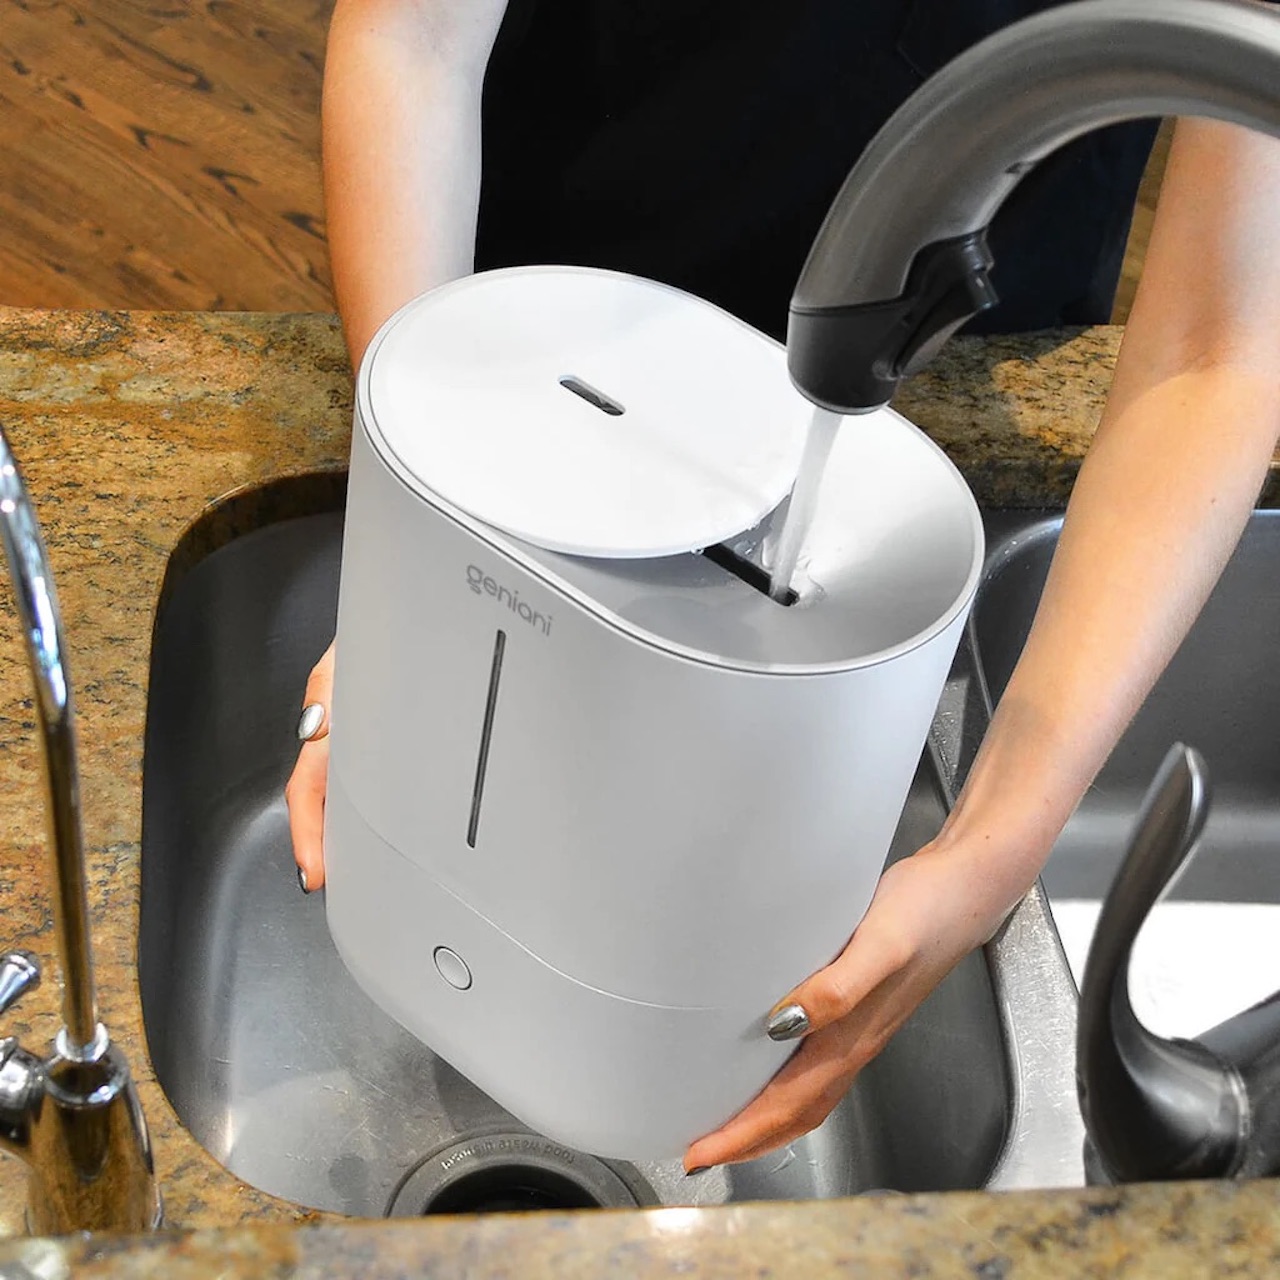
Step 3: Clean the Water Tank
The water tank of your Crane humidifier is one of the key components that require regular cleaning. Follow these steps to clean the water tank effectively:
- Empty the tank: Pour out any remaining water from the tank and dispose of it.
- Prepare the cleaning solution: Fill the tank with a mixture of equal parts white vinegar and water. Alternatively, you can use a mild detergent diluted with water.
- Let it soak: Allow the cleaning solution to sit in the tank for about 20-30 minutes. This helps to break down any mineral deposits or buildup inside the tank.
- Scrub the tank: Use a soft-bristle brush or sponge to scrub the inside surfaces of the tank. Pay special attention to any areas with stubborn residue or mold growth.
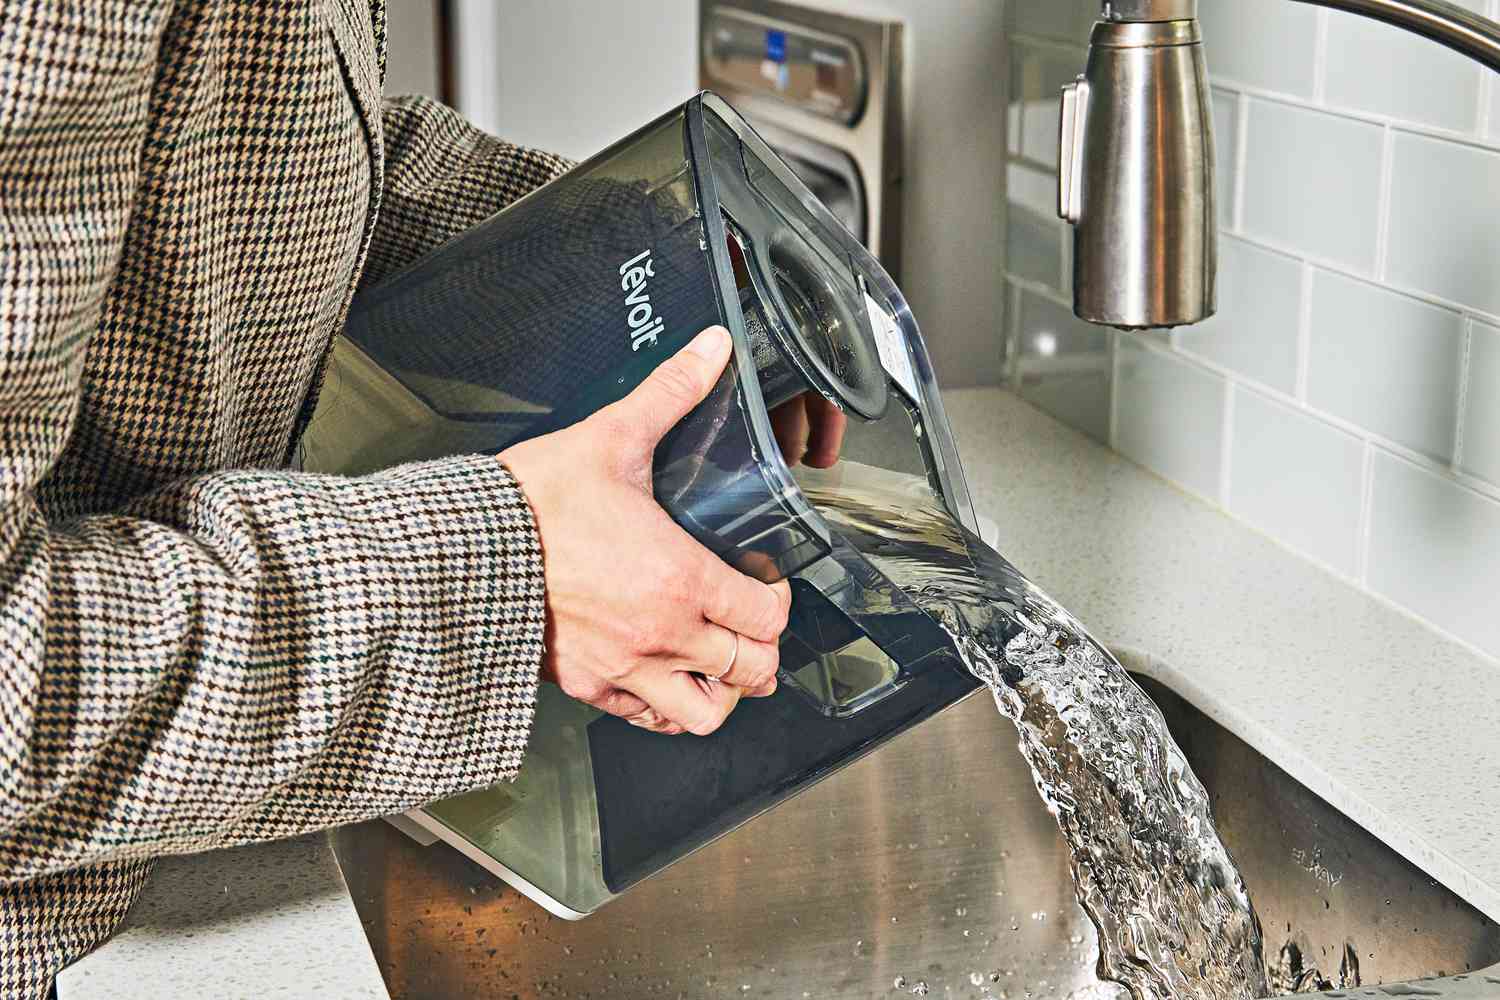
- Rinse thoroughly: Rinse the tank with warm water to remove any traces of the cleaning solution and loosened debris. Ensure that all the surfaces are completely clean.
- Dry the tank: Wipe the tank with a clean, lint-free cloth or allow it to air dry. It’s important to ensure that the tank is completely dry before reassembling the humidifier.
Cleaning the water tank regularly will help prevent the accumulation of mineral deposits, bacteria, and mold, which can affect the quality of the mist and the overall performance of the humidifier. Remember to follow the manufacturer’s instructions for specific cleaning recommendations.
Read more: How To Clean Frida Humidifier
Step 4: Clean the Base
Next, it’s time to clean the base of your Crane humidifier. Follow these steps to ensure a thorough cleaning:
- Prepare a cleaning solution: In a basin or sink, mix warm water with a mild detergent or white vinegar.
- Submerge the base: Place the base of the humidifier into the cleaning solution, ensuring that it is fully submerged.
- Scrub the base: Use a soft-bristle brush or sponge to scrub the inside and outside surfaces of the base. Pay attention to any hidden corners or hard-to-reach areas.
- Remove mineral buildup: If there are any mineral deposits or stubborn buildup, you can use a mixture of white vinegar and water to dissolve and remove them.
- Rinse thoroughly: Rinse the base with warm water to remove any traces of the cleaning solution and loosened debris.
- Dry the base: Wipe the base with a clean, lint-free cloth or allow it to air dry completely.
By cleaning the base of your Crane humidifier, you can remove any accumulated dirt, mineral deposits, and other impurities that can affect its performance.
Now that you have cleaned the water tank and base, let’s move on to the next step: removing and cleaning the filter.
To clean a Crane humidifier, mix equal parts water and vinegar and use the solution to clean the tank and base. Be sure to rinse thoroughly before using again.
Step 5: Remove and Clean the Filter
Most Crane humidifiers are equipped with a filter that helps remove impurities from the water before it is turned into mist. It’s essential to clean or replace the filter regularly to ensure efficient operation. Follow these steps to remove and clean the filter:
- Refer to the manufacturer’s instructions: Different Crane humidifier models may have varying filter removal methods. Consult the user manual or the manufacturer’s website for specific instructions on how to remove the filter.
- Remove the filter: Once you have determined the correct procedure, carefully remove the filter from its designated compartment.
- Inspect the filter: Examine the filter for any visible signs of dirt, buildup, or discoloration.
- Clean the filter: Depending on the type of filter, you can either rinse it under warm water or gently brush off any debris using a soft brush. If the filter is not washable, you may need to replace it according to the manufacturer’s recommendations.
- Dry the filter: After cleaning, allow the filter to air dry completely before reinserting it into the humidifier. It’s crucial to ensure that the filter is completely dry to prevent the growth of mold or bacteria.
Regularly cleaning or replacing the filter of your Crane humidifier will ensure that it functions optimally and produces clean and healthy mist for your home.
Now that we have cleaned the key components of the humidifier, let’s move on to the next step: rinsing and drying all the parts.
Step 6: Rinse and Dry all Parts
After cleaning the individual components of your Crane humidifier, it’s important to thoroughly rinse and dry all the parts before reassembling the unit. Follow these steps to ensure proper rinsing and drying:
- Rinse with warm water: Hold each part under warm running water to remove any remaining cleaning solution or debris.
- Inspect for cleanliness: Check each component to make sure there are no traces of dirt, residue, or mold.
- Dry with a clean cloth: Use a clean, lint-free cloth to dry all the parts. Make sure to reach all the nooks and crannies to remove any excess moisture.
- Air dry if necessary: If any parts are difficult to reach or dry with a cloth, allow them to air dry completely before reassembling the humidifier.
Ensuring that all the parts are rinsed and dried properly will prevent any moisture, which can lead to the growth of mold or bacteria. It also helps maintain the overall cleanliness and performance of your Crane humidifier.
Now that the parts are clean and dry, let’s proceed to the next step: reassembling the humidifier.
Step 7: Reassemble the Humidifier
Now that all the individual components of your Crane humidifier are clean and dry, it’s time to reassemble the unit. Follow these steps to correctly reassemble your humidifier:
- Start with the base: Begin by placing the base of the humidifier on a flat and stable surface.
- Insert the filter (if applicable): If you removed the filter earlier, now is the time to reinsert it into its designated compartment following the manufacturer’s instructions.
- Attach the water tank: Place the clean and dry water tank back onto the base. Ensure it is properly aligned and securely fitted.
- Align the top part: Gently align the top part of the humidifier with the base and firmly press them together until they snap or lock into place.
Make sure that all the components are securely assembled to prevent any leaks or malfunctions when the humidifier is in use. Double-check that everything is properly aligned and fitted before moving on to the final step.
Now that your Crane humidifier is reassembled, we can proceed to the last step: refilling and testing the humidifier.
Read more: How To Clean A Homedics Humidifier
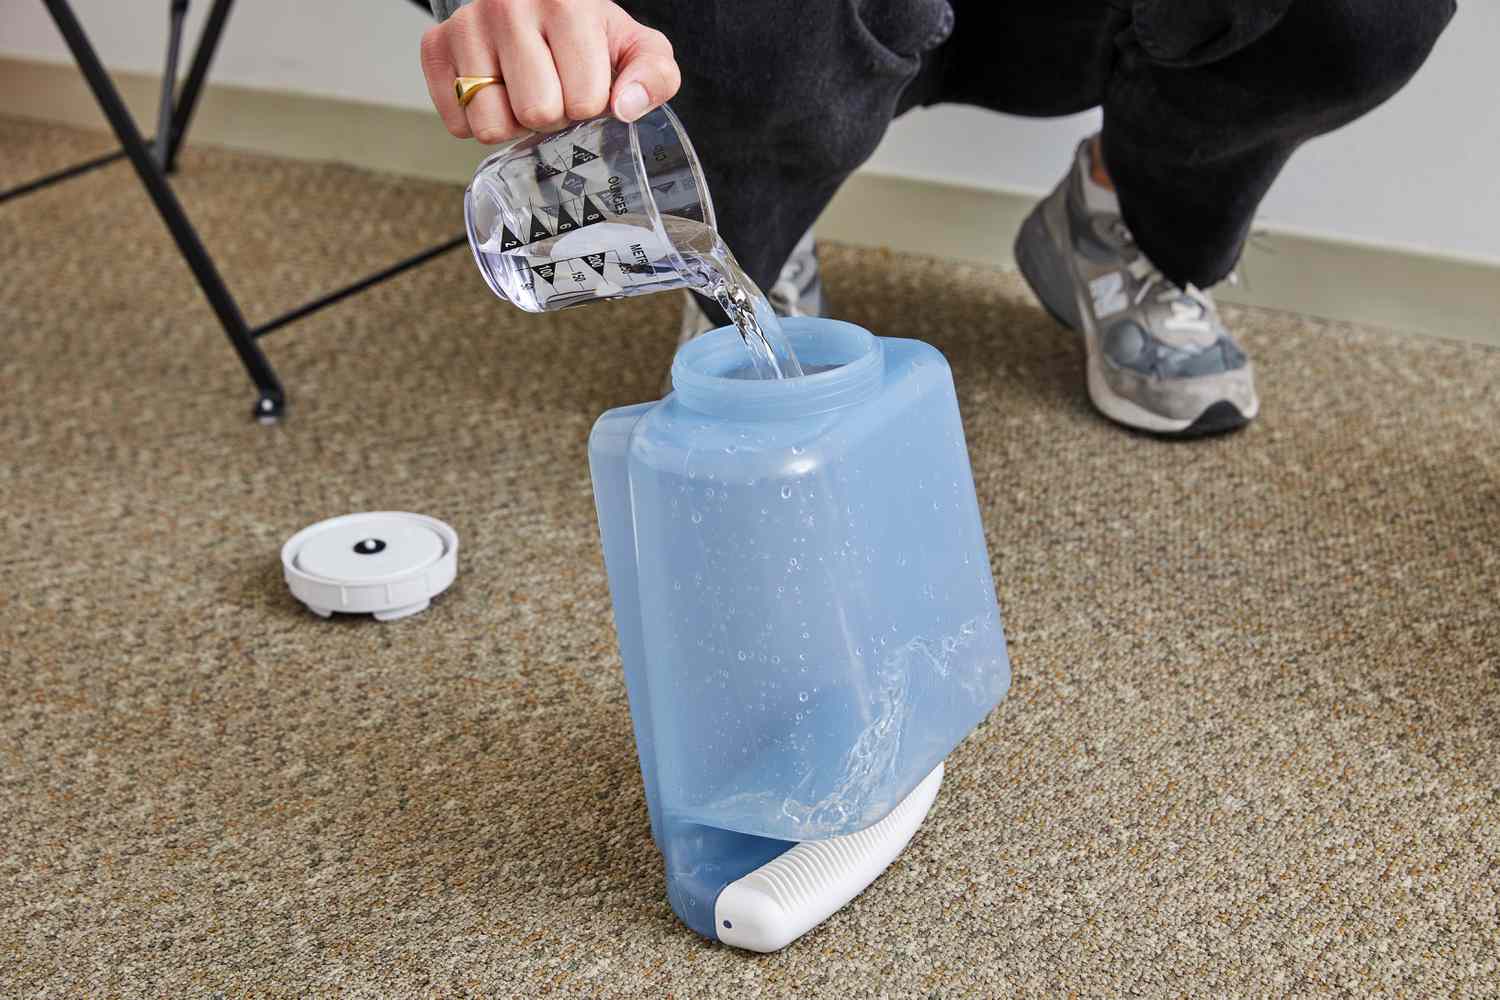
Step 8: Refill and Test the Humidifier
With your Crane humidifier now reassembled, it’s time to refill it with clean water and test its functionality. Follow these steps to refill and test the humidifier:
- Check the water level indicator: Ensure that the water level indicator is clean and properly visible.
- Fill the water tank: Fill the tank with clean, distilled water or filtered tap water. Avoid using hard water, as it can leave mineral deposits in the humidifier.
- Place the tank onto the base: Carefully place the filled water tank back onto the base, making sure it is properly aligned and securely attached.
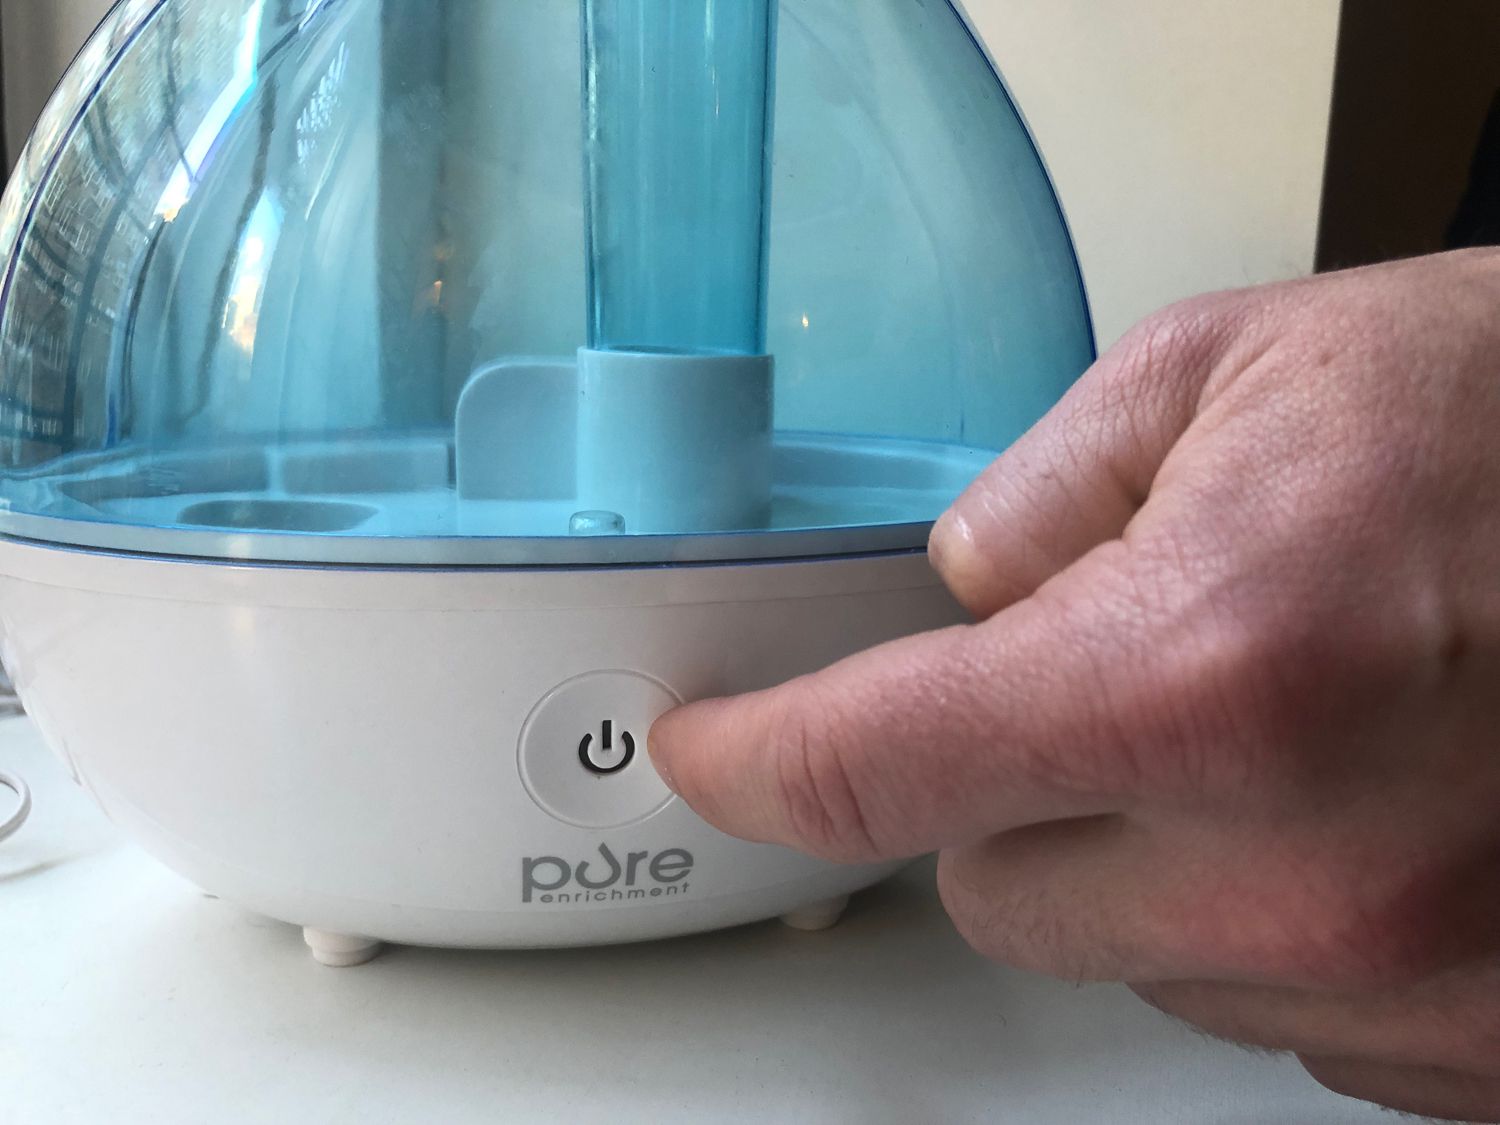
- Plug in the humidifier: Plug the power cord of the humidifier into a functioning electrical outlet.
- Adjust the settings: Set the desired humidity level and fan speed according to your preference and the specific instructions for your Crane humidifier model.
- Monitor the operation: Allow the humidifier to run for a few minutes and observe its performance. Check for any leaks, unusual noises, or malfunctions.
- Adjust as needed: If necessary, make any adjustments to the settings or reposition the humidifier to ensure optimal mist distribution and coverage.
By refilling and testing your Crane humidifier, you can ensure that it is working correctly and producing a comfortable level of humidity in your environment.
Congratulations! You have successfully cleaned, reassembled, and tested your Crane humidifier. Regular cleaning and maintenance will help keep your humidifier running smoothly and providing you with clean, moist air for a healthier living space.
Remember to consult your Crane humidifier’s user manual for any specific cleaning recommendations or maintenance guidelines provided by the manufacturer.
Thank you for following this step-by-step guide. Enjoy the benefits of a clean and functioning Crane humidifier!
Conclusion
Cleaning your Crane humidifier regularly is crucial for maintaining its performance, preventing the growth of bacteria and mold, and ensuring a healthy and comfortable living environment. By following the step-by-step guide outlined in this article, you can effectively clean and maintain your humidifier.
Throughout this process, we discussed the importance of unplugging the humidifier before cleaning and the materials you will need for the task. We then walked through the necessary steps to disassemble the humidifier, clean the water tank, base, and filter, rinse and dry all the parts, reassemble the humidifier, and finally, refill and test its functionality.
Remember to consult the manufacturer’s instructions for specific cleaning recommendations for your particular Crane humidifier model. Regular cleaning and maintenance will not only extend the lifespan of your humidifier but also ensure that it operates efficiently and provides you with clean, comfortable air.
By incorporating these cleaning practices into your routine, you can enjoy the benefits of a well-maintained Crane humidifier and create a healthier and more comfortable living space for you and your family.
Thank you for following this comprehensive guide on how to clean a Crane humidifier. Breathe in the fresh air and enjoy the optimal performance of your clean humidifier!
Frequently Asked Questions about How To Clean A Crane Humidifier
Was this page helpful?
At Storables.com, we guarantee accurate and reliable information. Our content, validated by Expert Board Contributors, is crafted following stringent Editorial Policies. We're committed to providing you with well-researched, expert-backed insights for all your informational needs.


0 thoughts on “How To Clean A Crane Humidifier”