Articles
How To Clean Pure Enrichment Humidifier
Modified: August 24, 2024
Learn how to effectively clean your Pure Enrichment humidifier with our informative articles. Ensure optimal performance and longevity of your device.
(Many of the links in this article redirect to a specific reviewed product. Your purchase of these products through affiliate links helps to generate commission for Storables.com, at no extra cost. Learn more)
Introduction
Welcome to the comprehensive guide on how to clean your Pure Enrichment humidifier! As an essential appliance in your home, maintaining proper hygiene is crucial to ensure its optimal performance and to promote a healthy living space. Regular cleaning of your humidifier helps to prevent the buildup of bacteria, mold, and mineral deposits, which can lead to unpleasant odors and potential health risks.
In this article, we will provide you with step-by-step instructions on how to effectively clean your Pure Enrichment humidifier. Before we dive into the cleaning process, it is essential to familiarize yourself with a few safety precautions to ensure your well-being and the longevity of your appliance.
Key Takeaways:
- Regular cleaning and maintenance of your Pure Enrichment humidifier is crucial to ensure clean, moisturized air and prevent the buildup of bacteria, mold, and mineral deposits.
- Prioritize safety by unplugging the humidifier, handling components with care, and using mild cleaning solutions recommended by the manufacturer to maintain optimal performance and promote a healthy living environment.
Safety Precautions
Before starting the cleaning process, make sure to take note of these safety measures:
- Always ensure that the humidifier is unplugged from the power source before cleaning.
- Handle all components, especially the water tank and base, with care to prevent damage or injury.
- Read the manufacturer’s instructions and warranties to avoid any potential damage or voiding of the warranty.
- Use only mild cleaning solutions and avoid using harsh chemicals or abrasive materials that may damage the unit.
- Allow all the components to completely dry before reassembling and reconnecting the humidifier to the power source.
Supplies Needed
Before starting the cleaning process, ensure that you have the following supplies ready:
- Mild dish soap or white vinegar
- Clean, soft-bristle brush
- Microfiber cloth or sponge
- Distilled or filtered water (optional)
Now, let’s move on to the cleaning process!
Key Takeaways:
- Regular cleaning and maintenance of your Pure Enrichment humidifier is crucial to ensure clean, moisturized air and prevent the buildup of bacteria, mold, and mineral deposits.
- Prioritize safety by unplugging the humidifier, handling components with care, and using mild cleaning solutions recommended by the manufacturer to maintain optimal performance and promote a healthy living environment.
Safety Precautions
Before starting the cleaning process, it is important to take note of a few safety precautions to ensure your well-being and the proper functioning of your Pure Enrichment humidifier.
- Always make sure that the humidifier is unplugged from the power source before attempting to clean it. This will prevent any electrical accidents or malfunctions.
- Handle all components, especially the water tank and base, with care. The water tank may contain residual water or cleaning solution, so be cautious to avoid spillage or splashing.
- Read and follow the manufacturer’s instructions and guidelines for cleaning your specific model of Pure Enrichment humidifier. Different models may have different cleaning requirements, so it is important to be aware of the specific recommendations.
- Ensure that you are working in a well-ventilated area to avoid inhaling any cleaning solution fumes.
- Use mild cleaning solutions and avoid using harsh chemicals or abrasive materials that can damage the unit. Water and mild dish soap or white vinegar usually work well for cleaning most humidifiers. However, be sure to refer to the manufacturer’s instructions for any specific cleaning solutions recommended for your model.
- Do not submerge the entire unit in water, as this can damage the electrical components. Only the removable parts, such as the water tank, need to be cleaned and rinsed under running water.
- Allow all the components to completely dry before reassembling and reconnecting the humidifier to the power source. Moisture left on the parts can promote the growth of mold and bacteria.
By following these safety precautions, you can ensure a safe and effective cleaning process for your Pure Enrichment humidifier. Now, let’s gather the necessary supplies and move on to the step-by-step cleaning instructions.
Supplies Needed
Before you begin the cleaning process for your Pure Enrichment humidifier, it is important to gather all the necessary supplies. Having these items on hand will make the cleaning process more efficient and ensure that you have everything you need. Here are the supplies you will need:
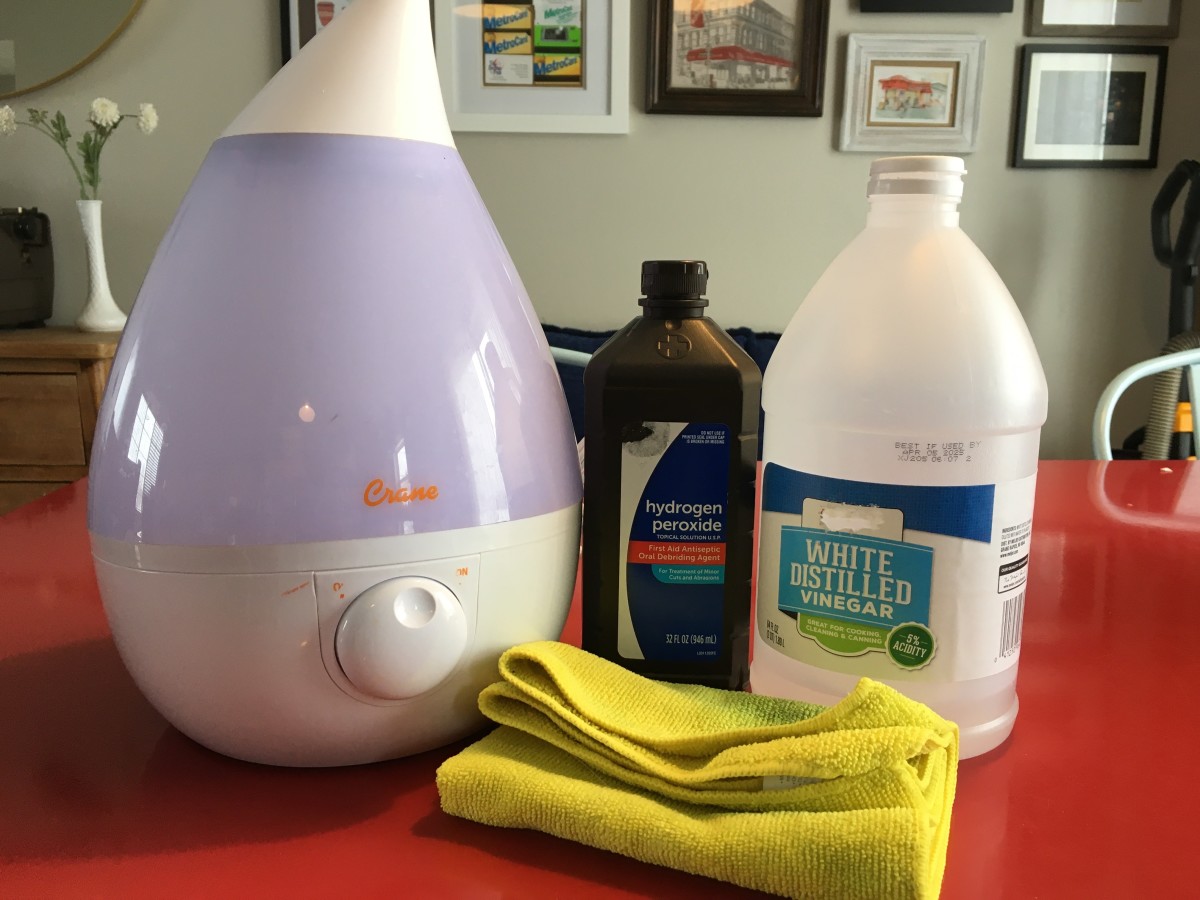
- Mild dish soap or white vinegar: These are the two most commonly used cleaning agents for humidifiers. Mild dish soap is gentle and effective in removing residue and dirt, while white vinegar helps to dissolve mineral deposits.
- Clean, soft-bristle brush: This will be used to scrub and remove any buildup or stubborn deposits from the water tank and base of the humidifier. Make sure the brush is clean and specifically designated for use on your humidifier to prevent any cross-contamination or damage.
- Microfiber cloth or sponge: These are useful for wiping and drying the different components of the humidifier. Microfiber cloths are known for their ability to trap dust and dirt effectively, providing a thorough cleaning experience.
- Distilled or filtered water (optional): Using distilled or filtered water in your humidifier can help reduce mineral buildup and extend the lifespan of your appliance. However, this is an optional supply and not necessary for the cleaning process itself.
- Clean, dry towel: Keep a clean, dry towel nearby to place the disassembled components on or to lay them out to dry after cleaning.
Make sure to gather all these supplies before you begin the cleaning process to ensure a smooth and hassle-free experience. Having everything ready will save you from interruptions and enable you to complete the cleaning process efficiently.
Now that you’ve collected all the necessary supplies, let’s move on to the step-by-step cleaning instructions for your Pure Enrichment humidifier.
Read more: How To Clean Frida Humidifier
Step 1: Unplug the Humidifier
The first step in cleaning your Pure Enrichment humidifier is to ensure that it is completely disconnected from the power source. Unplugging the unit will prevent any electrical accidents or malfunctions during the cleaning process.
Locate the power cord of your humidifier and unplug it from the wall outlet or power strip. Make sure to handle the cord carefully and avoid tugging or pulling it forcefully to prevent any damage.
Once the humidifier is unplugged, double-check that it is no longer connected to any power source. This step is crucial for your safety and the safety of the appliance.
By starting with this step, you create a safe environment to proceed with cleaning your Pure Enrichment humidifier. Now that you have unplugged the unit, let’s move on to the next step: disassembling the humidifier.
Step 2: Disassemble the Humidifier
Now that your Pure Enrichment humidifier is safely unplugged, it’s time to disassemble the unit to access the different components for cleaning.
Follow these steps to disassemble your humidifier:
- Remove the water tank: Depending on the model of your humidifier, the water tank may be located on the top or back of the unit. Carefully lift the tank off the base and set it aside.
- Remove the mist nozzle: The mist nozzle is usually located at the top of the unit, where the mist is released. Twist or unscrew the nozzle counterclockwise to detach it from the humidifier.
- Remove any additional detachable parts: Some humidifiers may have removable parts, such as filters or trays. If your model has any additional detachable components, consult the manufacturer’s instructions to identify and remove them.
As you disassemble the humidifier, handle each component with care to avoid any accidental damage. Place the disassembled parts on a clean, dry towel to prevent them from getting damaged or dirty.
By disassembling the humidifier, you gain access to the different components that need to be cleaned thoroughly. In the next step, we will focus on cleaning the water tank of your Pure Enrichment humidifier.
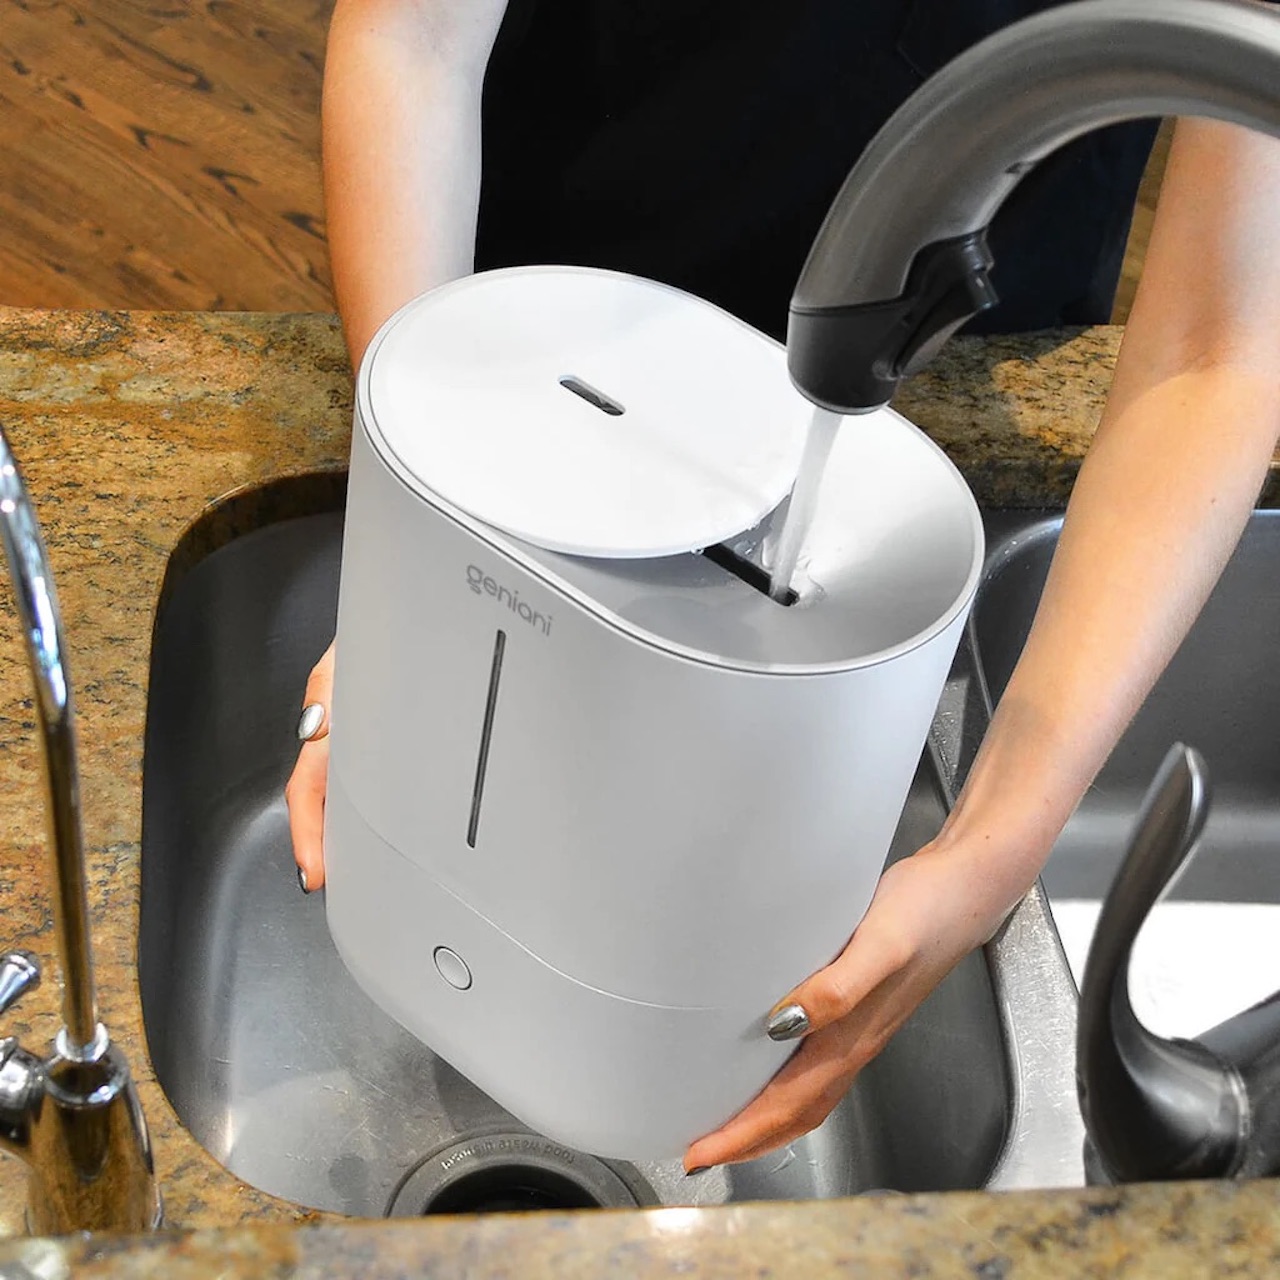
To clean a Pure Enrichment humidifier, mix equal parts water and white vinegar, then use this solution to scrub the tank and base. Rinse thoroughly and allow to dry before using again.
Step 3: Clean the Water Tank
Now that you have successfully disassembled your Pure Enrichment humidifier, it’s time to focus on cleaning the water tank. The water tank is where the water is stored before being converted into mist, and it can accumulate mineral deposits and bacteria over time.
Follow these steps to clean the water tank effectively:
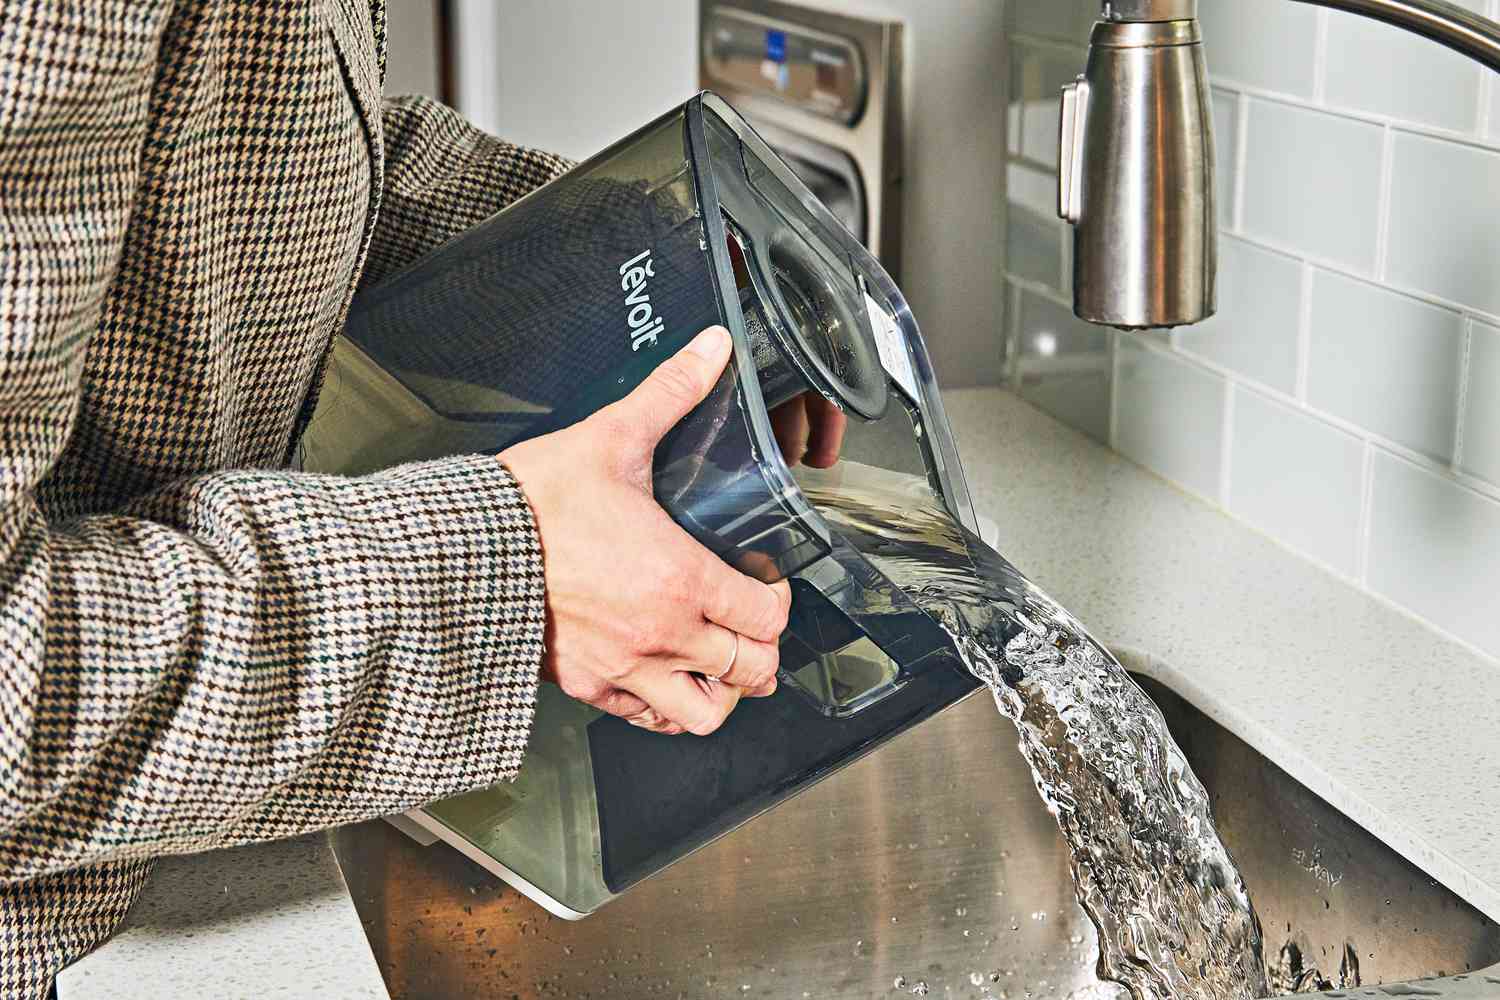
- Empty the water tank: Carefully pour out any remaining water from the tank into a sink or drain. If the tank is partially filled, you can use a funnel or pour spout to control the water flow.
- Prepare a cleaning solution: Fill the water tank with a mixture of water and mild dish soap or white vinegar. Use approximately one tablespoon of dish soap or one cup of white vinegar for every gallon of water. This cleaning solution will help to remove any mineral deposits or bacteria present in the tank.
- Scrub the tank: Using a clean, soft-bristle brush, gently scrub the inside of the water tank. Pay special attention to any areas with stubborn buildup or residue. Ensure that the entire interior surface of the tank is thoroughly scrubbed to remove any impurities.
- Rinse the tank: Rinse the water tank thoroughly with clean water to remove any residual cleaning solution and loosened deposits. Rinse multiple times to ensure the tank is completely clean and free from any soap or vinegar residue.
- Dry the tank: Place the water tank upside down on a clean towel or drying rack to allow it to air dry completely. Make sure there is no moisture remaining before proceeding to the next step.
By following these steps, you can ensure that your Pure Enrichment humidifier’s water tank is thoroughly cleaned and ready to be reassembled. In the next step, we will focus on cleaning the base of the humidifier.
Step 4: Clean the Base
After cleaning the water tank, it’s time to move on to cleaning the base of your Pure Enrichment humidifier. The base houses the motor, fan, and other essential components that ensure the proper functioning of the appliance.
Follow these steps to clean the base effectively:
- Prepare a cleaning solution: In a basin or sink, mix a solution of water and mild dish soap or white vinegar. Use approximately one tablespoon of dish soap or one cup of white vinegar for every gallon of water. This cleaning solution will help remove any buildup or residue from the base.
- Dampen a clean microfiber cloth or sponge: Dip a clean microfiber cloth or sponge into the cleaning solution, and wring out any excess liquid. The cloth or sponge should be damp, but not dripping wet.
- Gently wipe down the base: Using the damp cloth or sponge, gently wipe down the inside and outside of the base. Pay close attention to areas with visible dirt, stains, or mineral deposits. For hard-to-reach areas, you can use a soft-bristle brush to scrub away any stubborn buildup.
- Rinse the base: Once you have finished wiping down the base, rinse it thoroughly with clean water to remove any leftover cleaning solution or residue. Make sure to rinse all areas of the base, including crevices and corners.
- Dry the base: Place the base on a clean towel or drying rack and allow it to air dry completely. Ensure there is no moisture left on the base before moving on to the next step.
Properly cleaning the base of your Pure Enrichment humidifier is essential for maintaining its performance and longevity. In the next step, we will focus on cleaning the mist nozzle.
Read more: How To Clean A Crane Humidifier
Step 5: Clean the Mist Nozzle
The mist nozzle is an important component of your Pure Enrichment humidifier as it is responsible for releasing the moisturizing mist into the air. Over time, the nozzle can become clogged with mineral deposits, reducing the effectiveness of your humidifier. Cleaning the mist nozzle regularly will help ensure proper mist dispersion.
Follow these steps to clean the mist nozzle:
- Remove the mist nozzle: The mist nozzle is usually detachable and can be unscrewed or twisted off from the top of the humidifier. Consult the manufacturer’s instructions if you are unsure how to remove it.
- Inspect the nozzle: Examine the mist nozzle for any visible signs of mineral deposits or blockages. If you notice any buildup or clogging, it’s time to clean it.
- Prepare a cleaning solution: Fill a small bowl or basin with equal parts water and white vinegar. Submerge the mist nozzle in the cleaning solution and let it soak for about 15-20 minutes. The vinegar will help dissolve any mineral deposits that have accumulated in the nozzle.
- Scrub the nozzle: After soaking, use a soft-bristle brush or a toothbrush to gently scrub the mist nozzle. Pay close attention to the openings and ensure that any residue or blockages are thoroughly removed.
- Rinse the nozzle: Rinse the mist nozzle with clean water to remove any remaining cleaning solution or vinegar. Make sure to rinse it thoroughly, ensuring that all the cleaning solution is removed.
- Dry the nozzle: Place the mist nozzle on a clean towel and allow it to air dry completely. Ensure that there is no moisture left on the nozzle before reassembling it with the rest of the humidifier.
By cleaning the mist nozzle regularly, you can maintain the optimal performance of your Pure Enrichment humidifier. In the next step, we will move on to rinsing and drying all the cleaned components of the humidifier.
Step 6: Rinse and Dry All Components
Now that you have cleaned the water tank, base, and mist nozzle of your Pure Enrichment humidifier, it’s time to rinse and dry all the components to ensure they are thoroughly clean and ready for reassembly.
Follow these steps to rinse and dry all the components:
- Rinse the components: Take each component, including the water tank, base, and mist nozzle, and rinse them under clean, running water. Ensure that you rinse off any remaining cleaning solution or residue.
- Check for any leftover debris: Inspect all the components, particularly the water tank and base, for any hidden debris or mineral deposits. If you notice any remaining dirt or buildup, gently scrub the affected areas with a soft-bristle brush.
- Dry the components: After rinsing, place each component on a clean towel or drying rack. Allow them to air dry completely. You can also use a soft, dry cloth to gently pat them dry, ensuring there is no moisture left.
- Double-check for dryness: Before reassembling the humidifier, ensure that all components are completely dry. Moisture left behind can encourage the growth of mold or bacteria, which can affect the performance and quality of the humidifier.
By thoroughly rinsing and properly drying all the components, you ensure that your Pure Enrichment humidifier is clean, free of residue, and ready for reassembly. In the next step, we will guide you through the process of reassembling the humidifier.
Step 7: Reassemble the Humidifier
Now that all the components of your Pure Enrichment humidifier are clean and dry, it’s time to reassemble the unit for it to start running efficiently again.
Follow these steps to reassemble your humidifier:
- Place the water tank back on the base: Take the clean and dry water tank and carefully place it back onto the base of the humidifier. Make sure it is securely positioned and aligned properly.
- Attach the mist nozzle: Take the cleaned and dry mist nozzle and screw or twist it back onto the top of the humidifier. Ensure that it is tightly secured to prevent any leaks or misalignment.
- Double-check the attachment of additional components: If your model of the Pure Enrichment humidifier has any additional detachable parts, such as filters or trays, make sure to reattach them according to the manufacturer’s instructions. Ensure that they are properly aligned and securely attached.
During the reassembling process, handle all the components with care to avoid any accidental damage. Applying a gentle yet firm pressure when attaching the water tank and mist nozzle will help ensure a proper fit.
By following these steps, you have successfully reassembled the different components of your Pure Enrichment humidifier. The final step is to refill the water tank and restart your humidifier, which we will cover in the next step.
Step 8: Refill and Restart the Humidifier
Congratulations! You’ve reached the final step of cleaning your Pure Enrichment humidifier. Now it’s time to refill the water tank and restart your appliance, ensuring that it runs smoothly and effectively.
Follow these steps to refill and restart your humidifier:
- Fill the water tank: Take the clean and dry water tank and fill it with fresh, filtered water. Avoid using tap water if it is hard or mineral-rich, as this can lead to mineral buildup in the humidifier.
- Attach the water tank to the base: Carefully place the filled water tank back onto the base of the humidifier. Ensure that it is properly aligned and securely attached to prevent any leaks.
- Plug in the humidifier: Locate the power cord of your Pure Enrichment humidifier and plug it into a suitable power outlet. Double-check that the cord is firmly inserted and that there are no loose connections.
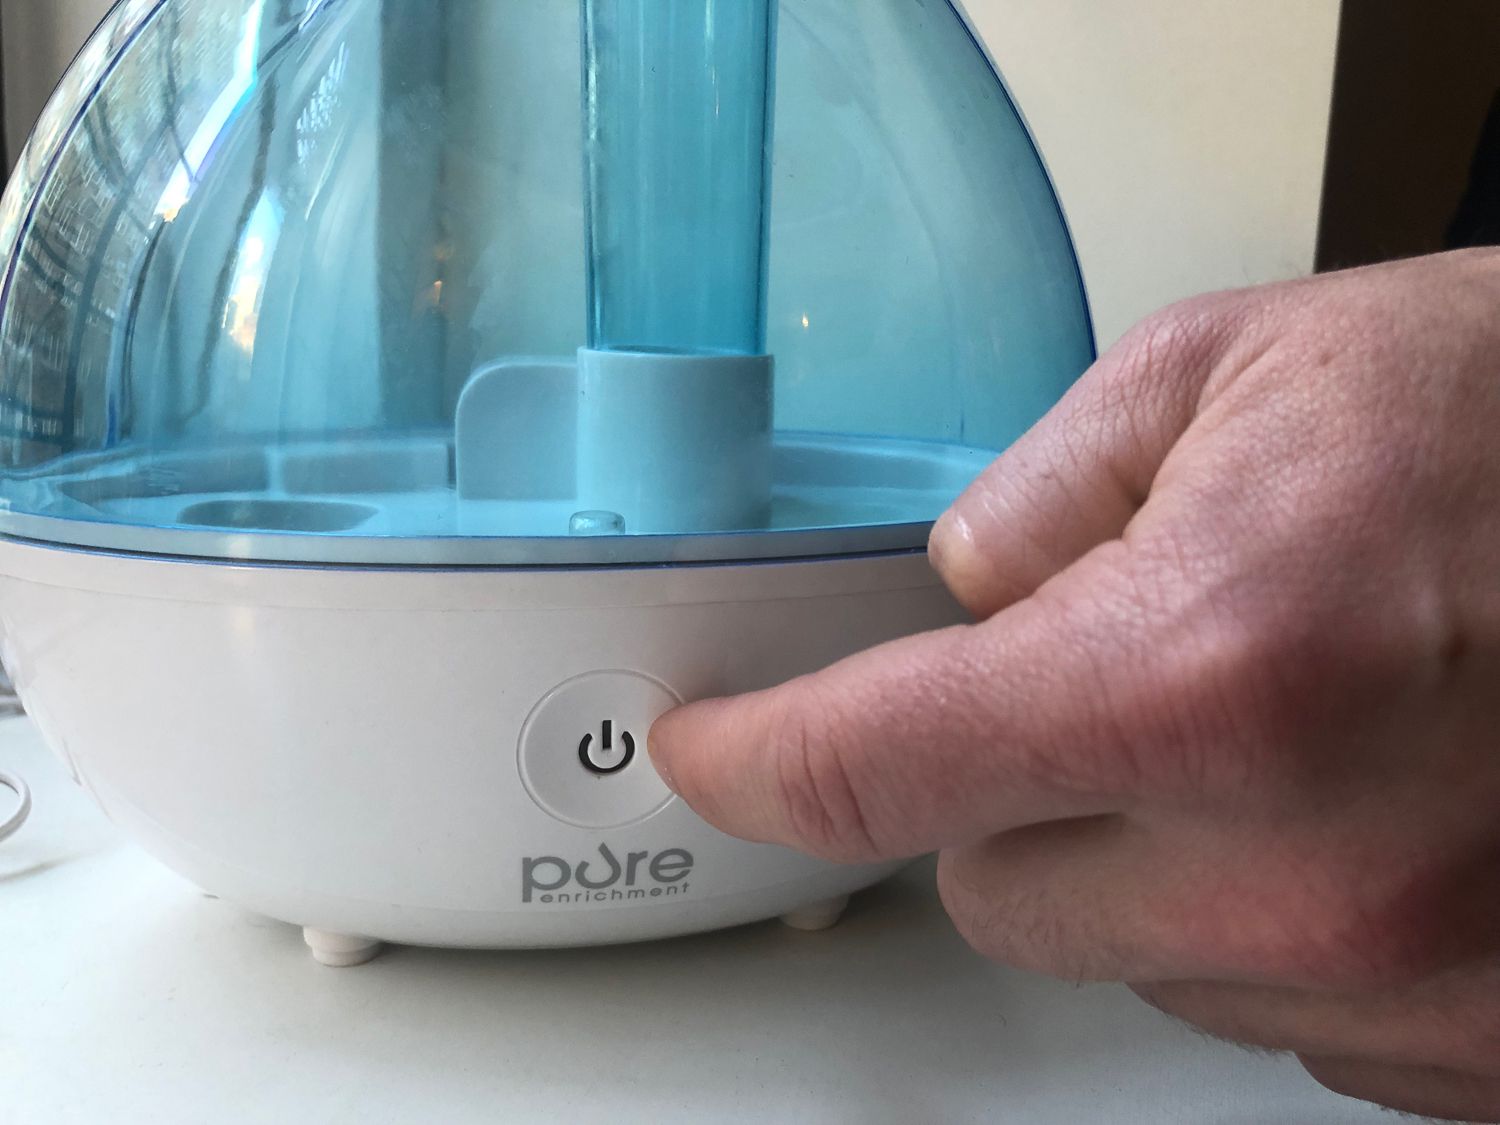
- Turn on the humidifier: Locate the power button or control knob on your humidifier and turn it on. Adjust the settings according to your preferences and the recommended guidelines provided by the manufacturer.
- Monitor the operation: As your humidifier restarts, pay attention to ensure that it is running smoothly. Listen for any unusual noises or vibrations and monitor the mist output to ensure it is functioning properly.
By refilling and restarting your Pure Enrichment humidifier, you are ready to enjoy the benefits of clean, moisturized air in your home once again. Remember to regularly monitor the water level in the tank and refill as necessary.
Regular cleaning and maintenance of your humidifier is crucial to keep it running efficiently and to ensure a healthy living environment. Follow the manufacturer’s guidelines and recommendations for the frequency of cleaning to maintain optimal performance.
With these steps completed, you have successfully cleaned and restarted your Pure Enrichment humidifier. Enjoy the improved air quality and a fresh, comfortable atmosphere in your home!
Note: The specific steps and instructions provided in this article may vary depending on the model of your Pure Enrichment humidifier. Always refer to the manufacturer’s instructions for the most accurate and detailed cleaning guidelines.
As a final reminder, regular cleaning and maintenance of your humidifier is key to its longevity and performance. By following these steps, you can ensure that your Pure Enrichment humidifier provides you with clean and refreshing air for years to come.
Read more: How To Clean A Homedics Humidifier
Conclusion
Congratulations on successfully cleaning your Pure Enrichment humidifier! By following the step-by-step instructions outlined in this guide, you have ensured that your appliance is free from dirt, mineral deposits, and bacteria, and will continue to provide you with clean and moisturized air.
Regular cleaning and maintenance of your humidifier is essential to maintain its performance and promote a healthy living environment. Neglecting proper cleaning can lead to the buildup of bacteria, mold, and mineral deposits, which can affect the effectiveness of the humidifier and potentially pose health risks.
Throughout the cleaning process, it is important to prioritize safety by unplugging the humidifier before starting, handling the components with care, and using only mild cleaning solutions recommended by the manufacturer. Additionally, make sure to thoroughly rinse and dry all the components before reassembling the unit.
Remember to adhere to the manufacturer’s instructions and guidelines specific to your Pure Enrichment humidifier model. Different models may have slight variations in cleaning procedures, so it’s important to have a good understanding of your appliance.
Regular cleaning maintenance should be performed according to the manufacturer’s recommendations or at least once every one to two weeks, depending on usage. This will help ensure that your humidifier continues to function optimally and efficiently, providing you with the benefits of improved air quality.
We hope that this comprehensive guide has been helpful in guiding you through the cleaning process of your Pure Enrichment humidifier. By investing a little time and effort into regular cleaning, you can prolong the lifespan of your appliance and enjoy the comfort of a well-maintained humidifier in your home.
Thank you for taking the necessary steps to maintain the cleanliness of your Pure Enrichment humidifier. Breathe in the fresh and moisturized air, and enjoy the benefits of a healthy living environment!
Now that you're equipped with the steps for keeping your humidifier in tip-top shape, why stop there? Dive into our latest guide on selecting the perfect humidifier for your needs. Discover models that not only fit your style but also improve air quality, ensuring your home remains a sanctuary of comfort and health. Don't miss out on finding the ideal humidifier to complement your clean, efficient unit.
Frequently Asked Questions about How To Clean Pure Enrichment Humidifier
Was this page helpful?
At Storables.com, we guarantee accurate and reliable information. Our content, validated by Expert Board Contributors, is crafted following stringent Editorial Policies. We're committed to providing you with well-researched, expert-backed insights for all your informational needs.


0 thoughts on “How To Clean Pure Enrichment Humidifier”