
Articles
How To Clean Safety First Humidifier
Modified: October 18, 2024
Discover effective methods and tips on how to clean your Safety First humidifier with our informative articles. Keep your air fresh and clean with our expert guidance.
(Many of the links in this article redirect to a specific reviewed product. Your purchase of these products through affiliate links helps to generate commission for Storables.com, at no extra cost. Learn more)
Introduction
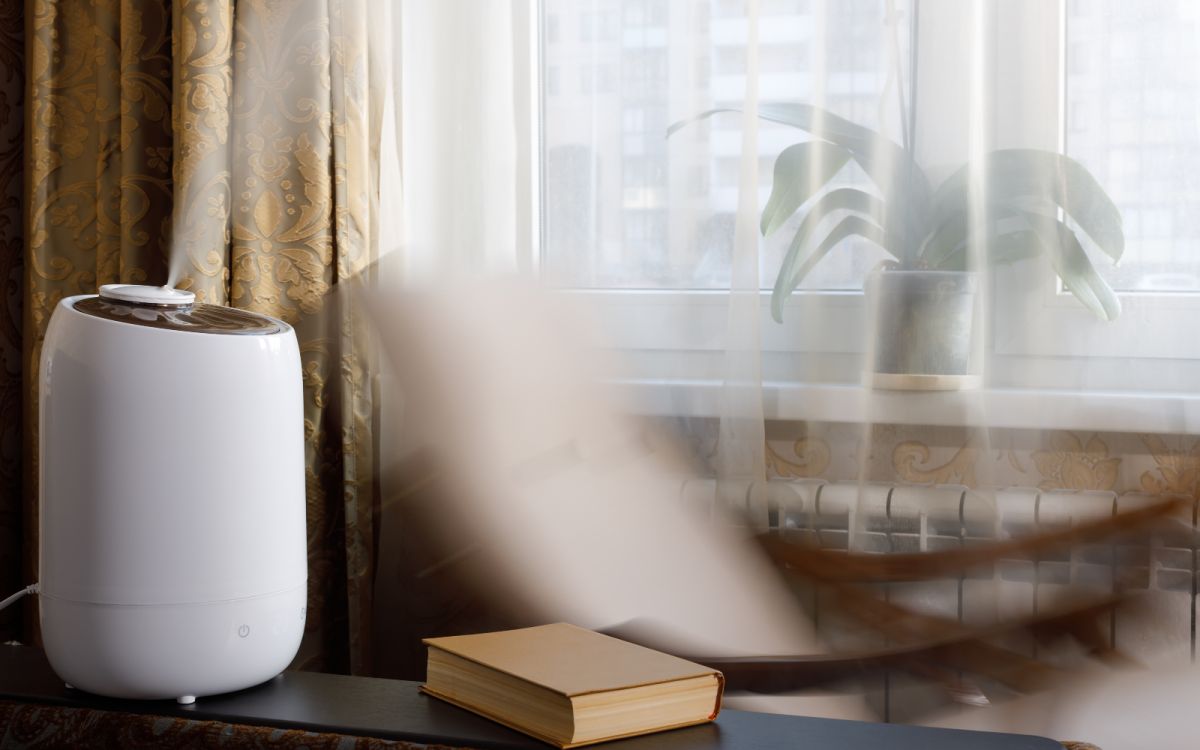
Welcome to this guide on how to clean a Safety First humidifier. A humidifier is a great appliance to have in your home, as it helps to add moisture to the air and can alleviate dryness, especially during the winter months. However, it is important to regularly clean your humidifier to ensure that it continues to function properly and does not become a breeding ground for bacteria or mold. In this article, we will provide you with step-by-step instructions on how to clean your Safety First humidifier effectively.
Before we dive into the cleaning process, it is crucial to familiarize yourself with some safety precautions. Always ensure that the humidifier is unplugged and turned off before attempting to clean it. Additionally, make sure to handle the parts carefully to avoid any damage or injury.
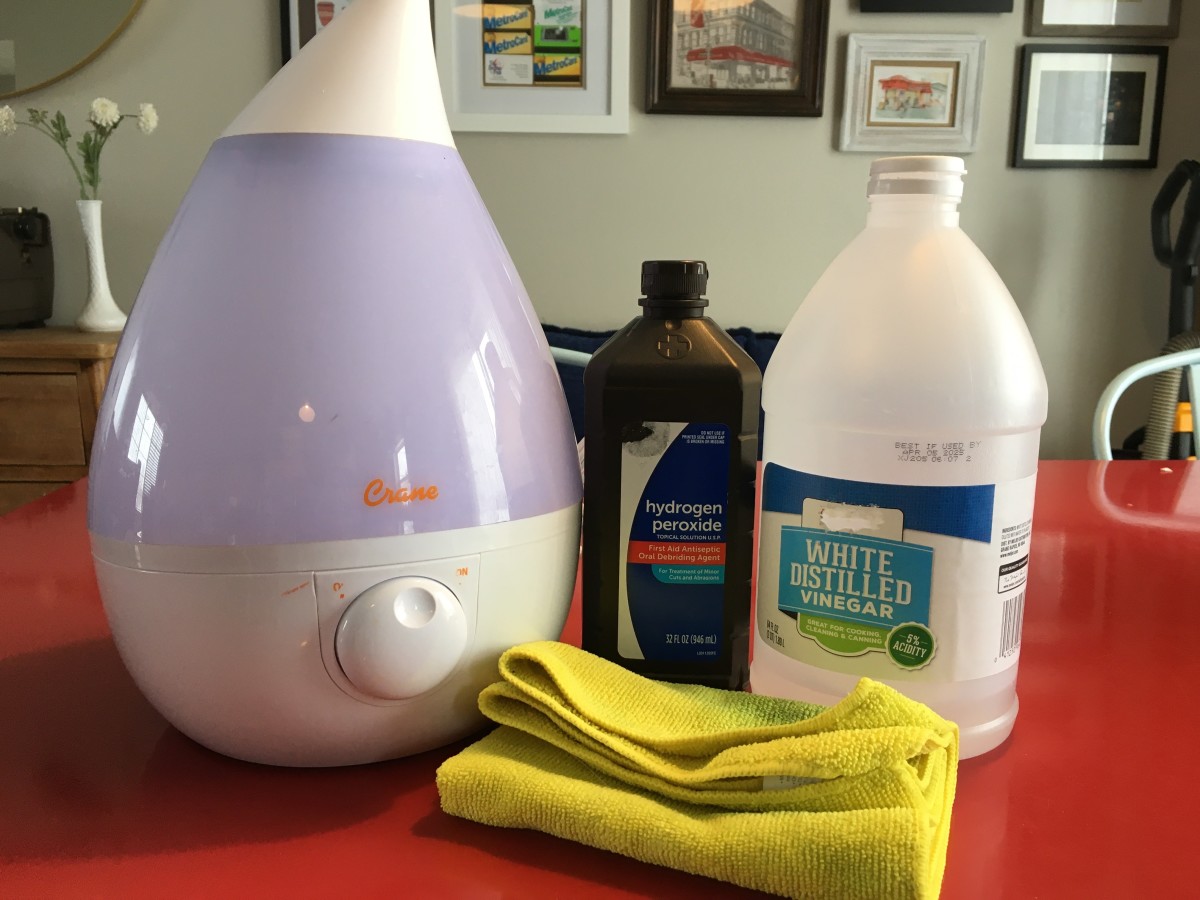
Next, gather all the necessary supplies before you begin the cleaning process. You will need a soft bristle brush, mild dish soap, white vinegar, a cloth, and water. These supplies will help you remove any mineral buildup, disinfect the humidifier, and restore its functionality.
Now, let’s move on to the step-by-step cleaning process for your Safety First humidifier.
Key Takeaways:
- Regularly cleaning and maintaining your Safety First humidifier is crucial for efficient functioning and longevity. Follow safety precautions, gather supplies, and clean components thoroughly for optimal air quality.
- Implement a regular maintenance routine for your Safety First humidifier, including monitoring humidity levels, using distilled water, and proper storage. Enjoy improved air quality and comfort in your home.
Read more: How To Clean Frida Humidifier
Safety Precautions
Before you start cleaning your Safety First humidifier, it’s crucial to take some safety precautions to prevent accidents and ensure your well-being. Here are a few important safety measures you should keep in mind:
1. Unplug the Humidifier: Always disconnect the power cord and unplug the humidifier from the electrical outlet before beginning the cleaning process. This prevents any risk of electric shock or damage to the appliance.
2. Turn Off and Empty Water: Ensure that your humidifier is turned off and that the water reservoir is completely empty. This eliminates the risk of splashing water or accidental spills while cleaning.
3. Handle with Care: When disassembling and reassembling the humidifier, handle each component with care. Avoid applying excessive force or twisting motions, as this can cause damage to the unit or its parts.
4. Avoid Contact with Water: Keep the electrical components of the humidifier, such as the control panel or power cord, away from water. This prevents any potential water damage or electrical hazards.
5. Clean in a Well-Ventilated Area: Choose a well-ventilated area to clean your humidifier. This ensures proper air circulation and prevents the inhalation of any cleaning agents or fumes.
6. Use Recommended Cleaning Agents: Stick to using mild dish soap, white vinegar, and water for cleaning your humidifier. Avoid harsh chemicals or abrasive cleaners as they can damage the unit or leave behind harmful residue.
7. Follow Manufacturer’s Instructions: Always refer to the user manual and follow the manufacturer’s instructions specific to your Safety First humidifier. This ensures that you clean the unit correctly and maintain its warranty.
By adhering to these safety precautions, you can ensure a safe and effective cleaning process for your Safety First humidifier. Now that we’ve covered the safety measures, let’s proceed to gather the supplies needed for cleaning.
Gathering Supplies
Before you begin cleaning your Safety First humidifier, it’s important to gather all the necessary supplies. Having the right tools and cleaning agents on hand will make the process smoother and more efficient. Here’s what you’ll need:
1. Soft Bristle Brush: A soft bristle brush, such as a toothbrush or a small cleaning brush, will help you scrub away any mineral deposits or residue from hard-to-reach areas of the humidifier.
2. Mild Dish Soap: Choose a mild dish soap that is gentle on your hands and suitable for cleaning. Avoid using strong detergents or cleaners as they can leave behind harmful residues or damage the humidifier.
3. White Vinegar: White vinegar is an excellent natural cleaner that can help remove mineral buildup and disinfect your humidifier. It is effective in removing any lingering odors as well.
4. Cloth or Sponge: A soft cloth or sponge will come in handy for wiping down the exterior of the humidifier and for applying cleaning solutions to the different parts.
5. Water: You will need clean water for rinsing various components of the humidifier. Distilled or filtered water is recommended to prevent mineral buildup and ensure a thorough cleaning.
6. Towel or Drying Rack: To dry the humidifier components after cleaning, you can use a clean towel or set up a drying rack. Ensure that all parts are completely dry before reassembling the humidifier.
Once you have gathered all the supplies, you are ready to begin the cleaning process. Remember to refer to the manufacturer’s instructions and follow the specific cleaning guidelines for your Safety First humidifier. In the next sections, we will guide you step-by-step through the cleaning process, ensuring a clean and well-maintained humidifier.
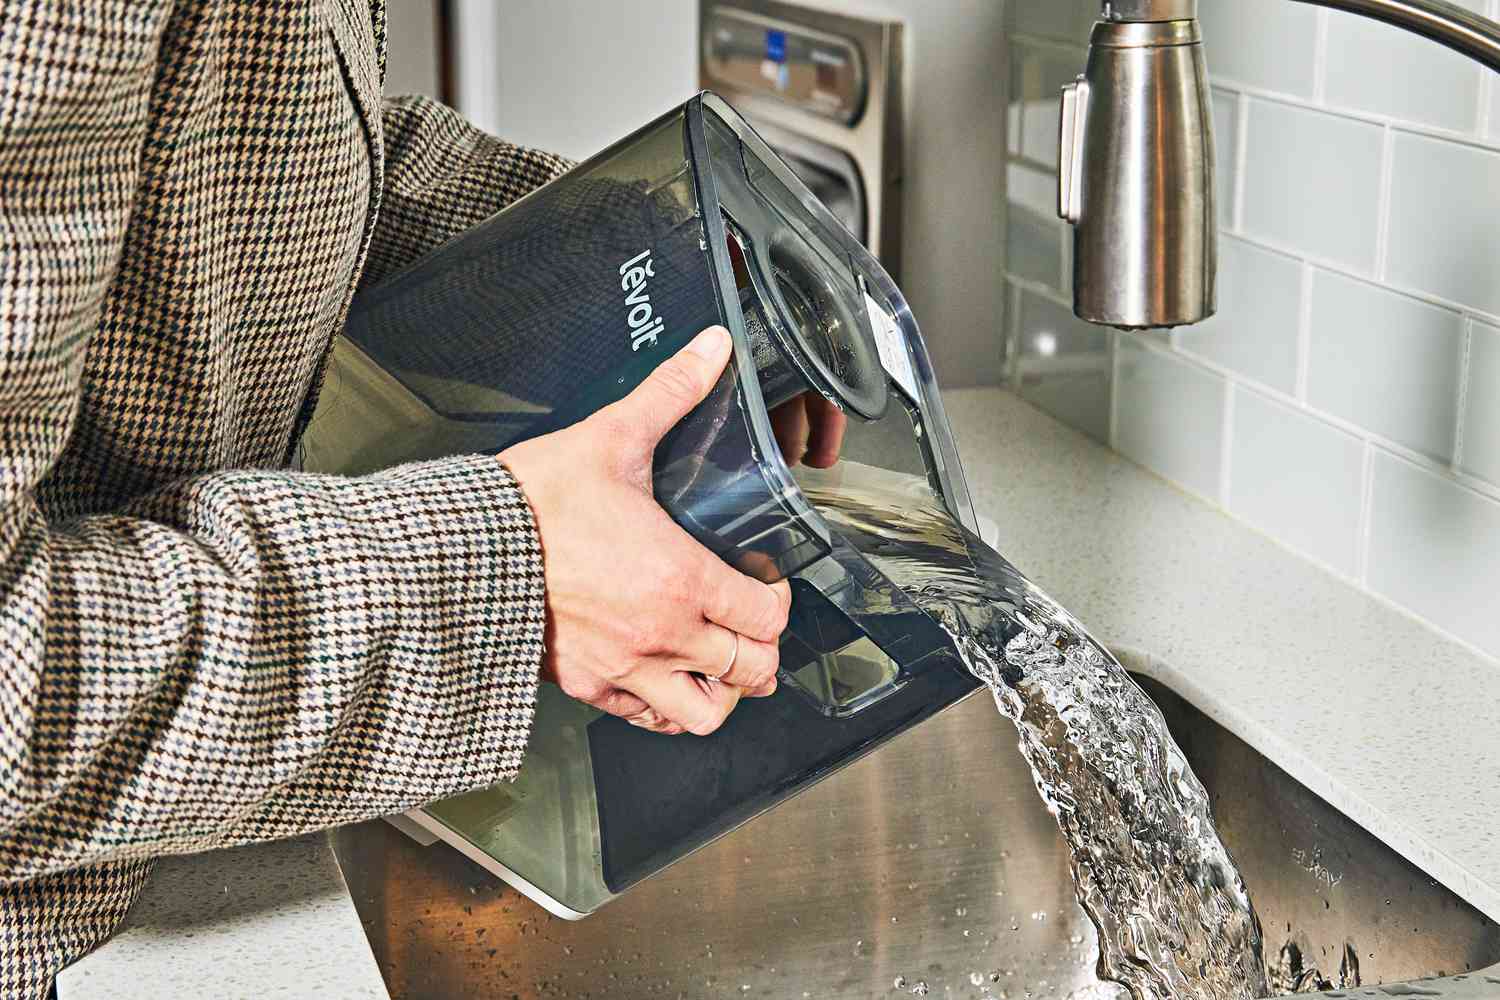
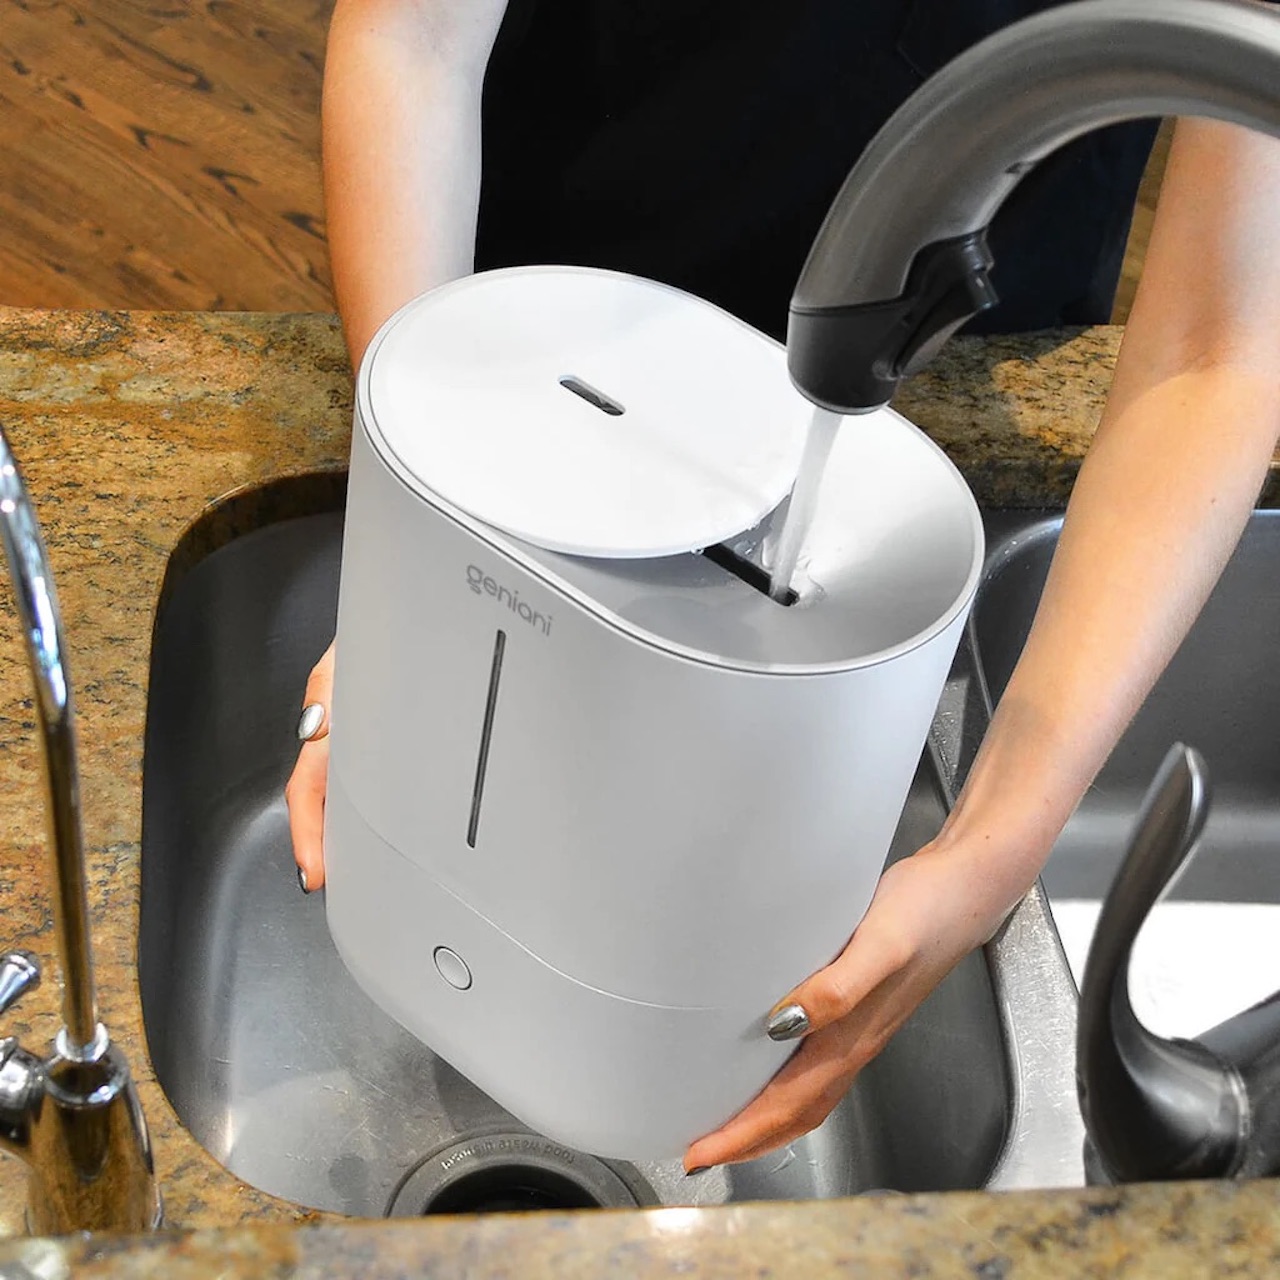
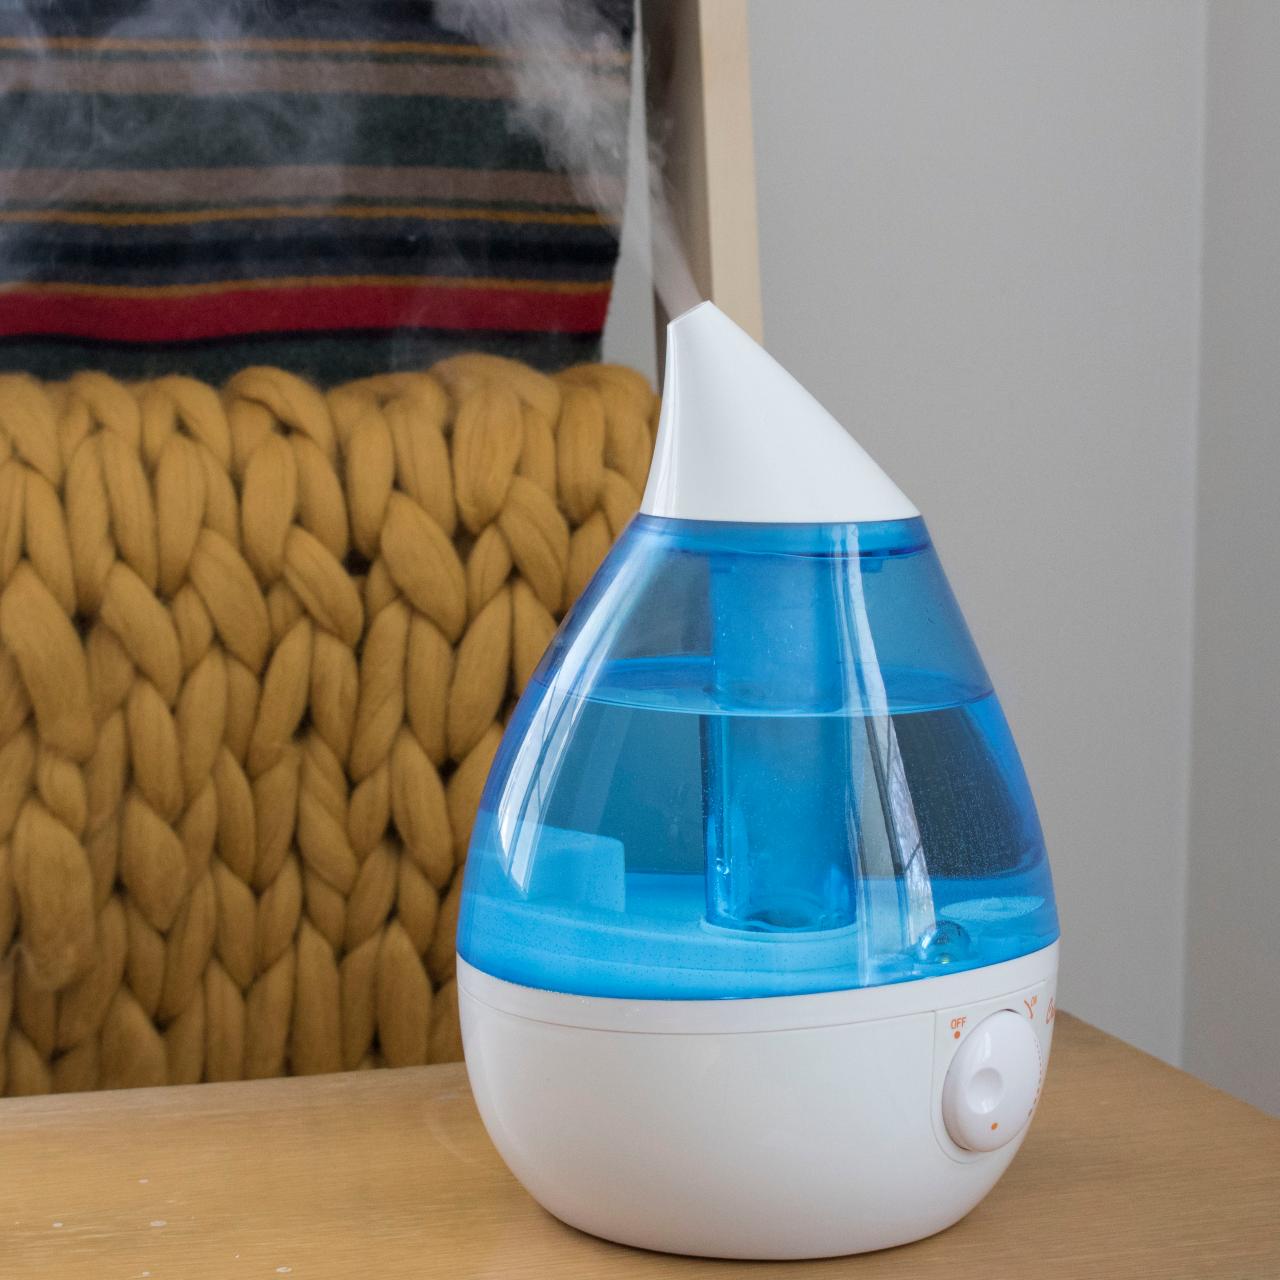
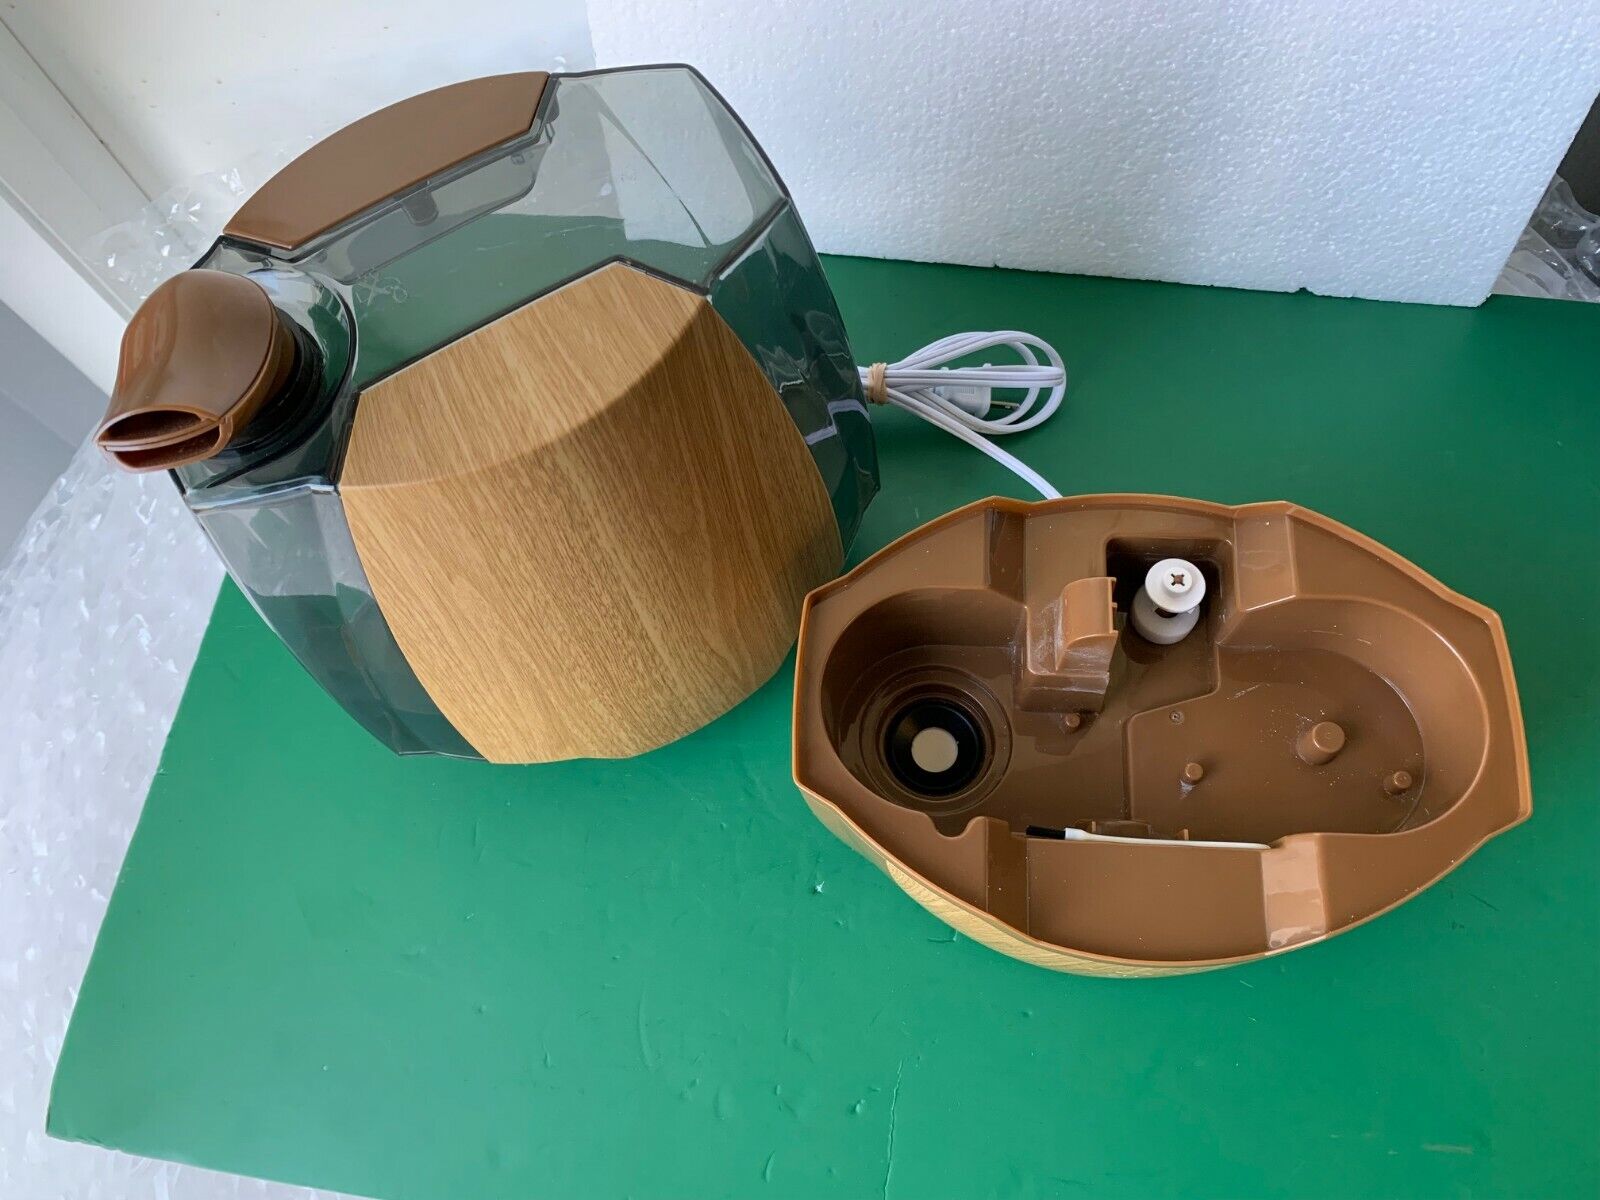
Remove and Rinse Reservoir
The first step in cleaning your Safety First humidifier is to remove the water reservoir. The reservoir is where the water is stored before it is released into the air as a fine mist. Follow these steps to remove and rinse the reservoir:
- Start by making sure the humidifier is turned off and unplugged from the electrical outlet.
- Locate the water reservoir, which is usually situated on the top or back of the unit. It may have a separate cap or lid.
- Carefully remove the cap or lid from the reservoir, taking note of any tabs or locks that may be present.
- Once the cap or lid is removed, lift the reservoir out of the humidifier. Be cautious as the reservoir may be heavy if it’s filled with water.
- Empty any remaining water from the reservoir into a sink or drain. Take care not to spill any water on electrical components.
- Rinse the reservoir with warm water to remove any dirt, debris, or mineral buildup. If there are visible stains or deposits, you can use a mixture of mild dish soap and water to gently scrub the reservoir with a soft brush.
- Thoroughly rinse the reservoir with clean water to ensure all soap residue is removed.
- Inspect the reservoir for any cracks or damage. If you notice any issues, contact the manufacturer for further assistance.
- Place the reservoir upside down on a towel or drying rack to allow it to air dry completely.
While the reservoir is drying, you can move on to cleaning the base of the humidifier. Continue reading to learn the step-by-step process for cleaning the base of your Safety First humidifier.
Clean the Base
Now that you have removed and rinsed the water reservoir of your Safety First humidifier, it’s time to clean the base of the unit. The base is where the water is heated and transformed into a fine mist. Here’s how you can clean the base:
- Make sure the humidifier is still turned off and unplugged from the electrical outlet.
- Locate the base of the humidifier, which is the bottom part that sits on a surface.
- Using a soft cloth or sponge, wipe down the base to remove any dust, dirt, or debris that may have accumulated.
- If there are visible stains or mineral deposits, you can create a cleaning solution by mixing equal parts white vinegar and water.
- Dampen a cloth or sponge with the vinegar and water solution and gently scrub the base, paying attention to areas with buildup or stains.
- Be cautious not to let any liquid come into contact with the electrical components of the humidifier.
- Rinse the base with clean water to remove any vinegar residue.
- Wipe the base dry with a clean cloth or towel.
- Inspect the base for any cracks or damage. If you notice any issues, contact the manufacturer for assistance or consider replacing the base if necessary.
Once you have cleaned the base of the humidifier, you can move on to cleaning the tray. Continue reading to learn how to clean the tray effectively.
To clean a Safety First humidifier, mix equal parts water and white vinegar, then use this solution to thoroughly clean the tank and base. Be sure to rinse well before using again.
Read more: How To Clean A Crane Humidifier
Clean the Tray
The tray of your Safety First humidifier is responsible for collecting any excess water or moisture that may have accumulated during operation. It is important to clean the tray regularly to prevent the growth of bacteria or mold. Follow these steps to clean the tray:
- Ensure that the humidifier is still turned off and unplugged from the electrical outlet.
- Locate the tray, which is usually situated below the water reservoir.
- Remove the tray from the humidifier by gently lifting it out.
- Empty any water or moisture from the tray into a sink or drain.
- Rinse the tray with warm water, using a soft brush or sponge to scrub away any residue or buildup.
- If there are stubborn stains or mineral deposits, you can create a mixture of mild dish soap and water and scrub the tray gently.
- Thoroughly rinse the tray with clean water to ensure all soap residue is removed.
- Inspect the tray for any cracks or damage. If you notice any issues, contact the manufacturer for further assistance.
- Place the tray upside down on a towel or drying rack to allow it to air dry completely.
Once the tray is dry, you can move on to cleaning the filter of your Safety First humidifier. Continue reading to learn how to clean the filter effectively.
Clean the Filter
The filter of your Safety First humidifier plays a vital role in capturing impurities and ensuring that clean moisture is released into the air. Regularly cleaning the filter helps maintain the efficiency and lifespan of your humidifier. Follow these steps to clean the filter:
- Make sure the humidifier is turned off and unplugged from the electrical outlet.
- Locate the filter compartment, which is usually located inside the humidifier near the water reservoir.
- Remove the filter from the compartment as per the manufacturer’s instructions. Some filters are washable, while others may need to be replaced if they are disposable.
- If the filter is washable, gently rinse it under cool running water to remove any dust, dirt, or residue. Be careful not to use hot water as it can damage the filter.
- If there are visible stains or deposits on the filter, you can soak it in a mixture of equal parts white vinegar and water for 30 minutes. This will help dissolve any mineral buildup.
- After soaking or rinsing the filter, gently squeeze out any excess water. Avoid wringing or twisting the filter, as it can damage its structure.
- Place the filter on a clean towel or drying rack and allow it to air dry completely. Ensure that the filter is completely dry before reinstalling it in the humidifier.
- If the filter is disposable, follow the manufacturer’s instructions for replacing it with a new one. Make sure to purchase the correct replacement filter for your specific Safety First humidifier model.
Once the filter is either cleaned or replaced, you can proceed to reassemble your Safety First humidifier. Continue reading to learn the steps for reassembling the unit.
Reassemble the Humidifier
Now that you have cleaned the various components of your Safety First humidifier, it’s time to reassemble the unit. Follow these steps to put everything back together:
- Ensure that all the components, including the reservoir, base, tray, and filter, are completely dry before reassembling.
- Begin by placing the dry filter back into its designated compartment, following the manufacturer’s instructions.
- Make sure the filter is properly aligned and snug in its place.
- Next, position the tray back in its designated spot below the reservoir. Ensure that it sits securely and does not wobble.
- Gently lower the dry water reservoir back onto the humidifier base, aligning any tabs or locks to secure it in place.
- Double-check that all the components are properly fitted and aligned.
- Plug the humidifier back into the electrical outlet.
With the reassembly complete, your Safety First humidifier is ready for use. However, before you start using it again, it’s essential to perform a few final steps and establish a maintenance routine. Continue reading to learn more.
Final Steps and Maintenance Tips
Now that you have successfully reassembled your Safety First humidifier, there are a few final steps to follow before you can enjoy its benefits. Additionally, implementing a regular maintenance routine will help keep your humidifier in optimal condition. Here are the final steps and maintenance tips:
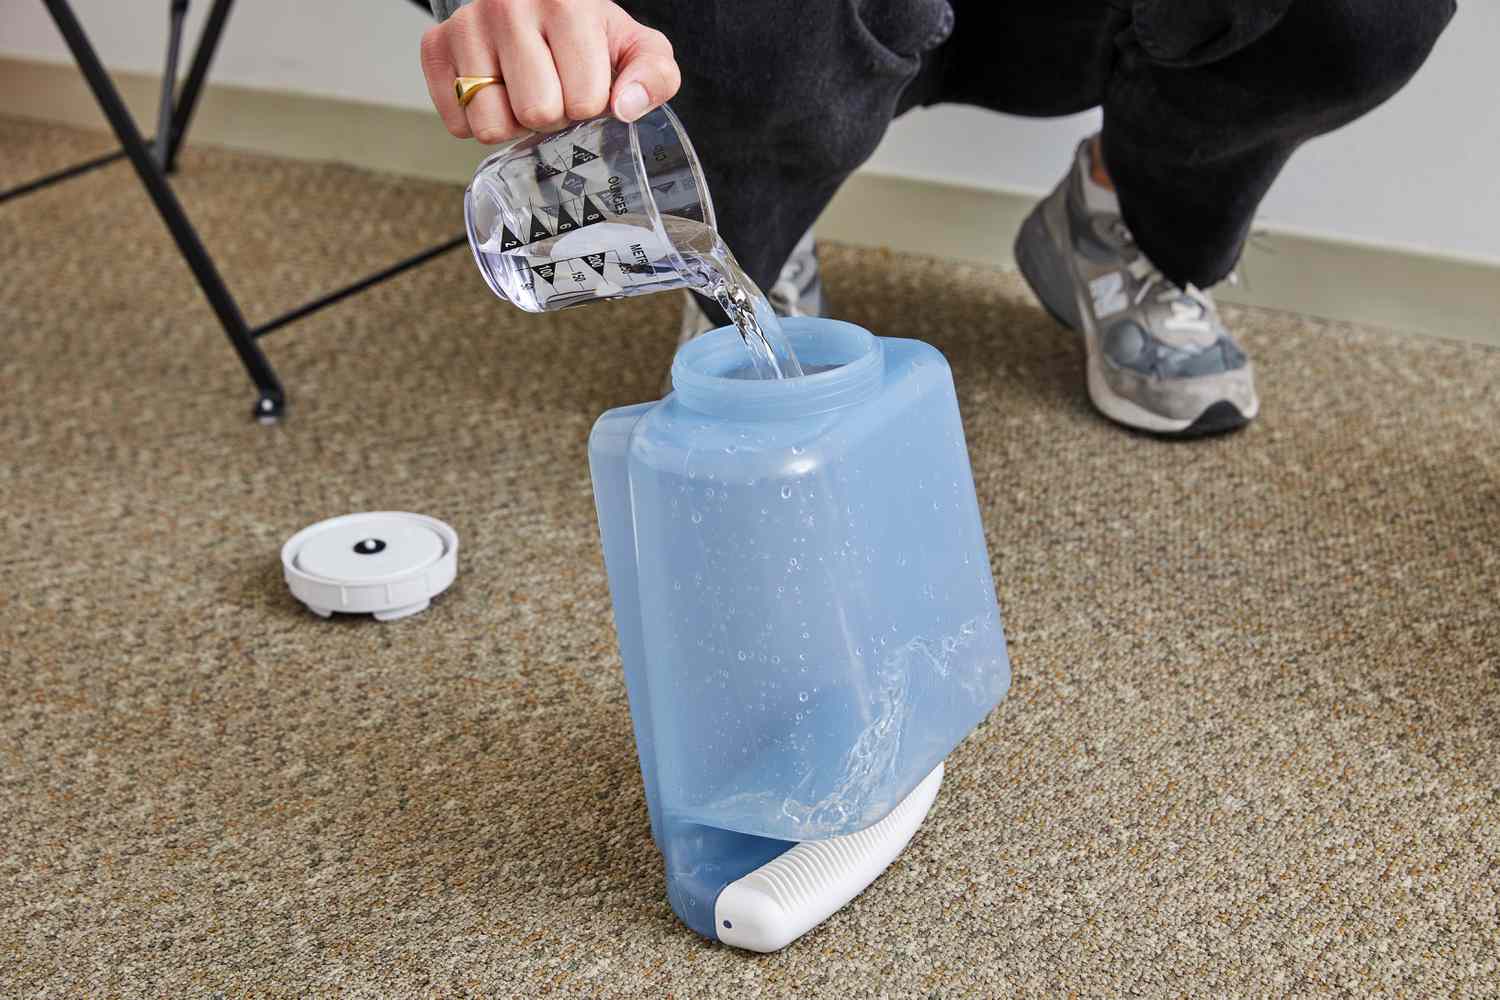
- Fill the Water Reservoir:
- Fill the water reservoir with clean water, according to the manufacturer’s instructions. Avoid overfilling to prevent any water spills or leaks.
- Position the Humidifier:
- Place the humidifier on a flat, stable surface, away from any obstacles or furniture.
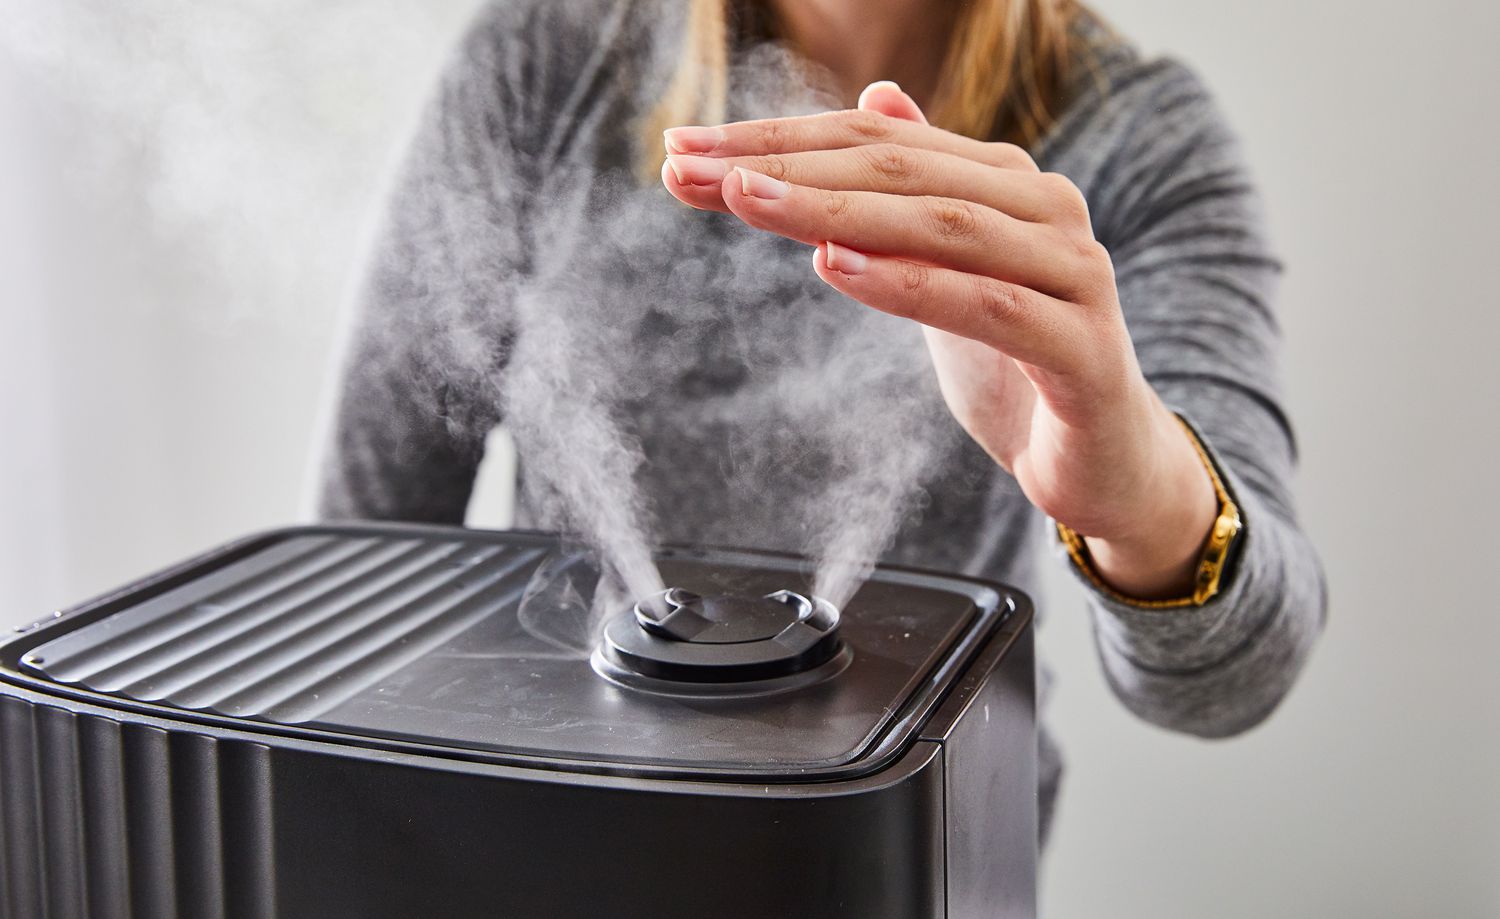
- Set the Desired Humidity Level:
- Adjust the humidity level control to your desired setting, ensuring it is within a comfortable and recommended range.
- Monitor the Humidity Level:
- Regularly check the humidity level in the room to ensure it remains within the desired range. Adjust the settings as needed.
- Clean Regularly:
- Make it a habit to clean your Safety First humidifier regularly. Aim for cleaning it at least once every one to two weeks or as recommended by the manufacturer.
- Replace or Clean the Filter:
- If your humidifier has a disposable filter, be sure to replace it according to the manufacturer’s instructions or as needed. If using a washable filter, clean it regularly to maintain its efficiency.
- Use Distilled or Filtered Water:
- To prevent mineral buildup and extend the lifespan of your humidifier, it is recommended to use distilled or filtered water.
- Empty and Refill Water Regularly:
- Empty the water reservoir and refill it daily to ensure a fresh supply of water and prevent the growth of bacteria or mold.
- Store Properly:
- If you plan to store your Safety First humidifier for an extended period, ensure it is completely dry before placing it in a clean, dry storage area.
By following these final steps and incorporating regular maintenance into your routine, you can ensure a clean and well-functioning Safety First humidifier that provides you with optimal humidity levels and comfort in your home. Enjoy the benefits of improved air quality and moisture!
Now that you are equipped with the knowledge of how to clean and maintain your Safety First humidifier, you can confidently enjoy its benefits while keeping it in top condition. Remember to refer to the manufacturer’s instructions specific to your model for any additional guidance. Happy humidifying!
Read more: How To Clean A Homedics Humidifier
Conclusion
In conclusion, regularly cleaning and maintaining your Safety First humidifier is essential for its efficient functioning and longevity. By following the step-by-step instructions outlined in this guide, you can keep your humidifier free from bacteria, mold, and mineral buildup, ensuring clean and healthy air in your home.
Starting with the safety precautions, always prioritize your well-being by unplugging the humidifier, handling the components carefully, and cleaning in a well-ventilated area. Gathering the necessary supplies, such as a soft bristle brush, mild dish soap, white vinegar, a cloth, and water, will ensure you have everything you need for a thorough cleaning process.
Removing and rinsing the water reservoir, cleaning the base, tray, and filter, and reassembling the humidifier are vital steps to maintain its functionality. Pay attention to the specific guidelines provided by the manufacturer for each component to ensure proper cleaning techniques.
Lastly, adopting some maintenance tips like setting the desired humidity level, monitoring humidity levels, regular cleaning, using distilled or filtered water, and properly storing the humidifier will contribute to its long-term performance and efficiency.
By dedicating some time and effort to clean and maintain your Safety First humidifier, you can enjoy the benefits of improved air quality, comfort, and moisture in your home. Breathe easy and enjoy a healthier living environment.
Remember to always refer to the manufacturer’s instructions for your specific model, as they may provide additional tips or guidance tailored to your Safety First humidifier. Now, you’re equipped with the knowledge and tools to keep your humidifier clean and functioning optimally. Take care, and happy humidifying!
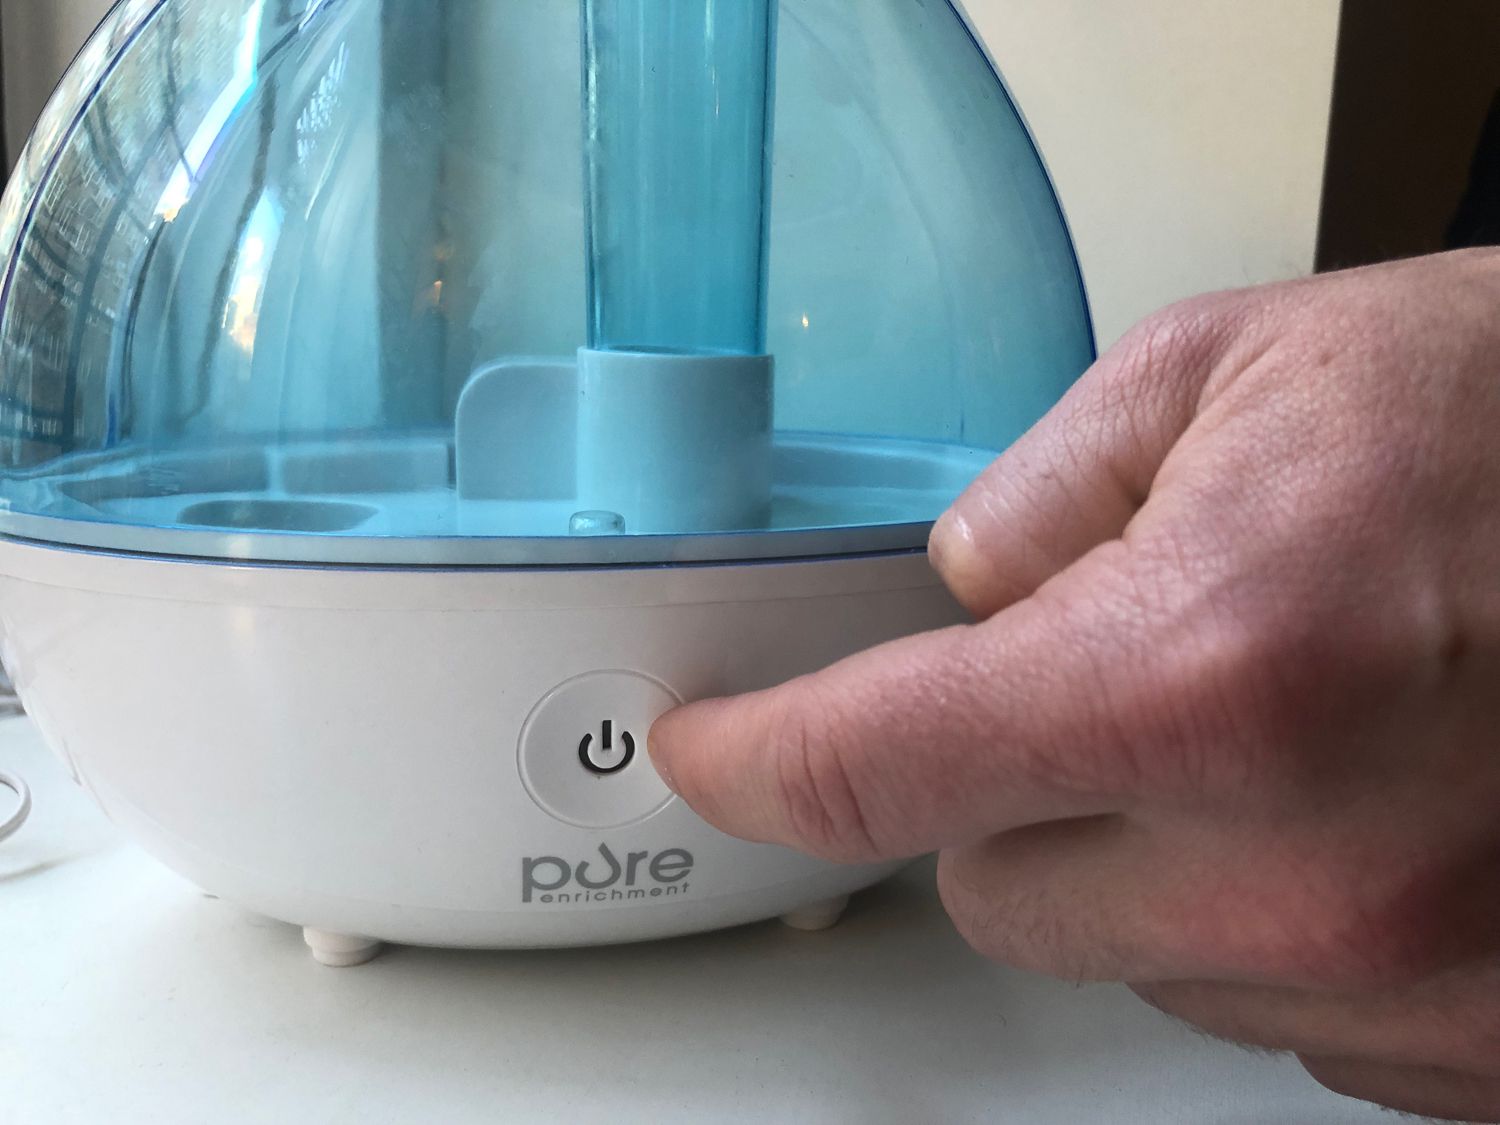
Ready to keep your humidifiers in tip-top shape? Just as you’ve mastered cleaning your Safety First model, there’s more to learn about other devices. Dive into our guide on how to clean Pure Enrichment humidifier. You'll pick up practical tips to ensure your air stays fresh, helping you maintain a healthier home environment. Our straightforward advice makes tackling this chore a breeze. So, why wait? Get started on fostering cleaner air today!
Frequently Asked Questions about How To Clean Safety First Humidifier
Was this page helpful?
At Storables.com, we guarantee accurate and reliable information. Our content, validated by Expert Board Contributors, is crafted following stringent Editorial Policies. We're committed to providing you with well-researched, expert-backed insights for all your informational needs.


0 thoughts on “How To Clean Safety First Humidifier”