Articles
How To Make Concrete Vanity Top
Modified: August 26, 2024
Learn how to make a stunning concrete vanity top with our informative articles. Enhance your bathroom with this stylish and durable DIY project.
(Many of the links in this article redirect to a specific reviewed product. Your purchase of these products through affiliate links helps to generate commission for Storables.com, at no extra cost. Learn more)
Introduction
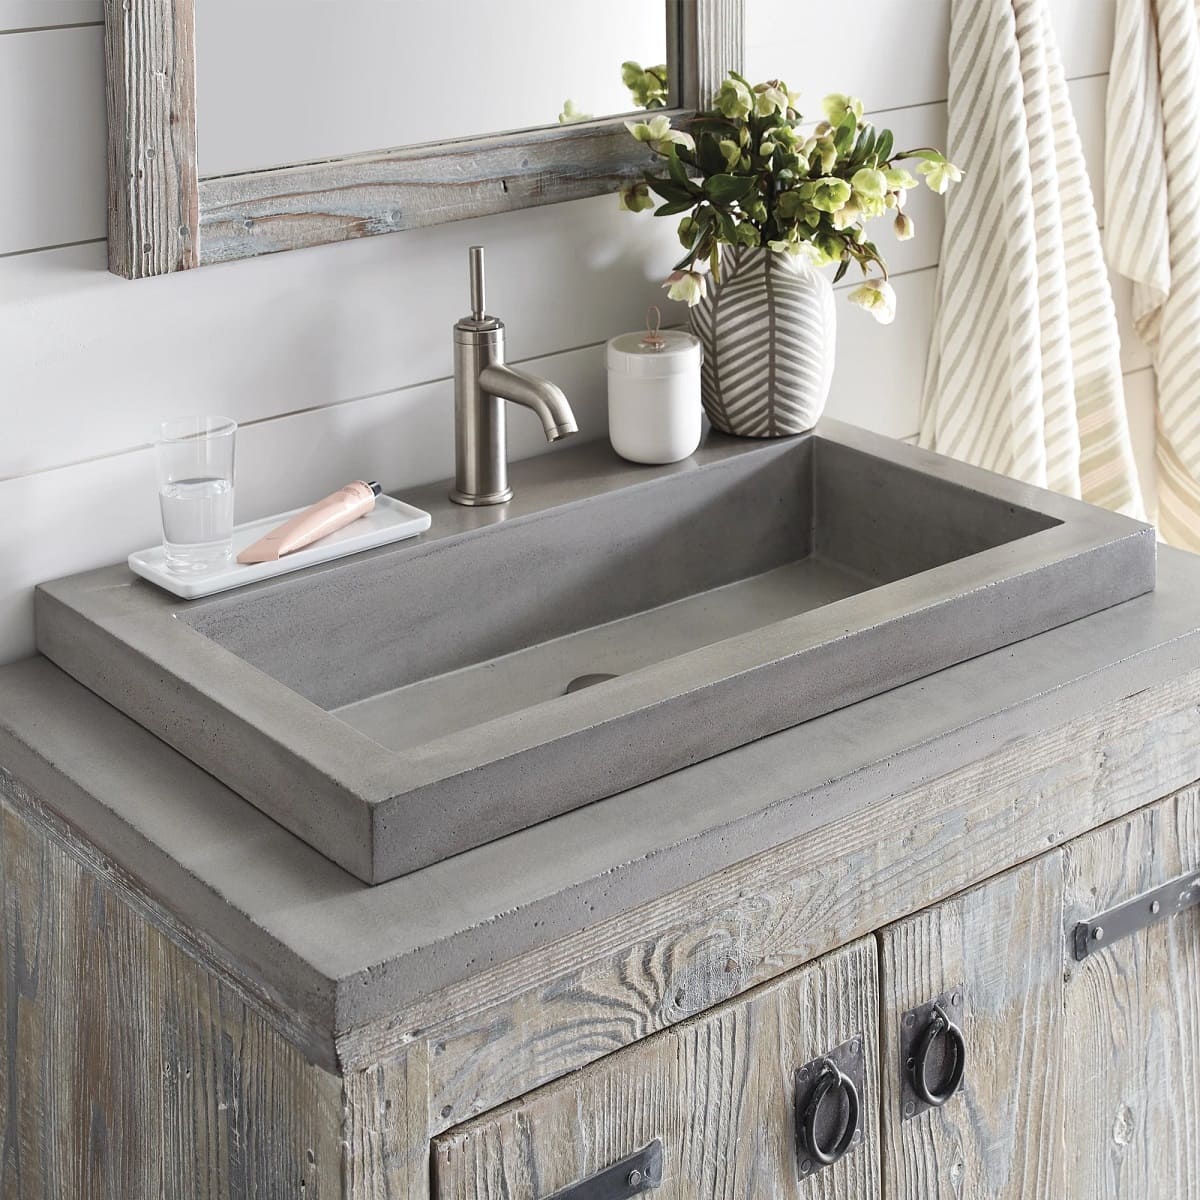
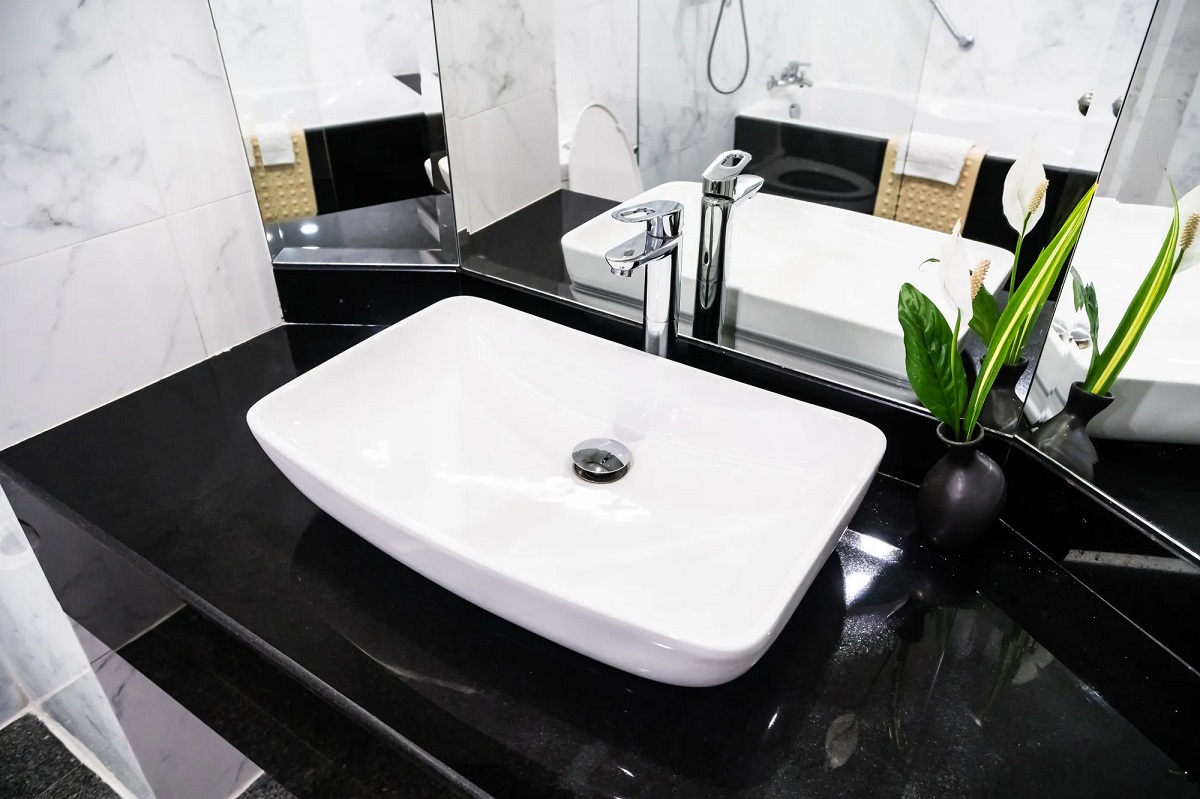
Adding a concrete vanity top to your bathroom is a great way to elevate the aesthetic appeal while also incorporating a durable and long-lasting surface. Whether you’re looking to renovate an existing vanity or starting from scratch, creating a custom concrete vanity top allows you to personalize the design and achieve a unique look that complements your style.
While it may seem like a daunting DIY project, making a concrete vanity top is actually quite achievable with the right materials and step-by-step instructions. In this article, we will guide you through the process of creating a concrete vanity top from start to finish, ensuring that you have all the information you need to successfully complete the project.
Before we dive into the specific steps, let’s discuss the materials you will need for this project. Having everything prepared in advance will help streamline the process and ensure a smooth workflow.
Key Takeaways:
- Elevate your bathroom’s aesthetic appeal and durability by creating a custom concrete vanity top. Follow step-by-step instructions to personalize the design and achieve a unique, stylish addition to your space.
- Prioritize safety, attention to detail, and proper curing, sanding, and sealing techniques to ensure the longevity and beauty of your DIY concrete vanity top. Enjoy the process and the satisfaction of a job well done!
Read more: How To Attach A Vanity Top
Materials Needed
Before you begin creating your concrete vanity top, gather the following materials:
- Concrete mix: Choose a high-quality concrete mix that is suitable for countertops. Opt for one that is specifically formulated for countertops to ensure durability and a smooth finish.
- Reinforcement materials: These may include wire mesh or fiberglass reinforcing mesh to add strength to the concrete.
- Mold release agent: This will help prevent the concrete from sticking to the mold during the curing process. You can use a commercial mold release agent or make your own using a mixture of vegetable oil and liquid soap.
- Mold material: There are various options for creating your mold, such as melamine, plywood, or silicone molds. Choose a material that is suitable for your desired shape and size.
- Measuring tools: These include a tape measure and a level to ensure accurate measurements and a straight surface.
- Mixing tools: You will need a mixing container, preferably a large plastic bucket, as well as a mixing paddle or drill attachment to combine the concrete ingredients.
- Concrete sealant: This will be used to protect the surface of the vanity top from stains and water damage. Choose a sealant specifically designed for concrete countertops.
- Sanding and polishing tools: Depending on the finish you desire, you may need sandpaper or a concrete polishing kit to achieve a smooth and polished surface.
- Safety equipment: Wear gloves, safety glasses, and a dust mask when working with concrete to protect yourself from potential hazards.
Make sure to gather all the necessary materials before you begin, as it will save you time and prevent interruptions during the construction process. Once you have everything ready, you can move on to the next step: measuring and cutting the materials for your concrete vanity top.
Step 1: Measuring and Cutting
The first step in creating a concrete vanity top is to accurately measure and cut the materials for your mold. Start by measuring the dimensions of your desired vanity top, taking into account the width, depth, and any additional features such as sink cutouts.
Once you have these measurements, transfer them to your chosen mold material, whether it’s melamine, plywood, or silicone. Use a tape measure and a straight edge to ensure precise cuts. If you’re using melamine or plywood, you can use a table saw or circular saw to cut the pieces to size.
If your vanity top will have a sink, be sure to measure and mark the position of the sink cutout on the mold material. Take into consideration the size and shape of the sink you’ll be using to ensure a proper fit.
It’s important to note that when measuring and cutting the mold material, you should account for the thickness of the concrete layer. Generally, a thickness of around 2 inches is recommended for the vanity top.
Once you have all the pieces of your mold cut to size, double-check the measurements and ensure that they fit together properly. This step is crucial to ensure a smooth construction process and a well-fitted finished product. If any adjustments are needed, make them now before moving on to the next step.
With the materials measured and cut, you’re now ready to move on to the next step: creating the mold for your concrete vanity top.
Step 2: Creating the Mold
Creating a well-constructed mold is essential for shaping and containing the concrete as it cures. The mold will determine the final shape and dimensions of your concrete vanity top. Here’s how you can create a mold for your project:
- Assemble the cut pieces: Take the cut pieces of your mold material and assemble them together. Use clamps or screws to secure the pieces firmly in place, ensuring that there are no gaps or misalignments. Double-check the measurements and angles to ensure that everything is aligned correctly.
- If you have a sink cutout, position it within the mold: If your vanity top will have a sink, position the sink cutout piece within the assembled mold. Make sure it fits snugly and is properly aligned with the rest of the mold.
- Apply a mold release agent: To prevent the concrete from sticking to the mold, apply a mold release agent. This can be a commercial product specifically designed for this purpose or a homemade mixture of vegetable oil and liquid soap. Apply the release agent evenly to all surfaces that will come into contact with the concrete.
- Seal any gaps or seams: Inspect the mold for any gaps or seams where the concrete mixture could potentially leak. Use silicone caulk or a similar sealant to close off these gaps and ensure a watertight mold.
Once you have created the mold, take a moment to review its construction and ensure that everything is secure and properly aligned. A well-constructed mold will help you achieve the desired shape and dimensions for your concrete vanity top.
With the mold ready, it’s time to move on to the next step: mixing the concrete for your vanity top.
Step 3: Mixing the Concrete
Properly mixing the concrete is crucial for achieving a strong and smooth vanity top. Here’s how you can mix the concrete for your project:
- Prepare your workspace: Find a clean and spacious area to mix the concrete. Lay down a plastic sheet or tarp to protect the surface and make cleanup easier.
- Wear safety gear: Before you start mixing the concrete, put on gloves, safety glasses, and a dust mask to protect yourself from any potential hazards.
- Measure the concrete mix: Follow the manufacturer’s instructions to determine the correct ratio of water to concrete mix. Measure the appropriate amount of concrete mix and pour it into a large mixing container.
- Add water gradually: Slowly pour water into the mixing container, starting with approximately 80% of the recommended amount. Use a mixing paddle or a drill with a concrete mixing attachment to combine the water and concrete mix.
- Mix thoroughly: Mix the water and concrete thoroughly until you achieve a smooth and consistent mixture. If the mixture seems too dry, gradually add more water. Avoid adding too much water, as it can weaken the concrete.
- Check the consistency: The concrete should have a thick, pourable consistency that holds its shape. It should not be too runny or too dry. Aim for a mixture that resembles pancake batter.
It’s important to note that the mixing time may vary depending on the type of concrete mix you’re using. Follow the manufacturer’s instructions for the recommended mixing time.
Once the concrete is thoroughly mixed, you’re ready to move on to the next step: pouring the concrete into the mold for your vanity top.
Read more: How To Seal Vanity Top
Step 4: Pouring the Concrete
Now that you have your concrete mixture ready, it’s time to pour it into the mold for your vanity top. Follow these steps to ensure a smooth and successful pouring process:
- Prepare the mold: Place the mold on a stable and level surface. You may want to use shims or leveling tools to ensure that the mold is perfectly level. This will help prevent any unevenness in the final vanity top.
- Pour the concrete: Carefully pour the concrete mixture into the mold, starting from one corner and working your way across. Use a scoop or a trowel to help distribute the concrete evenly and fill any corners or narrow spaces. Avoid pouring too quickly, as this can cause air bubbles to form within the concrete.
- Tap and vibrate: To ensure that the concrete settles evenly and minimizes air bubbles, gently tap the sides of the mold with a rubber mallet or use a vibrating tool. This will help the concrete to flow and fill any voids or gaps.
- Smooth the surface: Use a trowel or a straight edge to level the surface of the concrete. Smooth out any imperfections or uneven areas, ensuring a flat and even surface for your vanity top.
Once you have poured and leveled the concrete, take a moment to inspect the surface and make any necessary adjustments. Remove any excess concrete from the edges or corners of the mold to achieve a clean and precise finish.
With the concrete poured, it’s time to move on to the next step: smoothing and leveling the surface of your vanity top.
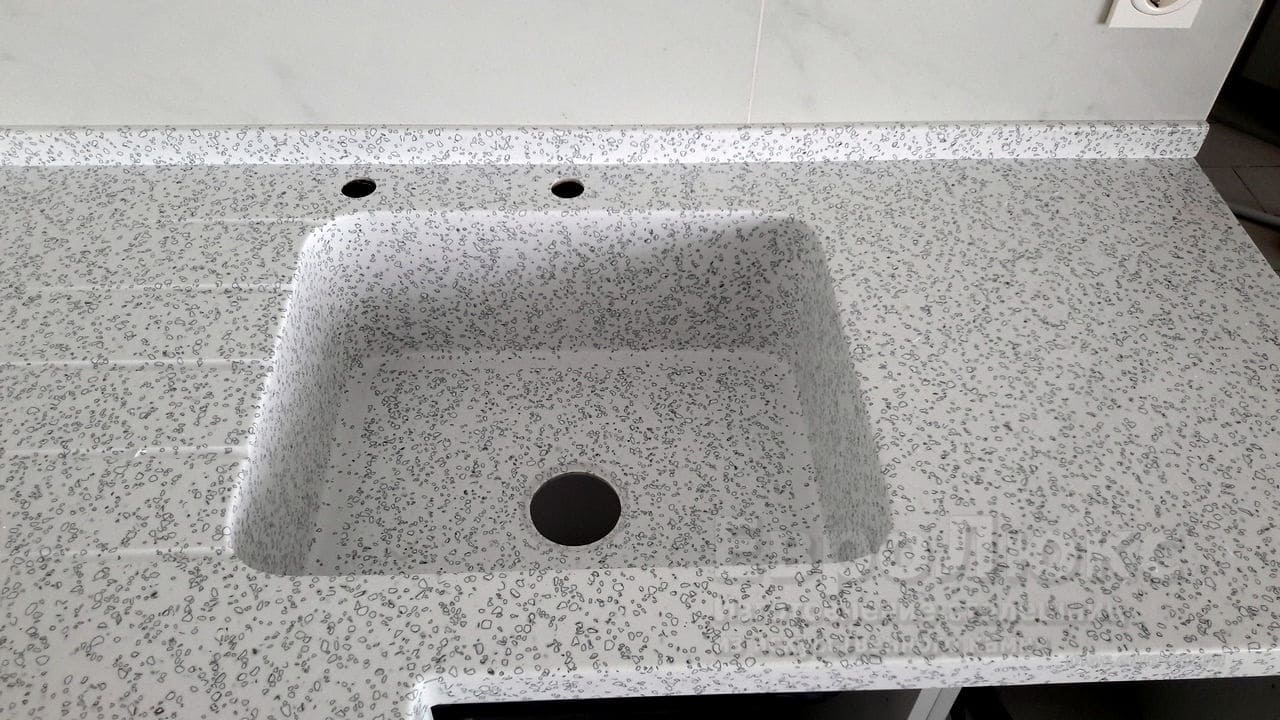
Step 5: Smoothing and Leveling
After pouring the concrete into the mold for your vanity top, it’s important to smooth and level the surface to achieve a professional-looking finish. Follow these steps to ensure a smooth and level vanity top:
- Use a float or trowel: Start by using a float or trowel to work the surface of the concrete. This will help bring any air bubbles to the surface and create a smoother finish. Move the float or trowel in a circular motion to even out the concrete.
- Check for levelness: Use a level to ensure that the surface of the concrete is level and even. Adjust as necessary by adding or removing concrete in certain areas. This will help prevent any unevenness in your finished vanity top.
- Smooth the edges: Pay special attention to the edges of the vanity top. Use a trowel or an edging tool to create smooth and rounded edges. This will give your vanity top a polished and refined look.
- Remove any imperfections: Inspect the surface of the concrete for any imperfections, such as air bubbles or small holes. Use a small trowel or a toothpick to fill in these imperfections with additional concrete mix. Smooth out the surface again after making these adjustments.
Take your time during this step to ensure that the surface of your vanity top is as smooth and level as possible. Any imperfections or uneven areas can be difficult to fix once the concrete has cured.
With the surface smoothed and leveled, it’s time to move on to the next step: adding reinforcement to your vanity top.
When making a concrete vanity top, be sure to properly seal the surface to prevent staining and water damage. Use a high-quality concrete sealer and follow the manufacturer’s instructions for best results.
Step 6: Adding Reinforcement
To enhance the strength and durability of your concrete vanity top, it’s important to add reinforcement. This will help prevent cracks and ensure the longevity of your project. Follow these steps to add reinforcement to your vanity top:
- Choose your reinforcement material: There are several options for reinforcement, including wire mesh or fiberglass reinforcing mesh. These materials provide additional support and help distribute the weight and stress evenly across the vanity top.
- Trim the reinforcement material: Measure and cut the reinforcement material to fit within the mold of your vanity top. Make sure it covers the entire surface area, including the sink cutout if applicable.
- Place the reinforcement material: Carefully place the reinforcement material on top of the poured concrete, ensuring that it sits slightly below the surface. The reinforcement material should be embedded within the concrete to provide maximum strength.
- Tamp down the reinforcement: Gently tap down on the reinforcement material using a trowel or a float to ensure that it is fully embedded and evenly distributed within the concrete.
- Smooth out the surface: Use a trowel or a float to smooth out the surface of the concrete, ensuring that the reinforcement material is covered and not visible. This will create a uniform and seamless appearance.
By adding reinforcement to your concrete vanity top, you’re reinforcing its structural integrity and ensuring that it will withstand daily use for years to come.
With the reinforcement added, it’s time to move on to the next step: curing the concrete.
Step 7: Curing the Concrete
Curing is a critical step in the concrete vanity top construction process. It involves providing the right conditions for the concrete to properly harden and develop its strength. Follow these steps to ensure proper curing of your concrete:
- Cover the mold: Immediately after pouring and smoothing the concrete, cover the mold with plastic sheeting or a plastic bag. This will help lock in moisture and prevent the concrete from drying too quickly.
- Allow it to cure: Leave the covered mold undisturbed for at least 48 to 72 hours to allow the concrete to cure. During this time, ensure that the temperature remains consistent and avoid any drastic temperature changes or direct sunlight.
- Moisten the concrete: Occasionally mist the surface of the concrete with water to prevent it from drying out too quickly. This helps maintain the optimal moisture level for proper curing.
- Extend curing time: For optimal strength and durability, consider extending the curing time beyond 72 hours. You can leave the concrete in the mold for up to a week to ensure thorough curing.
Proper curing is essential to achieve a strong and durable concrete vanity top. It allows the concrete to fully harden and develop its maximum strength, minimizing the risk of cracking or other damage.
After allowing sufficient curing time, you’re ready to move on to the next step: removing the mold from the concrete vanity top.
Read more: How To Clean Marble Vanity Top
Step 8: Removing the Mold
Once the concrete has thoroughly cured, it’s time to remove the mold and reveal your beautiful vanity top. Follow these steps to successfully remove the mold:
- Take off the mold: Carefully undo any clamps or screws that are securing the mold. Gently lift the mold away from the cured concrete. If you encounter any resistance, use a pry tool or a rubber mallet to gently loosen the mold.
- Release the concrete: In some cases, the concrete may stick to the mold. To release the concrete, lightly tap the edges of the mold or use a rubber mallet to gently nudge it away. Be cautious and avoid applying excessive force to prevent any damage to the vanity top.
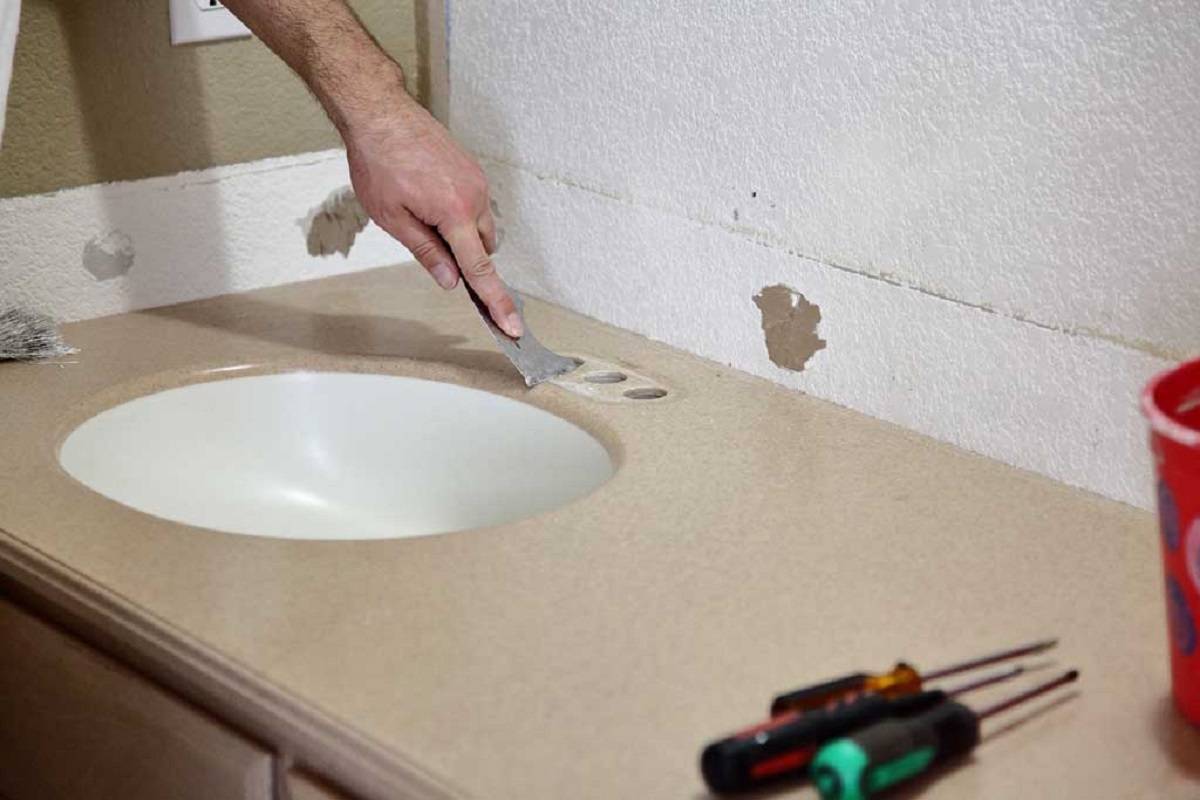
- Inspect the surface: Once the mold is removed, inspect the surface of the concrete vanity top for any imperfections or rough edges. Use sandpaper or a diamond-grit polishing pad to smooth out any rough areas or high spots.
- Clean the vanity top: Thoroughly clean the vanity top to remove any dust or debris. Use a damp cloth or a mild cleaner to wipe the surface and ensure it’s clean and ready for the next steps.
With the mold removed and the surface inspected and cleaned, you can now move on to the next step: sanding and polishing your concrete vanity top.
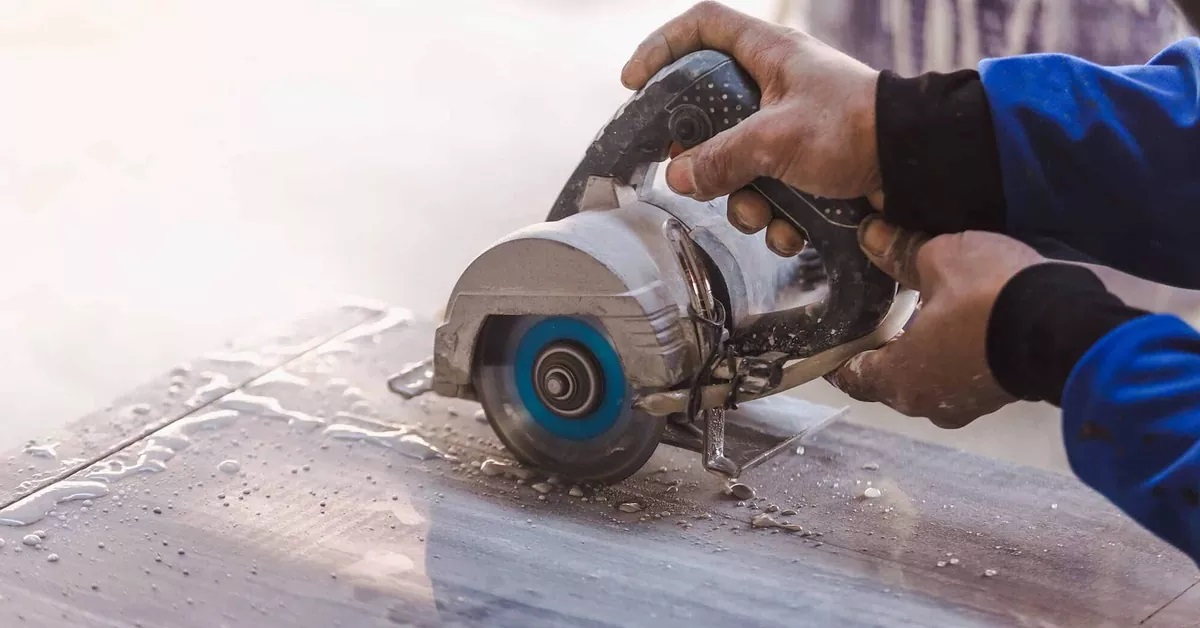
Step 9: Sanding and Polishing
After removing the mold and inspecting the surface of your concrete vanity top, it’s time to sand and polish it to achieve a smooth and polished finish. Follow these steps to sand and polish your vanity top:
- Start with coarse grit sandpaper: Begin the sanding process by using coarse grit sandpaper, such as 80 or 100-grit. This will help remove any rough spots or imperfections on the surface of the concrete.
- Sand in circular motions: Using a sanding block or a power sander, sand the entire surface of the vanity top in circular motions. Apply even pressure to ensure a consistent finish. Pay extra attention to edges and corners to maintain a uniform appearance.
- Switch to finer grit sandpaper: Once you have sanded the surface with the coarse grit sandpaper, switch to a finer grit, such as 200 or 400-grit. Continue sanding in circular motions until you achieve a smoother finish. This step helps remove any visible scratches left by the coarse grit sandpaper.
- Wet sanding (optional): For an even smoother finish, you can perform wet sanding. Wet the surface with water and use a fine grit sandpaper (800 to 1500-grit) in a circular motion. The water helps to reduce friction and create a finer finish.
- Polishing the surface: Once the sanding process is complete, you can proceed to polish the surface of the vanity top. Use a concrete polishing pad attached to a variable speed polisher or grinder. Follow the manufacturer’s instructions for polishing pads and techniques, moving in a smooth and even motion.
- Clean the surface: After sanding and polishing, thoroughly clean the surface of the vanity top to remove any dust or residue. Use a damp cloth and a mild cleaner to wipe away any debris.
By sanding and polishing your concrete vanity top, you will achieve a smooth and refined finish that enhances its visual appeal.
With the surface sanded and polished, it’s time to move on to the final step: sealing the vanity top.
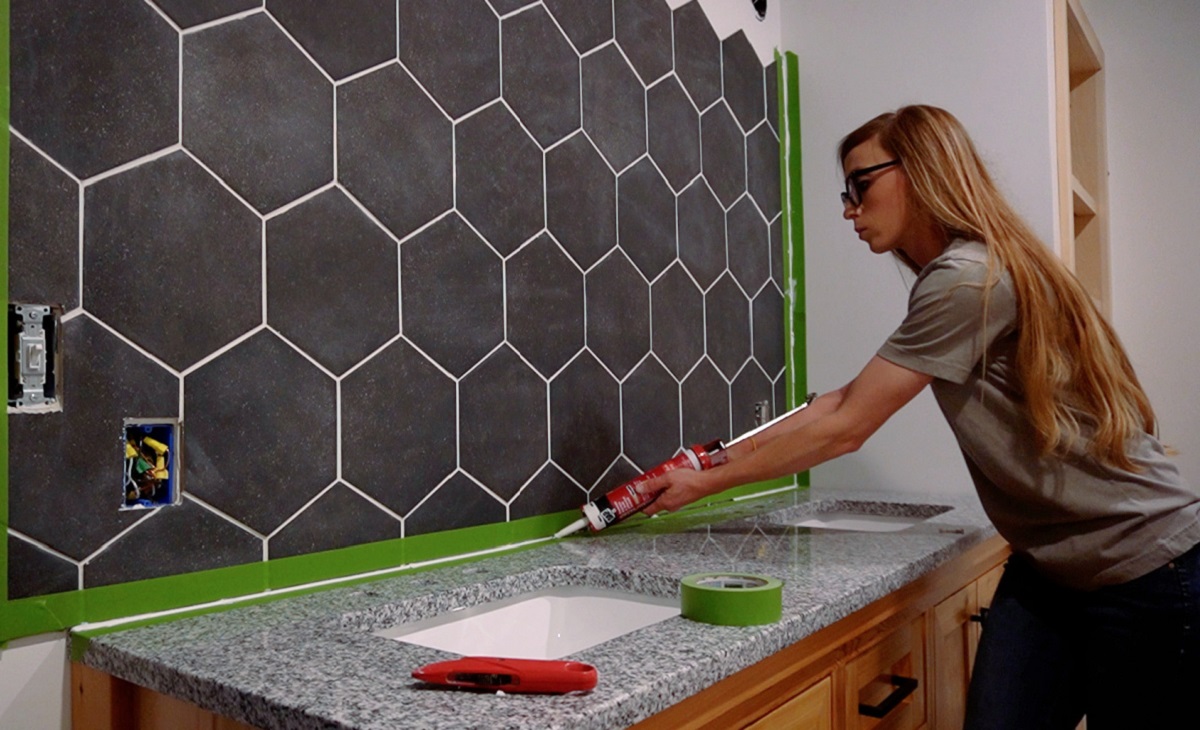
Step 10: Sealing the Vanity Top
To protect and enhance the appearance of your concrete vanity top, it’s important to seal it properly. Sealing creates a barrier that helps prevent stains, moisture absorption, and surface damage. Follow these steps to seal your vanity top:
- Ensure the surface is clean and dry: Before applying the sealer, make sure the surface of the vanity top is clean and free from any dust or debris. Use a damp cloth or a mild cleaner to remove any lingering dirt.
- Select the appropriate sealer: Choose a sealer that is specifically designed for concrete countertops. There are various types of sealers available, including penetrating sealers and topical sealers. Consider factors such as durability, ease of application, and the desired finish to select the right sealer for your project.
- Apply the sealer: Follow the manufacturer’s instructions for applying the sealer. Some sealers may require multiple coats, while others may need to be applied in a specific manner. Use a brush or a roller to evenly apply the sealer, working in small sections to ensure thorough coverage.
- Allow the sealer to dry: After applying the sealer, allow it to dry according to the manufacturer’s instructions. This may take several hours or even overnight. Avoid using the vanity top until the sealer has fully cured.
- Apply additional coats (optional): Depending on the type of sealer you choose, you may need to apply additional coats for optimal protection. Wait for each coat to dry before applying the next one, following the manufacturer’s recommended application process.
Sealing your concrete vanity top will help maintain its beauty and protect it from daily wear and tear. It will also make cleaning and maintenance easier in the long run.
With the vanity top properly sealed, your concrete vanity top is now complete and ready to be installed in your bathroom. Enjoy the unique and durable surface that you’ve created!
By following these steps, you can successfully create a stunning concrete vanity top that adds a touch of elegance and style to your bathroom. Remember to take your time, pay attention to detail, and prioritize safety throughout the entire process. Good luck with your project!
DISCLAIMER: This article is for informational purposes only. Always exercise caution and follow proper safety procedures when working with concrete and other construction materials.
Conclusion
Creating a concrete vanity top can be a rewarding DIY project that adds style and durability to your bathroom. By following the step-by-step process outlined in this article, you can successfully create a custom concrete vanity top that enhances the aesthetic appeal of your space.
From measuring and cutting the materials to pouring, smoothing, and adding reinforcement, each step is crucial in achieving a well-constructed and visually appealing vanity top. Taking the time to properly cure the concrete, sand and polish the surface, and seal the vanity top ensures its longevity and protects it from stains and damage.
Throughout the process, remember to prioritize safety by wearing appropriate protective gear and following proper handling procedures for concrete and construction materials.
With your newly created concrete vanity top, you can enjoy a unique and personalized addition to your bathroom. The durability of concrete ensures that your vanity top will withstand daily use for years to come, while its sleek and modern appearance adds a touch of sophistication to your space.
Whether you’re renovating an existing vanity or starting from scratch, the versatility of concrete allows you to create a custom design that reflects your personal style. Experiment with different colors, textures, and finishes to achieve the desired look that complements your overall bathroom design.
Remember to regularly clean and maintain your concrete vanity top to preserve its beauty and extend its lifespan. Follow the care instructions provided by the manufacturer of the sealer and be mindful of any specific maintenance requirements.
By following the steps and tips outlined in this article, you can confidently undertake the project of creating a concrete vanity top. Enjoy the process of crafting a unique and functional piece that will undoubtedly become a standout feature in your bathroom.
So, roll up your sleeves, gather the materials, and start creating your very own concrete vanity top. Get ready to enjoy the satisfaction of a job well done and the beauty of a custom-made piece that enhances your bathroom space.
Frequently Asked Questions about How To Make Concrete Vanity Top
Was this page helpful?
At Storables.com, we guarantee accurate and reliable information. Our content, validated by Expert Board Contributors, is crafted following stringent Editorial Policies. We're committed to providing you with well-researched, expert-backed insights for all your informational needs.
0 thoughts on “How To Make Concrete Vanity Top”