Home>Furniture & Design>Outdoor Furniture>How To Clean An Outdoor Wood Deck
Outdoor Furniture
How To Clean An Outdoor Wood Deck
Modified: February 25, 2024
Learn how to properly clean and maintain your outdoor wood deck with our expert tips and techniques. Keep your outdoor furniture looking great with our comprehensive guide.
(Many of the links in this article redirect to a specific reviewed product. Your purchase of these products through affiliate links helps to generate commission for Storables.com, at no extra cost. Learn more)
Introduction
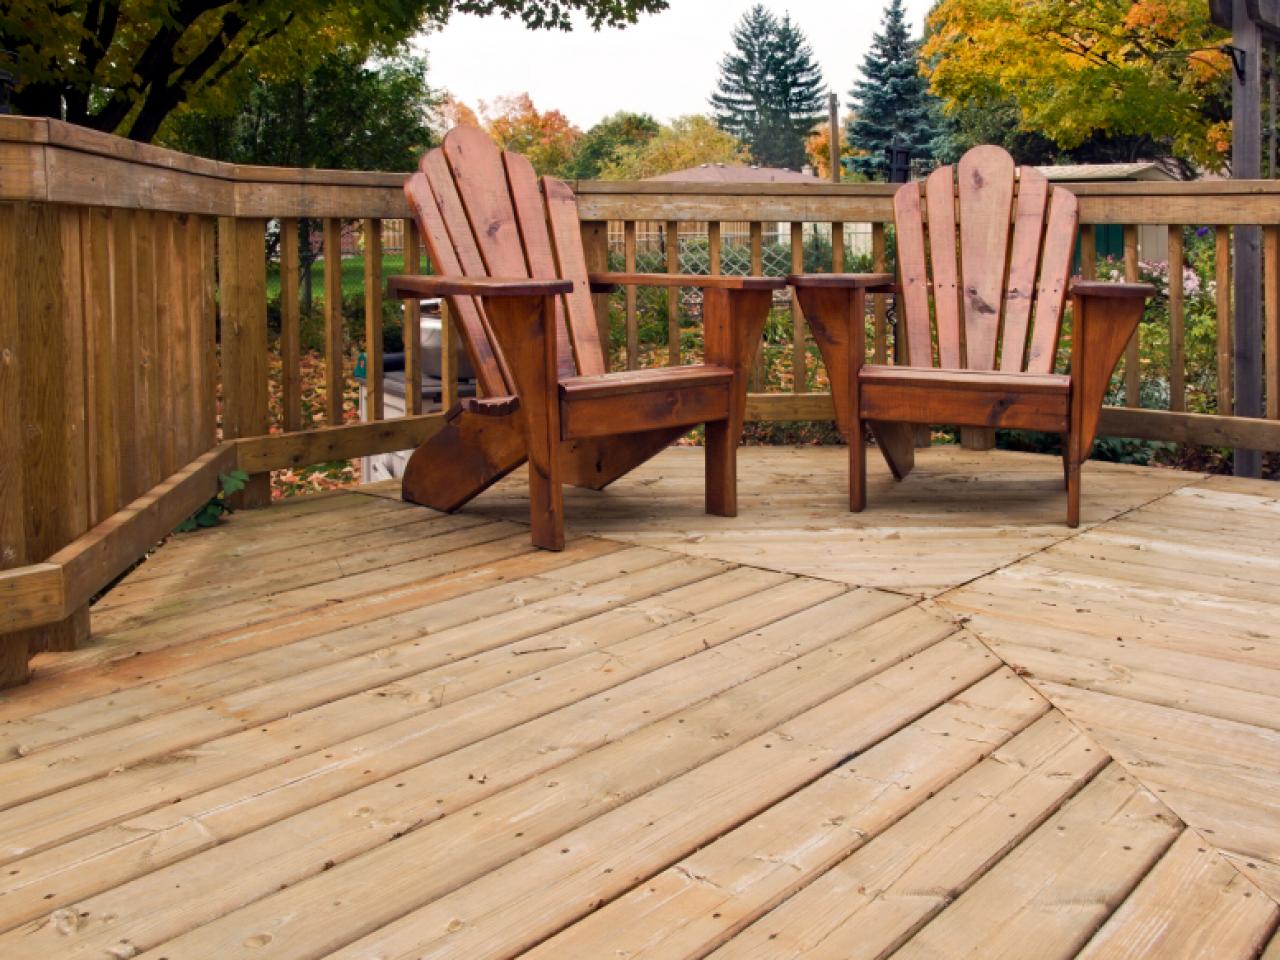
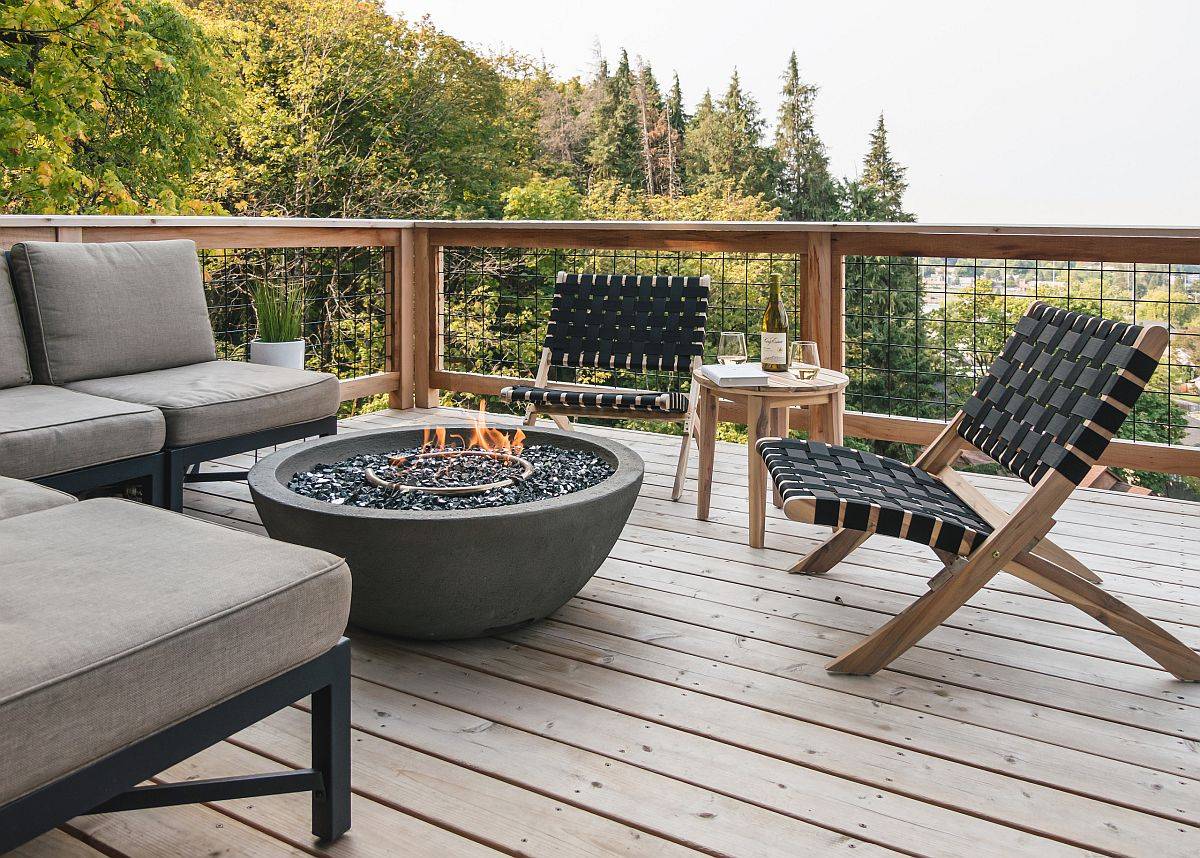
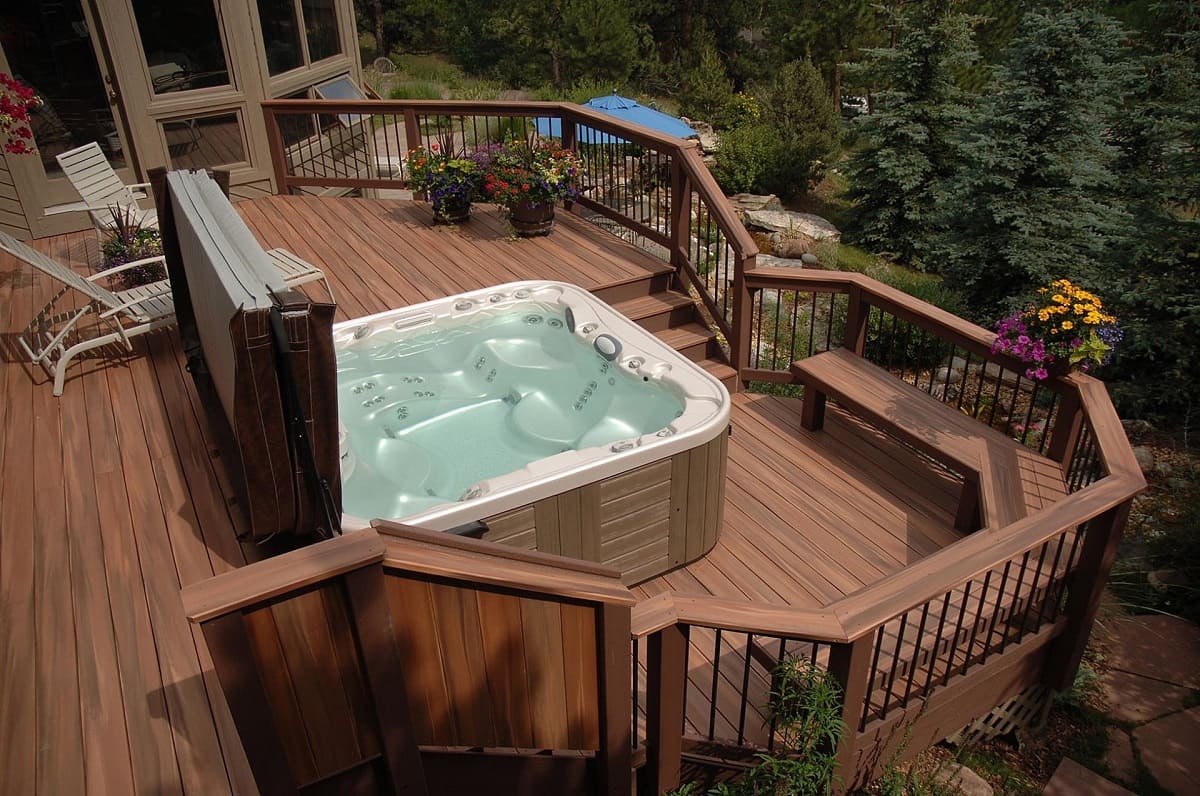
Welcome to the world of outdoor living! Your wooden deck is the perfect place to unwind, entertain, and soak up the sunshine. However, exposure to the elements can leave it looking a little worse for wear. Fear not! With the right care and maintenance, you can restore your outdoor wood deck to its former glory. Regular cleaning not only enhances the aesthetic appeal of your deck but also prolongs its lifespan, ensuring that you can continue to enjoy its beauty for years to come.
In this comprehensive guide, we will walk you through the step-by-step process of cleaning and maintaining your outdoor wood deck. By following these simple yet effective techniques, you can breathe new life into your deck and create an inviting outdoor space for relaxation and recreation. So, roll up your sleeves and get ready to revitalize your outdoor oasis!
Key Takeaways:
- Revitalize your outdoor wood deck by clearing debris, preparing a gentle cleaning solution, scrubbing with care, and sealing for protection. Enjoy a clean and inviting outdoor space for relaxation and entertainment!
- Keep your outdoor wood deck looking its best with regular cleaning and maintenance. Protect against wear and tear, enhance natural beauty, and create lasting memories in your outdoor oasis.
Read more: How To Clean Outdoor Wood Table
Supplies Needed
Before embarking on your outdoor wood deck cleaning journey, it’s essential to gather the necessary supplies. Here’s a list of items you’ll need:
- Broom: A sturdy broom will help you clear debris and loose dirt from the deck’s surface.
- Deck brush: Look for a brush with stiff bristles to effectively scrub the wood during the cleaning process.
- Protective gear: Equip yourself with gloves, safety goggles, and a face mask to shield against cleaning solution splashes and fumes.
- Cleaning solution: Opt for a specialized deck cleaner or a homemade solution comprising mild dish soap, water, and oxygen bleach.
- Pressure washer (optional): While not essential, a pressure washer can expedite the rinsing process and provide a deeper clean for heavily soiled decks.
- Bucket: Use a large bucket for mixing the cleaning solution and water.
- Garden hose: Ensure you have a reliable garden hose with a spray attachment for rinsing the deck.
- Sealant or stain: Depending on your deck’s condition, you may need a sealant or stain to protect and enhance the wood after cleaning.
- Protective tarp or plastic sheeting: If your deck is surrounded by plants or grass, consider using a tarp or plastic sheeting to protect them from the cleaning solution and rinse water.
By having these supplies at your disposal, you’ll be well-prepared to tackle the task of cleaning your outdoor wood deck with confidence and efficiency.
Clearing the Deck
Before diving into the cleaning process, it’s crucial to clear the deck of any obstacles and debris. Start by removing all furniture, potted plants, and decorative items from the deck surface. This step not only allows for unrestricted access but also prevents these items from getting in the way during the cleaning and rinsing stages.
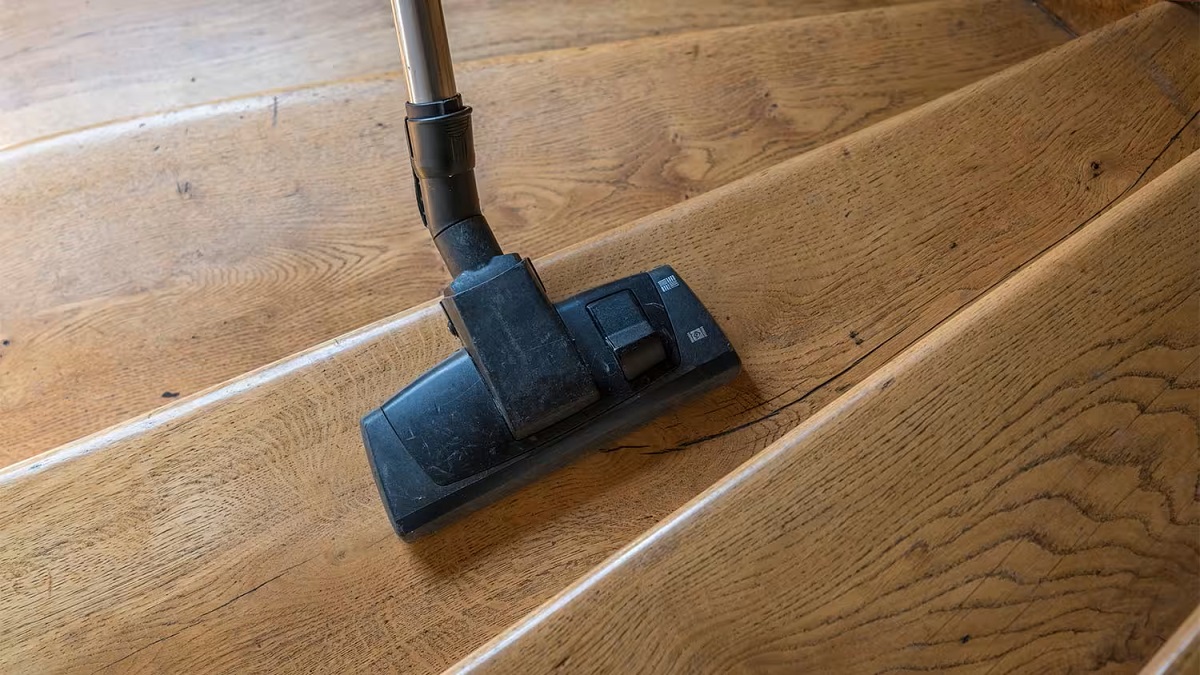
Next, grab your trusty broom and sweep the entire deck to eliminate loose dirt, fallen leaves, and other debris. Pay close attention to the spaces between the deck boards, as debris tends to accumulate in these areas. Clearing the deck of these particles ensures that the cleaning solution can make direct contact with the wood, maximizing its effectiveness.
In addition to sweeping, consider using a leaf blower for a more thorough removal of debris, especially in hard-to-reach crevices. By starting with a clean slate, you set the stage for a successful and comprehensive deck cleaning process.
Once the deck is cleared and free of debris, you’re ready to move on to the next step: preparing the cleaning solution.
Preparing the Cleaning Solution
Now that your deck is clear of obstacles and debris, it’s time to prepare the cleaning solution. Whether you opt for a commercial deck cleaner or a DIY solution, the goal is to create a potent yet gentle mixture that effectively removes dirt, grime, and mildew without harming the wood.
If you choose to make your own cleaning solution, a simple yet effective recipe involves mixing warm water, mild dish soap, and oxygen bleach in a large bucket. The oxygen bleach serves as a non-toxic alternative to chlorine bleach, making it safer for the environment and surrounding vegetation. Be sure to follow the manufacturer’s instructions when using oxygen bleach to achieve the desired concentration.
For tougher stains and mildew, consider adding white vinegar or baking soda to the cleaning solution. These natural ingredients possess mild abrasive and antimicrobial properties, aiding in the removal of stubborn blemishes while being gentle on the wood.
If you prefer the convenience of a commercial deck cleaner, select a product specifically formulated for wood surfaces. These cleaners often contain powerful yet eco-friendly ingredients designed to penetrate and lift embedded dirt and stains. Always read the product label for usage instructions and safety precautions.
Once you’ve mixed the cleaning solution, give it a gentle stir to ensure that all the components are thoroughly blended. With the solution prepared, you’re now equipped to apply it to the deck and begin the revitalization process.
Applying the Cleaning Solution
With the cleaning solution in hand, it’s time to apply it to the deck surface. Before proceeding, ensure that the surrounding area is adequately protected, especially if you’ve opted for a commercial cleaner or a potent DIY solution. Consider using a protective tarp or plastic sheeting to shield nearby plants, grass, and other landscaping elements from potential contact with the cleaning solution.
Begin by wetting the deck with water from a garden hose. This initial step primes the wood, allowing it to better absorb the cleaning solution for a more effective clean. Once the deck is damp, use a deck brush or a pump sprayer to evenly distribute the cleaning solution across the entire surface. Work in manageable sections to ensure thorough coverage and prevent the solution from drying out prematurely.
As you apply the cleaning solution, pay special attention to areas with visible stains, discoloration, or mildew growth. These trouble spots may require extra care and a slightly longer dwell time to achieve optimal results. Allow the solution to sit on the wood for the recommended duration, as specified by the product instructions or the DIY recipe guidelines.
During the application process, it’s important to work methodically, ensuring that no section of the deck is overlooked. Be mindful of any furniture or structures attached to the deck, as they may also benefit from a gentle cleaning. Once the cleaning solution has been thoroughly applied, it’s time to roll up your sleeves and prepare for the next step: scrubbing the deck.
Regularly sweep or use a leaf blower to remove debris from your outdoor wood deck. This will prevent dirt and grime from building up and making it harder to clean later on.
Read more: What Type Of Wood Is Used For Outdoor Decks
Scrubbing the Deck
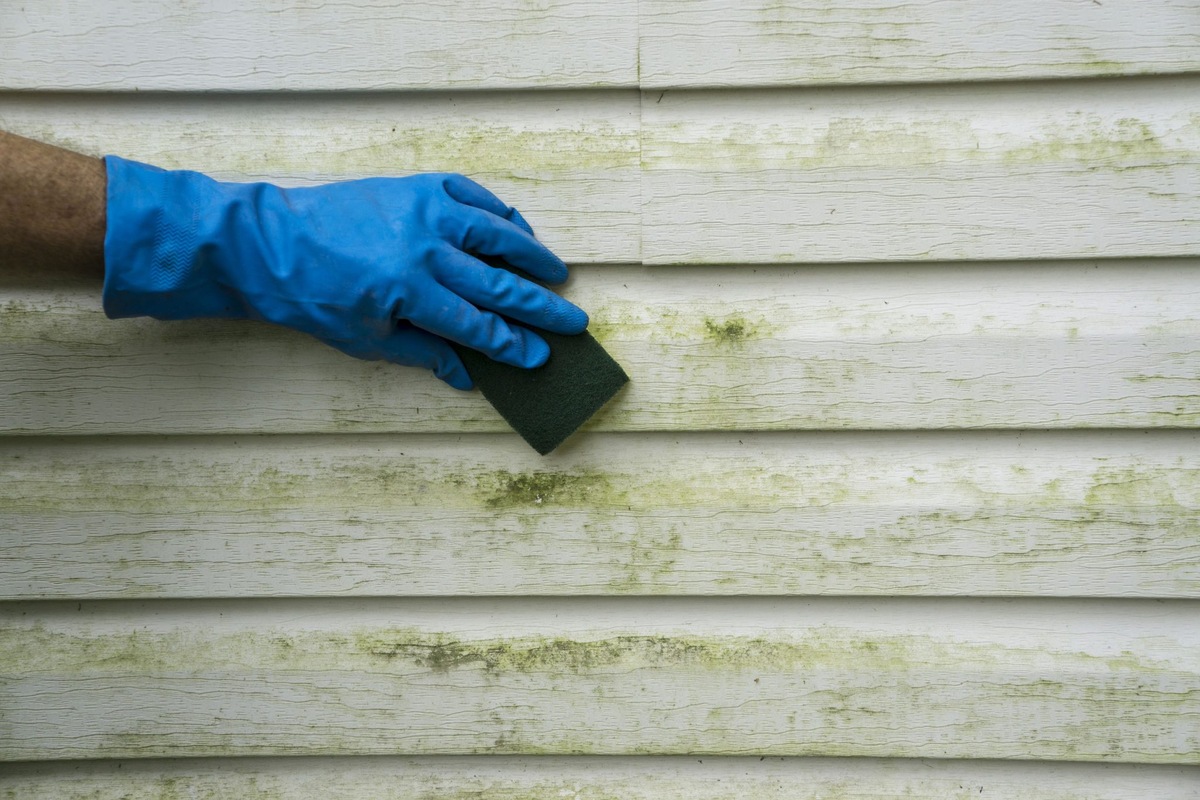
Once the cleaning solution has been applied and allowed to dwell, it’s time to roll up your sleeves and give your deck a thorough scrub. Armed with a sturdy deck brush, begin scrubbing the wood in a systematic manner, working from one end of the deck to the other. The stiff bristles of the brush will help dislodge embedded dirt, grime, and mildew, restoring the natural beauty of the wood.
Pay close attention to heavily soiled areas, focusing on stains and discoloration as you scrub. Employing a bit of elbow grease in these trouble spots can yield remarkable results, lifting away years of accumulated debris and weathering. Additionally, be mindful of the spaces between deck boards, as these areas often harbor hidden dirt and organic matter.
While scrubbing, it’s important to maintain a consistent pressure to avoid damaging the wood. Take care to work with the grain of the wood, moving in smooth, deliberate strokes. If you encounter stubborn stains or mildew patches, consider applying a bit of extra cleaning solution directly to these areas before continuing to scrub.
Throughout the scrubbing process, periodically assess the cleanliness of the wood to gauge your progress. You’ll likely notice the transformation as the wood’s natural color and grain begin to emerge from beneath the layers of grime. This step is not only essential for achieving a clean deck but also provides a sense of satisfaction as you witness the revitalization taking place before your eyes.
Once you’ve thoroughly scrubbed the entire deck, the next step involves rinsing away the loosened dirt and cleaning solution to reveal the refreshed wood beneath. We’ll delve into this crucial stage in the following section.
Rinsing the Deck
After the diligent scrubbing process, it’s time to rinse the deck, washing away the loosened dirt and residual cleaning solution to unveil the revitalized wood beneath. This step is crucial in ensuring that the deck is left clean, residue-free, and ready to be admired for its renewed beauty.
Begin by thoroughly wetting the entire deck with a gentle stream of water from a garden hose. The water serves to dislodge and carry away the loosened dirt and cleaning solution, leaving the wood surface fresh and clean. As you rinse, pay special attention to the areas between deck boards, ensuring that no residual grime or cleaning solution remains lodged in these spaces.
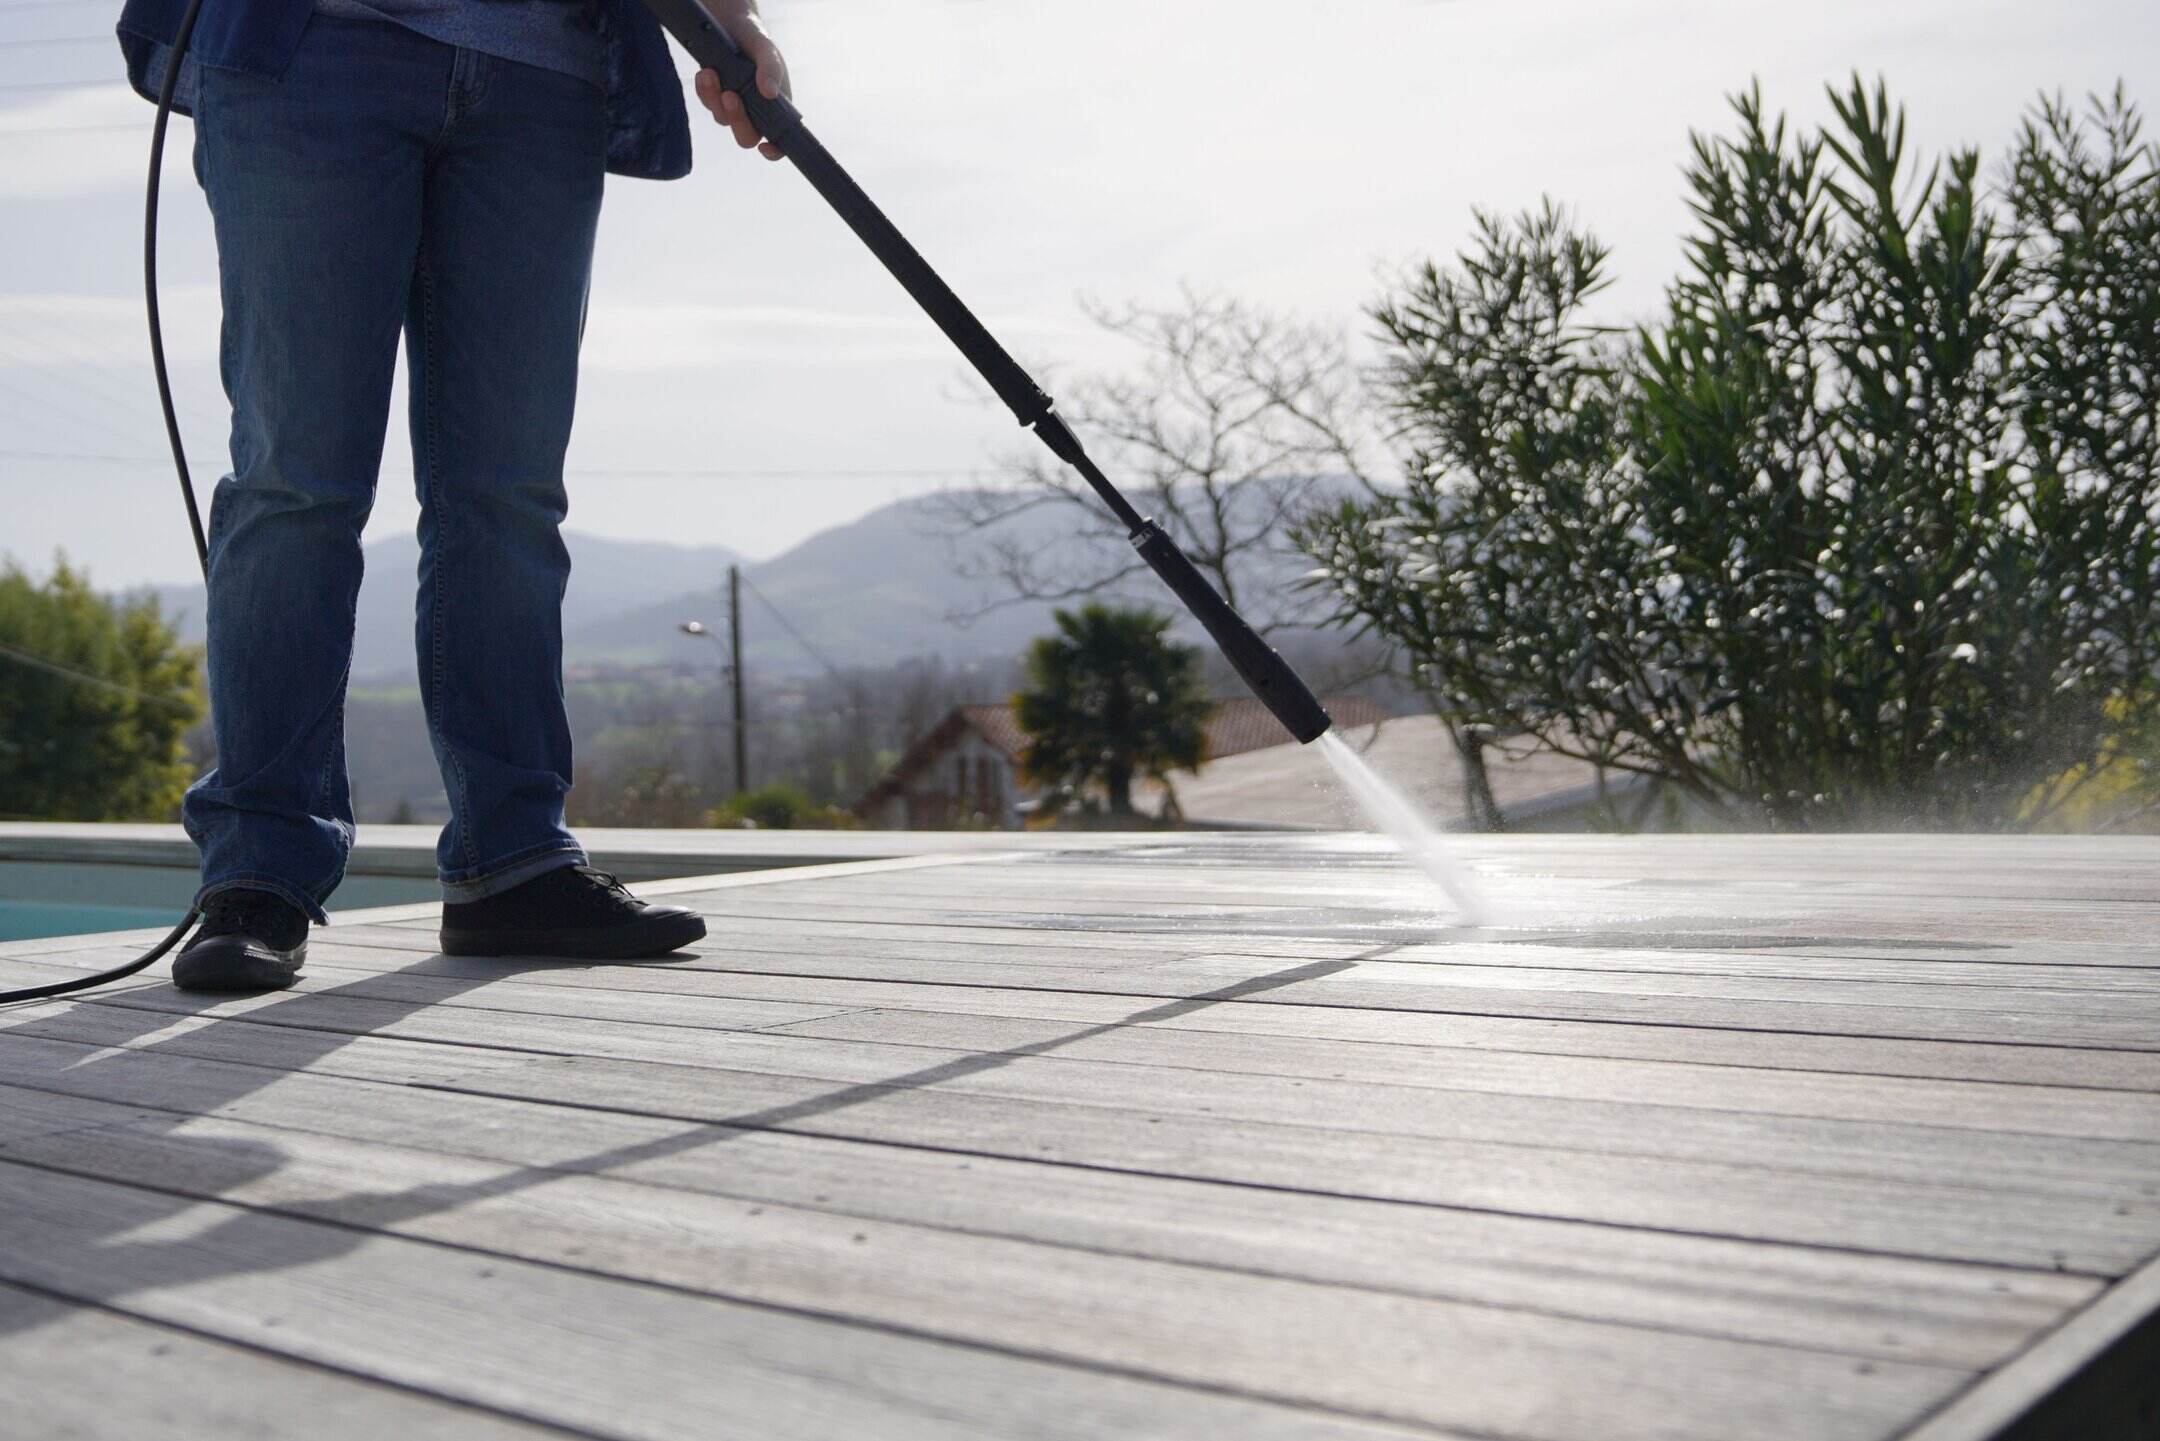
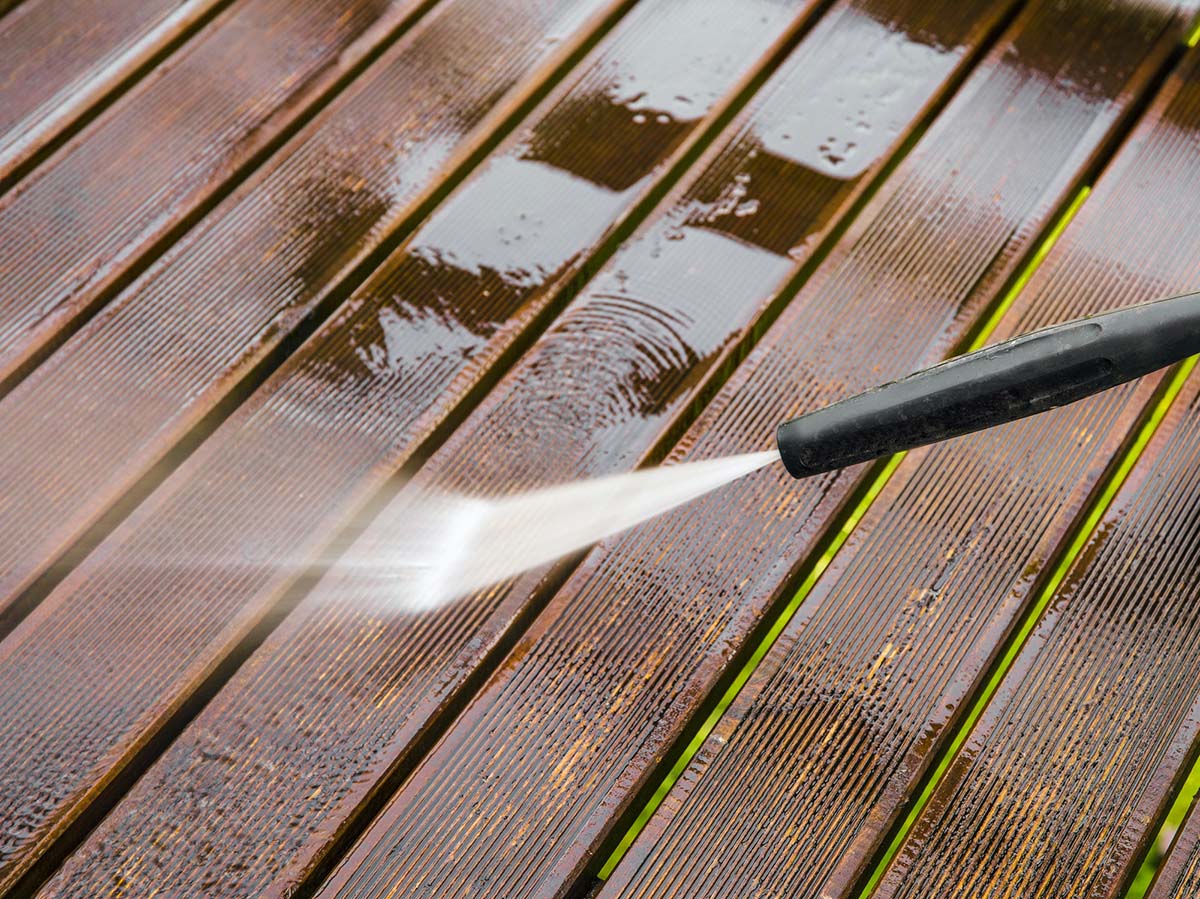
For an extra thorough rinse, consider utilizing a pressure washer with a wide fan tip attachment. When using a pressure washer, maintain a safe distance and a consistent sweeping motion to avoid damaging the wood with excessive pressure. The controlled force of the water stream can provide a deeper clean, especially for heavily soiled decks and hard-to-reach crevices.
As you rinse, periodically inspect the wood to ensure that all traces of dirt and cleaning solution have been effectively removed. The water should run clear, indicating that the deck is free from residual grime and ready to be admired in its refreshed state. Take your time during this step, as a meticulous rinse is essential to achieving a truly clean and rejuvenated deck.
Once the deck has been thoroughly rinsed, allow it to dry completely before proceeding to the final stage of the maintenance process: sealing the deck. This crucial step helps protect the wood from future damage and enhances its natural beauty, ensuring that your outdoor oasis remains a welcoming and enduring space for relaxation and enjoyment.
Sealing the Deck
After the deck has been thoroughly cleaned and allowed to dry completely, the next step involves sealing the wood to protect it from the elements and enhance its longevity. Applying a high-quality sealant or stain not only safeguards the wood from moisture, UV rays, and general wear and tear but also accentuates its natural beauty, creating a lustrous and inviting outdoor space.
Prior to sealing, ensure that the deck is entirely dry, as moisture trapped within the wood can compromise the effectiveness of the sealant. If necessary, allow ample time for the wood to dry naturally, taking into account weather conditions such as humidity and temperature.
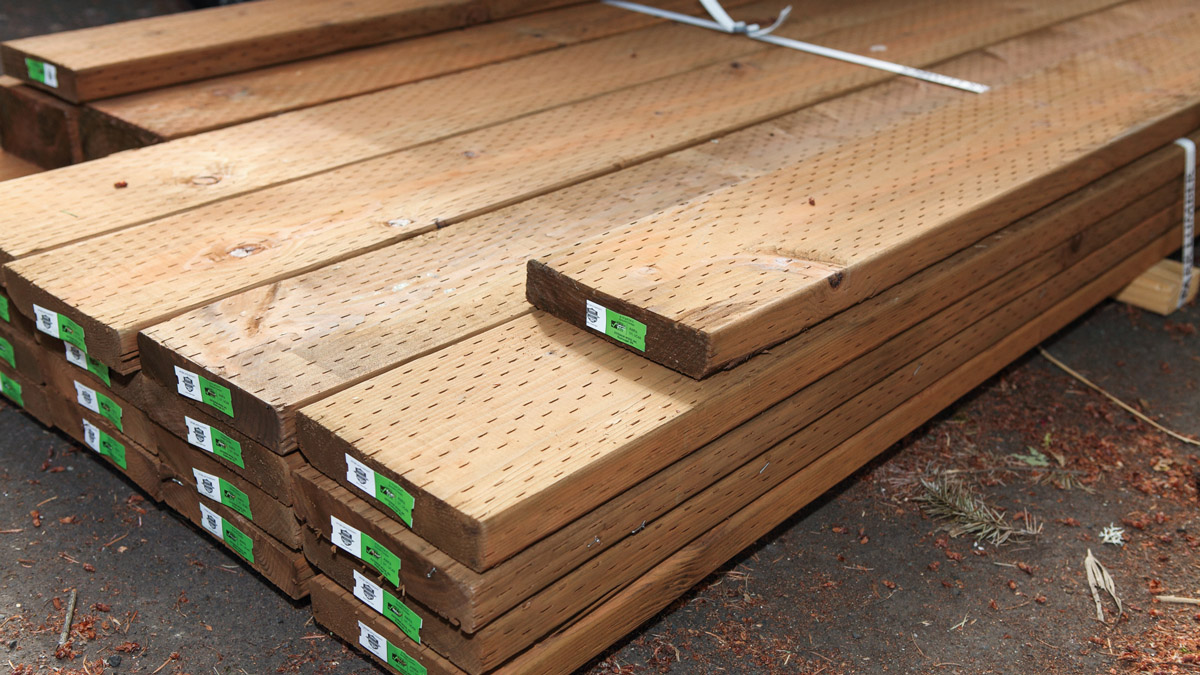
When selecting a sealant or stain, opt for a product specifically formulated for outdoor wood surfaces, such as decks and fences. Consider the type of wood your deck is constructed from, as certain sealants are designed to complement specific wood species, enhancing their natural characteristics and hues.
Before applying the sealant, carefully inspect the deck for any signs of damage, such as cracks, splinters, or loose boards. Address any structural issues and perform any necessary repairs to ensure that the deck is in optimal condition before sealing. This proactive approach helps maintain the integrity of the wood and prolongs the life of your outdoor oasis.
When applying the sealant, use a paintbrush, roller, or sprayer, ensuring even coverage across the entire deck surface. Work methodically, coating the wood with a generous yet uniform layer of sealant, taking care to follow the product’s recommended application guidelines. Pay special attention to areas that experience high foot traffic or are prone to prolonged exposure to the elements, as these regions benefit from added protection.
Depending on the type of sealant or stain used, you may need to apply multiple coats to achieve the desired level of protection and aesthetic appeal. Allow each coat to dry thoroughly according to the manufacturer’s instructions before applying subsequent layers. Once the sealing process is complete, allow the deck to dry for the recommended duration, ensuring that the sealant cures effectively and imparts its protective benefits to the wood.
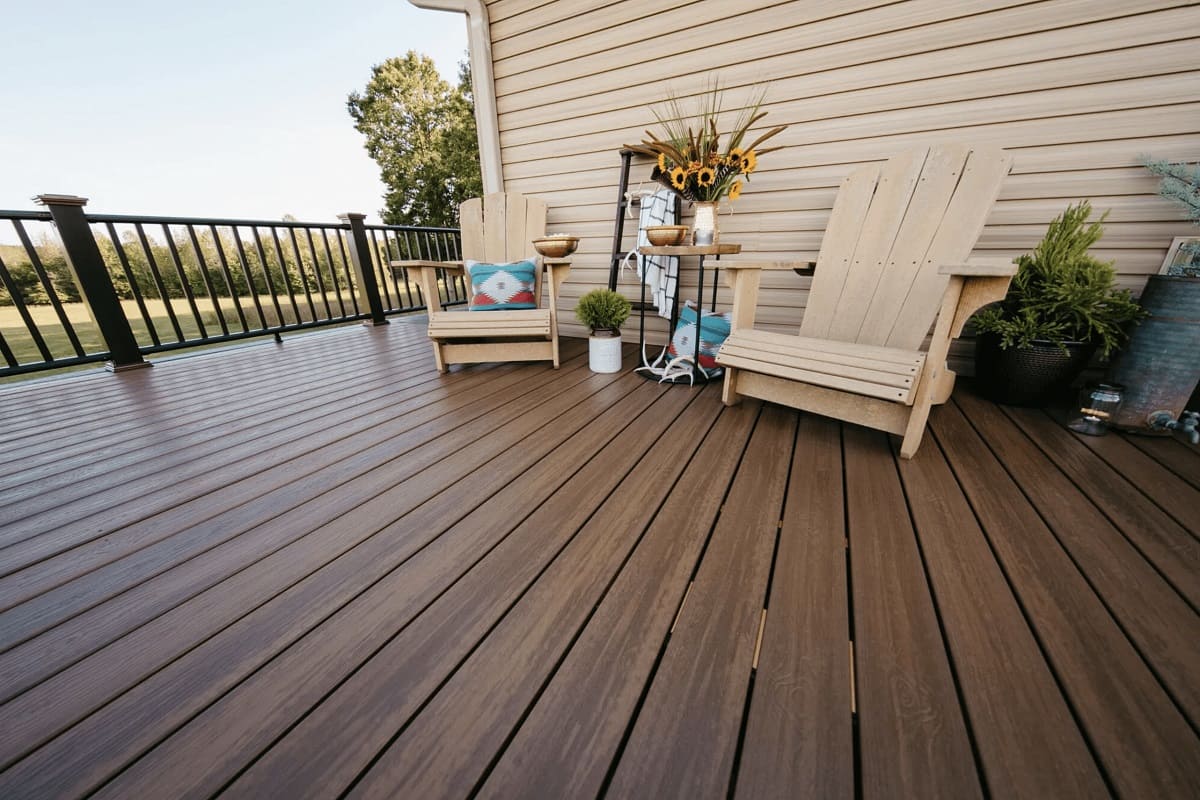
With the deck now cleaned, rinsed, and sealed, you’ve successfully revitalized your outdoor wood deck, creating an inviting and enduring space for relaxation, entertainment, and cherished moments with loved ones. Regular maintenance and care will help preserve the beauty and integrity of your deck, allowing you to enjoy its splendor for years to come.
Conclusion
Congratulations on successfully completing the revitalization of your outdoor wood deck! By following the step-by-step cleaning and maintenance process outlined in this guide, you’ve not only restored the natural beauty of your deck but also extended its lifespan, ensuring many more seasons of enjoyment in your outdoor oasis.
Regular cleaning and maintenance are essential for preserving the integrity of your deck and safeguarding it against the rigors of outdoor exposure. By incorporating these practices into your routine, you can continue to relish the splendor of your deck while creating cherished memories with family and friends.
Remember to stay proactive in caring for your deck, addressing any issues promptly, and conducting routine inspections to maintain its pristine condition. Additionally, consider implementing protective measures, such as using furniture pads and strategically placed rugs, to minimize wear and tear on high-traffic areas of the deck.
As you bask in the revitalized charm of your outdoor wood deck, take pride in the effort you’ve invested in preserving this integral part of your outdoor living space. Whether it’s a tranquil retreat for solitary moments of reflection or a hub for festive gatherings, your deck stands as a testament to your commitment to creating a welcoming and enduring outdoor haven.
Embrace the beauty of your revitalized deck, and revel in the countless moments of joy and relaxation it will continue to provide. With proper care and attention, your outdoor wood deck will remain a cherished sanctuary, inviting you to savor the simple pleasures of outdoor living for years to come.
So, raise a toast to your revitalized deck, and let its enduring allure serve as a backdrop for countless cherished memories in the great outdoors!
Frequently Asked Questions about How To Clean An Outdoor Wood Deck
Was this page helpful?
At Storables.com, we guarantee accurate and reliable information. Our content, validated by Expert Board Contributors, is crafted following stringent Editorial Policies. We're committed to providing you with well-researched, expert-backed insights for all your informational needs.


0 thoughts on “How To Clean An Outdoor Wood Deck”