Articles
How To Close Ceiling Vents
Modified: February 24, 2024
Learn how to close ceiling vents in your home with these helpful articles. Improve energy efficiency and control airflow without the need for professional assistance.
(Many of the links in this article redirect to a specific reviewed product. Your purchase of these products through affiliate links helps to generate commission for Storables.com, at no extra cost. Learn more)
Introduction
When it comes to controlling the airflow in your home, it can be beneficial to have some control over your ceiling vents. Closing ceiling vents in certain rooms can help redirect airflow to areas that need it the most, increasing energy efficiency and ensuring optimal comfort. Whether you want to close ceiling vents temporarily or for an extended period, this article will guide you through the process and provide helpful tips for maintaining closed vents effectively.
Before embarking on this project, it’s important to note that closing ceiling vents should be done with caution. Improperly closing vents can lead to imbalances in your HVAC system, potentially causing damage and decreasing the overall efficiency of your home’s heating and cooling. It’s vital to follow the correct steps and monitor the airflow to ensure a well-balanced and efficient system.
Throughout this guide, we will discuss how to properly close ceiling vents, the tools you’ll need, and steps to take to ensure you’re making informed decisions about your home’s airflow.
Key Takeaways:
- Takeaway 1: Closing ceiling vents can optimize airflow, improve energy efficiency, and enhance comfort. However, it’s crucial to follow the proper steps and monitor the impact on your HVAC system to avoid potential issues.
- Takeaway 2: Regular maintenance of closed vents is essential to ensure effective functionality and prevent airflow disruptions. Monitoring air circulation and seeking professional guidance can help maintain a balanced and comfortable indoor environment.
Read more: How To Close Vents In Basement
Step 1: Gather the necessary tools
Before you begin closing your ceiling vents, it’s important to gather the necessary tools. Having the right equipment on hand will make the process smoother and more efficient.
Here are the tools you’ll need:
- A ladder or step stool: Depending on the height of your ceiling, you may need a ladder or step stool to safely reach the vents.
- Screwdriver or allen wrench: Most ceiling vents are secured with screws or bolts. Make sure you have the appropriate tool to remove them.
- Ceiling vent covers (optional): If you want to close your vents temporarily and maintain a more aesthetically pleasing look, consider purchasing ceiling vent covers.
- Flashlight: A flashlight will be helpful to inspect the vents and ensure proper closure.
Once you have gathered all the necessary tools, you will be ready to move on to the next step of the process.
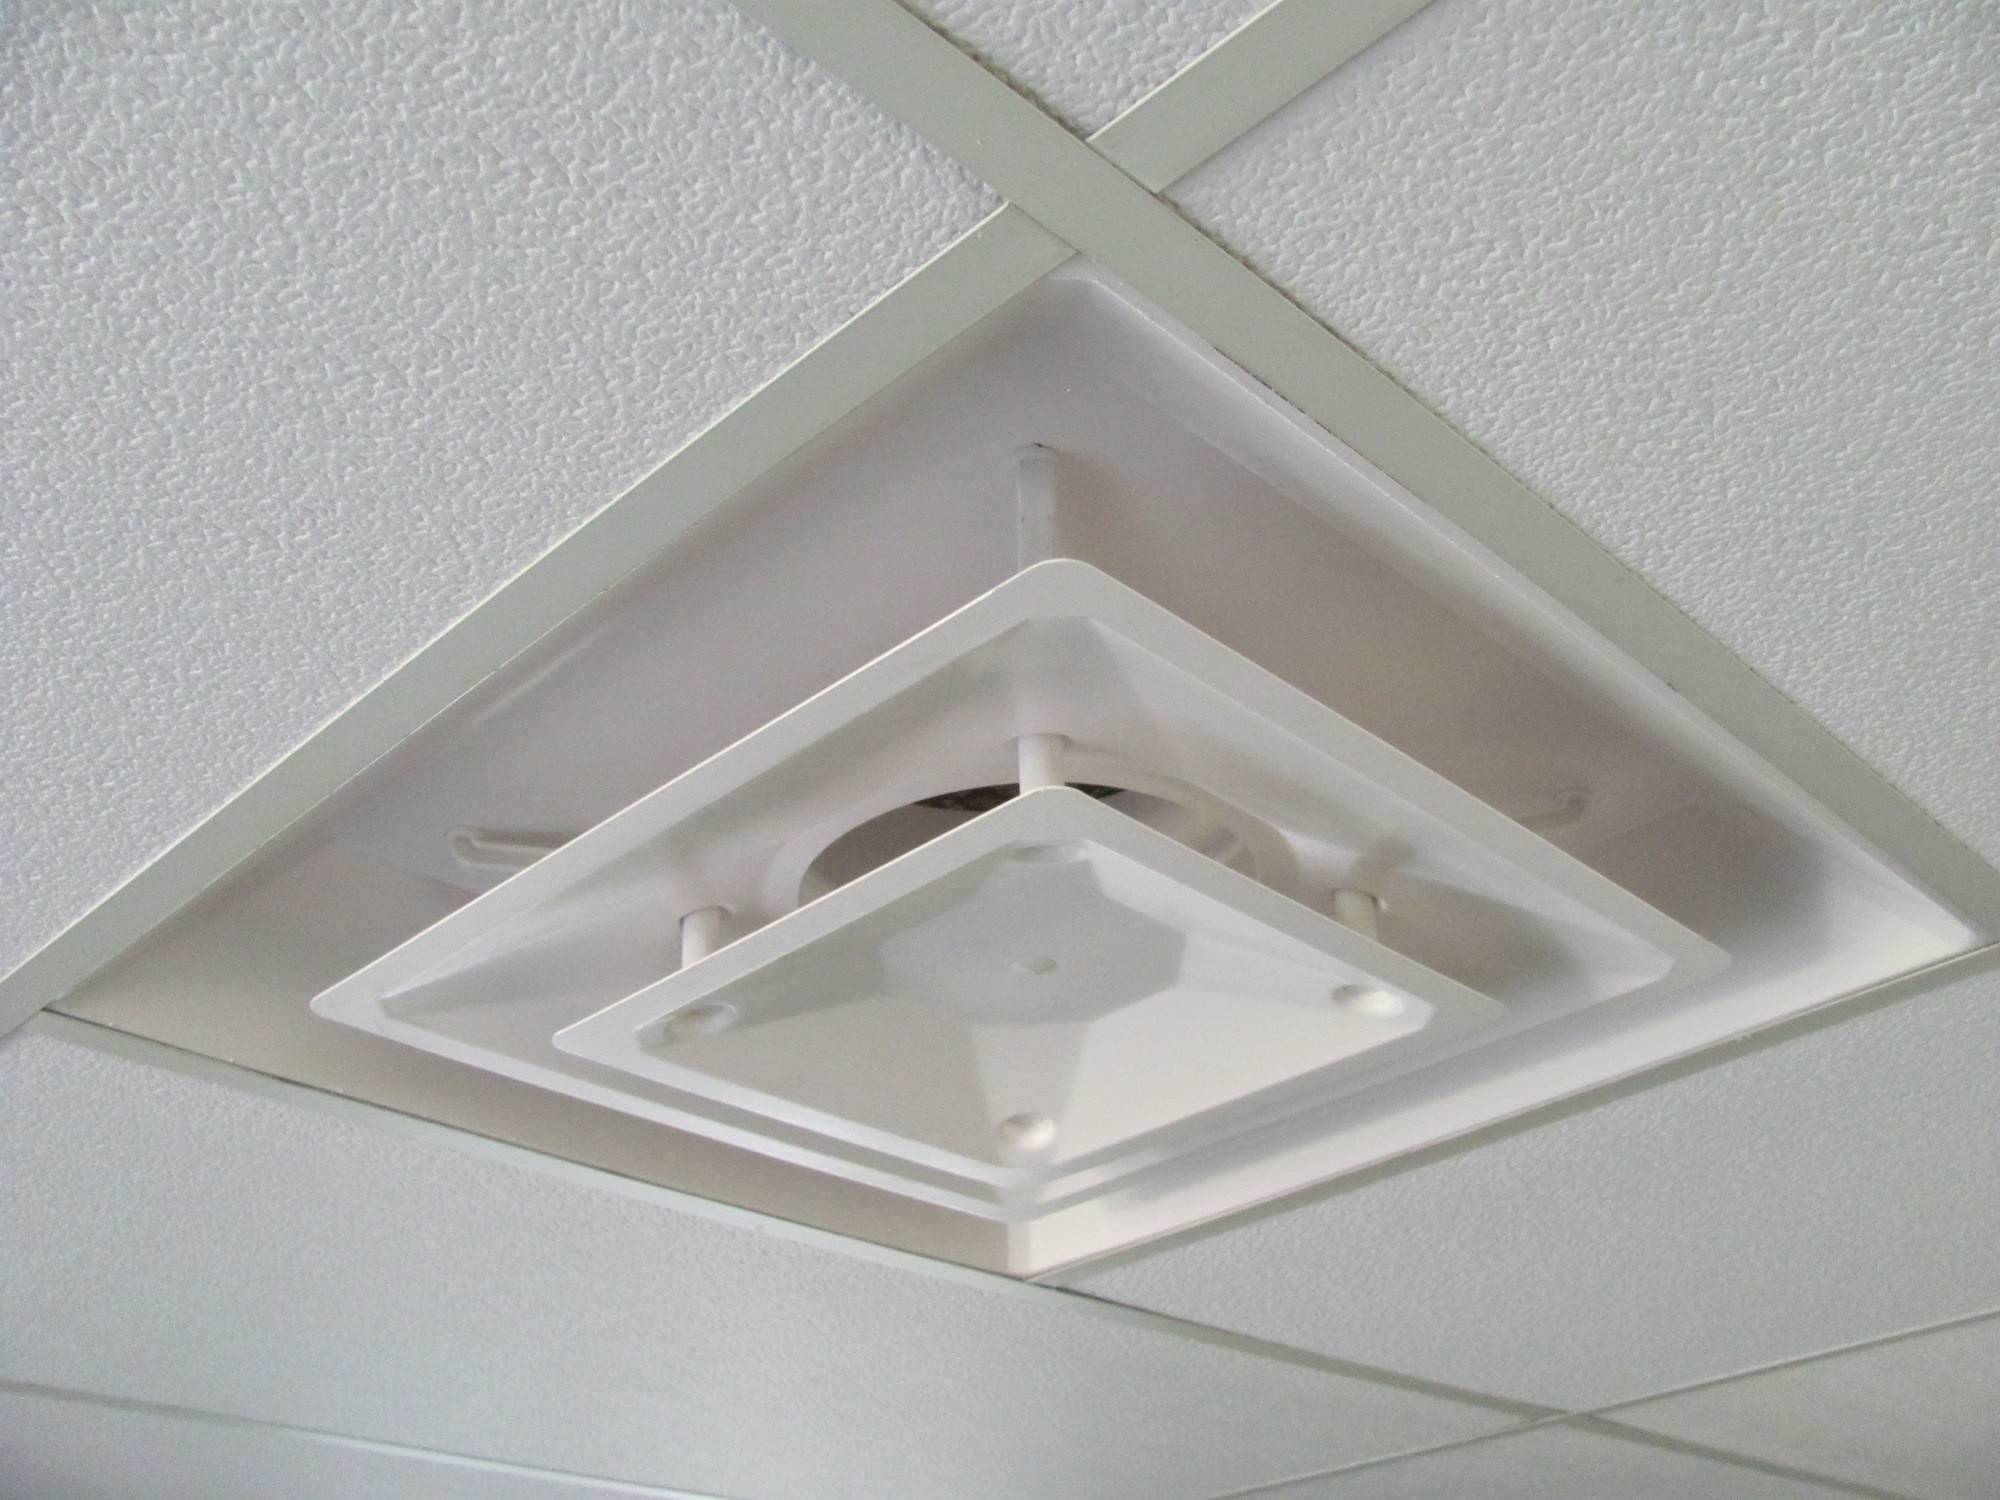
Step 2: Locate the ceiling vents
Locating the ceiling vents in your home is the next step in the process of closing them. This step is crucial to ensure that you are targeting the right vents and not accidentally closing vents that are necessary for proper airflow.
Follow these steps to locate the ceiling vents:
- Take a walk around your home and visually inspect each room. Look for rectangular or square-shaped grates on the ceiling.
- If you’re having trouble locating the vents visually, you can also feel for a gentle airflow coming out of the vents. This can help you identify the exact location.
- Note down the rooms where you want to close the vents. It’s important to carefully consider which vents you want to close, as closing vents in some rooms can lead to uneven airflow or strain on your HVAC system.
Once you have successfully located the ceiling vents and made a note of the rooms where you want to close them, you can proceed to the next step in the process.
Step 3: Prepare for vent closure
Before you proceed with closing the ceiling vents, it’s important to take some preparatory steps to ensure a smooth and effective closure.
Follow these steps to prepare for vent closure:
- Turn off your HVAC system: To prevent any potential issues or damage, it’s best to turn off your heating, ventilation, and air conditioning (HVAC) system before closing the vents. This will ensure that no air pressure builds up within the system and will allow for a safer closure process.
- Clean the vents: It’s a good idea to clean the vents before closing them to remove any dirt, dust, or debris that may hinder proper closure. Use a vacuum cleaner or a soft brush to gently clean the vents and ensure they are free from any obstructions.
- Inspect for any damage: Take a close look at the vents to see if there are any visible damages such as cracks or loose parts. If you spot any issues, consider repairing or replacing the vent before closing it.
- Consider airflow redirection: If you’re closing vents in some areas to redirect airflow to other rooms, analyze your home’s layout and determine the best direction for the air to flow. This will help you achieve a more balanced and efficient airflow throughout your home.
By taking these preparatory steps, you will ensure that your vent closure process goes smoothly and that you are well-prepared for the next phase of closing the ceiling vents.
When closing ceiling vents, make sure to use the correct size and type of vent cover to ensure a proper seal. This will help improve energy efficiency and prevent air leakage.
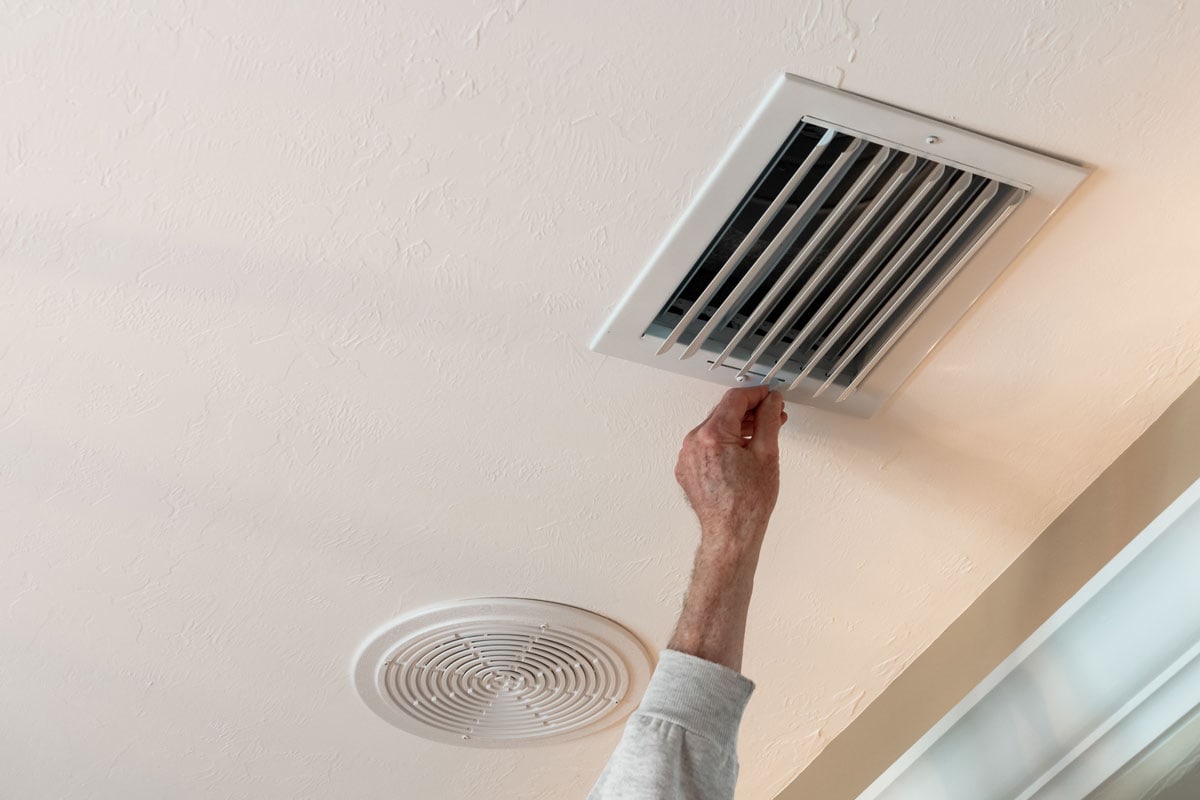
Step 4: Close the ceiling vents
Now that you have prepared for vent closure, it’s time to proceed with actually closing the ceiling vents. This step requires careful attention to detail to ensure that the vents are closed properly and securely.
Follow these steps to close the ceiling vents:
- Use a screwdriver or allen wrench to remove the screws or bolts that secure the vent cover in place.
- Carefully lift the vent cover off the vent. Be cautious not to damage the vent or surrounding areas during this process.
- Inspect the vent opening to ensure that it is clear of any obstruction or debris. If you notice any blockages, such as dust or debris, clean it out using a vacuum cleaner or a soft brush.
- If you want to completely close the vent, place a vent cover over the opening and secure it in place using the existing screws or bolts. This will effectively block the airflow from the vent. If you don’t have a vent cover, you can use a magnetic cover or even a piece of cardboard cut to size as a temporary solution. Make sure the cover is securely fastened to prevent it from falling or becoming dislodged.
- Repeat this process for each vent in the rooms you have chosen to close. Take your time and ensure that each vent is closed properly before moving on to the next one.
Remember, it’s crucial to close the vents securely to prevent any air leakage or potential damage to your HVAC system. Take the necessary precautions and be mindful of the proper closure of each vent.
Note: While closing vents can be beneficial in certain situations, it’s important to understand that completely closing too many vents can disrupt the balance of your HVAC system. It’s recommended to consult with an HVAC professional to ensure that you’re making the right decisions for your home’s airflow.
Read more: How To Close Vents In Crawl Space
Step 5: Monitor air circulation
After closing the ceiling vents, it’s important to monitor the air circulation in your home to ensure that the closure is not causing any negative effects on your HVAC system or overall comfort.
Follow these steps to monitor air circulation:
- Turn on your HVAC system: Once you have closed the vents, turn on your heating or cooling system and let it run for a while.
- Check for proper airflow: Walk around your home and check for proper airflow in each room. Ensure that rooms with closed vents are not experiencing a significant decrease in airflow, while rooms with open vents still receive adequate airflow.
- Monitor temperature and comfort levels: Pay attention to the temperature and comfort levels in each room. If you notice any noticeable temperature variations or discomfort, it may indicate an imbalance in your HVAC system due to the closed vents.
- Adjust as needed: If you observe any issues with air circulation or temperature imbalances, consider adjusting the open and closed vents accordingly. You may need to reopen certain vents or partially close others to achieve a better balance in airflow throughout your home.
It’s essential to regularly monitor the air circulation and temperature in your home, especially in the first few days after closing the vents. This will allow you to make necessary adjustments and ensure that your HVAC system is functioning optimally.
If you have concerns or difficulties in monitoring the air circulation, it’s advisable to consult with an HVAC professional. They can provide expert guidance and help you achieve the right balance in temperature and airflow throughout your home.
Step 6: Regularly clean and maintain closed vents
Once you have closed the ceiling vents, it’s important to establish a regular cleaning and maintenance routine to ensure the vents remain in good condition and continue to function effectively. Regular maintenance will help prevent dust buildup, blockages, and potential issues with airflow.
Follow these steps to clean and maintain closed vents:
- Inspect the vents periodically: Take the time to visually inspect the closed vents every few months. Look for any signs of dirt, dust, or debris that may have accumulated on or around the vents.
- Clean the vents: Use a vacuum cleaner or a soft brush to gently clean the vents and remove any dust or debris. Avoid using harsh chemicals or abrasive cleaning tools that may damage the vents.
- Check for any damages: While inspecting the vents, keep an eye out for any damages such as cracks or loose parts. If you notice any issues, consider repairing or replacing the vent to maintain its effectiveness.
- Monitor air quality: Keep an eye on the air quality in the rooms with closed vents. If you notice a decline in air quality or an increase in indoor pollutants, it may be a sign that the closed vents are affecting the overall airflow in your home. Consider adjusting the vents or seeking professional advice if necessary.
- Reassess periodically: It’s important to periodically reassess whether closing the vents is still necessary. Changes in home occupancy, furniture arrangement, or lifestyle habits may affect the need to keep certain vents closed. Adjust the vent openings accordingly to ensure optimal airflow and comfort.
By regularly cleaning and maintaining closed vents, you will ensure that they continue to perform effectively and contribute to the overall functionality of your HVAC system. A well-maintained system will help improve energy efficiency and maintain a comfortable indoor environment.
Remember, if you are unsure about any aspects of maintaining closed vents or if you encounter any difficulties, it’s always best to seek the assistance of an HVAC professional. They have the expertise to guide you and provide the necessary support to keep your HVAC system running smoothly.
Conclusion
Closing ceiling vents can be a useful strategy for controlling the airflow in your home, improving energy efficiency, and directing air to where it is needed the most. However, it’s important to approach vent closure with caution and follow the proper steps to avoid any negative effects on your HVAC system.
In this guide, we have discussed the necessary tools, steps, and considerations for closing ceiling vents effectively. By gathering the right tools, locating the vents, preparing for closure, closing the vents securely, monitoring air circulation, and regularly maintaining closed vents, you can ensure a balanced and efficient airflow in your home.
Remember, it’s crucial to regularly monitor the air circulation and temperature in each room to maintain a comfortable and balanced indoor environment. If you encounter any issues or difficulties, it’s best to consult with an HVAC professional who can provide expert guidance tailored to your specific needs.
By following the steps outlined in this guide and being mindful of the impact on your HVAC system, you can successfully close ceiling vents and optimize the airflow in your home. Remember to assess the need for closure periodically and make adjustments as necessary to maintain a comfortable and energy-efficient living space.
We hope this guide has been helpful in understanding how to close ceiling vents. By taking the appropriate steps and keeping a close eye on your HVAC system, you can achieve better control over airflow, enhance energy efficiency, and create a more comfortable living environment.
Frequently Asked Questions about How To Close Ceiling Vents
Was this page helpful?
At Storables.com, we guarantee accurate and reliable information. Our content, validated by Expert Board Contributors, is crafted following stringent Editorial Policies. We're committed to providing you with well-researched, expert-backed insights for all your informational needs.


0 thoughts on “How To Close Ceiling Vents”