Home>Renovation & DIY>Home Renovation Guides>How To Close A Storm Door

Home Renovation Guides
How To Close A Storm Door
Modified: October 28, 2024
Learn how to properly close a storm door with our comprehensive home renovation guide. Follow our step-by-step instructions for a seamless process.
(Many of the links in this article redirect to a specific reviewed product. Your purchase of these products through affiliate links helps to generate commission for Storables.com, at no extra cost. Learn more)
Introduction
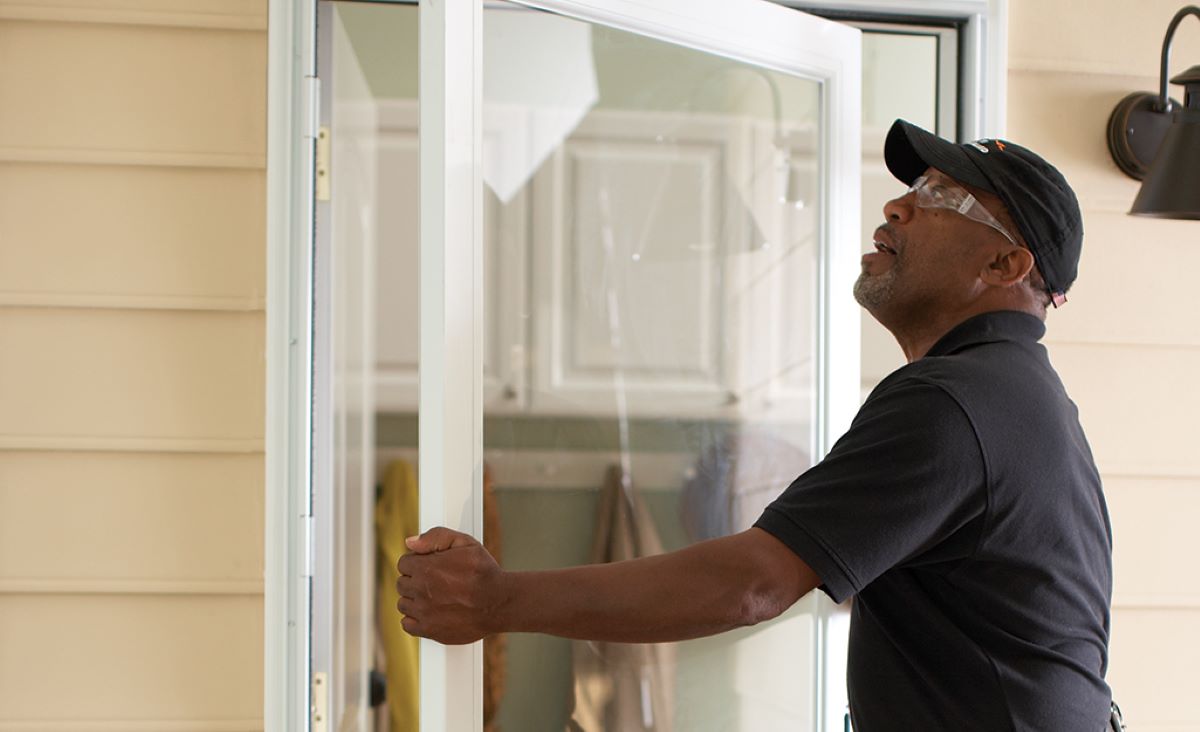
So, you've got a storm door that's not closing properly. It can be frustrating to deal with, but fear not! With a little know-how and some simple tools, you can get that storm door closing smoothly in no time. In this guide, we'll walk you through the steps to troubleshoot and fix a misbehaving storm door.
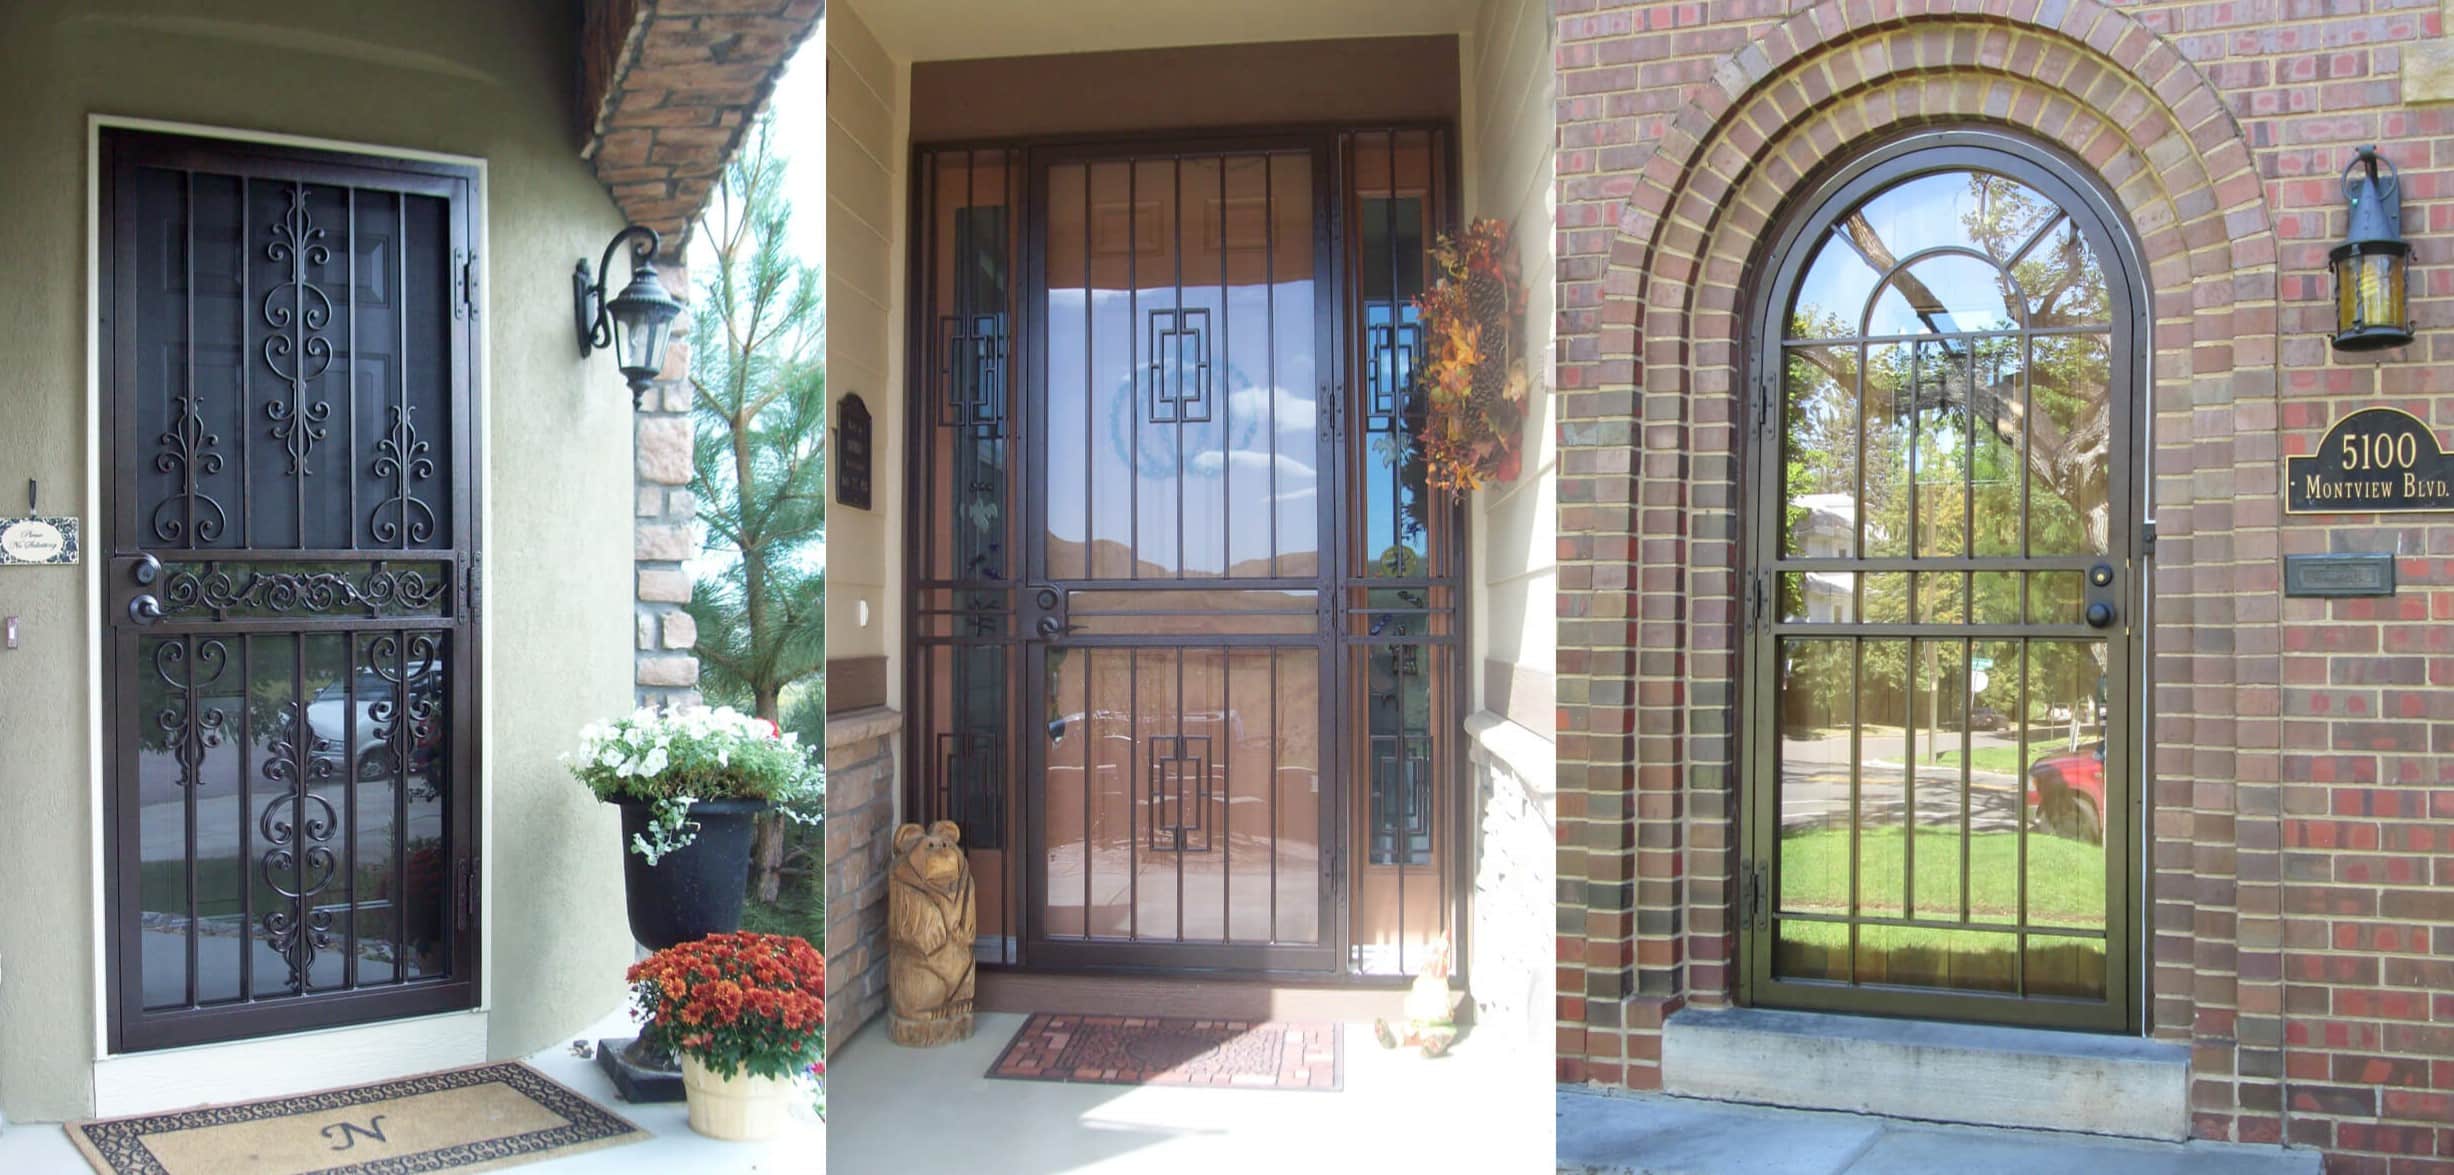
A storm door serves as an extra layer of protection for your home, keeping out the elements and providing added security. When it's not closing properly, it can compromise both the safety and comfort of your home. But before you rush to replace the entire door, let's explore some common issues and their solutions.
We'll start by assessing the storm door to identify the root cause of the problem. From there, we'll delve into adjusting the hinges, lubricating the door, checking the weather stripping, and even replacing the door closer if necessary. By the end of this guide, you'll be equipped with the knowledge and skills to tackle the issue head-on and restore your storm door to its former glory.
Whether you're a seasoned DIY enthusiast or a homeowner looking to save on repair costs, this guide is designed to empower you with practical solutions for addressing a malfunctioning storm door. So, grab your toolkit and let's get started on bringing that stubborn storm door back in line!
Key Takeaways:
- Troubleshoot and fix a misbehaving storm door by adjusting hinges, lubricating moving parts, and checking weather stripping. Regular maintenance ensures a secure and functional storm door for years to come.
- Identifying and addressing common issues such as misaligned hinges, worn weather stripping, and faulty door closers can restore a storm door’s functionality. Regular maintenance is key to preventing future problems and ensuring a secure home environment.
Read more: How To Adjust Storm Door Closing
Assessing the Storm Door
Before diving into any repairs, it’s crucial to assess the condition of your storm door to pinpoint the underlying issue. Start by carefully observing the door’s behavior as you open and close it. Is it sticking, sagging, or making unusual sounds? These observations can provide valuable clues about what might be causing the problem.
Next, inspect the hinges and hardware for any signs of damage or wear. Loose screws, bent hinges, or damaged components can all contribute to a storm door that doesn’t close properly. Tighten any loose screws and examine the hinges for any visible damage. If the hinges are rusty or corroded, they may need to be replaced to ensure smooth operation.
Take a close look at the door frame as well. Is it warped or misaligned? Warping can occur over time due to exposure to the elements, leading to a misshapen frame that prevents the door from closing correctly. Additionally, check for any obstructions along the door’s path that could be impeding its movement.
Another crucial aspect to consider is the condition of the door’s closer mechanism. The closer is responsible for controlling the speed and force with which the door closes. If the closer is damaged or worn out, it can result in the door failing to close properly. Test the closer by opening the door and observing its behavior as it closes. Does it shut too quickly or too slowly? Does it make any unusual noises?
By thoroughly assessing the storm door and its various components, you’ll be better equipped to identify the specific issues that need attention. This initial inspection lays the groundwork for the subsequent steps in troubleshooting and resolving the door’s closing issues.
Adjusting the Hinges
One of the most common reasons for a storm door failing to close properly is misaligned or damaged hinges. Fortunately, adjusting the hinges is a relatively straightforward task that can make a significant difference in the door’s functionality.
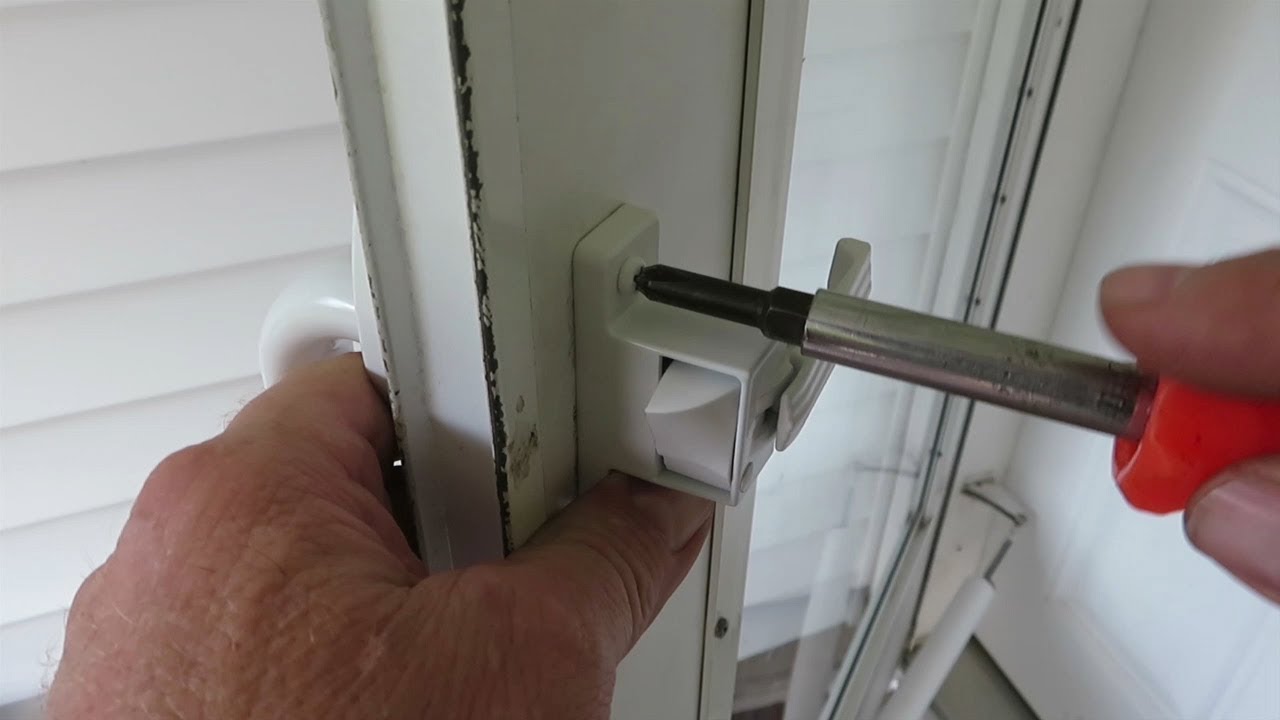
Start by examining the hinges to determine if they are loose, bent, or misaligned. If the screws securing the hinges are loose, tighten them using a screwdriver. This simple step can often resolve minor alignment issues and improve the door’s operation.
If the hinges are bent or misaligned, you may need to make more significant adjustments. With the help of a helper, carefully lift the door and support it in the open position. This will relieve pressure from the hinges, making it easier to work on them. Use a wrench or pliers to gently bend the hinges back into alignment, ensuring that the door can move smoothly without any obstructions.
Another effective technique for adjusting the hinges is to shim them. Place thin wooden shims behind the hinges to realign the door with the frame. This can help compensate for any warping or misalignment in the door or frame, allowing for a more precise closure.
Once you’ve made the necessary adjustments, test the door’s movement to see if it closes properly. If it still isn’t functioning as desired, further fine-tuning of the hinges may be required. Pay close attention to the alignment and ensure that the door moves smoothly without any resistance.
By taking the time to assess and adjust the hinges, you can address one of the most common culprits behind a malfunctioning storm door. Properly aligned hinges are essential for smooth operation, and by implementing these adjustments, you can restore the door’s functionality and ensure a secure closure.
Lubricating the Door
When a storm door exhibits difficulty in closing, lack of proper lubrication can often be a contributing factor. Over time, the hinges, tracks, and other moving parts can accumulate dirt and debris, leading to friction that hinders smooth operation. By applying the right lubricant, you can significantly improve the door’s functionality and extend its lifespan.
Begin by thoroughly inspecting the hinges, tracks, and any other moving components of the door. Remove any visible dirt, rust, or debris using a soft brush or cloth. This initial cleaning will prepare the surfaces for the application of lubricant.
Next, select a high-quality silicone-based lubricant or a specialized door hinge lubricant. Avoid using oil-based lubricants, as they can attract dirt and become gummy over time, exacerbating the issue. Apply a small amount of the chosen lubricant to the hinges, ensuring that it penetrates the moving parts effectively.
For the tracks and rollers, use a silicone spray or a dry, powdered graphite lubricant. Apply the lubricant sparingly to prevent any excess from accumulating and attracting dirt. Work the lubricant into the tracks and rollers by manually opening and closing the door several times, allowing the lubricant to distribute evenly.
After applying the lubricant, observe the door’s movement to determine if there is a noticeable improvement. The lubricant should facilitate smoother operation, reducing friction and allowing the door to close more effectively. If necessary, reapply the lubricant and continue testing the door’s functionality until the desired results are achieved.
Regular maintenance of the door’s moving parts is essential to ensure continued smooth operation. By incorporating lubrication into your maintenance routine, you can prevent premature wear and tear, minimize friction-related issues, and prolong the lifespan of your storm door.
To close a storm door, simply pull the door towards you until it latches securely. Make sure the door handle is in the down position to ensure a tight seal.
Checking the Weather Stripping
Weather stripping plays a crucial role in ensuring that a storm door provides an effective barrier against the elements. Over time, weather stripping can become worn, torn, or misaligned, compromising its ability to seal the door properly. By inspecting and maintaining the weather stripping, you can address potential issues that may be impeding the door’s ability to close securely.
Begin by visually inspecting the weather stripping along the edges of the door and frame. Look for any signs of damage, such as tears, cracks, or gaps. Even minor damage to the weather stripping can allow drafts, moisture, and debris to infiltrate, impacting the door’s functionality.
If you notice any damaged weather stripping, it may be necessary to replace it. Weather stripping is typically available in various materials, including vinyl, rubber, and foam. Choose a replacement weather stripping that matches the original material and dimensions, ensuring a proper fit and effective seal.
In addition to visible damage, check for signs of wear or compression in the weather stripping. Over time, weather stripping can lose its resilience, leading to a diminished seal. If the weather stripping appears flattened or compressed, it may be unable to provide the necessary barrier for a secure closure.
Another aspect to consider is the alignment of the weather stripping. Ensure that it makes consistent contact with the door when closed, creating a tight seal around the perimeter. Adjust or realign the weather stripping as needed to address any gaps or inconsistencies that may be impeding the door’s closure.
By maintaining the weather stripping in optimal condition, you can enhance the door’s energy efficiency, minimize drafts, and improve its overall functionality. Regular inspection and replacement of weather stripping as needed will contribute to a more secure and weather-resistant storm door.
Read more: How To Paint A Storm Door
Replacing the Door Closer
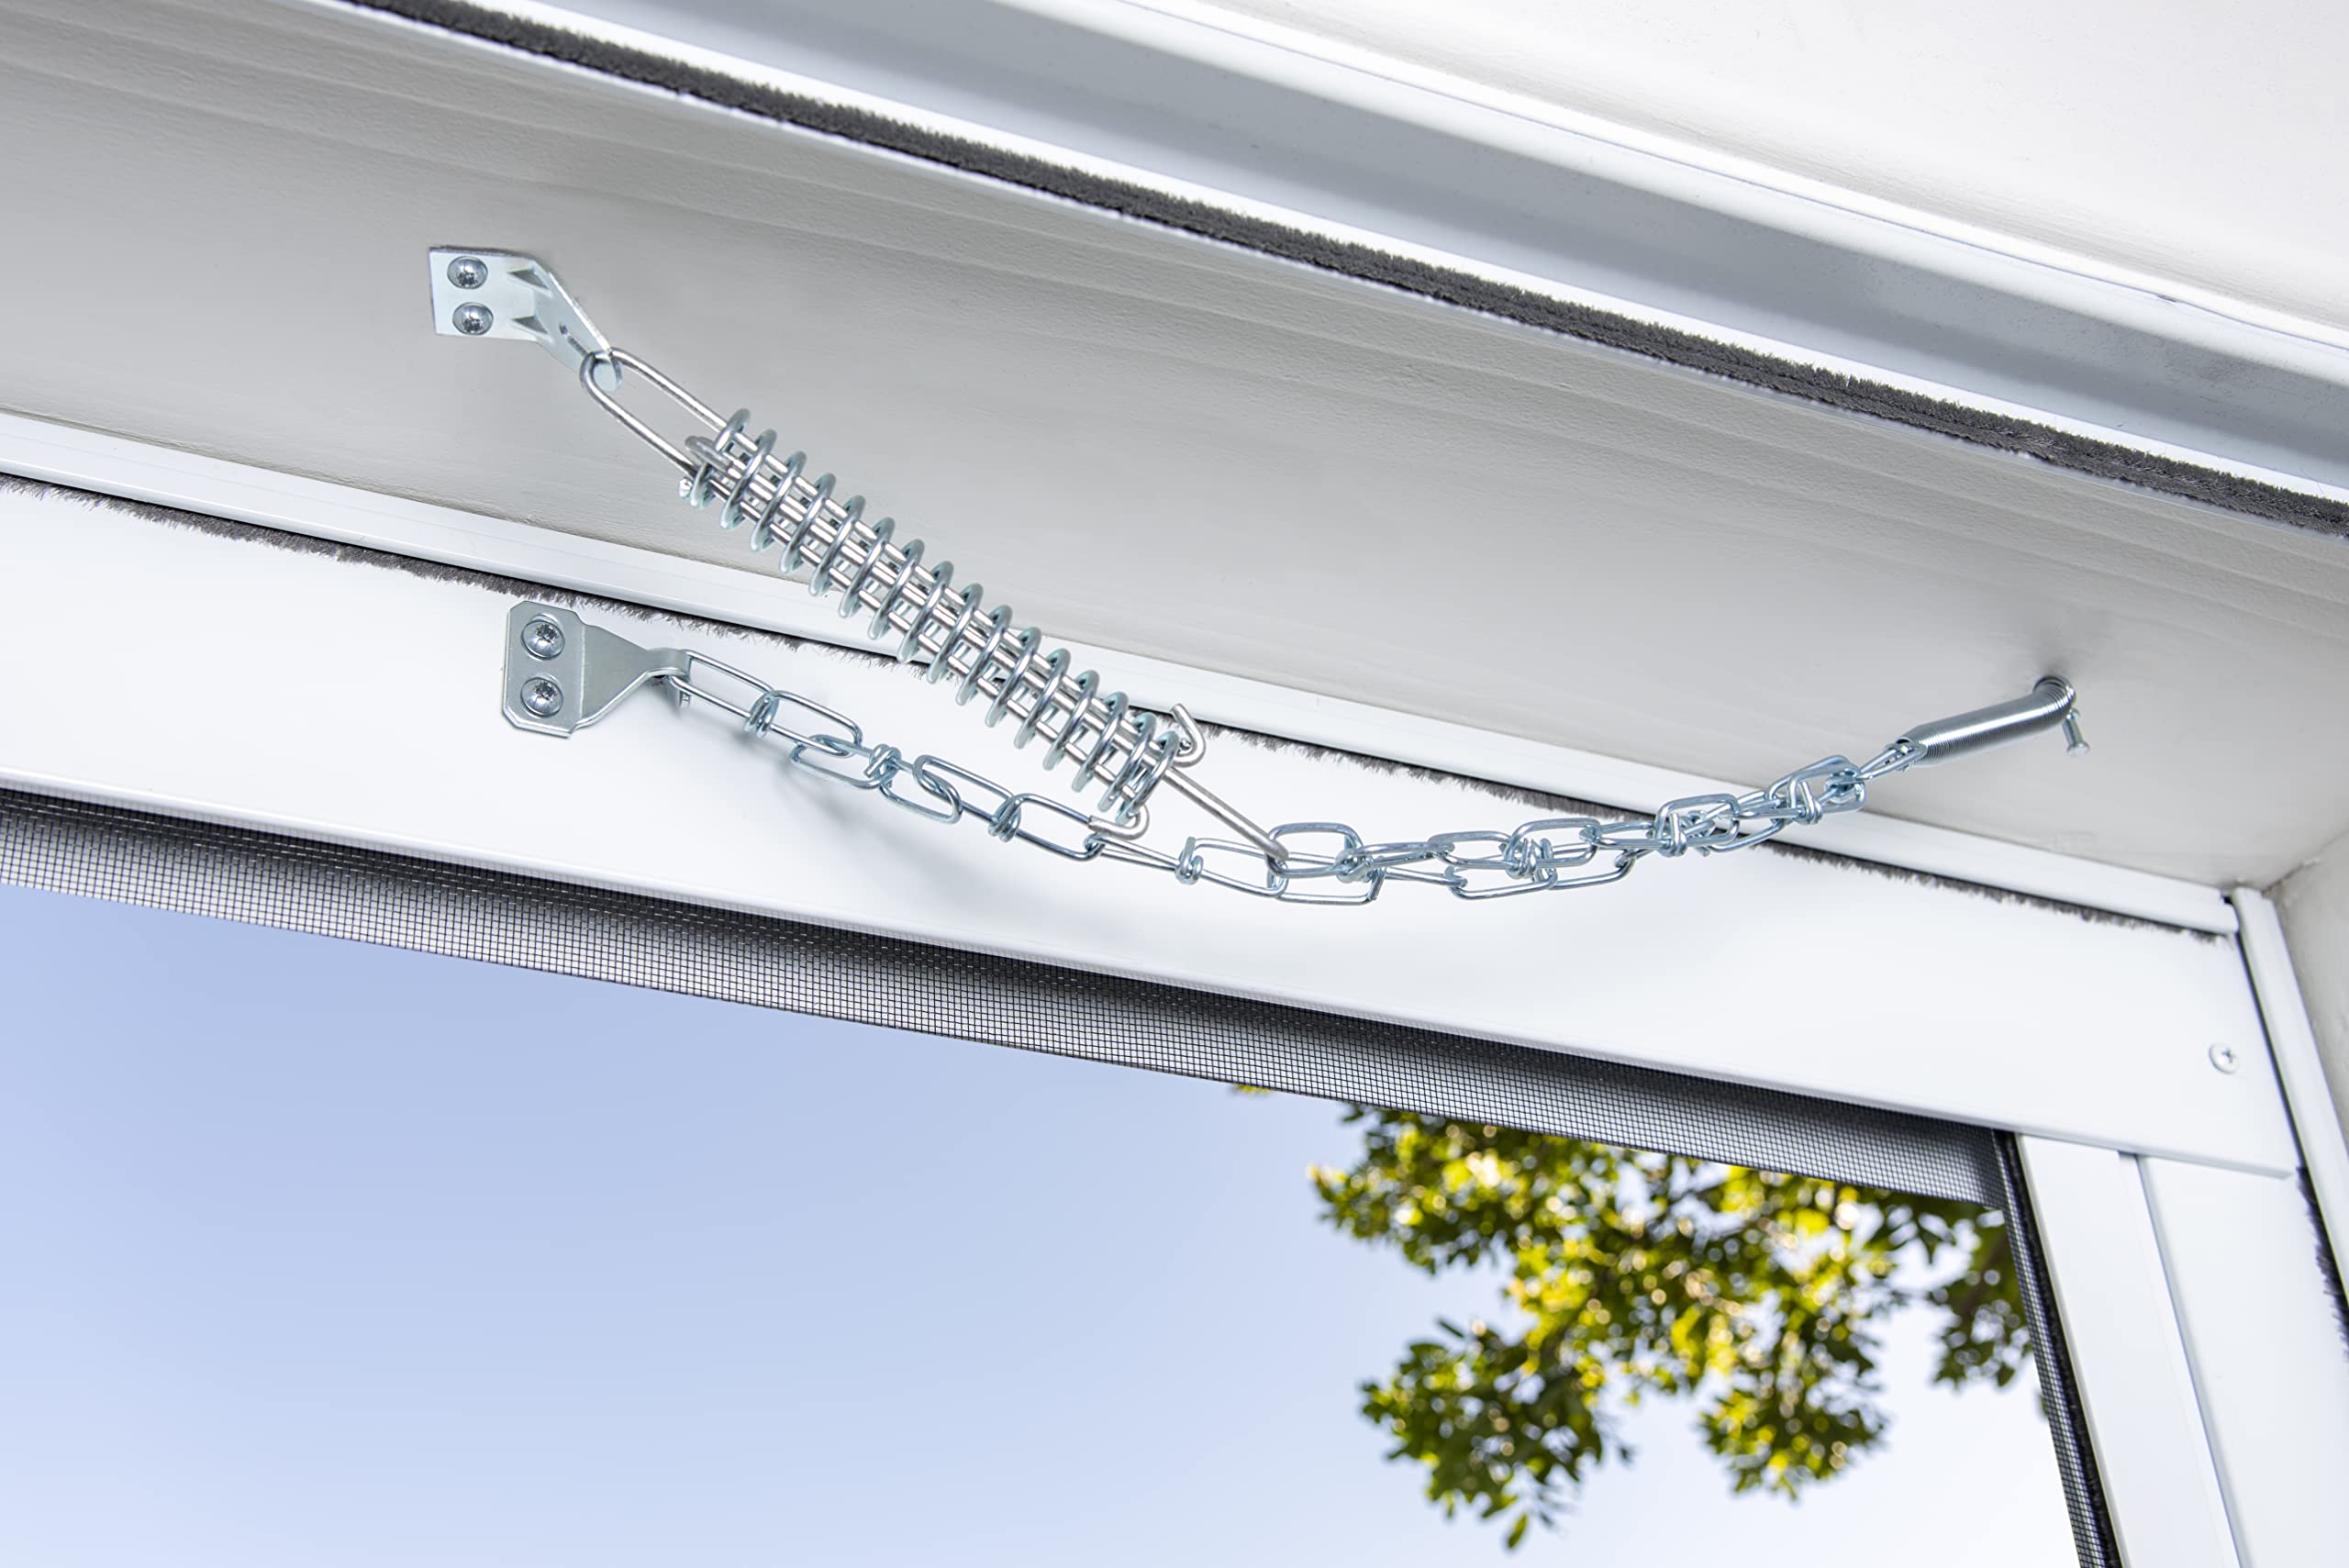
The door closer plays a pivotal role in controlling the smooth and controlled closing of a storm door. If the door closer is worn out, damaged, or improperly adjusted, it can significantly impact the door’s functionality. In such cases, replacing the door closer may be necessary to restore the door’s proper operation.
Begin by identifying the type of door closer installed on your storm door. There are various types, including pneumatic (air-powered) and hydraulic door closers. Familiarize yourself with the specific model and design to ensure that you select a compatible replacement.
Prior to replacing the door closer, carefully observe its behavior as you open and close the door. Look for any signs of leakage, erratic movement, or unusual sounds. These symptoms can indicate internal damage or wear that warrants a replacement.
Once you have procured a suitable replacement door closer, begin by removing the existing closer from the door. This typically involves unscrewing the closer from the door and frame, allowing you to detach it from the mounting brackets. Be sure to support the door securely during this process to prevent it from swinging and causing injury.
Install the new door closer by following the manufacturer’s instructions. This generally involves attaching the closer to the door and frame using the provided hardware. Adjust the tension and closing speed settings as recommended by the manufacturer to ensure optimal performance.
After installing the new door closer, test the door’s movement to confirm that it closes smoothly and securely. Adjust the settings as needed to achieve the desired closing speed and force. Additionally, observe the door closer for any signs of leakage or malfunction, as these issues can indicate an improper installation or a defective closer.
Replacing a worn or damaged door closer can have a transformative impact on the functionality of a storm door. By ensuring that the door closer is in optimal condition, you can achieve a secure and reliable closure, enhancing the overall performance and safety of the door.
Conclusion
Congratulations! You’ve successfully navigated the troubleshooting and repair process for a misbehaving storm door. By following the steps outlined in this guide, you’ve gained valuable insights into addressing common issues that can affect a storm door’s ability to close securely.
Throughout this journey, you’ve learned the importance of assessing the storm door to identify the root cause of the problem. Whether it’s misaligned hinges, inadequate lubrication, worn weather stripping, or a faulty door closer, your thorough assessment has equipped you with the knowledge to pinpoint and address these issues effectively.
Adjusting the hinges proved to be a fundamental step in restoring the door’s functionality. By ensuring proper alignment and support, you’ve laid the groundwork for a smoother and more secure closure. Additionally, lubricating the door’s moving parts has contributed to reducing friction and enhancing the door’s operation.
Checking and maintaining the weather stripping is essential for preserving the door’s energy efficiency and weather resistance. Your attention to detail in inspecting and, if necessary, replacing the weather stripping has contributed to a more effective seal and improved functionality.
Finally, by recognizing the pivotal role of the door closer and undertaking its replacement as needed, you’ve taken proactive steps to ensure that the door operates as intended. A properly functioning door closer is crucial for a controlled and secure closure, and your efforts in this regard have not gone unnoticed.
As you reflect on your journey to troubleshoot and repair the storm door, remember that regular maintenance and attentive observation are key to preventing future issues. By incorporating these practices into your home maintenance routine, you can prolong the lifespan of your storm door and ensure its continued reliability.
Armed with the knowledge and skills acquired in this guide, you’re now well-equipped to tackle any future challenges that may arise with your storm door. Whether it’s a sticking hinge, a worn-out closer, or weather stripping in need of replacement, you have the confidence to address these issues effectively and maintain a secure and functional storm door for years to come.
So, take pride in your accomplishment, and rest assured that your efforts have contributed to a safer, more comfortable, and more secure home environment. Your dedication to maintaining your storm door exemplifies the spirit of proactive home care and sets the stage for a well-protected and welcoming abode.
Frequently Asked Questions about How To Close A Storm Door
Was this page helpful?
At Storables.com, we guarantee accurate and reliable information. Our content, validated by Expert Board Contributors, is crafted following stringent Editorial Policies. We're committed to providing you with well-researched, expert-backed insights for all your informational needs.


0 thoughts on “How To Close A Storm Door”